Articles
How To Remove A Fireplace Mantel From Brick
Modified: August 17, 2024
Learn how to remove a fireplace mantel from brick with these helpful articles. Whether you're renovating or updating your space, our detailed guides will make the process smooth and easy.
(Many of the links in this article redirect to a specific reviewed product. Your purchase of these products through affiliate links helps to generate commission for Storables.com, at no extra cost. Learn more)
Introduction
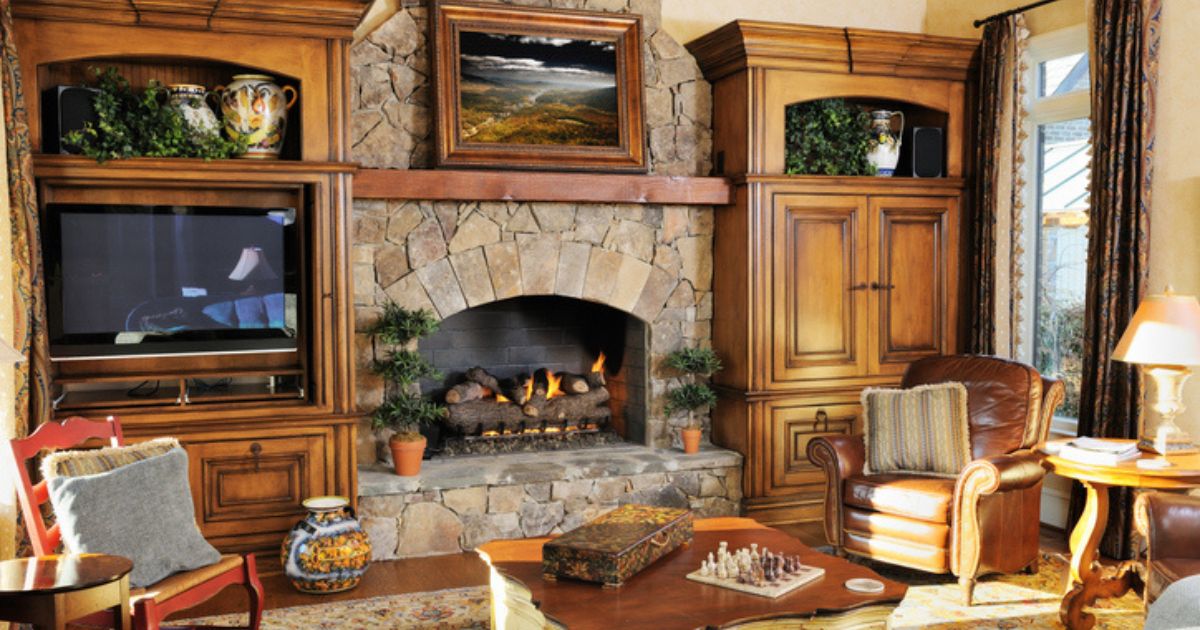
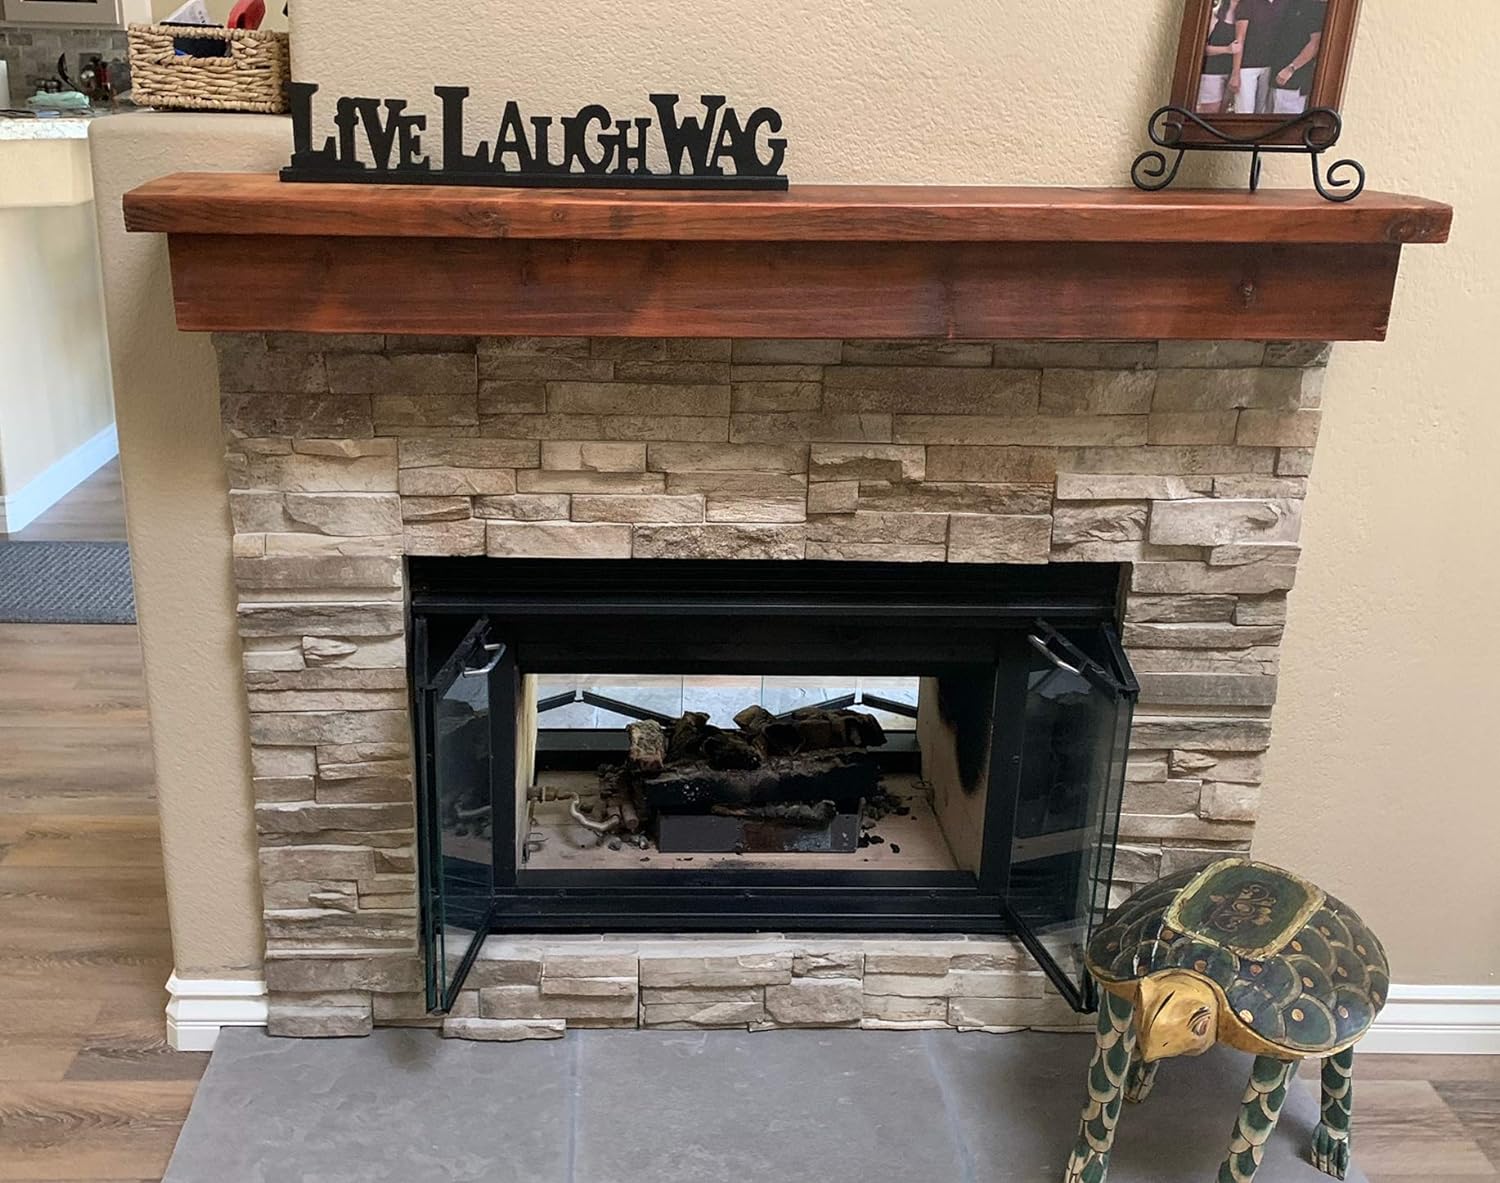
Removing a fireplace mantel from brick can be a challenging task, but with the right tools and techniques, it can be done successfully. Whether you are renovating your home or simply want to change the look of your fireplace, removing the mantel is the first step towards achieving your desired outcome. In this article, we will guide you through the process of removing a fireplace mantel from brick, ensuring that you do it safely and efficiently.
Before we dive into the steps, let’s quickly go over some essential tools and materials you will need for this project:
- Safety goggles
- Work gloves
- Protective clothing
- Hammer
- Chisel
- Drill
- Scraper
- Screwdriver
- Pry bar
- Ladder or step stool
Now that you have your tools ready, let’s get started with the step-by-step process of removing a fireplace mantel from brick.
Key Takeaways:
- Safely and efficiently remove a fireplace mantel from a brick wall by following a step-by-step process, from clearing the area to detaching the mantel shelf and removing supporting bricks.
- Complete the project with finishing touches, including cleaning the wall, making repairs, and painting to achieve a polished and updated look for your fireplace.
Read more: How To Install A Mantel On A Brick Fireplace
Necessary Tools and Materials
Before you begin the process of removing a fireplace mantel from brick, it’s important to gather all the necessary tools and materials. Having these items on hand will make the process smoother and ensure that you have everything you need to safely and effectively remove the mantel.
Here are the essential tools and materials you will need:
- Safety goggles: Protect your eyes from any debris or dust that may be generated during the removal process.
- Work gloves: Keep your hands protected from sharp edges and provide a better grip on the tools.
- Protective clothing: Wear long sleeves and pants to protect your skin from scratches and possible exposure to chemicals or dust.
- Hammer: Use a hammer to loosen any nails or screws that may be securing the mantel to the brick.
- Chisel: A chisel will help you pry off any trim or decorative elements attached to the mantel.
- Drill: You may need a drill to remove screws or anchors that are holding the mantel in place.
- Scraper: A scraper can be useful for removing any adhesive or mortar residue left behind after the mantel is removed.
- Screwdriver: If the mantel is secured with screws, a screwdriver will be required to remove them.
- Pry bar: A pry bar will come in handy for gently prying the mantel away from the wall.
- Ladder or step stool: Depending on the height of your mantel, you may need a ladder or step stool to safely reach and work on it.
Make sure you have all these tools and materials ready before you begin the removal process. This will save you time and prevent any unnecessary delays or interruptions during the project.
Step 1: Clearing the Surrounding Area
Before you start removing the fireplace mantel, it’s important to clear the surrounding area to create a safe and accessible workspace. This will prevent any obstacles or hazards from interfering with the removal process.
Here are the steps to clear the area:
- Remove any furniture or objects near the fireplace. This will give you enough space to work and prevent any damage to the items.
- Cover the floor and nearby furniture with drop cloths or plastic sheets. This will protect them from dust, debris, or any accidental damage during the removal process.
- Turn off the power supply to any electrical outlets or switches near the mantel. This will ensure your safety and prevent any electrical mishaps.
- If there is a hearth or surrounding tiles, use a scraper or chisel to carefully remove them. This will allow you to access the mantel more easily.
- Clean the area thoroughly and remove any loose debris or dirt. This will provide a clean surface for you to work on and make the removal process easier.
By taking the time to clear the surrounding area, you will have a safe and organized workspace to remove the fireplace mantel without any hindrances. This step sets the foundation for the rest of the removal process, ensuring a smooth and efficient experience.
Step 2: Removing Trim and Surrounding Panels
Once you have cleared the surrounding area, the next step in removing a fireplace mantel from brick is to remove any trim or surrounding panels that may be attached to the mantel.
Here’s how you can remove the trim and surrounding panels:
- Inspect the mantel for any trim pieces or decorative panels that are attached to it. These may be secured with screws or nails.
- Using a screwdriver or a pry bar, carefully remove any screws or nails that are holding the trim or panels in place. Be gentle to avoid causing any damage to the mantel or the surrounding structure.
- If the trim or panels are glued to the mantel, gently tap a chisel between the trim and the mantel to loosen the adhesive. Slowly pry the trim away from the mantel, taking care not to damage the surface.
- Continue this process until all the trim pieces and surrounding panels are removed from the mantel. Set them aside in a safe place if you plan to reuse them later.
By removing the trim and surrounding panels, you will have better access to the mantel itself, making the removal process easier. Take your time and be careful to avoid any unnecessary damage to the mantel or the surrounding area.
Step 3: Detaching the Mantel Shelf
With the trim and surrounding panels removed, you can now focus on detaching the mantel shelf itself. This step requires some careful maneuvering and a few tools to ensure a smooth removal process.
Follow these steps to detach the mantel shelf:
- Examine the mantel shelf to identify any brackets, screws, or nails that may be securing it to the wall.
- Using a screwdriver or a drill, remove any screws that are visible on the top or underneath the mantel shelf. These screws may be holding the mantel in place.
- If there are no visible screws, gently tap a chisel or a pry bar between the mantel shelf and the wall. Apply some pressure to gradually loosen the mantel from the wall.
- With the mantel partially detached, carefully lift it up and away from the wall. Have someone assist you if the mantel is heavy or bulky.
- Place the mantel shelf in a safe location, away from any potential hazards. If you plan to reuse it, handle it with care to avoid any damage.
It’s important to note that mantel shelves can vary in weight and size, so use caution when lifting and removing the mantel to prevent any injuries or accidents.
By detaching the mantel shelf, you are getting closer to fully removing the fireplace mantel from the brick wall. Take your time and be patient during this step to ensure a successful removal without causing any damage to the mantel or the surrounding area.
Use a crowbar to carefully pry the mantel away from the brick, starting from one end and working your way across. Be sure to have someone help support the mantel as you remove it to prevent any damage.
Read more: How To Remove Paint From Brick Fireplace
Step 4: Loosening the Mantel Brackets
Once you have removed the mantel shelf, you may find that there are brackets attached to the wall that were supporting the mantel. These brackets will need to be loosened or removed in order to fully remove the fireplace mantel from the brick wall.
Here’s how you can loosen the mantel brackets:
- Inspect the brick wall to locate the brackets. They are typically attached to the wall with screws or bolts.
- Using a screwdriver or a wrench, loosen the screws or bolts that are securing the brackets to the wall. Turn them counterclockwise to loosen them.
- If the screws or bolts are difficult to loosen, you can gently tap a chisel or a pry bar between the bracket and the wall to create some space. This will make it easier to loosen the fasteners.
- Continue loosening the screws or bolts until the brackets are no longer tightly attached to the wall. Be careful not to damage the surrounding brickwork.
- Once the brackets are loosened, carefully remove them from the wall. Set them aside in a safe place if you plan to reuse them or discard them appropriately.
Loosening the mantel brackets will allow you to fully detach the fireplace mantel from the brick wall. Take your time and ensure that all the brackets are properly loosened before proceeding to the next step.
It is important to note that the process of removing mantel brackets may vary depending on their design and installation. Adjust the technique accordingly to ensure safe and effective removal without causing damage to the wall or the mantel.
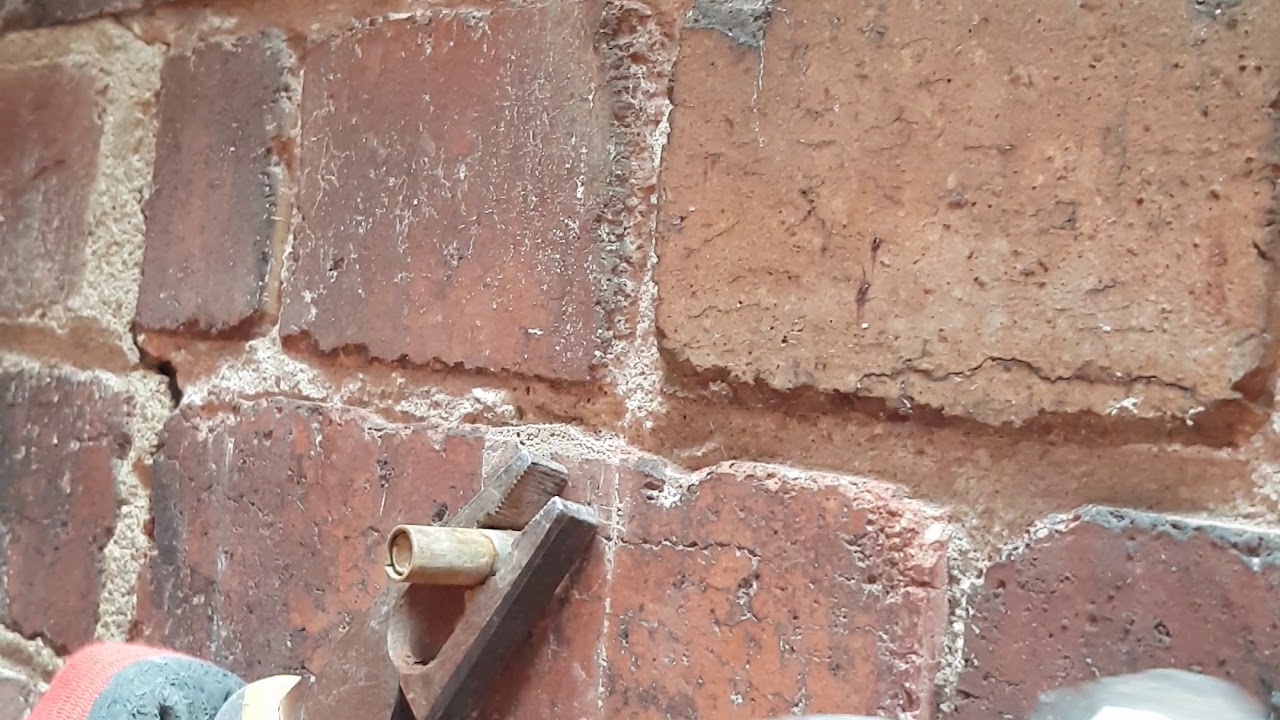
Step 5: Removing the Bricks Supporting the Mantel
Once you have removed the mantel brackets, you may discover that there are bricks supporting the mantel. These bricks are often used to provide additional stability and weight distribution for the fireplace mantel. In this step, we will guide you through the process of removing these bricks.
Follow these steps to remove the bricks supporting the mantel:
- Inspect the area underneath the mantel to identify the bricks that are supporting it. They are typically located at the ends or corners of the mantel.
- Using a pry bar or a chisel, gently tap or pry the bricks away from the wall. Start from the bottom bricks and work your way up.
- Be cautious as you remove the bricks, as they may be tightly fitted or adhered to the wall. Take your time and apply gradual pressure to avoid damaging the brickwork or the wall.
- Once a brick is loosened, carefully remove it from the wall. Set the bricks aside in a safe place or discard them appropriately.
- Continue removing the remaining bricks that are supporting the mantel. Work systematically to ensure that all the bricks are safely and effectively removed.
Once all the supporting bricks are removed, the fireplace mantel should no longer be secured to the wall. At this point, you can gently lift and remove the mantel from the area.
It’s important to note that the number of bricks supporting the mantel may vary depending on the design and size of the mantel. Ensure that you have removed all the necessary bricks before proceeding to the final step.
Take your time during this step to ensure proper removal of the bricks and the mantel. Be careful not to damage the structure or the surrounding area as you work.
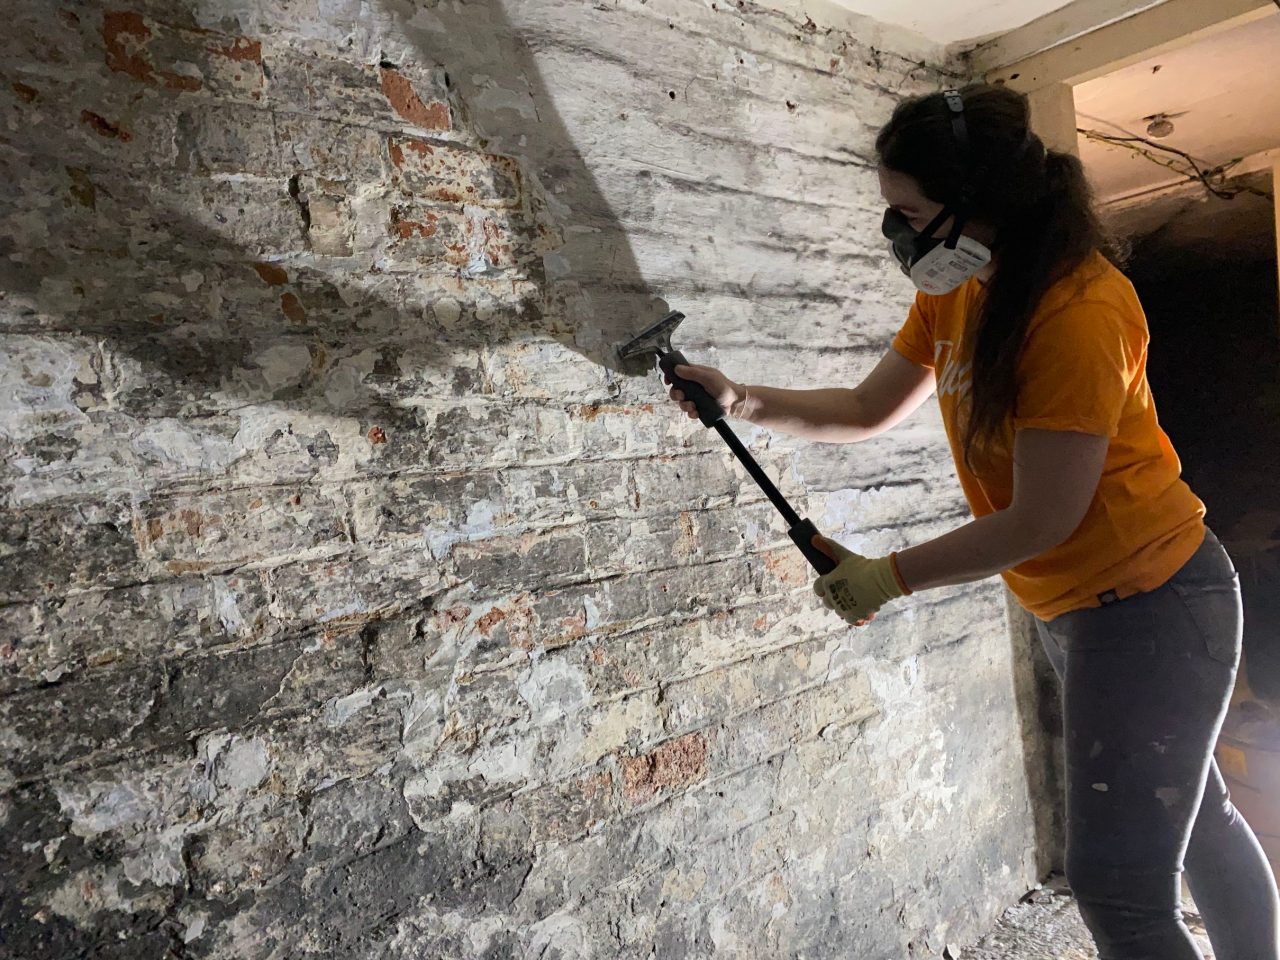
Step 6: Finishing Touches
After successfully removing the fireplace mantel from the brick wall, it’s important to take care of any finishing touches to ensure a clean and polished look. This final step involves cleaning up the area and making any necessary repairs or adjustments.
Here’s what you need to do for the finishing touches:
- Thoroughly clean the brick wall. Use a brush or a vacuum cleaner to remove any dust, debris, or mortar residue left behind from the mantel removal.
- If there are any holes or damage on the wall, patch them up with the appropriate filler or putty. Smooth it out and let it dry according to the product instructions.
- If you prefer a completely smooth surface, consider applying a new layer of plaster or joint compound to the wall. This will create a seamless finish and hide any imperfections or patched areas.
- Once the repairs are complete and dry, sand the patched areas to ensure they blend in with the rest of the wall. Wipe away any dust or residue with a cloth.
- If you plan to leave the wall as is, give it a fresh coat of paint or touch up the existing paint to match the surrounding area. This will help create a cohesive look and hide any marks or discoloration left from the mantel removal.
- Lastly, take a step back and inspect the area. Make any final adjustments or touch-ups to ensure a neat and polished appearance.
By completing these finishing touches, you will not only restore the area to its original state but also give it a refreshed and updated look. Remember to take your time and pay attention to detail to achieve the desired result.
Keep in mind that the finishing touches may vary depending on the specific condition of your wall and personal preferences. Adapt the steps accordingly to achieve the best outcome for your fireplace mantel removal project.
Conclusion
Removing a fireplace mantel from a brick wall may initially seem like a daunting task, but with the right tools and techniques, it can be accomplished successfully. By following the step-by-step process outlined in this article, you can safely and efficiently remove the mantel, allowing you to update the look of your fireplace or undertake necessary renovations.
Remember to start by clearing the surrounding area and gathering the necessary tools and materials. This creates a safe and accessible workspace, ensuring a smooth removal process. From there, you can proceed to remove the trim and surrounding panels, and then detach the mantel shelf. Loosening the mantel brackets and removing the bricks supporting the mantel will allow you to fully separate it from the brick wall.
Once the mantel is removed, the finishing touches are crucial to achieving a clean and polished look. Clean the wall, make any necessary repairs, and consider painting or touching up the surface to create a seamless finish.
Throughout the entire process, it’s essential to take your time, use caution, and avoid rushing. This will help prevent any damage to the mantel, the wall, or yourself. If you encounter any challenges or feel uncertain about any step, don’t hesitate to consult with a professional or seek expert advice.
By following the steps outlined in this article, you can confidently remove a fireplace mantel from a brick wall, transforming your space and giving it a fresh new look. Embrace the process, be patient, and enjoy the satisfaction of accomplishing a successful mantel removal project.
Frequently Asked Questions about How To Remove A Fireplace Mantel From Brick
Was this page helpful?
At Storables.com, we guarantee accurate and reliable information. Our content, validated by Expert Board Contributors, is crafted following stringent Editorial Policies. We're committed to providing you with well-researched, expert-backed insights for all your informational needs.

0 thoughts on “How To Remove A Fireplace Mantel From Brick”