Articles
How To Mount A Mantel On A Stone Fireplace
Modified: January 23, 2024
Learn how to mount a mantel on a stone fireplace with these helpful articles. Enhance the beauty of your fireplace with a professionally installed mantel.
(Many of the links in this article redirect to a specific reviewed product. Your purchase of these products through affiliate links helps to generate commission for Storables.com, at no extra cost. Learn more)
Introduction
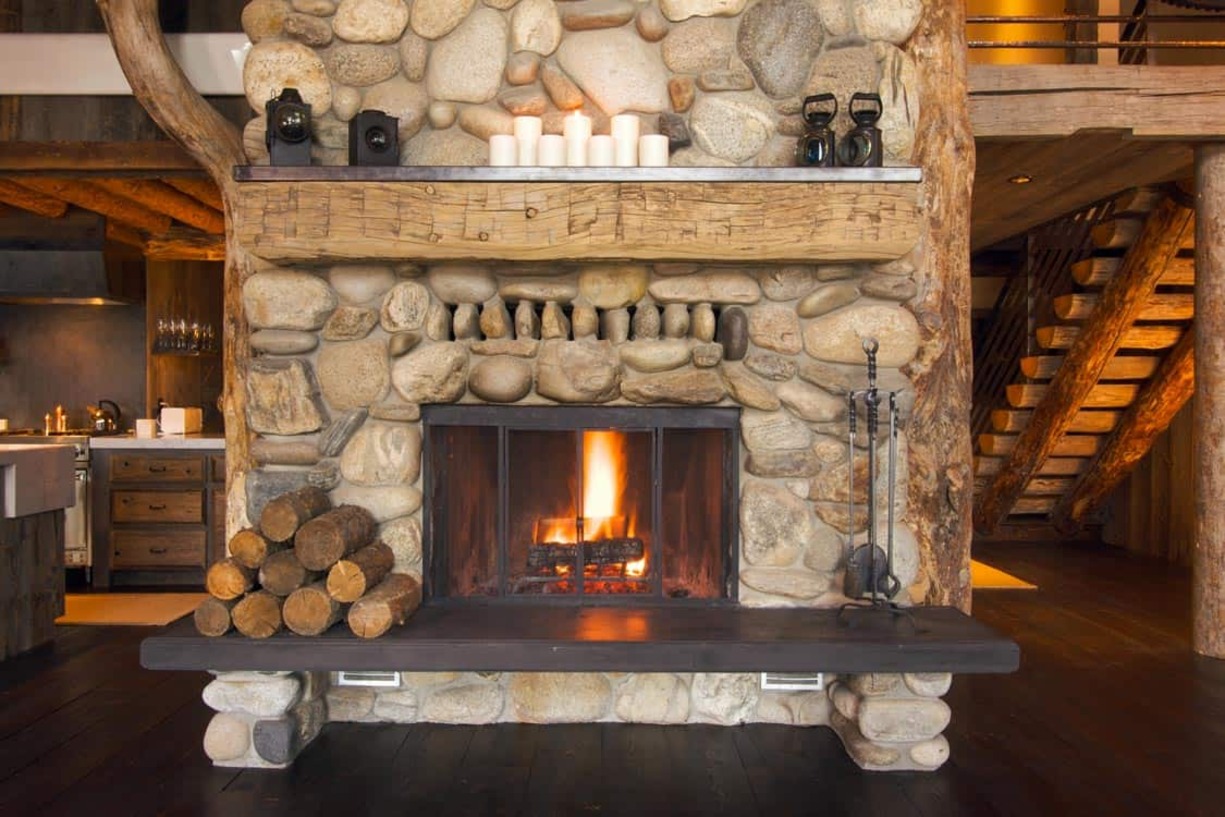
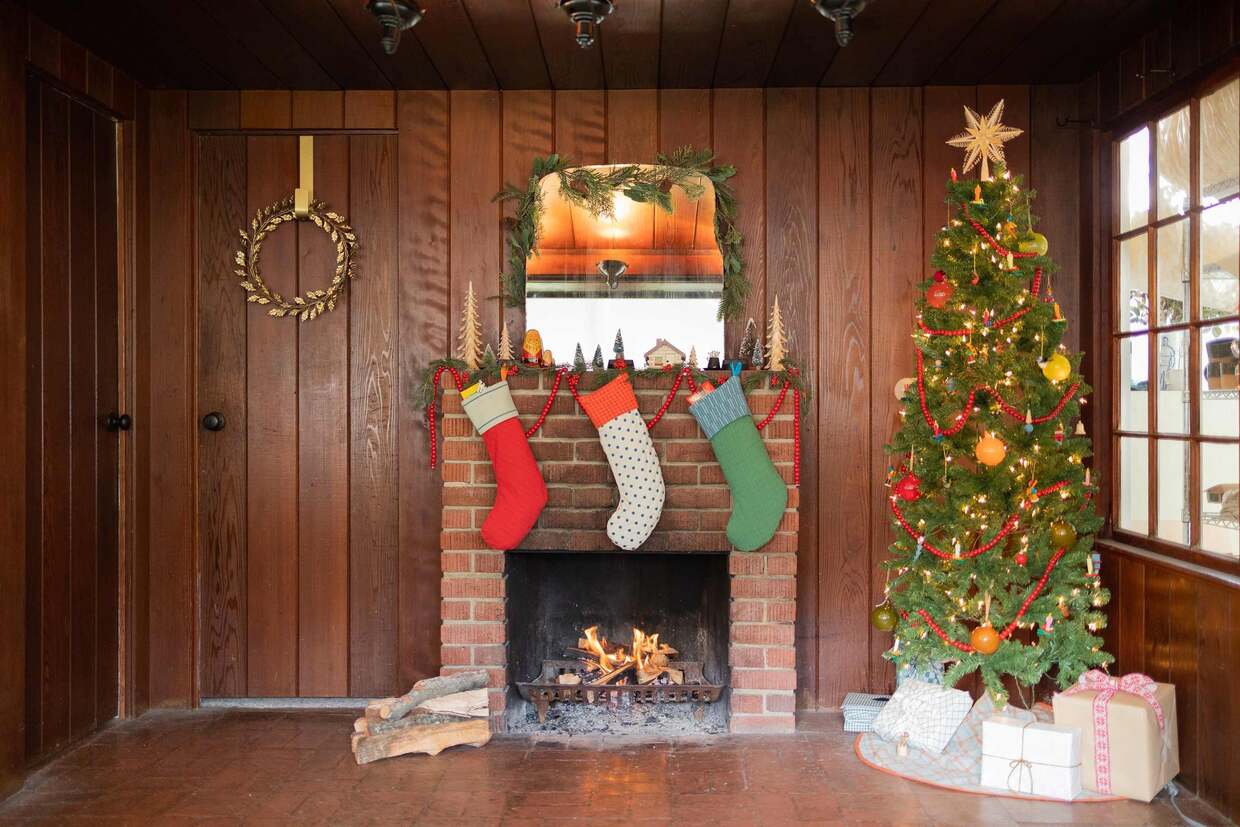
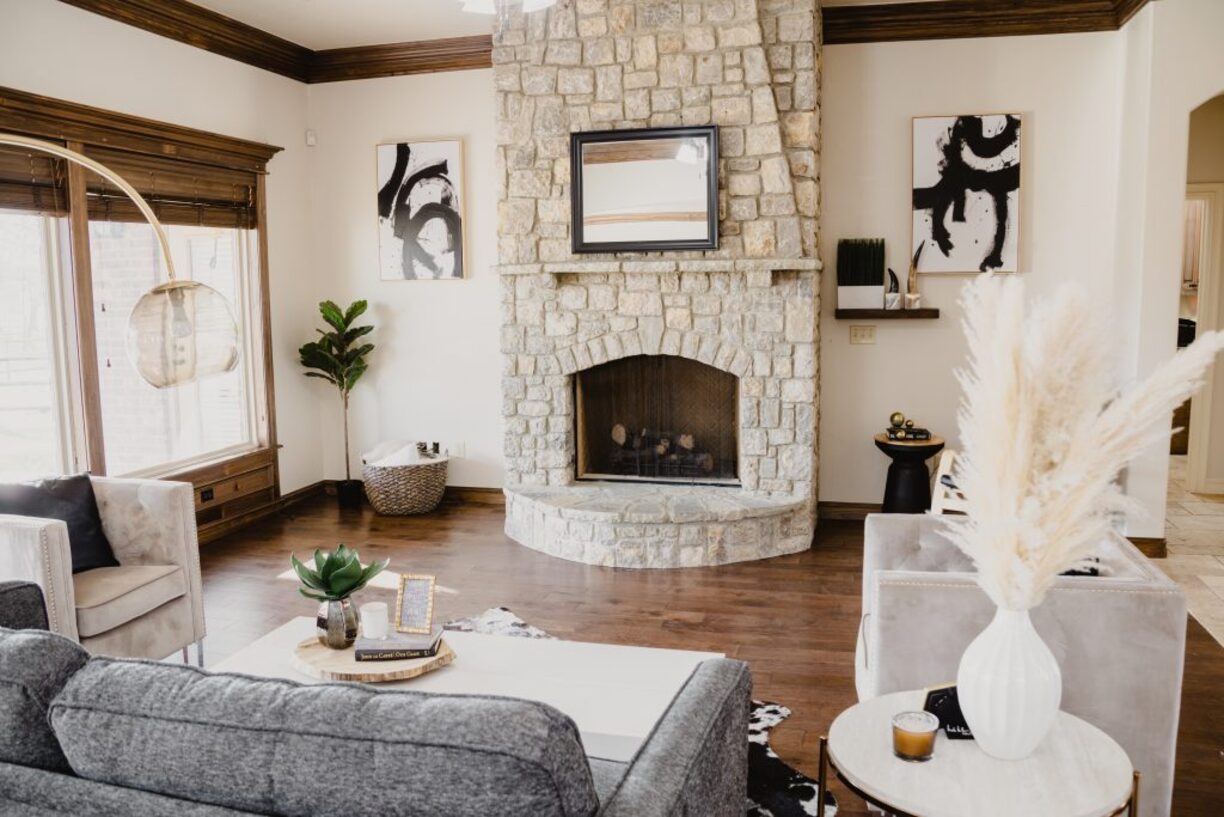
Mounting a mantel on a stone fireplace can be a fantastic way to add warmth, character, and style to your living space. A beautifully crafted mantel can become the centerpiece of your room, providing a focal point and a place to display cherished photos or decorative items.
However, the process of mounting a mantel on a stone fireplace can be a bit daunting if you’re not familiar with the steps involved. There are several factors to consider, such as choosing the right mantel, assessing the stone fireplace, and properly preparing the fireplace and mantel for installation.
In this article, we will guide you through the process of mounting a mantel on a stone fireplace, providing step-by-step instructions and helpful tips along the way. With a little patience and some basic tools, you’ll be able to transform your stone fireplace into a stunning focal point that enhances the overall aesthetics of your room.
So, let’s dive in and explore the essential steps for mounting a mantel on a stone fireplace!
Key Takeaways:
- Elevate your living space by mounting a mantel on a stone fireplace. Choose the right mantel, assess the fireplace, and follow step-by-step instructions for a stunning focal point that reflects your personal style.
- Transform your stone fireplace into a charming centerpiece. Carefully prepare the fireplace and mantel, secure the mounting brackets, and add finishing touches for a visually appealing and functional addition to your home.
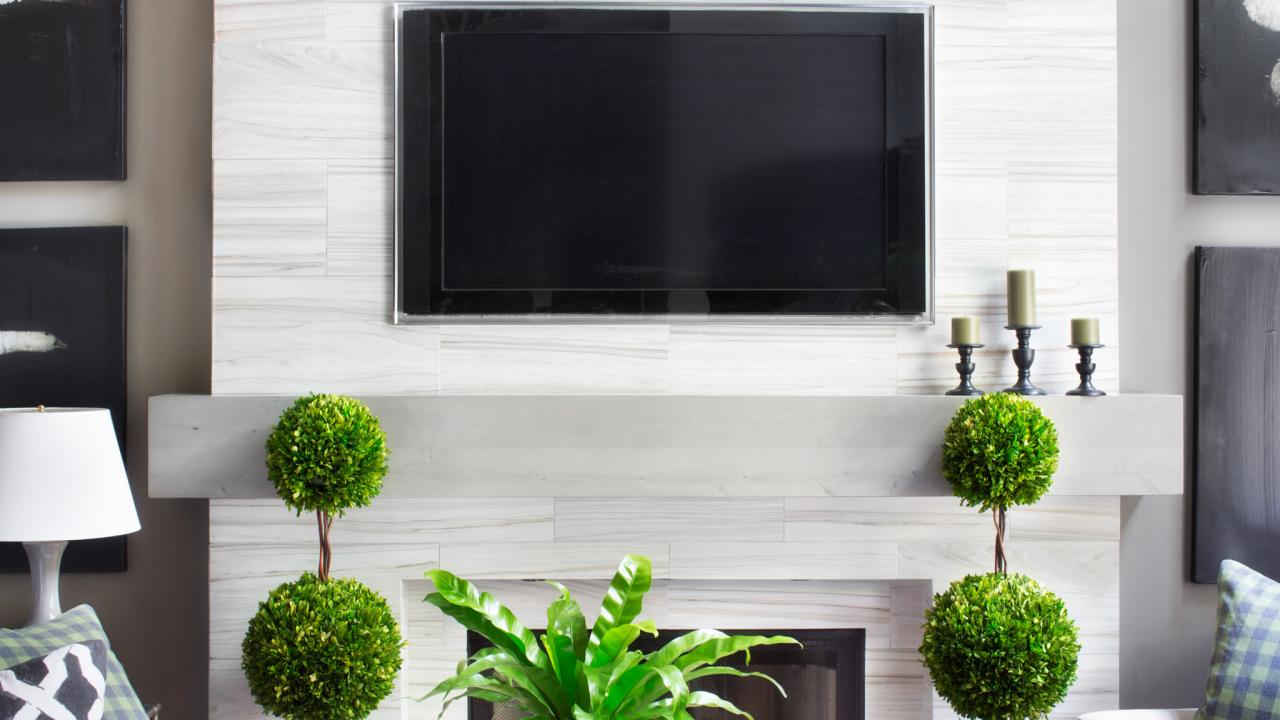
Read more: How To Mount TV On Stone Fireplace
Choosing the Right Mantel
When it comes to choosing the right mantel for your stone fireplace, there are a few key factors to consider. First and foremost, you’ll want to select a mantel that complements the style of your home and blends well with the overall decor of the room.
Start by determining the desired height and width of the mantel. Measure the dimensions of your stone fireplace to ensure that the mantel will fit properly. Keep in mind that the mantel should not be wider than the fireplace opening, as this could create an unbalanced look.
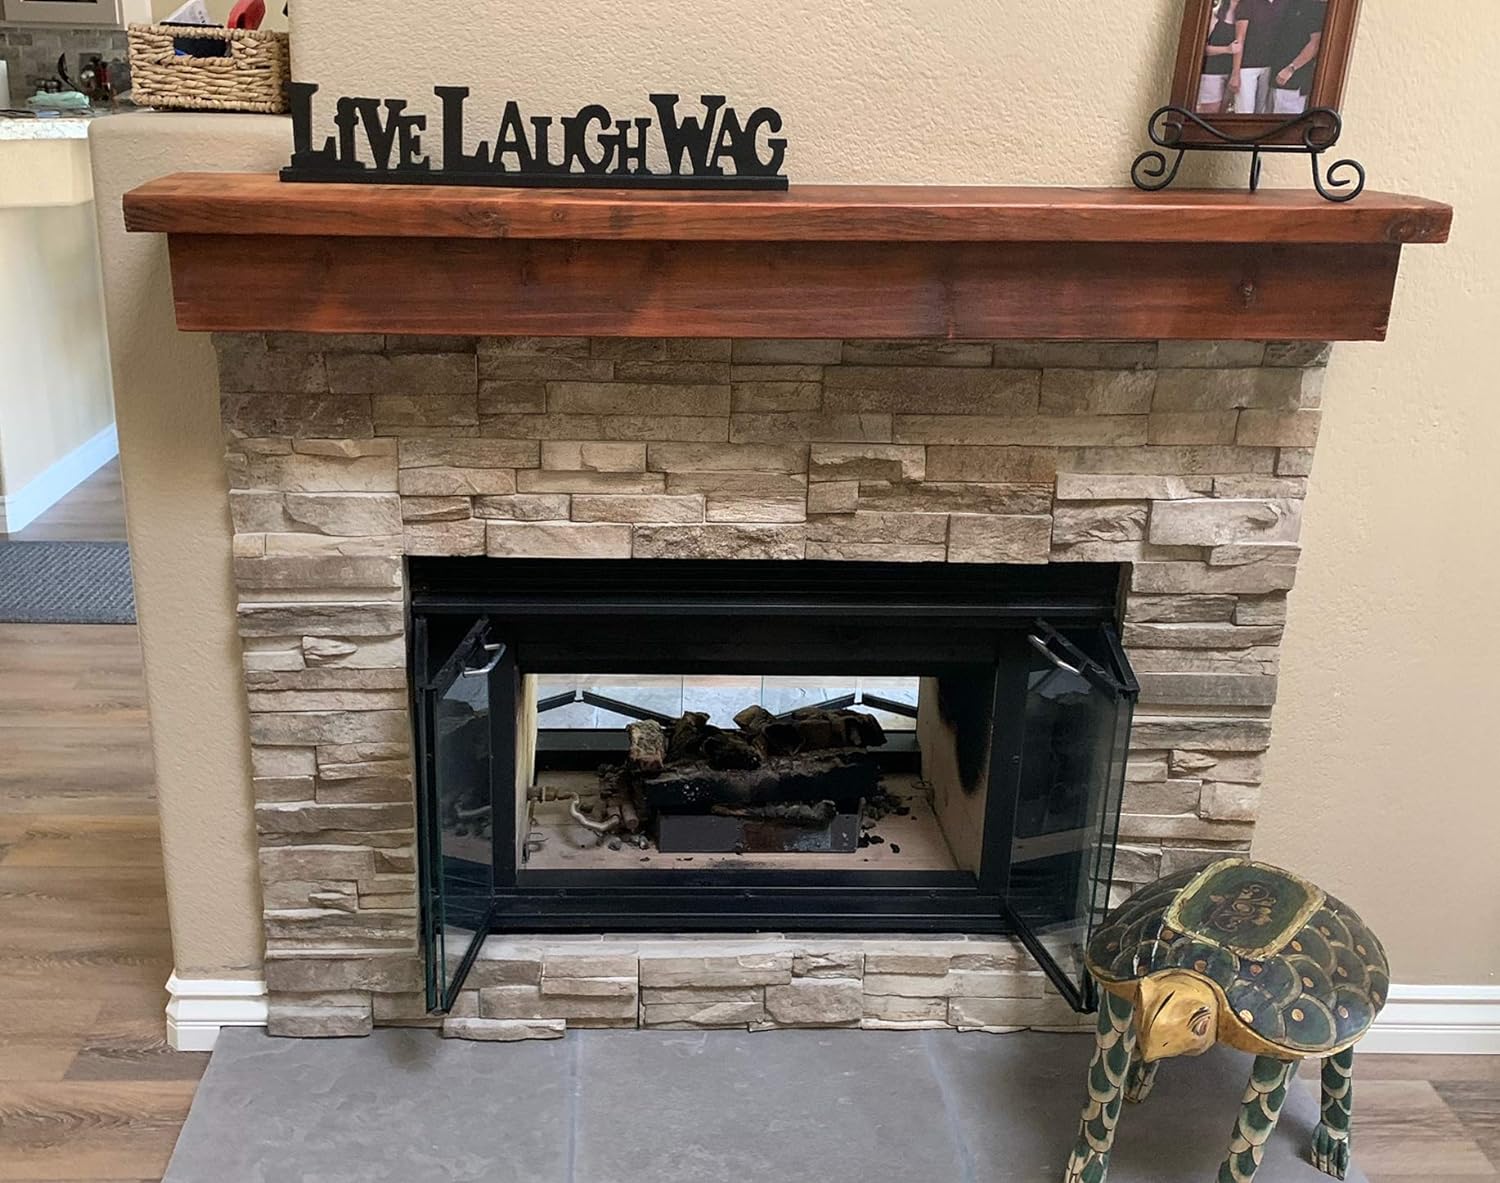
Next, consider the material of the mantel. Wood is a popular choice due to its versatility and timeless appeal. You can opt for a natural wood mantel that can be stained or painted to match your desired color scheme. Alternatively, if you prefer a more modern look, a sleek and contemporary mantel made of metal or stone can be a stylish choice.
Additionally, take into account the design elements of the mantel. Look for intricate details or decorative carvings that can add a touch of elegance and uniqueness to your fireplace. Remember, the mantel will serve as a visual focal point, so choose a design that reflects your personal style and enhances the overall aesthetic of the room.
Lastly, consider the practical aspects of the mantel. Ensure that it is sturdy and durable enough to support any items you plan to display, such as artwork, vases, or candles. Take into consideration the weight of these items and choose a mantel that can handle the load without sagging or becoming unstable.
By carefully considering these factors, you can select the perfect mantel for your stone fireplace. A well-chosen mantel will not only add beauty and charm but also elevate the overall ambiance of your living space.
Assessing the Stone Fireplace
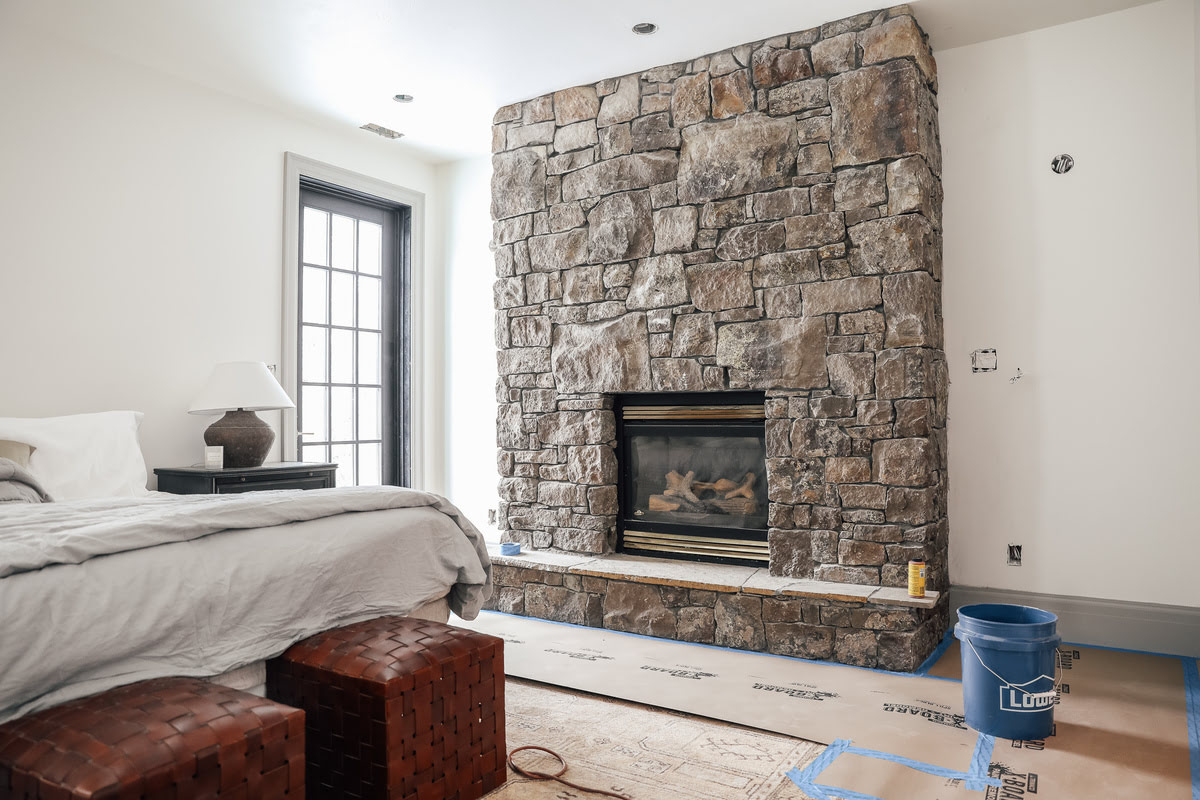
Before you start the process of mounting a mantel on a stone fireplace, it’s important to assess the condition and structure of the fireplace. This step will ensure that the installation process goes smoothly and that the mantel is securely attached to the stone.
Begin by inspecting the surface of the stone fireplace. Check for any cracks, chips, or uneven areas that may affect the stability of the mantel. It’s crucial to address any issues before proceeding with the installation to prevent further damage or potential safety hazards.
If you notice any significant damage to the stone, it’s advisable to consult a professional mason or contractor who specializes in fireplace repairs. They can assess the situation and provide guidance on the necessary steps to rectify the problem before proceeding with the mantel installation.
Next, consider the type of stone used in your fireplace. Different types of stone, such as limestone, granite, or slate, may require specific tools or techniques for drilling and mounting the mantel. Understanding the composition of the stone will help you choose the appropriate mounting hardware and ensure a secure installation.
Additionally, take note of the thickness and weight-bearing capacity of the stone. This information will be crucial when selecting the appropriate mounting brackets or anchors for the mantel. It’s essential to choose hardware that is strong enough to support the weight of the mantel and any items that will be displayed on it.
Lastly, consider the location of the fireplace within the room. Take note of any obstructions or obstacles that may hinder the installation process, such as electrical outlets, light switches, or wall-mounted décor. Adjustments may need to be made to accommodate these factors and ensure a seamless installation.
By thoroughly assessing the stone fireplace, you can address any structural concerns and select the right mounting techniques and hardware. This will not only ensure a secure and stable mantel installation but also provide peace of mind knowing that your stone fireplace is in optimal condition.
Preparing the Fireplace and Mantel
Now that you have assessed the stone fireplace, it’s time to prepare both the fireplace and the mantel for installation. This step is crucial as it sets the foundation for a successful and secure mounting process.
Start by cleaning the surface of the stone fireplace. Use a brush or vacuum to remove any dirt, dust, or debris that may have accumulated over time. Cleaning the surface will ensure a solid bond between the stone and the mounting hardware.
If there are any existing finishes or coatings on the stone, such as paint or sealer, consider removing them to create a better surface for mounting. This can be done by sanding or using a chemical paint remover, depending on the type of finish present.
Next, prepare the mantel for installation. If you have purchased a wooden mantel, you may need to sand or stain it according to your desired finish. Follow the manufacturer’s instructions for any specific steps or products recommended for the mantel’s preparation.
Once the fireplace and mantel are clean and ready, it’s essential to decide on the height and position of the mantel. Measure and mark the desired height on the wall where the mantel will be mounted. Use a level to ensure that the marking is straight and accurate.
Consider the clearance requirements for the mantel. Ensure there is enough space between the mantel and the fireplace opening to prevent any potential heat damage or fire hazards. Check local building codes or consult with a professional if you’re unsure about the required clearance distance.
Lastly, gather all the necessary tools and materials for the installation. This may include a drill, masonry drill bits, mounting brackets, screws, and a level. Having everything ready beforehand will streamline the process and prevent any delays.
By properly preparing the fireplace and mantel, you are ensuring a clean and stable surface for installation. This will pave the way for a seamless and secure mounting process, resulting in an elegant and functional addition to your stone fireplace.
Marking the Mounting Points
Once the fireplace and mantel are prepared, the next step in mounting a mantel on a stone fireplace is marking the mounting points. This is a crucial step that determines the placement of the mounting brackets or anchors on the stone surface.
Start by positioning the mantel on the wall at the desired height. Use a level to ensure that the mantel is straight and aligned with the markings made earlier. Once you are satisfied with the position, mark the top and sides of the mantel onto the stone with a pencil or painter’s tape.
Measure the width of the mantel, and divide it into equal sections to determine the placement of the mounting brackets. Typically, three or four brackets are used, depending on the length and weight of the mantel.
Mark the positions for the brackets, ensuring they are evenly spaced along the top line of the mantel. Use a measuring tape to ensure accuracy. Make sure to leave enough clearance between the brackets and any obstructions on the stone surface.
It’s essential to double-check the markings before proceeding further. Confirm that the mantel is level and that the bracket positions are aligned accurately. This will help ensure a seamless installation and a balanced appearance.
Additionally, if you are planning to attach the mantel to the wall as an extra security measure, mark the positions for the wall-mounted brackets or anchors as well. These brackets will provide additional support and stability to prevent any potential movement or sagging.
By carefully marking the mounting points, you are setting the stage for a precise and secure installation. Taking the time to measure and align the bracket positions will ensure that the mantel is mounted correctly and enhances the aesthetics of your stone fireplace.
Read more: How To Update A Fireplace Mantel
Drilling into the Stone
Once the mounting points are marked on the stone surface, the next step in mounting a mantel on a stone fireplace is drilling. This step requires precision and the use of appropriate tools to safely create the necessary holes for the mounting brackets or anchors.
Before you begin drilling, ensure that you have the right tools and safety equipment. You will need a quality masonry drill bit specifically designed for drilling into stone or concrete. It’s crucial to use a drill bit with the appropriate diameter to match the size of the mounting hardware.
Take your time to carefully position the drill bit on the first marked mounting point. Apply steady and even pressure while drilling, making sure to keep the drill perpendicular to the stone surface. This will help prevent any unnecessary stress or damage to the stone.
It’s important to use a slow speed setting on your drill to avoid overheating and dulling the drill bit. Applying too much force or drilling at high speed can cause the stone to crack or chip. Going slowly and steadily is key to achieving clean and precise holes.
As you drill, periodically remove the drill bit from the hole to clear away any dust or debris that may accumulate. This will prevent the buildup from inhibiting the effectiveness of the drill and ensure better results. You can use a brush or compressed air to clean out the holes.
Continue drilling in the remaining marked mounting points, following the same careful process. Take breaks as needed to prevent overheating and maintain the integrity of the stone surface.
Once all the holes are drilled, visually inspect them to ensure they are clean and free from any obstructions. Use a measuring tape to verify that the holes are evenly spaced and aligned with your original markings.
By drilling into the stone with caution and precision, you are creating the necessary anchor points for mounting the mantel. Taking the time to drill properly ensures that the mounting hardware fits securely, resulting in a stable and visually pleasing installation.
Before mounting a mantel on a stone fireplace, use a stud finder to locate the studs in the stone. Then, use masonry screws and a drill to securely attach the mantel to the stone.
Attaching the Mounting Brackets
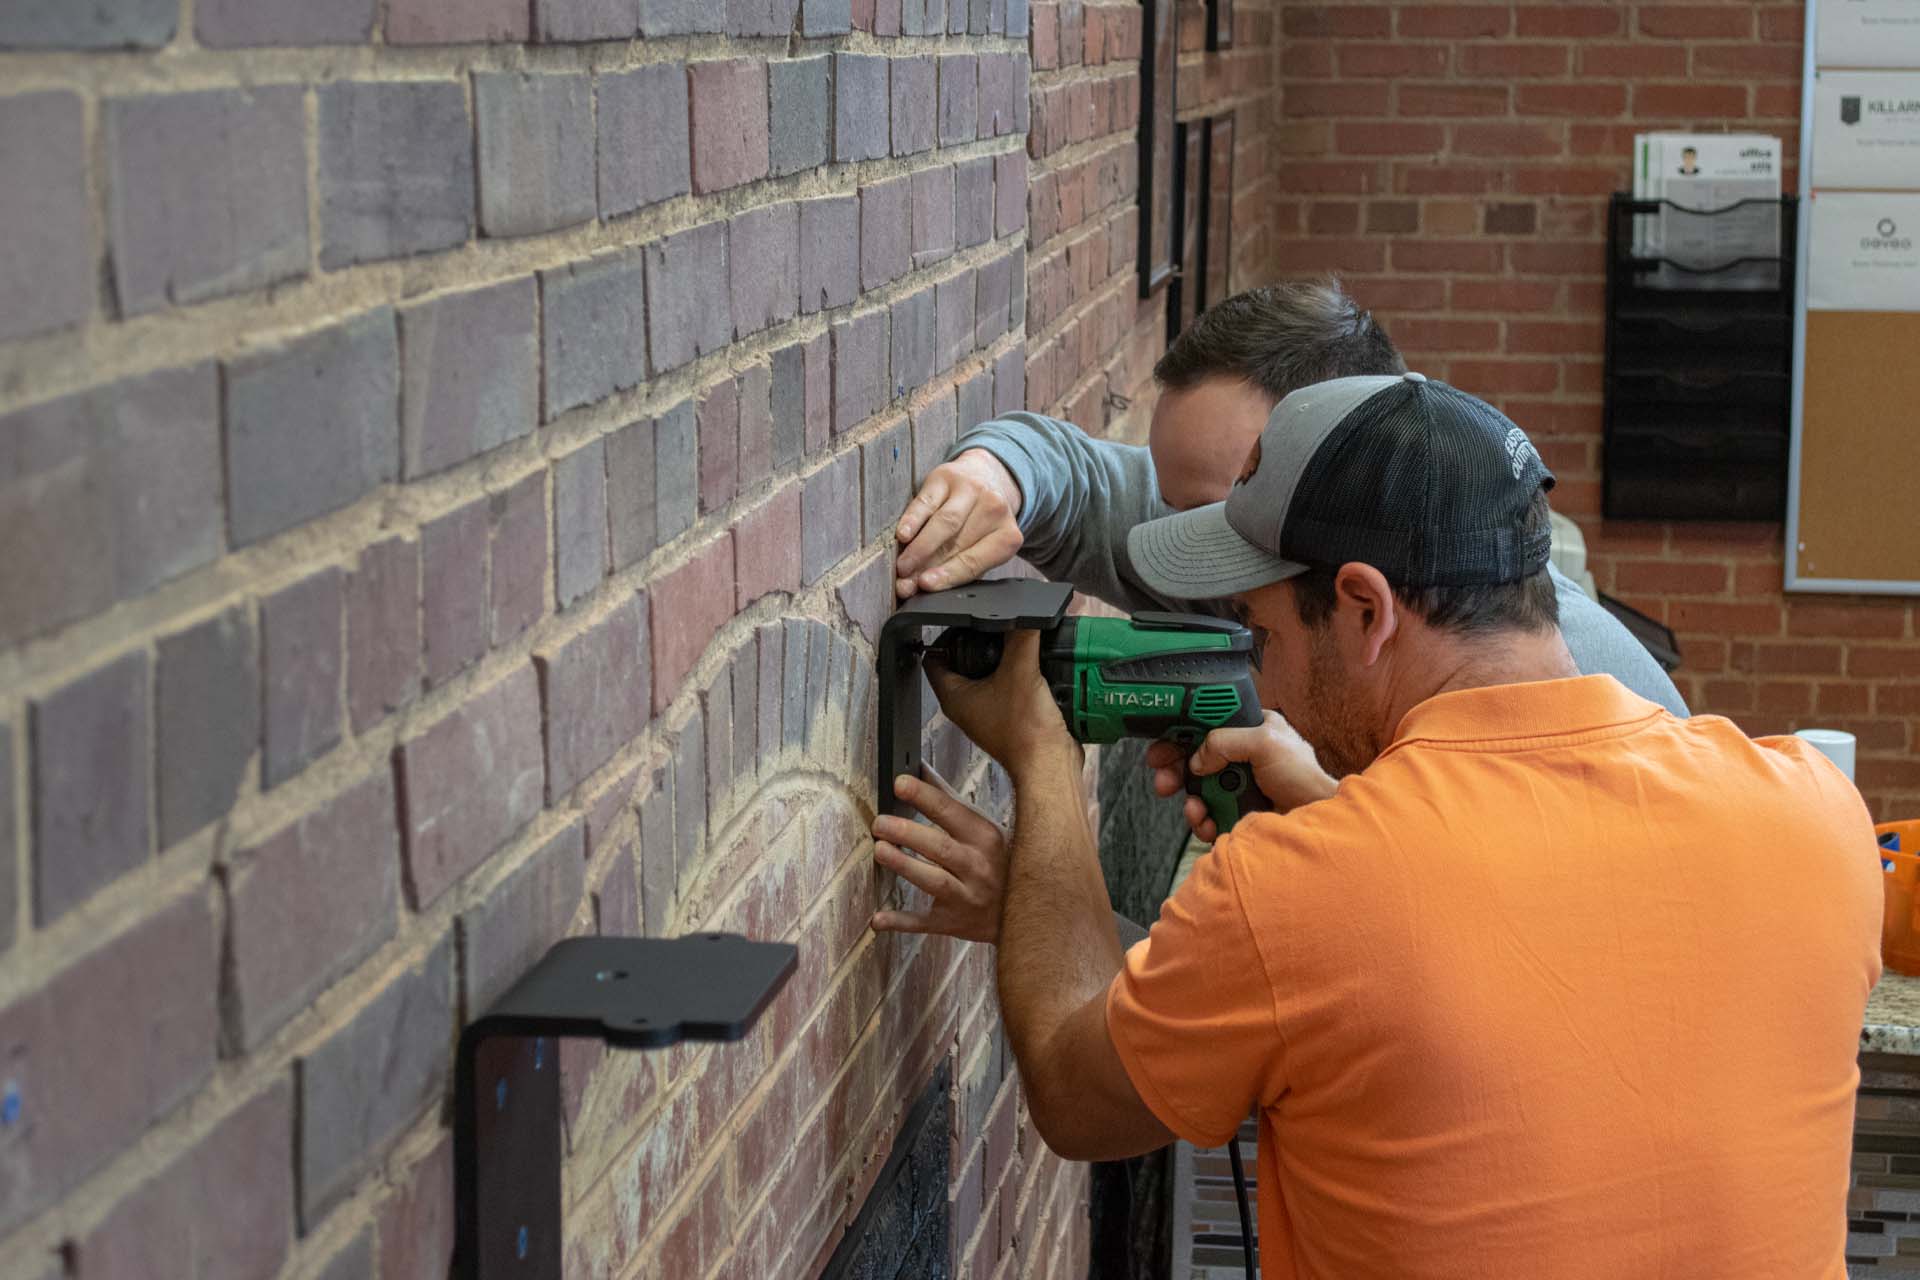
With the holes drilled into the stone, the next step in mounting a mantel on a stone fireplace is attaching the mounting brackets. These brackets provide the necessary support and stability for securing the mantel in place.
Before you begin attaching the brackets, ensure that you have the appropriate hardware that matches the size and type of brackets you are using. This may include screws, anchors, or specialized fasteners. Refer to the manufacturer’s instructions for the recommended hardware.
Start by inserting the screws or anchors into the holes you drilled in the stone surface. Align the holes in the brackets with the holes in the stone and position them over the screws or anchors. Use a screwdriver or drill to attach the brackets securely to the stone, following the manufacturer’s guidelines.
Ensure that the brackets are firmly and evenly tightened, without any wobbling or movement. Check that they are aligned with the markings made earlier and that they are positioned correctly for supporting the mantel.
If you are using wall-mounted brackets for additional support, follow the same process of aligning the holes and securely attaching the brackets to the wall. Use a level to ensure that the brackets are straight and leveled.
Once all the brackets are attached, give them a gentle tug or shake to ensure they are firmly in place. If any brackets feel loose or unstable, recheck their positioning and tighten them further.
Take a step back and visually inspect the brackets to ensure they are aligned and evenly spaced. They should provide solid support and be ready to hold the weight of the mantel.
By attaching the mounting brackets carefully and securely, you are ensuring the stability and strength of the mantel installation. Properly installed brackets will allow the mantel to be firmly attached to the stone fireplace, providing a secure and visually appealing result.
Mounting the Mantel
Now that the mounting brackets are securely attached to the stone fireplace, it’s time to mount the mantel. This step requires careful positioning and alignment to ensure a level and aesthetically pleasing installation.
Start by enlisting the help of a friend or family member to assist in lifting and positioning the mantel onto the brackets. Carefully place the mantel onto the brackets, ensuring that it rests evenly and securely.
Use a level to check that the mantel is straight and level. Adjust as necessary by gently lifting and repositioning the mantel, making small adjustments until it is perfectly aligned.
Once the mantel is aligned, check the spacing between the mantel and the stone. Ensure that there is a consistent and aesthetically pleasing gap between the mantel and the stone surface. Make any minor adjustments needed to achieve the desired appearance.
Take a step back to assess the overall look and feel of the mounted mantel. Ensure that it is centered and visually balanced within the room. Make any final adjustments before moving on to the next step.
With the mantel properly positioned and aligned, use a pencil or marker to mark the spot where it meets the brackets. This will serve as a guide for securing the mantel to the brackets.
Remove the mantel from the brackets and set it aside temporarily. Use a drill to create pilot holes at the marked spots on the mantel. This will make it easier to insert screws or other fasteners when attaching the mantel to the brackets.
Place the mantel back onto the brackets, aligning the pilot holes with the brackets’ attachment points. Insert screws or other fasteners through the pilot holes and into the brackets. Use a screwdriver or drill to tighten them securely, being careful not to overtighten or damage the mantel.
Once all the screws or fasteners are in place and tightened, check the stability of the mantel. Give it a gentle tug or shake to ensure it is firmly and securely mounted to the brackets.
Step back and admire your newly mounted mantel on the stone fireplace. Take a moment to appreciate the transformation it has brought to the room, adding charm and character to your living space.
By carefully mounting the mantel, you are ensuring that it is securely attached to the stone fireplace. Proper alignment and a secure attachment will result in a visually appealing and functional addition to your home.
Securing the Mantel to the Wall
In addition to mounting the mantel on the stone fireplace brackets, it’s often advisable to secure the mantel to the wall for added stability. This step is especially important if your mantel is larger or if you plan to display heavier items on it.
Start by determining the appropriate spots on the wall where the mantel will be secured. Measure and mark the locations that align with the backside of the mantel. These spots should correspond with the areas where the mantel rests on the stone brackets.
Once the spots are marked, drill pilot holes into the wall at the marked locations. Use a drill bit that matches the size of the screws or anchors you will be using for securing the mantel.
Insert screws or anchors into the pilot holes, leaving a small portion extending from the wall. This will allow the screws or anchors to catch onto the backside of the mantel.
Position the mantel back onto the stone brackets and align it with the wall. Carefully lower it onto the screws or anchors, ensuring that they fit securely into the pre-drilled holes on the backside of the mantel.
Use a screwdriver or drill to tighten the screws or anchors, securing the mantel to the wall. Be cautious not to over-tighten and damage the mantel or the wall surface.
Give the mantel a gentle tug or shake to check its stability. It should feel secure and firmly mounted, with no noticeable movement or wobbling.
Step back and inspect the mounted mantel from different angles. Confirm that it is straight, level, and securely attached both to the stone brackets and the wall. Make any necessary adjustments to ensure a visually pleasing and stable installation.
By securing the mantel to the wall, you are adding an extra layer of stability and support. This is particularly important for larger or heavier mantels, as well as for ensuring the safety of any items placed on the mantel.
With the mantel now securely attached to both the stone brackets and the wall, you can enjoy the peace of mind knowing that it is stable and ready to enhance the beauty of your stone fireplace.
Read more: How To Paint Fireplace Mantel
Adding Finishing Touches
Now that the mantel is securely mounted on the stone fireplace, it’s time to add the finishing touches. These final details will elevate the overall look and help create a cohesive and stylish focal point in your living space.
Start by cleaning the mantel surface and removing any dust or debris that may have accumulated during the installation process. Use a soft cloth or a gentle cleaning solution, depending on the material of your mantel.
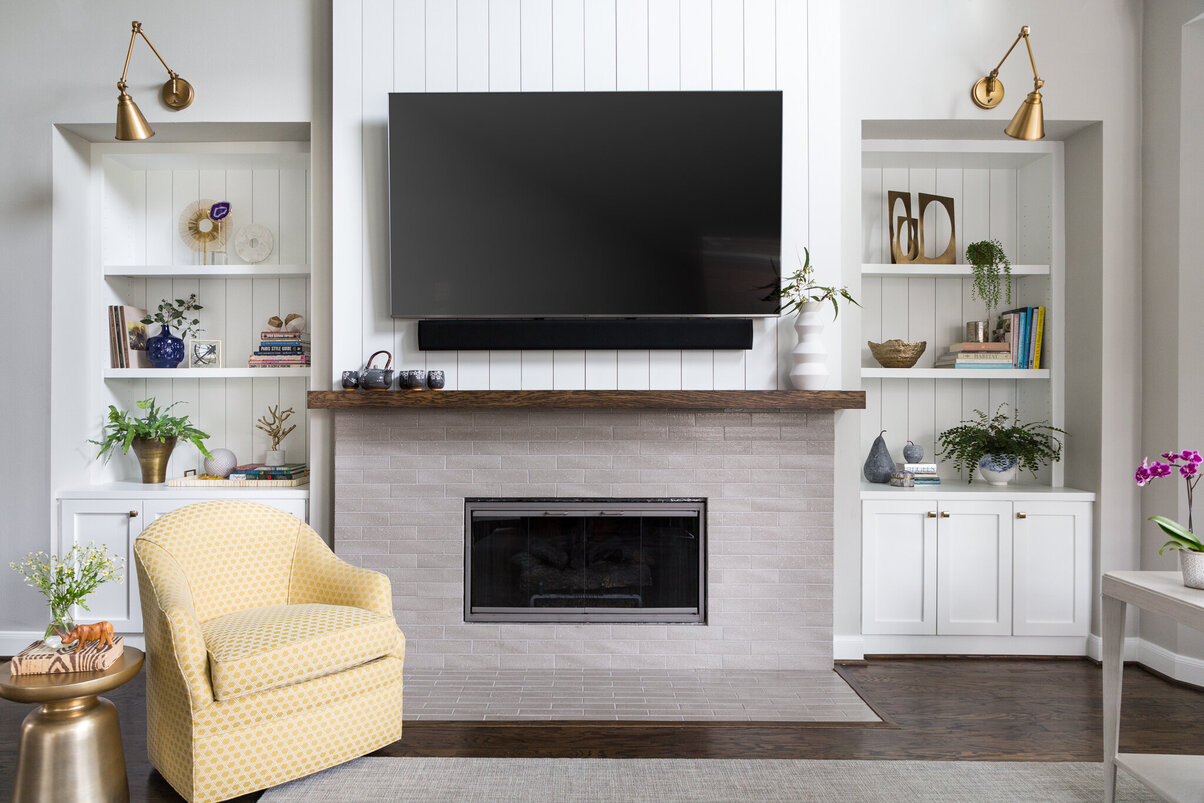
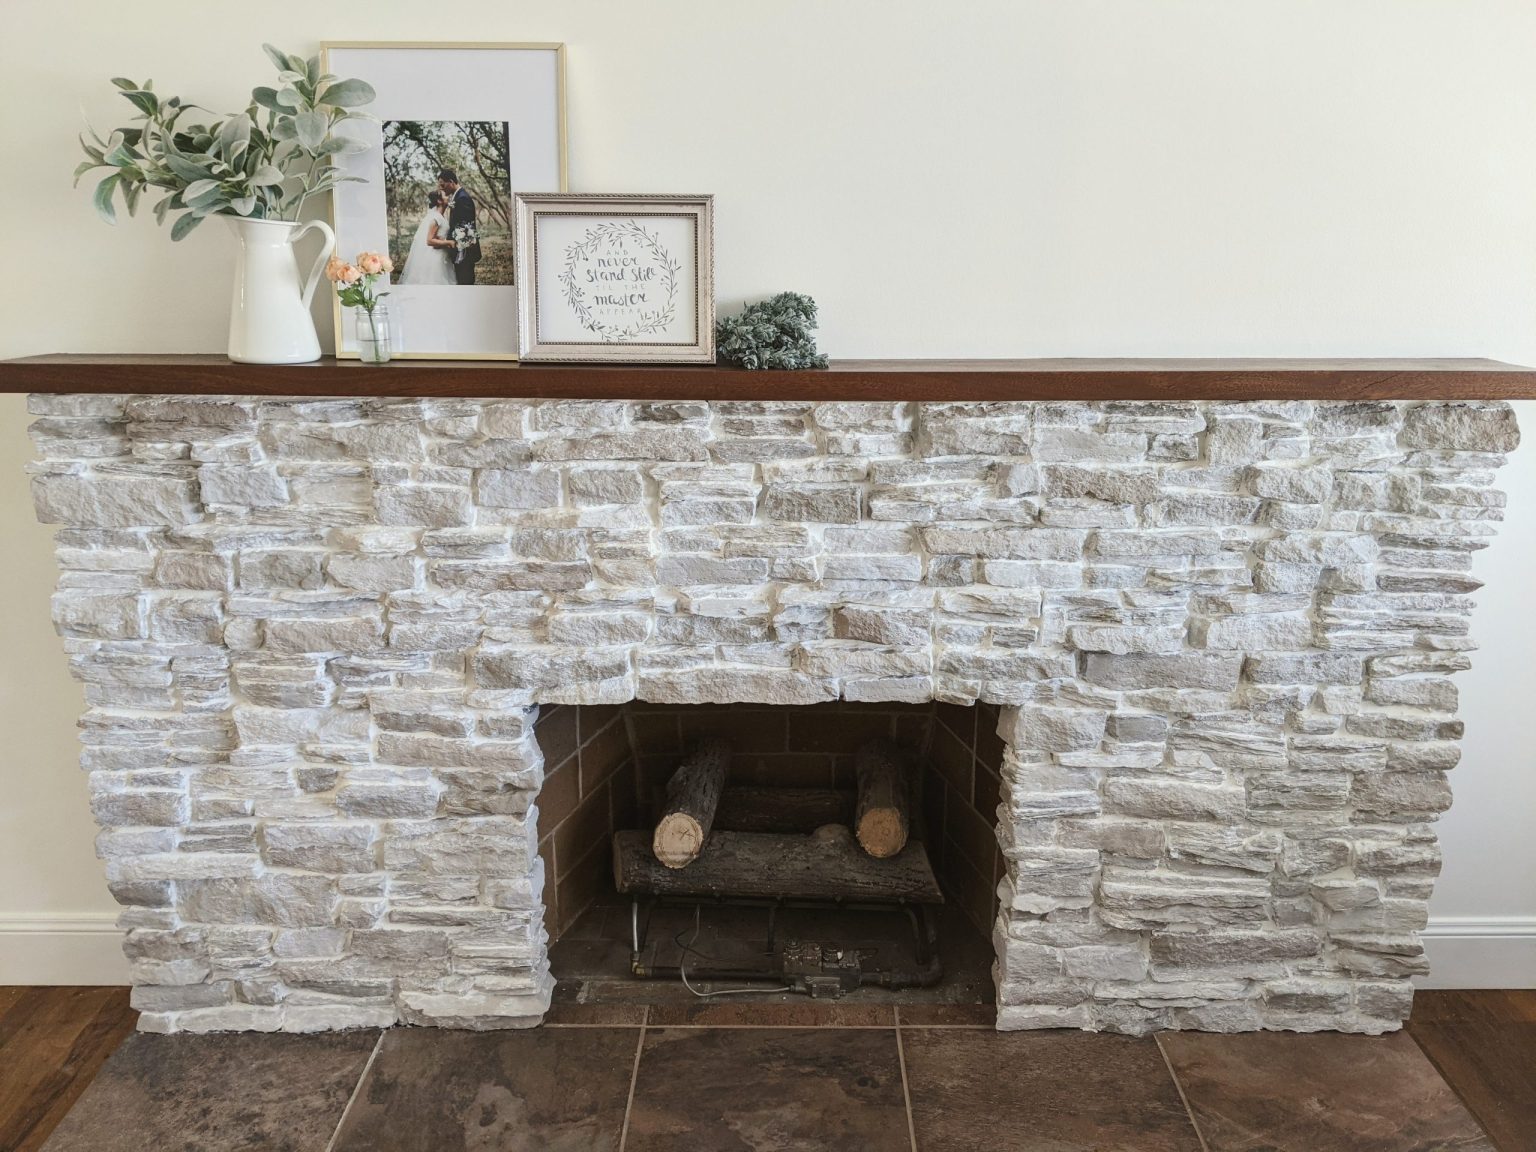
Once the mantel is clean, it’s time to decorate and personalize it to reflect your unique style. Consider adding decorative items such as picture frames, vases, candles, or artwork. Arrange them in a way that is visually appealing and complements the overall aesthetic of your room.
Keep in mind the scale and proportion of the items you’re displaying. Avoid overcrowding the mantel with too many objects, as this can create a cluttered look. Instead, opt for a balanced arrangement that allows each piece to shine individually.
Consider incorporating seasonal elements to update the mantel throughout the year. For example, during the holidays, you could add festive ornaments or garlands. During the warmer months, you could showcase flowers or greenery for a fresh and vibrant look.
Pay attention to the lighting above the mantel. Proper lighting can enhance the ambiance and draw attention to the mantel and its contents. Consider installing wall sconces or using accent lighting to illuminate the mantel and create a warm and inviting atmosphere.
Lastly, step back and view the finished mantel from different angles. Evaluate the overall aesthetics and make any necessary adjustments. Ensure that the mantel is visually balanced within the room and complements the surrounding decor.
By adding these finishing touches, you are transforming the mantel into a focal point that reflects your personal style and enhances the overall design of your living space. It’s these final details that will truly make your mantel and fireplace a standout feature in your home.
Conclusion
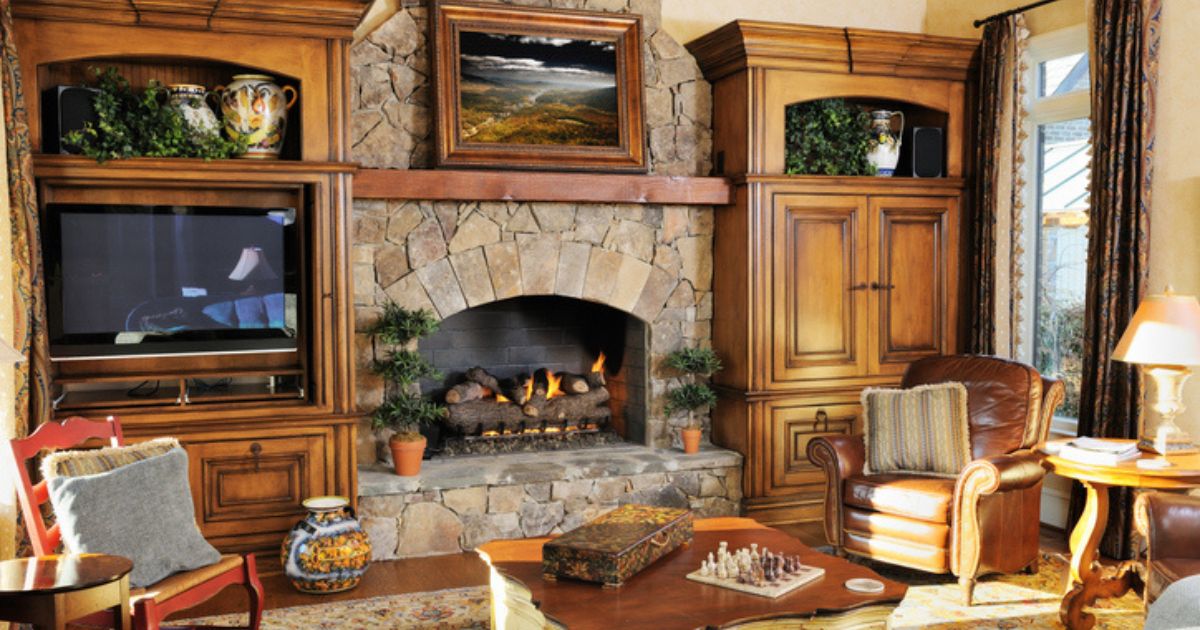
Mounting a mantel on a stone fireplace is a rewarding and transformative project that can elevate the aesthetics and character of your living space. By following the steps outlined in this article, you can successfully install a mantel that not only adds charm and style but also provides a functional space for displaying cherished items.
Choosing the right mantel that complements your home’s style and dimensions is the first step. Assessing the stone fireplace for any structural issues and understanding the type of stone used will ensure a secure and stable installation.
Preparing the fireplace and mantel by cleaning and making necessary adjustments is crucial for a seamless mounting process. Marking the precise mounting points and drilling into the stone with caution will create the necessary anchor points for the brackets.
Attaching the mounting brackets securely to the stone and aligning them with the mantel is essential for stability. Mounting the mantel itself, ensuring its level and alignment with the brackets, is a key step in achieving a visually appealing result.
Securing the mantel to the wall adds an extra layer of stability, particularly for larger or heavier mantels. Finally, adding finishing touches such as cleaning, decorating, and lighting will complete the overall look and enhance the beauty of the mantel and fireplace.
By undertaking this project with patience and attention to detail, you can create a stunning focal point in your home that brings warmth and charm to your living space.
Remember to always prioritize safety and consult professionals for any structural concerns or specific requirements related to your stone fireplace. Enjoy the process and the results of your efforts as you enjoy the beauty and functionality of your newly mounted mantel on the stone fireplace.
Frequently Asked Questions about How To Mount A Mantel On A Stone Fireplace
Was this page helpful?
At Storables.com, we guarantee accurate and reliable information. Our content, validated by Expert Board Contributors, is crafted following stringent Editorial Policies. We're committed to providing you with well-researched, expert-backed insights for all your informational needs.


0 thoughts on “How To Mount A Mantel On A Stone Fireplace”