Home>Articles>How To Clean A Brick Fireplace Before Painting
Articles
How To Clean A Brick Fireplace Before Painting
Modified: January 9, 2024
Learn how to properly clean a brick fireplace before painting it. This step-by-step guide will help you achieve a smooth and long-lasting finish.
(Many of the links in this article redirect to a specific reviewed product. Your purchase of these products through affiliate links helps to generate commission for Storables.com, at no extra cost. Learn more)
Introduction
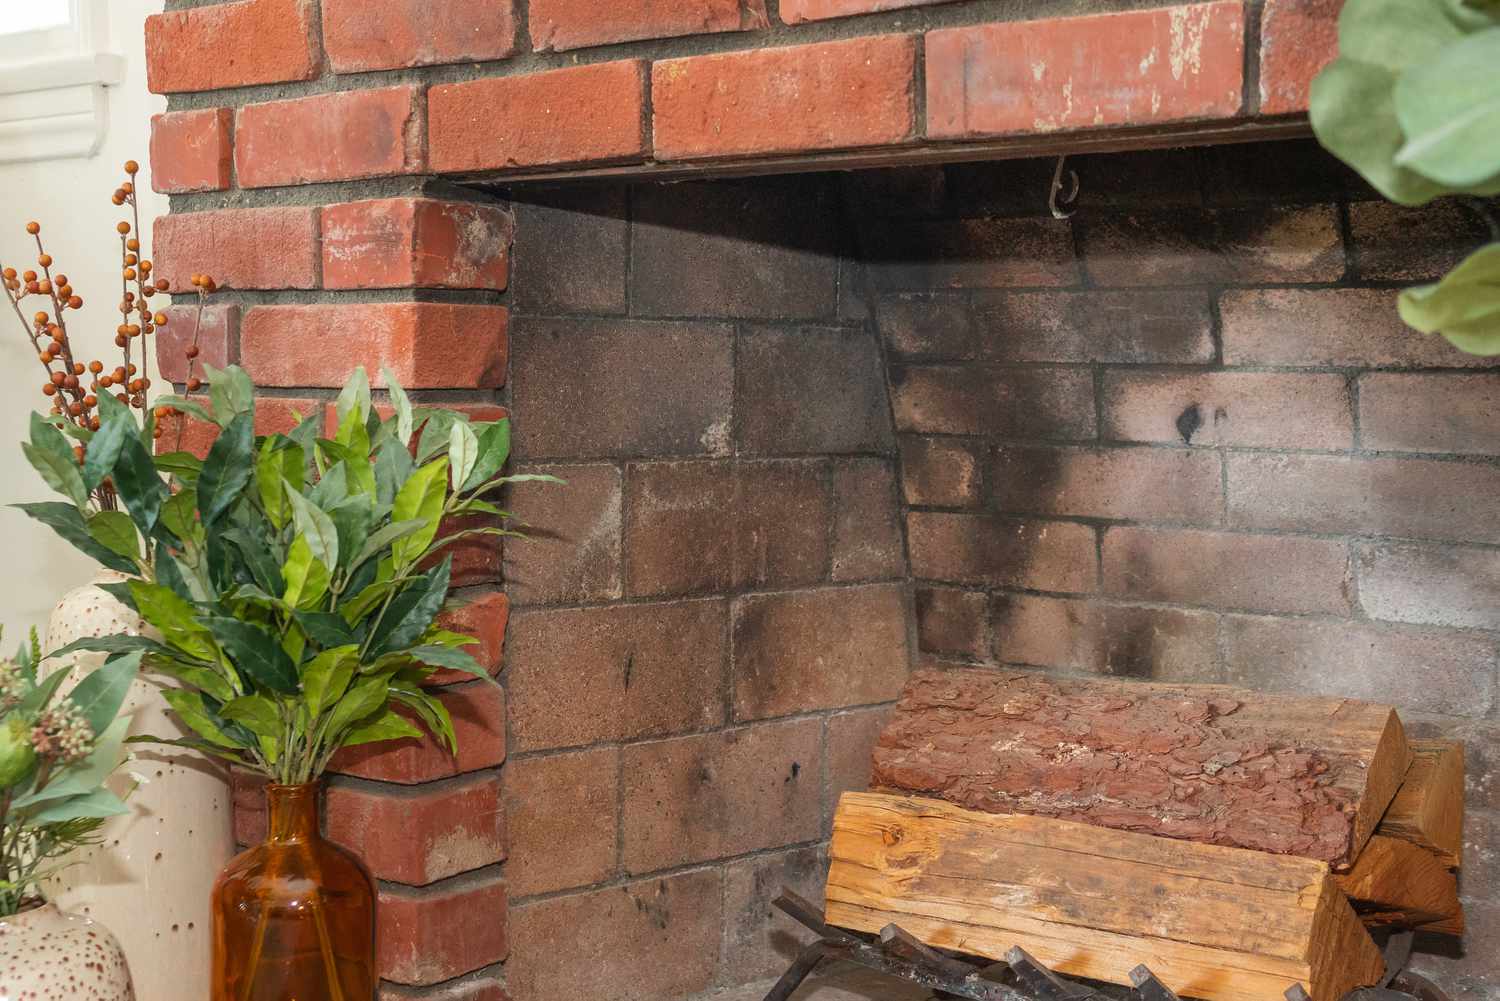
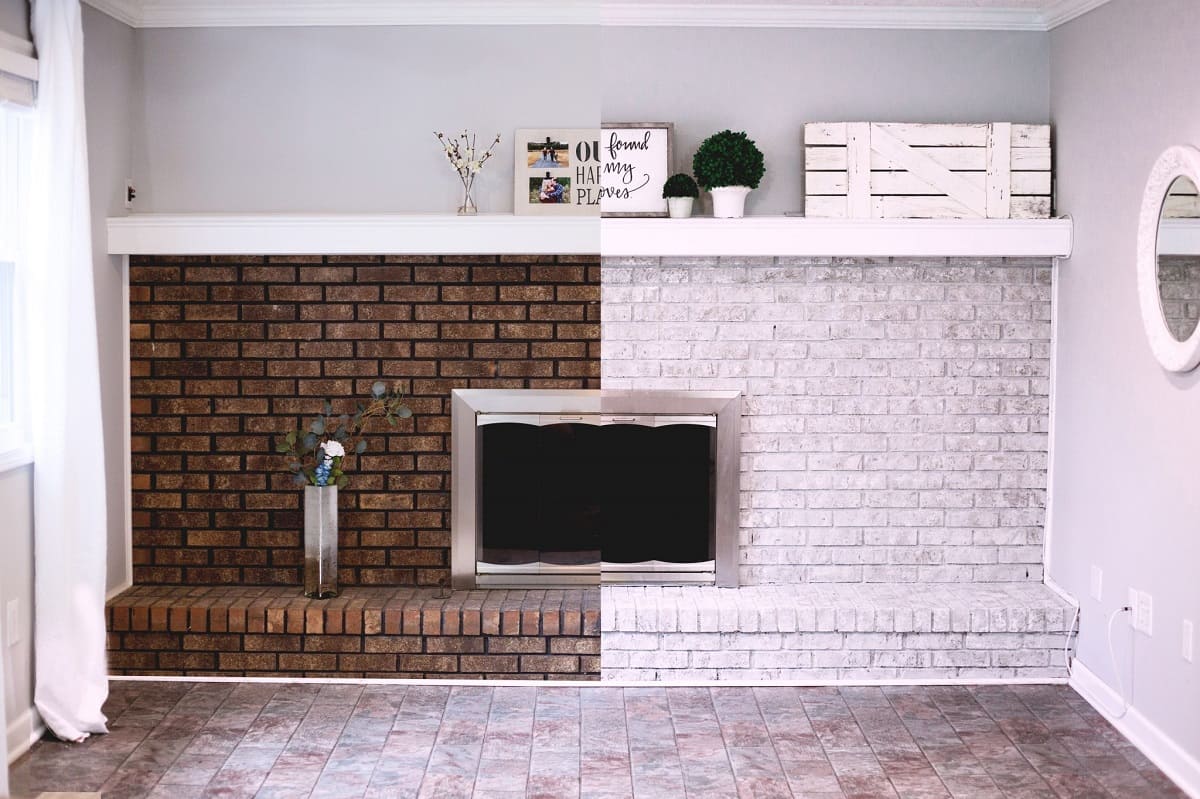
Cleaning a brick fireplace before painting is an essential step in ensuring a smooth and long-lasting finish. Over time, brick fireplaces can accumulate dirt, soot, and grime, making it necessary to clean them thoroughly before applying a fresh coat of paint. Taking the time to properly clean and prepare the surface will greatly enhance the overall appearance of the fireplace and contribute to the longevity of the paint job.
In this article, we will guide you through the step-by-step process of cleaning a brick fireplace before painting. We will provide you with a list of materials needed as well as detailed instructions on each stage of the cleaning process. So let’s dive in and transform your brick fireplace into a stunning focal point of your living space!
Key Takeaways:
- Transform your brick fireplace into a stunning focal point by following a step-by-step cleaning and painting process. Protect the surrounding area, repair damaged bricks, and apply a sealant for a professional-looking finish.
- Achieve a clean, fresh, and visually appealing fireplace by carefully cleaning and painting the bricks. Take precautions, apply a primer, and consider adding a sealant for added protection and durability.
Materials Needed
Before you start cleaning your brick fireplace, gather the necessary materials to ensure a smooth and efficient process. Here’s a list of items you will need:
- Broom or brush
- Dustpan
- Dry cloth or towel
- Bucket
- Mild detergent or brick cleaner
- Scrub brush or sponge
- Garden hose or spray bottle
- Protective eyewear
- Gloves
- Drop cloths or plastic sheeting
- Paint primer
- Paintbrush or paint roller
- Brick paint
- Sealant (optional)
Make sure you have these materials on hand before you begin the cleaning process. This way, you can work efficiently without any interruptions.
Step 1: Protect the Surrounding Area
Before you start cleaning your brick fireplace, it’s important to take precautions to protect the surrounding area. This will help prevent any accidental damage or mess during the cleaning process. Follow these steps to protect the surrounding area:
- Start by removing any furniture or decor that is near the fireplace. This will create a clear and safe work area.
- Cover the surrounding floor and furniture with drop cloths or plastic sheeting to protect them from any cleaning residues or paint splatters.
- Use painter’s tape to secure the drop cloths or plastic sheeting to the floor and furniture. This will prevent them from shifting or getting tangled up during the cleaning process.
- Put on protective eyewear and gloves to protect your eyes and hands from any cleaning chemicals.
By taking these precautions, you can ensure that the cleaning process goes smoothly and without any unintended damage to your surroundings.
Step 2: Remove Loose Dirt and Debris
Once you have protected the surrounding area, it’s time to remove any loose dirt and debris from the surface of the brick fireplace. Removing these particles will allow for a more effective cleaning process. Follow these steps to remove loose dirt and debris:
- Start by using a broom or brush to sweep away any loose dirt and debris from the surface of the bricks. Pay close attention to the mortar joints and corners of the fireplace.
- Use a dustpan to collect the swept-up debris and dispose of it properly.
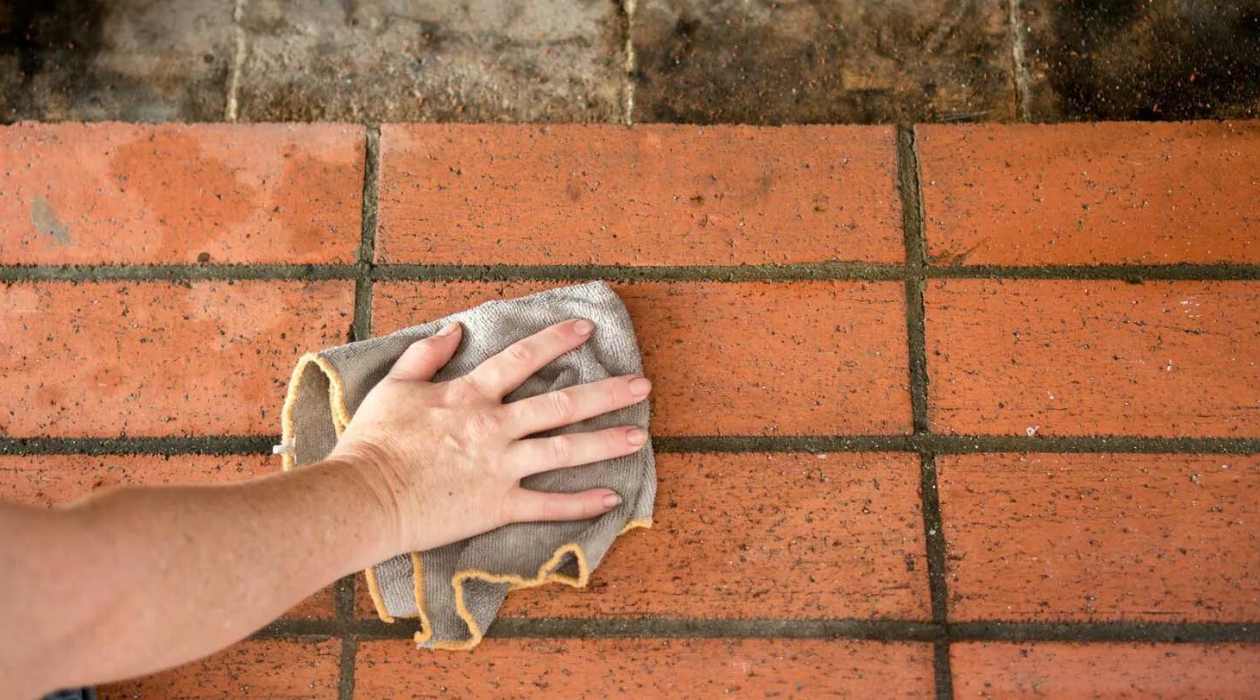
- For stubborn dirt or soot stains, use a dry cloth or towel to gently wipe away the residue. Be careful not to scrub too hard, as this could damage the bricks.
Removing loose dirt and debris will create a clean canvas for the next steps of the cleaning process. It will also help the cleaning solution penetrate the surface more effectively, resulting in a more thorough clean.
Step 3: Scrub the Bricks with a Cleaner
Now that you have removed loose dirt and debris, it’s time to deep clean the bricks using a suitable cleaner. This step will help remove stubborn stains and grime from the surface. Follow these steps to scrub the bricks:
- Fill a bucket with warm water.
- Add a mild detergent or a brick cleaner to the water according to the manufacturer’s instructions. Avoid using harsh chemicals that could damage the bricks.
- Dip a scrub brush or sponge into the cleaning solution and start scrubbing the bricks in a circular motion. Pay extra attention to areas with heavy stains or soot buildup.
- Continue scrubbing the bricks until you have covered the entire surface of the fireplace.
- If necessary, periodically dip the brush or sponge into the cleaning solution to ensure it stays saturated.
Keep in mind that excessive scrubbing can cause damage to the bricks, so be gentle yet thorough. Take breaks as needed to prevent fatigue and allow the cleaning solution to work its magic.
Once you have scrubbed the entire fireplace, let the cleaning solution sit on the bricks for a few minutes to allow it to penetrate and loosen any stubborn stains.
Read more: How To Paint A Brick Fireplace
Step 4: Rinse the Bricks
After scrubbing the bricks with a cleaner, it’s important to rinse off any remaining residue or cleaning solution. Rinsing will help ensure that the bricks are clean and ready for the next steps of the process. Follow these steps to rinse the bricks:
- Fill a bucket with clean water.
- Using a garden hose or a spray bottle, thoroughly rinse the bricks with clean water. Start from the top and work your way down to ensure that all the cleaning solution is removed.
- Make sure to rinse the bricks well, ensuring there are no leftover cleaning solutions or residues.
- If necessary, use a clean sponge or cloth to wipe away any excess water or residues.
Properly rinsing the bricks will leave them clean and free from any cleaning solution residue, ensuring a fresh surface for the next steps in the process.
Once you have rinsed off the cleaning solution, allow the bricks to air dry completely before proceeding to the next step.
Use a wire brush to remove loose soot and dirt from the brick surface. Then, mix a solution of water and trisodium phosphate (TSP) and scrub the bricks with a stiff brush. Rinse thoroughly and let it dry completely before painting.
Step 5: Allow the Bricks to Dry
After rinsing the bricks, it’s important to allow them to dry completely before moving on to the next steps. Drying the bricks thoroughly will ensure that the paint adheres properly and prevents any moisture-related issues in the future. Follow these steps to allow the bricks to dry:
- Turn off the water source and allow any excess water to drain or evaporate from the bricks.
- Open windows or doors in the room to promote air circulation and aid in the drying process.
- Avoid using fans or heaters directed at the bricks, as this can cause uneven drying and potential damage.
- Depending on the temperature and humidity, it may take a few hours or even a couple of days for the bricks to completely dry.
- Ensure that the bricks are completely dry to the touch before proceeding to the next steps.
Patience is key during this step, as rushing the drying process can result in unwanted issues in the paint application and longevity of the finish.
Once the bricks are completely dry, you can move on to repairing any damaged or cracked bricks before painting.
Step 6: Repair Any Damaged or Cracked Bricks
Before painting your brick fireplace, it’s essential to assess and repair any damaged or cracked bricks. Neglecting these repairs can compromise the integrity and appearance of the final result. Follow these steps to repair damaged or cracked bricks:
- Inspect the bricks carefully to identify any cracks or damaged areas.
- If you notice any loose or crumbling mortar, use a chisel and hammer to carefully remove it.
- Prepare a mortar mix according to the manufacturer’s instructions. The mortar should have a consistency similar to thick peanut butter.
- Using a trowel, apply the mortar to the damaged areas, filling in the cracks and replacing any missing mortar.
- Smooth the mortar with a trowel, ensuring it is level with the surrounding bricks.
- Allow the mortar to cure according to the manufacturer’s instructions.
- Once the mortar is fully dry, use a wire brush to gently remove any excess mortar or residue from the surface of the bricks.
Repairing damaged or cracked bricks not only improves the overall appearance of the fireplace but also helps to maintain its structural integrity. Take the time to ensure that the repairs are thorough and secure before moving on to the next steps.
Now that you have repaired any damaged bricks, it’s time to prepare the surface for painting by applying a primer.
Step 7: Apply a Primer
Before painting the bricks of your fireplace, it’s important to apply a primer. The primer acts as a base coat, ensuring better adhesion of the paint and providing a smoother and more durable finish. Follow these steps to apply a primer:
- Choose a high-quality, latex-based primer that is specifically formulated for masonry surfaces.
- Stir the primer thoroughly to ensure an even consistency.
- Using a paintbrush or paint roller, apply a thin and even coat of primer to the surface of the bricks. Work in small sections for better control.
- Pay special attention to the mortar joints, ensuring that they are evenly coated with primer.
- Allow the primer to dry according to the manufacturer’s instructions. This typically takes several hours.
- Inspect the primer coat for any missed spots or uneven coverage. Apply a second coat of primer if necessary.
- Once the primer is completely dry, lightly sand the surface of the bricks with fine-grit sandpaper to create a smooth surface for painting.
Applying a primer ensures that the paint adheres properly to the bricks and provides a long-lasting finish. It also helps to hide any remaining stains or discoloration on the surface.
With the primer in place, you are now ready to paint the bricks and transform the appearance of your fireplace!
Read more: How To Clean A Brick Fireplace
Step 8: Paint the Bricks
Now that you have prepared the surface by applying a primer, it’s time to paint the bricks of your fireplace. Choose a paint that is specifically formulated for masonry surfaces and suitable for use on fireplaces. Follow these steps to paint the bricks:
- Start by stirring the paint thoroughly to ensure an even consistency.
- Using a paintbrush or paint roller, apply a thin and even coat of paint to the bricks. Starting from the top and working your way down can help prevent drips and ensure a smooth application.
- Pay attention to the mortar joints, ensuring that they are evenly coated with paint.
- Allow the first coat of paint to dry according to the manufacturer’s instructions. This typically takes a few hours.
- Inspect the first coat for any missed spots or areas that require additional coverage. If necessary, apply a second coat of paint.
- Allow the second coat of paint to dry completely.
- Once the paint is dry, evaluate the results. If desired, you can apply additional coats of paint for a more opaque and vibrant finish.
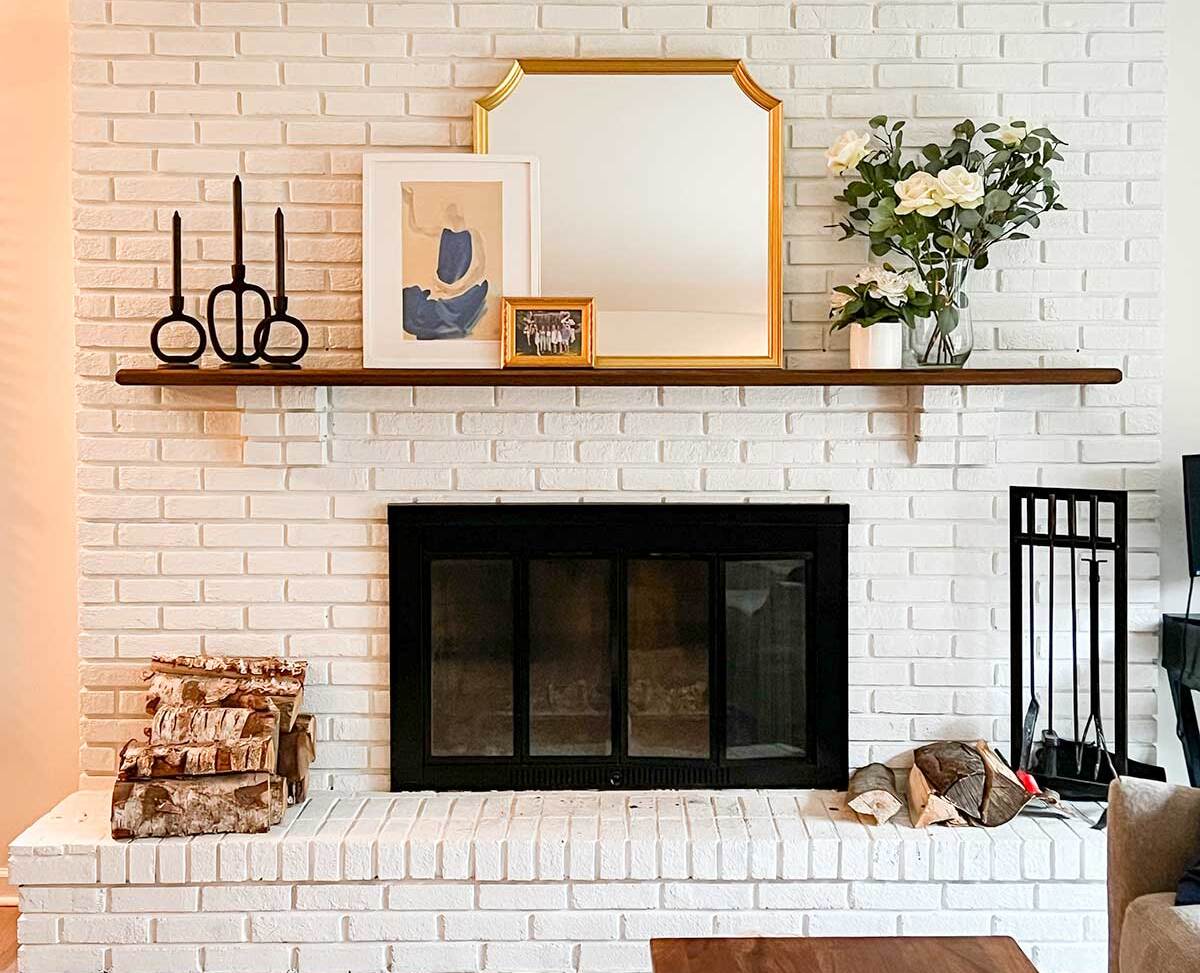
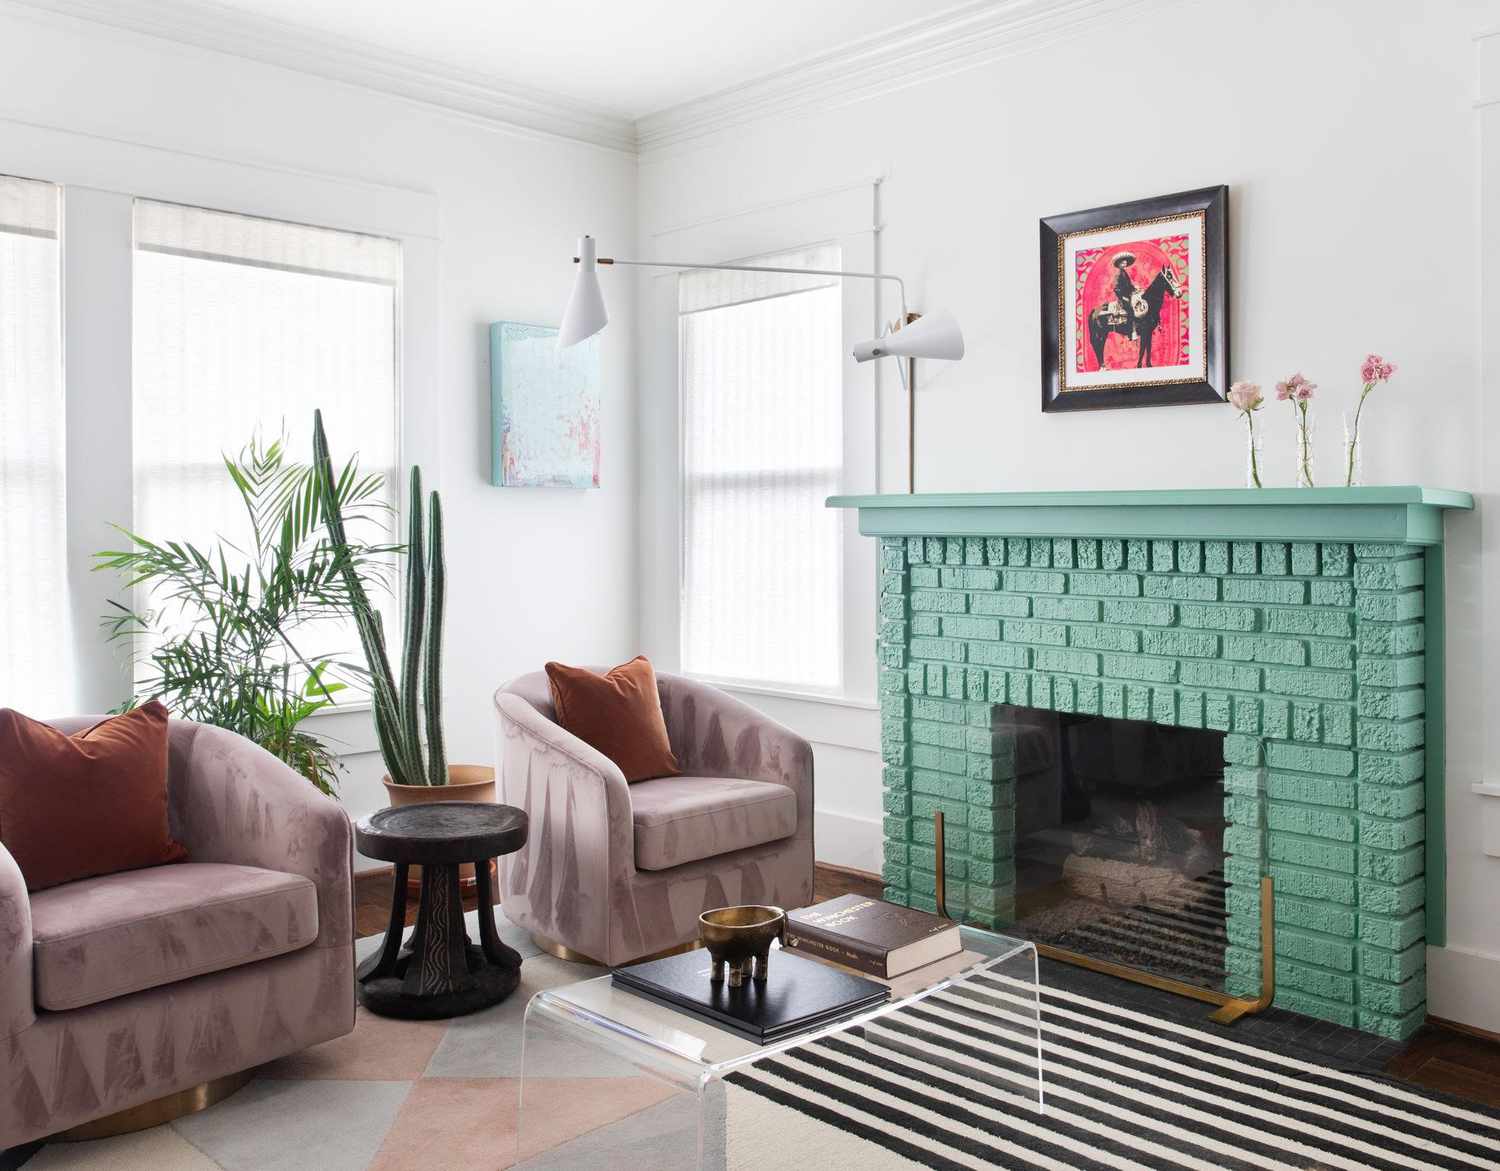
Painting the bricks of your fireplace can dramatically transform its appearance and create a focal point in the room. Take your time and ensure even coverage for a professional-looking finish.
If you wish to further protect the painted bricks or add a glossy finish, you can proceed to the next step and apply a sealant.
Step 9: Apply a Sealant (optional)
Applying a sealant to the painted bricks is an optional step but can provide additional protection and enhance the longevity of the finish. A sealant creates a barrier that helps repel moisture, stains, and dirt, ensuring that the painted surface stays pristine for a longer period. Follow these steps to apply a sealant:
- Choose a clear, water-based masonry sealant that is compatible with the type of paint you used.
- Read the manufacturer’s instructions carefully and ensure that the surface is clean and dry before applying the sealant.
- Using a paintbrush or roller, apply a thin and even coat of sealant to the painted surface. Work in small sections for better control.
- Pay attention to the mortar joints as well, ensuring they are adequately coated with the sealant.
- Allow the first coat of sealant to dry completely, following the recommended drying time provided by the manufacturer.
- Inspect the first coat for any missed spots or areas that require additional coverage. If necessary, apply a second coat of sealant.
- Allow the final coat of sealant to dry completely, ensuring that it forms a protective barrier over the painted surface.
Applying a sealant can help protect the painted bricks from moisture, stains, and wear. It also makes the surface easier to clean and maintain in the long run.
With the sealant applied, step back and admire your beautifully painted and protected brick fireplace!
Conclusion
Cleaning and painting a brick fireplace can be a rewarding and transformative project that breathes new life into your living space. By following the step-by-step process outlined in this article, you can achieve a clean, fresh, and visually appealing fireplace.
Starting with the necessary materials and taking precautions to protect the surrounding area, you can ensure a smooth and efficient cleaning process. Removing loose dirt and debris sets the stage for a deep clean, where scrubbing the bricks with a suitable cleaner can eliminate stubborn stains and grime. Rinsing the bricks thoroughly and allowing them to dry completely is crucial before any repairs or painting can take place.
Repairing any damaged or cracked bricks not only improves the appearance of the fireplace but also ensures its structural integrity. Applying a primer prepares the surface for painting, promoting better adhesion of the paint and a smoother finish. Then, carefully painting the bricks with the chosen paint color can completely transform the look of the fireplace.
Finally, the optional step of applying a sealant adds an extra layer of protection and helps maintain the painted surface’s beauty and durability over time.
As you embark on this project, remember to approach it with patience and attention to detail. Take your time to achieve a professional-looking result that will enhance your home’s aesthetic appeal.
Now that you have learned the step-by-step process for cleaning and painting a brick fireplace, get ready to enjoy the rejuvenated space and the cozy ambiance it brings to your home!
Frequently Asked Questions about How To Clean A Brick Fireplace Before Painting
Was this page helpful?
At Storables.com, we guarantee accurate and reliable information. Our content, validated by Expert Board Contributors, is crafted following stringent Editorial Policies. We're committed to providing you with well-researched, expert-backed insights for all your informational needs.

0 thoughts on “How To Clean A Brick Fireplace Before Painting”