Articles
How To Paint Plastic Like A Pro
Modified: October 18, 2024
Learn how to paint plastic like a pro with our informative articles. Discover expert tips and techniques for achieving flawless results.
(Many of the links in this article redirect to a specific reviewed product. Your purchase of these products through affiliate links helps to generate commission for Storables.com, at no extra cost. Learn more)
Introduction
Welcome to this comprehensive guide on how to paint plastic like a pro. While plastic is a versatile material, it can sometimes be tricky to paint due to its smooth surface and non-porous nature. However, with the right techniques and materials, you can achieve professional-looking results that will make your plastic items stand out.
Painting plastic can be a great way to give new life to old or worn-out items, customize plastic accessories to match your personal style, or even create unique and eye-catching decorations. Whether you’re painting a plastic toy, furniture, or any other plastic surface, this guide will provide you with all the tips and tricks you need to achieve a flawless finish.
Before we dive into the specifics of painting plastic, it’s essential to understand the importance of choosing the right paint and supplies. Not all paints are suitable for plastic, so selecting the correct paint and supplies will ensure long-lasting and durable results. In the next section, we will explore the best options for painting plastic and the necessary tools you will need.
Key Takeaways:
- Transform worn-out plastic items into vibrant, personalized works of art by choosing the right paint, preparing the surface, adding layers and texture, and sealing the paint for professional-looking, long-lasting results.
- Elevate your painting skills by using the right supplies, applying thin and even coats, experimenting with techniques, and taking your time to achieve flawless, professional results when painting plastic surfaces.
Read more: Iron Clothes Like A Pro With These Hacks
Choosing the Right Paint and Supplies
When it comes to painting plastic, using the right type of paint is crucial. Not all paints adhere well to plastic surfaces, so it’s important to select paint specifically designed for use on plastic. Here are a few options to consider:
- Acrlyic paint: Acrylic paint is a popular choice for painting plastic due to its versatility and excellent adhesion. It comes in a wide range of colors and finishes, including gloss, matte, and metallic. Look for acrylic paint that is labeled as suitable for use on plastic surfaces.
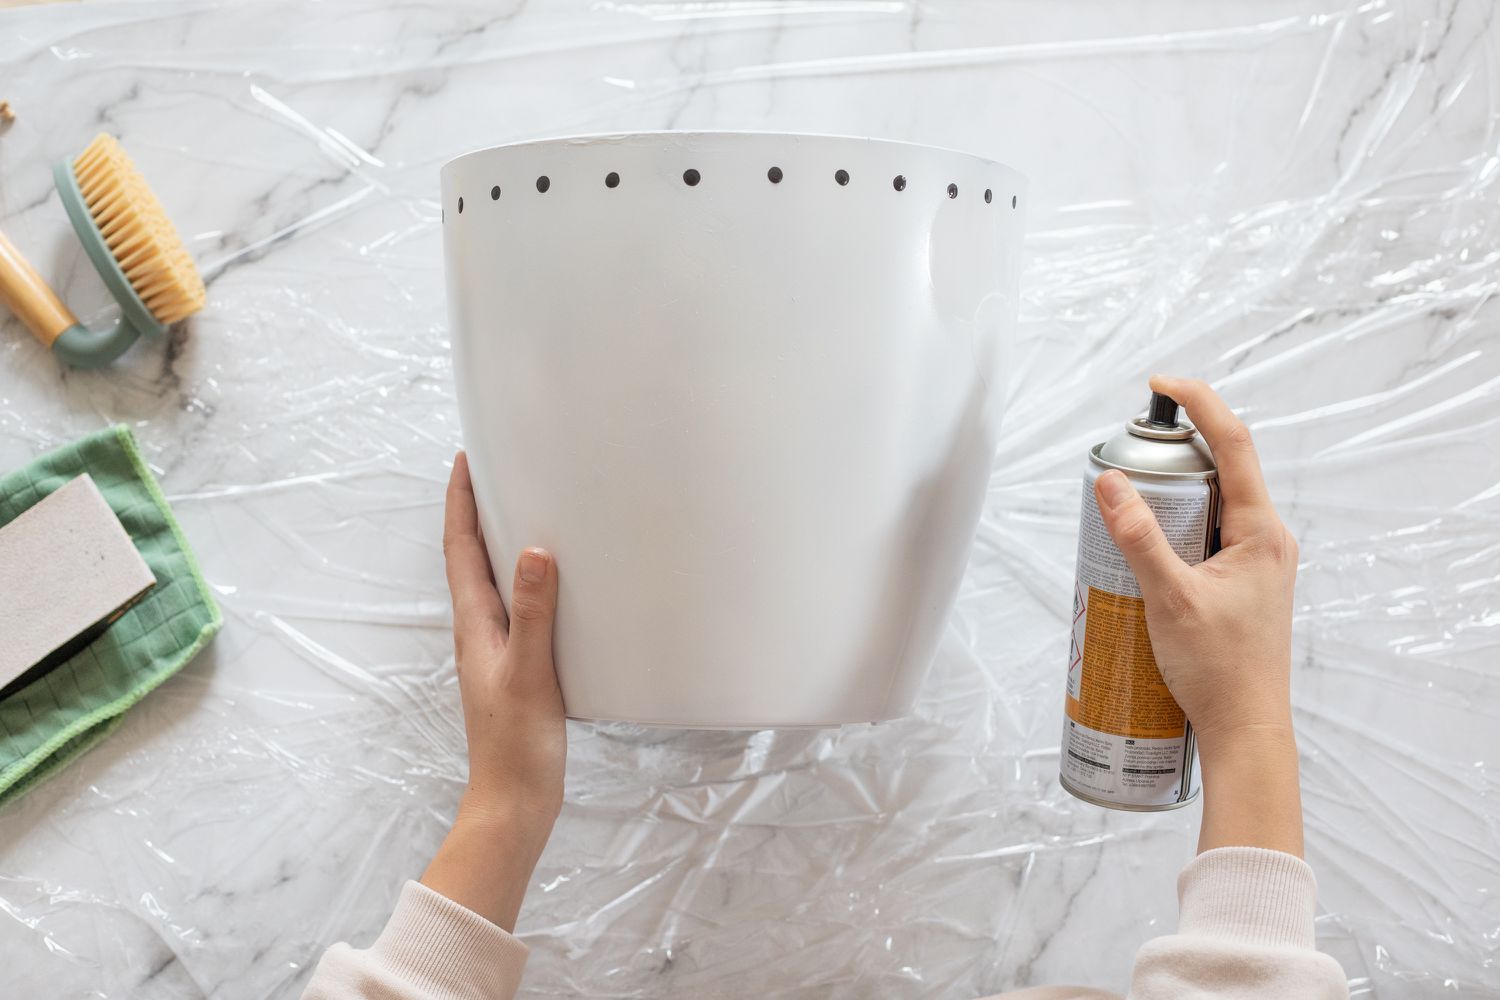
- Spray paint: Spray paint is another option that works well on plastic. It provides an even, professional-looking finish and is excellent for covering larger surfaces. Make sure to choose spray paint formulated for plastic and select the desired color and finish.
- Enamel paint: Enamel paint is known for its durability and resistance to wear and tear. It can be used on plastic surfaces, although it may require a primer for better adhesion. Enamel paint comes in various finishes, including glossy and satin.
In addition to the right type of paint, you’ll also need a few supplies to ensure a successful painting project:
- Primer: Primer is essential to help the paint adhere better to the plastic surface. Look for a primer specifically formulated for use on plastic. It will create a smooth and even base for the paint and increase its durability.
- Sandpaper or sanding block: Before painting, it’s crucial to prepare the plastic surface by lightly sanding it. This will help the paint adhere better and create a smoother finish. Use fine-grit sandpaper or a sanding block to gently roughen the surface.
- Painter’s tape: Painter’s tape is useful for masking off areas you don’t want to paint. It will help you achieve clean, crisp edges and prevent paint bleeding onto unwanted areas.
- Drop cloths or newspapers: To protect your work area from paint spills and drips, use drop cloths or lay down newspapers. This will make cleanup much easier and prevent any accidental damage.
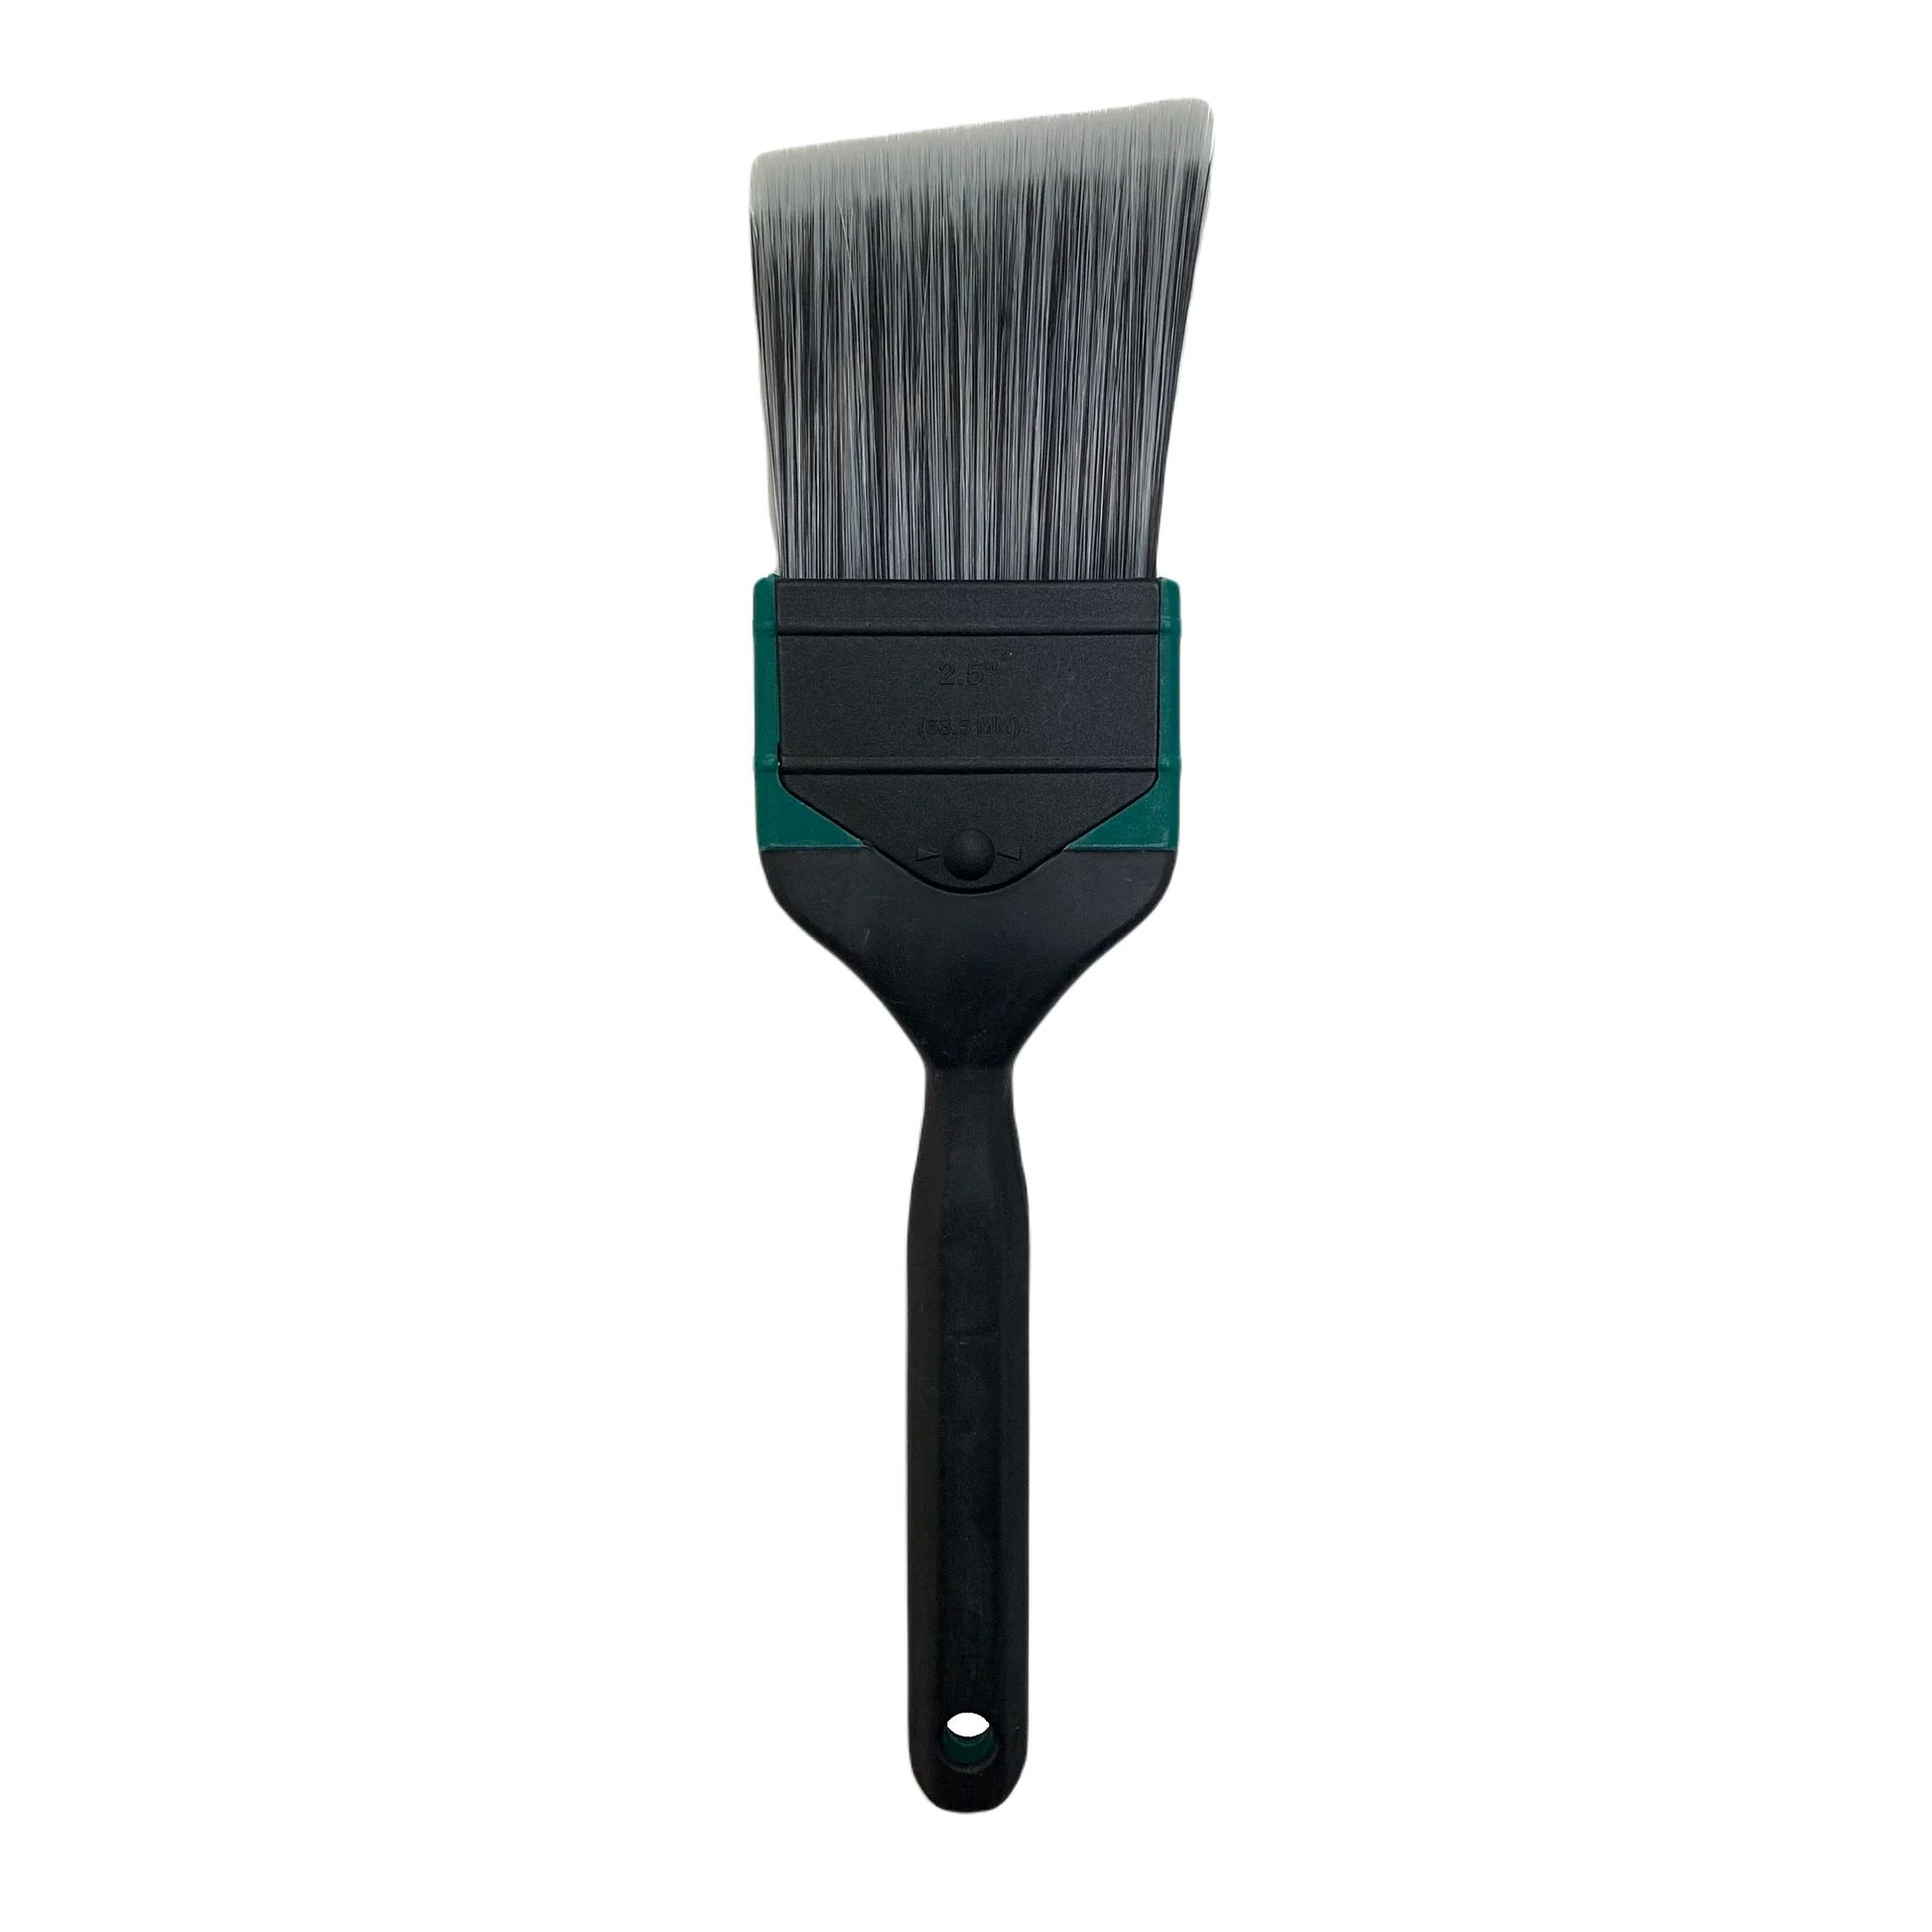
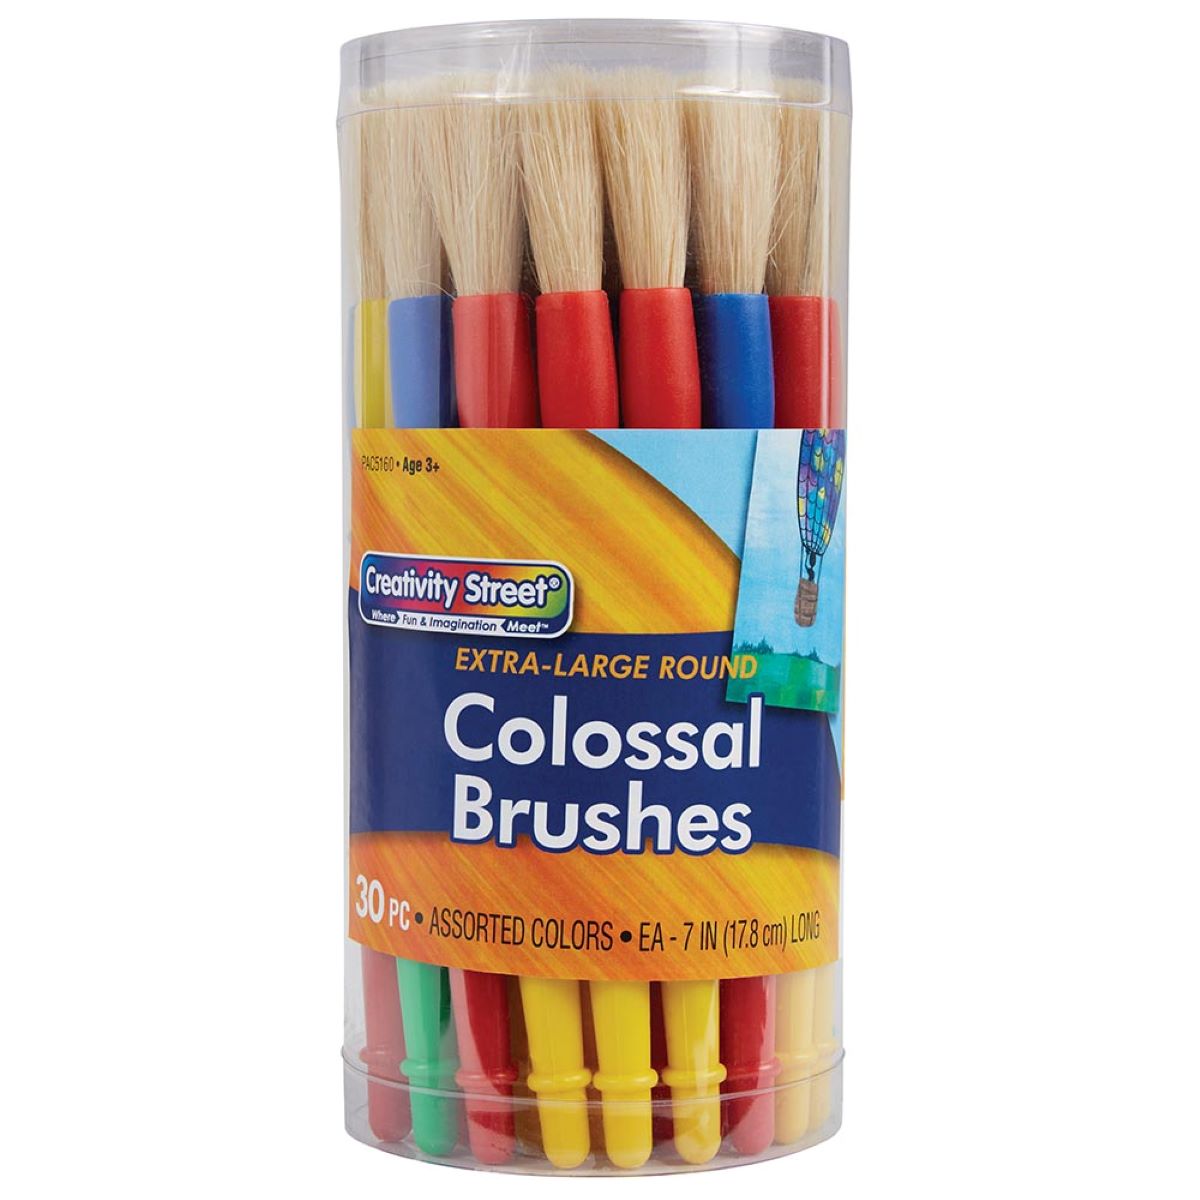
- Paint brushes or spray can triggers: Depending on the type of paint you choose, you’ll need either paint brushes or spray can triggers for application. Select brushes suitable for the paint type and choose triggers specifically designed for spray paint cans.
By selecting the right paint and having the necessary supplies on hand, you’ll be well-prepared to tackle your plastic painting project. Next, we’ll explore the crucial step of surface preparation to ensure optimal paint adhesion.
Surface Preparation
Surface preparation is a crucial step in painting plastic. Properly preparing the plastic surface will help ensure proper paint adhesion and a smoother, more professional finish. Here are the steps to follow for effective surface preparation:
- Clean the surface: Before doing anything else, thoroughly clean the plastic surface to remove any dirt, dust, grease, or other contaminants. Use a mild soap solution and water to wash the surface, and then rinse it thoroughly. Allow the surface to dry completely before proceeding.
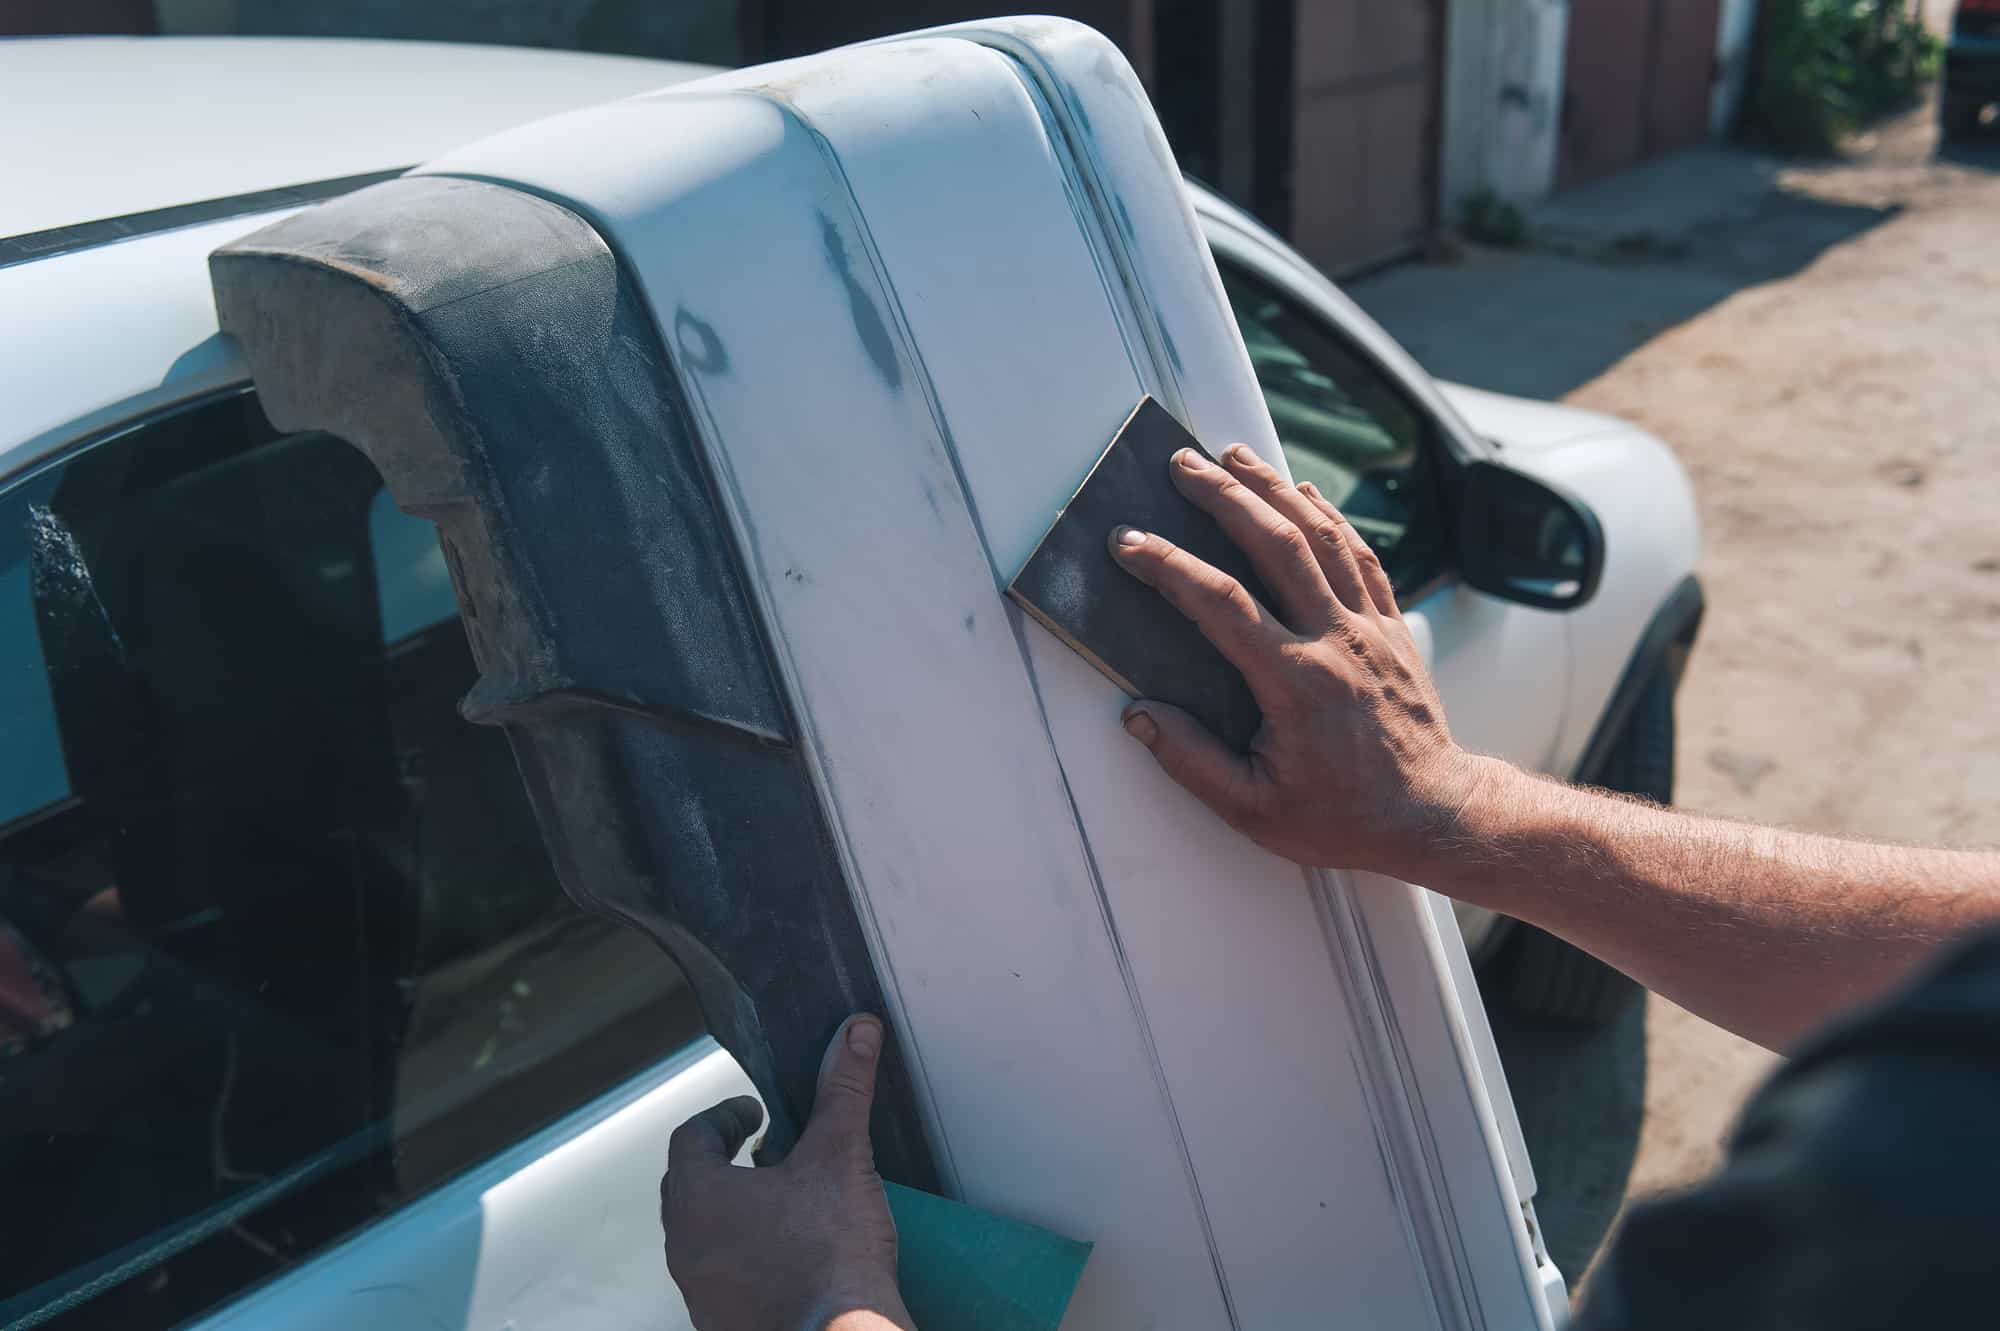
- Sand the surface: Lightly sand the plastic surface using fine-grit sandpaper or a sanding block. This step helps to roughen the surface, allowing the paint to adhere better. Make sure to sand in a circular motion and avoid applying too much pressure, as this could damage the plastic. Wipe away any dust or debris with a clean cloth.
- Mask off areas: If there are any areas that you don’t want to paint, use painter’s tape to mask them off. This will create clean edges and prevent paint from getting onto those areas.
- Apply primer: Applying a primer designed for plastic surfaces is essential for optimal paint adhesion. Primers create a smooth and even base for the paint to adhere to and increase the durability of the finish. Follow the manufacturer’s instructions for applying the primer, which may include using a brush or spray can trigger. Allow the primer to dry completely before proceeding.
Proper surface preparation is essential for achieving a long-lasting and professional-looking paint job on plastic. It ensures that the paint adheres well and provides a smooth and even finish. Now that the surface is properly prepared and primed, it’s time to move on to the next step – applying the base coat.
Priming the Plastic
Priming the plastic surface is a crucial step in the painting process. It helps create a smooth and even base for the paint to adhere to, resulting in a more durable and professional-looking finish. Here are the steps to follow when priming plastic:
- Select the right primer: Choose a primer specifically formulated for use on plastic surfaces. Look for primers that promote good adhesion and are compatible with the type of paint you’ll be using.
- Prep the primer: If the primer needs to be mixed or shaken before use, follow the manufacturer’s instructions. Ensuring that the primer is properly mixed will help it adhere better and provide an even coat.
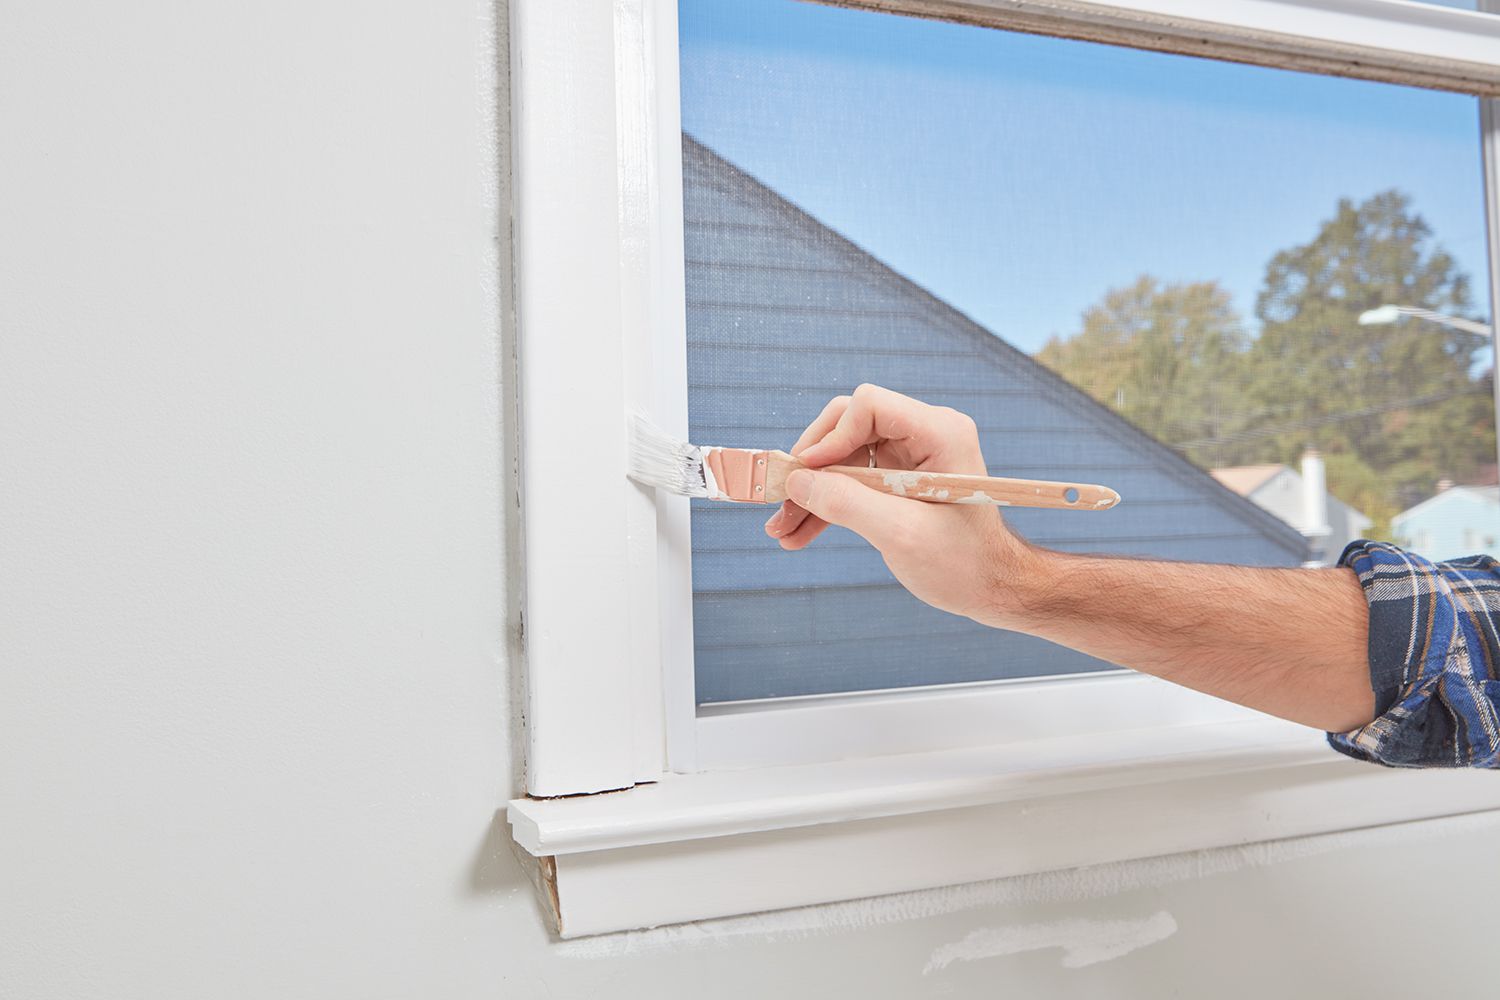
- Apply an even coat: Use a paintbrush or spray can trigger to apply an even coat of primer to the plastic surface. Start by applying thin and even strokes, going in one direction. Avoid over-applying the primer, as it can lead to drips or an uneven finish.
- Allow drying time: Follow the manufacturer’s instructions for drying time. Typically, it takes around 1-2 hours for the primer to dry completely, but this can vary depending on the brand and specific product. Make sure the primer is fully dry before moving on to the next step.
- Sand the primed surface (optional): If the primer has any imperfections or rough areas, you can lightly sand it using fine-grit sandpaper. This step helps create an even smoother surface for the paint. Wipe away any dust with a clean cloth before proceeding.
Priming the plastic surface before painting is essential for achieving optimal adhesion and durability. It creates a strong bond between the plastic and the paint, resulting in a longer-lasting and professional-looking finish. Once the primer is dry and the surface is smooth, you’re ready to move on to the next step – applying the base coat.
Applying the Base Coat
After properly priming the plastic surface, it’s time to apply the base coat. The base coat is the foundation of your paint job and provides the main color and coverage for your project. Here’s how to apply the base coat effectively:
- Select the right paint color: Choose a paint color that complements your desired look and matches the style you’re aiming for. Ensure that the paint you select is compatible with plastic surfaces.
- Prep the paint: If needed, stir the paint thoroughly using a paint stirrer or shake the spray paint can as instructed by the manufacturer. This helps to ensure a consistent color and smooth application.
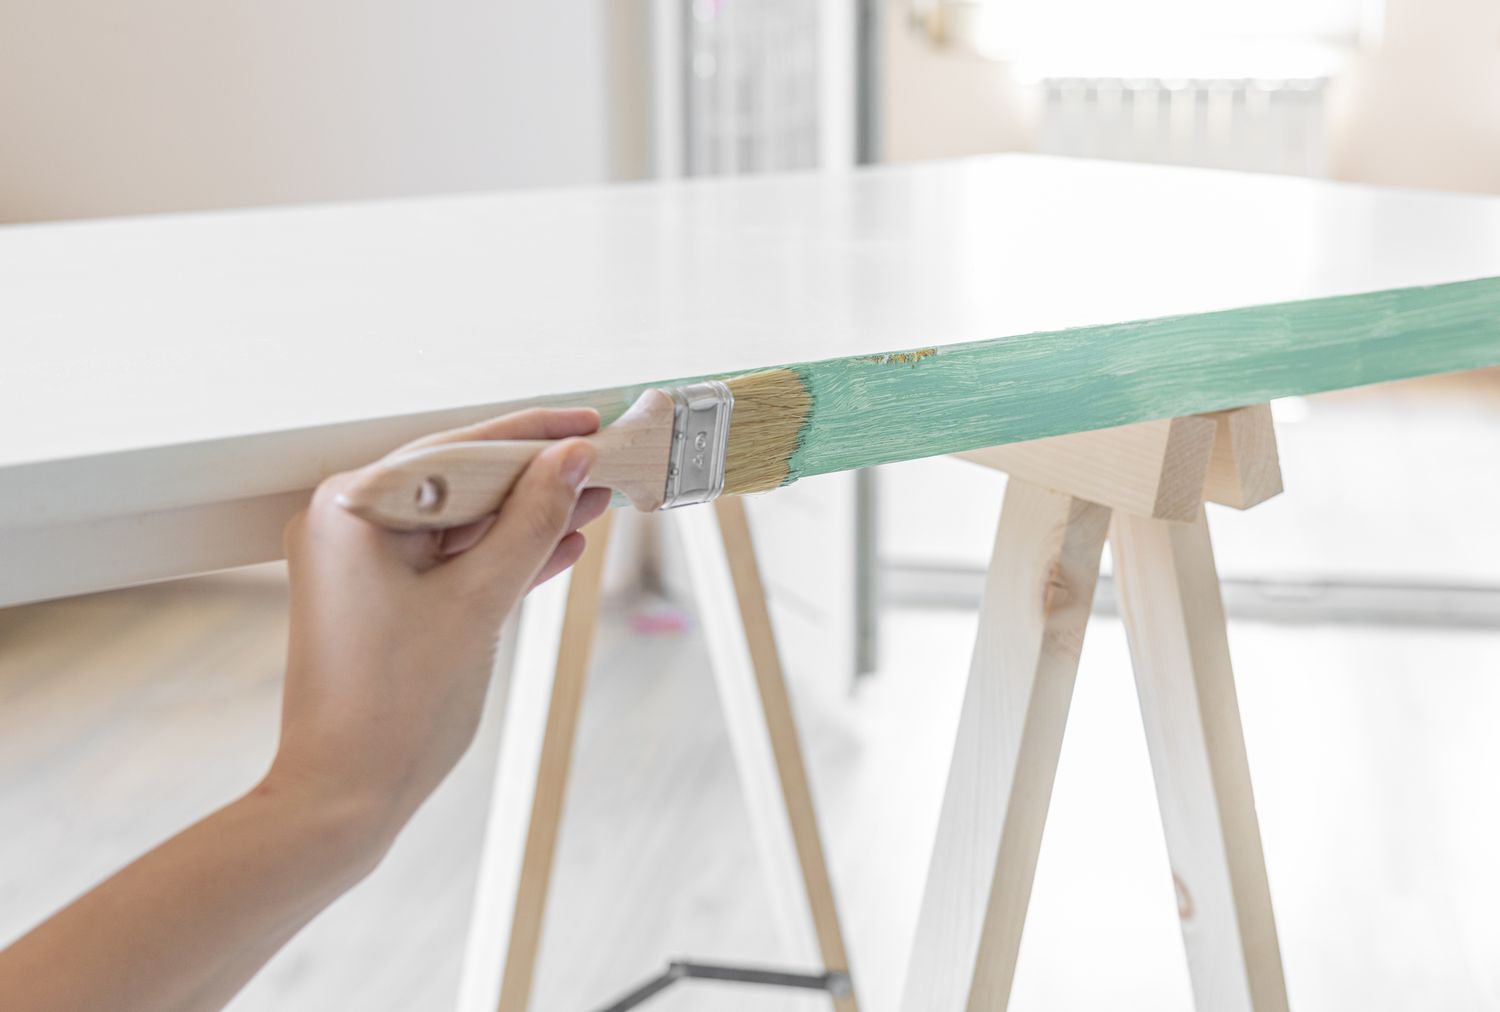
- Apply thin and even coats: Start by applying thin and even coats of paint to the primed plastic surface. This helps prevent drips, streaks, and clumps, resulting in a smoother and more professional finish. Use a paintbrush or spray can trigger, depending on the paint type you’re using.
- Allow drying time between coats: Follow the manufacturer’s instructions for the drying time between coats. Typically, it takes around 1-2 hours, but this can vary depending on the paint brand. The waiting time ensures that each layer dries properly and minimizes the risk of smudging or damaging the previous coats.
- Apply multiple coats if necessary: Depending on the coverage and opacity of your chosen paint, you may need to apply multiple coats to achieve the desired color and finish. Apply additional coats following the same process as before, making sure to allow each coat to dry thoroughly.
- Smooth out any imperfections: If you notice any imperfections such as drips or uneven areas in the base coat, lightly sand them after the paint has dried using fine-grit sandpaper. Wipe away any dust with a clean cloth before proceeding.
Applying the base coat properly is essential for achieving a vibrant and flawless paint job on plastic surfaces. By following these steps and taking your time, you’ll be on your way to a beautifully painted plastic item. The next step is adding layers and texture to enhance the visual appeal of your project.
When painting plastic, make sure to clean the surface thoroughly with soap and water before applying a plastic primer to help the paint adhere better and prevent chipping or peeling.
Adding Layers and Texture
Adding layers and texture to your painted plastic surface can take your project to the next level and create visual interest. Whether you want to create a distressed look, add metallic accents, or incorporate a textured finish, here are a few techniques to consider:
- Dry brushing: Dry brushing involves dipping a dry brush lightly into paint and then removing most of the paint by wiping it off on a paper towel or rag. With a light hand, drag the brush over the plastic surface, allowing the paint to catch on the raised areas and create a weathered or aged look. This technique works well for achieving texture and highlighting details.
- Sponging: Sponging involves using a sponge to apply paint to the plastic surface. Dip a damp sponge into the desired paint color and then dab it onto the plastic, creating a textured look. Experiment with different sponge sizes and techniques to achieve the desired effect.
- Stenciling: Stenciling allows you to add intricate patterns or designs to your painted plastic surface. Use plastic stencils or create your own by cutting out shapes from plastic sheets. Secure the stencil in place on the plastic surface and carefully apply paint using a brush or sponge, ensuring clean lines and edges.
- Layering colors: Experiment with layering different colors of paint to create depth and dimension. Start with a base coat of one color and allow it to dry completely. Then, using a smaller brush or sponge, apply a second color on top, creating a subtle or bold contrast. This technique can add visual interest and complexity to your project.
- Adding metallic accents: If you want to add a touch of glamour or shine to your plastic surface, consider using metallic paints or spray paints. Apply the metallic accents sparingly, either by dry brushing or with a fine brush, to highlight specific areas or create a metallic finish.
Adding layers and texture to your painted plastic surface allows you to unleash your creativity and customize your project to your liking. Experiment with different techniques and combinations to achieve the desired look and feel. Remember to let each layer dry properly before proceeding to the next step to prevent smudging or damaging the previous layers.
Once you are satisfied with the added layers and texture, it’s time to protect your hard work by applying a top coat.
Applying a Top Coat
Applying a top coat is an essential step in painting plastic to protect your hard work and enhance the longevity of the finish. The top coat acts as a barrier, shielding the paint from scratches, fading, and other forms of wear and tear. Here’s how to apply a top coat effectively:
- Select the right top coat: Choose a top coat specifically designed for use on painted plastic surfaces. Look for a clear top coat that is compatible with the type of paint you used for your project. Consider factors such as sheen (glossy, semi-gloss, or matte) to achieve the desired final look.
- Prep the top coat: If required, stir the top coat following the manufacturer’s instructions. This ensures a consistent application and proper distribution of any additives or ingredients in the top coat.
- Apply thin and even coats: Using a paintbrush or spray can trigger, apply thin and even coats of the top coat to the painted plastic surface. Avoid over-applying the top coat, as it can lead to drips or a cloudy finish. Start from one end and work your way across in smooth, even strokes.
- Allow drying time between coats: Follow the manufacturer’s instructions for the drying time between coats of the top coat. Typically, it takes around 1-2 hours for the top coat to dry completely. Patience is key during this step to ensure a flawless finish.
- Apply multiple coats if necessary: Depending on the desired level of protection and finish, you may need to apply multiple coats of the top coat. Allow each coat to dry thoroughly before applying the next, ensuring optimal coverage and durability.
Applying a top coat to your painted plastic surface not only adds a protective layer but also enhances the overall appearance and longevity of your project. It provides a smooth finish and helps maintain the color vibrancy. Once the top coat is dry, you can move on to the final steps of your painting journey – adding finishing touches and sealing the paint.
Finishing Touches and Sealing the Paint
Once you have applied the top coat and it has dried thoroughly, it’s time to add those final finishing touches and seal the paint to ensure its longevity. Here are the crucial steps to follow:
- Inspect for imperfections: Take a close look at your painted plastic surface and inspect for any imperfections, such as drips, rough spots, or areas that need touch-ups. Use fine-grit sandpaper to smooth out any rough areas and touch up any spots with matching paint.
- Add additional details (optional): If desired, now is the time to add any additional details or decorations to your painted plastic surface. This could include hand-painted designs, decals, or even embellishments like rhinestones or glitter. Let your creativity shine and make your project truly unique!
- Seal the paint: To further protect your painted plastic surface and enhance its durability, consider sealing the paint with a clear sealant. Choose a sealant that is compatible with the type of paint you used and follow the manufacturer’s instructions for application. Apply thin and even coats of the sealant, allowing each coat to dry completely before applying the next.
- Allow for curing time: Once you have completed the finishing touches and sealed the paint, allow ample time for the paint and sealant to cure properly. Follow the manufacturer’s instructions for curing time to ensure the best results. During this time, avoid exposing your painted plastic surface to extreme temperatures or heavy use.
- Enjoy and maintain your painted plastic: Once the paint and sealant have fully cured, your painted plastic project is ready to be enjoyed and displayed. Keep in mind that proper maintenance will further prolong its lifespan. Avoid harsh chemicals, excessive scrubbing, or abrasive materials when cleaning your painted plastic surface. Instead, use mild soap and water and a soft cloth to gently clean and maintain its appearance.
By adding those final finishing touches and sealing the paint, you are not only protecting your hard work but also ensuring that your painted plastic surface remains vibrant and beautiful for years to come. Remember to follow the necessary curing time and handle your project with care. Now it’s time to step back and admire your professional-looking painted plastic masterpiece!
Tips and Tricks for Painting Plastic Like a Pro
Painting plastic surfaces can be a rewarding and enjoyable project, but it does require some specific techniques and tricks to achieve professional-looking results. Here are some tips and tricks to help you paint plastic like a pro:
- Choose the right paint: Select paint specifically formulated for use on plastic surfaces. This will ensure better adhesion and durability.
- Use a primer: Applying a primer designed for plastic surfaces is crucial for optimal paint adhesion. It creates a smooth base and helps the paint adhere better.
- Clean and prepare the surface: Properly clean and lightly sand the plastic surface before painting to remove any dirt, dust, or debris and create a rougher texture for better paint adhesion.
- Apply thin and even coats: When painting, use thin and even coats to prevent drips, clumps, or an uneven finish. Multiple coats will give you better coverage than trying to apply one thick coat.
- Allow drying time: Follow the manufacturer’s instructions for drying time between coats and after the final coat. Rushing the drying process can result in smudging or damage.
- Experiment with techniques: Explore different painting techniques such as dry brushing, sponging, or stenciling to add texture, depth, or intricate designs to your plastic surface.
- Protect your work: After the paint has dried, apply a clear top coat to protect the paint and enhance its longevity. Consider sealing the paint with a suitable sealant for added durability.
- Pay attention to ventilation: Ensure proper ventilation when painting plastic to avoid inhaling harmful fumes. Work in a well-ventilated area or consider wearing a mask if necessary.
- Practice on a test surface: If you’re new to painting plastic, consider practicing your techniques on a small test surface beforehand to get a feel for the process and perfect your technique.
- Take your time and be patient: Painting plastic requires patience and attention to detail. Take your time with each step, allow for proper drying time, and make sure to follow the instructions on the paint and supplies you’re using.
By following these tips and tricks, you can elevate your painting skills and achieve professional-looking results when painting plastic surfaces. Remember, practice makes perfect, so don’t be afraid to experiment and refine your techniques. Enjoy the process and let your creativity shine!
Read more: Shadows On The Wall Pro Painting Techniques
Conclusion
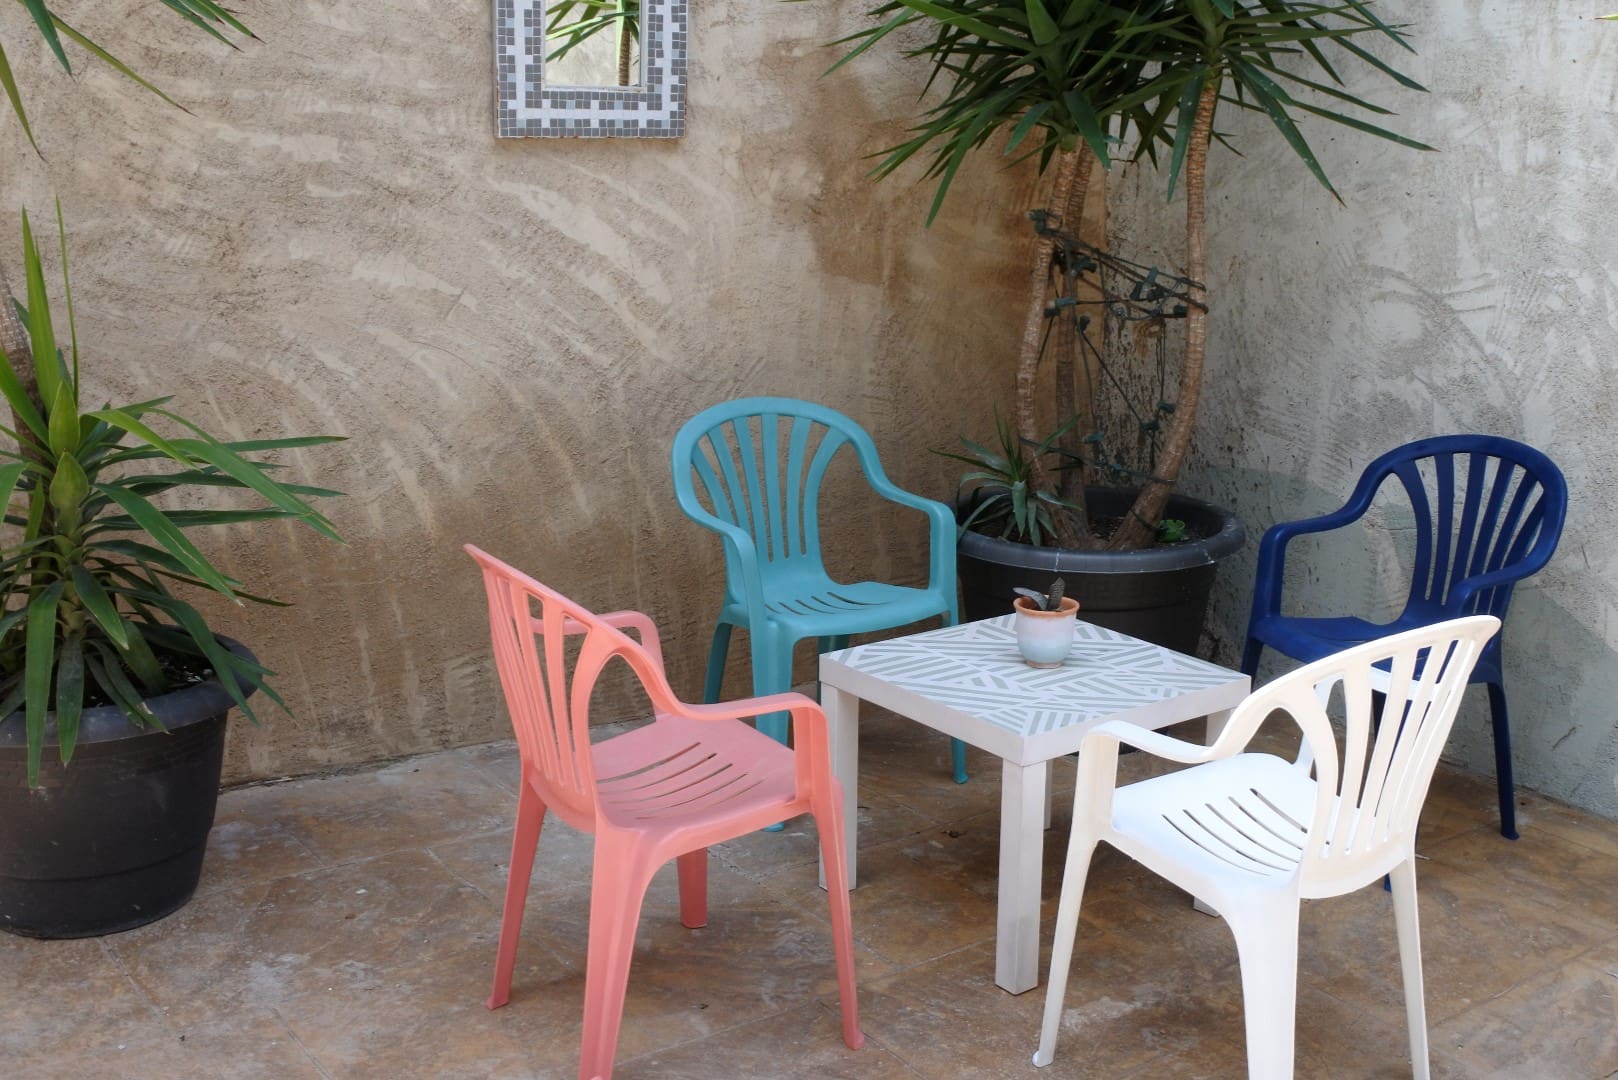
Congratulations! You have now learned how to paint plastic like a pro. With the right techniques, materials, and a little bit of creativity, you can transform dull, worn-out plastic items into vibrant, personalized works of art. Painting plastic offers countless possibilities for customization and can breathe new life into old or outdated items.
Throughout this guide, we have explored the importance of choosing the right paint and supplies, preparing the plastic surface through cleaning and sanding, priming the plastic to promote adhesion, applying the base coat for coverage and color, adding layers and texture for visual interest, applying a top coat for protection, and adding finishing touches and sealing the paint for longevity.
Remember to follow the specific instructions provided by the manufacturers of the paint and supplies you are using. Taking the time to properly clean, prime, and prepare the plastic surface will ensure optimal paint adhesion and a smooth finish. Applying thin and even coats of paint, properly drying between layers, and adding additional layers and texture will enhance the overall look of your project.
Sealing the paint with a top coat and adding the final finishing touches will go a long way in protecting your hard work and creating a professional-looking result. Taking proper care and maintenance of your painted plastic items will ensure their longevity and keep them looking vibrant for years to come.
By following the tips and tricks provided, along with your own creativity and experimentation, you can achieve stunning results when painting plastic. So go ahead, unleash your artistic side, and enjoy the process of transforming ordinary plastic items into extraordinary works of art.
Now, armed with this knowledge, it’s time to pick up your paintbrush and let your imagination run wild. Happy painting!
Frequently Asked Questions about How To Paint Plastic Like A Pro
Was this page helpful?
At Storables.com, we guarantee accurate and reliable information. Our content, validated by Expert Board Contributors, is crafted following stringent Editorial Policies. We're committed to providing you with well-researched, expert-backed insights for all your informational needs.

0 thoughts on “How To Paint Plastic Like A Pro”