
Articles
How To Power Wash A Fence
Modified: September 2, 2024
Learn the step-by-step process of power washing your fence with this informative article. Get expert tips and tricks to achieve a clean and refreshed look for your outdoor space.
(Many of the links in this article redirect to a specific reviewed product. Your purchase of these products through affiliate links helps to generate commission for Storables.com, at no extra cost. Learn more)
Introduction
Power washing is an effective method for cleaning and revitalizing outdoor surfaces, and one of the most common areas that can benefit from power washing is a fence. Over time, fences can accumulate dirt, grime, mold, and other unsightly substances that can detract from their appearance and even compromise their structural integrity. By power washing your fence, you can easily remove these contaminants, restore its original beauty, and extend its lifespan.
However, power washing a fence requires proper technique and equipment to ensure optimal results without causing damage. In this article, we will guide you through the step-by-step process of power washing a fence, providing you with the necessary information and tips to successfully complete the task.
First, we will cover the supplies you will need to gather before starting the power washing process. Then, we will go over the necessary preparations to ensure a safe and efficient cleaning operation. Next, we will explain how to set up the power washer properly for optimal performance. After that, we will discuss the process of applying detergent and power washing the fence, including techniques for removing tough stains. Finally, we will outline the steps to take after power washing to ensure the best possible results.
By following these guidelines, you will be able to transform your dirty, weathered fence into an aesthetically pleasing and well-maintained outdoor feature. So, let’s dive into the details and learn how to power wash a fence like a pro!
Key Takeaways:
- Transform your weathered fence into a stunning outdoor feature by power washing it with the right supplies, proper preparations, and effective techniques. Enjoy a revitalized and well-maintained fence with extended longevity.
- Safely and efficiently power wash your fence to remove dirt, grime, and stains, restoring its original beauty and structural integrity. Follow step-by-step instructions for optimal results and equipment maintenance.
Read more: How Does A Power Washer Work
Necessary Supplies
Before you embark on power washing your fence, it’s important to gather all the necessary supplies to ensure a safe and effective cleaning process. Here’s a list of the supplies you will need:
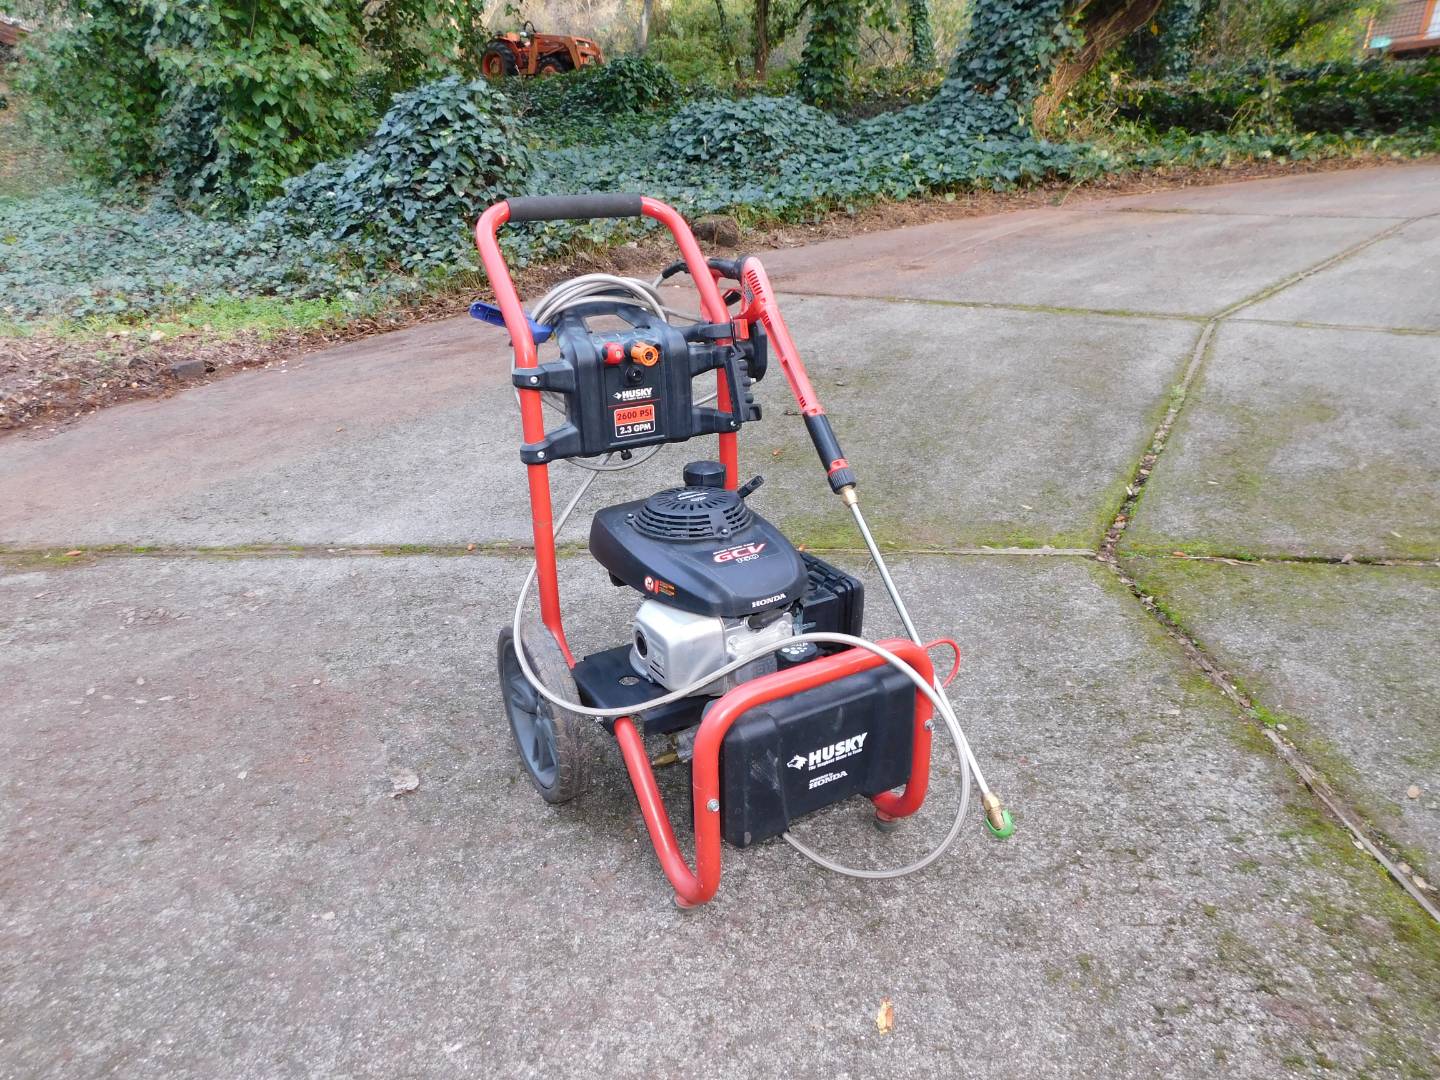
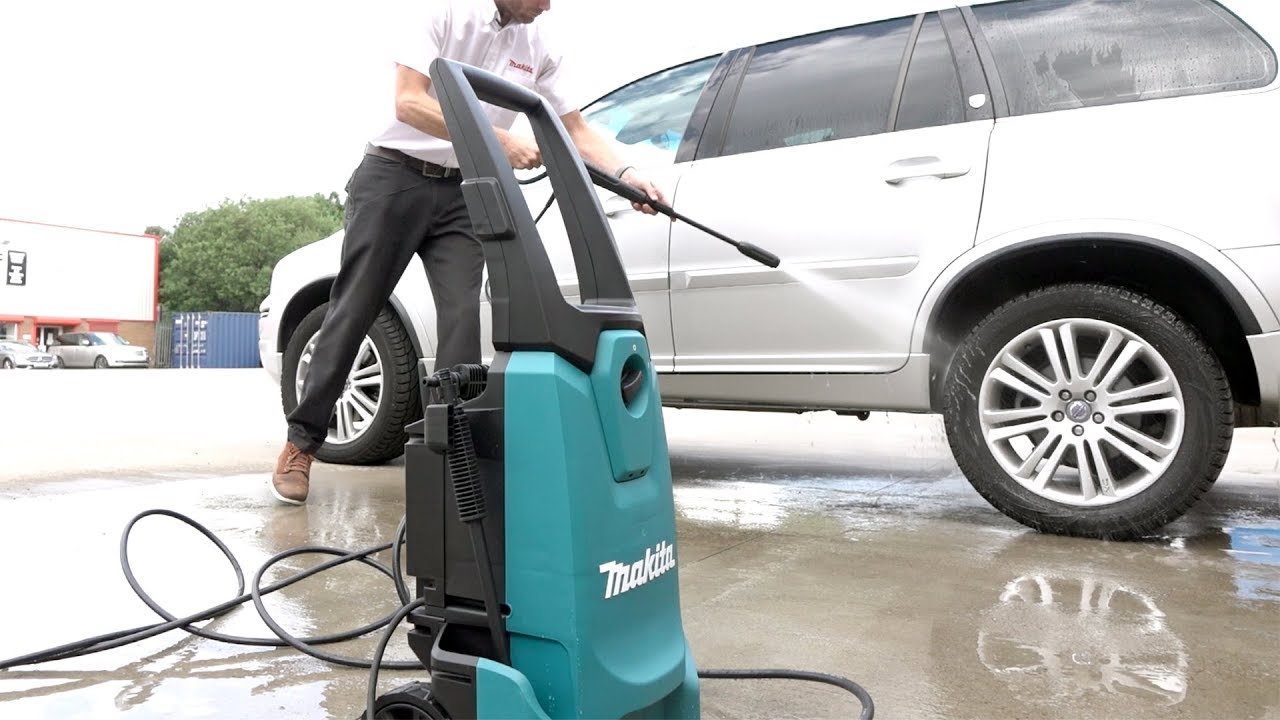
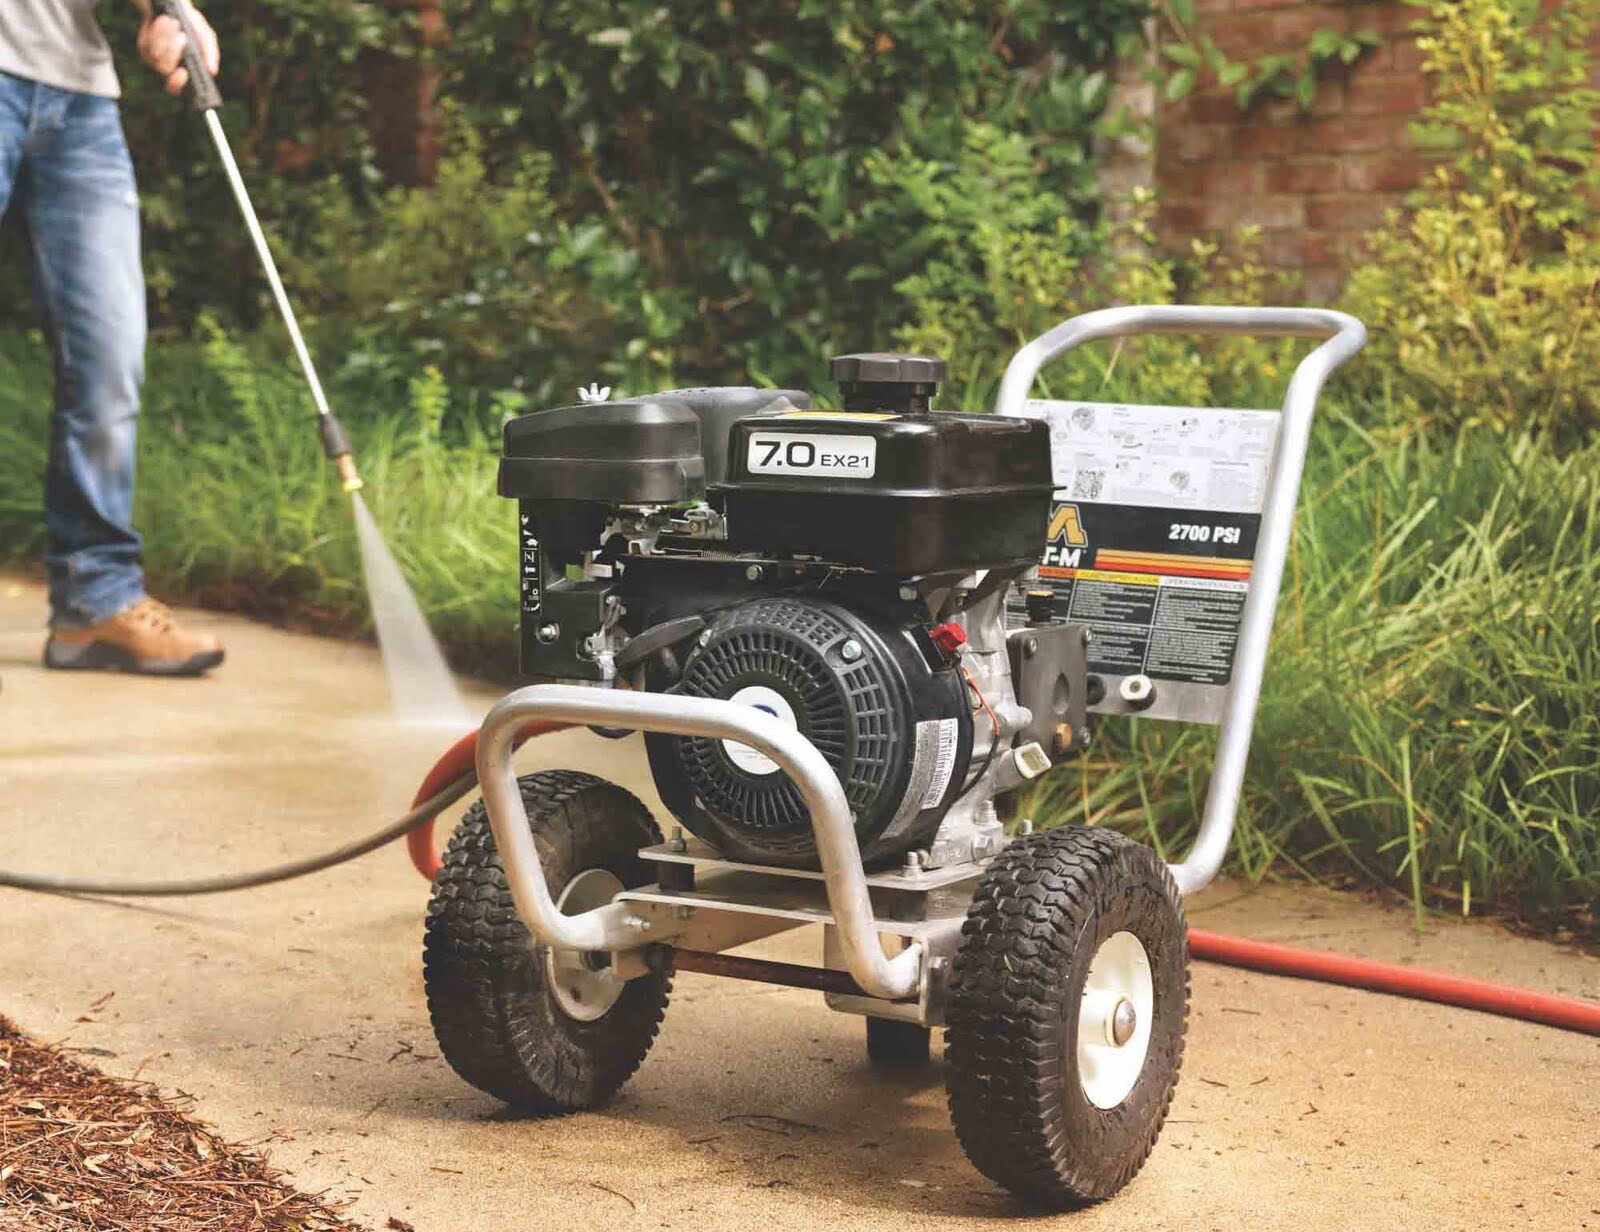
- Power washer: The centerpiece of your fence cleaning arsenal, a power washer is essential for delivering the high-pressure water needed to effectively remove dirt and grime from your fence.
- Safety goggles: Protecting your eyes is paramount when power washing. Safety goggles will shield your eyes from flying debris and detergents.
- Rubber gloves: To safeguard your hands from the pressure and chemicals involved in power washing, it’s crucial to don a pair of sturdy rubber gloves.
- Pressure washer detergent: While water alone can often do the trick, using a pressure washer detergent can enhance the cleaning power and help remove stubborn stains on your fence.
- Garden hose: You’ll need a garden hose to connect to the power washer and provide a water source. Make sure it’s long enough to reach the entire length of your fence.
- Tarps or plastic sheets: To protect surrounding plants, objects, and surfaces from overspray and splatter, lay down tarps or plastic sheets around the area where you’ll be power washing.
- Scrub brush: For heavily soiled or stained areas, a scrub brush can come in handy. It allows you to agitate the dirt and grime before power washing, ensuring a more thorough cleaning.
- Safety boots: To protect your feet from accidental slips, falls, or injuries, it’s essential to wear sturdy safety boots with good traction.
By ensuring you have all these supplies on hand, you’ll be well-equipped to tackle the task of power washing your fence with confidence and efficiency.
Preparations
Before diving into the power washing process, it’s important to make some preparations to ensure a smooth and safe cleaning operation. Here are the steps you should take to prepare your fence for power washing:
- Clear the area around the fence: Remove any outdoor furniture, decorations, or other items that may obstruct your access to the fence. Clearing the area will provide you with ample space to maneuver the power washer and prevent potential accidents or damage to nearby objects.
- Cover nearby plants and objects: Power washing can create a significant amount of overspray and splatter. To protect nearby plants, outdoor furniture, or any other objects in close proximity to the fence, cover them with tarps or plastic sheets. This will prevent any damage or staining caused by the cleaning process.
- Inspect the fence for damage: Before starting the power washing process, take a thorough look at your fence to identify any signs of damage such as loose boards, cracks, or rotted sections. Addressing these issues beforehand will prevent further damage during the power washing process. If you notice any major structural concerns, it’s advisable to consult a professional before proceeding.
- Remove any loose debris: Before firing up the power washer, make sure to remove any loose debris from the surface of your fence. Use a broom or brush to sweep away leaves, cobwebs, dirt, and any other visible debris. This step will prevent clogging or damage to the power washer and ensure a more effective cleaning.
These preparations are essential for a successful power washing experience. By clearing the area, covering nearby objects, inspecting for damage, and removing loose debris, you’ll be ready to take on the task of revitalizing your fence with confidence and efficiency.
Setting Up the Power Washer
Now that you have prepared the area and inspected your fence, it’s time to set up the power washer for the cleaning process. Follow these steps to ensure your power washer is properly set up:
- Connect the garden hose: Start by connecting your garden hose to the water inlet on the power washer. Ensure a secure connection, as any leaks or looseness can disrupt the water flow and decrease the pressure.
- Attach the appropriate nozzle: Most power washers come with multiple nozzle options, each producing different spray patterns and pressures. For fence cleaning, it’s recommended to use a nozzle with a wider spray pattern for better coverage. Consult your power washer’s manual to select the appropriate nozzle attachment and securely twist it onto the wand or lance.
- Adjust the pressure settings: Power washers usually have adjustable pressure settings to suit various cleaning needs. For fence cleaning, it’s generally best to start with a lower pressure setting and gradually increase if necessary. High-pressure settings can potentially damage the surface of your fence, so it’s essential to find the right balance during this setup process. Refer to your power washer’s manual for instructions on adjusting the pressure settings.
It’s important to note that different power washers might have slight variations in terms of setup and attachments. Therefore, it’s crucial to consult your power washer’s manual for specific instructions tailored to your model.
Once you have connected the hose, attached the nozzle, and adjusted the pressure settings, you’re now ready to move on to the next step: applying detergent to your fence.
When power washing a fence, start from the top and work your way down to avoid streaks and ensure an even clean. Adjust the pressure based on the type of material your fence is made of.
Applying Detergent
Applying detergent to your fence before power washing can significantly enhance the cleaning process and help remove stubborn stains. Follow these steps to effectively apply detergent to your fence:
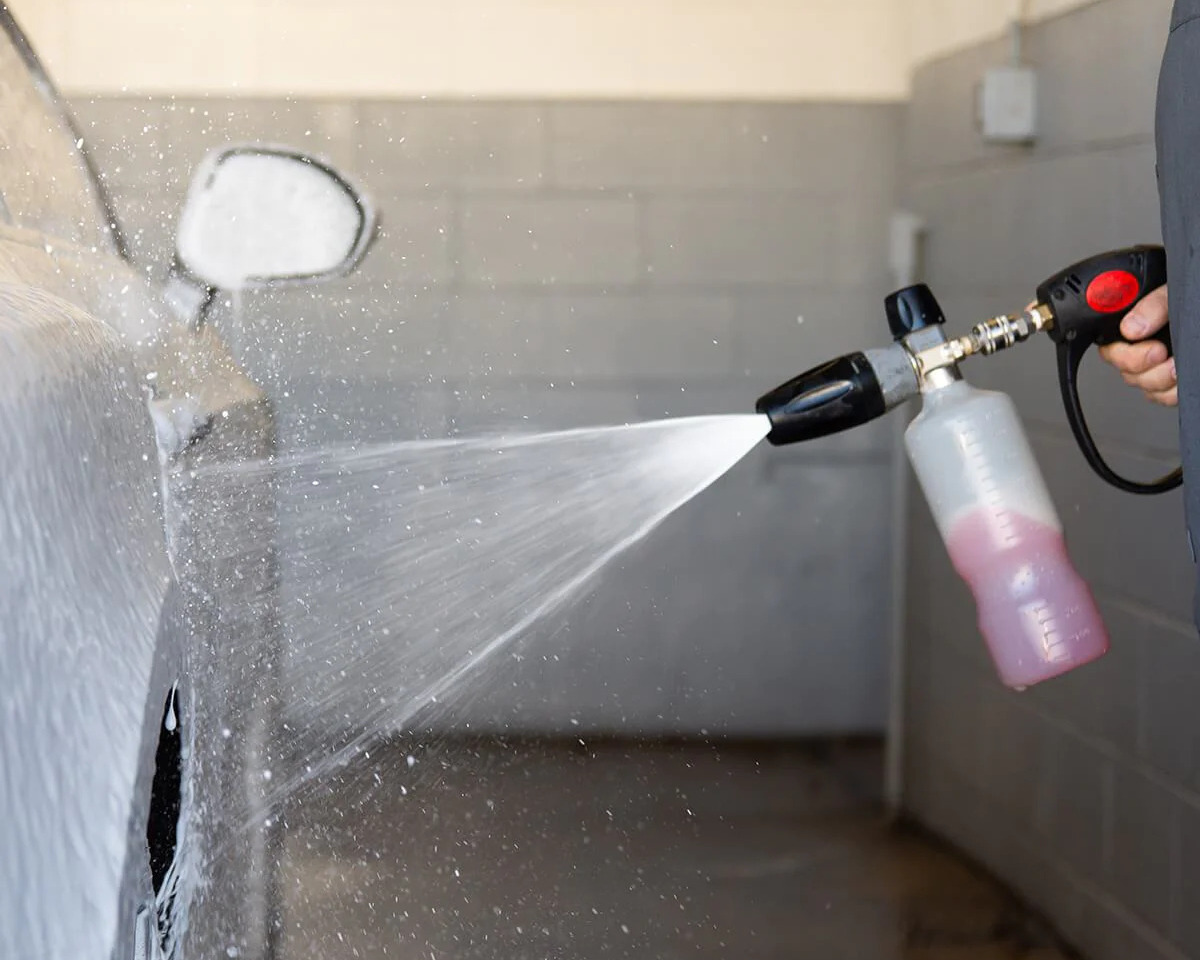
- Mix the pressure washer detergent: Start by mixing the appropriate amount of pressure washer detergent according to the manufacturer’s instructions. Some power washers have a built-in detergent tank, while others require you to apply the detergent manually using a separate container. Ensure that you use a detergent specifically formulated for use with a power washer.
- Apply detergent to the fence: Once the detergent is mixed, apply it to the surface of your fence using the power washer. Begin at the top of the fence and work your way down, applying the detergent evenly in broad, sweeping motions. Make sure to cover the entire surface of the fence, ensuring that the detergent penetrates any dirt or grime.
- Let the detergent soak for a few minutes: After applying the detergent, allow it to soak into the fence for a few minutes. This dwell time allows the detergent to break down and loosen dirt, stains, and other contaminants, making them easier to remove during the power washing process.
It’s essential to follow the manufacturer’s instructions for the specific detergent you are using, as different detergents may have varying instructions for application and dwell time. Additionally, ensure that the detergent you use is safe for your fence material, as some harsh chemicals may damage certain types of fences.
By applying the detergent correctly and allowing it to soak, you’ll maximize the cleaning power of your power washer and achieve a thorough and effective cleaning of your fence.
Read more: What Is The Best Power Washer
Power Washing the Fence
Now that you have applied the detergent to your fence, it’s time to proceed with the power washing process. Follow these steps to ensure efficient and effective cleaning:
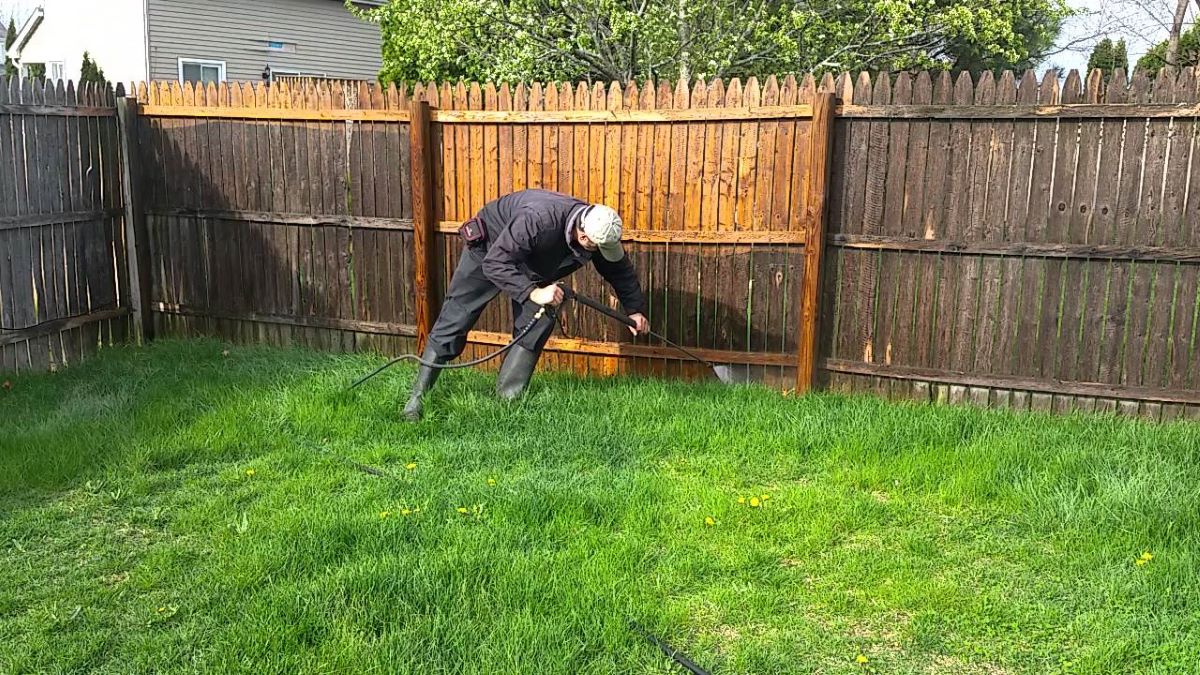
- Begin washing from top to bottom: Start at the top of the fence and work your way down. This ensures that dirt and debris are washed away in a downward motion, preventing streaking or the need for re-cleaning.
- Maintain a consistent distance from the fence: Keep a consistent distance between the power washer nozzle and the fence surface to achieve optimal cleaning results. This distance can vary depending on the power of your machine, but a general guideline is to keep the nozzle about 1-2 feet away from the fence. Experiment with different distances to find the most effective cleaning distance for your specific fence.
- Use even strokes, overlapping each pass: Move the power washer wand or lance in even, smooth strokes, making sure to overlap each pass slightly. This technique ensures that every part of the fence receives equal cleaning coverage and minimizes the chances of missed spots or uneven cleaning.
- Remove tough stains with a scrub brush: For stubborn stains that don’t come off with the power washer alone, use a scrub brush to agitate the area gently. Apply some pressure while scrubbing, but be careful not to damage the surface of the fence. The combination of power washing and scrubbing should effectively remove most stains.
- Rinse the fence thoroughly: Once you have completed power washing the entire fence, thoroughly rinse it with clean water. This step removes any remaining detergent residue and ensures that your fence is left clean and free of any cleaning agents.
Remember, safety is crucial during the power washing process. Always wear your safety goggles and rubber gloves to protect yourself from debris and chemicals, and avoid spraying the power washer directly at yourself or others.
By following these guidelines and techniques, you’ll achieve a thorough and effective power washing of your fence, restoring its original beauty and removing any dirt, grime, or stains.
Final Steps
After power washing your fence, it’s important to complete a few final steps to ensure the best possible results and maintain the longevity of your equipment. Here are the final steps to take:
- Allow the fence to dry completely: After power washing, allow your fence to dry completely before inspecting or performing any further actions. Depending on weather conditions, this may take a few hours or even a full day. Ensure that the fence is completely dry before proceeding to prevent moisture-related issues.
- Inspect the fence for any missed spots: Once your fence is dry, carefully inspect it for any spots or areas that may have been missed during the power washing process. If you notice any stubborn stains or dirt remnants, you can go back and give those areas some extra attention and cleaning.
- Remove the tarps or plastic sheets: If you used tarps or plastic sheets to protect nearby plants, objects, or surfaces, now is the time to remove them. Fold them up and store them for future use, or dispose of them responsibly.
- Clean and store the power washer properly: After completing the power washing task, clean your power washer thoroughly. Disconnect the garden hose and run clean water through the system to flush out any leftover detergent or debris. Wipe down the exterior of the unit and store it in a clean, dry place to prevent damage and ensure its longevity. Refer to your power washer’s manual for specific cleaning and storage instructions.
By following these final steps, you can ensure that your fence is thoroughly cleaned, any missed spots are addressed, and your power washing equipment is properly maintained for future use.
Now that you’ve completed the power washing process and finished the necessary steps, take a step back and admire the refreshed and rejuvenated appearance of your fence. It’s time to sit back, relax, and enjoy the beauty of your revitalized outdoor space!
Conclusion
Power washing your fence is a fantastic way to bring new life to your outdoor space. By removing dirt, grime, mold, and other unsightly substances, you can restore your fence’s original beauty and extend its lifespan. Throughout this article, we’ve provided you with comprehensive steps and tips to guide you through the power washing process successfully.
Starting with the necessary supplies, such as a power washer, safety goggles, rubber gloves, pressure washer detergent, and other items, you’ve learned the importance of gathering the right equipment for the task. Preparing the area, covering nearby plants and objects, inspecting the fence for damage, and removing loose debris are crucial steps in ensuring a smooth and safe cleaning operation.
You’ve also discovered how to set up the power washer correctly by connecting the garden hose, attaching the appropriate nozzle, and adjusting the pressure settings. Applying detergent, allowing it to soak, and power washing the fence using proper techniques, such as starting from top to bottom, maintaining a consistent distance, and using even strokes, have been outlined for optimal cleaning results.
After power washing, we emphasized the importance of allowing the fence to dry completely before inspecting it for any missed spots. Removing the tarps or plastic sheets used for protection and properly cleaning and storing the power washer are essential final steps to ensure the best possible results and equipment longevity.
Power washing your fence not only improves its appearance but also helps to maintain its structural integrity. By removing built-up dirt and grime, you prevent long-term damage caused by rotting or weakening of the materials. Regular power washing can also save you money by prolonging the need for costly repairs or replacements.
Remember, safety should always be a priority when power washing. Wear the appropriate protective gear, including safety goggles, rubber gloves, and safety boots, and follow the instructions and safety guidelines provided by the power washer manufacturer.
In conclusion, power washing your fence is a rewarding and worthwhile endeavor. By following the steps outlined in this article and taking the necessary precautions, you can transform your fence from dull and dirty to vibrant and clean. Enjoy the beauty of your revitalized fence and the enhanced appeal it brings to your outdoor space!
Frequently Asked Questions about How To Power Wash A Fence
Was this page helpful?
At Storables.com, we guarantee accurate and reliable information. Our content, validated by Expert Board Contributors, is crafted following stringent Editorial Policies. We're committed to providing you with well-researched, expert-backed insights for all your informational needs.







0 thoughts on “How To Power Wash A Fence”