Articles
How To Level Fence
Modified: October 18, 2024
Learn the best techniques and tips for leveling fences with our informative articles. Improve your fencing skills and achieve a professional finish.
(Many of the links in this article redirect to a specific reviewed product. Your purchase of these products through affiliate links helps to generate commission for Storables.com, at no extra cost. Learn more)
Introduction
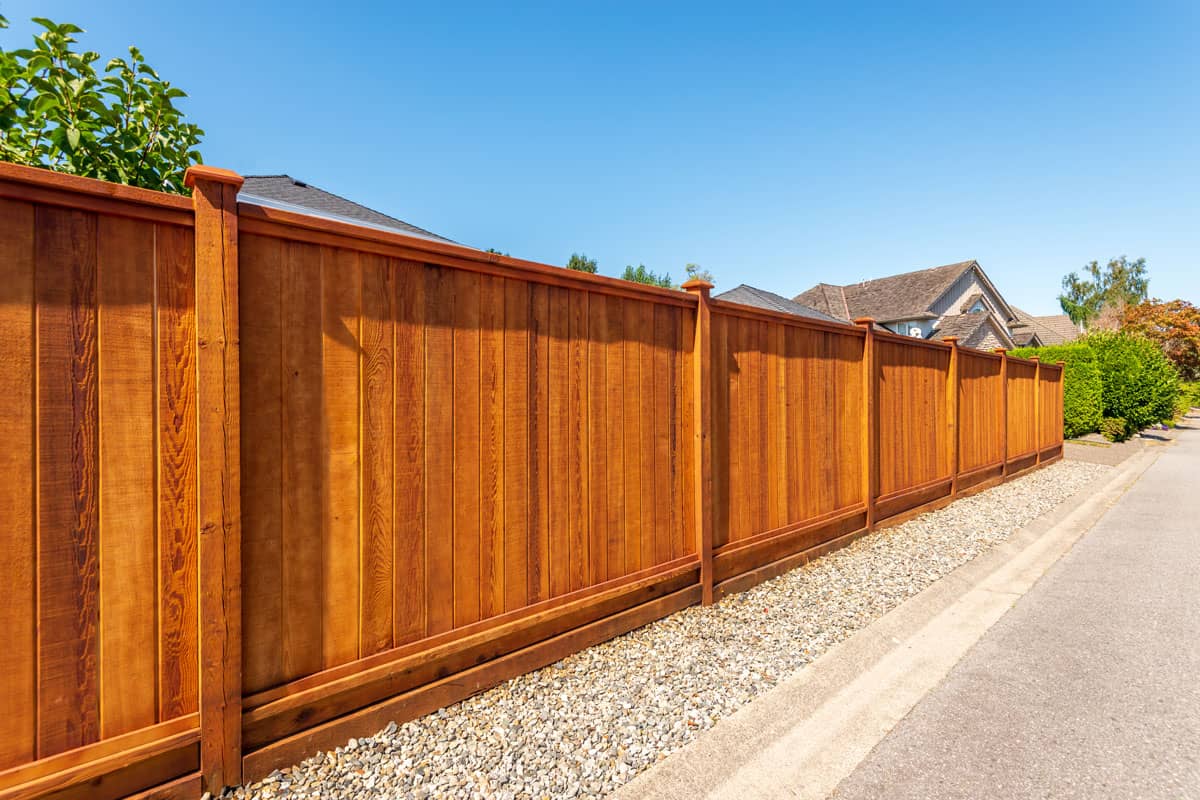
When it comes to installing a fence, ensuring that it is level is of utmost importance. A level fence not only enhances the overall appearance of your property but also plays a crucial role in its functionality and longevity. A sloping or uneven fence can result in gaps, sagging, and even structural issues over time.
In this comprehensive guide, we will walk you through the step-by-step process of leveling your fence to perfection. Whether you are a DIY enthusiast or a seasoned professional, these techniques and tips will help you achieve a beautifully level fence that will stand the test of time.
Key Takeaways:
- Achieving a level fence is crucial for visual appeal, structural integrity, and functionality. Proper preparation, alignment, and securing ensure a visually pleasing and long-lasting fence that enhances your property’s overall look and value.
- Clearing the area, preparing the posts, marking the height, and meticulous panel installation are essential steps in leveling a fence. Attention to detail and regular level checks result in a professionally installed and visually appealing fence that enhances your property’s aesthetic appeal and functionality.
Read more: How Far Does Laser Level Go For Fence?
Understanding the Importance of Leveling Your Fence
Why is it so crucial to ensure that your fence is level? Let’s explore some of the key reasons:
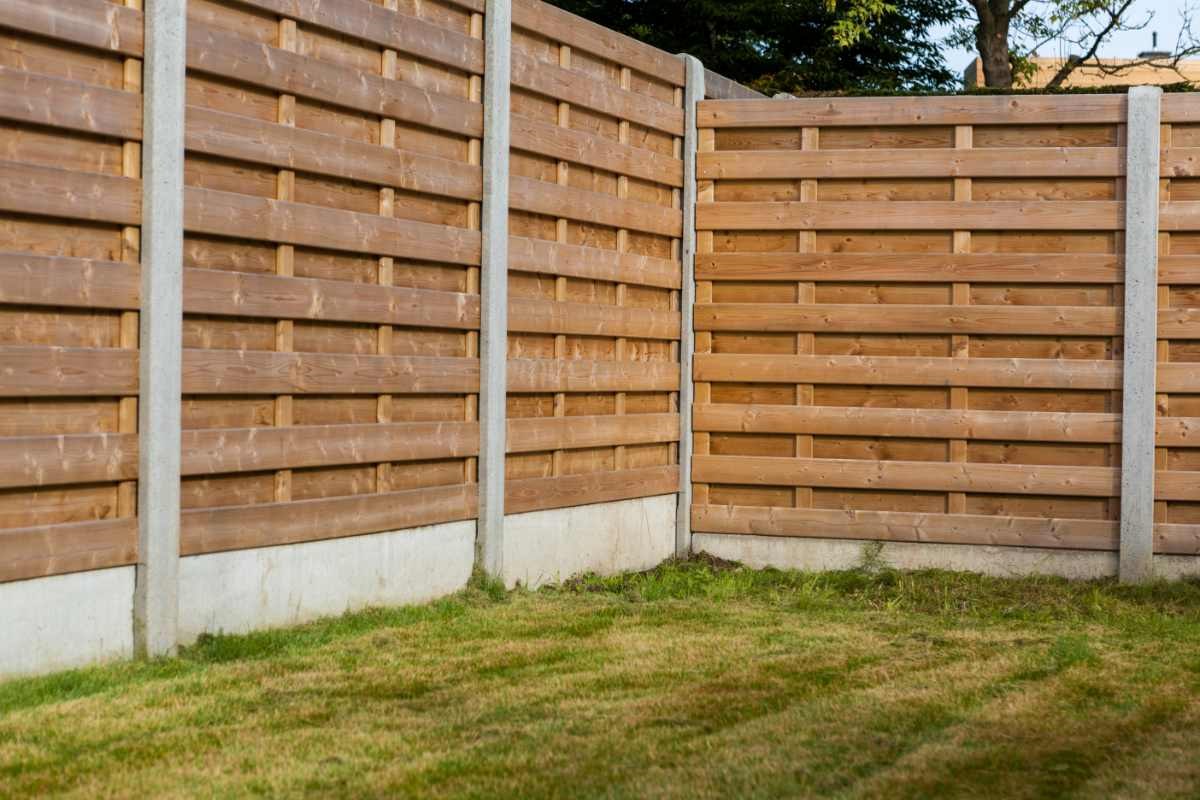
- Visual Appeal: A level fence creates a visually pleasing and aesthetically balanced look for your property. It adds a touch of professionalism and enhances the overall curb appeal of your home. A crooked or uneven fence can make your property look unkempt and unattractive.
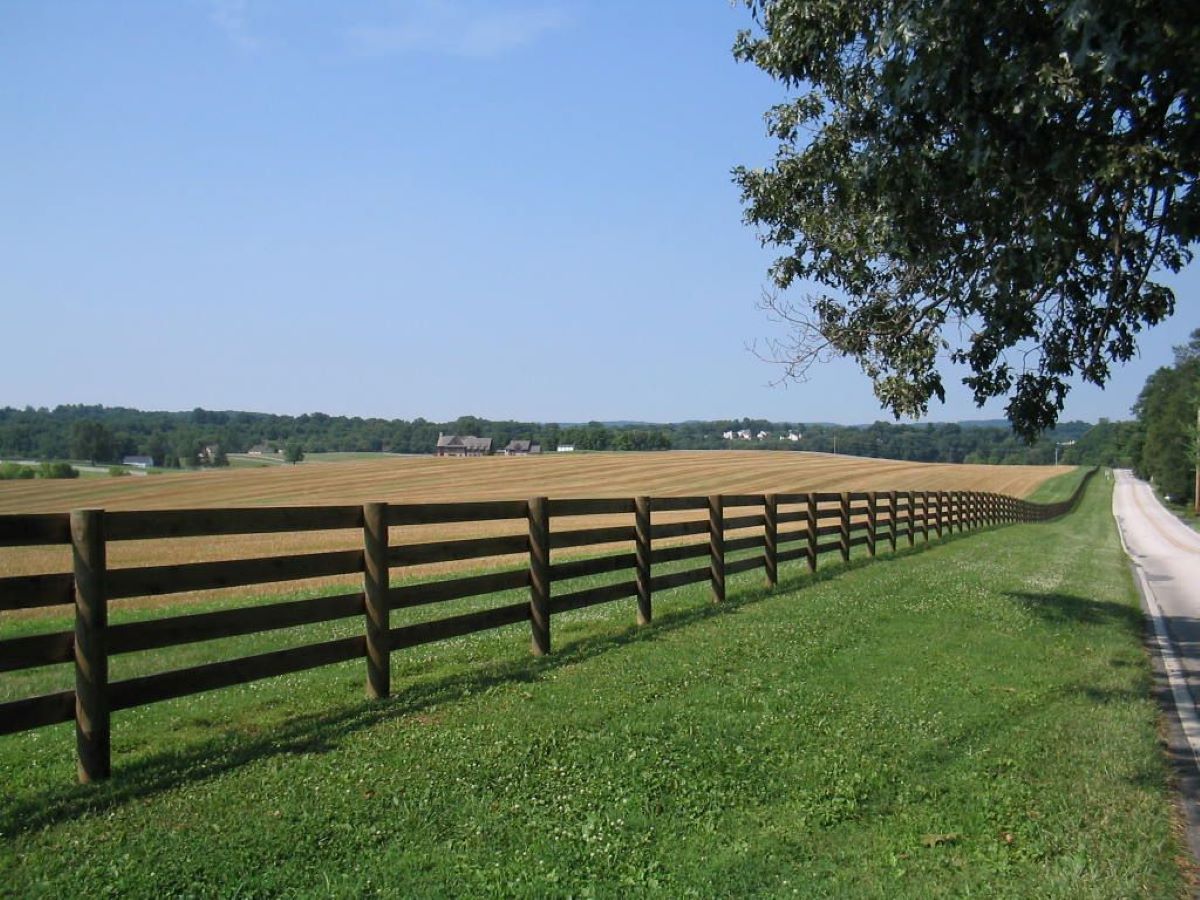
- Structural Integrity: A level fence provides stability and structural integrity. It ensures that the weight of the fence is evenly distributed, preventing sagging or leaning. This is particularly important for taller fences that may be exposed to strong winds or other external forces.
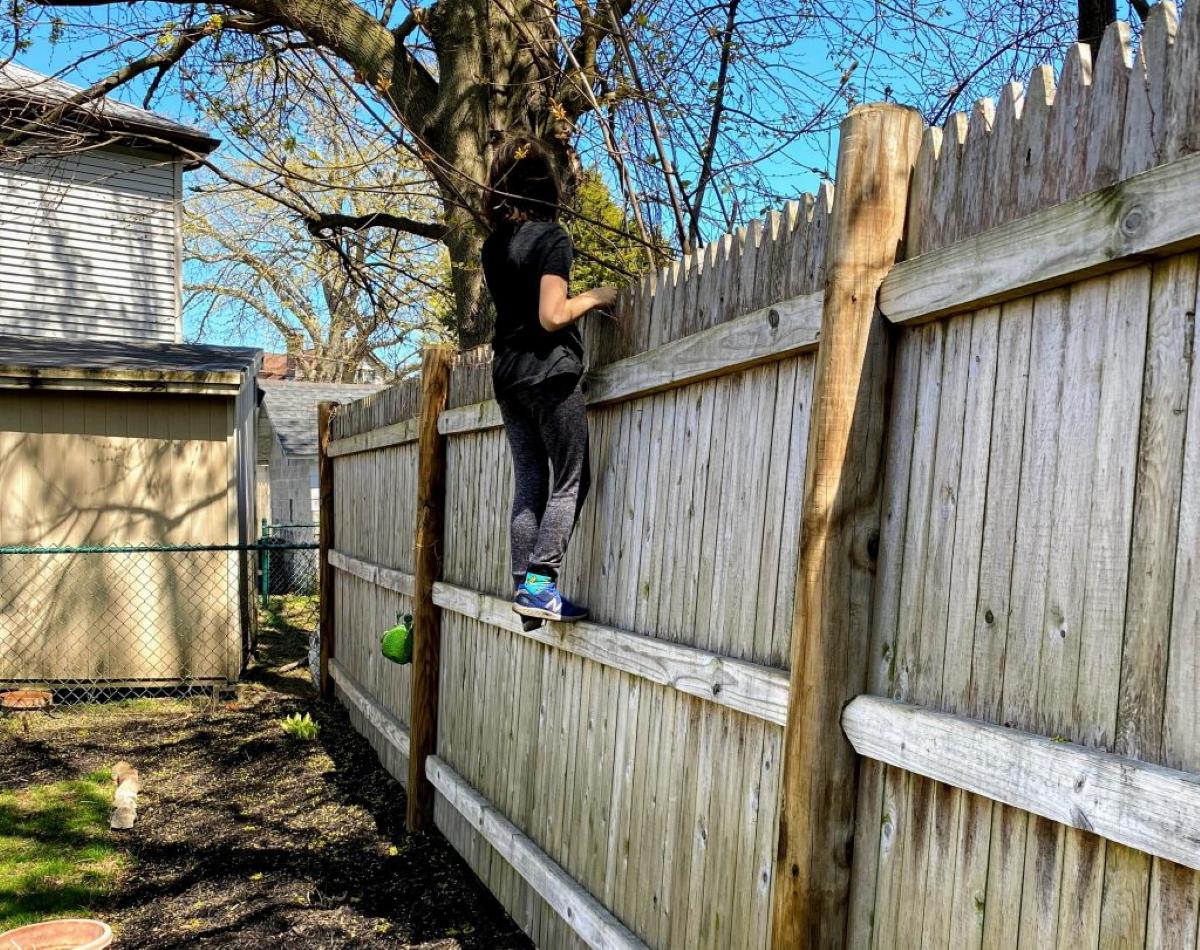
- Security and Privacy: A properly leveled fence provides optimal security and privacy for your property. Gaps or uneven sections can compromise the security of your home and allow unwanted intrusion or escape of pets. A level fence creates a barrier that offers better protection and privacy.
- Easier Maintenance: A level fence is easier to maintain in the long run. With a level surface, repairs and maintenance tasks such as painting, staining, or replacing boards become more straightforward. It also minimizes the chance of debris or water accumulation, which can lead to rot or other damage.
By understanding the importance of leveling your fence, you can ensure that your investment in a fence is fully realized with enhanced visual appeal, improved functionality, and increased durability.
Tools and Materials Needed
Before you begin the process of leveling your fence, gather the following tools and materials:
- Measuring tape: Essential for measuring the height and distance between posts.
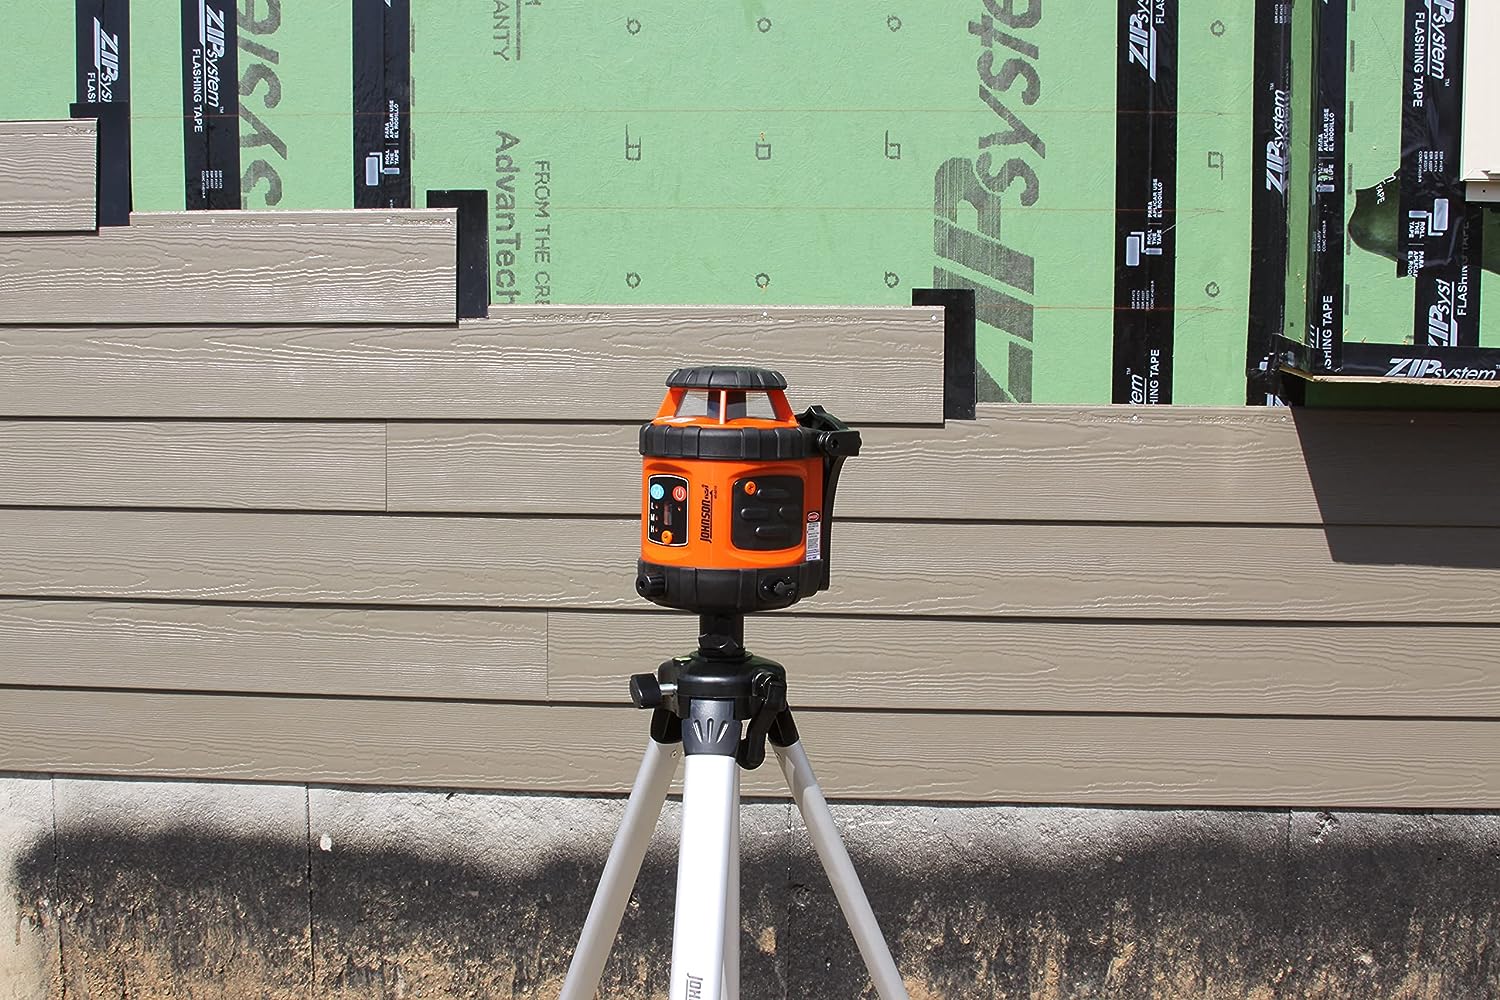
- Level: A long spirit level, preferably at least 4 feet in length, to accurately determine if the fence is level.
- String line: Used to create a level reference line along the fence.
- Post hole digger: For digging the holes to secure the fence posts.
- Shovel: To remove any debris or dirt from the fence line.
- Concrete mix: For setting the fence posts securely in the ground.
- Gravel: Used as a base in the post holes for better drainage and stability.
- Hammer: To drive in any necessary nails or stakes.
- Saw: In case you need to trim or cut any fence panels or boards.
- Screws or nails: To secure the panels or boards to the fence posts.
- Personal protective equipment: Safety goggles, gloves, and ear protection.
These tools and materials will help you complete the fence leveling process successfully. Make sure you have them on hand before you begin.
Step 1: Clearing the Area
Before you can begin leveling your fence, it’s essential to clear the area where the fence will be installed. This ensures a clean and level surface for the fence to be constructed.
Follow these steps to clear the area:
- Remove any existing vegetation or debris along the fence line. This includes grass, shrubs, rocks, and other objects that may obstruct the installation process.
- Use a shovel to dig up and remove any roots or large rocks that may be in the way.
- Ensure that the ground is relatively even and free of any significant bumps or depressions.
- If necessary, use a rake or a garden leveling tool to even out small uneven areas.
- Clear a path around the fence line to provide easy access for the installation process.
By clearing the area, you create a clean canvas for fence installation and ensure that the final result will be level and visually appealing.
Step 2: Preparing the Posts
Once you have cleared the area, the next step in leveling your fence is to prepare the fence posts. The posts serve as the foundation and support for the entire fence structure.
Follow these steps to prepare the fence posts:
- Measure and mark the placement of the fence posts along the fence line. Use a measuring tape to ensure equal spacing between the posts.
- Using a post hole digger, dig the holes for the fence posts. Make sure the holes are deep enough to provide sufficient support for the height of the fence.
- Add a layer of gravel at the bottom of each hole to improve drainage and provide stability for the posts.
- Insert the fence posts into the holes, making sure they are secure and upright.
- Use a level to check the vertical alignment of each post. Adjust as needed to ensure they are perfectly straight.
- Add concrete mix around the posts, following the manufacturer’s instructions. This will help to secure the posts in place.
- Double-check the level of the posts to ensure they are plumb and level. Make any adjustments while the concrete is still wet.
- Allow the concrete to dry and cure as per the instructions provided.
By properly preparing the fence posts, you lay the foundation for a level and sturdy fence that will withstand the test of time.
Read more: How To Level A Laser Level Tripod
Step 3: Marking the Height
After the fence posts are securely in place, the next step in leveling your fence is to mark the desired height for the fence panels. This ensures that the panels are installed at a consistent and level height throughout the fence.
Follow these steps to mark the height:
- Using a measuring tape, measure and mark the desired height for the fence panels on each post. Make sure to measure from the ground up to ensure accuracy.
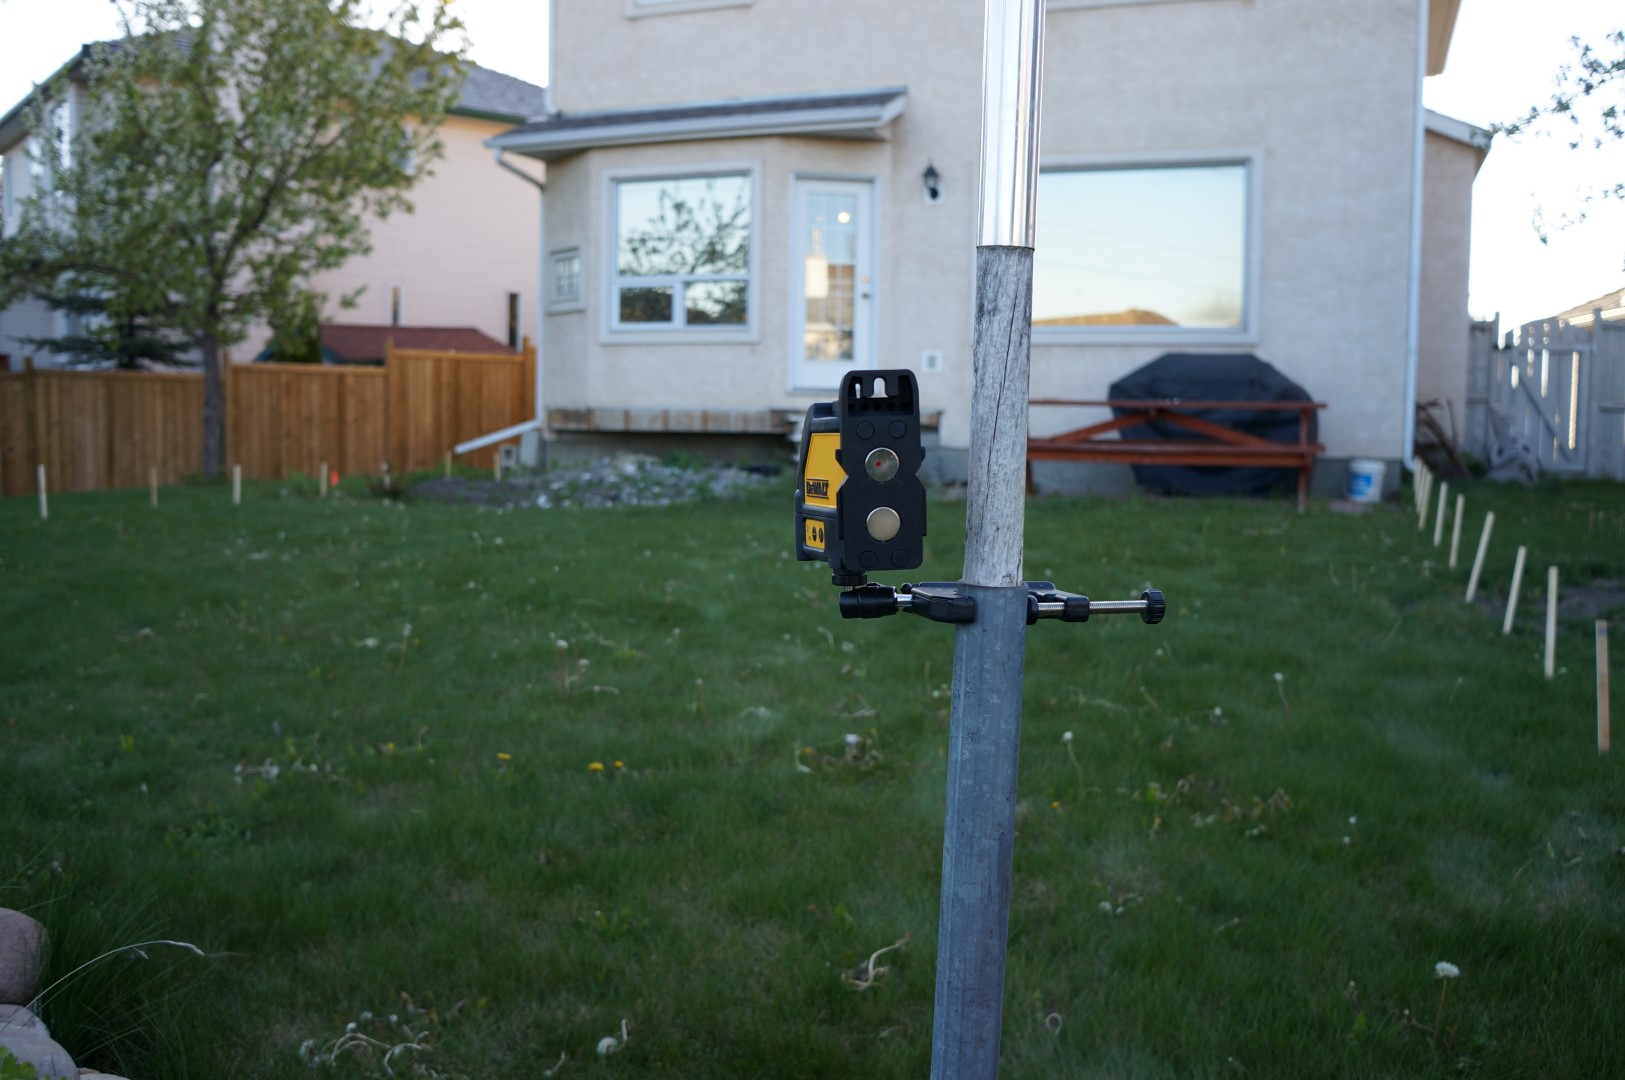
- Attach a string line to the first and last posts along the fence line at the marked height. This will serve as a reference line for installing the panels.
- Check the level of the string line using a level. Adjust the string if needed to ensure it is perfectly level.
- Attach additional string lines to the intermediate posts between the first and last posts, making sure they align with the reference line. This will aid in keeping the panels level and consistent across the fence.
By marking the height with string lines, you create a visual guide that will help ensure all fence panels are installed at the desired level, resulting in a professional-looking and uniform fence.
Use a long level to ensure the fence posts are straight and level before securing them in place. This will help prevent any leaning or unevenness in the fence line.
Step 4: Installing the First Panel
Now that you have marked the height for the fence panels, it’s time to begin installing them. Starting with the first panel is essential to establish a level and straight foundation for the rest of the fence.
Follow these steps to install the first panel:
- Position the first fence panel between the first and second posts, aligning it with the string lines and making sure it is level with the marked height.
- Use a level to check the vertical alignment of the panel. Adjust the panel as needed to ensure it is straight.
- Once the panel is aligned and level, attach it to the fence posts using screws or nails. Make sure the panel is securely attached to provide stability.
- Double-check the level of the panel after it is attached. Make any adjustments if necessary.
By installing the first panel correctly, you establish a reference point for the rest of the fence installation and ensure that the subsequent panels will be level and aligned.
Step 5: Checking for Level
Once the first panel is installed, it’s crucial to check for levelness before proceeding with the rest of the fence installation. This step ensures that your fence will maintain a consistent and level height throughout its length.
Follow these steps to check for level:
- Place a level against the installed panel to determine its vertical alignment. Make sure the bubble is centered between the level indicators.
- Move along the length of the fence, checking each panel for levelness. Use the level against the top and sides of the panels to ensure they are all straight and even.
- Adjust any panels that are not level by gently shifting or repositioning them until they align with the desired level.
- Take your time during this step to ensure each panel is properly leveled. A meticulous approach will result in a visually pleasing and structurally sound fence.
By checking for level at this stage, you can address any minor deviations or inconsistencies, ensuring that your fence maintains a uniform and professional appearance.
Step 6: Adjusting the Panels
After checking for level and making any necessary adjustments, it’s time to ensure that all the fence panels are properly aligned and spaced. This step is crucial for achieving a seamless and visually appealing fence.
Follow these steps to adjust the panels:
- Starting from the first installed panel, align each subsequent panel with the string line and the previously installed panels.
- Check the levelness and alignment of each panel as you go. Use a level against the top and sides of the panels to ensure they are straight and evenly spaced.
- Make any necessary adjustments if a panel is not aligned or spaced correctly. This may involve shifting the panel horizontally or vertically to achieve the desired result.
- Double-check the levelness and alignment of each panel after making adjustments to ensure they are uniform and visually pleasing.
By carefully adjusting and aligning the panels, you create a cohesive and well-structured fence design that enhances the overall aesthetic appeal of your property.
Read more: How To Work A Water Level Or Laser Level
Step 7: Securing the Panels
Once you have adjusted and aligned all the fence panels to your satisfaction, it’s time to secure them in place. Properly securing the panels ensures stability and longevity for your fence.
Follow these steps to secure the panels:
- Using screws or nails, attach the panels to the fence posts. Place the fasteners through the pre-drilled holes in the panels and into the posts.
- Make sure to evenly space the fasteners along the panels to ensure a secure attachment.
- Check the levelness and alignment of each panel once again after securing them. Make any final adjustments if necessary.
- Gently shake each panel to test its stability. If any panels feel loose, tighten the fasteners or make any additional adjustments as needed.
Securing the panels firmly in place provides the necessary stability, ensuring that your fence can withstand external forces and maintain its levelness over time.
Step 8: Repeating the Process
Once you have completed the initial installation and securing of the first set of panels, you can now repeat the process for the remaining sections of the fence.
Follow these steps to continue leveling and installing the fence:
- Move to the next section along the fence line and repeat Steps 4 to 7, starting with installing the first panel in that section.
- Ensure that each panel is aligned with the string line, level, and properly spaced from neighboring panels.
- Secure the panels to the fence posts using screws or nails, ensuring a stable and secure attachment.
- Check the levelness and alignment of each panel as you go, making any necessary adjustments to maintain a straight and level fence.
- Continue this process for each remaining section of the fence until the entire fence is installed and leveled.
By diligently following these steps and repeating the process for each section, you can achieve a consistent, level, and visually pleasing fence throughout your entire property.
Conclusion
Leveling your fence is a crucial step in ensuring its visual appeal, structural integrity, and functionality. By following the step-by-step process outlined in this guide and using the appropriate tools and materials, you can achieve a level and professionally installed fence that will enhance the overall look of your property.
Remember, a level fence not only contributes to the aesthetic appeal of your home but also provides increased security, privacy, and easier maintenance in the long run. It’s important to take the time to properly clear the area, prepare the posts, mark the height, install and adjust the panels, and secure them in place.
Throughout the process, regularly check for levelness and alignment to ensure a consistent and uniform fence. If any adjustments are needed, take the necessary time to make them, as it will result in a more polished final product.
By investing the effort and attention to detail required to level your fence, you can enjoy a beautifully crafted and long-lasting fence that will add value and charm to your property for years to come.
Frequently Asked Questions about How To Level Fence
Was this page helpful?
At Storables.com, we guarantee accurate and reliable information. Our content, validated by Expert Board Contributors, is crafted following stringent Editorial Policies. We're committed to providing you with well-researched, expert-backed insights for all your informational needs.


0 thoughts on “How To Level Fence”