
Articles
How To Build A Brick Fence
Modified: August 27, 2024
Learn how to build a durable and stylish brick fence with our comprehensive articles. Enhance your property's security and aesthetic appeal with our step-by-step guides and expert tips.
(Many of the links in this article redirect to a specific reviewed product. Your purchase of these products through affiliate links helps to generate commission for Storables.com, at no extra cost. Learn more)
Introduction
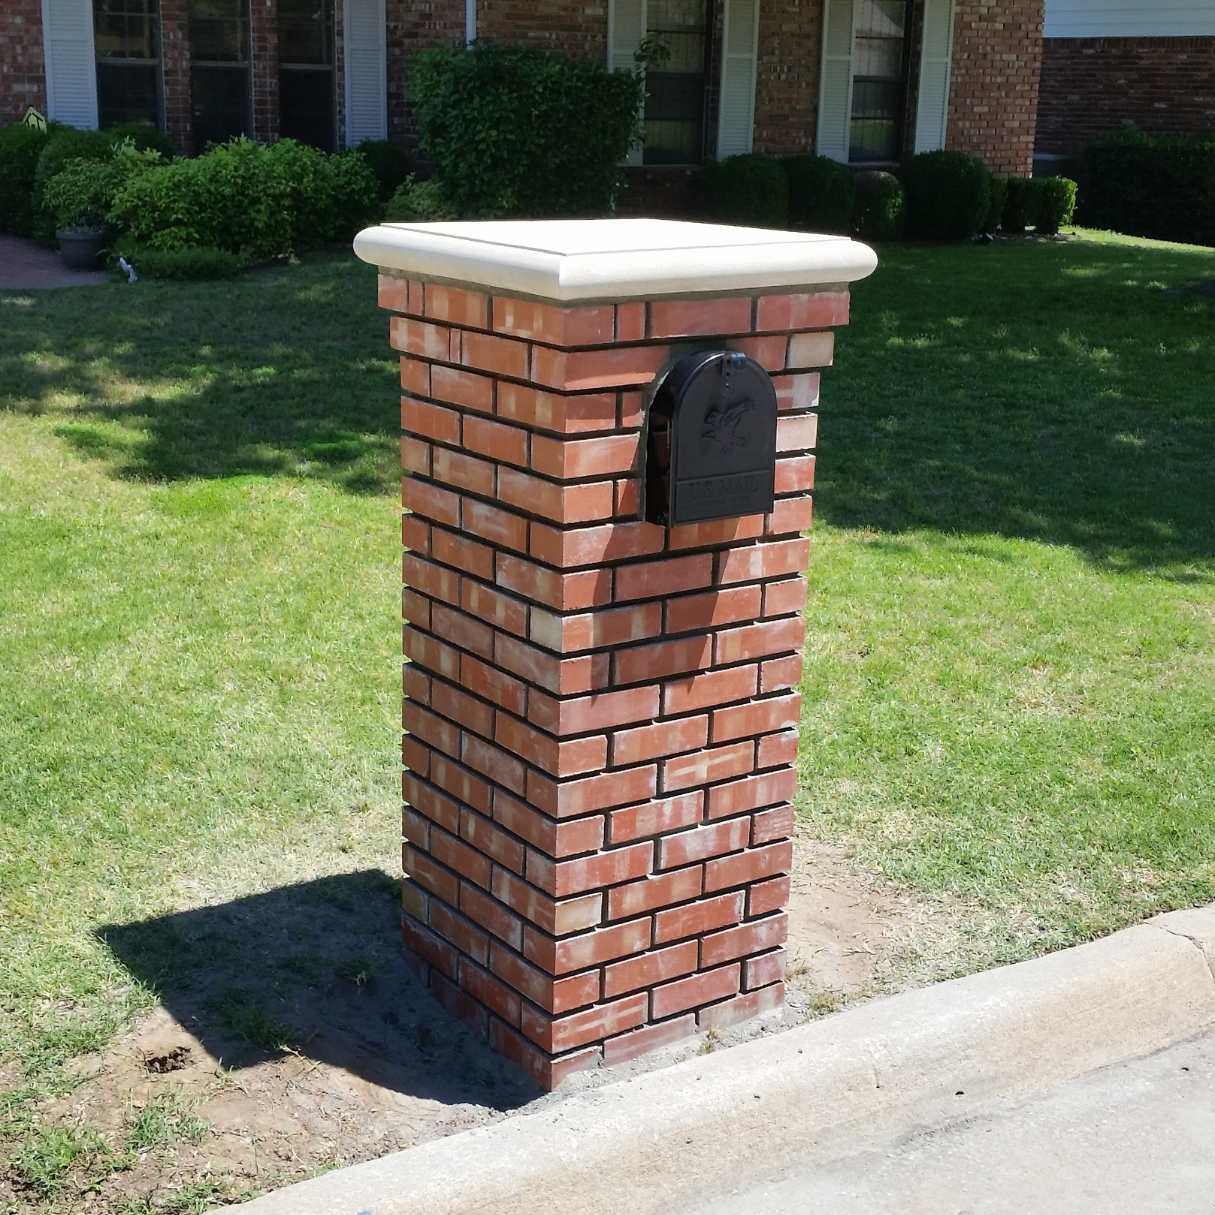
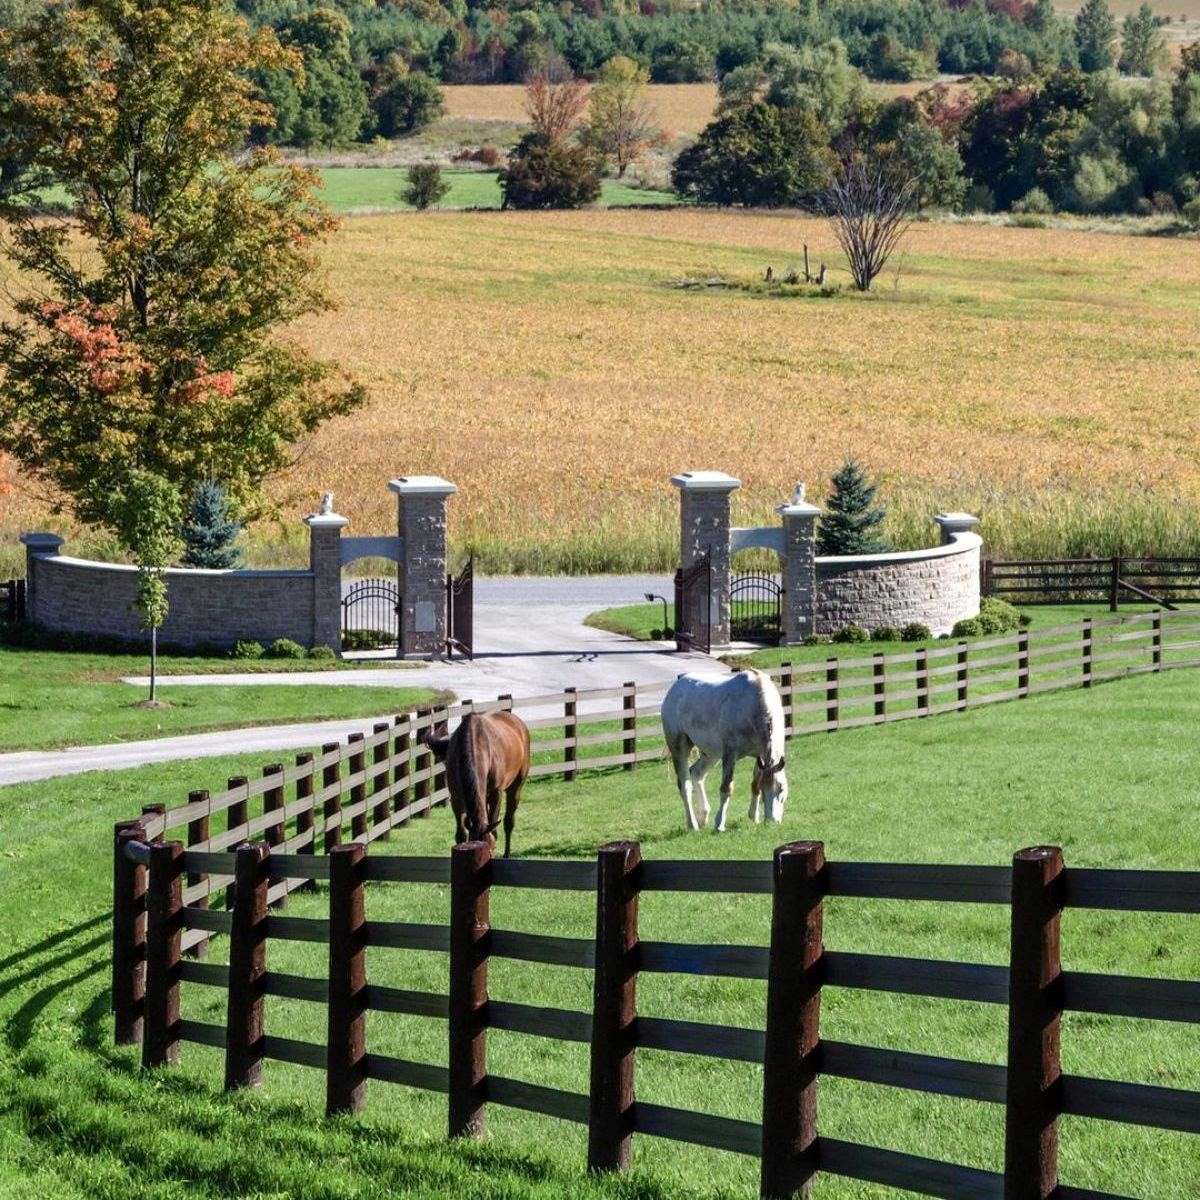
Building a brick fence can not only enhance the security and privacy of your property but also add aesthetic appeal to your outdoor space. Whether you are considering a brick fence for your front yard, backyard, or around a pool area, this comprehensive guide will walk you through the process step by step. From planning and preparation to the final finishing touches, you’ll learn everything you need to know to build a sturdy and beautiful brick fence.
Before diving into the construction process, it’s essential to have a clear vision of what you want to achieve with your brick fence. Consider factors such as the purpose of the fence, the desired height, the overall design, and any specific features you want to include. Are you looking for a classic, traditional look, or do you prefer a more modern and sleek design? These considerations will help guide you throughout the planning and construction phases.
Additionally, check with your local building codes and regulations to ensure compliance and obtain any necessary permits. It is important to follow all guidelines and obtain the required permissions before you begin constructing your brick fence.
Note: Building a brick fence is a labor-intensive project that requires experience and expertise. If you are not confident in your abilities, it is highly recommended to hire professional contractors who specialize in brickwork. They have the necessary skills and tools to ensure a successful and durable installation.
Now, let’s dive into the step-by-step process of building a brick fence – from planning and preparation to the final finishing touches. Let’s get started!
Key Takeaways:
- Thorough planning, precise layout marking, and proper foundation excavation are crucial for building a sturdy and visually appealing brick fence. Attention to detail at every step ensures long-term durability and structural integrity.
- Attaching fence panels, adding finishing touches, and regular maintenance are essential for completing a beautiful brick fence. These final steps enhance the fence’s aesthetics, functionality, and longevity, creating a secure and visually appealing property addition.
Read more: How To Build A Wattle Fence
Step 1: Planning and Preparation
The first step in building a brick fence is thorough planning and preparation. This stage is crucial as it sets the foundation for a successful and smooth construction process. Here’s what you need to do:
- Measure and Determine Boundary: Measure the area where you intend to build the fence and determine the boundary lines. Use stakes and string to mark the perimeter, ensuring accuracy and alignment.
- Check with Local Authorities: Before proceeding, consult your local authorities or homeowner’s association to check for any zoning restrictions or permits required for building a brick fence. Adhering to regulations will ensure a hassle-free construction process.
- Create a Design Plan: Decide on the design and style of your brick fence. Consider factors such as the desired height, width, and decorative features. Sketch out your design plan to visualize the final outcome.
- Calculate Material Requirements: Estimate the amount of materials you’ll need for your brick fence. This includes bricks, mortar, gravel, sand, and any additional decorative elements. It’s recommended to add a small percentage to account for waste or mistakes.
- Gather Tools and Equipment: Make a list of the tools and equipment you’ll need for the construction. This may include a measuring tape, level, masonry trowel, masonry saw, wheelbarrow, mixing paddle, and safety gear such as gloves and goggles.
- Set a Budget: Determine a budget for your project. Consider the cost of materials, labor (if hiring professionals), and any additional expenses such as permits or equipment rental. Having a budget in place will help you stay on track during the construction process.
- Identify Utilities: Contact your local utility companies to identify the location of underground utilities such as water, gas, or electrical lines. It’s crucial to avoid damaging or interfering with these utilities during the excavation process.
By taking the time to plan and prepare adequately, you’ll ensure that your brick fence construction progresses smoothly. This preparation phase sets the stage for a successful and efficient project. Once you’ve completed the planning stage, you’re ready to move on to the next step: marking the layout of your fence.
Step 2: Marking the Layout
After completing the planning and preparation stage, the next step in building a brick fence is marking the layout. This involves precisely marking the position of the fence posts and identifying the trench for the foundation. Here’s how to mark the layout:
- Measure and Mark Post Positions: Use a measuring tape to determine the spacing between the fence posts. Typically, it’s recommended to have a spacing of 6 to 8 feet between posts. Mark the positions of the posts on the ground using stakes, ensuring they align with the previously determined boundary lines.
- Secure String Line: Attach a string line to the stakes, creating a straight line that represents the top of the brick fence. This line will serve as a guide to ensure the fence is level and straight as you build it.
- Mark Trench for Foundation: Use a shovel or a marking paint to mark the trench for the foundation. The width of the trench depends on the dimensions of the fence posts and the desired thickness of the foundation. Typically, a width of 12 to 18 inches and a depth of 8 to 10 inches are suitable.
- Double-Check Alignment: Before proceeding, double-check the alignment of the stakes, string line, and marked trench. It’s important to ensure that everything is square and in the correct position before moving on to the next step.
By accurately marking the layout, you establish a guide for the construction process, ensuring that the brick fence is built straight and level. Taking the time to properly mark the positions of the fence posts and the trench for the foundation will contribute to the overall structural integrity of the fence.
Once you have completed marking the layout, you’re ready to move on to the next step: excavating the trench for the foundation. Proper excavation is crucial for providing a stable base for your brick fence and ensuring its long-term durability.
Step 3: Excavating the Trench
Excavating the trench is a vital step in building a brick fence, as it provides the foundation for the structure. Proper excavation ensures stability and prevents the fence from shifting or sinking over time. Here’s how to excavate the trench:
- Clear the Area: Remove any obstructions, such as rocks, debris, or vegetation, from the marked trench area. It’s important to have a clean and clear workspace.
- Begin Excavation: Use a shovel or a trenching tool to start digging along the marked trench, working from one end to the other. Dig to the desired depth, ensuring that the trench is uniform in width and depth throughout.
- Check for Level: Regularly check the levelness of the trench using a carpenter’s level. This will ensure that the foundation is even and uniform, allowing for a sturdy fence installation.
- Remove Excess Soil: As you excavate, place the soil in a wheelbarrow or designated dumping area. Remove any excess soil that accumulates to maintain a neat and tidy workspace.
- Compact the Trench: Once the excavation is complete, use a tamper or a plate compactor to compact the soil at the bottom of the trench. This will provide a solid base for the foundation.
It’s important to note that the depth of the trench will depend on the local frost line or any specific requirements outlined by local building codes. Consult with relevant authorities or a professional contractor to determine the appropriate depth for your specific location.
Excavating the trench properly ensures a strong foundation for your brick fence. Taking the time to dig the trench to the correct depth and maintain a level surface will contribute to the overall stability and longevity of the structure.
With the trench excavated, you’re now ready to move on to the next step: pouring the footings for your brick fence.
Step 4: Pouring the Footings
Pouring the footings is a critical step in building a brick fence as it provides the base support for the structure. The footings distribute the weight of the fence evenly, preventing it from sinking into the soil over time. Here’s how to pour the footings:
- Create Formwork: Use wooden boards to create sturdy formwork along the sides of the excavated trench. The formwork should be positioned precisely along the marked layout and the desired width of the footings. Ensure that the formwork is securely in place and level.
- Mix the Concrete: Follow the manufacturer’s instructions to mix the concrete for the footings. Typically, a mix of cement, sand, and gravel is used. Use a wheelbarrow or mixing tray to combine the materials thoroughly until a consistent mixture is achieved.
- Pour the Concrete: Fill the formwork with the mixed concrete, starting from one end and working your way to the other. Use a shovel or a concrete pouring tool to ensure even distribution of the concrete within the formwork. It’s important to pour the footings to the appropriate depth, usually around 8 to 10 inches.
- Smooth and Level the Surface: Use a straight board or a trowel to level the surface of the poured concrete. Smooth out any uneven areas, ensuring a flat and even finish.
- Reinforce with Rebar: To enhance the strength of the footings, you can insert rebar into the poured concrete while it’s still wet. This reinforcement adds structural integrity and prevents cracking or shifting over time.
- Cure the Concrete: Allow the poured footings to cure for the recommended time. Follow the instructions provided by the concrete manufacturer for the curing process. This typically involves keeping the footings moist and protected from extreme temperatures while they set and strengthen.
Pouring the footings correctly is crucial for the stability and longevity of your brick fence. Ensuring that the formwork is secure, the concrete is evenly distributed, and the surface is smooth and level will provide a solid base for the fence structure.
With the footings poured and cured, you’re now ready to move on to the next step: laying the first course of bricks for your fence.
Read more: How To Build An Electric Fence
Step 5: Laying the First Course of Bricks
Laying the first course of bricks forms the foundation of your brick fence. This step is crucial as it establishes the level and alignment for the rest of the construction. Here’s how to lay the first course of bricks:
- Prepare Mortar: Begin by preparing the mortar according to the manufacturer’s instructions. Use a mixing paddle or a mortar mixer to achieve a consistent and workable mortar mixture.
- Apply Mortar Bed: Using a trowel, apply a thin, even layer of mortar along the top surface of the cured footings. This will serve as the bed for the bricks.
- Layout Guide Strings: Attach guide strings at the desired height and level along the outer edges of the first course of bricks. These strings will ensure that the bricks are aligned and level as you lay them.
- Begin Laying Bricks: Starting from one corner, place a brick along the mortar bed, applying slight pressure to embed it firmly. Use a level to ensure the brick is plumb both vertically and horizontally. Repeat this process, adding more bricks along the first course, until you reach the end.
- Check Alignment: Regularly check the alignment and levelness of the bricks using a level and guide strings. Adjust as needed to maintain a straight and even first course.
- Trim Bricks if Necessary: In some cases, you may need to trim bricks to fit along the edges or around corners. Use a masonry saw or a brick chisel to carefully cut the bricks to the desired size and shape.
- Fill Gaps with Mortar: As you lay the first course of bricks, there may be small gaps or spaces between them. Fill these gaps with additional mortar, ensuring a solid and secure foundation.
- Brush Away Excess Mortar: Use a soft brush to remove any excess mortar from the surface of the bricks. This will help achieve a clean and professional look.
By carefully laying the first course of bricks, you establish a solid and level base for your brick fence. Paying attention to alignment, leveling, and filling gaps will contribute to the overall stability and aesthetic appeal of the structure.
With the first course of bricks laid, you’re now ready to move on to the next step: building the remaining courses to create the height of your brick fence.
When building a brick fence, make sure to properly prepare the foundation by digging a trench and filling it with concrete. This will provide a stable base for the bricks and ensure the longevity of the fence.
Step 6: Building the Remaining Courses
Building the remaining courses of bricks is an essential step in constructing the height and structure of your brick fence. This step involves carefully stacking the bricks, applying mortar, and maintaining alignment throughout the process. Here’s how to build the remaining courses:
- Continue the Brickwork: Starting from the second course, apply a layer of mortar onto the top surface of the bricks in the first course. Use a trowel to spread the mortar evenly.
- Lay Bricks: Place the bricks on top of the mortar bed, ensuring a tight fit with minimal gaps. Apply slight pressure to embed the bricks into the mortar, ensuring they are level and aligned with the guide strings.
- Check for Plumb and Levelness: Regularly check the vertical and horizontal alignment of the bricks using a level and guide strings. Adjust as necessary to maintain a straight and level fence.
- Continue Stacking Courses: Repeat the process of applying mortar, laying bricks, and checking alignment for each subsequent course. Use the guide strings as reference points to ensure consistency and uniformity throughout the construction process.
- Fill Gaps and Joints: As you build each course, fill any gaps between bricks and mortar joints with additional mortar using a trowel or pointing tool. This will provide strength and stability to the structure.
- Trim Bricks and Cornerstones: If needed, trim bricks or cornerstones to fit along the edges or corners of the fence. Use a masonry saw or brick chisel to carefully cut and shape the bricks as necessary.
- Remove Excess Mortar: After each course is complete, use a brush to remove any excess mortar from the surface of the bricks. This will help maintain a clean and professional appearance.
Building the remaining courses of bricks requires attention to detail, ensuring proper alignment, and consistent mortar application. Take your time to carefully stack the bricks and use the guide strings as references to maintain a straight and level fence.
Continue building the remaining courses until you have reached the desired height for your brick fence. With the courses stacked, you’re ready to move on to the next step: installing the fence posts to provide additional support and stability to your brick fence.
Step 7: Installing the Fence Posts
Installing the fence posts is a crucial step in providing additional support and stability to your brick fence. The fence posts act as anchors, keeping the structure secure and preventing it from leaning or shifting over time. Here’s how to install the fence posts:
- Determine Post Placement: Determine the spacing and placement of the fence posts along the length of your brick fence. Depending on the design and purpose of your fence, posts are typically spaced 6 to 8 feet apart.
- Mark Post Locations: Use a measuring tape and stakes to mark the locations of the fence posts along the trench. Ensure the marks are aligned with the guide strings and maintain the desired spacing.
- Prepare Post Holes: Use a post hole digger or an auger to dig holes for the fence posts. The depth of the holes will depend on the height of your fence and the local frost line. Typically, it’s recommended to dig holes that are at least one-third of the total height of the fence.
- Insert Fence Posts: Place the fence posts into the holes, ensuring they are plumb and level. Use a level and guide strings as references to ensure accurate alignment.
- Backfill and Compact: Backfill the holes with soil or gravel, packing it tightly around the fence posts to provide stability. Use a tamper or a plate compactor to compact the backfilled soil or gravel.
- Secure with Concrete: Optional step for additional stability – pour concrete around the base of the fence posts, creating a concrete footing. This is recommended for areas with unstable soil or if you prefer extra reinforcement.
- Allow Time for Setting: If you have used concrete, allow sufficient time for it to set and cure according to the manufacturer’s instructions before proceeding.
Installing the fence posts correctly is crucial for the overall stability and longevity of your brick fence. Ensuring that the posts are plumb, level, and securely anchored will provide the necessary support to withstand external forces and keep your fence standing strong.
With the fence posts installed, you’re now ready to move on to the next step: attaching the fence panels to complete the construction of your brick fence.
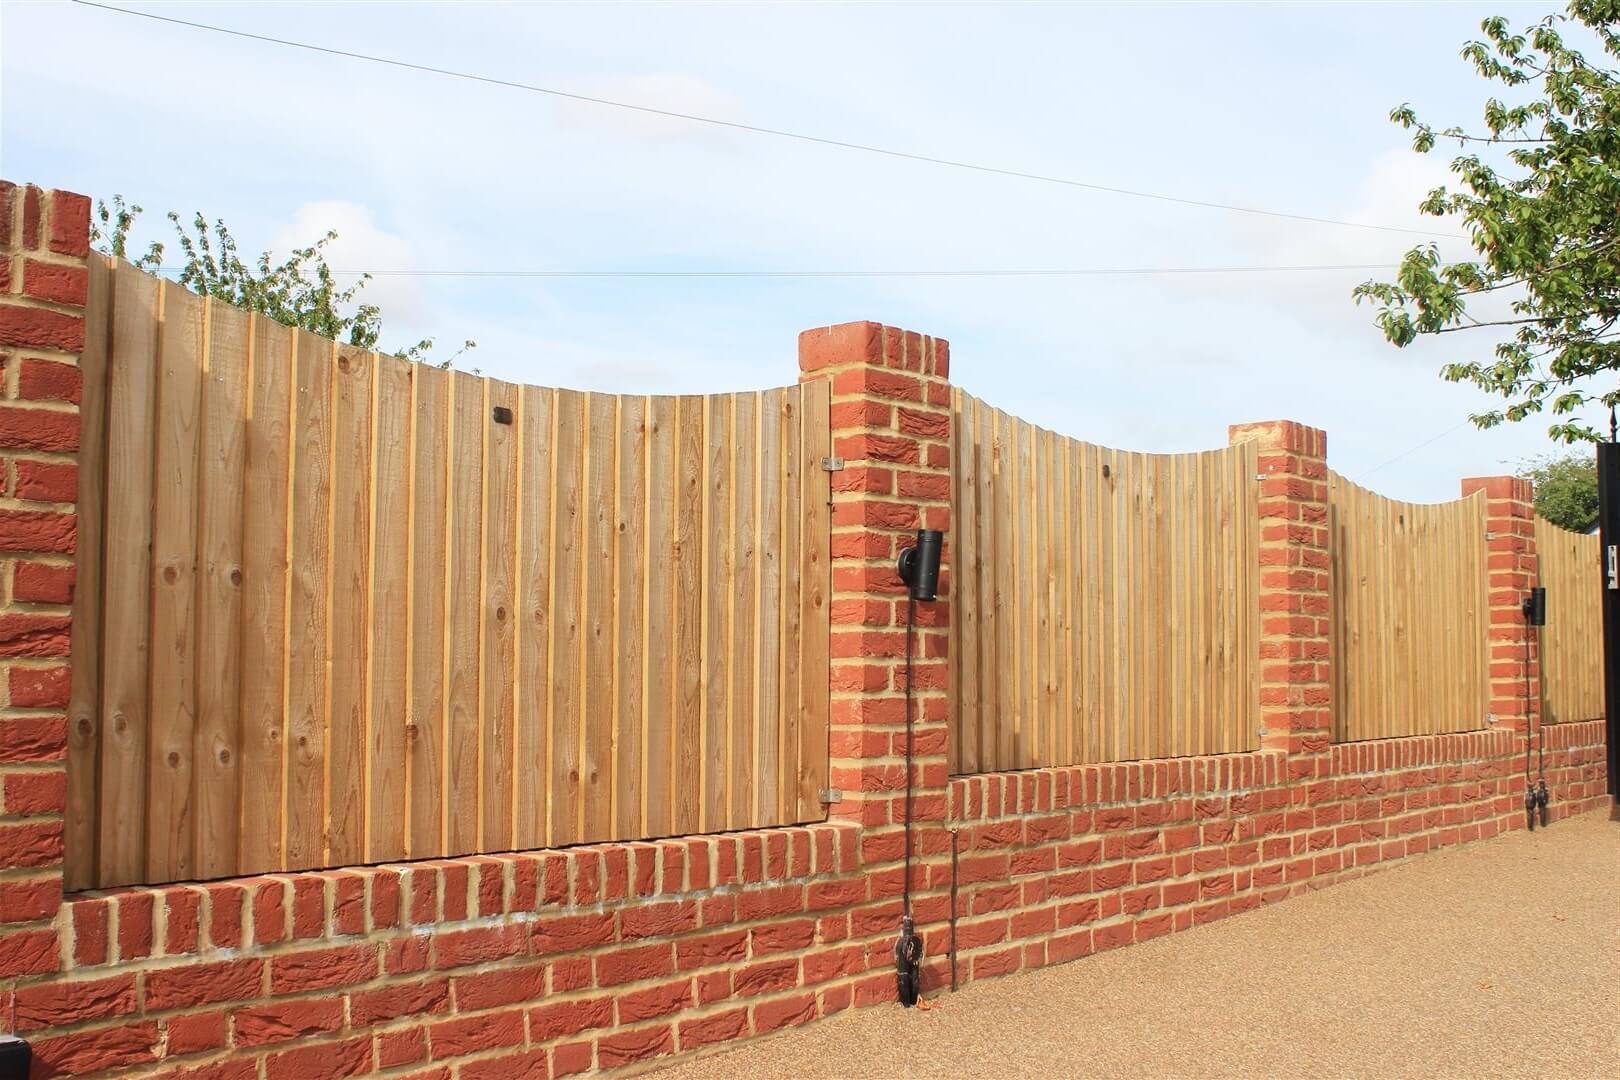
Step 8: Attaching the Fence Panels
Attaching the fence panels is the next step in completing your brick fence. The panels not only provide privacy and security but also enhance the visual appeal of your structure. Here’s how to attach the fence panels:
- Measure and Cut Fence Panels if Needed: Measure the distance between the installed fence posts to determine the exact width of the fence panels. If necessary, cut the fence panels to the appropriate size using a saw or appropriate cutting tools.
- Position the Fence Panels: Place the fence panels between the installed fence posts, ensuring they are centered and aligned correctly. Use spacers or small blocks to maintain even spacing between the panels, providing a consistent appearance.
- Attach Fence Panels to the Posts: Use screws, nails, or appropriate fasteners to attach the fence panels securely to the fence posts. Ensure they are tightly fastened to prevent any movement or gaps.
- Double-Check Alignment and Levelness: Regularly check the alignment and levelness of the fence panels as you attach them. Adjust as needed to maintain a straight and even appearance.
- Secure Top and Bottom Rails: Some fence panels may have top and bottom rails that need to be attached separately. Use screws or nails to secure these rails to the fence panels, providing additional stability.
- Add Decorative Elements: If desired, you can add decorative elements such as caps or finials to the top of the fence panels. These accents can enhance the overall aesthetic of your brick fence.
- Ensure Proper Spacing: Check and adjust the spacing between each fence panel to maintain a consistent look and prevent any large gaps. This will ensure both functionality and visual appeal.
Attaching the fence panels is an important step in completing your brick fence. By ensuring proper alignment, levelness, and secure fastening, you’ll achieve a finished look that meets both your functional and aesthetic requirements.
With the fence panels attached, you’re now ready to move on to the final step: adding the finishing touches to your brick fence.
Read more: How To Build Deer Fence
Step 9: Finishing Touches
The final step in building your brick fence is adding the finishing touches. These details will enhance the overall appearance and functionality of your fence. Here’s what you can do to complete the project:
- Clean the Brickwork: Use a brush or a sponge to clean any excess mortar or debris from the surface of the bricks. This will give your fence a polished and professional look.
- Apply a Sealer: Consider applying a sealer to protect the bricks and enhance their color and longevity. Choose a sealer specifically designed for brickwork and follow the manufacturer’s instructions for application.
- Paint or Stain: If desired, you can paint or stain the fence panels to match your preferred color scheme or blend with the surrounding environment. Make sure to choose a high-quality paint or stain designed for outdoor use.
- Install Gates: If your brick fence includes a gate, install it according to the manufacturer’s instructions. Ensure that the gate is properly aligned, level, and securely attached to the fence posts.
- Landscaping: Enhance the overall aesthetic of your brick fence by adding landscaping elements around it. Plant flowers, shrubs, or climbing vines to complement the natural beauty of the brickwork.
- Install Lighting: Consider installing outdoor lighting along your brick fence to provide visibility and enhance security during the evening hours. Choose lighting fixtures that coordinate with the style of your fence and provide adequate illumination.
- Maintain Regularly: To keep your brick fence looking its best, perform regular maintenance tasks such as cleaning, inspecting for damage or wear, and making necessary repairs. This will help prolong the life and appearance of your fence.
By completing these finishing touches, you’ll not only add the final elements that bring your brick fence together but also ensure its resilience and beauty for years to come.
With the finishing touches added, you have successfully completed the construction of your brick fence. Step back and admire your accomplishment, knowing that you have created a secure, visually appealing, and long-lasting addition to your property.
Remember, building a brick fence requires careful planning, patience, and attention to detail. If you feel unsure about any step of the process, it’s always best to consult with professionals who have experience in brickwork. Enjoy the benefits of your newly built brick fence and the privacy, security, and curb appeal it provides.
Conclusion
Building a brick fence is a rewarding project that enhances the security, privacy, and aesthetic appeal of your property. Throughout the step-by-step process, you’ve learned the importance of thorough planning, careful preparation, and precise execution. By following these guidelines, you can successfully construct a sturdy and beautiful brick fence that will stand the test of time.
From planning and preparation to pouring the footings, laying the bricks, installing the fence posts, attaching the panels, and adding the finishing touches, each step contributes to the overall stability and visual appeal of your fence. Remember to pay attention to alignment, levelness, and ensuring a solid foundation.
Throughout the construction process, it’s vital to follow local building codes and regulations, and obtain any necessary permits. Safety should be a top priority, and if you’re ever unsure about any aspect of the project, it’s always wise to seek professional advice or hire experienced contractors.
Once your brick fence is complete, take pride in your craftsmanship and enjoy the numerous benefits it provides. Your new fence offers security, privacy, and a point of pride for your property. Remember to regularly maintain and care for your fence to ensure its longevity and continued appeal.
Whether you prefer a classic, traditional look or a more modern and sleek design, building a brick fence is a timeless investment that adds value and elegance to your home. So, grab your tools, gather your materials, and embark on the journey of building a beautiful brick fence that will enhance your outdoor space for years to come.
Frequently Asked Questions about How To Build A Brick Fence
Was this page helpful?
At Storables.com, we guarantee accurate and reliable information. Our content, validated by Expert Board Contributors, is crafted following stringent Editorial Policies. We're committed to providing you with well-researched, expert-backed insights for all your informational needs.


0 thoughts on “How To Build A Brick Fence”