Articles
How To Spray Paint A Fence
Modified: August 28, 2024
Learn the art of fence painting with our helpful articles on spray painting techniques. Transform your fence into a work of art with our expert tips and tricks.
(Many of the links in this article redirect to a specific reviewed product. Your purchase of these products through affiliate links helps to generate commission for Storables.com, at no extra cost. Learn more)
Introduction
Are you looking to give your fence a fresh and vibrant new look? If so, spray painting is a fantastic technique to achieve a smooth and professional finish. Not only does it offer a quicker and more efficient way to paint large surfaces, but it also allows for better coverage and a stunning end result.
In this article, we will guide you through the step-by-step process of spray painting your fence. From gathering the necessary materials to ensuring the safety of yourself and those around you, we will cover all the essential aspects to help you achieve a successful project.
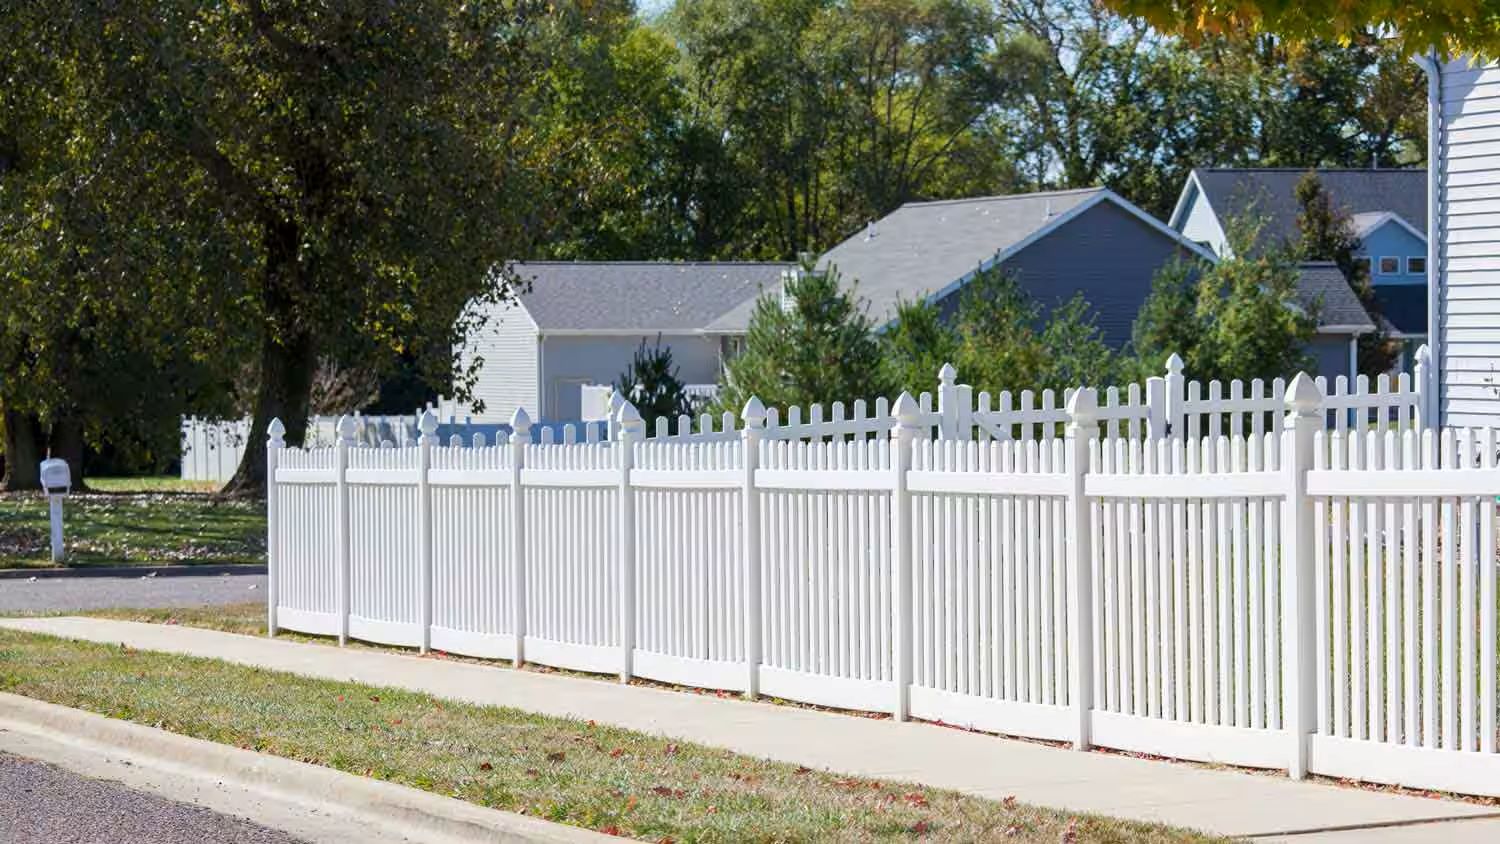
Whether you have a wooden, metal, or vinyl fence, the techniques and tips shared in this article can be applied to all types. So, let’s grab our paint cans and spray guns and get ready to transform your fence into a standout feature of your property.
Key Takeaways:
- Transform your fence into a standout feature by following the step-by-step guide to spray painting. Proper preparation, safety precautions, and multiple coats ensure a professional and long-lasting finish.
- Choose the right spray paint, apply multiple coats, and implement maintenance practices to preserve the beauty and durability of your painted fence. Enjoy the transformation and enhanced visual appeal it brings to your outdoor space.
Read more: How To Spray Stain A Fence
Step 1: Gather the necessary materials
Before embarking on your spray painting project, it’s essential to gather all the necessary materials. Having everything at hand will ensure a smooth and uninterrupted process. Here are the items you will need:
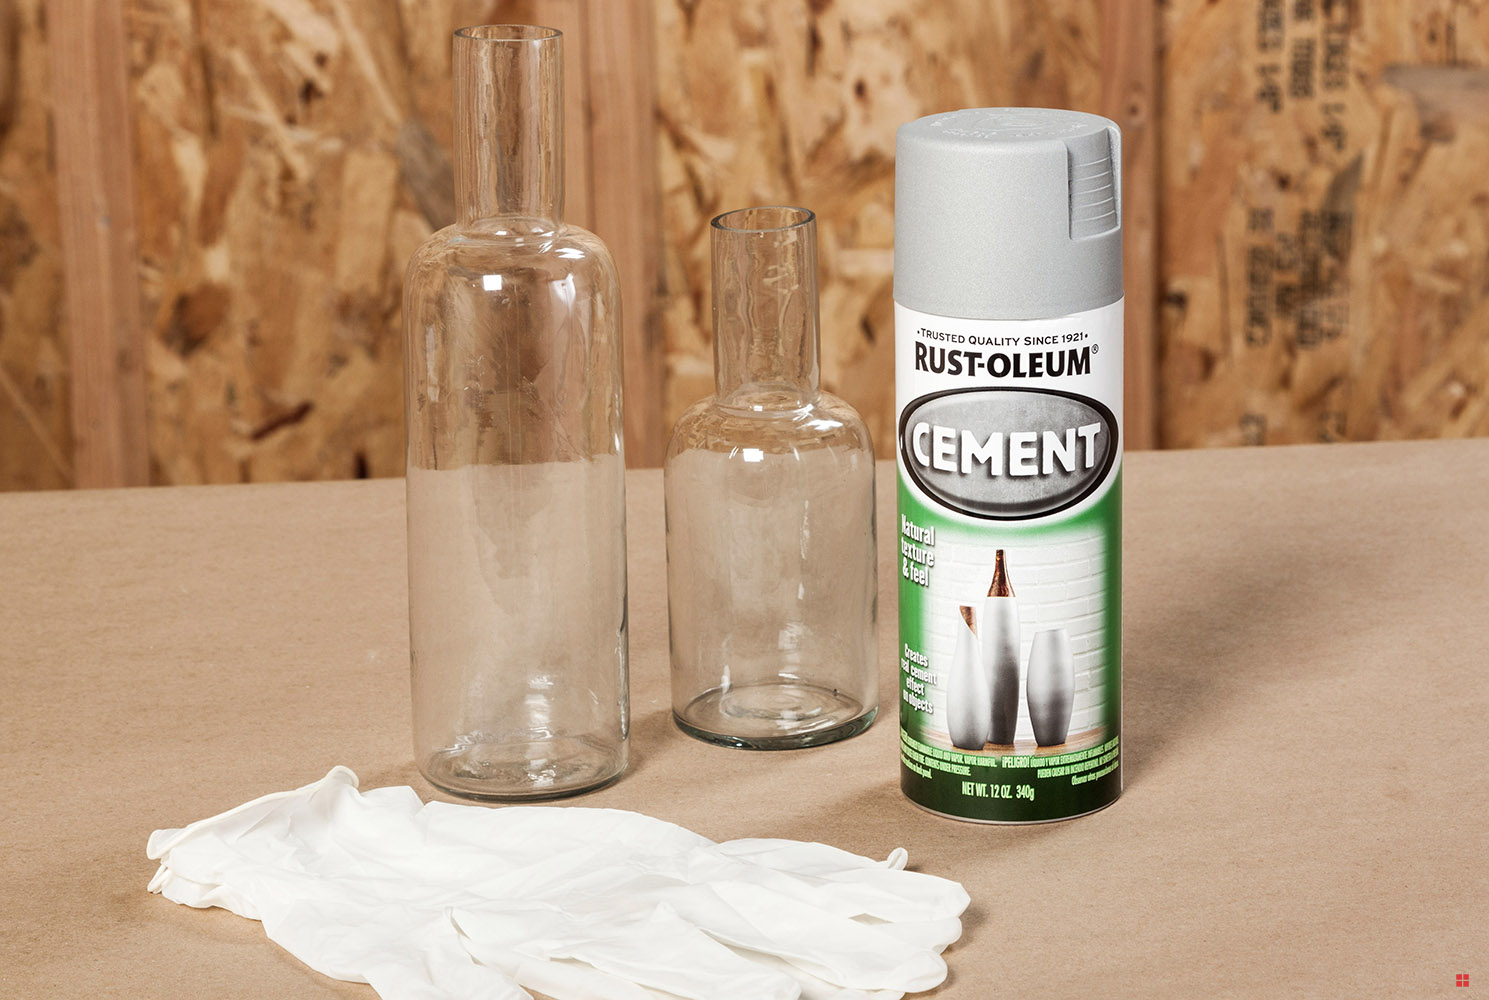
- Spray paint: Choose a high-quality spray paint that is specifically formulated for outdoor use. Consider the type of material your fence is made of when selecting the appropriate paint.
- Masking tape: Use masking tape to cover any areas of the fence that you do not want to be painted. This could include gate hinges, locks, or decorative elements that you want to preserve.
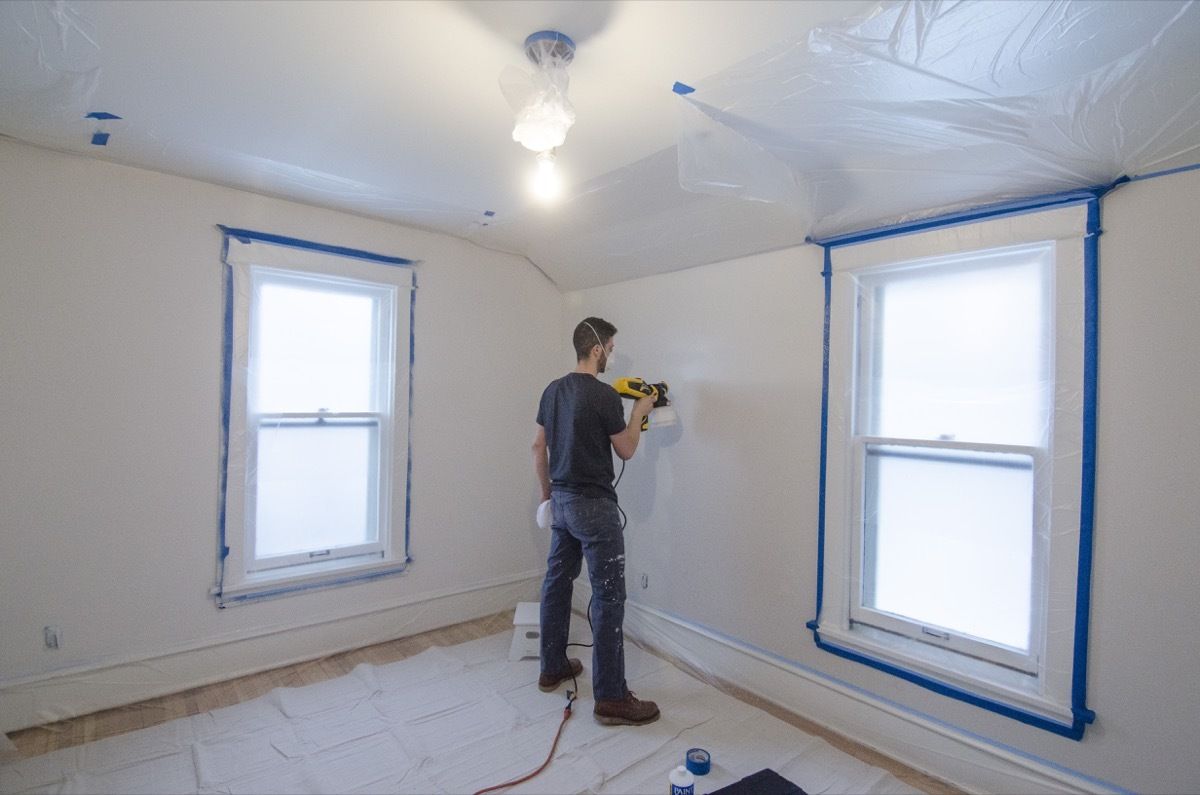
- Drop cloths or plastic sheets: Protect the surrounding area by laying down drop cloths or plastic sheets to catch any overspray.
- Spray gun or aerosol cans: Depending on the size of your fence, you can choose between a professional spray gun or aerosol cans. Spray guns are ideal for larger surfaces, while aerosol cans are convenient for smaller fences.
- Safety equipment: Ensure that you have proper safety equipment, including goggles or safety glasses, a respirator mask, and gloves, to protect yourself from fumes and overspray.
- Cleaning supplies: You will need water, soap, and a scrub brush to clean the fence before painting. This will help remove any dirt, grime, or loose paint that may interfere with the new paint adhering properly.
By having all these materials ready, you will save time and effort by not having to run back and forth to grab missing items. It’s always better to be prepared and have everything within reach for a smooth painting experience.
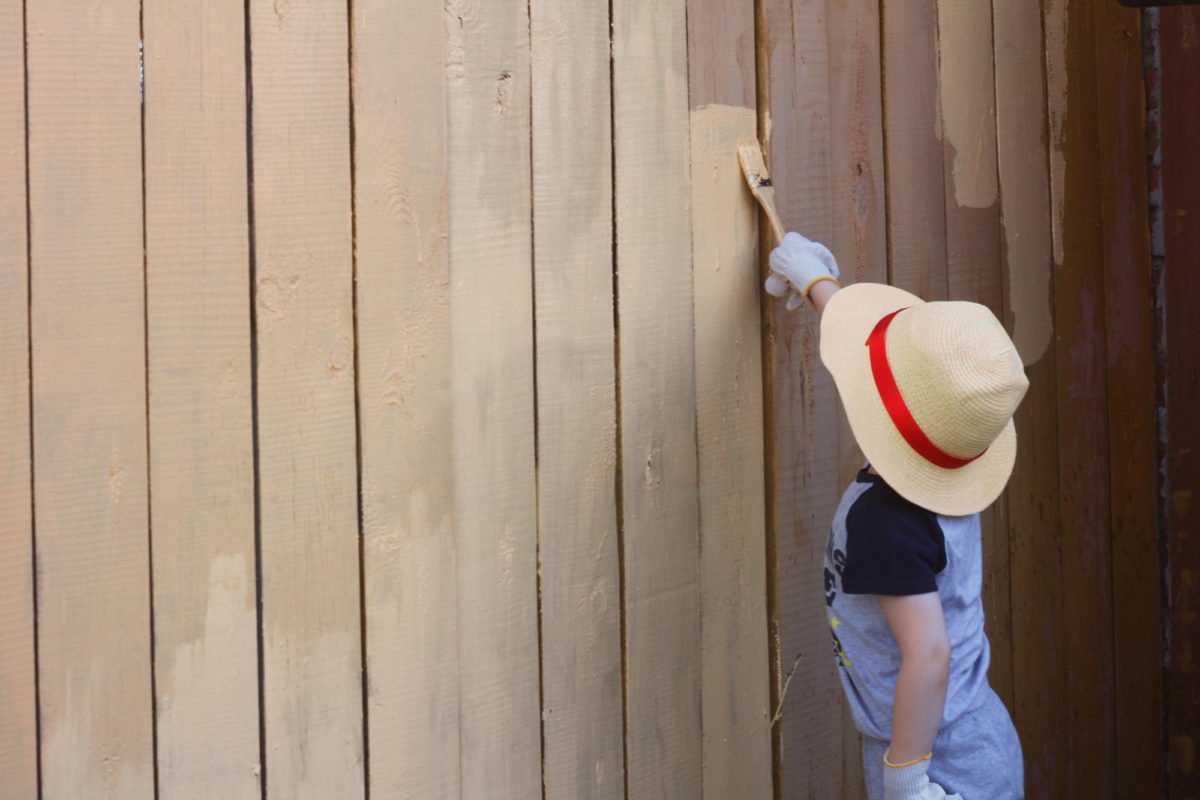
Step 2: Prepare the fence for painting
Proper preparation is key to achieving a professional and long-lasting spray paint finish. Follow these steps to prepare your fence for painting:
- Clear the area: Remove any furniture, plants, or obstacles that may be in the way. This will give you ample space to work and ensure that you don’t accidentally spray paint any unwanted surfaces.
- Clean the fence: Thoroughly clean the fence using a mixture of water and mild soap. Use a scrub brush or sponge to remove any dirt, debris, or mold that may be present. Rinse the fence with clean water and allow it to dry completely before proceeding.
- Repair any damage: Inspect the fence for any loose or damaged pieces. If you find any, secure them or replace them before painting. Fill any cracks or holes with wood putty or appropriate fillers, and sand the surface smooth.
- Sand the surface: If your fence has a glossy or rough surface, sand it lightly with fine-grit sandpaper. This will help the paint adhere better and create a smooth finish. Be sure to wipe away any dust or debris left from sanding before moving on.
- Apply primer (if needed): If you are painting a wooden fence or a fence with bare metal, it’s recommended to apply a suitable primer before the topcoat. Primer improves paint adhesion and provides additional protection, particularly for wood. Follow the manufacturer’s instructions for application and drying times.
- Mask off areas: Use masking tape to cover any areas that you don’t want to be painted, such as gate hardware, locks, or nearby structures. Take your time to apply the tape carefully and ensure a clean separation between the painted and unpainted areas.
Taking the time to prepare your fence properly will contribute to a flawless and professional-looking paint job. It will also help the paint adhere more effectively and increase the durability of the finish. So, don’t rush through this step and give your fence the attention it deserves.
Step 3: Choose the right spray paint
Choosing the right spray paint is crucial for achieving the desired results and ensuring a long-lasting finish. Consider the following factors when selecting the paint for your fence:
- Type of material: Different types of fences require different types of spray paint. For example, if you have a wooden fence, look for paint specifically designed for wood surfaces. For metal fences, choose a spray paint that is formulated for metal.
- Color and finish: Decide on the color and finish you want for your fence. Whether you want a solid color or a transparent stain, ensure that the spray paint you choose offers the desired color and finish options.
- Durability: Since your fence is exposed to various weather conditions, it’s essential to choose a spray paint that is durable and weather-resistant. Look for paints that are labeled as outdoor or exterior-grade and are known for their longevity.
- Coverage: Consider the coverage of the spray paint. Some paints offer better coverage with fewer coats, while others may require multiple coats to achieve the desired opacity. Read the product label or specifications to understand the paint’s coverage abilities.
- Brand reputation: Opt for spray paint from reputable brands that are known for their quality and reliability. Look for customer reviews and ratings to gain insights into the paint’s performance and longevity.
When selecting the spray paint, it’s a good idea to consult with a paint specialist at your local hardware store. They can provide expert advice based on your specific needs and guide you in choosing the most suitable product for your fence.
Remember, investing in high-quality spray paint will ensure a beautiful and long-lasting finish for your fence. So, take the time to research and choose wisely before making a purchase.
Step 4: Use proper safety precautions
Safety should always be a top priority when undertaking any painting project, and spray painting is no exception. Follow these safety precautions to protect yourself and those around you:
- Wear protective gear: Put on safety goggles or glasses to shield your eyes from any paint overspray or debris. A respirator mask will help protect your lungs from fumes or particles. Additionally, wear gloves to protect your hands from the paint and any chemicals.
- Choose a well-ventilated area: Spray painting should ideally be done in a well-ventilated outdoor area. If that’s not possible, ensure that the space is properly ventilated with fans or open windows to reduce the inhalation of fumes.
- Check the weather conditions: Before starting, check the weather forecast to ensure that you are spraying on a dry and calm day. Strong winds can cause overspray and affect the quality of the paint job. Also, avoid painting under direct sunlight to prevent the paint from drying too quickly.
- Keep a safe distance: Maintain a safe distance between the spray gun nozzle and the fence to achieve an even coat and prevent overspray. Follow the manufacturer’s guidelines for the recommended spraying distance.
- Avoid overexposure to fumes: Take breaks and step away from the painting area periodically to avoid prolonged exposure to paint fumes. If you start feeling dizzy, lightheaded, or experience any discomfort, move to a well-ventilated area and seek fresh air.
- Protect surrounding surfaces: Use plastic sheets or drop cloths to cover nearby surfaces, plants, or objects to prevent accidental overspray. This will ensure that only the intended surfaces are painted.
By implementing these safety precautions, you can minimize the risks associated with spray painting and ensure a safe and enjoyable experience. Remember, your well-being is the top priority, so never compromise on safety measures.
When spray painting a fence, make sure to clean and sand the surface beforehand to ensure the paint adheres properly. Use a high-quality spray paint designed for outdoor use and apply thin, even coats to prevent drips and ensure even coverage.
Read more: How To Spray Paint A Dresser
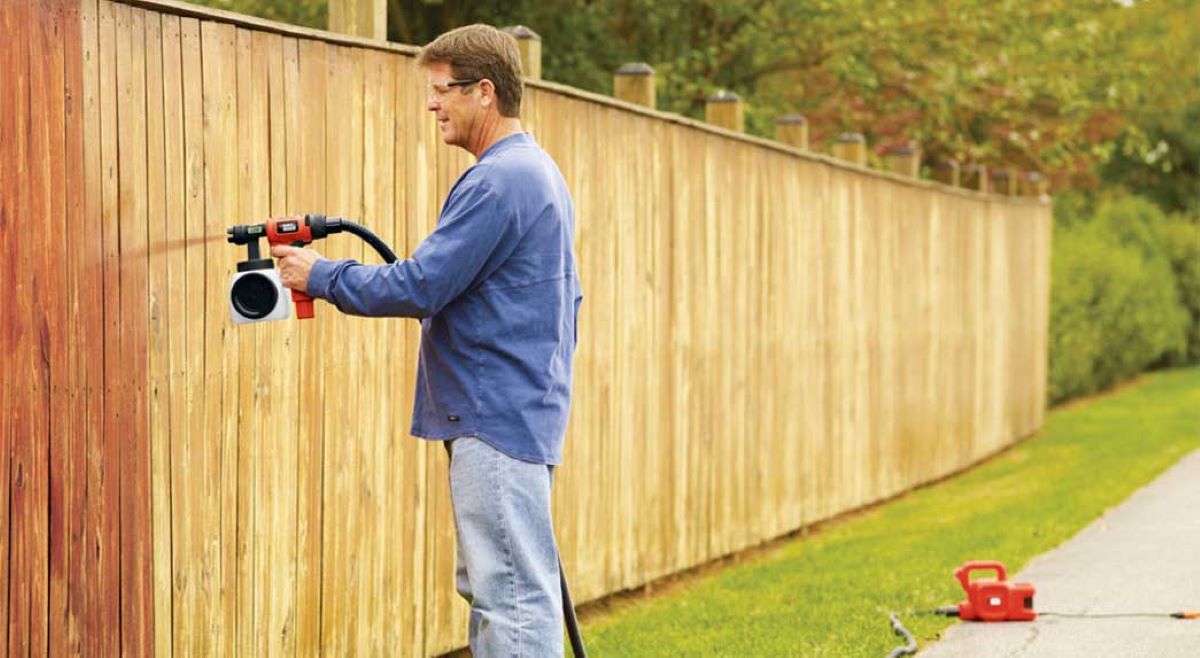
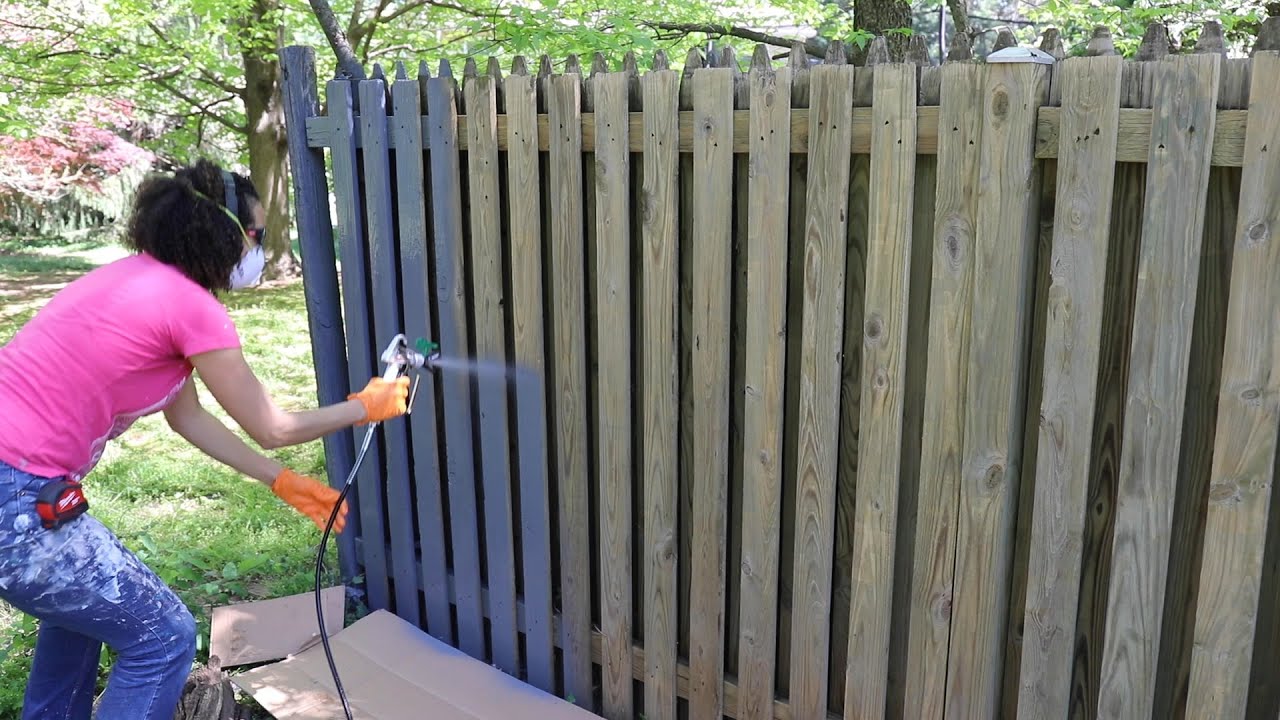
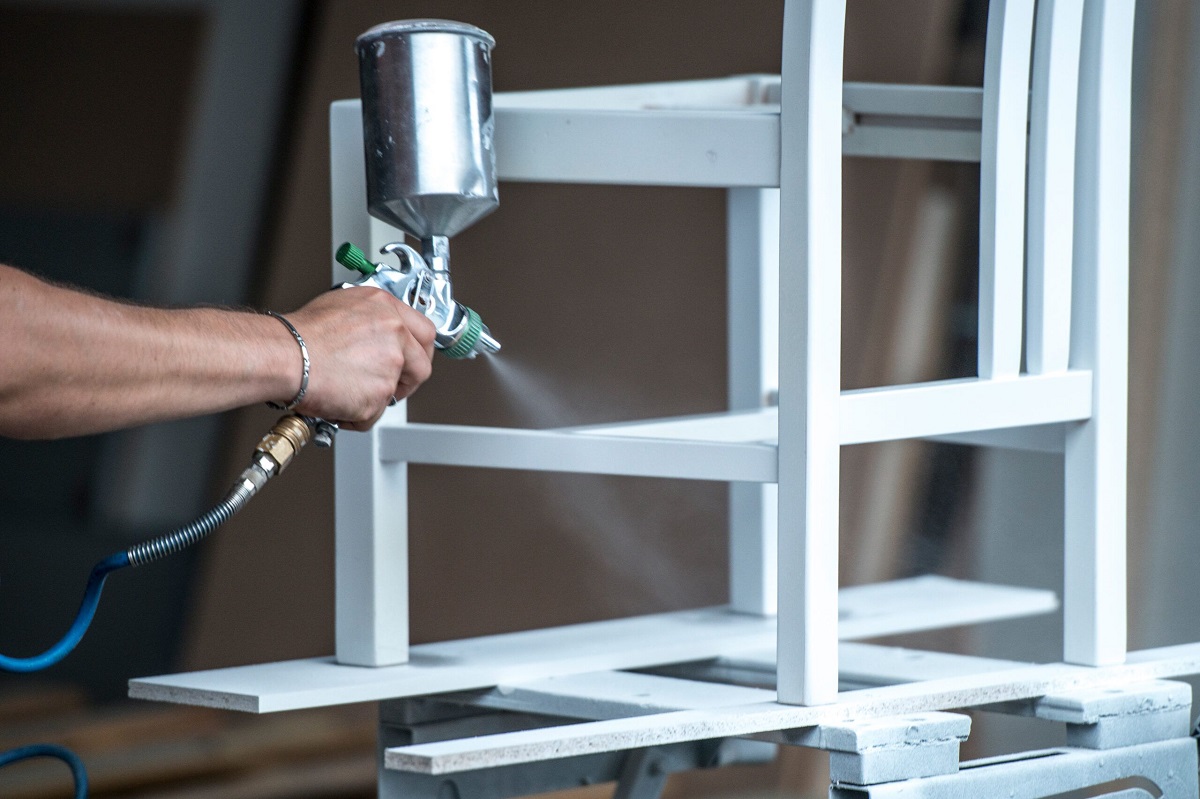
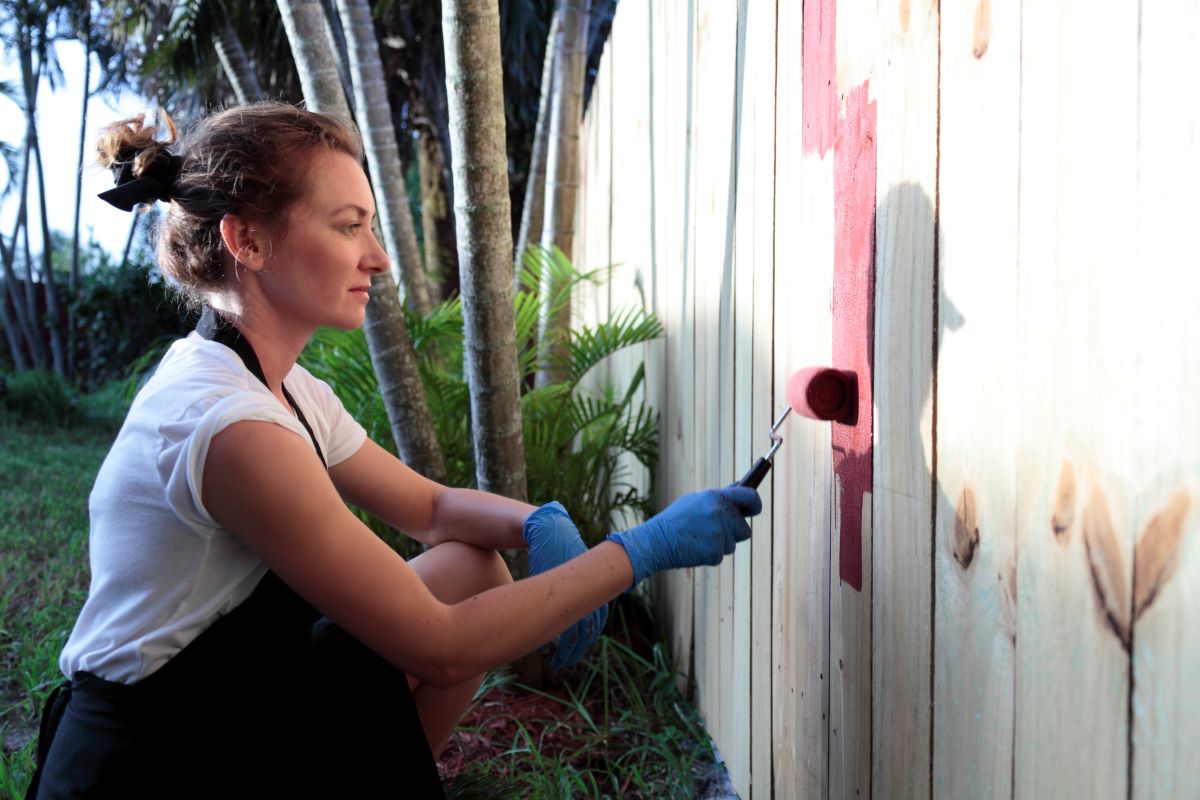
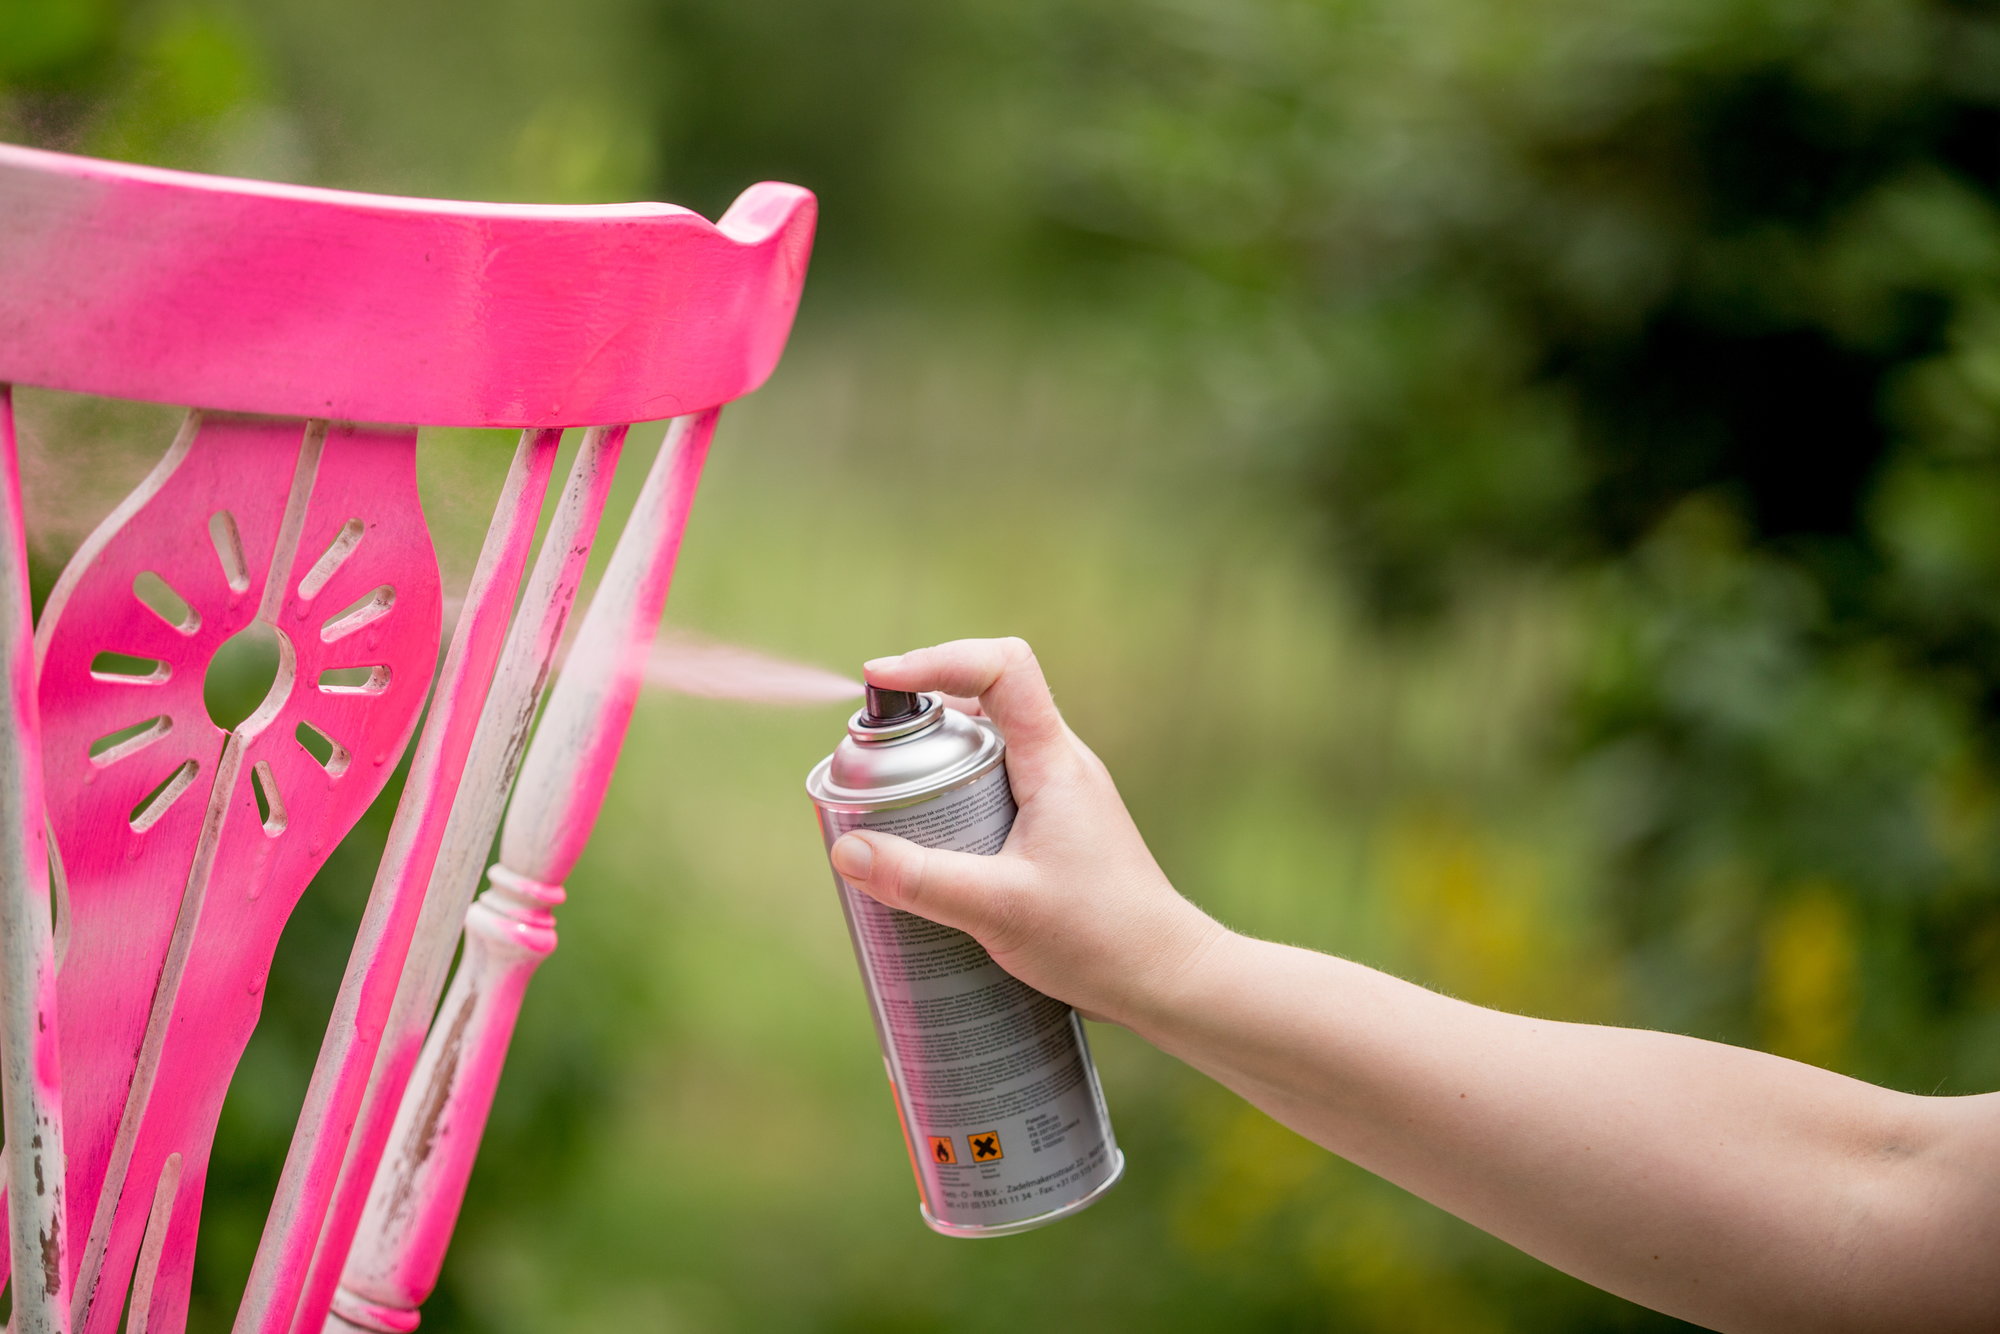
Step 5: Start spraying the fence
Now that you have prepared the fence and taken the necessary safety precautions, it’s time to start spraying! Follow these steps to achieve a smooth and even paint application:
- Test spray on a small area: Before spraying the entire fence, it’s a good idea to test the paint on a small inconspicuous area. This will help you gauge the coverage, adjust the nozzle settings if needed, and ensure that you are satisfied with the color and finish.
- Hold the spray gun correctly: Hold the spray gun firmly, maintaining a comfortable grip. Position your hand in a way that allows for smooth and controlled movement. Practice your spraying technique on a scrap surface if you are new to using a spray gun.
- Maintain a consistent distance: Hold the nozzle at a consistent distance from the fence while spraying. This will ensure an even coating. Keep the spray gun perpendicular to the fence’s surface and move it in a steady back-and-forth motion or use a sweeping motion, overlapping each pass slightly for full coverage.
- Control the speed and pressure: Control the speed at which you move the spray gun and the pressure you apply on the trigger. Experiment with different speeds and pressure to achieve the desired paint coverage. Remember to maintain a smooth and continuous motion to avoid overlapping or pooling of paint.
- Start from the top: Begin spraying from the top of the fence and work your way down. This will prevent any drips or streaks from forming as the excess paint can be caught by the unpainted lower sections.
- Apply multiple thin coats: It’s better to apply multiple thin coats rather than one thick coat. This will ensure better adherence, a smoother finish, and reduce the chances of drips or runs. Follow the manufacturer’s instructions on recoat times between each layer.
Take your time and pay attention to detail while spraying the fence. It’s important to maintain a consistent technique and coat the entire surface evenly. Step back occasionally to assess the coverage and make any necessary adjustments as you progress.
Remember to take breaks if needed, especially on hot days, to avoid fatigue and maintain control over your spraying technique. Enjoy the process and take pride in transforming your fence with each pass of the spray gun!
Step 6: Apply multiple coats if needed
Applying multiple coats of paint is often necessary to achieve a rich and consistent color on your fence. This step helps to enhance the durability and longevity of the paint, ensuring a beautiful finish that will last for years to come. Here’s how to apply multiple coats effectively:
- Allow sufficient drying time: Before applying additional coats of paint, it’s crucial to allow the previous coat to dry completely. Follow the manufacturer’s recommended drying time, which is usually indicated on the paint can.
- Inspect for coverage: After the first coat has dried, inspect the fence for any areas where the paint coverage may be uneven or thin. These spots may require an additional coat to achieve the desired consistency. Mark or take note of these areas for touch-ups.
- Repeat the technique: Apply subsequent coats using the same spraying technique as before, ensuring a consistent distance, speed, and pressure. Start from the top and work your way down, overlapping each pass slightly to blend the paint layers.
- Observe proper drying time: Allow each additional coat to dry thoroughly before proceeding to the next. Applying paint on a partially dried or tacky surface can lead to a subpar finish and may cause the paint to peel or chip prematurely.
- Assess the color and coverage: As you progress with each coat, assess the color and coverage on the fence. Adjust the number of coats based on the desired aesthetic and the manufacturer’s recommendations. The goal is to achieve a uniform and vibrant appearance.
Remember, patience is key when applying multiple coats of paint. Rushing the process or applying thick layers can result in drips, runs, or an uneven finish. Take your time and allow each coat to dry fully before proceeding to the next layer.
If you’re unsure about the required number of coats, it’s always better to err on the side of caution and apply an extra coat for a more durable and flawless finish. Your efforts will be rewarded with a beautifully painted fence that will make a statement in your outdoor space.
Step 7: Allow the paint to dry
After completing the application of multiple coats, it’s essential to allow the paint to dry thoroughly. This step ensures the paint cures and sets properly, providing a durable and long-lasting finish. Follow these guidelines to allow the paint to dry effectively:
- Follow manufacturer’s instructions: Different spray paints have varying drying times, so it’s crucial to refer to the manufacturer’s instructions on the paint can. This information will provide specific guidelines on how long the paint should dry before any further handling or exposure to elements.
- Avoid touching or moving objects: While the paint is drying, avoid touching, leaning on, or moving any objects that may come into direct contact with the painted fence. This will prevent smudging, imprints, or damage to the surface.
- Protect the painted surface: If the drying process requires leaving the fence exposed to the elements, consider using temporary barriers or covers to protect it from rain, dust, or debris. These precautions can help maintain the integrity of the paint job and prevent any unwanted blemishes or marks.
- Monitor temperature and humidity: Extreme temperatures or high humidity levels can significantly impact the drying time and final result of the paint. Ensure that the ambient conditions are within the recommended range for optimal drying. Avoid painting during excessively hot or humid weather conditions to allow for a smoother drying process.
- Exercise patience: Drying times may vary depending on the type of paint, weather conditions, and the number of coats applied. It’s crucial to exercise patience and give the paint ample time to dry fully. Rushing the drying process can compromise the finish and increase the likelihood of damage or imperfections.
Remember, the drying process is crucial for achieving a professional-looking finish. By allowing the paint to dry completely, you enhance its durability and ensure a beautiful and long-lasting appearance. So, resist the temptation to rush and enjoy the anticipation of revealing your newly painted fence once it has fully dried.
Step 8: Clean up and maintenance tips
Once your freshly painted fence has dried, it’s time to clean up and implement maintenance practices to extend the longevity of the paint job. Follow these tips to ensure the continued beauty and durability of your painted fence:
- Remove masking tape and protective covers: Carefully remove any masking tape and plastic covers used to protect surfaces during the painting process. Take your time to avoid accidentally peeling off any paint along with the tape.
- Clean up your painting tools: Thoroughly clean your spray gun, brushes, or any other painting tools used, following the manufacturer’s instructions or using appropriate cleaning agents. Properly maintaining your tools will allow for their long-term use and ensure optimal performance for future projects.
- Inspect and touch up as needed: Once the painting is complete, inspect the fence for any missed spots or areas that may require touch-ups. Use a small brush or aerosol can to touch up any imperfections or blemishes, ensuring a seamless and uniform finish.
- Implement a regular maintenance routine: To keep your painted fence in top condition, establish a regular maintenance routine. This may include periodically cleaning the fence with mild soap and water, removing any dirt or debris, and inspecting for any signs of wear or damage.
- Address any issues promptly: If you notice any chips, cracks, or peeling paint, address these issues promptly to prevent further deterioration. Sand the damaged area, apply primer if necessary, and touch up with matching paint to maintain the integrity of the paint job.
- Protect your fence from the elements: As with any outdoor surface, prolonged exposure to the elements can cause wear and tear. Consider applying a clear protective sealer or topcoat to shield the paint from UV rays, moisture, and other environmental factors. This added layer of protection can extend the life of the paint and maintain the vibrancy of the color.
By following these clean-up and maintenance tips, you can ensure that your painted fence remains in excellent condition for years to come. Regular care and attention will preserve the beauty of the paint job, allowing your fence to maintain its visual appeal and enhance the overall aesthetic of your outdoor space.
Read more: How To Store Spray Paint
Conclusion
Congratulations! You have successfully learned how to spray paint your fence, transforming it into a stunning feature of your property. By following the step-by-step process outlined in this article, you have gained the knowledge and techniques to achieve a professional and long-lasting paint finish.
Remember, proper preparation, including gathering the necessary materials and preparing the fence, is essential to ensure a smooth painting process. Choose the right spray paint for your fence type, considering factors such as color, finish, durability, and coverage. Safety should always be a priority, so use proper safety precautions and work in a well-ventilated area.
As you start spraying the fence, maintain a consistent technique, apply multiple coats if needed, and allow ample drying time between each layer. Once the fence is painted, implement clean-up and maintenance practices to preserve the beauty and durability of the paint job.
Now, step back and admire your freshly painted fence – a true testament to your hard work and attention to detail. Enjoy the transformation and the enhanced visual appeal it brings to your outdoor space. With regular maintenance, your painted fence will continue to impress for years to come.
Thank you for joining us on this spray painting journey. Happy painting!
Frequently Asked Questions about How To Spray Paint A Fence
Was this page helpful?
At Storables.com, we guarantee accurate and reliable information. Our content, validated by Expert Board Contributors, is crafted following stringent Editorial Policies. We're committed to providing you with well-researched, expert-backed insights for all your informational needs.


0 thoughts on “How To Spray Paint A Fence”