Articles
How To Seal A Fence
Modified: August 27, 2024
Learn how to seal your fence with these informative articles. Enhance the longevity of your fence and protect it from weather damage.
(Many of the links in this article redirect to a specific reviewed product. Your purchase of these products through affiliate links helps to generate commission for Storables.com, at no extra cost. Learn more)
Introduction
Sealing a fence is an essential step in protecting and maintaining its longevity. Whether you have a wooden, metal, or vinyl fence, applying a sealant helps to prevent damage caused by exposure to weather elements, UV rays, and general wear and tear. In addition to providing protection, sealing a fence also enhances its appearance, making it look fresh and new.
In this guide, we will walk you through the step-by-step process of how to seal a fence effectively. From gathering the necessary materials to applying the sealant, we will cover everything you need to know to ensure a successful sealing job. So, let’s get started and give your fence the care it deserves.
Key Takeaways:
- Properly cleaning and preparing the fence before applying the sealant is crucial for ensuring optimal adhesion and protection, ultimately prolonging the fence’s lifespan and maintaining its appearance.
- Applying a second coat of sealant, if necessary, can provide added durability and protection, especially in areas with harsh weather conditions or high UV exposure, ensuring the fence remains well-protected for years to come.
Read more: How To Seal Cedar Fence
Step 1: Gather the necessary materials
Before you begin sealing your fence, it is essential to gather all the necessary materials. Having everything on hand will enable you to complete the task efficiently and without any interruptions. Here is a list of materials you will need:
- Protective gear: Start by ensuring you have the appropriate protective gear, such as gloves, safety goggles, and a mask. This will safeguard you from any potential harm caused by the sealant or cleaning agents.
- Cleaning supplies: Depending on the type of fence, you will need suitable cleaning supplies. For wooden fences, a mild detergent, a stiff brush, and a pressure washer can be effective for removing dirt, grime, and mildew. Metal fences may require a metal cleaner or rust remover. Vinyl fences usually only require a gentle detergent and a soft cloth or sponge.
- Sealant: Choose a sealant specifically designed for your fence material. For wooden fences, you can opt for a clear or tinted wood sealer or stain. Metal fences may require a rust-resistant paint or primer. Vinyl fences usually require a vinyl-specific sealant. Check with your local hardware store for the appropriate sealant for your fence type.
- Paintbrushes or sprayer: Depending on the size and accessibility of your fence, you may need paintbrushes or a paint sprayer to apply the sealant. Paintbrushes are ideal for smaller or intricate areas, while a sprayer can cover larger surfaces more quickly.
- Drop cloths or tarps: To protect surrounding areas and plants, use drop cloths or tarps to catch any drips or spills that may occur during the sealing process.
- Ladder: If your fence is taller than you can reach comfortably, having a ladder on hand will allow you to access all sections of the fence easily.
By ensuring you have all the necessary materials before you begin the sealing process, you can work efficiently and achieve the best results for your fence.
Step 2: Clean the fence
Before sealing your fence, it is essential to thoroughly clean it. Cleaning removes dirt, grime, mildew, and any previous coatings, ensuring proper adhesion of the sealant. Here are some methods and tips for properly cleaning your fence:
- Inspect the fence: Begin by inspecting the fence for any loose boards, nails, or damage. Repair any necessary areas before proceeding with the cleaning process.
- Remove debris: Use a broom or a brush to sweep away any loose debris, such as leaves, cobwebs, and dirt.
- Mild detergent solution: For wooden fences, create a mild detergent solution by mixing water and a gentle detergent. Apply the solution to the fence using a brush or a sprayer, and scrub the surface thoroughly to remove dirt and grime. Rinse the fence with water to remove any soap residue.
- Pressure washing: If you have a pressure washer, it can be an effective method for cleaning wooden and metal fences. Adjust the pressure to a low setting to prevent damage. Spray the fence in a sweeping motion, working from top to bottom. Be cautious around delicate areas to avoid causing any damage.
- Metal cleaners or rust removers: For metal fences, use a metal cleaner or rust remover according to the manufacturer’s instructions. Apply the product to the fence using a brush or a cloth, and scrub away any rust or stains. Rinse thoroughly with water.
- Non-abrasive cleaning for vinyl fences: Vinyl fences require gentler cleaning methods. Use a mixture of water and a mild detergent, and apply it to the fence using a soft cloth or sponge. Gently scrub the surface to remove dirt and stains, and rinse with water.
- Drying time: After cleaning, allow the fence to dry completely before proceeding to the next step. This ensures that the sealant adheres properly to the surface.
By properly cleaning your fence, you create an optimal surface for applying the sealant, allowing it to penetrate and protect the material effectively. Take your time during this step to ensure a thorough and successful cleaning process.
Step 3: Prepare the sealant
Once your fence is clean and dry, it’s time to prepare the sealant. Properly preparing the sealant ensures that it is applied smoothly and provides optimal protection for your fence. Here are the instructions for preparing the sealant:
- Read the instructions: Start by carefully reading the instructions provided with your chosen sealant. Different sealants may have specific mixing ratios, application methods, and drying times. Familiarize yourself with these details before proceeding.
- Stir the sealant: Sealants often require stirring or shaking before use. This helps to mix any settling or separation that may have occurred. Use a stir stick or a paint mixing tool to thoroughly blend the sealant until it is a consistent texture and color.
- Dilution (if required): Some sealants may need to be diluted with water or a specific solvent. Follow the instructions to determine if dilution is necessary and the appropriate ratio to use.
- Test a small area: Before applying the sealant to the entire fence, it is recommended to test it on a small, inconspicuous section. This allows you to ensure that the sealant interacts well with your fence material and achieves the desired result.
By following these instructions, you can prepare the sealant correctly and ensure optimal performance when applied to your fence. Taking the time to prepare the sealant thoroughly will result in a more effective and long-lasting sealing process.
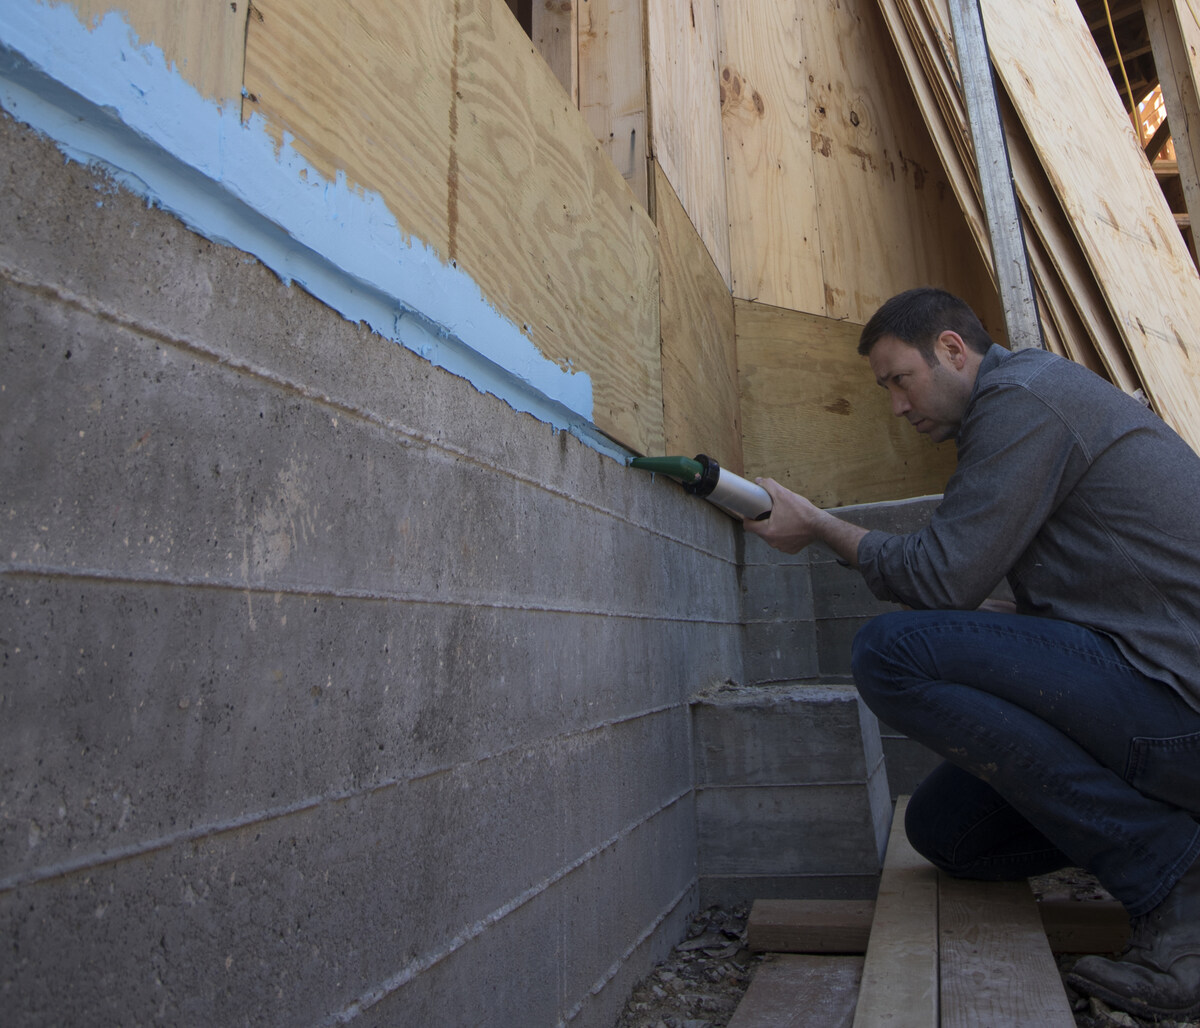
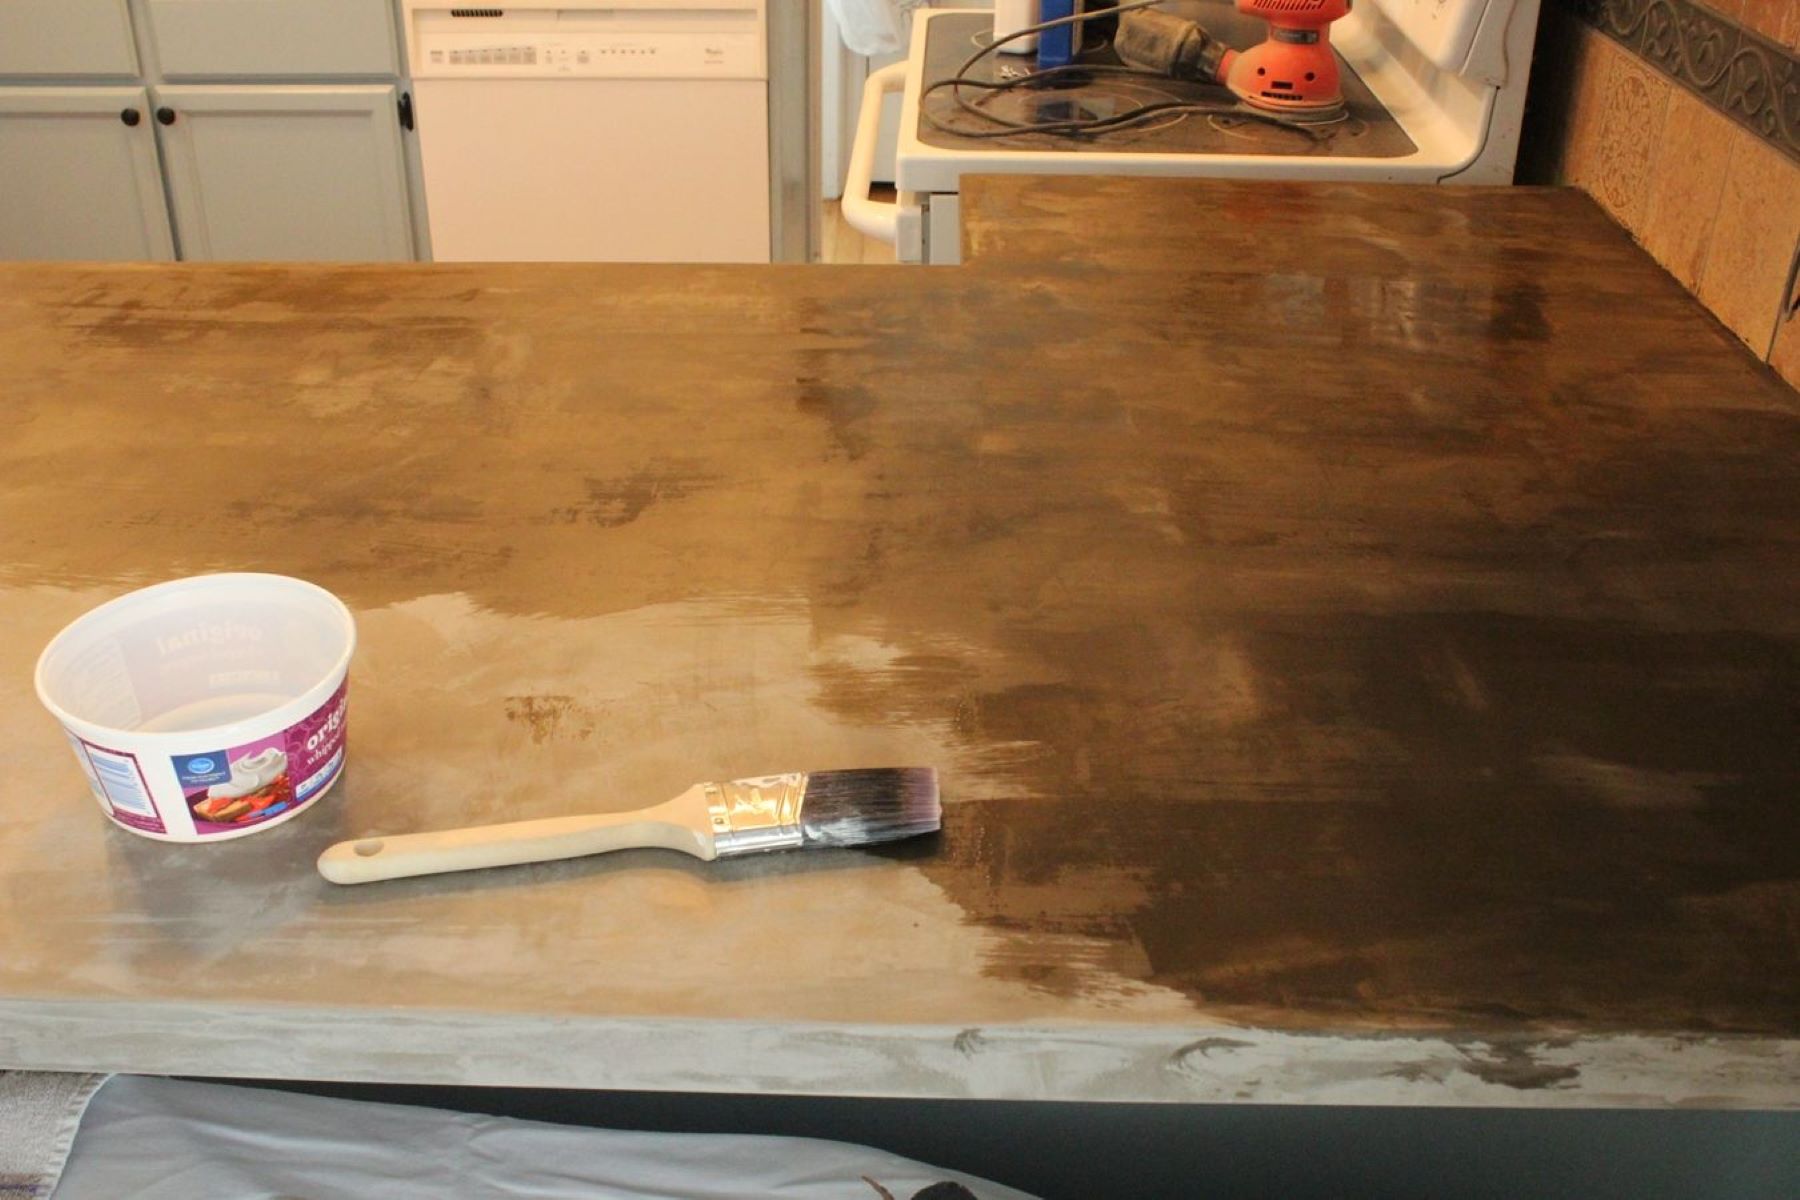
Apply a waterproof sealant to your fence to protect it from the elements. Make sure to clean and dry the surface before applying the sealant for best results.
Step 4: Apply the sealant
Now that you have prepared the sealant, it’s time to apply it to your fence. Applying the sealant correctly ensures an even and thorough coverage, providing the maximum protection for your fence. Here are some techniques and tools you can use to apply the sealant:
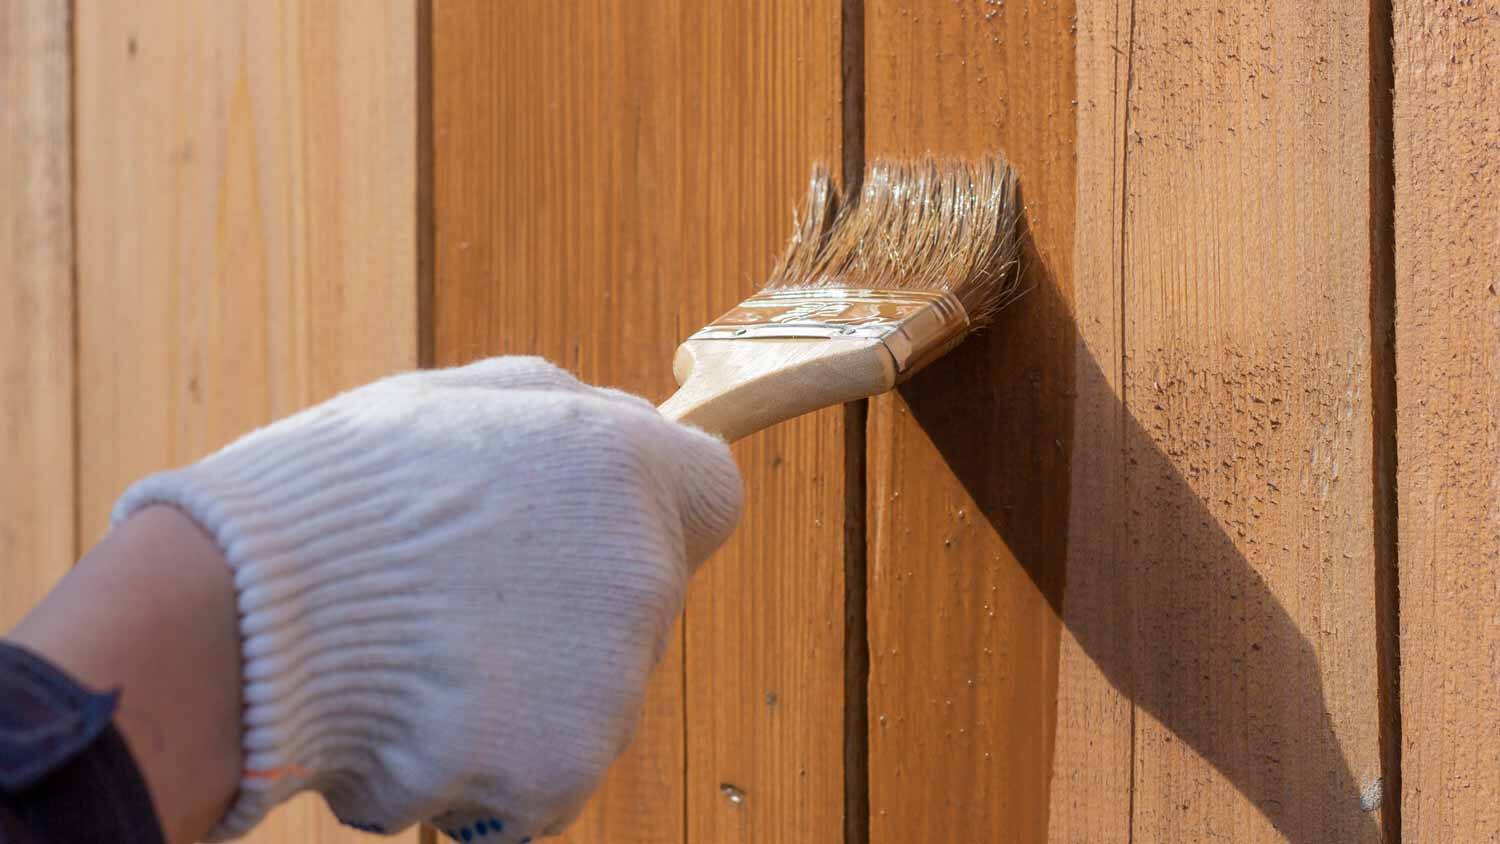
- Brush application: Using a brush is suitable for smaller areas or intricate details of your fence. Dip the brush into the sealant and apply it in smooth, even strokes, following the grain of the wood or the contours of the fence. Work in manageable sections, ensuring complete coverage.
- Sprayer application: If you have a large fence or want to cover a larger surface area quickly, a paint sprayer can be a time-saving option. Follow the manufacturer’s instructions for setting up and using the sprayer. Apply the sealant in a controlled, sweeping motion, moving from top to bottom. Keep the sprayer at a consistent distance from the fence for even coverage.
- Roller application: A roller can be used for both wooden and vinyl fences. Use a medium or long-nap roller, depending on the texture of your fence. Apply the sealant onto the roller and roll it onto the fence using smooth, overlapping strokes. Be mindful of drips or pooling and spread them out evenly.
- Back brushing: After applying the sealant with a brush or roller, consider using a brush to back brush the surface. This helps to ensure better penetration of the sealant into the wood and provides a more even finish.
Regardless of the method you choose, it is crucial to apply the sealant evenly and follow the manufacturer’s recommended coverage rate. Work in small sections at a time, ensuring that no areas are missed or left with excessive sealant. Take your time and be thorough during the application process to achieve the best results.
Read more: How To Seal A Sunroom
Step 5: Allow drying time
After applying the sealant to your fence, it’s important to allow sufficient drying time. This ensures that the sealant properly sets and adheres to the surface, maximizing its effectiveness. Here are some recommendations on how long to let the sealant dry before using the fence:
- Follow the manufacturer’s instructions: Different sealants have different drying times, so it’s essential to refer to the instructions provided by the manufacturer. They will provide specific guidelines on drying times based on the type of sealant used and the environmental conditions.
- Average drying time: In general, most sealants require at least 24 to 48 hours to dry completely. However, factors such as temperature, humidity, and the type of sealant used can affect the drying time. It’s best to err on the side of caution and allow for the longer recommended drying time.
- Avoid contact during drying: While the sealant is drying, it’s important to avoid any contact or interference that could disrupt its setting. This includes keeping pets, children, and objects away from the fence during the drying process.
- Weather considerations: Weather conditions can impact the drying time of the sealant. If rain is forecasted within the drying period, it is advisable to postpone the sealing process or provide adequate protection from the rain. This ensures that the sealant is not washed away or diluted before it has a chance to properly dry.
By allowing the sealant sufficient drying time, you ensure that it fully cures and provides the intended protection for your fence. Patience during this step will yield the best long-term results and ensure that your fence is ready for use once the drying period is complete.
Step 6: Repeat if necessary
Once the first coat of sealant has dried, it is important to evaluate whether a second coat is needed to provide optimal protection and coverage for your fence. Here are some guidelines to help you determine if a second coat of sealant is necessary:
- Check for coverage: Inspect the fence carefully to ensure that the first coat of sealant has been applied evenly and has provided complete coverage. Look for any areas that appear thinner or where the wood grain is still visible.
- Assess the level of protection: Consider the level of protection you desire for your fence. If you live in an area with harsh weather conditions or high UV exposure, a second coat of sealant can offer an extra layer of protection for your fence.
- Evaluate the finish: If you are not satisfied with the appearance or finish of your fence after the first coat of sealant, a second coat can help achieve a more uniform and enhanced look.
- Follow manufacturer recommendations: Some sealant products specifically recommend applying multiple coats for optimal results. Refer to the manufacturer’s instructions to determine if a second coat is recommended for the specific sealant you are using.
If you determine that a second coat of sealant is necessary, ensure that the first coat has fully dried before applying the second coat. Follow the same application techniques and allow for the recommended drying time between coats.
Ultimately, the decision to apply a second coat of sealant depends on your personal preference, the condition of your fence, and the desired level of protection. Applying a second coat, if needed, will provide added durability and longevity to your fence, ensuring it stays protected for years to come.
Conclusion
Sealing your fence is a vital step in protecting its durability and enhancing its appearance. By following the step-by-step process outlined in this guide, you can ensure that your fence receives the necessary care and maintenance it deserves. From gathering the necessary materials to applying the sealant and allowing for drying time, each step plays a crucial role in achieving optimal results.
Properly cleaning the fence removes dirt, grime, and previous coatings, providing a clean surface for the sealant to adhere to. Preparing the sealant according to the instructions ensures that it is applied smoothly and effectively. Applying the sealant using the appropriate techniques and tools guarantees even coverage and protection for your fence. Allowing for sufficient drying time ensures that the sealant sets properly, maximizing its durability and longevity.
Remember to consider the specific recommendations provided by the manufacturer of the sealant you choose. These guidelines can vary based on the type of sealant, environmental conditions, and the material of your fence. It is important to also assess whether a second coat of sealant is necessary for complete coverage and enhanced protection.
By sealing your fence, you not only protect it from weather elements and normal wear and tear but also enhance its appearance and prolong its lifespan. Regularly sealing your fence can save you from costly repairs or replacements in the future. Take the time to properly maintain your fence and enjoy the benefits of a beautiful and well-protected outdoor space.
So, gather your materials, clean your fence, prepare the sealant, apply it with care, allow for drying time, and repeat if necessary. Following these steps will ensure that your fence remains in excellent condition for years to come.
Frequently Asked Questions about How To Seal A Fence
Was this page helpful?
At Storables.com, we guarantee accurate and reliable information. Our content, validated by Expert Board Contributors, is crafted following stringent Editorial Policies. We're committed to providing you with well-researched, expert-backed insights for all your informational needs.


0 thoughts on “How To Seal A Fence”