Articles
How To Install A Fence On Concrete
Modified: October 18, 2024
Learn how to install a fence on concrete with our step-by-step articles. Find expert tips and advice for a secure and durable fence installation.
(Many of the links in this article redirect to a specific reviewed product. Your purchase of these products through affiliate links helps to generate commission for Storables.com, at no extra cost. Learn more)
Introduction
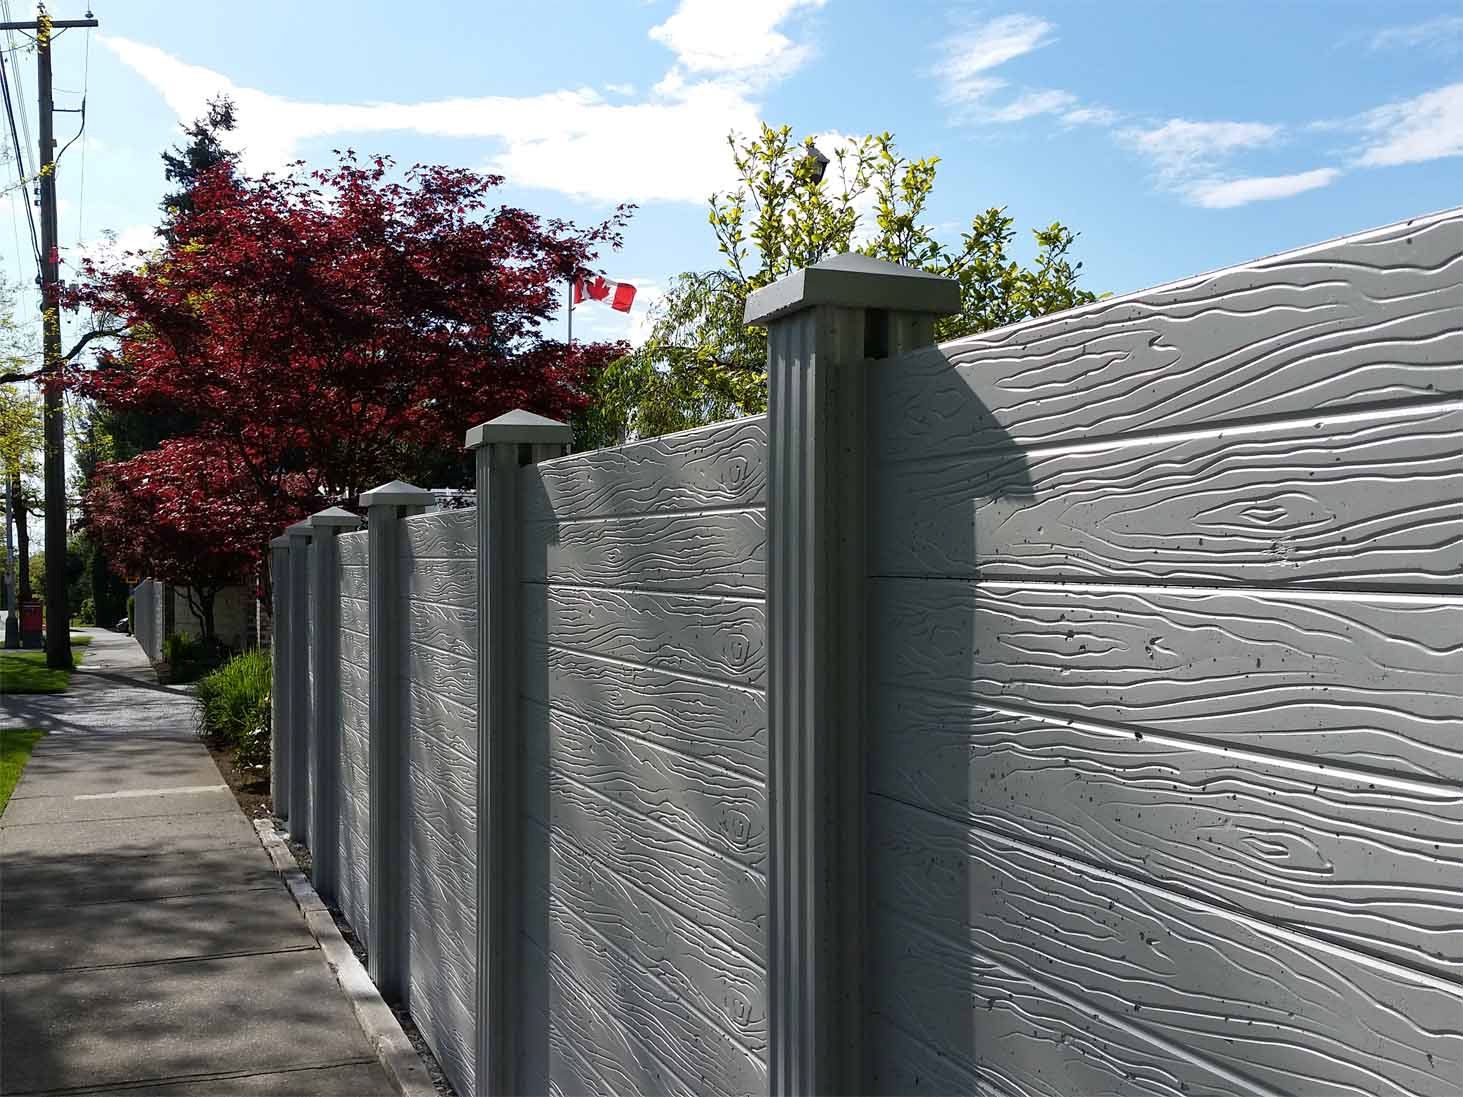
Installing a fence on concrete may seem like a daunting task, but with the right materials and tools, it can be a straightforward process. Fences provide security, privacy, and aesthetic appeal to your property, and attaching them to concrete surfaces can ensure their stability and longevity.
Before getting started, it’s important to gather all the necessary materials and tools. You’ll need fence panels or rails, fence posts, anchor sleeves or brackets, a drill, concrete screws or anchor bolts, a level, a tape measure, a pencil or marker, a wrench or socket set, and safety goggles.
The first step in installing a fence on concrete is to prepare the surface. Ensure that the concrete is clean and free of debris by sweeping or power washing it. Make any necessary repairs, such as filling in cracks or potholes, to ensure a solid footing for your fence.
Next, mark the locations where you want to place the fence posts. Use a tape measure and pencil or marker to accurately mark the spots. Ensure that the distances between the posts are even for a visually pleasing and structurally sound fence.
Key Takeaways:
- Installing a fence on concrete is a manageable task with the right tools and materials. Proper preparation, accurate measurements, and secure installation are key to creating a sturdy and visually appealing fence.
- Regular maintenance, proper alignment, and adherence to local regulations are essential for ensuring the longevity and functionality of a fence installed on concrete. Attention to detail and finishing touches can enhance the overall appearance and durability of the structure.
Read more: How To Install Fence Post Without Concrete
Step 1: Gather materials and tools
The first step in installing a fence on concrete is to gather all the necessary materials and tools. By having everything ready before you start, you can ensure a smooth and efficient installation process. Here is a list of the essential items you will need:
- Fence panels or rails: These are the main components of your fence that will provide the desired height and style. Choose panels or rails that are suitable for concrete installation.
- Fence posts: These vertical structures will provide support and stability to your fence. Depending on your preference and the type of fence, you can choose between wooden, metal, or vinyl posts.
- Anchor sleeves or brackets: These are essential for securing the fence posts to the concrete. Anchor sleeves are inserted into the holes drilled in the concrete, while brackets are attached directly to the surface.
- Drill: You will need a power drill with a masonry bit to create holes in the concrete for the anchor sleeves or brackets.
- Concrete screws or anchor bolts: These fasteners are used to secure the anchor sleeves or brackets to the concrete. Make sure to choose screws or bolts that are suitable for outdoor and concrete applications.
- Level: A level is crucial to ensure that your fence is straight and correctly aligned. Use a long level for accurate measurements.
- Tape measure: Measure the distances between the fence posts and ensure they are evenly spaced. This will help to maintain the structural integrity and aesthetic appeal of your fence.
- Pencil or marker: Use a pencil or marker to mark the locations of the fence posts on the concrete. These marks will serve as your guide during the installation process.
- Wrench or socket set: Depending on the type of anchor sleeves or brackets you are using, you may need a wrench or socket set to tighten the screws or bolts securely.
- Safety goggles: Protect your eyes during the drilling and installation process by wearing safety goggles. This will prevent any debris or dust from causing harm.
Gathering all these materials and tools in advance will save you time and ensure a smoother installation process. Once you have everything ready, you can proceed to the next step of preparing the concrete surface for the fence installation.
Step 2: Prepare the concrete surface
The next step in installing a fence on concrete is to properly prepare the surface. Preparing the concrete will ensure a solid and secure base for your fence, enhancing its stability and durability. Follow these steps to prepare the concrete surface:
- Clean the concrete: Start by cleaning the concrete surface. Sweep or power wash the area to remove any dirt, debris, or loose particles. If there are stubborn stains or marks, you can use a mild detergent and a scrub brush to clean the surface thoroughly.
- Repair any damages: Inspect the concrete for any cracks, potholes, or damage. If you spot any, it’s important to repair them before installing the fence. Use a concrete patching compound or epoxy resin to fill in the cracks and smooth out the surface. Allow the repairs to dry and cure according to the manufacturer’s instructions.
- Smooth out uneven areas: If there are any uneven spots or raised sections on the concrete, you can use a grinder or a leveling compound to smooth them out. This will ensure that the fence posts sit evenly on the surface.
Properly preparing the concrete surface will provide a sturdy foundation for your fence and prevent any future issues caused by an unstable base. Once the concrete surface is clean and repaired, you can proceed to the next step of marking the fence post locations.
Step 3: Mark the fence post locations
Once you have prepared the concrete surface, the next step in installing a fence on concrete is to mark the locations where the fence posts will be placed. Properly marking the positions will ensure that your fence is evenly spaced, visually appealing, and structurally sound. Follow these steps to mark the fence post locations:
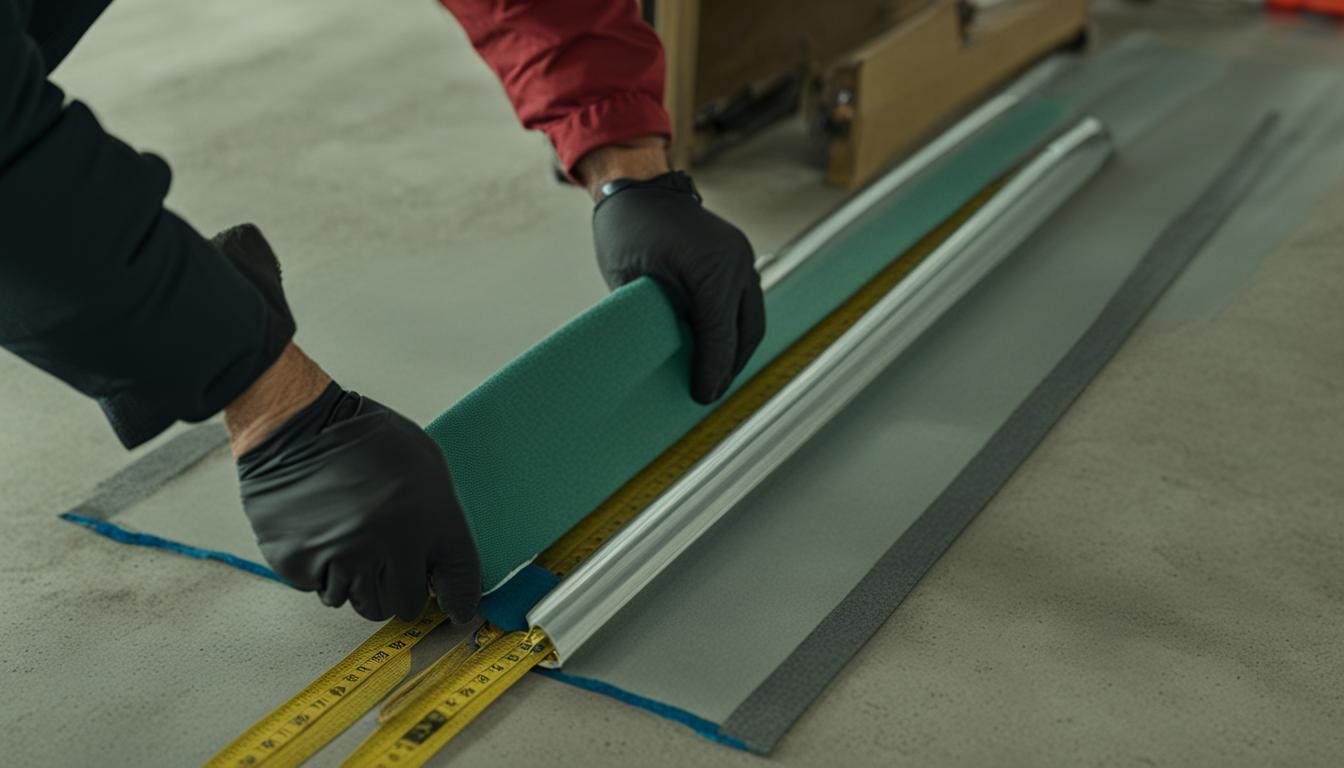
- Measure and plan: Use a tape measure to determine the desired distance between the fence posts. This will depend on the style and design of your fence, as well as any local regulations or guidelines. It’s important to ensure that the spacing is consistent throughout the entire fence line.
- Mark the first post location: Starting at one end of the fence line, use a pencil or marker to mark the spot where the first fence post will be installed. Make sure to measure and mark carefully, as this will serve as a reference point for the rest of the posts.
- Continue marking: Measure the desired distance between each fence post and mark the spots accordingly. Use the level to ensure that the marks are straight and aligned. This will help maintain the overall symmetry and stability of the fence.
- Double-check the measurements: Before proceeding with the installation, double-check all the measurements and marks to ensure accuracy. This will minimize any potential issues or adjustments during the installation process.
By carefully marking the fence post locations, you can ensure a professionally installed and visually appealing fence. Once the locations are marked, you can move on to the next step of drilling holes in the concrete to accommodate the fence posts.
Step 4: Drill holes in the concrete
After marking the locations for the fence posts, the next step in the installation process is to drill holes in the concrete. These holes will serve as the anchor points for the fence posts, securing them in place and providing stability. Follow these steps to drill the holes in the concrete:
- Select the appropriate drill bit: Choose a masonry drill bit that is suitable for drilling into concrete. The size of the bit should match the diameter of the anchor sleeves or brackets you will be using.
- Put on safety goggles and protective gear: Before you begin drilling, ensure that you are wearing safety goggles to protect your eyes from any debris or dust. It is also a good idea to wear gloves and a face mask to protect yourself further.
- Set the drill to the appropriate speed and mode: Set your drill to the hammer drill mode, which is designed for drilling into hard materials like concrete. Adjust the speed setting to ensure a smooth and controlled drilling process.
- Position the drill over the marked spot: Align the drill bit with one of the marked spots for the fence post. Hold the drill firmly and perpendicular to the surface of the concrete.
- Start drilling slowly and steadily: Begin drilling slowly and apply gentle pressure. Allow the drill bit to penetrate the concrete gradually, maintaining a steady pace to avoid any damage or overheating of the drill or bit.
- Drill to the desired depth: Continue drilling until you reach the desired depth for the anchor sleeves or brackets. The depth should be slightly longer than the length of the sleeves or brackets to ensure a secure fit.
- Repeat the process for each marked spot: Move on to the next marked spot and repeat the drilling process until you have drilled holes in all the marked locations for the fence posts.
- Clean the holes: Once all the holes are drilled, use a brush or compressed air to remove any debris or dust from the drilled holes. This will provide a clean and smooth surface for inserting the anchor sleeves or brackets.
Drilling holes in the concrete may require some patience and precision. Take your time and ensure that each hole is drilled accurately to ensure the stability of your fence. With the holes drilled, you can proceed to the next step of inserting the anchor sleeves or brackets into the holes.
Read more: How To Set Fence Post On Concrete
Step 5: Insert anchor sleeves or brackets
With the holes drilled in the concrete, the next step in installing a fence on concrete is to insert the anchor sleeves or brackets. These components will provide a secure connection between the fence posts and the concrete surface. Follow these steps to insert the anchor sleeves or brackets:
- Prepare the anchor sleeves or brackets: Depending on the type you have chosen, prepare the anchor sleeves by applying adhesive to the inside of the holes or ensure that the brackets are clean and ready for installation.
- Insert the anchor sleeves: If you are using anchor sleeves, apply the adhesive to the inside of the drilled holes according to the instructions provided. Insert the sleeves into the holes, ensuring they are flush with the surface of the concrete.
- Secure the anchor sleeves: Depending on the adhesive used, you may need to wait for it to cure before proceeding to the next step. Follow the manufacturer’s instructions regarding curing time.
- Attach the brackets: If you are using brackets, align them with the drilled holes and secure them in place using the appropriate fasteners such as screws or bolts. Ensure that the brackets are securely attached to the concrete.
Inserting the anchor sleeves or brackets is a crucial step in ensuring the stability of your fence. It is essential to properly follow the manufacturer’s instructions and adhere to the recommended curing times to ensure a secure and long-lasting connection. With the sleeves or brackets in place, you can move on to the next step of setting the fence posts in place.
Before installing a fence on concrete, make sure to use a hammer drill to create pilot holes for the anchors. This will make the installation process much easier and ensure a secure attachment to the concrete.
Step 6: Set the fence posts in place
Now that the anchor sleeves or brackets are securely in place, the next step in installing a fence on concrete is to set the fence posts. The fence posts are the vertical structures that provide support and stability to the fence. Follow these steps to set the fence posts:
- Prepare the fence posts: Before setting the fence posts, ensure that they are clean and free of any debris. If necessary, trim the posts to the desired height using a saw.
- Slide the fence posts into the anchor sleeves or brackets: Carefully slide each fence post into the corresponding anchor sleeve or attach it to the bracket. Ensure that the posts are aligned with the markings you made earlier and that they are straight and level.
- Check for alignment: Use a level to check the alignment of each fence post. Adjust as needed to ensure that the posts are straight and level both vertically and horizontally.
- Secure the fence posts: Once the posts are properly aligned, secure them in place by tightening any screws, bolts, or fasteners provided by the anchor sleeves or brackets. Ensure that the posts are securely anchored to the concrete and that they do not wobble or move.
Properly setting the fence posts is essential for the stability and longevity of your fence. Take your time to ensure that the posts are aligned accurately and securely attached to the anchor sleeves or brackets. With the fence posts set, you can move on to the next step of attaching the fence panels or rails.
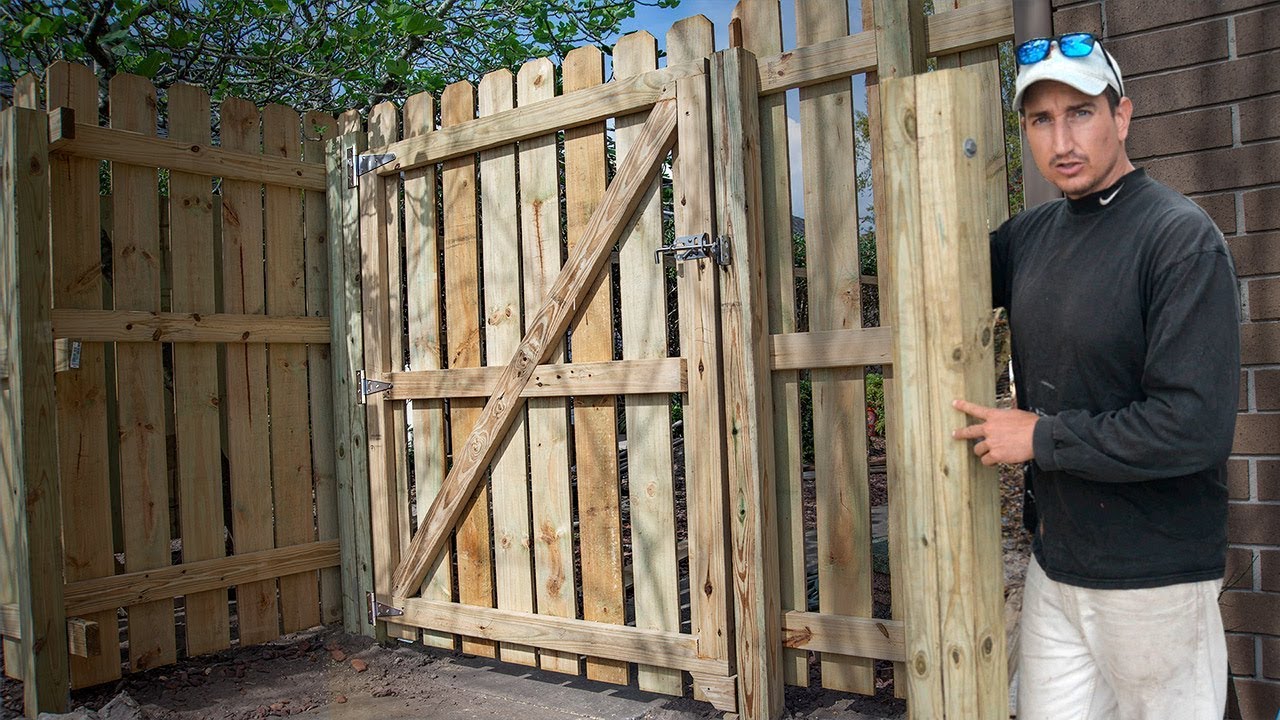
Step 7: Attach the fence panels or rails
With the fence posts securely in place, it’s time to attach the fence panels or rails. These components will provide the desired height and structure to your fence. Follow these steps to attach the fence panels or rails:
- Position the first fence panel or rail: Start by positioning the first fence panel or rail against the fence posts. Ensure that it is flush with the ground and aligned with the adjacent posts.
- Attach the fence panel or rail to the posts: Depending on the type of fence you have, you may use screws, brackets, or other fasteners to attach the panel or rail to the posts. Follow the manufacturer’s instructions to ensure a secure and proper installation.
- Check for level and alignment: Use a level to check that the fence panel or rail is straight and level. Adjust as needed by loosening the fasteners and repositioning the panel or rail until it is properly aligned.
- Continue attaching the remaining panels or rails: Repeat the process for each additional fence panel or rail, making sure to maintain the desired spacing and alignment. Take your time to ensure a professional and even appearance.
Attaching the fence panels or rails is a crucial step in the installation process. It’s important to follow the manufacturer’s instructions and take the time to ensure that each panel or rail is properly aligned and securely attached. With all the fence panels or rails in place, you can move on to the next step of securing the fence posts.
Step 8: Secure the fence posts
Once the fence panels or rails are attached, the next step in installing a fence on concrete is to ensure that the fence posts are securely fastened. This will provide additional stability and prevent any movement or wobbling. Follow these steps to secure the fence posts:
- Check for stability: Before securing the fence posts, check each one to ensure that they are stable and securely anchored. Apply pressure to the posts and check for any movement or wobbling.
- Tighten the fasteners: If any of the fence posts are not stable or show signs of movement, use a wrench or socket set to tighten the screws, bolts, or fasteners that secure them to the anchor sleeves or brackets.
- Inspect for any gaps: Carefully inspect the area where the fence posts meet the anchor sleeves or brackets. Look for any gaps or spaces between the post and the sleeve/bracket. If gaps are present, insert shims or additional screws to fill in those spaces and provide extra support.
- Double-check for alignment: After tightening the fasteners, use a level to double-check the alignment of each fence post. Ensure that they are still straight and level both vertically and horizontally.
Securing the fence posts is crucial in ensuring the stability and longevity of your fence. Taking the time to check for stability and properly tighten the fasteners will greatly contribute to the overall integrity of the fence. Once the fence posts are securely fastened, you can move on to the final steps of adding finishing touches and considering maintenance for your fence.
Read more: How To Install Fence On A Slope
Step 9: Finishing touches and maintenance
With the fence installation complete, it’s time to add the finishing touches and consider the maintenance of your fence. These final steps will not only enhance the appearance of your fence but also contribute to its longevity. Here are some considerations for finishing touches and maintenance:
- Trim and paint the fence: If necessary, trim any excess portions of the fence panels or rails to ensure a clean and uniform appearance. You may also consider painting or staining the fence to protect it from the elements and enhance its aesthetic appeal. Choose a paint or stain that is specifically formulated for outdoor use and compatible with the material of your fence.
- Inspect the fence regularly: Regularly inspect your fence to check for any damage, loose screws, or signs of wear and tear. Address any issues promptly to prevent further damage and ensure the longevity of your fence.
- Perform routine maintenance: Depending on the type of fence you have, routine maintenance may be required. This can include cleaning the fence periodically with a mild detergent and water, removing any debris or dirt that can accumulate, and applying a protective coating or sealant to prevent moisture damage.
- Consider landscaping around the fence: To enhance the overall look of your fence, consider landscaping the area around it. Plant flowers, shrubs, or other vegetation to create a visually appealing and cohesive outdoor space.
- Follow local regulations and guidelines: Ensure that your fence installation adheres to any local regulations or guidelines. Check with your local authorities or homeowner’s association to determine if there are any specific requirements or permits needed for your fence.
By taking care of these finishing touches and performing routine maintenance, you can prolong the life of your fence and keep it looking its best for years to come. With these final steps completed, you can enjoy the benefits of your newly installed fence on concrete.
Conclusion
Installing a fence on concrete may initially seem like a challenging task, but with proper preparation and the right materials, it can be a straightforward and rewarding endeavor. By following the step-by-step guide outlined in this article, you can successfully install a fence on a concrete surface, providing security, privacy, and aesthetic appeal to your property.
Throughout the installation process, it is crucial to gather all the necessary materials and tools, prepare the concrete surface, mark the fence post locations accurately, drill holes in the concrete, insert anchor sleeves or brackets, set the fence posts in place, attach the fence panels or rails, secure the fence posts, and add the finishing touches and consider maintenance.
Remember to double-check measurements, ensure proper alignment, and regularly inspect and maintain your fence to prolong its lifespan and keep it in optimal condition. It’s also essential to follow any local regulations or guidelines that may apply to fence installations in your area.
A well-installed fence on concrete can enhance the security, privacy, and aesthetic appeal of your property. Whether you’re looking to define boundaries, keep pets safe, create a safe play area for kids, or add a touch of elegance to your outdoor space, a sturdy and stylish fence on concrete can help you achieve your goals.
So roll up your sleeves, gather your materials, and follow the steps outlined in this article to transform your concrete surface into a functional and attractive fence. With patience, attention to detail, and a little bit of effort, you’ll soon have a beautifully installed fence that will stand the test of time.
Frequently Asked Questions about How To Install A Fence On Concrete
Was this page helpful?
At Storables.com, we guarantee accurate and reliable information. Our content, validated by Expert Board Contributors, is crafted following stringent Editorial Policies. We're committed to providing you with well-researched, expert-backed insights for all your informational needs.


0 thoughts on “How To Install A Fence On Concrete”