Home>Interior Design>How To Paint Trim With Carpet: 5 Professional Methods
Interior Design
How To Paint Trim With Carpet: 5 Professional Methods
Modified: August 28, 2024
Learn the top 5 professional methods for painting trim with carpet. Achieve a flawless interior design with these expert tips.
(Many of the links in this article redirect to a specific reviewed product. Your purchase of these products through affiliate links helps to generate commission for Storables.com, at no extra cost. Learn more)
Introduction
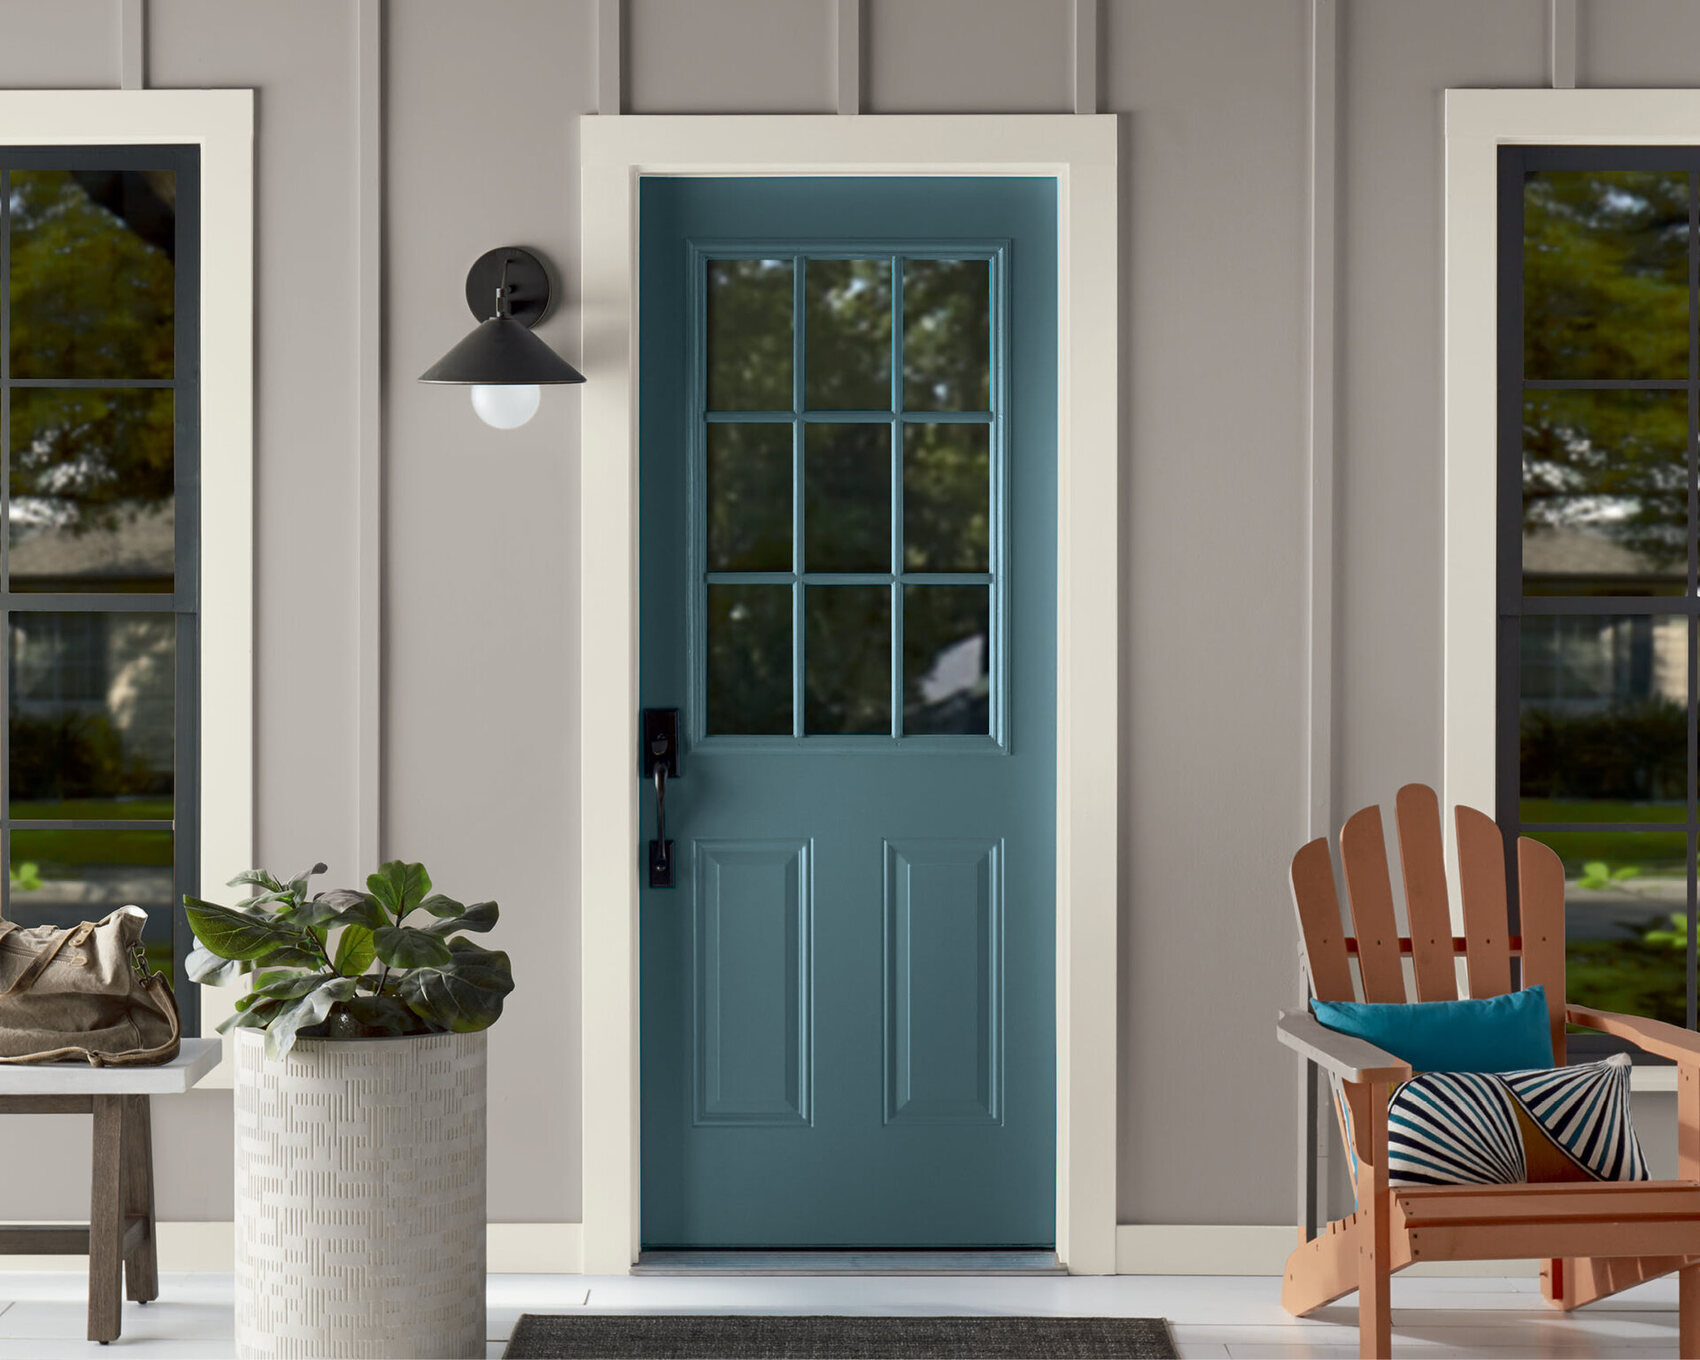
Welcome to the world of interior design and the intricate task of painting trim with carpet. When it comes to home improvement projects, painting trim can add a fresh and polished look to any space. However, when you have carpeted floors, it can be a bit challenging to navigate around them without causing damage or leaving unsightly paint marks.
In this article, we will explore five professional methods that will guide you on how to successfully paint trim with carpet. These methods are tried and tested by experts in the industry, ensuring that you achieve a beautifully painted trim while keeping your carpets in pristine condition.
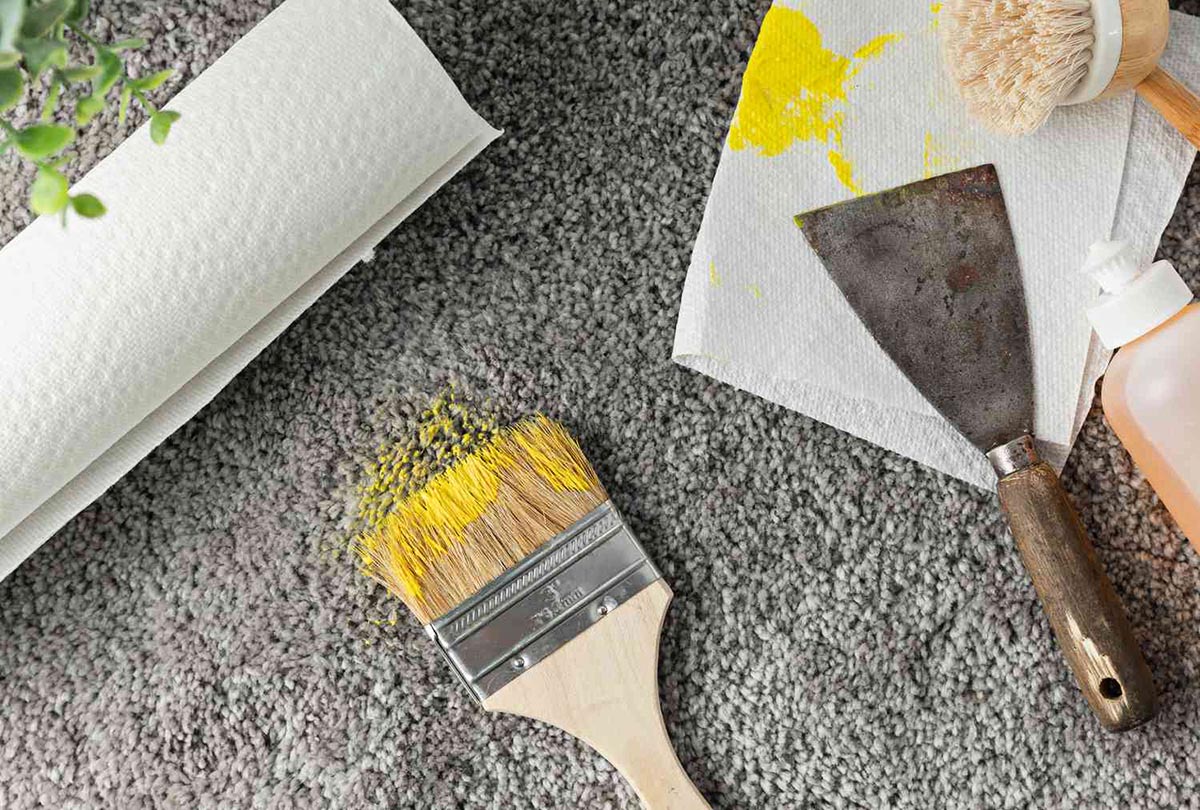
Before we delve into the methods, it’s essential to note that proper preparation and careful execution are key. Take the time to gather the necessary materials, including painters tape, trim guards, angled brushes, and drop cloths, to ensure a smooth painting process.
Now, let’s dive into the five professional methods that will empower you to paint your trim flawlessly, even with carpeted floors.
Key Takeaways:
- Protect your carpet while painting trim by using drop cloths, securing edges with painter’s tape, and adding extra layers for precaution. This ensures a flawless paint job without any damage to your carpet.
- Achieve clean and precise trim lines with painter’s tape, trim guards, and angled brushes. Properly prepare the trim by cleaning, sanding, and filling gaps for a professional-looking finish.
Method 1: Protecting the Carpet
Before you begin painting the trim, it’s crucial to protect your carpet from any potential paint splatters or spills. Here’s how you can do it:
- Cover the entire carpet: Start by covering the entire carpeted area around the trim with a drop cloth or plastic sheeting. Ensure that the covering extends a few feet beyond the trim to catch any accidental drips or splatters.
- Secure the edges: Use painter’s tape to secure the edges of the drop cloth or plastic sheeting to the baseboards or walls. This will prevent any paint from seeping underneath and coming into contact with the carpet.
- Use additional protection: For extra precaution, you can also lay down additional layers of cardboard or old towels on top of the drop cloth. This will create an additional barrier between the trim and the carpet, further reducing the risk of paint damage.
By taking these steps to protect your carpet, you can paint the trim with peace of mind, knowing that your floors are safeguarded from any potential mishaps.
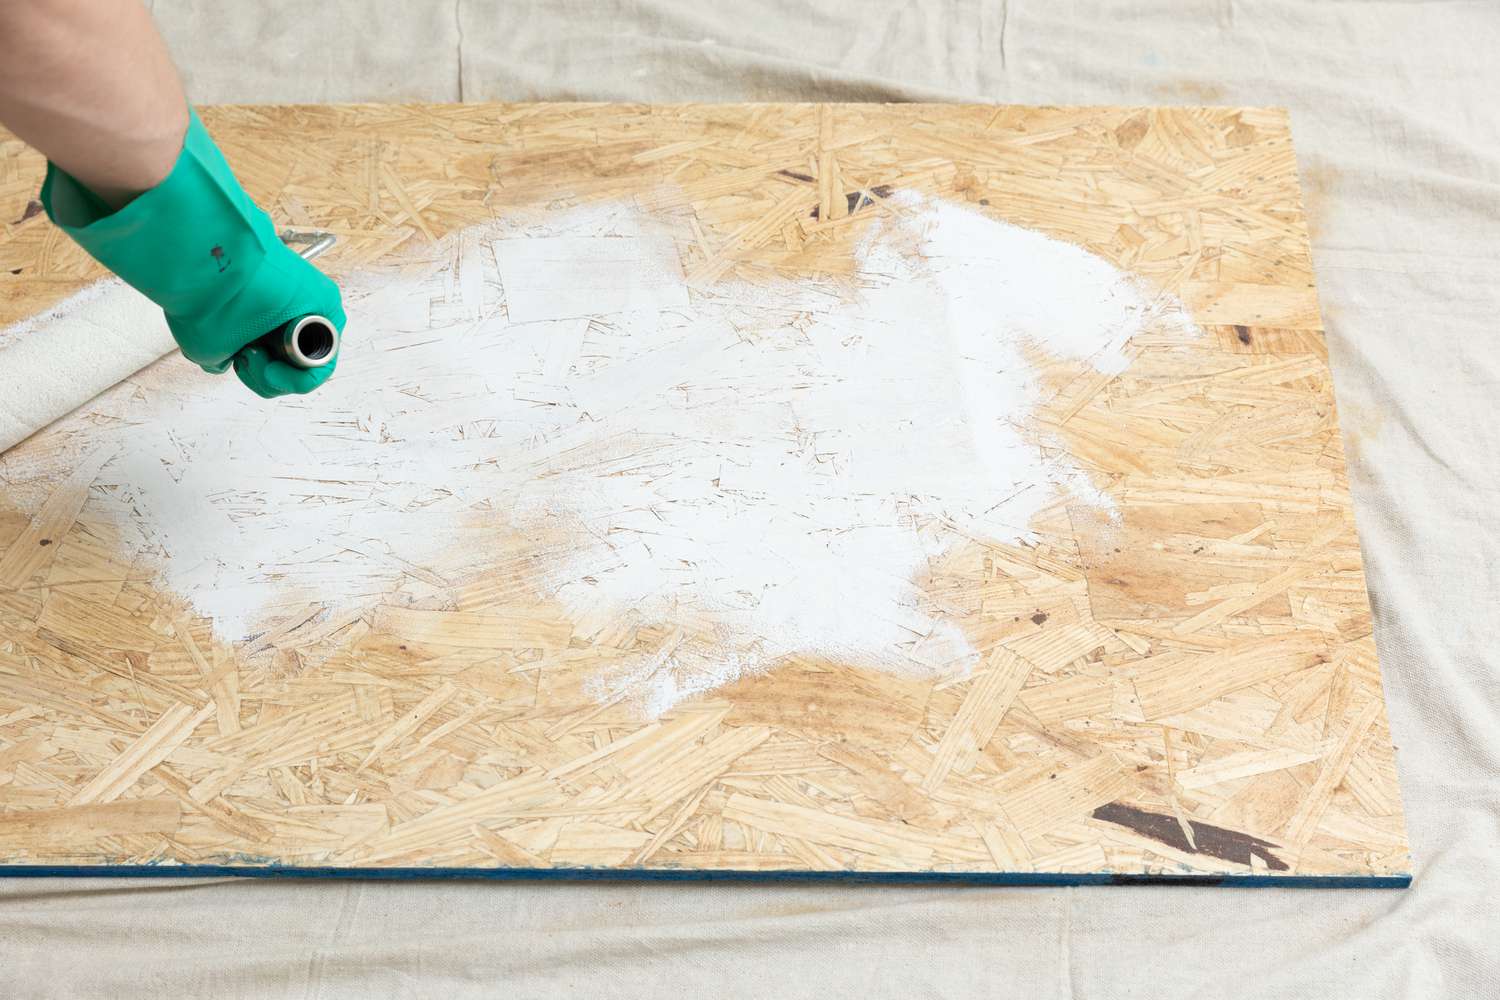
Method 2: Preparing the Trim
Properly preparing the trim is essential for a successful paint job. Follow these steps to ensure that the trim is clean and ready to be painted:
- Clean the trim: Before you paint, remove any dirt, dust, or grime from the trim surface. Use a damp cloth or sponge to wipe it down and ensure a smooth and clean surface for the paint to adhere to. If there are any stubborn stains or adhesive residues, you may need to use a mild cleaning solution or denatured alcohol to remove them.
- Sand the trim: If the trim has any rough or uneven areas, lightly sand them with a fine-grit sandpaper. This will create a smooth surface for the paint and help the paint adhere better. Be sure to wipe away any sanding dust after sanding to prevent it from interfering with the paint application.
- Fill in any gaps: Inspect the trim for any gaps, cracks, or nail holes. Use a wood filler or putty to fill them in, ensuring that the surface is even and seamless. Allow the filler to dry completely, and then sand it lightly to blend it with the rest of the trim.
By properly preparing the trim, you will create the ideal foundation for a professional-looking paint job. Taking the time to clean, sand, and fill any imperfections will ensure that the paint adheres smoothly and provides a flawless finish.
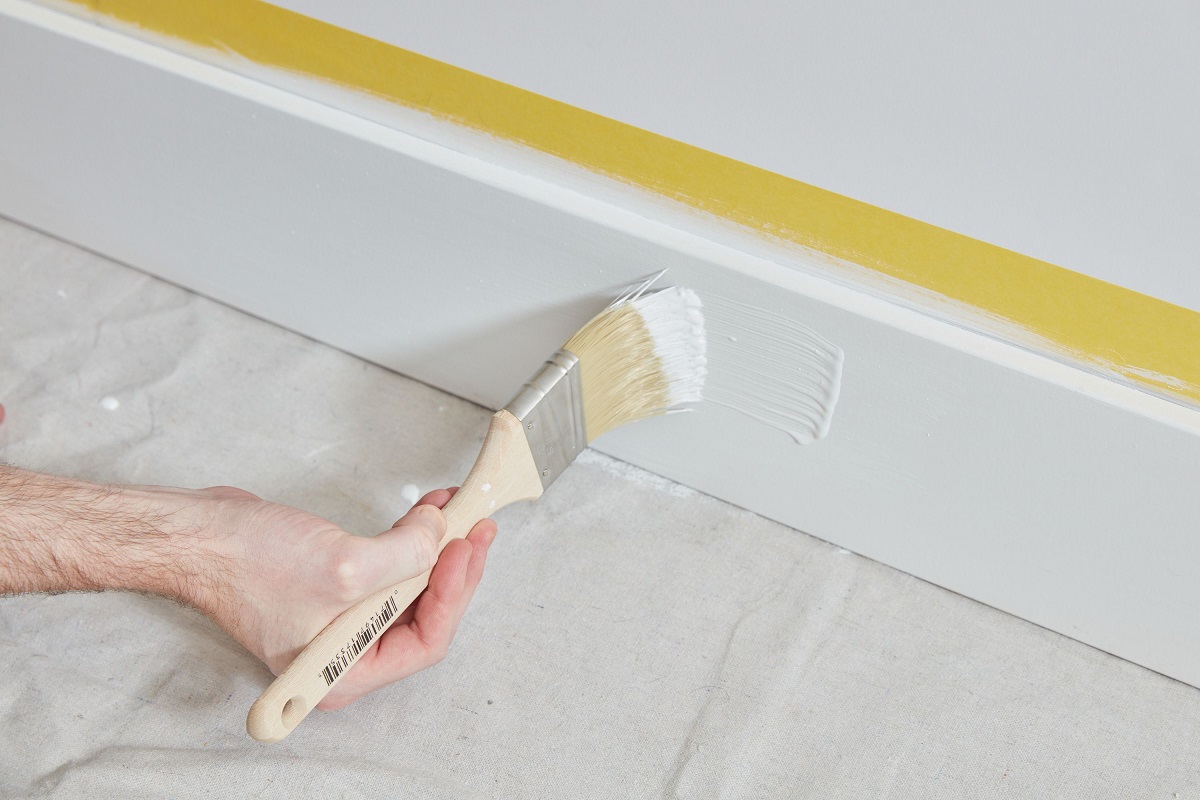
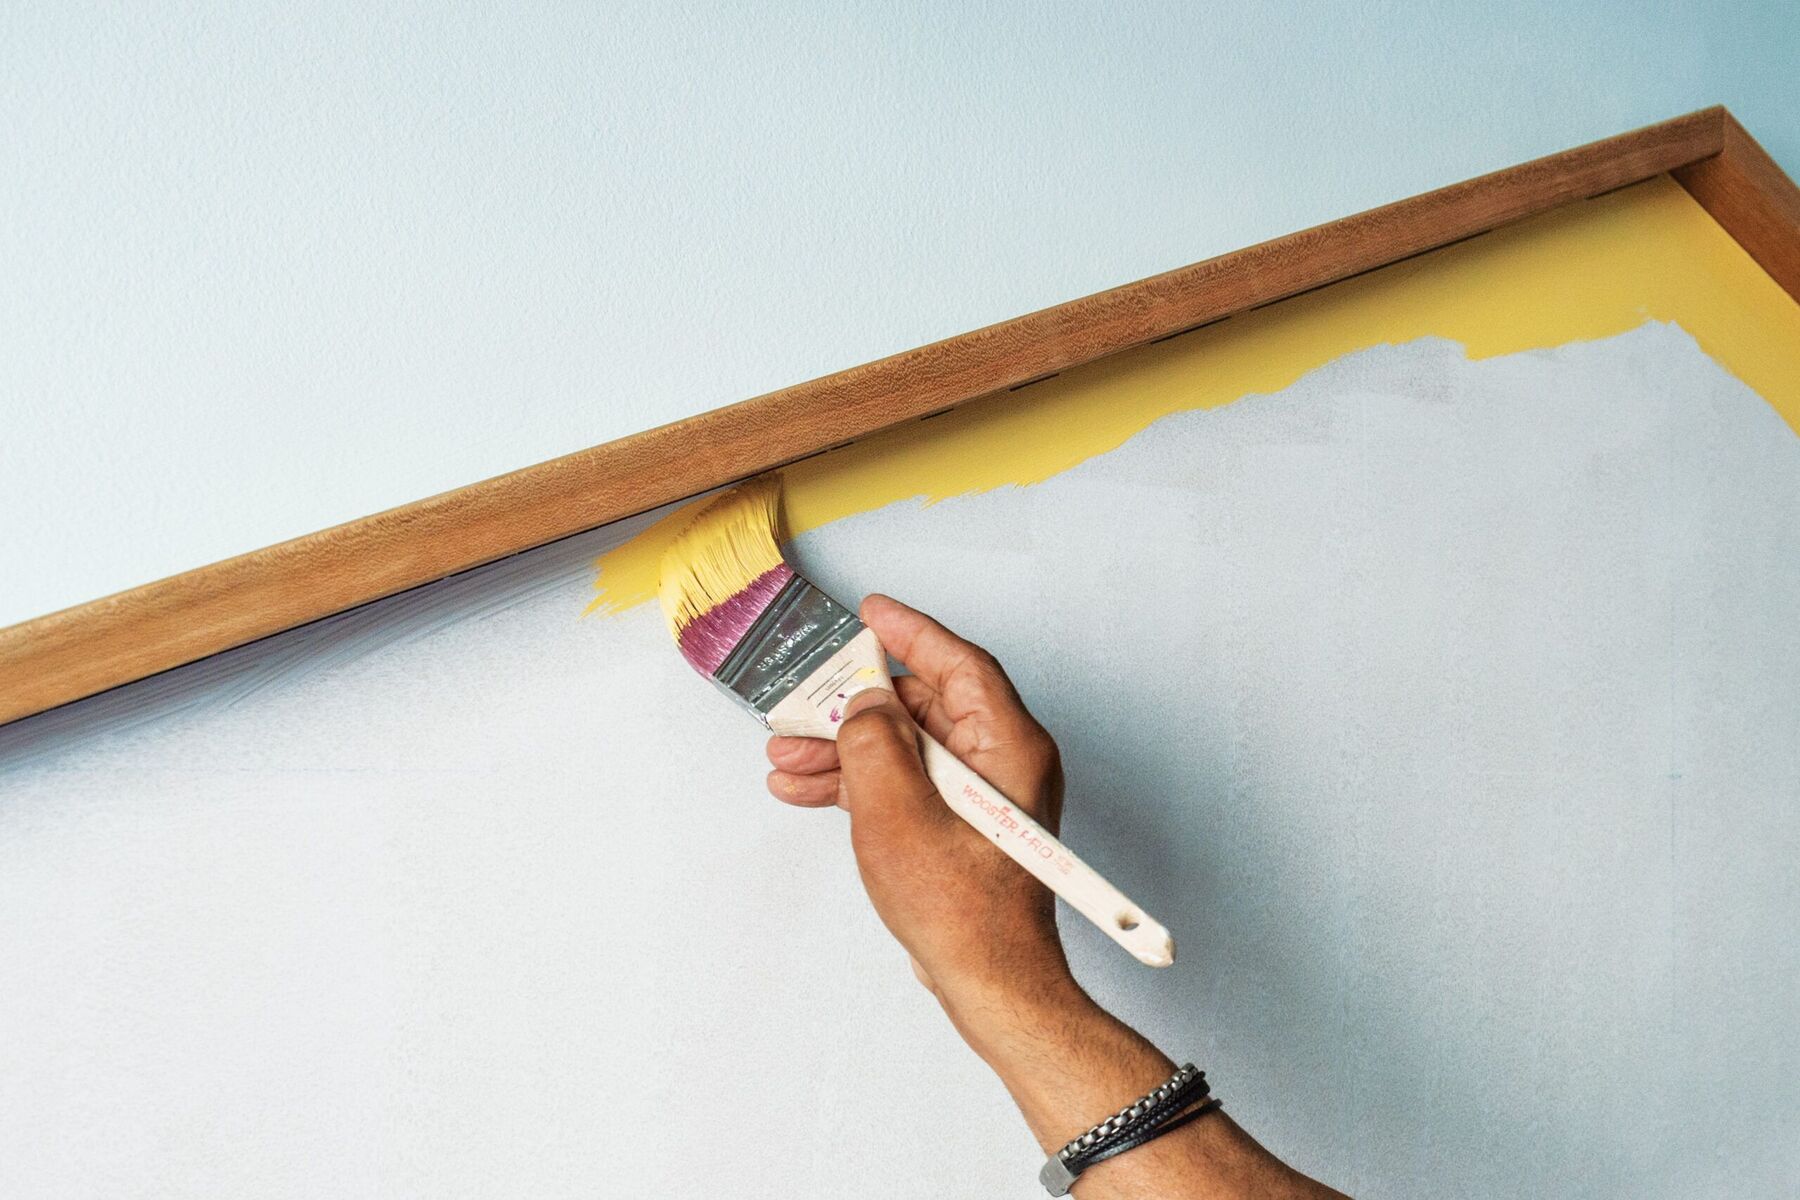
Method 3: Applying Painter’s Tape
Painter’s tape is an indispensable tool when it comes to achieving clean and precise trim lines. Follow these steps to apply painter’s tape effectively:
- Clean the trim: Ensure that the trim surface is clean and dry before applying painter’s tape. Any dust or moisture can prevent the tape from adhering properly.
- Measure and cut: Measure the length of the trim and cut a piece of painter’s tape accordingly. It’s recommended to use a tape with a width of at least 1 inch to provide sufficient coverage.
- Apply the tape: Position the tape along the edge of the trim, ensuring that it is straight and aligned. Press down firmly on the tape to ensure proper adhesion, taking care to avoid any bubbles or gaps.
- Smooth the edges: To ensure a clean and precise line, use a putty knife or a credit card to press firmly along the edge of the tape. This will prevent any paint from seeping underneath and ensure a sharp and professional-looking edge.
When painting, make sure to apply the paint in a smooth and even motion up to the edge of the tape. Once the paint is dry, carefully remove the tape at a 45-degree angle to prevent any paint from peeling off.
By using painter’s tape, you can achieve clean and sharp lines, giving your trim a professional and polished appearance.
When painting trim with carpet, use a drop cloth to protect the carpet from paint drips and spills. Secure the drop cloth with painter’s tape to ensure it stays in place during the painting process.
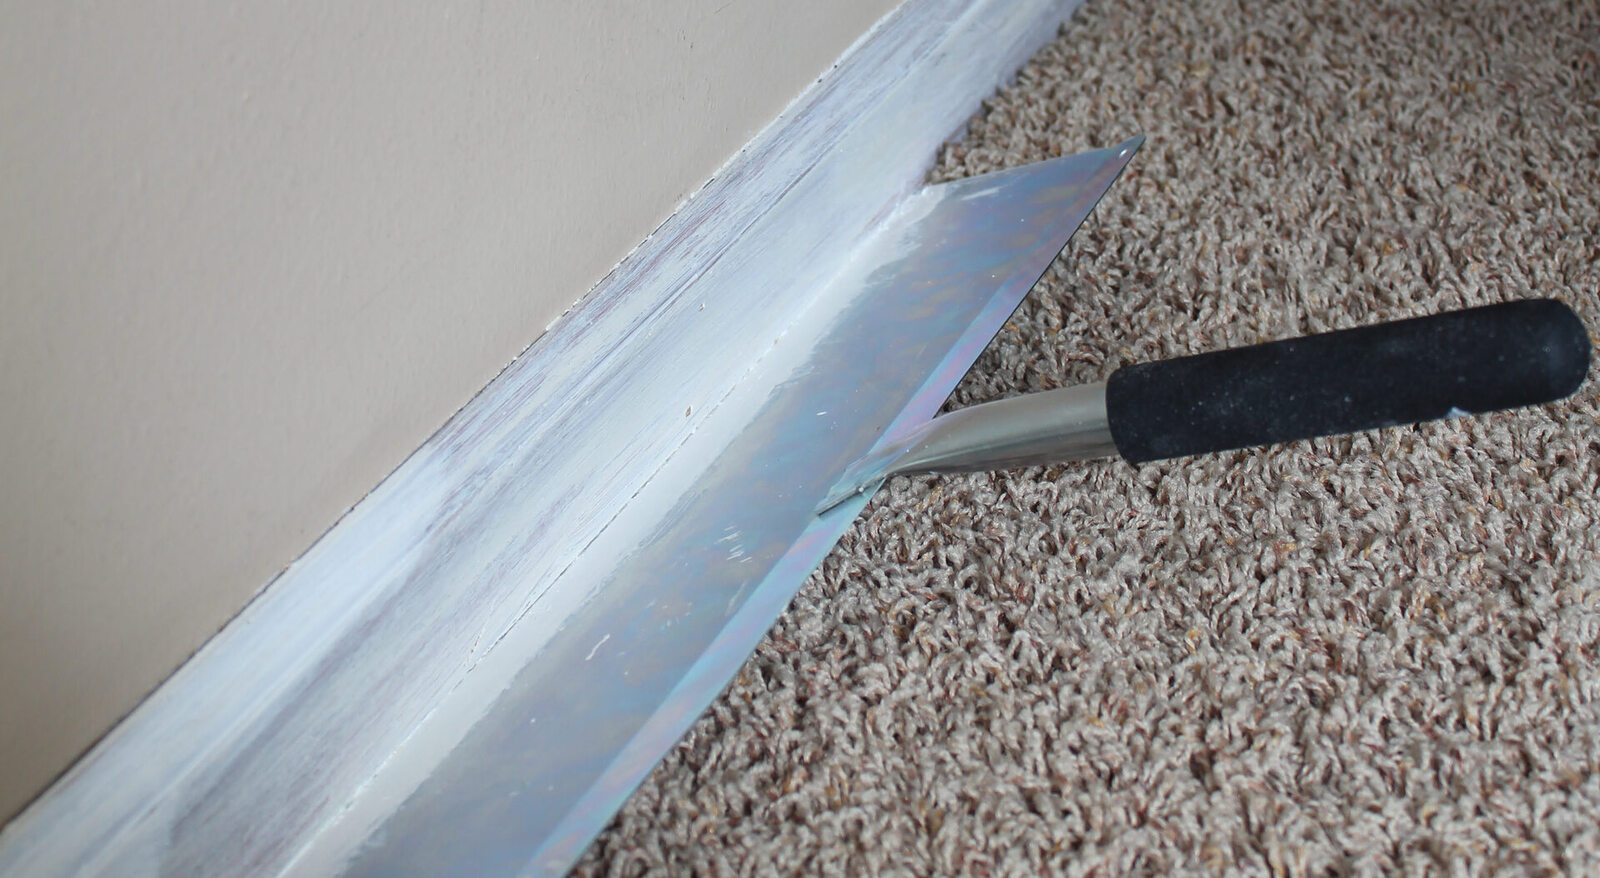
Method 4: Using a Trim Guard
A trim guard is a handy device that helps protect the surrounding areas while providing a steady guide for painting along the trim. Here’s how you can utilize a trim guard for painting trim with carpet:
- Position the trim guard: Place the trim guard along the edge of the trim, ensuring that it is level and aligned. The guard should cover the carpeted area, creating a barrier between the paint and the carpet.
- Secure the guard: Use painter’s tape to secure the trim guard in place. This will prevent any accidental movement or slippage during the painting process.
- Paint along the trim: With the trim guard in place, use a brush or roller to apply the paint along the trim. The guard will provide a steady guide, ensuring a straight and even line for a professional finish.
- Remove the guard: After you’ve completed painting the trim, carefully remove the trim guard while the paint is still wet. This will prevent the guard from sticking to the paint and potentially causing damage.
A trim guard is a valuable tool that not only protects your carpet but also allows for precise and controlled painting along the trim. It ensures that you achieve clean lines and prevents any accidental paint marks on the carpet.
Read more: How To Prepare Trim For Painting
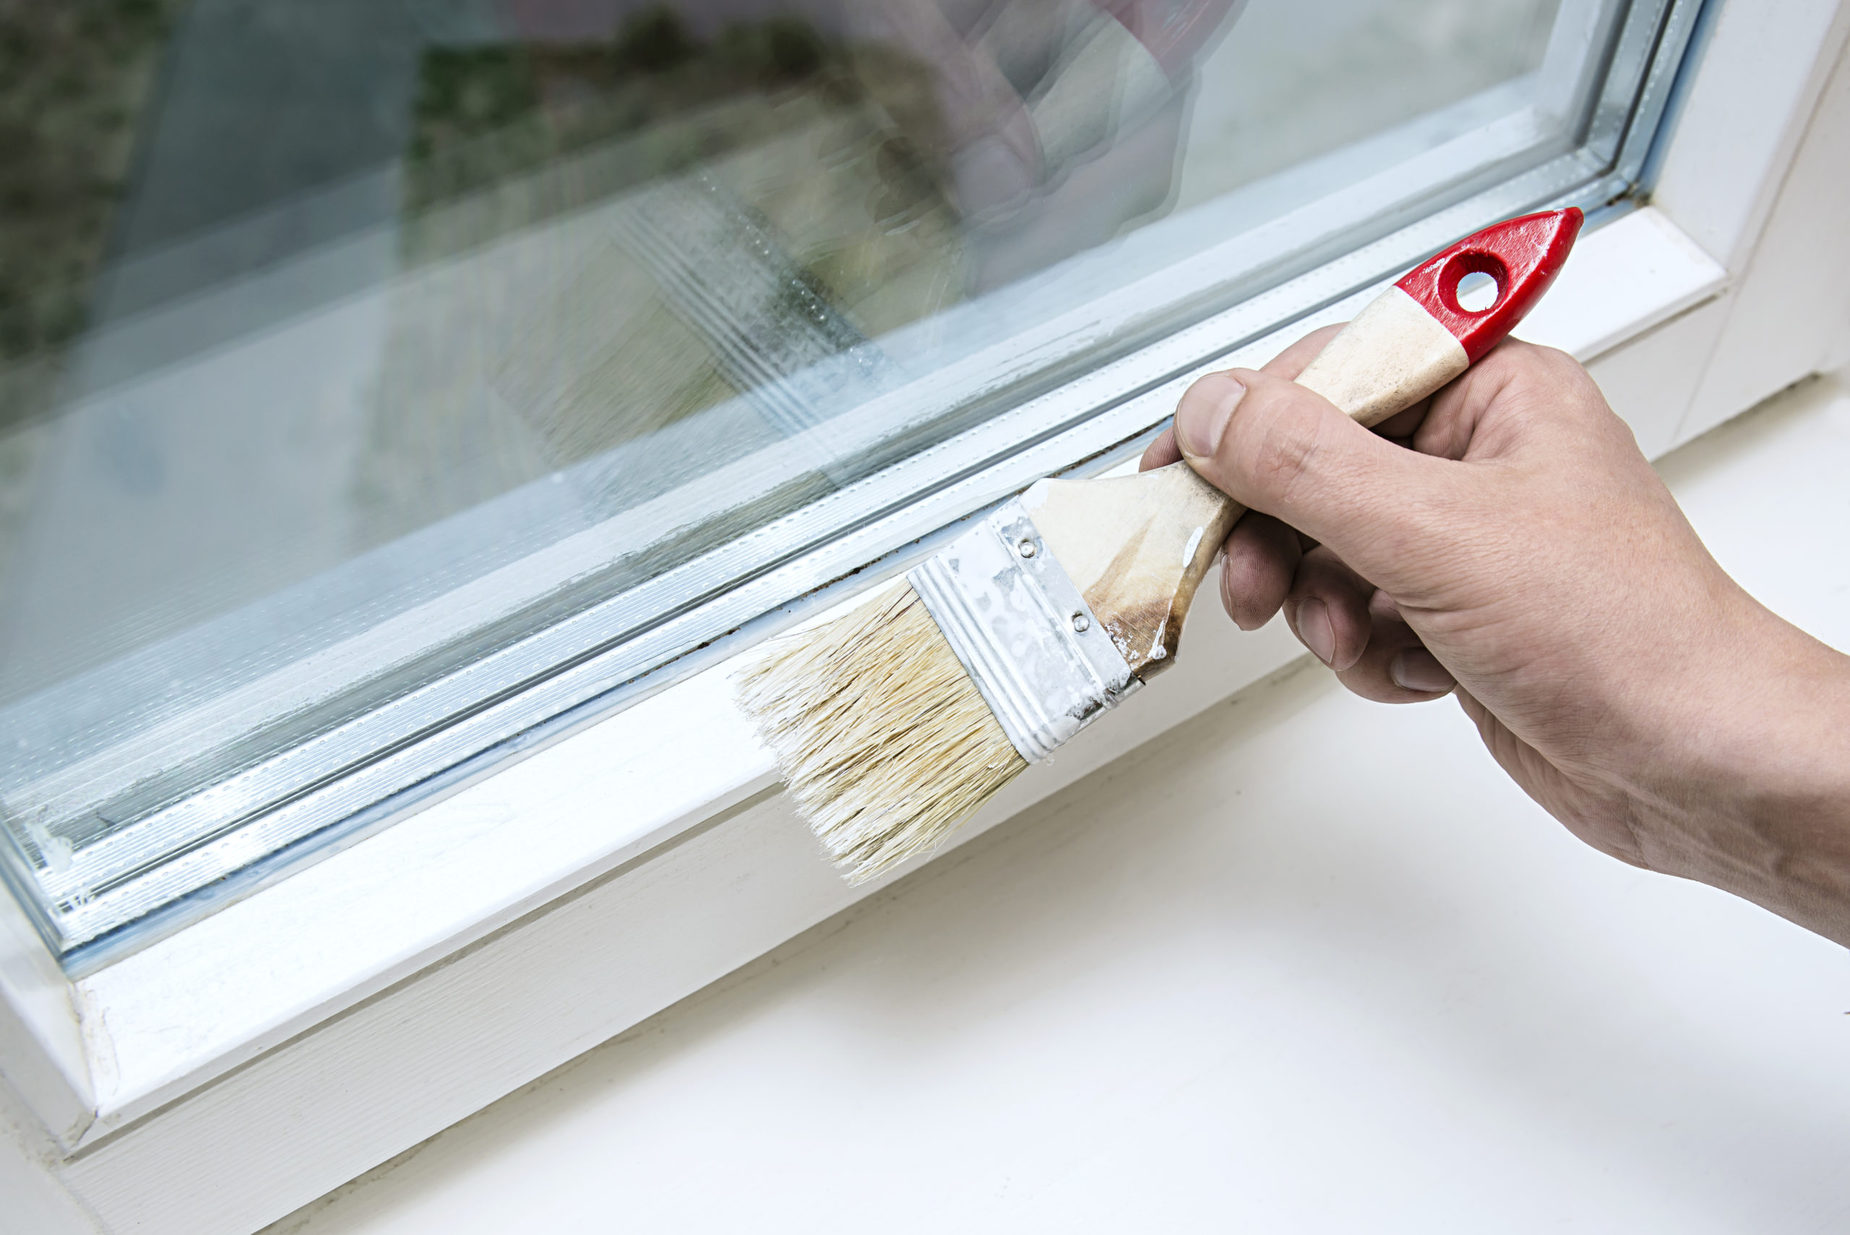
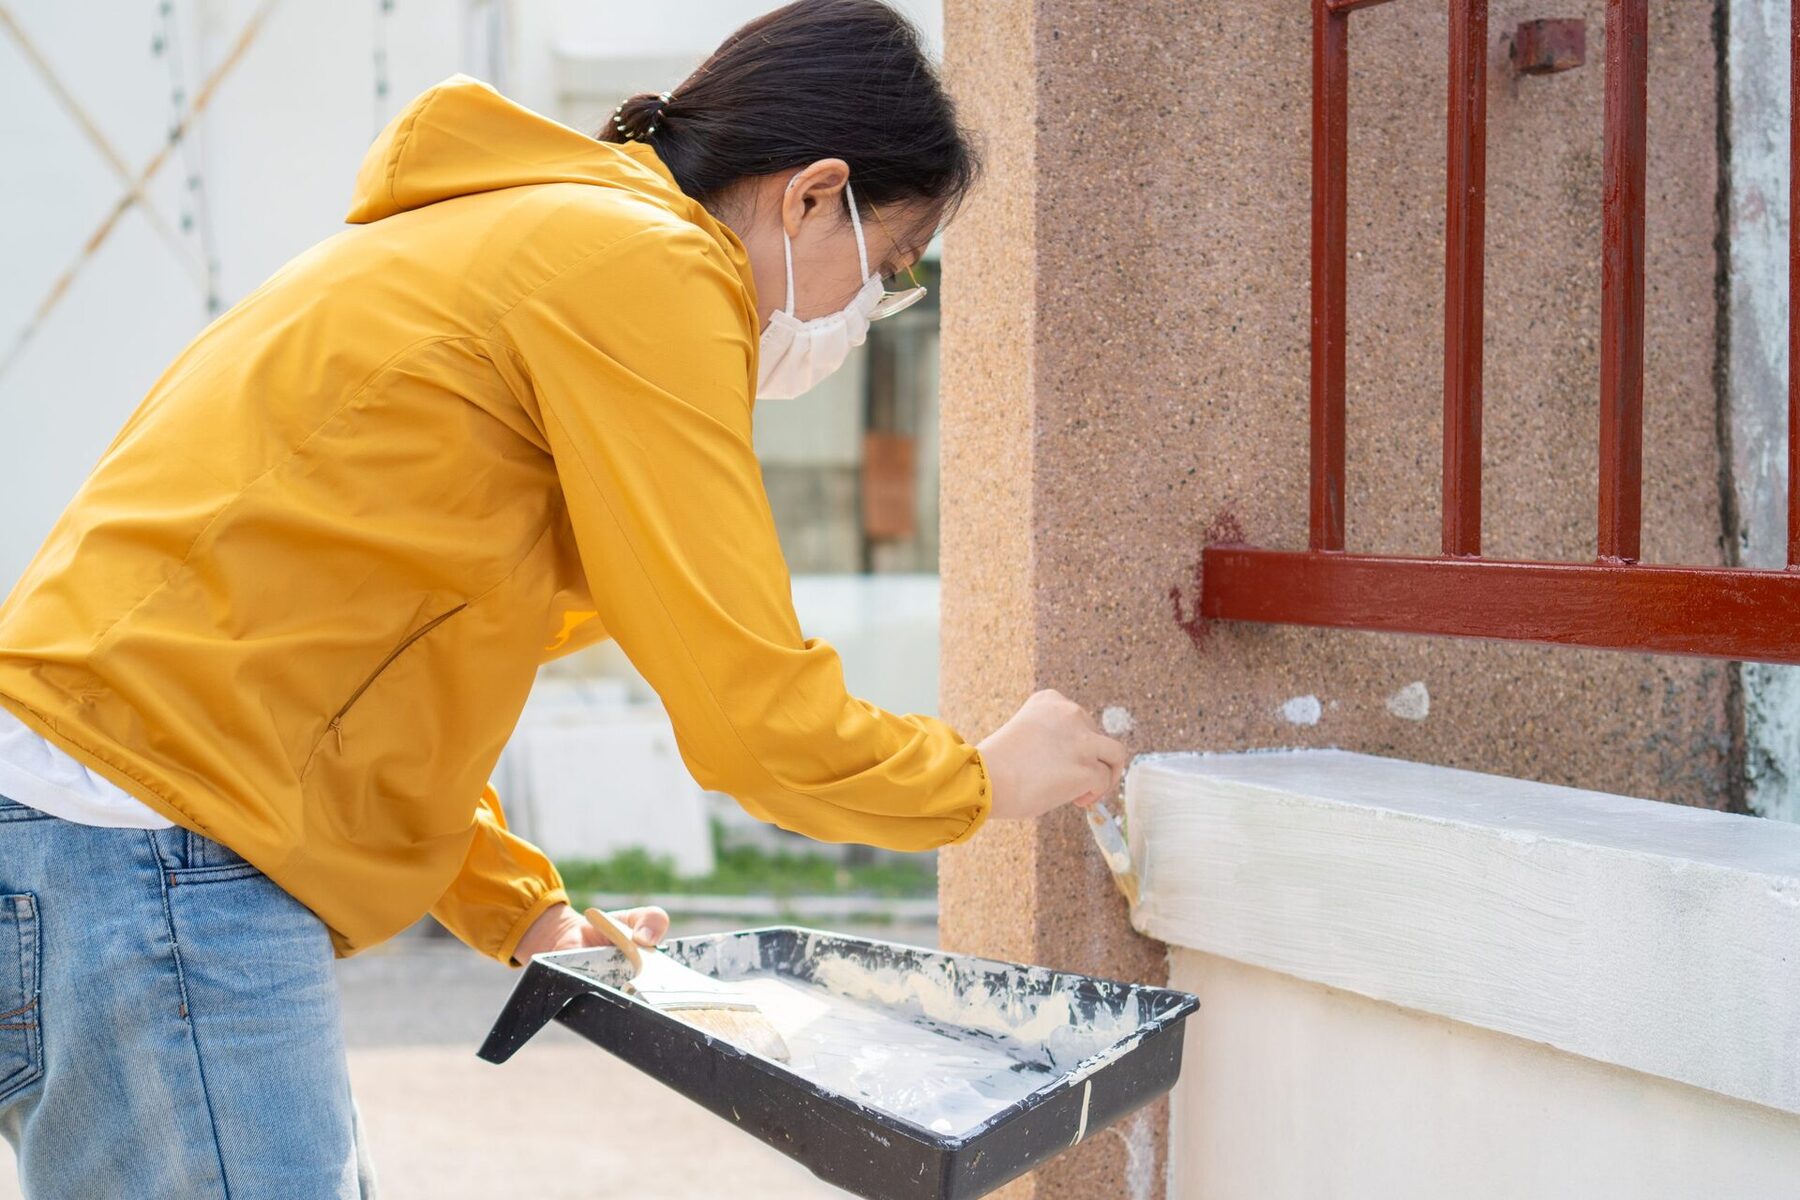
Method 5: Using an Angled Brush
An angled brush is a versatile tool that can greatly assist in painting trim, especially when dealing with carpeted floors. Here’s how you can effectively use an angled brush for painting trim:
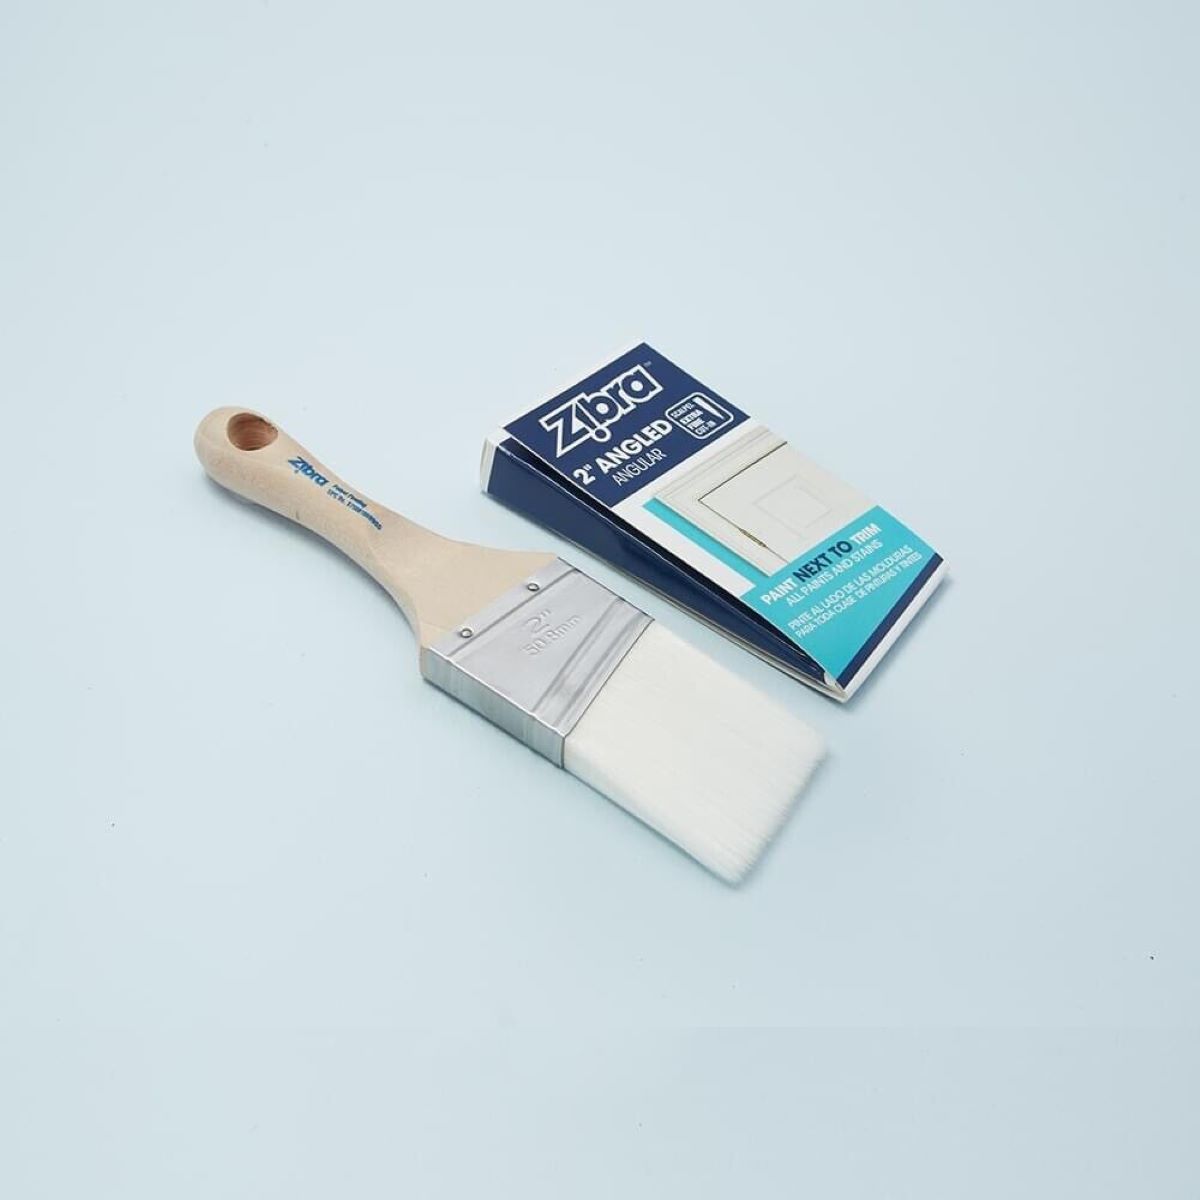
- Select the right brush: Choose an angled brush with high-quality bristles that is appropriate for the type of paint you’re using. A 2- or 2.5-inch brush is typically recommended for trim painting.
- Dip the brush: Dip the angled brush into the paint, ensuring that the bristles are evenly coated but not overloaded with paint. Remove any excess paint by tapping the brush gently against the side of the paint can.
- Position the brush: Hold the brush at a slight angle, with the longer edge of the brush bristles against the trim. This allows for greater control and precision while painting.
- Paint along the trim: Starting from one end of the trim, paint in smooth and even strokes, following the natural contours of the trim. Use a light touch to avoid smudging or dripping, and ensure that the bristles of the brush reach into any crevices or details of the trim.
- Blend the edges: To achieve a seamless finish, lightly feather the paint strokes as you approach the taped or neighboring areas. This helps blend the freshly painted surface with the rest of the trim for a cohesive look.
The angled brush’s design allows for precise and controlled painting, minimizing the risk of paint getting onto the carpet. By using this method, you can achieve clean lines and a professional finish while working around your carpeted floors.
Conclusion
Painting trim with carpeted floors may seem like a daunting task, but with the right techniques and tools, it can be accomplished successfully. By following the five professional methods outlined in this article, you can ensure that your trim is painted flawlessly while protecting your precious carpets.
From protecting the carpet with drop cloths and tape to properly preparing the trim surface, each method serves an important purpose in achieving a professional and polished look. Using painter’s tape helps create clean lines, while trim guards and angled brushes provide guidance and precision. Taking the time to follow these methods will result in a beautifully painted trim that complements your interior design.
Remember, preparation is key. Clean the trim, sand away imperfections, and fill any gaps before you begin painting. By doing so, you create a smooth and even surface that allows the paint to adhere better and provides a flawless finish.
Whether you’re giving a fresh update to your living room, bedroom, or hallway, painting trim with carpeted floors is a task that can be done with confidence and professionalism. By following the steps in this article, you can achieve a beautiful and cohesive look, enhancing the overall aesthetic of your space.
So, roll up your sleeves, gather your supplies, and get ready to transform your trim. With these professional methods, your trim painting project will be a success, leaving your carpet intact and your space looking fresh and inviting.
Frequently Asked Questions about How To Paint Trim With Carpet: 5 Professional Methods
Was this page helpful?
At Storables.com, we guarantee accurate and reliable information. Our content, validated by Expert Board Contributors, is crafted following stringent Editorial Policies. We're committed to providing you with well-researched, expert-backed insights for all your informational needs.


0 thoughts on “How To Paint Trim With Carpet: 5 Professional Methods”