
Articles
How To Professionally Clean Gutters
Modified: January 23, 2024
Learn how to professionally clean gutters with our informative articles. Get expert tips and advice to keep your gutters clean and functional.
(Many of the links in this article redirect to a specific reviewed product. Your purchase of these products through affiliate links helps to generate commission for Storables.com, at no extra cost. Learn more)
Introduction
Gutters are an essential part of a home’s drainage system, designed to collect rainwater and divert it away from the foundation, preventing water damage and erosion. However, over time, gutters can accumulate debris such as leaves, twigs, dirt, and even small animals, which can clog the gutters and prevent proper water flow. This can lead to various problems, including water overflow, leaks, and rotting fascia or soffit boards.
Regularly cleaning and maintaining your gutters is crucial to ensure they function effectively and protect your home from water damage. While hiring professionals for gutter cleaning is an option, it can be costly. Fortunately, with the right tools, materials, and proper safety precautions, you can clean your gutters like a pro.
In this article, we will provide you with a step-by-step guide on how to professionally clean gutters, helping you maintain the longevity and efficiency of your gutter system.
Key Takeaways:
- Regularly cleaning gutters prevents water damage, roof issues, pest infestation, and landscape erosion, preserving the integrity of your home and ensuring the longevity of your gutter system.
- Prioritize safety, gather the right tools, clear debris, flush gutters, inspect for damage, and perform repairs to professionally clean and maintain your gutters for optimal functionality.
Importance of Cleaning Gutters
Regularly cleaning your gutters is not just a matter of aesthetics; it is essential for the overall maintenance and protection of your home. Here are a few reasons why gutter cleaning is crucial:
- Prevents water damage: The primary function of gutters is to divert rainwater away from your home’s foundation. When gutters are clogged, water overflows and can seep into the foundation, causing cracks, basement flooding, and structural damage. By keeping your gutters clean and free of debris, you can prevent costly water damage repairs.
- Prevents roof damage: Clogged gutters can result in water pooling on your roof, which can lead to leaks, rotting, and damage to your roof shingles. This can compromise the integrity of your roof and lead to expensive repairs or even the need for a complete roof replacement.
- Avoids pest infestation: Debris-filled gutters provide an ideal breeding ground for insects, rodents, and other pests. Mosquitoes, termites, birds, and squirrels are attracted to the stagnant water and debris, which can invade your home and cause further damage.
- Prevents landscape erosion: When gutters overflow, water can spill onto your landscaping, causing erosion and damage to your plants, flower beds, and lawn. By keeping your gutters clear, you can protect your landscaping investment.
- Preserves the integrity of the gutters: Gutters clogged with debris are more likely to sag or bend under the weight, leading to damage. Regular cleaning ensures that your gutters remain structurally sound and last longer.
By understanding the importance of gutter cleaning, you can take the necessary steps to maintain the longevity and effectiveness of your gutter system. With that in mind, let’s move on to the tools and materials you’ll need to clean your gutters like a professional.
Tools and Materials Needed
To clean your gutters effectively, you’ll need the following tools and materials:
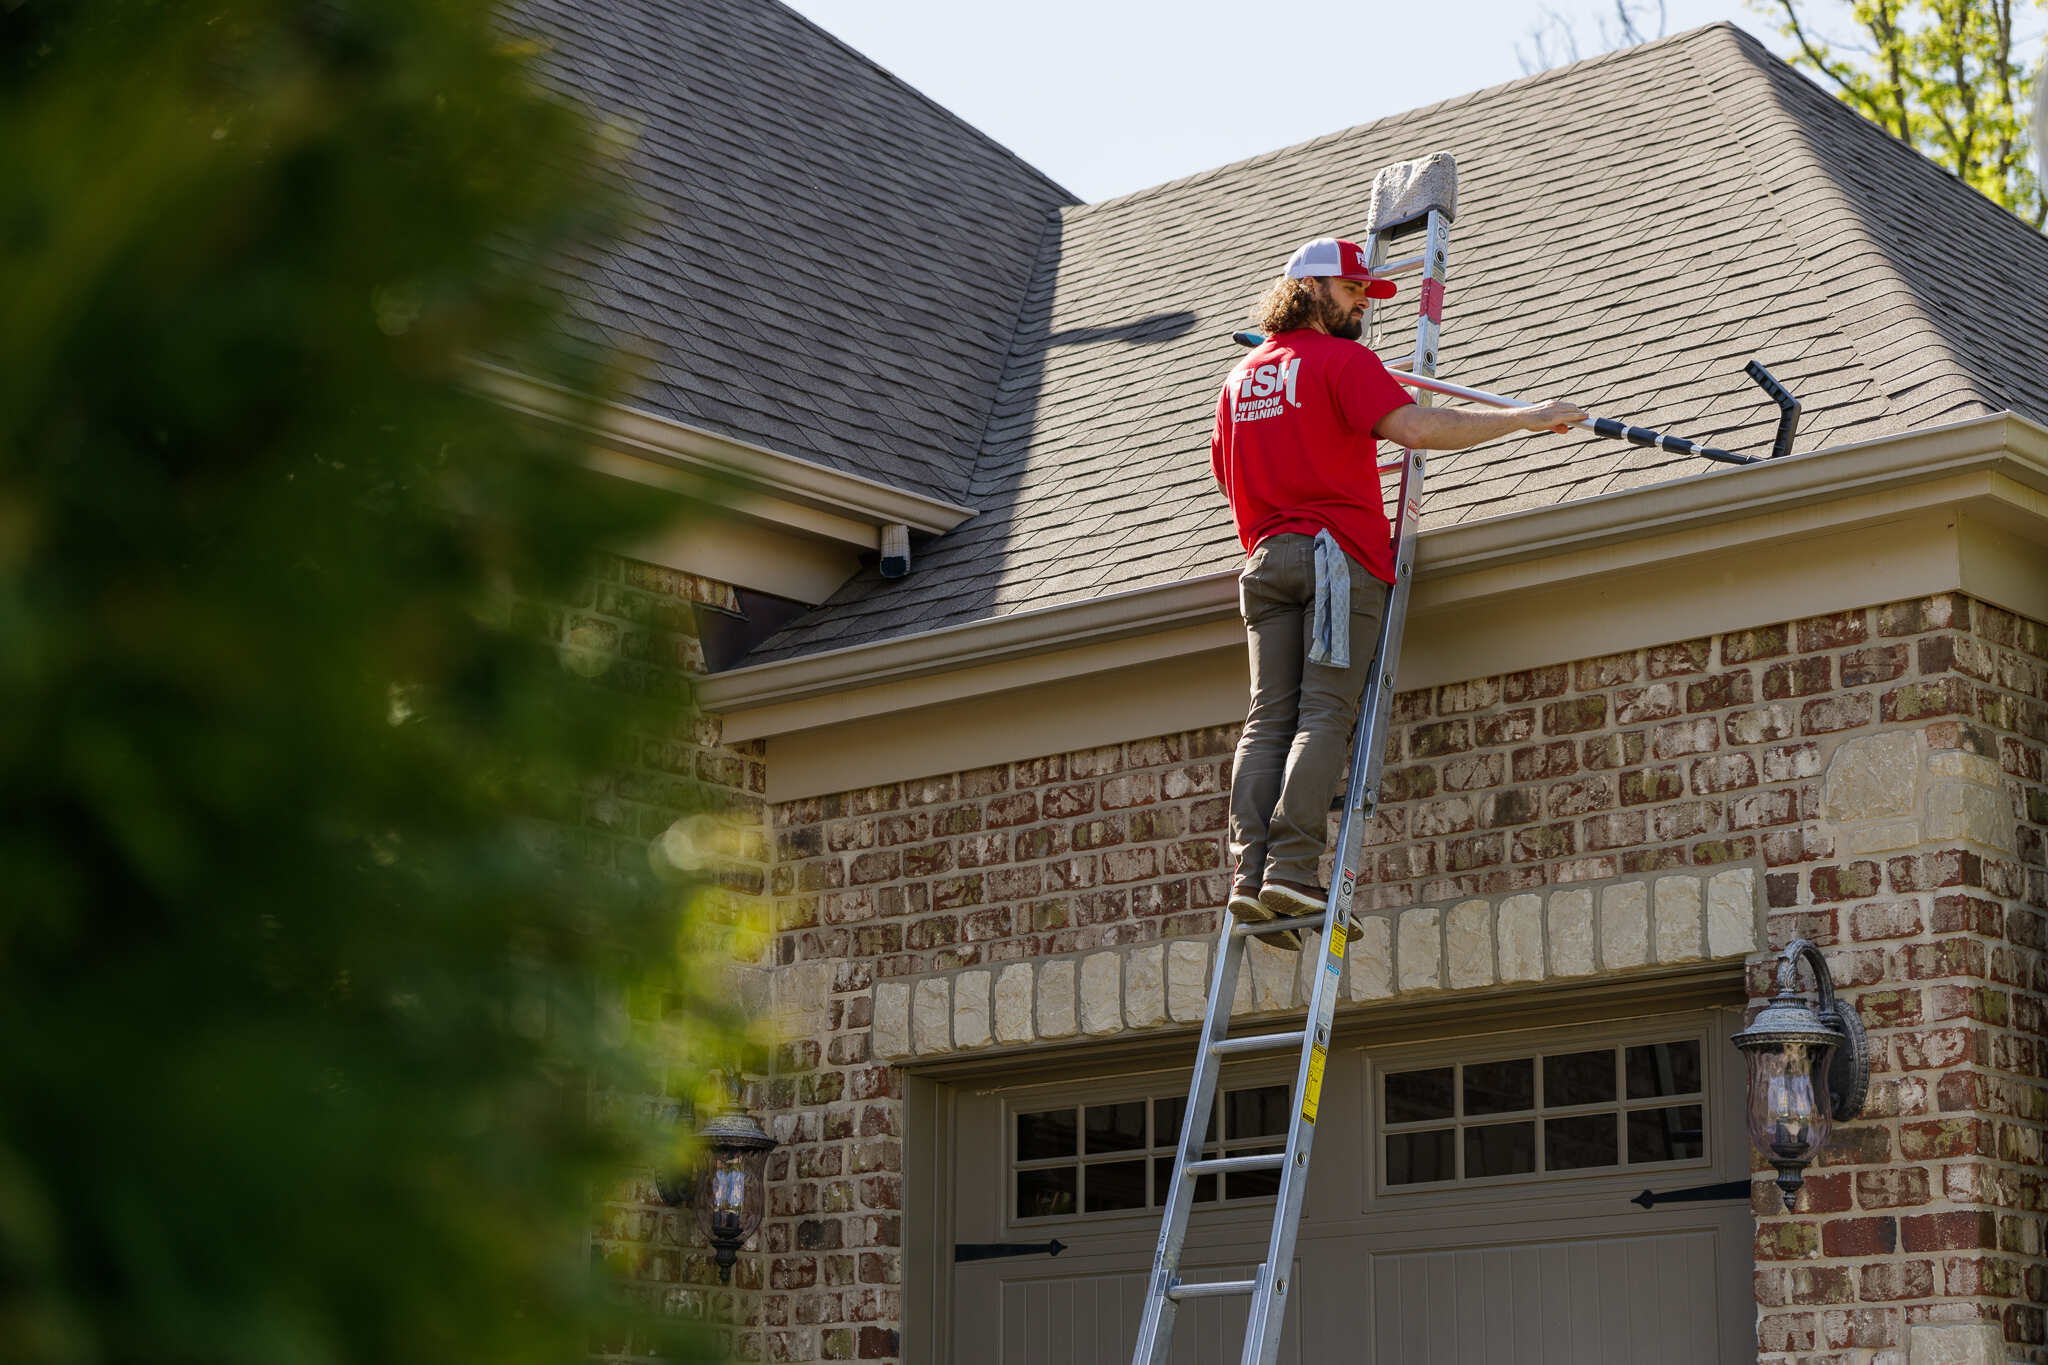
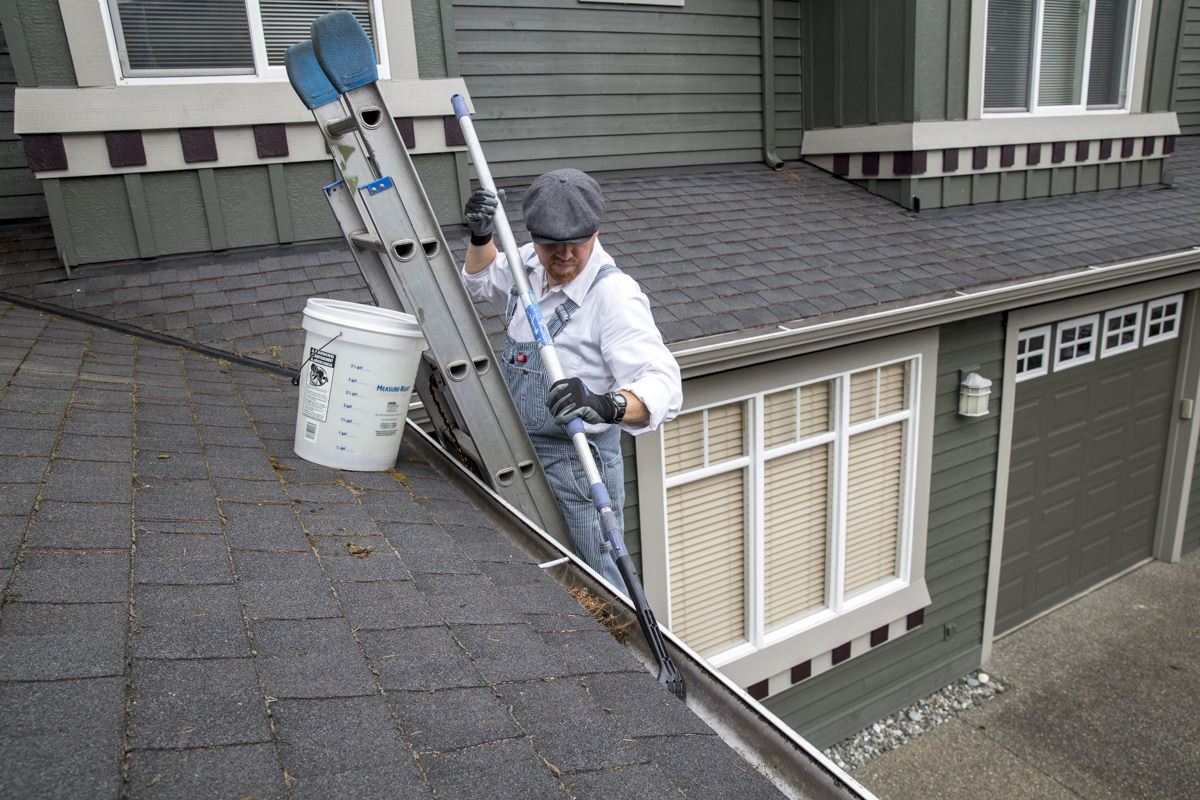
- Ladder: A sturdy ladder is essential for accessing your gutters safely. Choose a ladder that reaches the appropriate height for your home and ensure it is in good condition.
- Gloves: Wear a pair of rubber or work gloves to protect your hands from debris and potential sharp objects that may be present in your gutters.
- Gutter scoop or trowel: A gutter scoop or trowel is handy for removing leaves, twigs, and other large debris from your gutters. Look for a tool with a narrow tip to easily fit into the gutter channels.
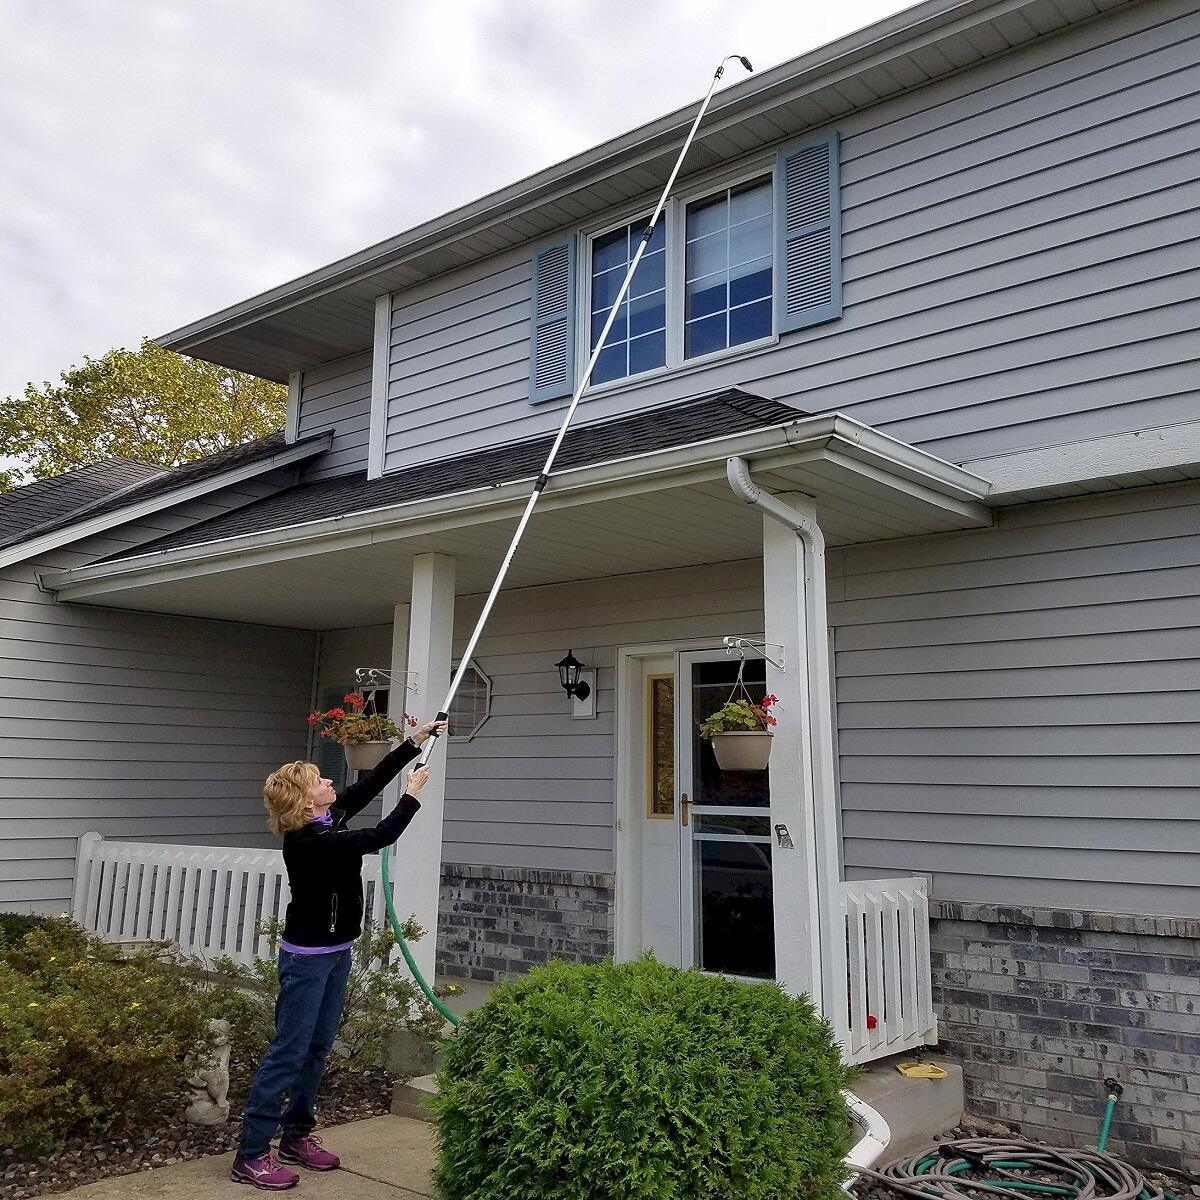
- Garden hose: Use a garden hose with a spray nozzle attachment to flush out any remaining dirt, small debris, or blockages in your gutters.
- Gutter brush or scrub brush: A gutter brush or scrub brush with stiff bristles can help remove stubborn dirt and grime from the gutters and downspouts.
- Bucket or tarp: Place a bucket or tarp on the ground below where you’re working to collect the debris you remove from the gutters, making cleanup easier.
- Safety goggles: Protect your eyes from debris, dust, and insects by wearing safety goggles.
- Leaf blower: If you have a large amount of leaves or debris in your gutters, a leaf blower can be helpful in removing them. Make sure to use it safely and be mindful of where the debris is being blown.
- Ladder stabilizer: A ladder stabilizer or standoff can be used to improve ladder stability, especially on uneven ground or when working on the roof near the gutters.
- Caulk or sealant: Check for any leaks or gaps in your gutters and downspouts. If necessary, have some caulk or sealant on hand for repairs.
- Screwdriver or wrench: Depending on the type of gutter system you have, you may need a screwdriver or wrench to tighten loose screws or reattach any disconnected parts.
Having these tools and materials ready before you start cleaning your gutters will ensure a smoother and more efficient process. Next, we’ll discuss some important safety precautions to keep in mind.
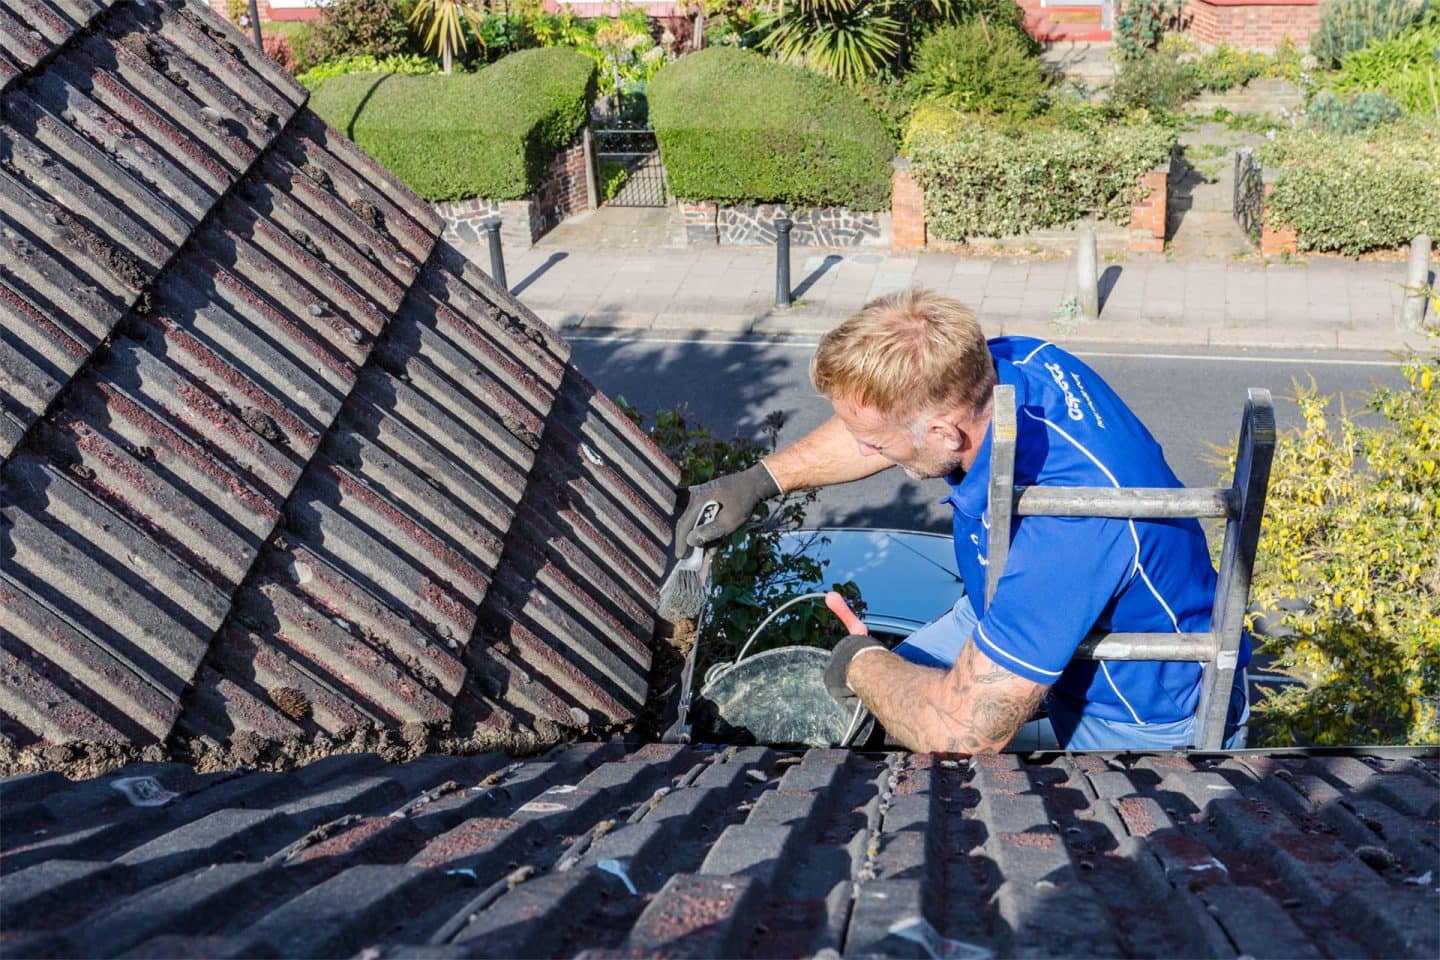
Safety Precautions
When cleaning gutters, it’s crucial to prioritize safety to protect yourself from potential accidents or injuries. Keep the following safety precautions in mind:
- Use a sturdy ladder: Ensure that the ladder you use is in good condition and placed on stable ground. Use a ladder stabilizer or standoff to enhance stability, especially when working on uneven or sloped surfaces.
- Wear protective gear: Put on gloves to protect your hands from debris and wear safety goggles to shield your eyes from dust and potential projectiles.
- Be mindful of power lines: Stay aware of your surroundings, especially if there are overhead power lines near your gutters. Do not lean the ladder against the power lines, and avoid using metal tools that can conduct electricity.
- Work with a partner: Having someone spot you and hold the ladder steady can provide an extra layer of safety. They can also assist in passing tools or materials if needed.
- Take breaks: Gutter cleaning can be physically demanding. Take regular breaks, especially if you’re working for an extended period or on a hot day, to avoid exhaustion or heatstroke.
- Be cautious on the roof: If you need to access the roof to clean the gutters, exercise caution. Wear comfortable, non-slip footwear and avoid walking on steep or damaged roof areas.
- Protect the landscaping: Consider placing a tarp or bucket below where you’re working to collect debris and prevent damage to your plants and landscaping.
- Stay off the ladder when it’s too windy: Do not attempt to clean gutters on a windy day, as strong gusts can destabilize the ladder and pose a risk to your safety.
- Know your limits: If you feel uncomfortable or unsure about performing the gutter cleaning yourself, it’s best to hire professionals who are equipped with the proper expertise and safety gear.
By following these safety precautions, you can minimize the risk of accidents and ensure a safe and successful gutter cleaning experience. Next, let’s move on to the step-by-step guide on how to professionally clean your gutters.
Step 1: Preparation
Before you start cleaning your gutters, it’s important to prepare yourself and gather the necessary tools and materials. Follow these steps to ensure a smooth and efficient gutter cleaning process:
- Check the weather: Ensure that the weather conditions are suitable for gutter cleaning. Avoid working in windy or rainy conditions, as they can increase the risk of accidents.
- Gather the tools and materials: As mentioned earlier, gather all the tools and materials you’ll need for the job. This includes a ladder, gloves, gutter scoop or trowel, garden hose, gutter brush or scrub brush, bucket or tarp, safety goggles, leaf blower (if necessary), ladder stabilizer, caulk or sealant, and a screwdriver or wrench.
- Inspect the gutters: Before you start cleaning, inspect the gutters for any visible damage, such as loose screws, cracks, or sagging sections. Take note of any repairs that need to be addressed after the cleaning process.
- Inform others: Let any family members or housemates know that you’ll be working on the gutters to ensure their safety and avoid any disturbances while you’re on the ladder.
- Dress appropriately: Wear comfortable clothing that allows for ease of movement. Avoid loose clothing that can get caught on the ladder or tools. Additionally, wear sturdy, non-slip shoes to maintain traction on the ladder and roof.
- Set up a work area: Place your bucket or tarp on the ground below where you’ll be working to catch the debris. This will make cleanup easier and prevent debris from scattering all over your yard.
- Secure the ladder: Set up your ladder near the area you’ll be cleaning, ensuring it is placed on stable ground. Use a ladder stabilizer or standoff to provide additional support and prevent damage to your gutters.
By taking the time to prepare yourself and gather the necessary tools and materials, you’ll be well-equipped to tackle the gutter cleaning process efficiently and safely. In the next step, we’ll discuss how to clear the debris from your gutters.
Read more: How To Keep Gutters Clean
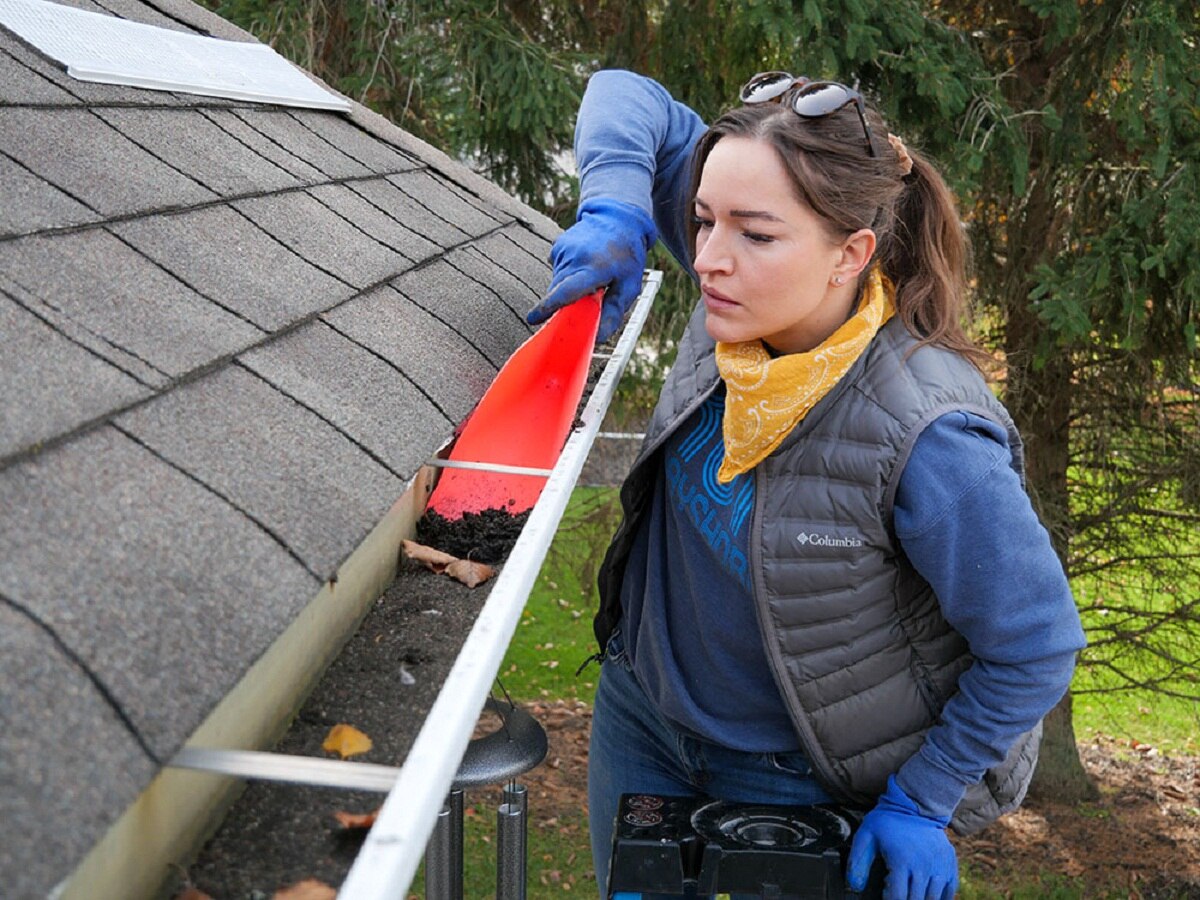
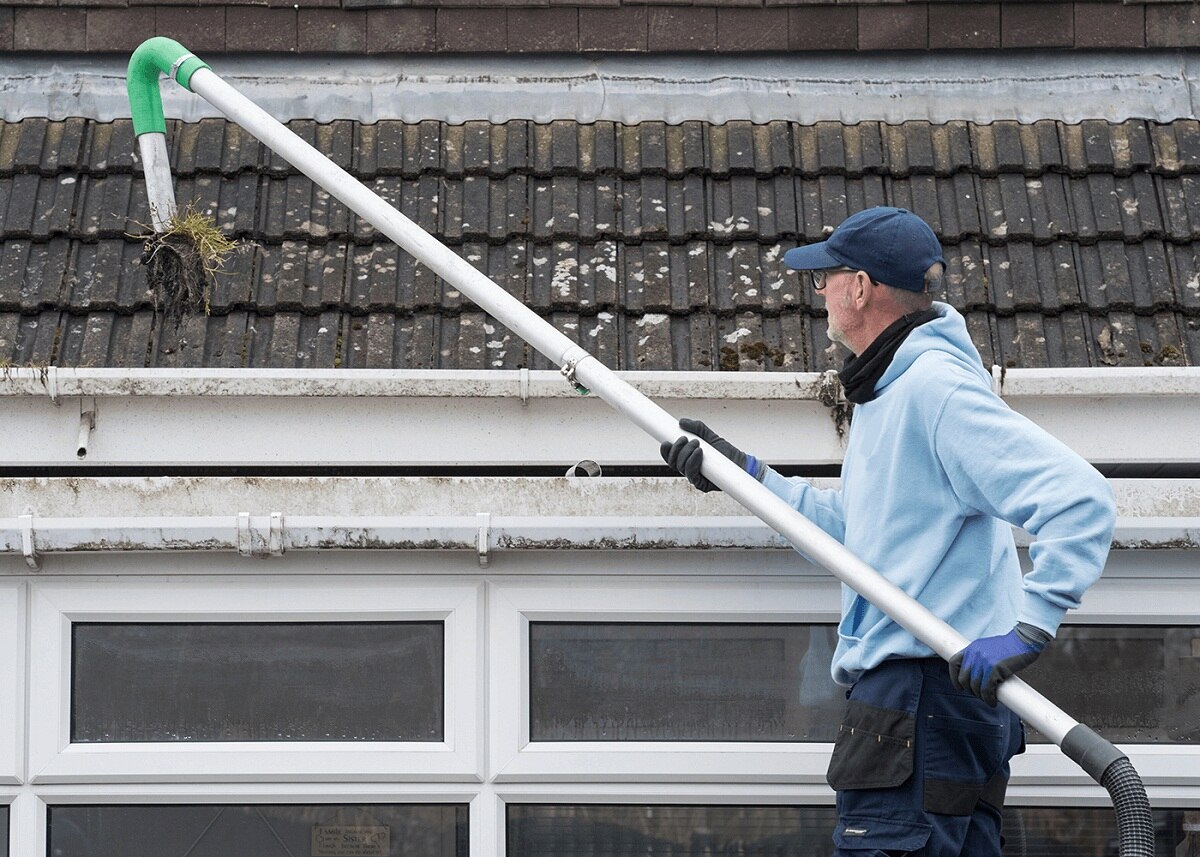
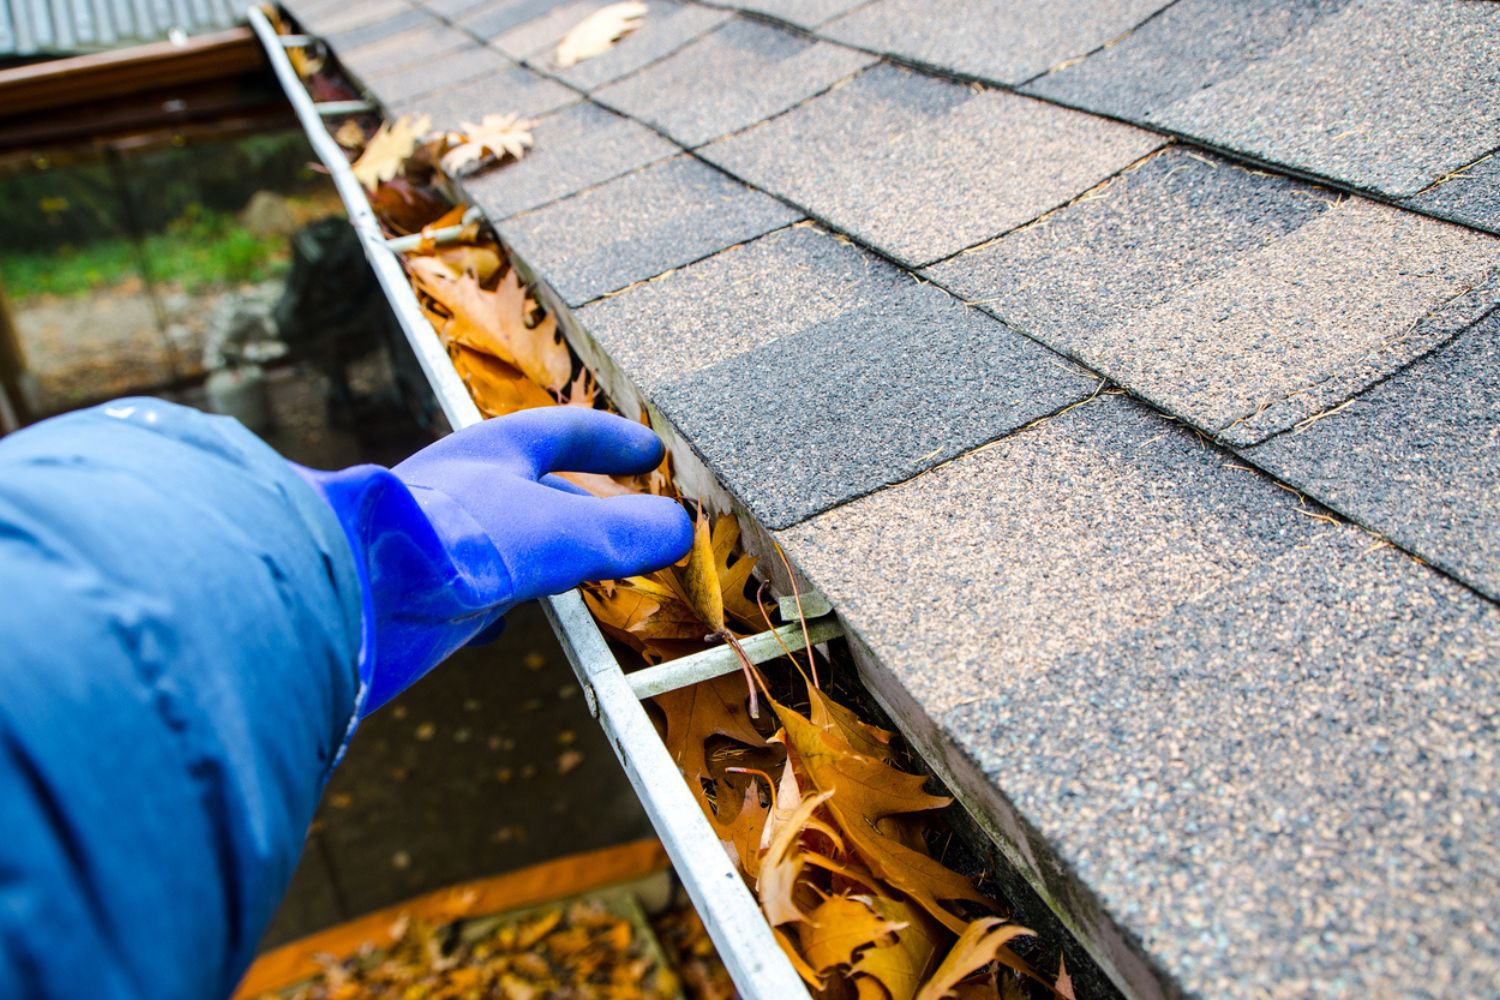
Step 2: Clearing Debris
Now that you’re prepared and positioned safely on your ladder, it’s time to start clearing the debris from your gutters. Follow these steps to effectively remove the debris:
- Start at the downspout: Begin near the downspout and work your way towards the other end of the gutter. This ensures that any debris pushed towards the downspout will be flushed out later.
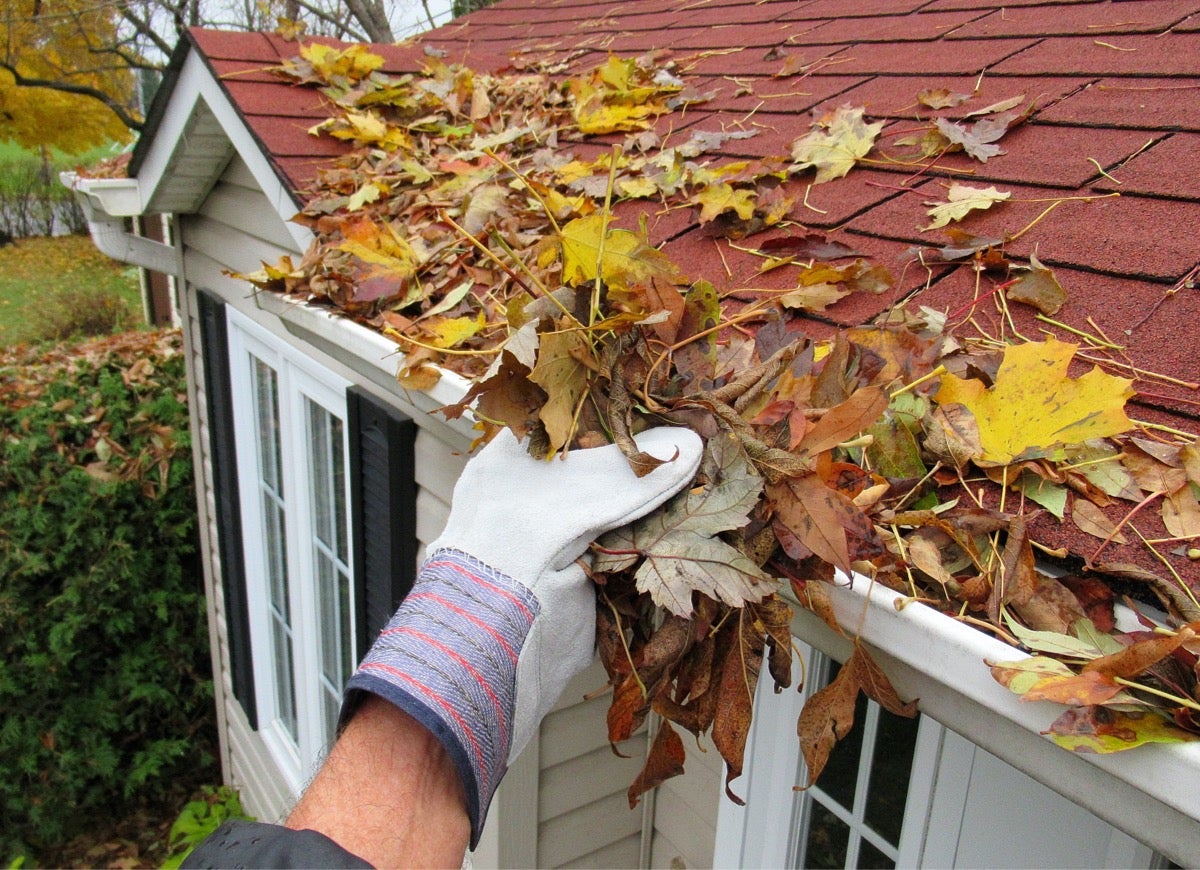
- Use a gutter scoop or trowel: With your gloves on, use a gutter scoop or trowel to remove large debris such as leaves, twigs, and dirt from the gutters. Place the debris directly into your bucket or onto your tarp.
- Be thorough: Ensure that you thoroughly clear the gutters of all debris, checking both the bottom of the gutter channel and the corners where buildup is common. Clear any blockages that may obstruct the water flow.
- Remove stubborn dirt: If there is any stubborn dirt or grime stuck to the gutters, use a gutter brush or scrub brush with stiff bristles to loosen and remove it. Work in small sections, scrubbing gently to avoid damaging the gutter surface.
- Utilize a leaf blower: If you have a leaf blower, you can use it to blow away any loose debris remaining in the gutters or on the roof. Ensure that you blow the debris away from yourself and the gutters, directing it towards an open area.
- Check the downspouts: Inspect the downspouts for any blockages or clogs. Use your garden hose or a plumbing snake to remove any obstructions and ensure proper water flow.
- Clean the gutters around the downspouts: Pay special attention to the area around the downspouts, as they can collect a significant amount of debris. Use your gutter scoop, trowel, or brush to clear the area thoroughly.
Remember to take breaks if needed and work systematically from one end of the gutter to the other. Once you have successfully cleared the debris, it’s time to move on to the next step: flushing the gutters.
When cleaning gutters, always use a sturdy ladder and wear gloves to protect your hands from debris. Start at the downspout and work your way along the gutter, removing any leaves and dirt. Flush the gutters with water to ensure they are clear and flowing properly.
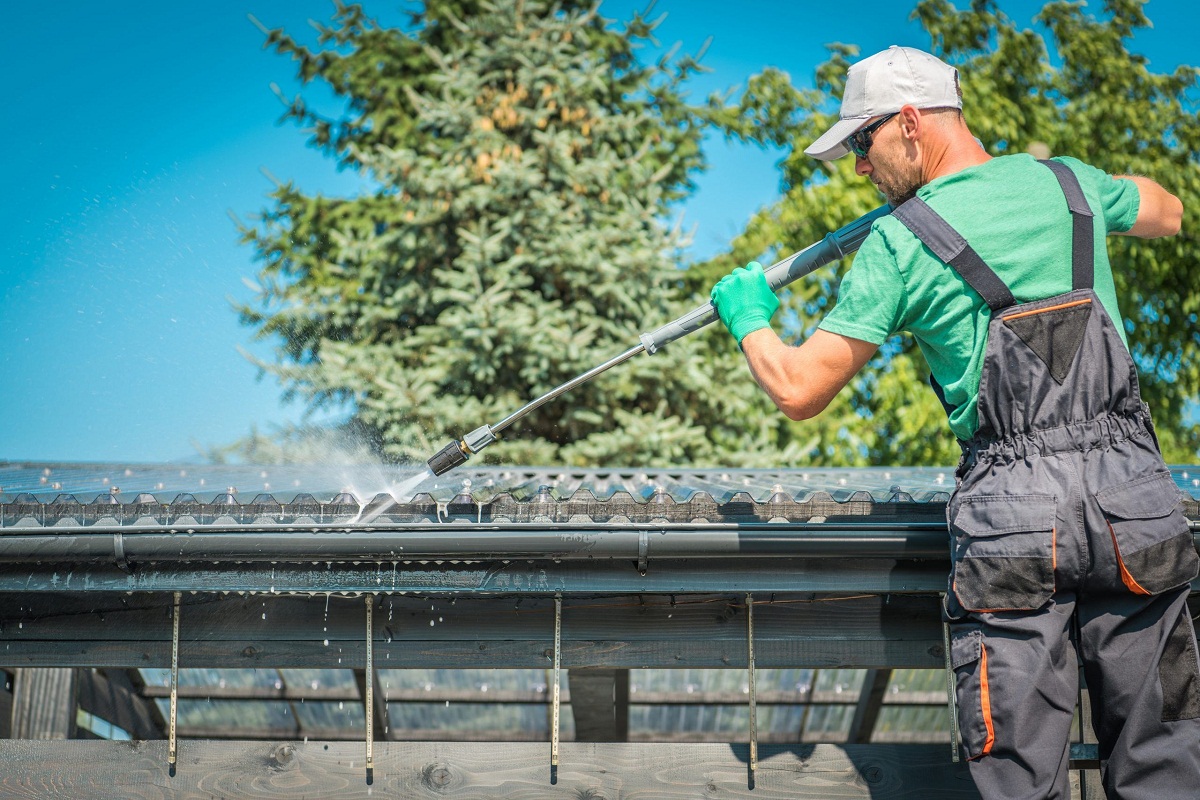
Step 3: Flushing Gutters
After clearing out the debris from your gutters, the next step is to flush them with water to ensure they’re completely clean and free from any remaining dirt or small particles. Follow these steps to properly flush your gutters:
- Attach the spray nozzle to your garden hose: Connect the spray nozzle attachment to your garden hose, ensuring a tight and secure fit.
- Position the ladder: Securely position your ladder near the first downspout or the area closest to the water source.
- Start at the far end: Begin at the far end of the gutter opposite the downspout. This will allow the water to flow towards the downspout and effectively remove any remaining debris.
- Turn on the water: Turn on the water supply, and adjust the hose to a medium or high pressure setting, depending on your gutters’ conditions.
- Direct the water: With one hand on the ladder for stability, use your free hand to direct the spray of water into the gutters. Start from the bottom of the gutter channel and work your way up to the top.
- Evaluate water flow: Observe the water flow as it moves through the gutters. Ensure that it is flowing freely and not backing up or spilling over the edges. If you notice any signs of blockages, use the water pressure to clear them out.
- Flush downspouts: Direct the water into the downspouts to flush out any remaining debris. If the water doesn’t flow smoothly or is slow to drain, there may be an obstruction that needs to be cleared.
- Repeat the process: Move along the gutters, repeating the flushing process for each section until you reach the other end.
Remember to be cautious of your surroundings and maintain your balance on the ladder while flushing the gutters. If needed, have a partner keep an eye on the ladder stability and provide assistance if necessary. Once you have thoroughly flushed the gutters, it’s time to move on to the next step: inspecting for damage.
Step 4: Inspecting for Damage
Inspecting your gutters for any damage is an important step in maintaining their functionality. By identifying and addressing issues early on, you can prevent further damage and ensure the longevity of your gutter system. Follow these steps to effectively inspect your gutters:
- Walk along the gutters: Carefully walk along the edge of your roof or use a ladder to visually inspect the gutters from above. Look for any visible signs of damage, such as sagging sections, loose or missing screws, cracks, or holes.
- Check the downspouts: Inspect the downspouts for any obvious damage, including dents, bends, or disconnections. Ensure that they are securely attached to the gutters and draining water properly.
- Look for signs of water damage: Check the exterior walls of your home near the gutters for any signs of water damage, such as staining, peeling paint, or rotting wood. These can indicate water overflow or leaks in the gutter system.
- Check the fascia and soffit boards: Examine the fascia and soffit boards beneath the gutters for any signs of rot or damage. Pay close attention to areas where the gutters are attached to these boards.
- Inspect the joints and seams: Check the joints and seams of the gutters for any gaps or leaks. Run your hand along the seams to feel for any inconsistencies or loose connections.
- Take note of any necessary repairs: As you inspect the gutters, make a list of any repairs that need to be addressed. This may include tightening screws, reattaching loose sections, replacing damaged parts, or applying caulk or sealant to seal any gaps.
- Consider professional inspection: If you’re unsure about the extent of the damage or feel uncomfortable making repairs yourself, it’s best to consult a professional gutter inspector or contractor. They can provide a more in-depth assessment and recommend the appropriate course of action.
By regularly inspecting your gutters, you can catch any damage early on and prevent further issues from arising. Once you’ve identified any necessary repairs, you can move on to the next step: repairing and replacing gutters as needed.
Step 5: Repairing and Replacing Gutters
After inspecting your gutters and identifying any damage or necessary repairs, it’s time to take action to ensure the continued functionality of your gutter system. Follow these steps to repair and replace gutters as needed:
- Tighten loose screws: Start by tightening any loose screws or fasteners that hold the gutters in place. Use a screwdriver or wrench to securely tighten them and ensure the gutters are properly attached.
- Reattach loose sections: If any gutter sections have become disconnected or detached, carefully reattach them using the appropriate fasteners or brackets. Ensure a tight and secure fit to prevent further issues.
- Seal gaps and leaks: Apply caulk or gutter sealant to seal any gaps or leaks along the joints and seams of the gutters. Smooth over the sealant using a putty knife or your finger for a neat and effective seal.
- Replace damaged parts: If you notice any severely damaged or corroded sections of the gutters, it may be necessary to replace these parts. Measure the damaged area and purchase the appropriate replacement gutter section from a hardware or home improvement store.
- Install gutter guards: Consider installing gutter guards or screens to prevent future debris buildup and minimize the need for frequent cleaning. Gutter guards can help keep leaves, twigs, and other debris out while still allowing water to flow freely.
- Consult a professional: If the damage to your gutters is extensive or beyond your expertise, it’s best to consult a professional gutter contractor. They can assess the situation and provide expert advice on repairs or replacements.
Repairing and replacing damaged gutters is essential to maintain their functionality and protect your home from water damage. By taking the necessary steps to address any issues, you can ensure the long-term effectiveness of your gutter system. Once you’ve completed the necessary repairs, it’s time for the final step: giving your gutters a thorough cleaning.
Read more: How To Professionally Clean A Carpet
Step 6: Final Cleaning
After performing repairs and replacements, it’s time to give your gutters a final cleaning to ensure they are in optimal condition. Follow these steps to complete the cleaning process:
- Inspect the gutters: Take a final look at your gutters to ensure that all repairs have been completed and that they are securely attached.
- Clear any debris: If during the repair process any new debris has fallen into the gutters, use your gutter scoop or trowel to remove it and deposit it into your bucket or onto your tarp.
- Rinse the gutters: Use your garden hose with the spray nozzle attachment to thoroughly rinse the gutters. Start at one end and work your way along, ensuring that all remaining dirt and sealant residue are washed away.
- Flush the downspouts: Direct the water flow into the downspouts to ensure they are clear and free from any remaining debris. This will prevent any potential blockages and promote proper drainage.
- Dry the gutters: Allow the gutters to air dry, or use a clean, dry cloth to gently wipe them down. This will remove any remaining water and leave the gutters looking clean and polished.
- Clean up the work area: Dispose of the debris collected in your bucket or on your tarp properly. Sweep or wash away any dirt or debris that may have accumulated on the ground during the cleaning process.
- Maintain regular cleaning: To keep your gutters in optimal condition, establish a regular cleaning schedule. Depending on your location and the surrounding environment, aim to clean your gutters at least twice a year or as needed.
By completing this final cleaning step, you can ensure that your gutters are not only repaired but also clean and ready to effectively divert water away from your home. Regular maintenance and cleaning will help prolong the lifespan of your gutters and protect your home from potential water damage.
With these six steps, you now have a comprehensive guide on how to professionally clean your gutters. By following these instructions and taking the necessary safety precautions, you can maintain the functionality and longevity of your gutter system, keeping your home protected from water damage for years to come.
Conclusion
Properly cleaning and maintaining your gutters is essential for the overall health and longevity of your home. Regular gutter cleaning helps prevent water damage to your foundation, roof, and walls, while also avoiding pest infestation and landscape erosion. By following the step-by-step guide provided in this article, you can clean your gutters like a professional and ensure they remain in optimal condition.
Starting with the preparation, gathering the necessary tools and materials is crucial. Equipping yourself with a sturdy ladder, gloves, gutter scoop or trowel, garden hose, and other essential items sets you up for success. Safety precautions are equally important, ensuring that you work in a secure environment and protect yourself from potential accidents or injuries.
Once you’re ready, the cleaning process begins with clearing out the debris. Use a gutter scoop or trowel to remove large debris, and a brush or leaf blower to tackle stubborn dirt. Flushing the gutters with water then helps ensure a thorough cleaning, removing any remaining dirt or particles. Inspecting the gutters for damage is a critical step, allowing you to identify repairs or replacements that may be needed.
Repairing and replacing damaged gutters promptly is essential to maintain the proper functioning of the system. Tightening loose screws, reattaching disconnected sections, sealing gaps, and considering the installation of gutter guards are all important steps in this process. Finally, giving your gutters a final cleaning ensures they are left clean and free from any residue or debris.
In conclusion, taking the time to professionally clean your gutters on a regular basis will help protect your home from water damage, extend the lifespan of your gutters, and maintain the overall integrity of your property. By following the step-by-step guide outlined in this article and prioritizing safety, you can confidently take on this important maintenance task and enjoy the benefits of a properly functioning gutter system.
Frequently Asked Questions about How To Professionally Clean Gutters
Was this page helpful?
At Storables.com, we guarantee accurate and reliable information. Our content, validated by Expert Board Contributors, is crafted following stringent Editorial Policies. We're committed to providing you with well-researched, expert-backed insights for all your informational needs.


0 thoughts on “How To Professionally Clean Gutters”