Home>Home Appliances>Bathroom Appliances>How To Clean Gama Professional Hair Dryer
Bathroom Appliances
How To Clean Gama Professional Hair Dryer
Modified: August 17, 2024
Learn how to properly clean your Gama Professional hair dryer to keep it functioning efficiently. Discover the best cleaning methods and tips for maintaining your bathroom appliances.
(Many of the links in this article redirect to a specific reviewed product. Your purchase of these products through affiliate links helps to generate commission for Storables.com, at no extra cost. Learn more)
Introduction
Welcome to the world of professional hair care! If you own a Gama Professional hair dryer, you know the importance of keeping it clean and well-maintained to ensure optimal performance. A clean hair dryer not only operates more efficiently but also helps prevent the buildup of dust, lint, and other particles that can affect its functionality.
Proper maintenance not only extends the lifespan of your Gama Professional hair dryer but also ensures that it continues to deliver salon-quality results every time you use it. In this comprehensive guide, we will walk you through the step-by-step process of cleaning your Gama Professional hair dryer, helping you maintain its performance and keep it in pristine condition.
Whether you are a professional stylist or an individual who takes pride in their hair care routine, understanding how to clean your Gama Professional hair dryer is essential. By following the instructions in this guide, you can maintain the quality and efficiency of your hair dryer, ensuring that it remains a reliable tool in your hair care arsenal.
So, let's dive into the cleaning process and discover how simple maintenance can make a significant difference in the performance and longevity of your Gama Professional hair dryer.
Key Takeaways:
- Regularly cleaning your Gama Professional hair dryer by removing and cleaning the filter, wiping down the exterior, and cleaning the nozzle ensures optimal performance and longevity.
- Unplugging the hair dryer before cleaning, and reassembling it carefully after cleaning, are essential steps to maintain a safe and efficient hair care tool.
Read also: 8 Superior Professional Hair Dryer For 2025
Step 1: Unplug the Hair Dryer
Before beginning the cleaning process, it is crucial to ensure that the Gama Professional hair dryer is unplugged from the power source. Unplugging the hair dryer eliminates the risk of electrical shock and allows you to safely handle and clean the appliance.
Unplugging the hair dryer also prevents accidental activation of the device during the cleaning process, reducing the risk of injury and ensuring that the cleaning is thorough and effective. Safety should always be the top priority when working with electrical appliances, and unplugging the hair dryer is the first step in maintaining a safe cleaning environment.
Once the hair dryer is unplugged, allow it to cool down if it has been in use. Cleaning a hot hair dryer can be dangerous and may lead to burns or other injuries. Allowing the appliance to cool ensures that you can handle it comfortably and safely during the cleaning process.
By taking the precaution of unplugging the Gama Professional hair dryer and allowing it to cool down, you set the stage for a safe and effective cleaning process. This simple yet essential step lays the foundation for maintaining the quality and performance of your hair dryer, ensuring that it continues to meet your styling needs for years to come.
Step 2: Remove the Filter
Removing the filter is a crucial step in the cleaning process, as it allows you to access and clean the internal components of the Gama Professional hair dryer. The filter is designed to trap dust, lint, and other particles, preventing them from entering the hair dryer’s internal mechanism and affecting its performance.
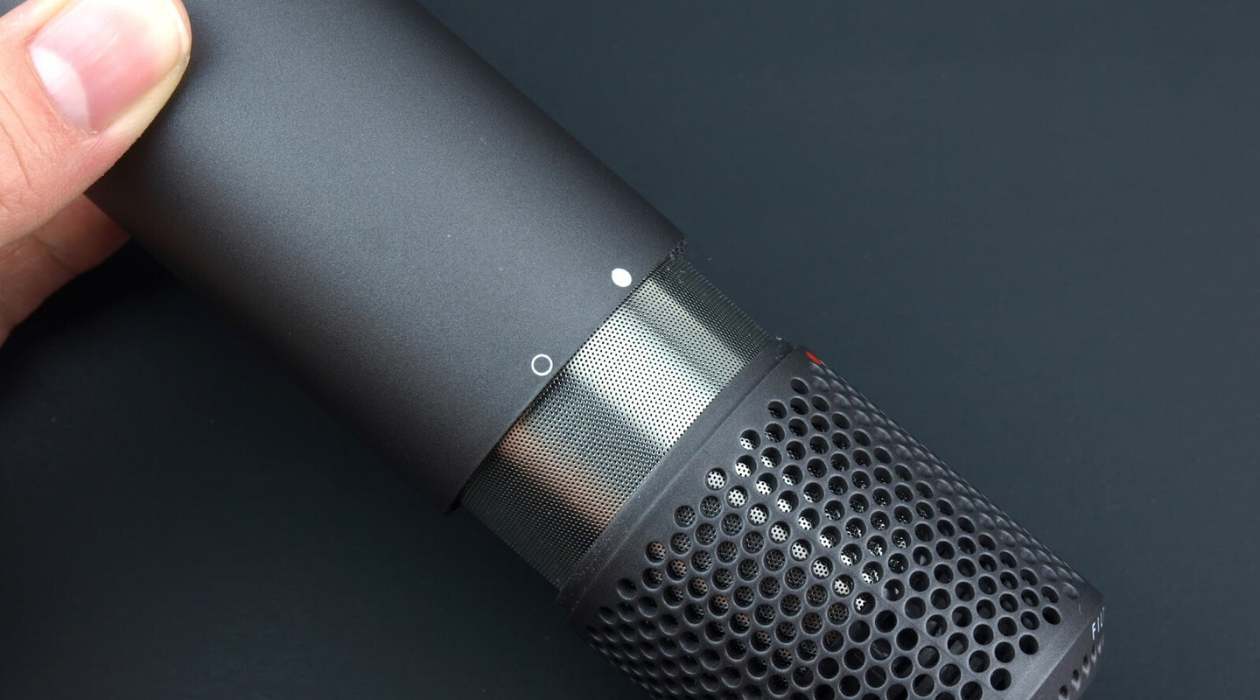
To remove the filter, locate the designated release mechanism or button on your Gama Professional hair dryer. This mechanism may vary depending on the specific model of the hair dryer, so refer to the user manual for detailed instructions on filter removal.
Once you have located the release mechanism, gently press or slide it to release the filter from its housing. Carefully remove the filter from the hair dryer, taking care not to damage or bend it during the process. Inspect the filter for any visible buildup of dust or debris, as this will need to be cleaned thoroughly before reinstallation.
Removing the filter provides access to the interior of the hair dryer, allowing you to clean any accumulated debris and ensure that the airflow remains unobstructed. This step is essential for maintaining the efficiency and performance of your Gama Professional hair dryer, as a clean filter promotes optimal airflow and prevents potential damage to the internal components.
By removing the filter and preparing it for cleaning, you are taking proactive steps to preserve the functionality and longevity of your Gama Professional hair dryer. This attention to detail ensures that your hair dryer continues to deliver exceptional results with each use, meeting your styling needs with reliability and precision.
Step 3: Clean the Filter
Now that the filter has been removed from your Gama Professional hair dryer, it’s time to clean it thoroughly to ensure optimal airflow and performance. Over time, the filter can accumulate dust, lint, and other particles, potentially hindering the hair dryer’s efficiency. Cleaning the filter is a simple yet essential maintenance task that can significantly impact the overall functionality of the hair dryer.
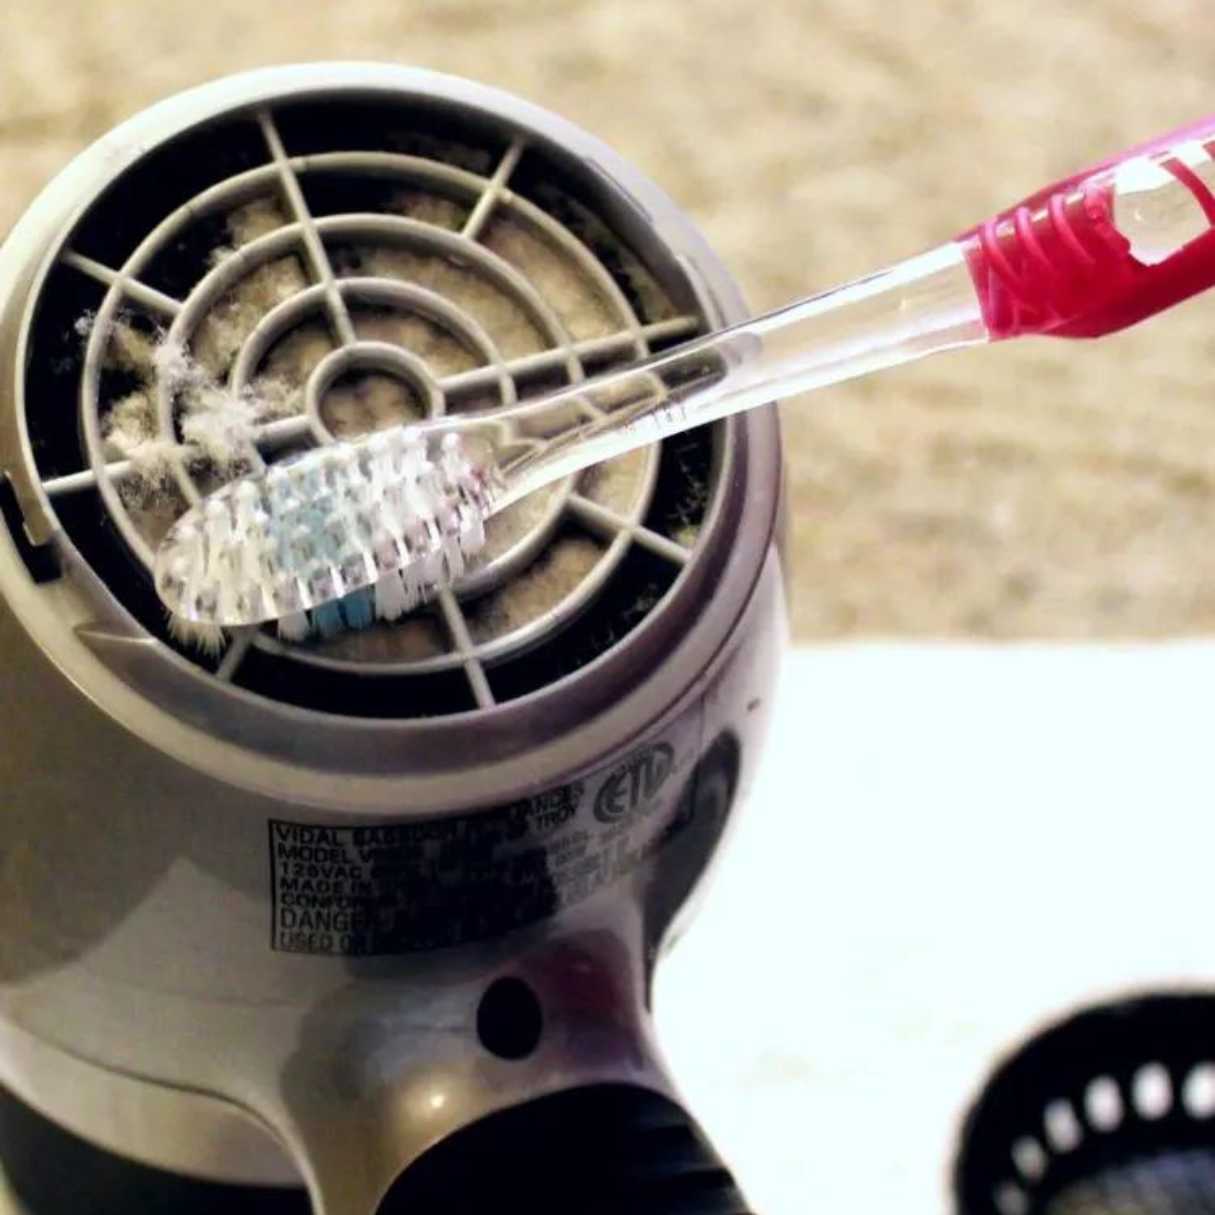
Begin by gently tapping the filter to dislodge any loose debris or buildup. This initial step helps to loosen and remove surface-level dust and lint, preparing the filter for a more thorough cleaning. You can also use a soft-bristled brush or a vacuum cleaner with a brush attachment to remove stubborn debris from the filter’s surface.
For a deeper clean, consider washing the filter with mild soap and water. Fill a basin or sink with lukewarm water and add a small amount of gentle, liquid soap. Submerge the filter in the soapy water and allow it to soak for a few minutes, helping to loosen and dissolve any trapped particles.
Gently agitate the filter in the soapy water, using your fingers to dislodge any remaining debris. Avoid scrubbing the filter aggressively, as this can damage the delicate mesh material. Once you are satisfied with the cleanliness of the filter, rinse it thoroughly under running water to remove the soap and any remaining particles.
After rinsing, gently shake the filter to remove excess water and allow it to air-dry completely before reinstallation. Ensure that the filter is completely dry to prevent the growth of mold or mildew inside the hair dryer. Once dry, the filter is ready to be reinstalled, promoting unrestricted airflow and optimal performance.
By cleaning the filter, you are proactively maintaining the efficiency and functionality of your Gama Professional hair dryer, ensuring that it continues to deliver salon-quality results with every use. This simple yet essential maintenance task contributes to the longevity and reliability of your hair dryer, preserving its performance for years to come.
To clean a Gama Professional hair dryer, unplug it and use a soft, dry cloth to wipe the exterior. Use a small brush to remove any hair or debris from the air vents. Do not use water or liquid cleaners on the dryer.
Step 4: Wipe Down the Exterior
After addressing the internal components of your Gama Professional hair dryer, it’s important to turn your attention to the exterior surfaces. Wiping down the exterior of the hair dryer not only enhances its appearance but also contributes to a thorough cleaning routine, ensuring that the entire appliance is well-maintained and free from dust, product residue, and other impurities.
Begin by unplugging the hair dryer if you have not already done so, to ensure safety during the external cleaning process. Once the hair dryer is unplugged, use a soft, damp cloth to gently wipe down the exterior surfaces, including the handle, body, and controls. Avoid using harsh chemicals or abrasive cleaners, as these can damage the finish of the hair dryer.
For stubborn residue or buildup on the exterior surfaces, dampen the cloth with a small amount of mild soap and water. Gently wipe the affected areas to remove the residue, taking care not to saturate the hair dryer with excess moisture. After cleaning, use a dry cloth to wipe away any remaining moisture and ensure that the exterior surfaces are completely dry before plugging in the hair dryer.
Pay special attention to areas where product buildup or residue may accumulate, such as the handle and control buttons. Keeping these areas clean not only enhances the aesthetic appeal of the hair dryer but also ensures that the controls remain responsive and easy to operate.
By incorporating external cleaning into your maintenance routine, you are preserving the overall appearance and functionality of your Gama Professional hair dryer. A clean and well-maintained exterior reflects your commitment to caring for your hair care tools, ensuring that they continue to meet your styling needs with reliability and precision.
Step 5: Clean the Nozzle
The nozzle of your Gama Professional hair dryer plays a vital role in directing the airflow and shaping the hair during the styling process. Over time, product residue, dust, and debris can accumulate within the nozzle, potentially impacting the hair dryer’s performance and the precision of the airflow. Cleaning the nozzle is an essential maintenance task that ensures optimal functionality and styling results.
To begin, ensure that the hair dryer is unplugged to prevent accidental activation during the cleaning process. Once unplugged, inspect the nozzle for any visible buildup or residue. Use a soft, dry cloth or a small brush to gently remove any loose debris from the interior and exterior of the nozzle.
If the buildup is more stubborn, you can use a mild soap and water solution to clean the inside of the nozzle. Dampen a cotton swab or a small brush with the soapy water and carefully clean the interior surfaces of the nozzle, taking care not to saturate the area with excess moisture. After cleaning, use a dry cloth or cotton swab to remove any remaining moisture and ensure that the nozzle is completely dry before use.
It’s important to maintain the cleanliness of the nozzle to ensure that the airflow remains unobstructed, allowing you to achieve precise styling results with your Gama Professional hair dryer. A clean nozzle also prevents product residue from accumulating and potentially affecting the performance of the hair dryer during use.
By incorporating regular cleaning of the nozzle into your maintenance routine, you are preserving the precision and effectiveness of your Gama Professional hair dryer, ensuring that it continues to meet your styling needs with consistent results. This attention to detail reflects your commitment to maintaining the quality and performance of your hair care tools, enhancing your overall styling experience.
Step 6: Reassemble the Hair Dryer
After completing the cleaning process for your Gama Professional hair dryer, it’s time to reassemble the appliance to prepare it for future use. Proper reassembly ensures that all components are securely in place, allowing the hair dryer to operate at its optimal performance level and deliver salon-quality results with each use.
Begin by ensuring that all cleaned components, including the filter and nozzle, are completely dry before reinstallation. Any residual moisture can affect the functionality of the hair dryer and may lead to mold or mildew growth within the appliance.
Carefully position the filter back into its designated housing, ensuring that it is securely in place and properly aligned. Depending on the specific model of the Gama Professional hair dryer, the filter may snap into position or require gentle pressure to reattach. Refer to the user manual for detailed instructions on filter reinstallation.
Next, if you removed the nozzle during the cleaning process, carefully reattach it to the hair dryer, ensuring a secure fit. The nozzle plays a crucial role in directing the airflow and shaping the hair during styling, so proper attachment is essential for achieving precise results.
Once all components are reassembled, visually inspect the hair dryer to ensure that everything is in place and properly aligned. Take a moment to wipe down the exterior surfaces with a dry cloth to remove any lingering moisture and ensure that the hair dryer is clean and ready for use.
Finally, plug the Gama Professional hair dryer back into the power source, and it is ready to deliver salon-quality performance for your styling needs. By following the reassembly process with care and attention to detail, you are maintaining the efficiency and reliability of your hair dryer, ensuring that it continues to meet your styling requirements with consistent results.
Conclusion
Congratulations! By following the comprehensive cleaning process outlined in this guide, you have taken proactive steps to maintain the performance, reliability, and longevity of your Gama Professional hair dryer. Regular cleaning and maintenance are essential for preserving the efficiency and precision of your hair care tools, ensuring that they continue to deliver salon-quality results with each use.
Understanding how to clean your Gama Professional hair dryer empowers you to take control of its maintenance, promoting optimal functionality and styling performance. By unplugging the hair dryer, removing and cleaning the filter, and addressing the exterior and nozzle, you have demonstrated your commitment to caring for your hair care tools with diligence and attention to detail.
By incorporating these cleaning practices into your regular maintenance routine, you are investing in the longevity and reliability of your Gama Professional hair dryer, ensuring that it remains a valuable asset in your hair care arsenal for years to come. Whether you are a professional stylist or an individual who values exceptional hair care, maintaining a clean and well-maintained hair dryer is essential for achieving the best styling results.
Remember to refer to the user manual for specific instructions tailored to your Gama Professional hair dryer model, as different models may have unique cleaning and maintenance requirements. Additionally, consider establishing a regular cleaning schedule to ensure that your hair dryer remains in optimal condition and continues to meet your styling needs with consistency and precision.
Thank you for prioritizing the care and maintenance of your Gama Professional hair dryer. Your dedication to preserving the quality and performance of your hair care tools reflects your commitment to achieving exceptional styling results and maintaining a professional standard of care for your hair and the tools you use.
Now, armed with the knowledge and understanding of how to clean your Gama Professional hair dryer, you can confidently embark on your styling endeavors, knowing that your hair dryer is primed and ready to deliver exceptional performance whenever you need it.
Frequently Asked Questions about How To Clean Gama Professional Hair Dryer
Was this page helpful?
At Storables.com, we guarantee accurate and reliable information. Our content, validated by Expert Board Contributors, is crafted following stringent Editorial Policies. We're committed to providing you with well-researched, expert-backed insights for all your informational needs.

0 thoughts on “How To Clean Gama Professional Hair Dryer”