Articles
How To Install Gutters On A Garage
Modified: December 7, 2023
Learn how to install gutters on your garage with this comprehensive guide. Read articles for step-by-step instructions and expert tips for a successful installation.
(Many of the links in this article redirect to a specific reviewed product. Your purchase of these products through affiliate links helps to generate commission for Storables.com, at no extra cost. Learn more)
Introduction
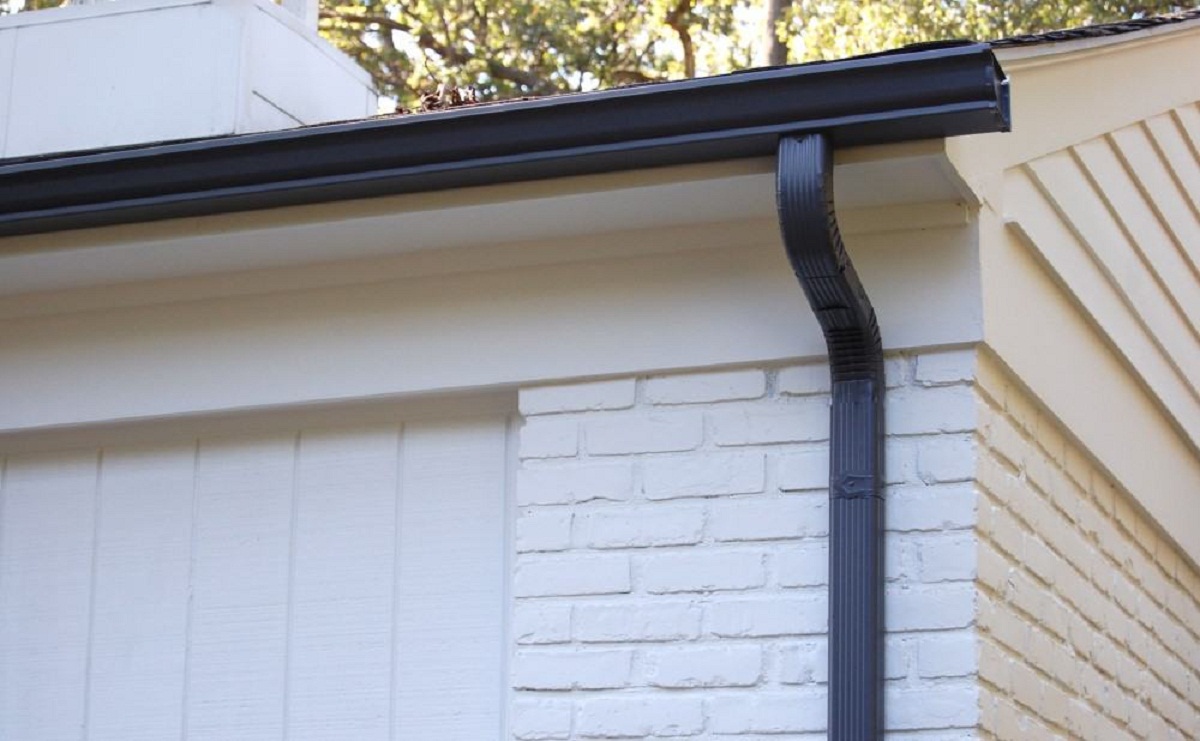
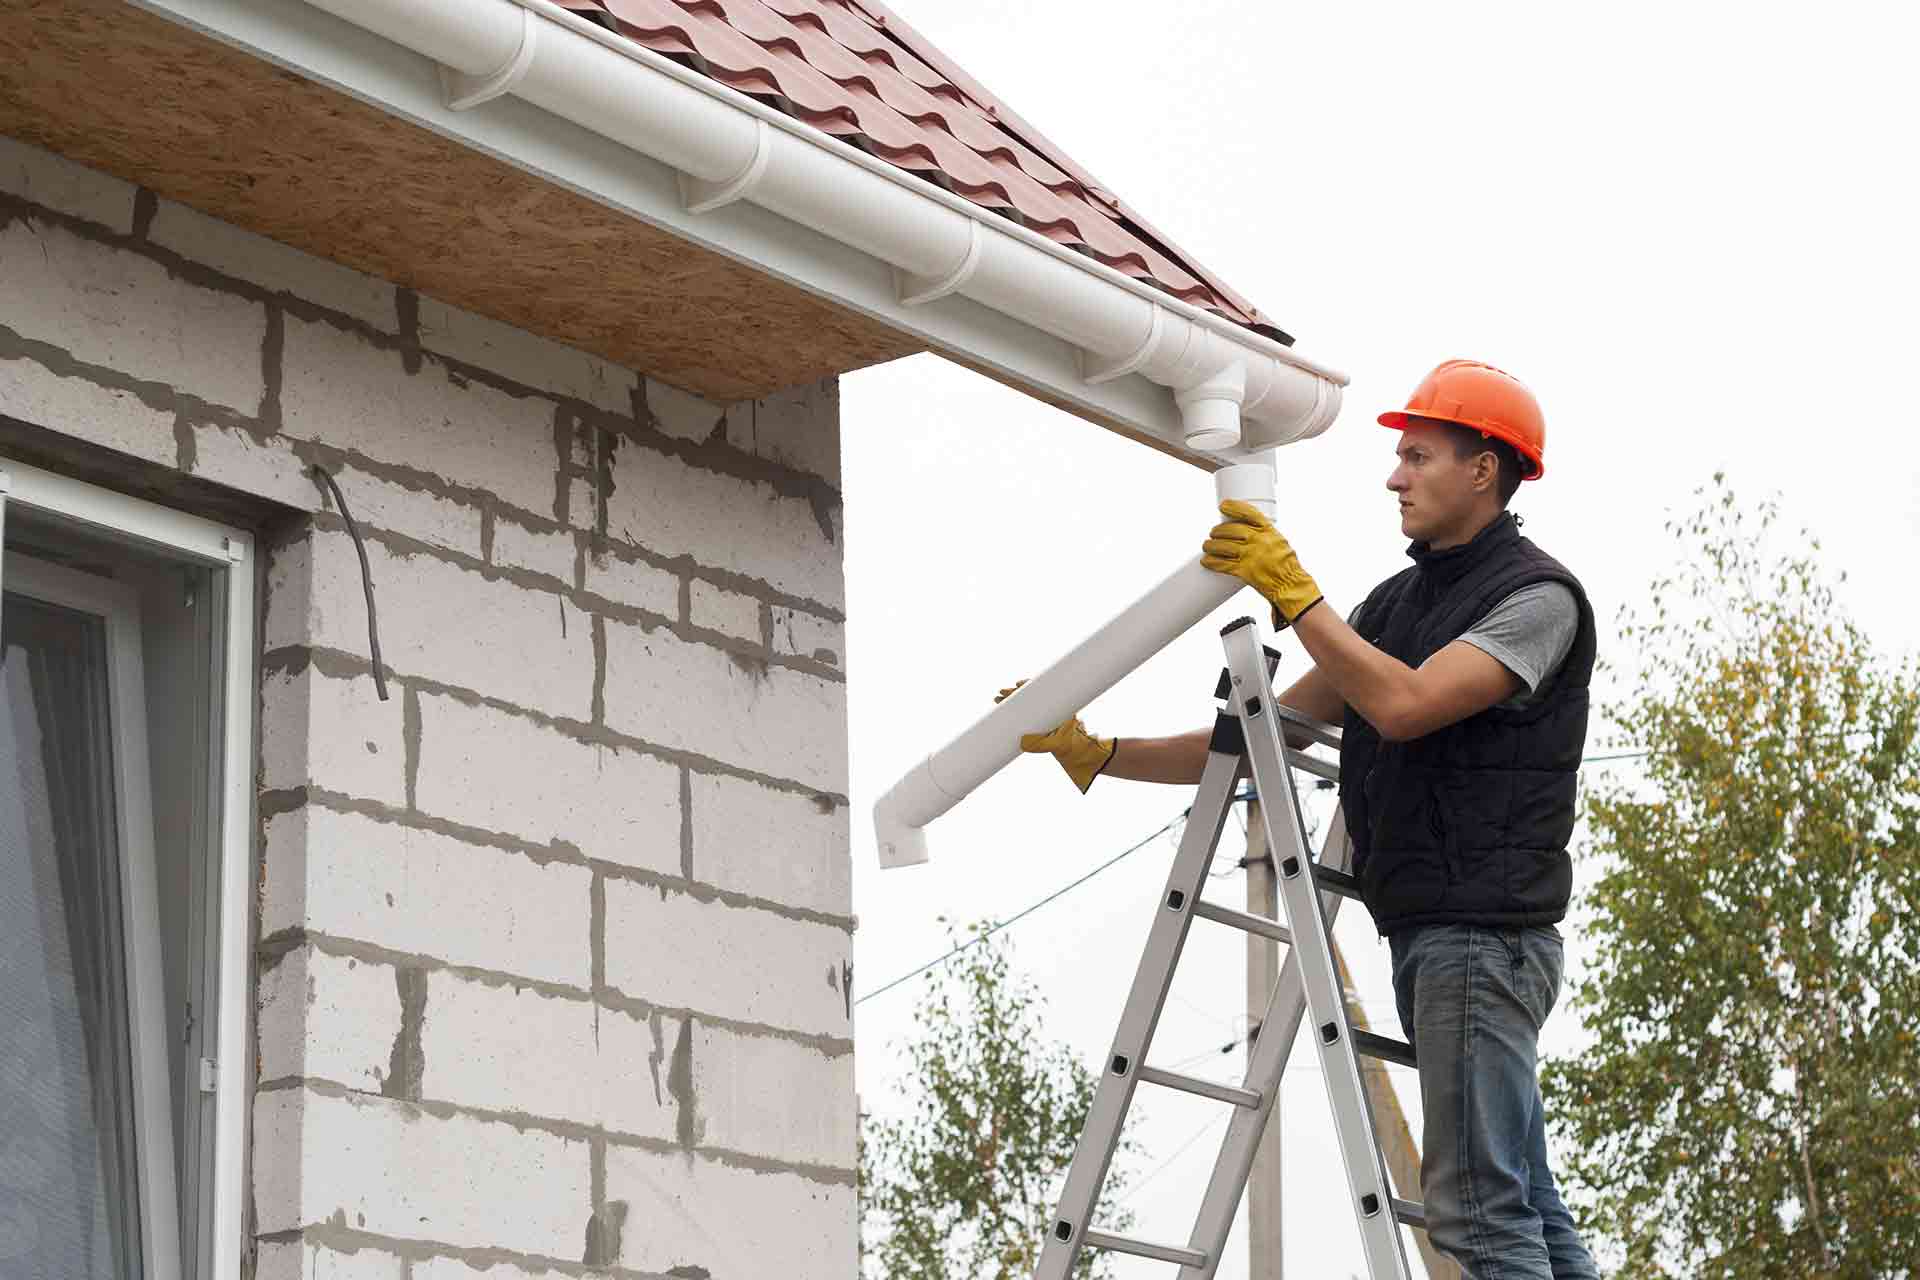
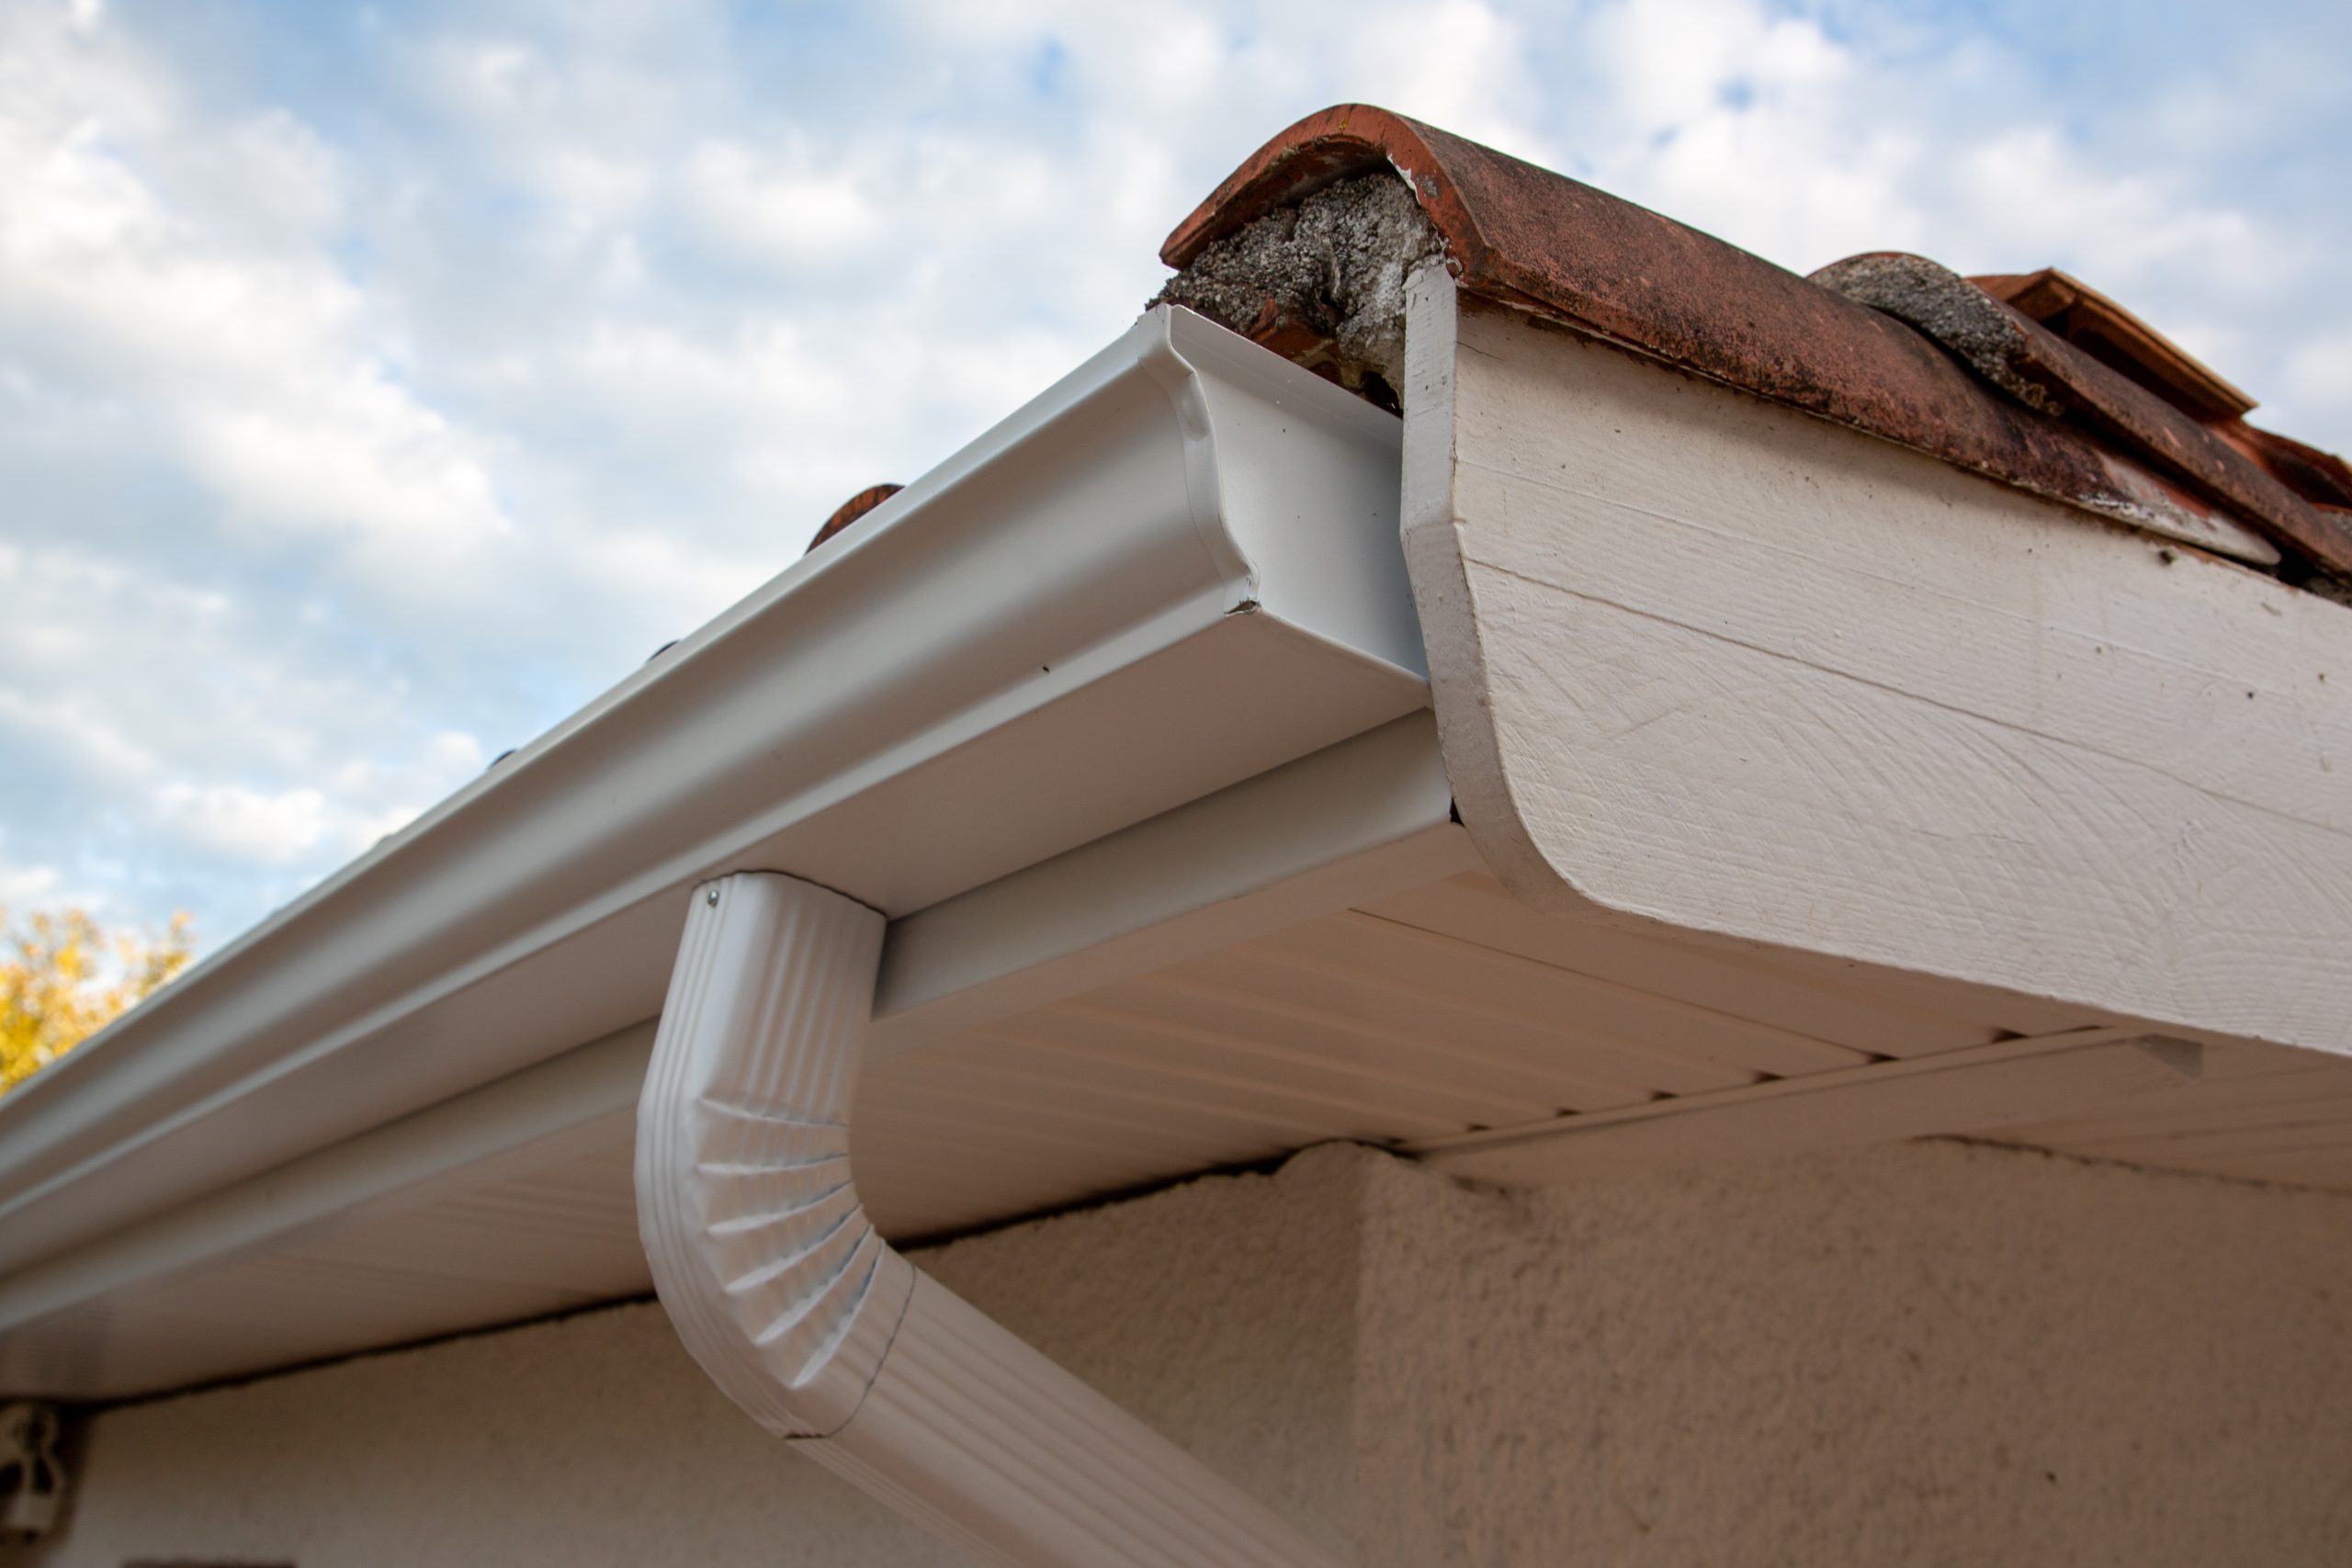
Gutters play a crucial role in protecting your garage from water damage. They help to redirect rainwater away from the foundation, preventing issues such as basement flooding and structural damage. Installing gutters on a garage may seem like a daunting task, but with the right materials and a step-by-step approach, it can be a manageable DIY project.
In this article, we will guide you through the process of installing gutters on your garage roof. We will provide a detailed explanation of each step, along with the materials you will need and the tools required. By following these instructions, you can ensure that your garage is properly equipped to handle rainwater, keeping it dry and free from potential damage.
Before we dive into the installation process, it’s important to note that safety should always be your top priority. Make sure to take precautions such as using a sturdy ladder, wearing protective gear, and working with a partner whenever possible. If you feel uncomfortable or uncertain about any step of the process, it’s best to consult with a professional gutter installer.
Now, let’s get started on installing gutters on your garage!
Key Takeaways:
- Properly installing gutters on your garage is a manageable DIY project that can protect your structure from water damage, basement flooding, and structural issues. Prioritize safety, gather the right materials and tools, and follow the step-by-step process for successful installation.
- Regular maintenance, such as cleaning out debris and checking for leaks, is essential to ensure that your gutters continue to function effectively. By taking proactive steps to install and maintain gutters, you can enjoy a dry and secure garage even during heavy downpours.
Read more: How To Install Gutters Yourself
Materials Needed
Before you begin the installation process, you will need to gather the necessary materials. Here is a list of items you will need to install gutters on your garage:
- Gutter sections
- Gutter brackets
- Gutter end caps
- Downspouts
- Downspout elbows
- Downspout brackets
- Gutter hangers
- Screws or nails
- Gutter sealant
- Gutter flashing
- Level
- Tape measure
- Screwdriver
- Drill
- Hacksaw or utility knife
- Caulking gun
- Safety goggles
- Gloves
- Ladder
It’s important to choose materials that are suitable for your specific garage and climate conditions. Consider factors such as the pitch of your roof, the amount of rainfall in your area, and the durability of the materials.
When selecting gutter sections, opt for ones that are the appropriate length for your garage. Gutter brackets will be used to secure the gutters to the roof, so make sure to choose ones that are compatible with your gutter sections. Downspouts and downspout elbows will help to direct water away from the garage, so consider the size and shape of these components based on your specific needs. Gutter hangers, screws or nails, and gutter sealant will be used for securing the gutters and ensuring a watertight connection.
Gutter flashing is another important component to prevent water from seeping into the roof structure. It is typically made of metal and should be properly installed at the eaves of the roof. Additionally, having a level, tape measure, screwdriver, drill, hacksaw or utility knife, caulking gun, safety goggles, gloves, and a ladder are essential tools to have on hand for the installation process.
Now that you have gathered all the necessary materials, let’s move on to the next step: measuring and calculating the required gutter length.
Step 1: Measure and Calculate
The first step in installing gutters on your garage is to accurately measure the length of gutter needed and calculate the number of downspouts required. Follow these steps to ensure proper measurements:
- Start by measuring the length of the garage roof where the gutters will be installed. Use a tape measure to get an accurate measurement from one end to the other.
- Take note of any corners or angles along the roofline as these will impact the overall length of the gutters.
- Next, determine the slope or pitch of the roof. It’s important to consider the slope because it will affect the flow of rainwater and the positioning of the downspouts.
- Based on the length of the gutter and the slope of the roof, calculate the number of downspouts needed. As a general rule, there should be at least one downspout for every 40 feet of gutter.
Once you have measured and calculated the necessary gutter length and downspout requirements, you can move on to the next step of gathering the necessary tools for the installation process.
Remember, accuracy is key when measuring and calculating the gutter length, as it will ensure that you purchase the correct amount of materials and that the gutters will effectively divert rainwater away from your garage.
Now that you have the necessary measurements, it’s time to gather the tools needed for the installation process. We will discuss this in the next step.
Step 2: Gather Necessary Tools
Before you begin installing gutters on your garage, it’s important to have the right tools on hand. Here is a list of tools you will need for a successful installation:
- Ladder: A sturdy extension ladder is essential for reaching the roof and safely working at heights. Make sure the ladder is stable and positioned securely before climbing up. It’s also a good idea to have a spotter or partner assist you while working on the ladder.
- Tape Measure: Use a tape measure to accurately measure the length of the gutters and downspouts, ensuring a precise fit.
- Screwdriver: A screwdriver will be needed to secure brackets, hangers, and end caps to the gutter sections. Make sure to have both Phillips and flat-head screwdrivers on hand to accommodate different types of screws.
- Drill: Depending on your gutter system, a drill may be necessary to pre-drill holes for screws or to attach brackets and hangers to the garage roof.
- Hacksaw or Utility Knife: These tools will be useful for cutting gutter sections and downspouts to the desired length. If using a hacksaw, make sure to use a blade designed for cutting metal.
- Caulking Gun: A caulking gun is needed to apply sealant to ensure watertight connections between gutter sections and end caps.
- Level: Use a level to ensure that the gutters are installed with proper alignment and slope for adequate water drainage.
- Safety Gear: It’s important to prioritize safety during the installation process. Make sure to wear safety goggles to protect your eyes from debris, and gloves to protect your hands from sharp edges or potential injury.
Having these tools readily available will make the installation process smoother and more efficient, allowing you to tackle each step with ease. Now that you have gathered all the necessary tools, you are ready to move on to preparing the garage roof for gutter installation.
Step 3: Prepare the Garage Roof
Before you begin installing the gutters, it’s important to properly prepare the garage roof. Follow these steps to ensure a clean and secure surface for the gutter installation:
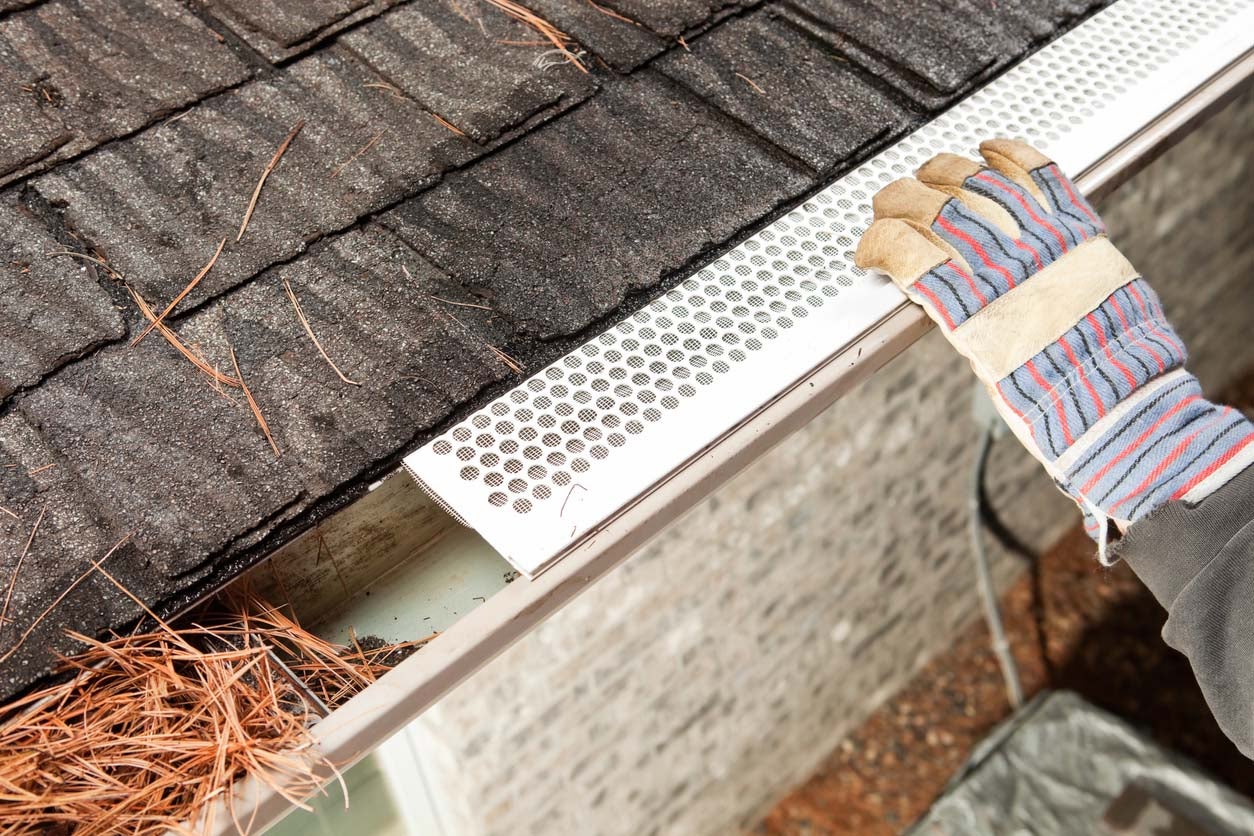
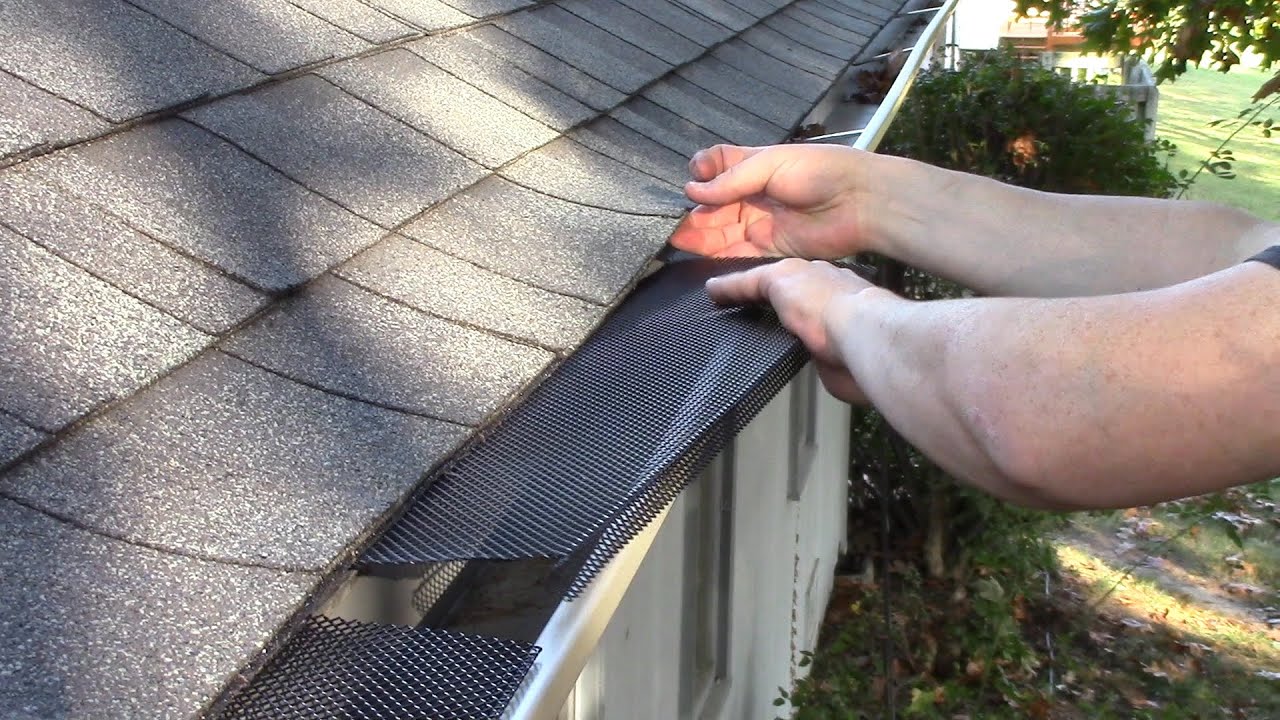
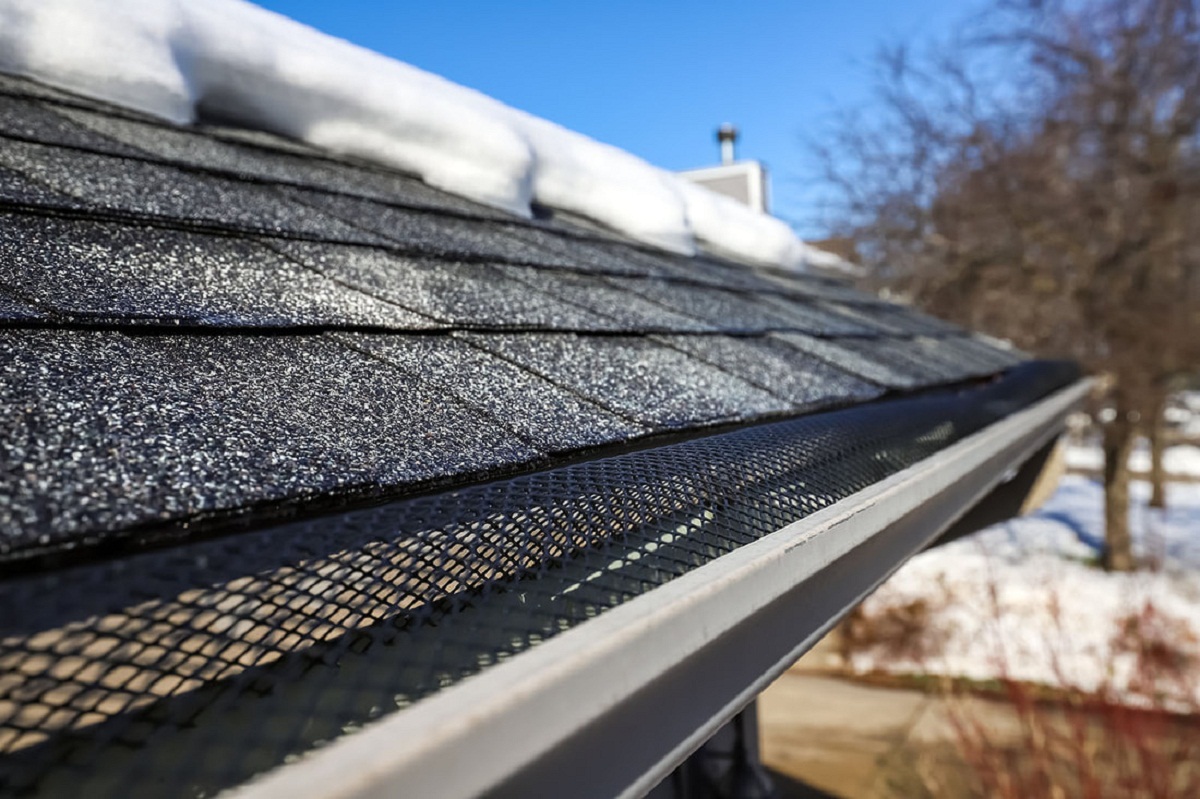
- Clear the Roof: Remove any debris, leaves, or branches from the garage roof. This will help prevent clogging and ensure a smooth flow of rainwater through the gutters.
- Clean the Gutters: If your garage already has existing gutters, take the time to clean them out before installing new ones. Remove any accumulated dirt, leaves, or other blockages to ensure proper water flow.
- Inspect the Roof: Carefully examine the roof for any signs of damage or wear. Look for loose shingles, cracks, or areas where water may pool. It’s important to address any roof issues before installing the gutters to prevent further damage.
- Check the Fascia Board: The fascia board is the horizontal board attached to the lower edge of the roof. Ensure that it is in good condition and securely fastened. If any repairs or replacements are necessary, address these before proceeding with the gutter installation.
- Apply Gutter Flashing: Gutter flashing is a metal strip that is installed under the shingles and over the gutter to prevent water from seeping behind the gutter and damaging the roof. If your garage does not have gutter flashing, it is recommended to install it to ensure proper protection against water intrusion.
By properly preparing the garage roof, you are setting the stage for a successful gutter installation. Clearing the roof of debris and ensuring its structural integrity will help ensure that the gutters function effectively and prevent potential damage. Once the roof is prepared, you can move on to the next step: installing the gutter brackets.
When installing gutters on a garage, make sure to properly measure the length needed and slope them towards the downspout for proper drainage. Use a level to ensure they are installed straight.
Read more: How To Install Gutters On A Metal Building
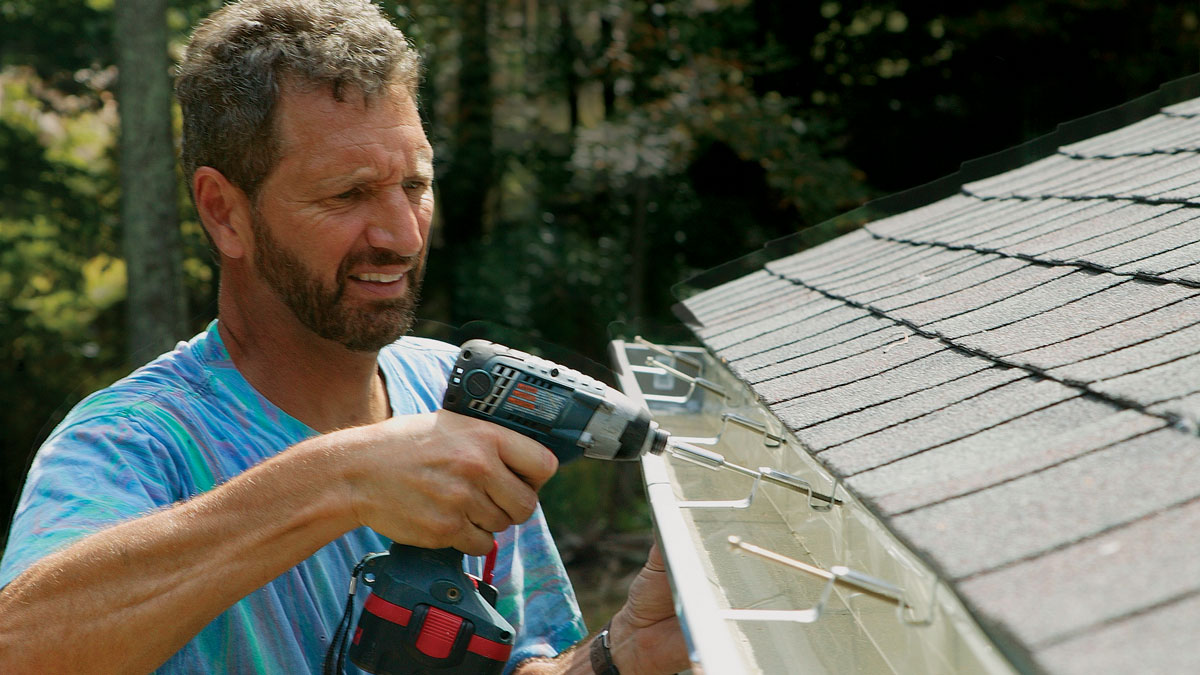
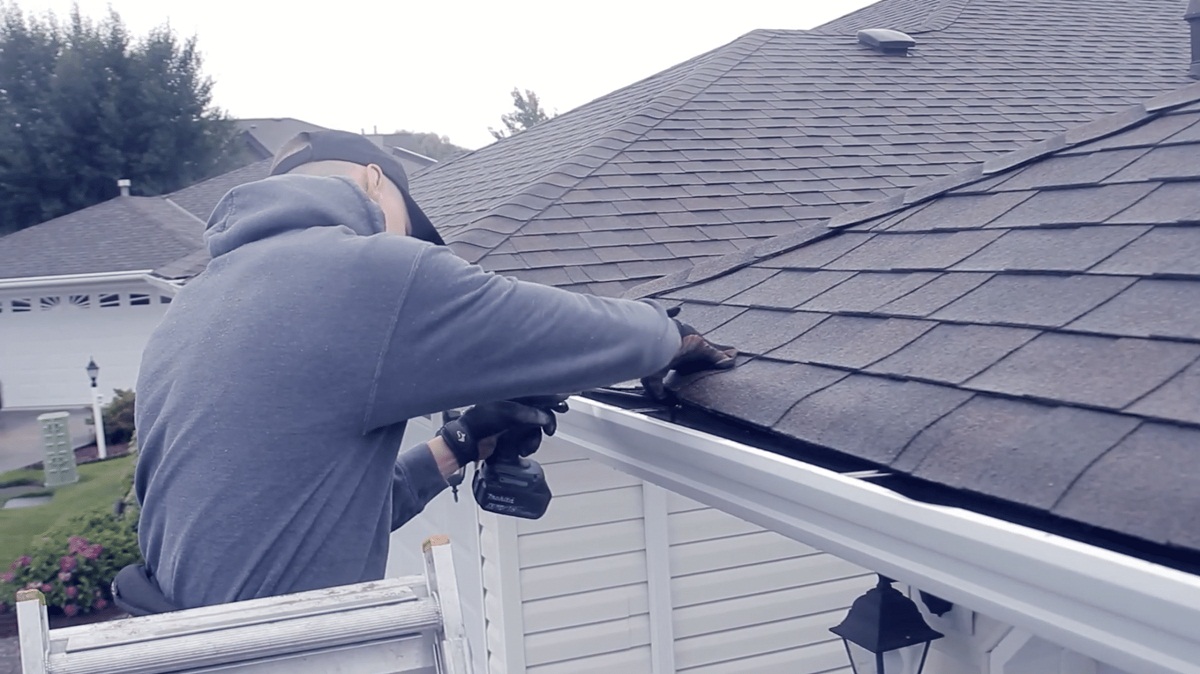
Step 4: Install Brackets
Installing brackets is a crucial step in ensuring that the gutters are securely attached to the garage roof. Here’s how you can properly install the brackets:
- Position the Brackets: Start by placing the brackets along the garage roofline, evenly spaced according to the manufacturer’s instructions. Typically, brackets should be installed approximately 2-3 feet apart for proper gutter support.
- Mark the Mounting Holes: Use a pencil or marker to mark the location of the mounting holes on the garage roof. These marks will serve as a guide for drilling later on.
- Pre-Drill Mounting Holes: With the help of a drill and a drill bit appropriate for your mounting hardware, carefully pre-drill holes at each marked position. Make sure the holes are deep enough to securely hold the brackets.
- Attach the Brackets: Align the brackets with the pre-drilled holes and fasten them to the garage roof using screws or nails. Ensure that the brackets are tightly secured and level, using a level tool if necessary.
Take note that the exact installation process may vary depending on the type of brackets you are using or the specific instructions provided by the manufacturer. It is important to refer to the manufacturer’s guidelines to ensure proper installation and alignment.
Once the brackets are securely installed, you are ready to move on to the next step: attaching the downspouts.
Step 5: Attach Downspouts
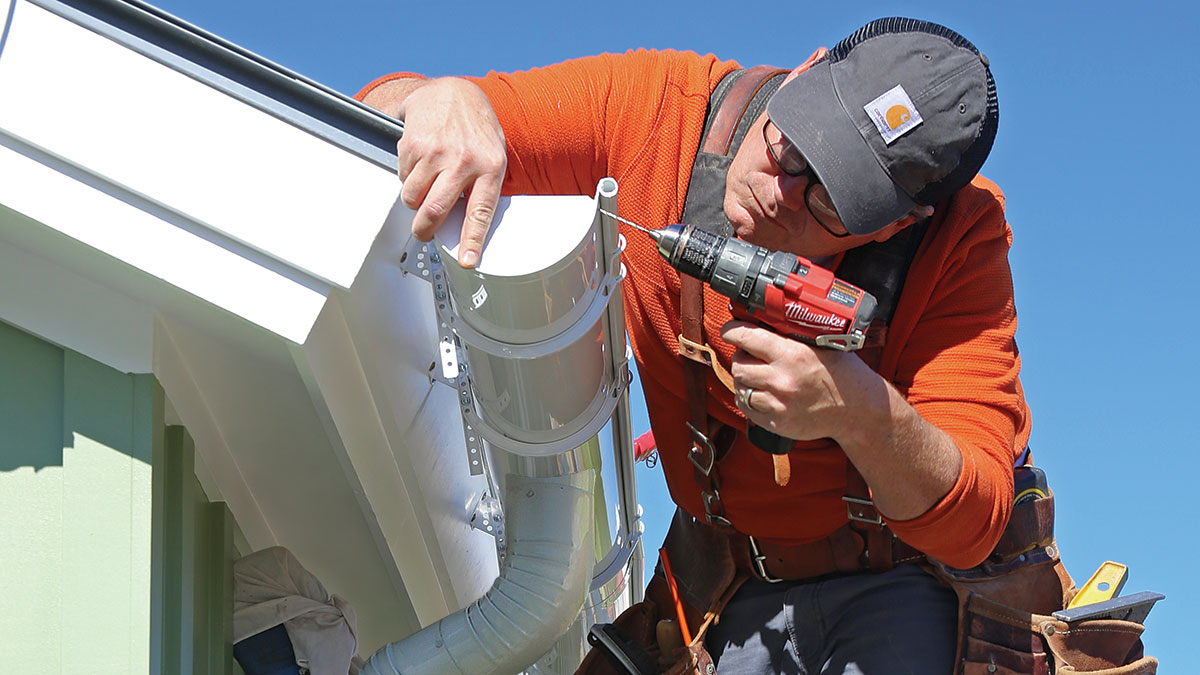
Attaching downspouts is an essential part of the gutter installation process as they direct water away from the garage and foundation. Here’s how you can properly attach the downspouts:
- Position the Downspouts: Determine the ideal locations for the downspouts along the garage wall. Consider factors such as water flow and aesthetics. Typically, downspouts are placed at the corners or evenly spaced along the length of the gutter.
- Measure and Cut Downspouts: Measure the distance from the bottom of the gutter to the desired exit point on the ground. Using a hacksaw or utility knife, carefully cut the downspouts to the appropriate length.
- Install Downspout Elbows: Attach downspout elbows to the bottom of the gutter. These elbows will direct the water from the gutter into the downspout. Make sure the elbows are securely attached and facing towards the direction of the downspouts.
- Attach the Downspouts: Slide the downspout onto the elbows or directly into the bottom of the gutter section. Secure the downspouts to the wall using downspout brackets. Place the brackets at regular intervals, ensuring that they are securely fastened to the garage wall.
- Extend the Downspouts: If necessary, extend the downspouts to ensure that the water is being directed away from the garage and foundation. This can be done by using additional downspout sections or downspout extensions.
- Check for Proper Alignment: Once the downspouts are attached, check that they are properly aligned and securely in place. Ensure that there are no gaps between the gutter, elbows, and downspout connections.
By correctly attaching the downspouts, you are ensuring that rainwater is effectively channeled away from your garage, preventing potential water damage. Now that you have successfully attached the downspouts, you can proceed to the next step: securing the gutters.
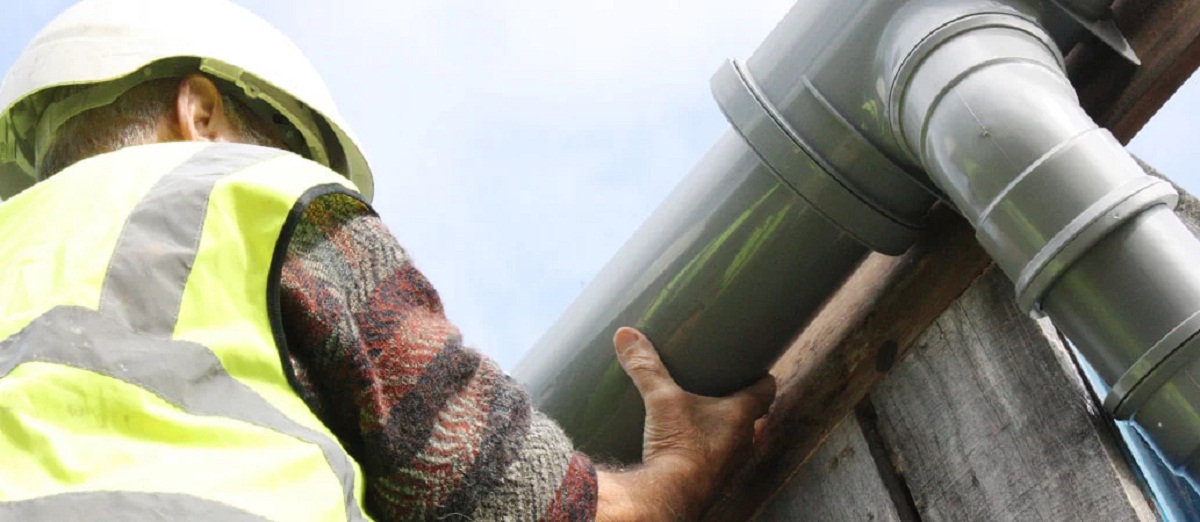
Step 6: Secure the Gutters
Securing the gutters is a crucial step in ensuring their stability and functionality. Here’s how you can properly secure the gutters to your garage:
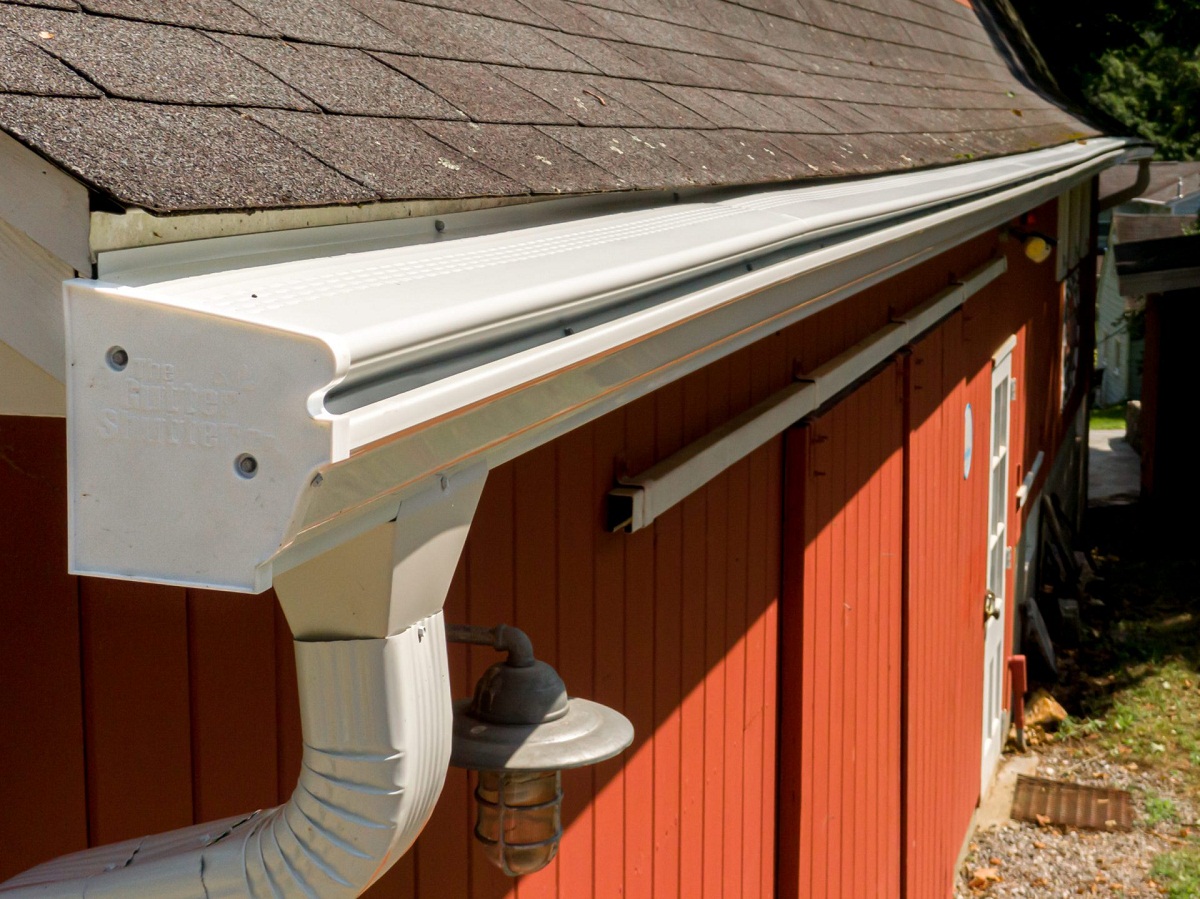
- Position the Gutters: Carefully lift the gutter sections and position them onto the brackets already installed on the garage roof. Make sure the gutters are properly aligned and level.
- Attach the Gutters: Using a screwdriver or drill, fasten the gutter sections to the brackets. Depending on the type of brackets and gutters you are using, this may involve screwing from the top or back of the gutter sections.
- Connect Gutter Sections: If required, connect multiple gutter sections together using connecting pieces or sealant. Make sure the connections are secure and watertight.
- Seal the Joints: Apply gutter sealant to the joints and connections between gutter sections to prevent any leakage.
- Ensure Proper Slope: Check that the gutters have a slight downward slope towards the downspouts. This will ensure proper water flow and drainage.
It’s important to follow the manufacturer’s guidelines and recommendations for securing the specific type of gutters you have. Double-check for any loose brackets or connections, readjusting as necessary to ensure a secure fit.
Once the gutters are securely in place, you can proceed to the last step: testing for proper drainage.
Step 7: Test for Proper Drainage
Testing for proper drainage is the final step to ensure that your gutter installation is successful. Here’s how you can test the drainage of your newly installed gutters:
- Check for Blockages: Before conducting a water test, visually inspect the gutters and downspouts for any blockages or debris. Remove any obstructions that may hinder the flow of water.
- Slowly pour Water: Using a garden hose or a bucket, slowly pour water into the gutters. Start at one end and gradually move towards the downspout.
- Observe Water Flow: As you pour the water, observe how it flows through the gutters and downspouts. Ensure that the water is flowing smoothly and directing away from the garage and foundation.
- Check for Leaks: While the water is flowing, check for any signs of leaks or drips along the gutter sections, connections, and downspouts. If any leaks are found, apply additional sealant as needed to address the issue.
- Inspect Ground Drainage: Examine the area where the downspouts deposit the water. Make sure that the water is effectively draining away from the garage and foundation. If necessary, consider using splash blocks or downspout extensions to redirect the water further away.
By testing the gutters for proper drainage, you can identify any potential issues and make necessary adjustments to ensure optimal performance. It’s important to conduct this test after installation and periodically thereafter to ensure the gutters continue to function properly.
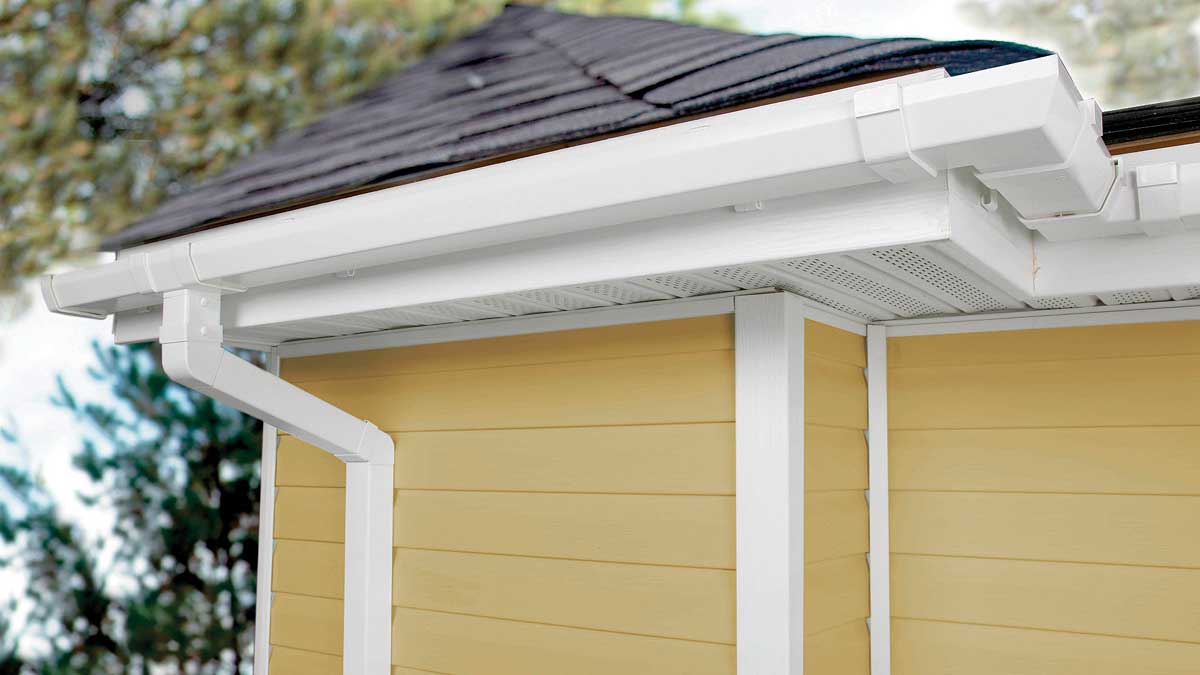
Congratulations! You have successfully installed gutters on your garage. Properly installed and maintained gutters will protect your garage from water damage and ensure the longevity of your structure.
Remember to regularly inspect and clean your gutters to prevent clogging and maintain optimal performance. If you encounter any significant gutter issues or are unsure about any aspect of the installation process, it is always recommended to seek guidance from a professional.
Now sit back, relax, and enjoy the peace of mind knowing that your garage is well-equipped to handle rainy weather!
Read more: How To Install Gutters With Drip Edge
Conclusion
Installing gutters on your garage is a worthwhile investment that helps protect your structure from water damage. With the right materials, tools, and step-by-step guidance, you can successfully complete this DIY project and enjoy the benefits of a properly functioning gutter system.
Throughout this article, we have covered the essential steps involved in installing gutters on your garage. From measuring and calculating the required gutter length to securing the gutters and testing for proper drainage, each step is crucial in ensuring a successful installation.
Remember to prioritize safety at all times during the installation process. Use sturdy ladders, wear appropriate safety gear, and work with a partner when possible. If you feel uncertain or uncomfortable with any step, it’s always a good idea to consult with a professional gutter installer.
By installing gutters on your garage, you are taking proactive steps to protect your structure from water damage. Gutters divert rainwater away from the foundation, preventing issues such as basement flooding and structural damage. Regular maintenance, such as cleaning out debris and checking for leaks, will help ensure that your gutters continue to function effectively.
Now that you have successfully installed gutters on your garage, take the time to admire your work and appreciate the peace of mind that comes with knowing your garage is well-protected from the damaging effects of rainwater. Sit back, relax, and enjoy a dry and secure space even during the heaviest of downpours!
Frequently Asked Questions about How To Install Gutters On A Garage
Was this page helpful?
At Storables.com, we guarantee accurate and reliable information. Our content, validated by Expert Board Contributors, is crafted following stringent Editorial Policies. We're committed to providing you with well-researched, expert-backed insights for all your informational needs.


0 thoughts on “How To Install Gutters On A Garage”