
Articles
How To Get A New Garage Door Remote
Modified: February 23, 2024
Discover the best articles on how to get a new garage door remote. Learn step-by-step instructions and expert tips for finding and programming a remote for your garage door opener.
(Many of the links in this article redirect to a specific reviewed product. Your purchase of these products through affiliate links helps to generate commission for Storables.com, at no extra cost. Learn more)
Introduction
Having a functional garage door remote is essential for convenient and secure access to your home. However, over time, these remotes can become lost, broken, or outdated. If you find yourself in need of a new garage door remote, don’t fret. With a few simple steps and some basic knowledge, you can easily get a new remote and have it programmed to work with your garage door opener. In this article, we will guide you through the process of getting a new garage door remote, from determining the compatible model to troubleshooting any issues that may arise. So let’s get started!
Key Takeaways:
- Easily determine the compatible remote model for your garage door opener by checking the manual, looking for labels, or contacting the manufacturer or a local professional.
- After purchasing a new garage door remote, prepare and program your garage door opener, and troubleshoot any issues to ensure seamless functionality.
Read more: How To Get New Garage Door Opener
Step 1: Determine the Compatible Remote Model
The first step in getting a new garage door remote is to determine the compatible remote model for your specific garage door opener. The remote model you need will depend on the brand and model of your garage door opener. Here are a few ways to identify the compatible remote model:
- Check the Garage Door Opener Manual: Start by consulting the manual of your garage door opener. It usually contains information about the compatible remote models. Look for a section that mentions remote programming or remote compatibility.
- Look for Labels on the Garage Door Opener: Check the garage door opener unit itself for labels or stickers that indicate the compatible remote model. Look for a model number or a brand name that you can use for reference.
- Contact the Manufacturer or a Local Garage Door Professional: If you are still unsure about the compatible remote model, consider reaching out to the manufacturer of your garage door opener or a local garage door professional. They will be able to provide you with the specific information you need.
Once you have identified the compatible remote model, you can move on to the next step of purchasing a new garage door remote.
Step 2: Purchase a New Garage Door Remote
After determining the compatible remote model for your garage door opener, the next step is to purchase a new garage door remote. Here are a few options to consider:
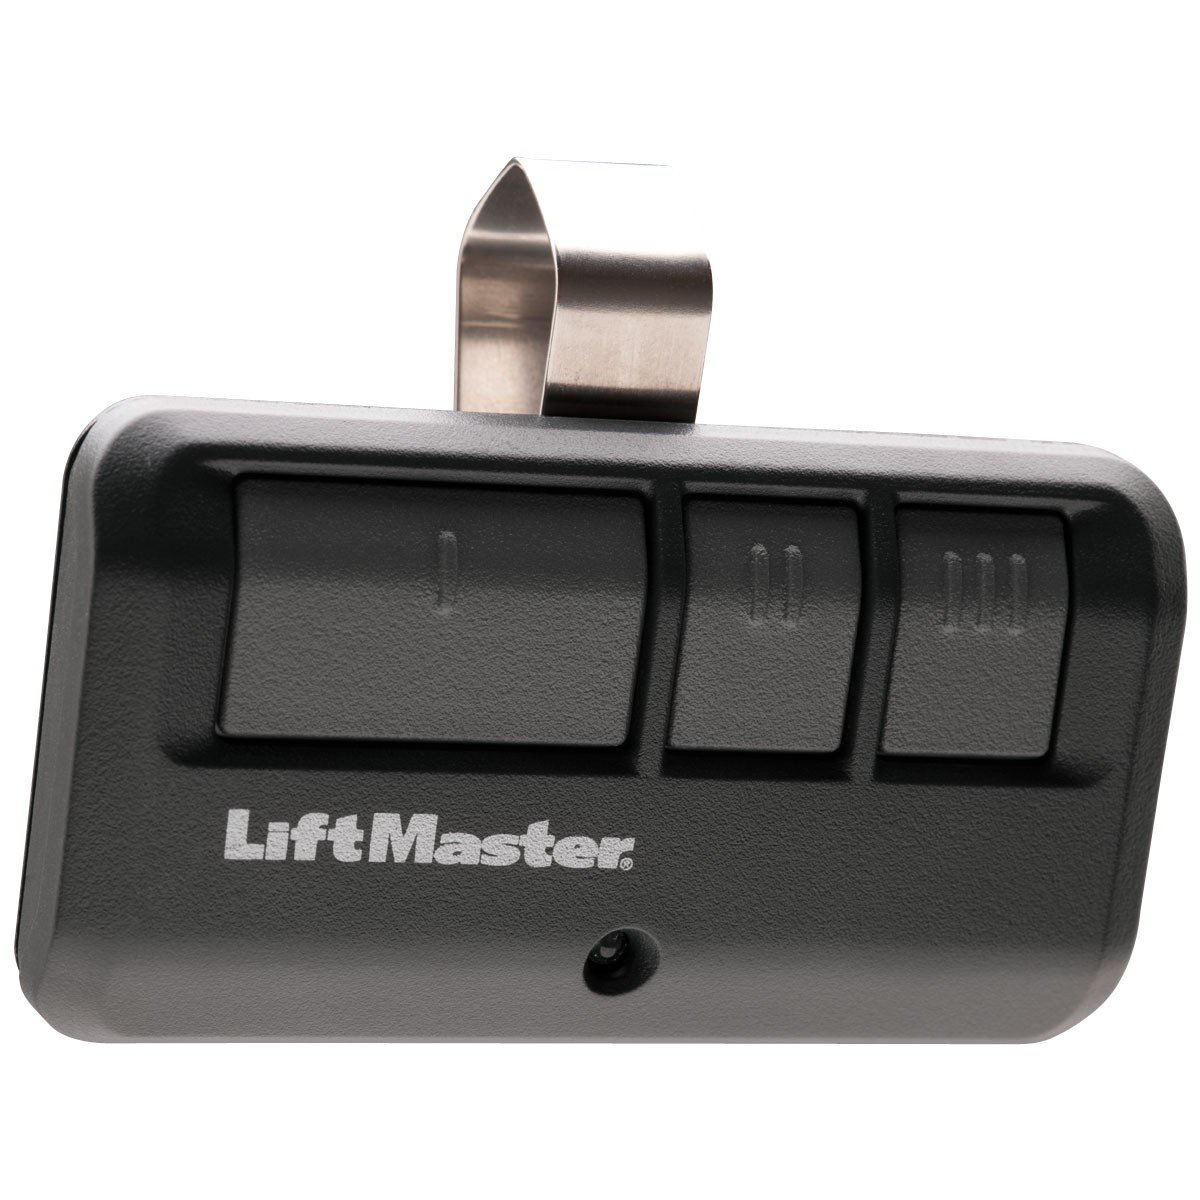
- Original Manufacturer Remote: If you prefer to stick with the original manufacturer, you can purchase a new remote directly from them. Visit their website or contact their customer service to inquire about purchasing a remote.
- Universal Remote: Another option is to purchase a universal remote that is compatible with a wide range of garage door opener brands and models. These remotes are often available at home improvement stores or online retailers.
- Online Marketplaces: Online marketplaces such as Amazon or eBay also offer a wide selection of garage door remotes. Make sure to check the compatibility information provided by the seller to ensure it will work with your specific garage door opener.
When purchasing a new garage door remote, it is important to double-check that it is compatible with the make and model of your garage door opener. Look for the specific remote model number or compatibility information provided by the manufacturer.
Once you have purchased the new garage door remote, you can move on to preparing your garage door opener for programming.
Step 3: Prepare the Garage Door Opener
Before you can program your new garage door remote, you need to prepare your garage door opener for the programming process. Here are the steps to follow:
- Locate the Programming Button: Start by locating the programming button on your garage door opener. This button is usually located on the back or side of the unit. Refer to the manual of your garage door opener if you are having trouble finding it.
- Clear Existing Remote Codes: To ensure a smooth programming process, it’s important to clear any existing remote codes from your garage door opener. Press and hold the programming button for a few seconds until the indicator light on the unit starts flashing. This indicates that the existing remote codes have been cleared.
- Prepare for Remote Programming: Once the existing remote codes have been cleared, your garage door opener is ready to be programmed with the new remote. Keep the new remote within reach, as you will need it in the next step.
By preparing your garage door opener for programming, you are setting the stage for a successful remote programming process. With the next step, you will be ready to program the new remote with your garage door opener.
When getting a new garage door remote, make sure to check the compatibility with your garage door opener model. It’s important to have the correct frequency and programming instructions for a successful setup.
Step 4: Program the New Remote
Now that you have prepared your garage door opener, it’s time to program your new garage door remote. The exact steps for programming may vary depending on the brand and model of your garage door opener, so make sure to refer to the instruction manual provided with your remote. However, here is a general guide to programming a garage door remote:
- Access Programming Mode: Press and release the programming button on your garage door opener. The indicator light on the unit should start flashing or remain lit to indicate that it is in programming mode.
- Input Programming Sequence: Follow the specific programming sequence provided by the manufacturer for your garage door remote. This usually involves pressing a series of buttons on the remote or entering a specific code. Pay attention to the indicator light on the garage door opener to ensure that each step is successful.
- Sync the Remote and Opener: After entering the programming sequence, press the button on your new garage door remote that you want to use to operate the door. The indicator light on the garage door opener should flash or turn off momentarily to indicate that the programming was successful. Test the remote to ensure it is working properly.
It’s important to follow the programming instructions precisely to ensure that the new remote is successfully synced with your garage door opener. If you encounter any difficulties during the programming process, refer to the troubleshooting tips in the next step.
Read more: Garage Door Getting Stuck When Opening
Step 5: Test the New Garage Door Remote
Once you have successfully programmed your new garage door remote, it’s time to test it to ensure that it is working properly. Here are the steps to follow:
- Stand within range of your garage door opener, typically within 20-30 feet.
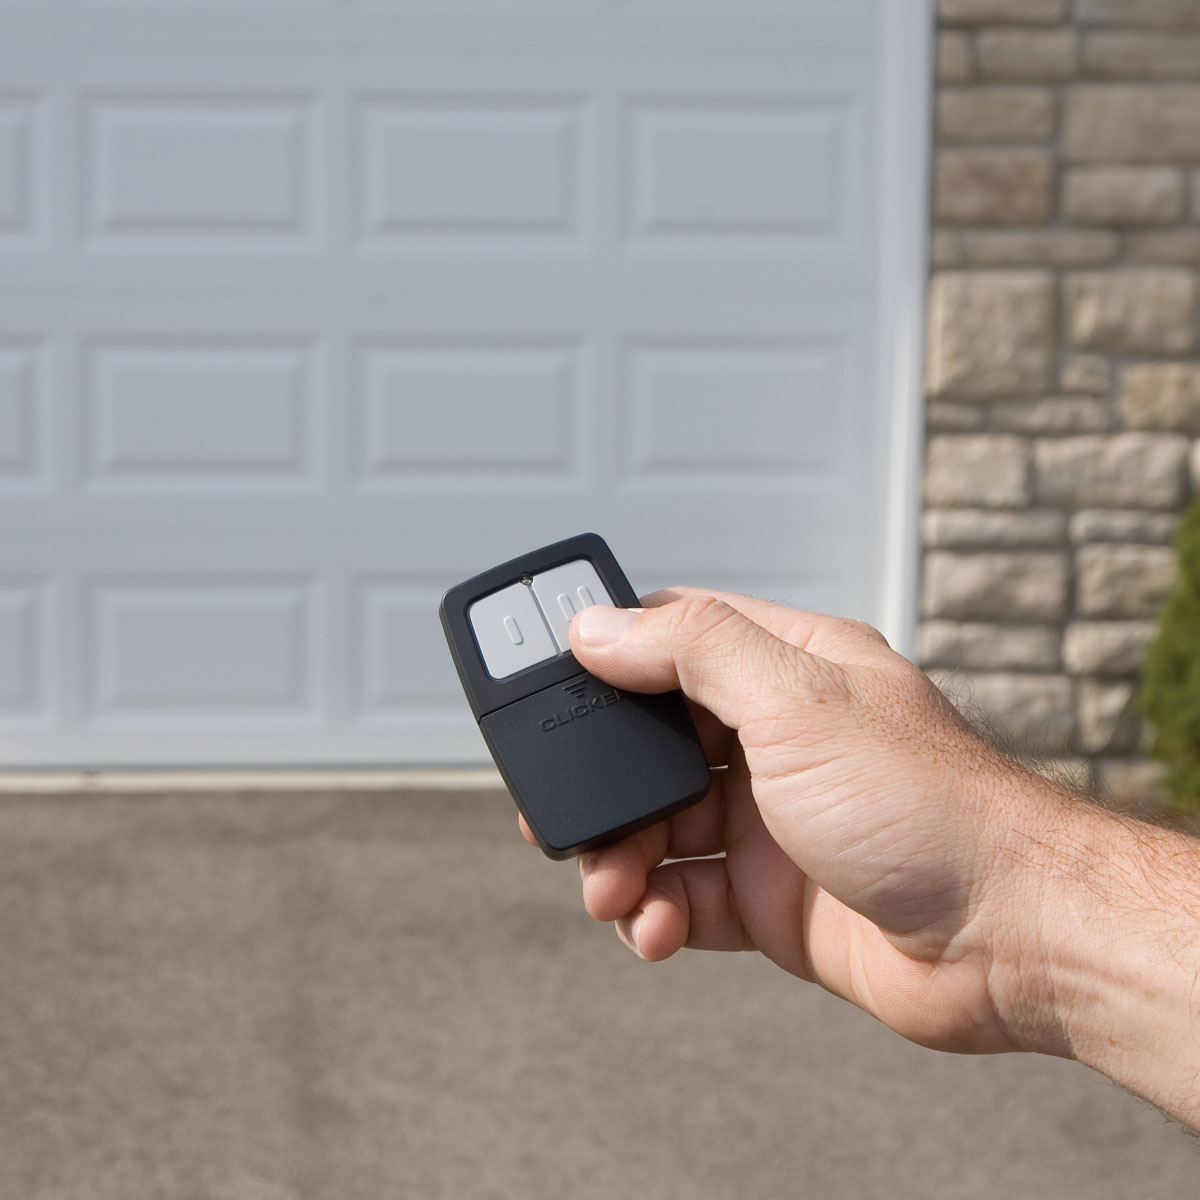
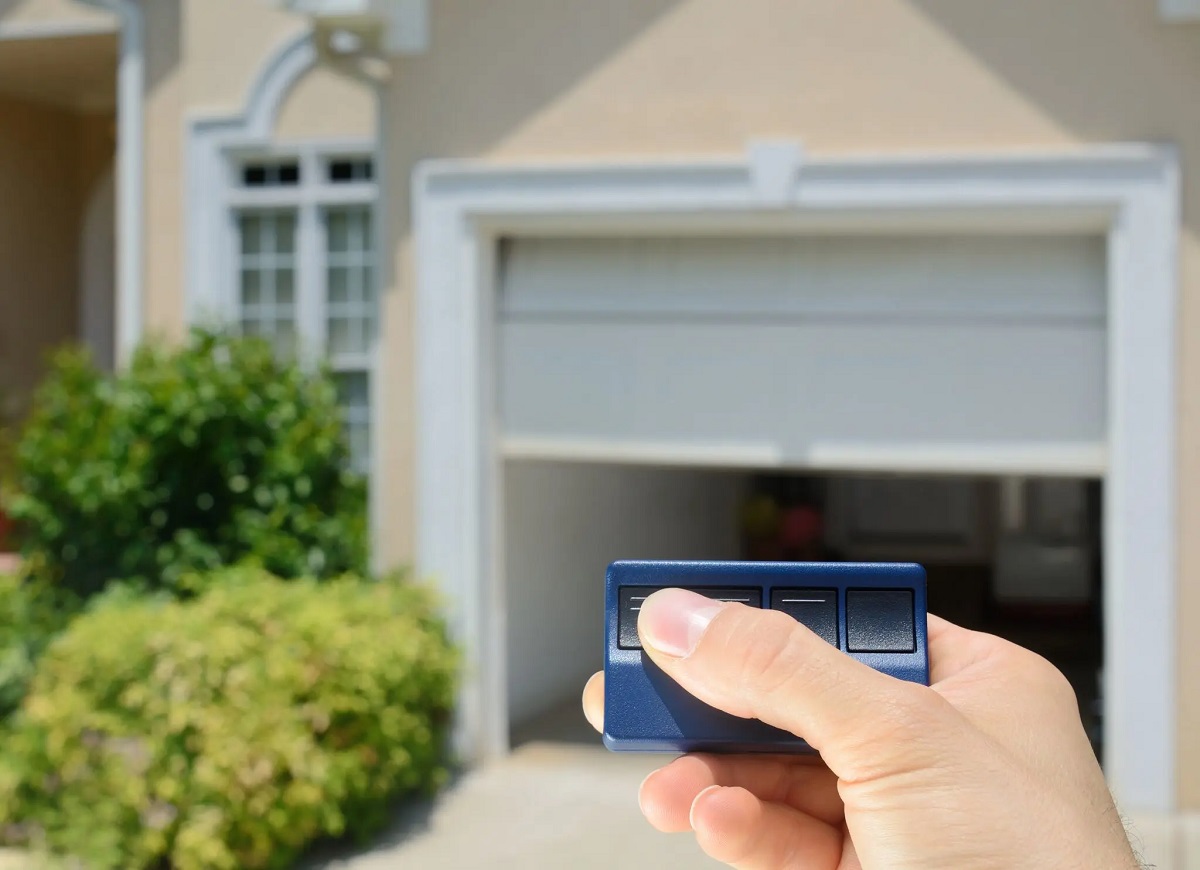
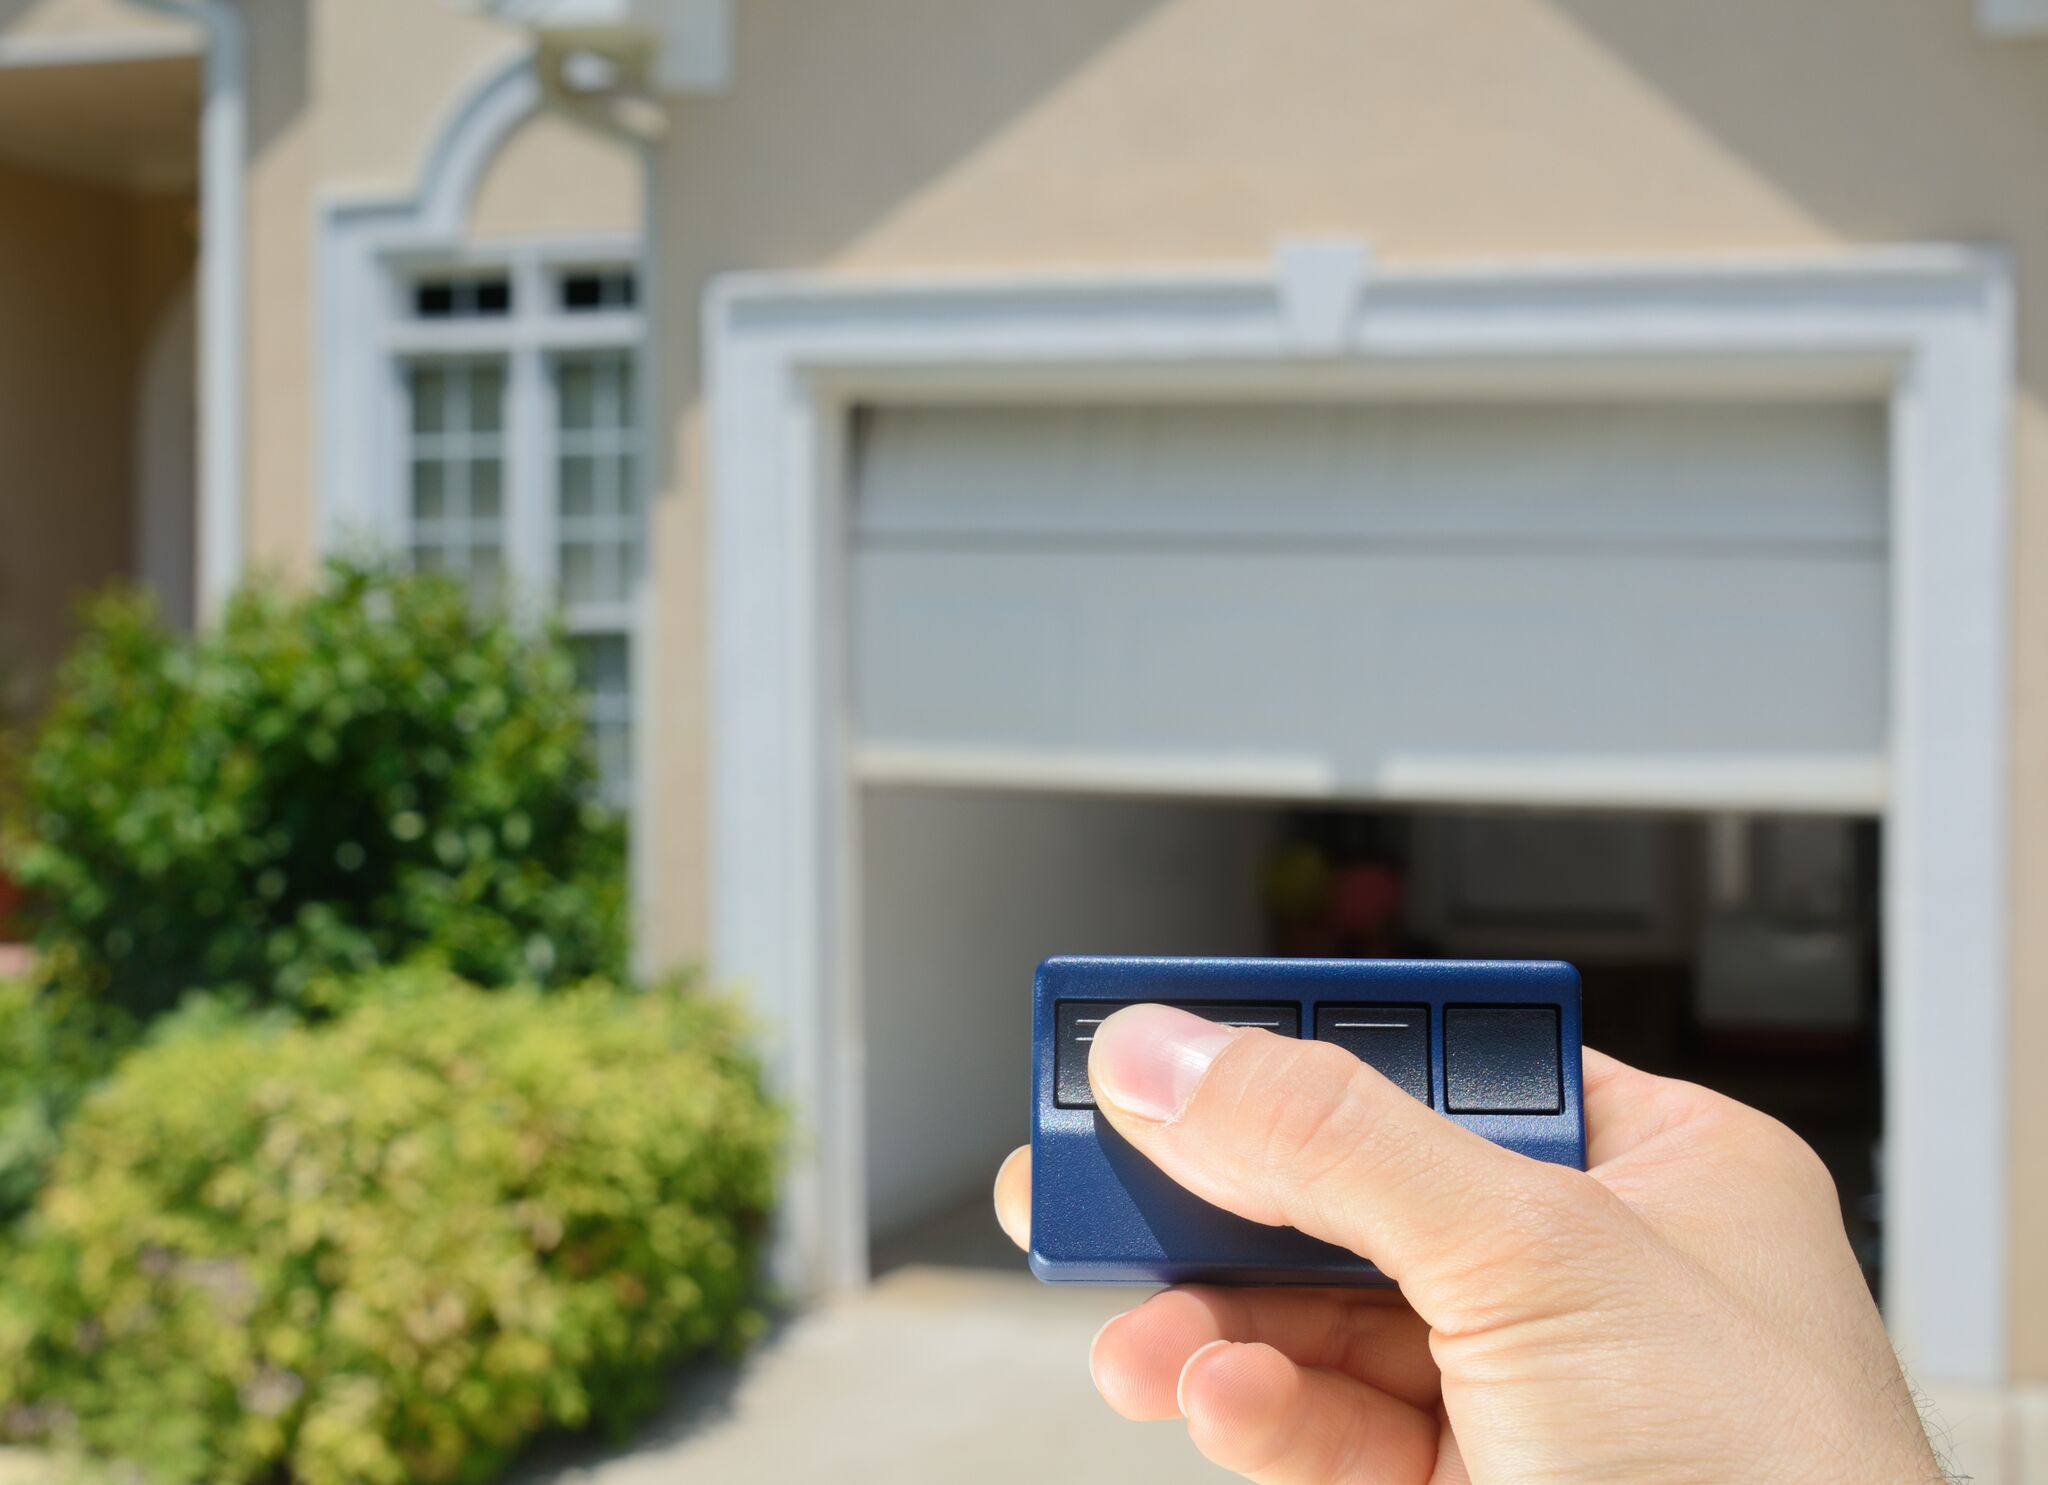
- Press the button on your new remote that you programmed to operate the garage door.
- Observe the garage door opener’s response. The door should start moving, either opening or closing, depending on its current position. You should also hear the motor of the garage door opener activating.
- If the garage door doesn’t respond, try standing closer to the opener and pressing the button again. It’s important to make sure that the signal from the remote reaches the opener.
If the new garage door remote functions properly and opens/closes the garage door, congratulations! You have successfully programmed and tested your new remote. However, if the remote does not work as expected, you may need to troubleshoot the issue. Let’s explore troubleshooting tips in the next step.
Step 6: Troubleshooting Tips
If you encounter any issues with your new garage door remote, here are some troubleshooting tips to help you resolve the problem:
- Check the Battery: Ensure that the battery in the remote is properly installed and has sufficient power. If the battery is low or dead, replace it with a new one and try programming the remote again.
- Reposition the Remote: If the remote is not working from a certain distance, try repositioning yourself or the remote to get closer to the garage door opener. Interference or barriers can weaken the signal, so eliminating any potential obstacles could help improve the remote’s performance.
- Reprogram the Remote: If the remote is still not functioning correctly, try reprogramming it following the programming steps carefully. Make sure you enter the correct programming sequence and sync the remote and opener properly.
- Reset the Garage Door Opener: If the remote is not working even after reprogramming, you can try resetting the garage door opener. This can often resolve any compatibility or programming issues. Consult the instruction manual for your specific opener to learn how to perform a reset.
- Contact Customer Support: If you have tried all the troubleshooting steps and the remote is still not working, reaching out to customer support for your garage door opener or the manufacturer of the remote can provide further assistance. They can help diagnose the issue and offer specific solutions or recommendations.
By following these troubleshooting tips, you can often resolve common issues with garage door remotes. If none of the troubleshooting methods work, it may be necessary to consult a professional garage door technician for further assistance.
Conclusion
Getting a new garage door remote doesn’t have to be a complicated process. By following the steps outlined in this article, you can easily determine the compatible remote model, purchase a new remote, prepare your garage door opener, program the new remote, and test its functionality. And if you encounter any issues along the way, the troubleshooting tips provided can help you overcome them.
A properly functioning garage door remote not only provides convenience but also enhances the security of your home. With the ability to open and close your garage door with just a click of a button, you can enjoy seamless access to your home without the hassle of manually operating the door.
Remember to always consult the instruction manual provided with your garage door opener and remote for precise programming instructions. Each brand and model may have specific requirements that differ from the general steps outlined in this article.
If you find yourself overwhelmed or unsure about any step of the process, don’t hesitate to seek help from the manufacturer of your garage door opener or a professional garage door technician. They have the expertise and experience to assist you with any challenges you may face in getting your new garage door remote up and running smoothly.
With a new garage door remote in hand, you can enjoy the convenience and peace of mind that comes with effortless access to your garage. So go ahead, follow the steps, and enjoy the ease and comfort of operating your garage door with a brand new remote.
Frequently Asked Questions about How To Get A New Garage Door Remote
Was this page helpful?
At Storables.com, we guarantee accurate and reliable information. Our content, validated by Expert Board Contributors, is crafted following stringent Editorial Policies. We're committed to providing you with well-researched, expert-backed insights for all your informational needs.

0 thoughts on “How To Get A New Garage Door Remote”