Articles
How To Get Garage Door Back On Track
Modified: February 23, 2024
Discover step-by-step articles on how to get your garage door back on track and functioning smoothly. Expert advice and tips to guide you in this process.
(Many of the links in this article redirect to a specific reviewed product. Your purchase of these products through affiliate links helps to generate commission for Storables.com, at no extra cost. Learn more)
Introduction
Welcome to our comprehensive guide on how to get your garage door back on track. A malfunctioning garage door can be a frustrating experience, but with the right knowledge and tools, you can easily fix this issue yourself. Whether your garage door has come off track due to an accident, wear and tear, or improper installation, we will walk you through the steps to bring it back to working order.
Before we dive into the details, it’s important to note that safety should be your top priority throughout this process. Garage doors are heavy and under tension, so exercise caution and consider enlisting the help of a friend when needed.
In this guide, we will start by assessing the damage, then proceed to gather the necessary tools. We will then guide you through the steps of removing the door from the tracks, inspecting and repairing the tracks, and finally reassembling and testing the door’s operation.
Remember, regular maintenance is essential to keep your garage door operating smoothly in the long run. We will also provide some tips on maintaining the garage door track to prevent future issues. So let’s get started and bring your garage door back on track!
Key Takeaways:
- Don’t force a garage door back on track. Assess damage, gather tools, remove the door, inspect and repair tracks, and test the door’s operation for safe and effective repair.
- Regularly maintain your garage door track to prevent future issues. Clean tracks, inspect for damage, lubricate, and check hardware and weather seal for optimal performance and longevity.
Read more: How To Get Closet Door Back On Track
Assessing the Damage
Before you can begin the process of getting your garage door back on track, it’s important to assess the extent of the damage. This will help you determine the best course of action and the necessary repairs or adjustments needed.
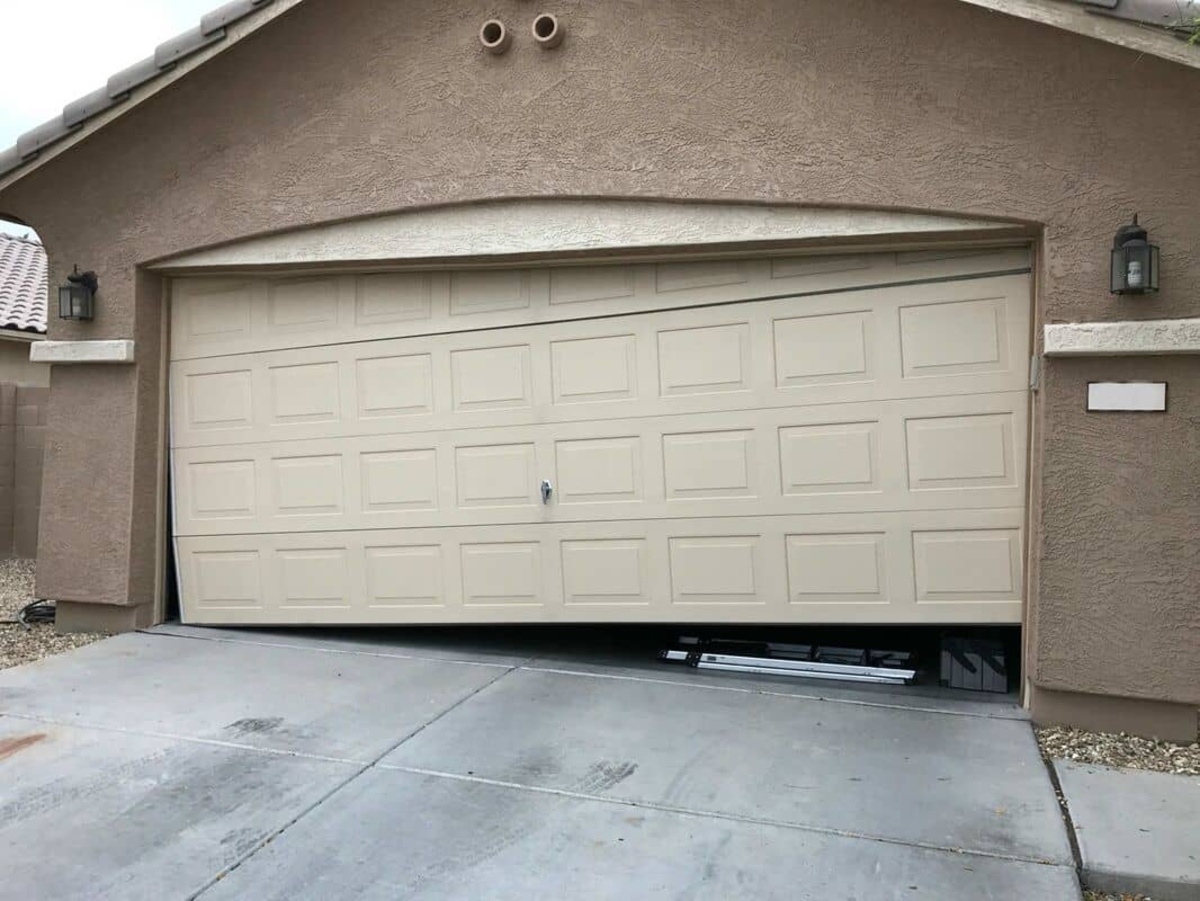
Start by visually inspecting the garage door tracks. Look for any obvious signs of damage, such as bent or twisted tracks, loose brackets, or obstacles blocking the path of the door. If you notice any major damage, it may be necessary to call a professional for repairs.
Next, manually try to open and close the garage door. Pay close attention to any sticking points, unusual noises, or difficulty in movement. This will help you identify any issues with the door alignment or track functionality.
If the door is completely off track, do not attempt to force it back into place. This can cause further damage and may lead to injury. Instead, focus on securing the door in the open position using c-clamps or locking pliers.
Once you have assessed the damage, you will have a better understanding of the repairs needed. In some cases, simple adjustments or realignment may be sufficient. However, if the tracks are severely damaged or if the door has come off track multiple times, it may be necessary to replace the tracks or seek professional assistance.
Remember, safety should always be your priority. If you are unsure about any aspect of the assessment or repair process, it’s best to consult with a licensed professional who can provide guidance and ensure that the job is done safely and effectively.
Gathering the Necessary Tools
Before you can begin the process of getting your garage door back on track, you’ll need to gather the necessary tools. Having the right tools on hand will ensure that you can efficiently and effectively complete the repairs or adjustments needed.
Here is a list of the essential tools you will need:
- Adjustable wrench
- Socket set
- Hammer
- Pliers
- Pry bar
- Screwdriver
- Level
- C-clamps or locking pliers
- Lubricant (silicone-based recommended)
It’s important to note that the specific tools you’ll need may vary depending on the type of garage door and its track system. Refer to your garage door manufacturer’s manual or consult a professional if you are unsure about the tools required.
Additionally, it’s a good idea to have safety gear on hand, such as safety glasses and gloves, to protect yourself during the repair process.
Once you have gathered all the necessary tools, ensure that they are in good working condition. Check for any damaged or worn-out tools and replace them if necessary. Having quality tools will make the repair process smoother and reduce the risk of further damage to your garage door or track.
With the right tools at your disposal, you’ll be well-prepared to tackle the next steps of removing the door from the tracks and making the necessary repairs or adjustments. So, let’s move on to the next part of the process and get your garage door back on track!
Removing the Door from the Tracks
Now that you have assessed the damage and gathered the necessary tools, it’s time to remove the garage door from the tracks. Removing the door will allow you to have better access to the tracks and properly inspect them for any issues.
Follow these steps to safely remove the garage door:
- Start by disconnecting the garage door opener. This can usually be done by pulling the release cord or lever that is attached to the opener mechanism. This will disengage the opener from the door.
- Next, place c-clamps or locking pliers on the tracks just below the bottom roller on each side. This will prevent the door from unexpectedly falling while you work.
- With the c-clamps or locking pliers in place, carefully lift the bottom of the garage door to disengage it from the tracks. You may need a helper to assist with this step, as garage doors can be heavy.
- Gently lower the door until it is resting on the c-clamps or locking pliers, ensuring that it is securely held in place.
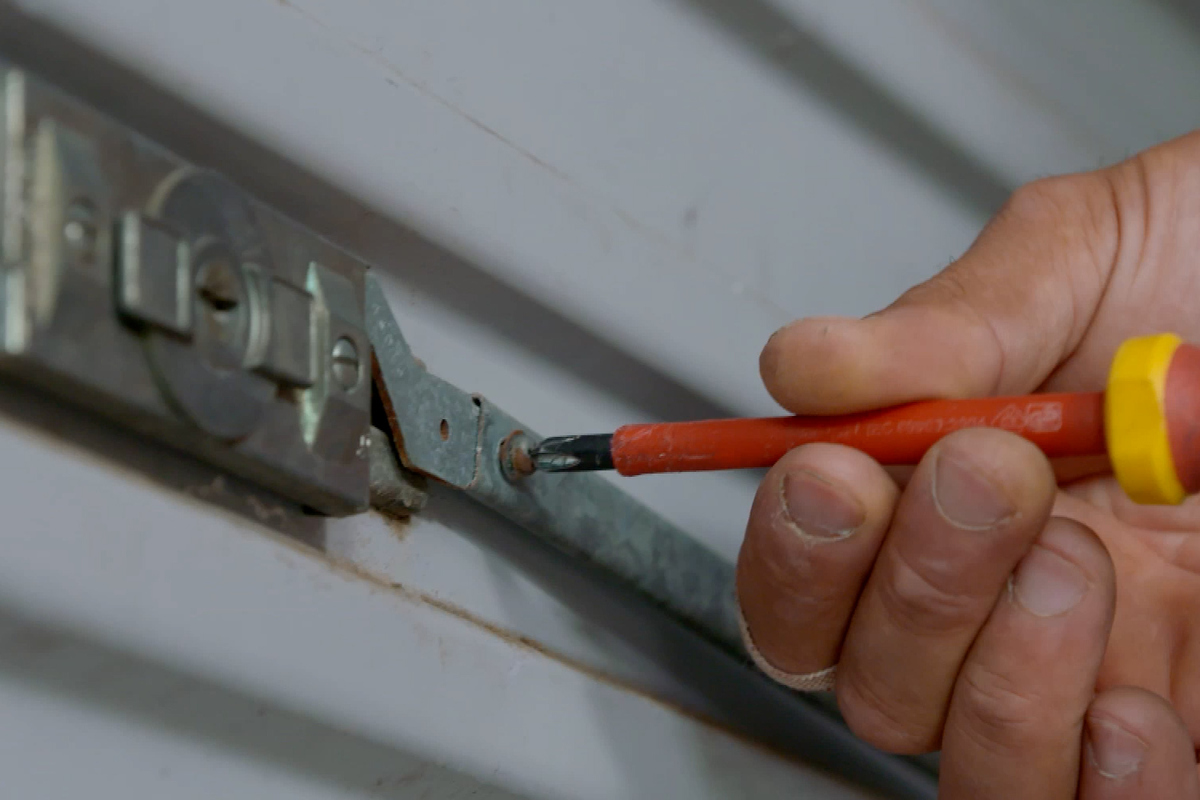
- At this point, you can remove any brackets or hardware that are connecting the door to the track. Use a socket set or appropriate tool to loosen and remove the bolts or screws.
- Once all the necessary hardware is removed, carefully slide the door away from the track, starting from one side and working your way to the other.
- Set the door aside in a safe and out-of-the-way location, making sure it is stable and won’t accidentally fall or cause any injuries.
With the garage door successfully removed from the tracks, you can now focus on inspecting and repairing any issues with the tracks. Check for obstructions, damage, bends, or misalignment. If necessary, clean the tracks with a brush or cloth, removing any debris or buildup that may be hindering smooth operation.
Once you have completed these steps, you are ready to move on to the next phase of the process: inspecting and repairing the tracks. Stay tuned for the next section of our guide to learn how to get your garage door back on track!
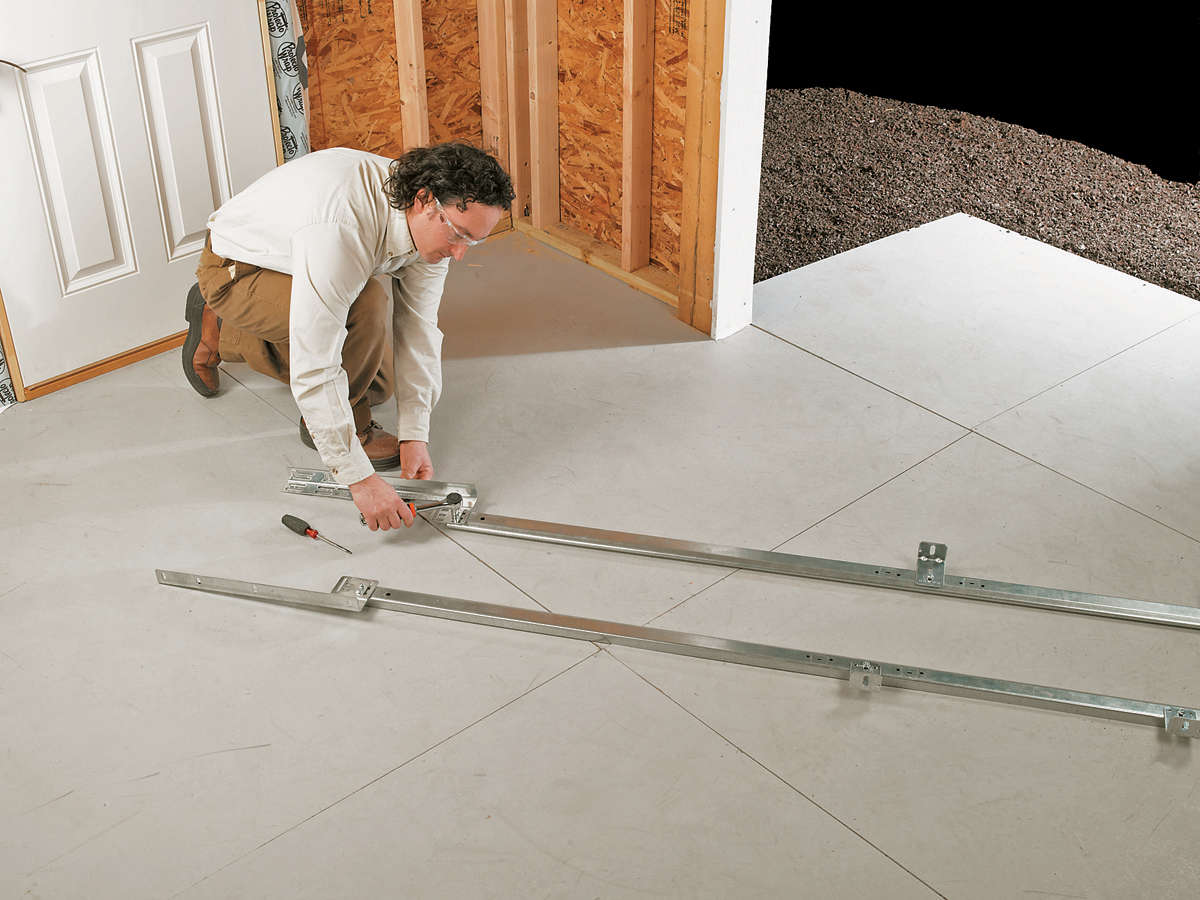
Inspect the tracks for any obstructions or damage. Use a rubber mallet to gently tap the track back into alignment. Check for loose bolts and tighten them as needed. If the track is severely damaged, it may need professional repair.
Inspecting and Repairing the Tracks
Now that you have removed the garage door from the tracks, it’s time to inspect and repair any issues that may be present. Properly maintaining and repairing the tracks is essential to ensure the smooth operation of your garage door.
Here are the steps to inspect and repair the tracks:
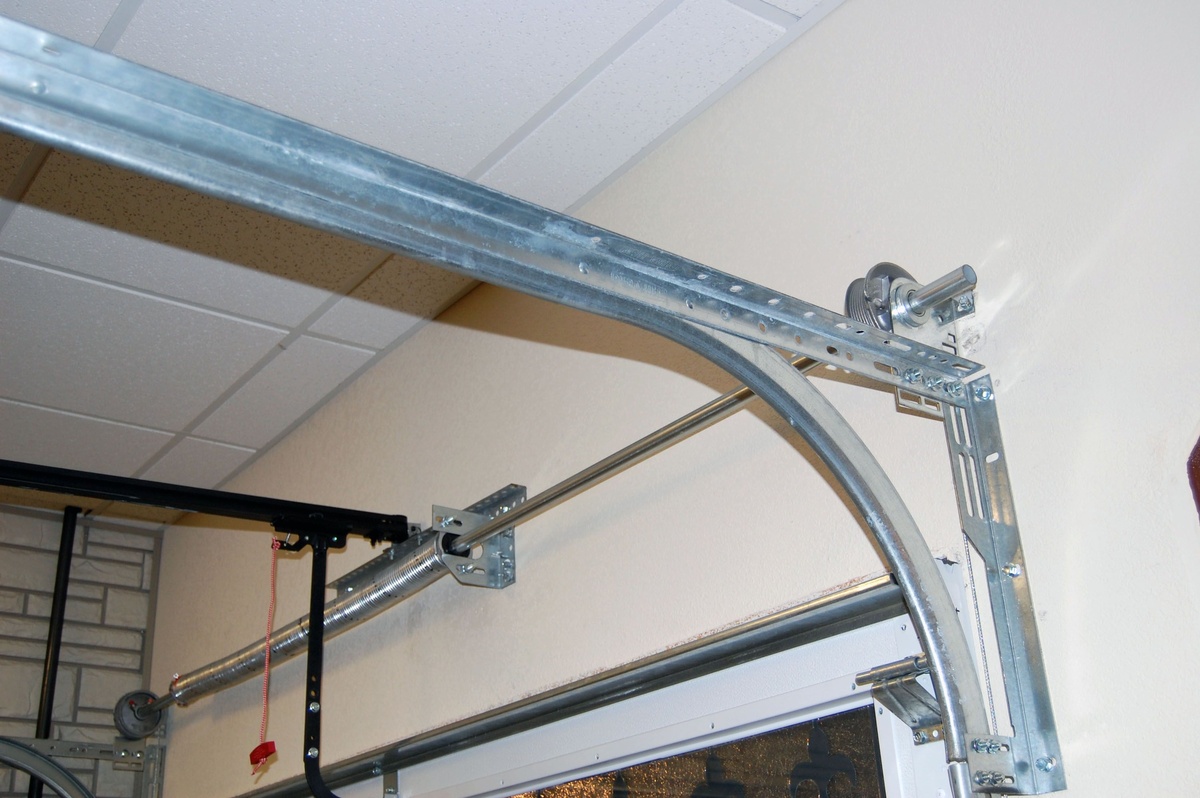
- Start by visually inspecting the tracks. Look for any signs of damage, such as dents, bends, or warping. If you notice any severe damage or if the tracks are beyond repair, it may be necessary to replace them.
- Next, check the alignment of the tracks. They should be perfectly vertical and parallel to each other. Use a level to ensure they are straight and adjust if needed. Tighten any loose screws or bolts that hold the tracks in place.
- Inspect the rollers. Look for any signs of wear, cracks, or damage. If the rollers are worn out or damaged, they should be replaced to ensure smooth operation. Lubricate the rollers with a silicone-based lubricant to enhance their performance.
- Examine the track brackets. Make sure they are securely attached to the wall and there is no damage or bending. Tighten any loose screws or bolts and use a pry bar if necessary to realign any misaligned brackets.
- Check for any obstructions in the tracks. Debris, such as dirt, dust, or small objects, can hinder the operation of the garage door. Use a brush or cloth to remove any obstructions and ensure the tracks are clear.
- If you notice any minor dents or bends in the tracks, you can attempt to repair them using a rubber mallet or hammer. Gently tap the affected area to straighten it out. Be cautious not to apply excessive force, as this can further damage the tracks.
Once you have thoroughly inspected and repaired the tracks, it’s time to move on to reassembling the garage door. Return to our guide to learn how to reinstall the door onto the tracks and test its operation.
Remember, if you encounter any major issues or are unsure about any aspect of the inspection and repair process, it’s best to consult with a professional for further assistance. Safety should always be your top priority when dealing with garage door repairs.
Read more: How To Oil Garage Door Tracks
Reinstalling the Door onto the Tracks
With the tracks inspected and repaired, it’s time to reassemble the garage door and get it back onto the tracks. Properly reinstalling the door is crucial for its smooth and safe operation.
Follow these steps to reinstall the door onto the tracks:
- Start by positioning the garage door at a slight angle. This will help you slide it onto the tracks more easily.
- Slide one section of the door into the tracks, starting from the bottom. Ensure that the rollers are aligned with the track and securely seated within.
- Continue sliding the door section by section until it is fully placed onto the tracks. Take your time and ensure that each section aligns properly with the track.
- Check the alignment of the tracks and the door as you progress. If any adjustments need to be made, gently tap the tracks or sections of the door with a hammer or rubber mallet to realign them.
- Repeat the process on the other side of the door, sliding each section into the tracks until the door is completely positioned on both sides.
- Once the door is back on the tracks, ensure that it is sitting evenly and smoothly. Test the door’s operation by manually opening and closing it several times. Pay attention to any sticking points or unusual noises, as these may indicate further adjustments are needed.
- If the door operates smoothly, you can proceed to secure it to the tracks using the appropriate hardware. Refer to your garage door manufacturer’s manual for specific instructions on attaching the door to the track brackets.
- Check that all bolts and screws are properly tightened and secure. Make any necessary adjustments to ensure that the door is balanced and aligned correctly.
Once you have reinstalled the door onto the tracks, it’s time to test its operation and ensure that it is functioning properly. Proceed to the next section of our guide to learn how to test the door and make any final adjustments if needed.
Remember, if you encounter any difficulties or are unsure about any step of the reinstallation process, it’s best to consult with a professional for expert guidance and assistance.
Testing the Door’s Operation
Now that you have reinstalled the garage door onto the tracks, it’s important to thoroughly test its operation to ensure that it is functioning properly and safely. Testing the door will allow you to make any final adjustments if needed.
Here are the steps to test the door’s operation:
- Start by reconnecting the garage door opener. Follow the manufacturer’s instructions to properly reconnect the opener to the door. Ensure that all connections are secure.
- Activate the garage door opener and observe the door’s movement. Note any jerking, grinding, or uneven operation.
- Test the automatic reversal feature by placing an object, such as a block of wood, in the path of the closing door. The door should automatically reverse and open back up when it comes into contact with the object. If it does not reverse, adjust the sensitivity settings or consult the opener’s manual for further guidance.
- Manually open and close the door several times to check for smooth operation. Listen for any unusual noises, such as squeaking or grinding, which may indicate issues with the tracks or lubrication.
- Observe the door’s balance. It should remain in place when it is stopped at any point during its travel. If the door seems unbalanced or uneven, adjust the tension springs or consult a professional for assistance.
- Check the safety features of your garage door opener, such as the photo-eye sensors. Ensure that they are properly aligned and working correctly. Cleaning the sensors with a soft cloth may improve their functionality.
- If you notice any issues during the testing process, make any necessary adjustments or seek professional assistance. Safety should always be the top priority when it comes to garage door operation.
Once you have completed these tests and are satisfied with the door’s operation, congratulations! You have successfully repositioned your garage door back on track and ensured its smooth operation.
However, keep in mind that regular maintenance is essential to prevent future issues and prolong the lifespan of your garage door. In the next section of our guide, we will provide some tips on maintaining the garage door track to keep it in optimal condition.
Always prioritize safety and if you are unsure about any aspect of the testing process or notice any major problems, it’s best to consult with a professional who can provide expert assistance.
Maintaining the Garage Door Track
Proper maintenance is key to keeping your garage door track in optimal condition and preventing future issues. Here are some essential tips for maintaining the garage door track:
- Regularly clean the tracks. Dust, dirt, debris, and even small objects can accumulate on the tracks over time, hindering the smooth operation of the garage door. Use a brush or cloth to remove any buildup and ensure that the tracks are clean and clear.
- Inspect the tracks periodically. Check for any signs of damage, such as dents, bends, or warping. Address any minor issues immediately to prevent them from escalating into major problems. Replace any damaged sections of the track as necessary.
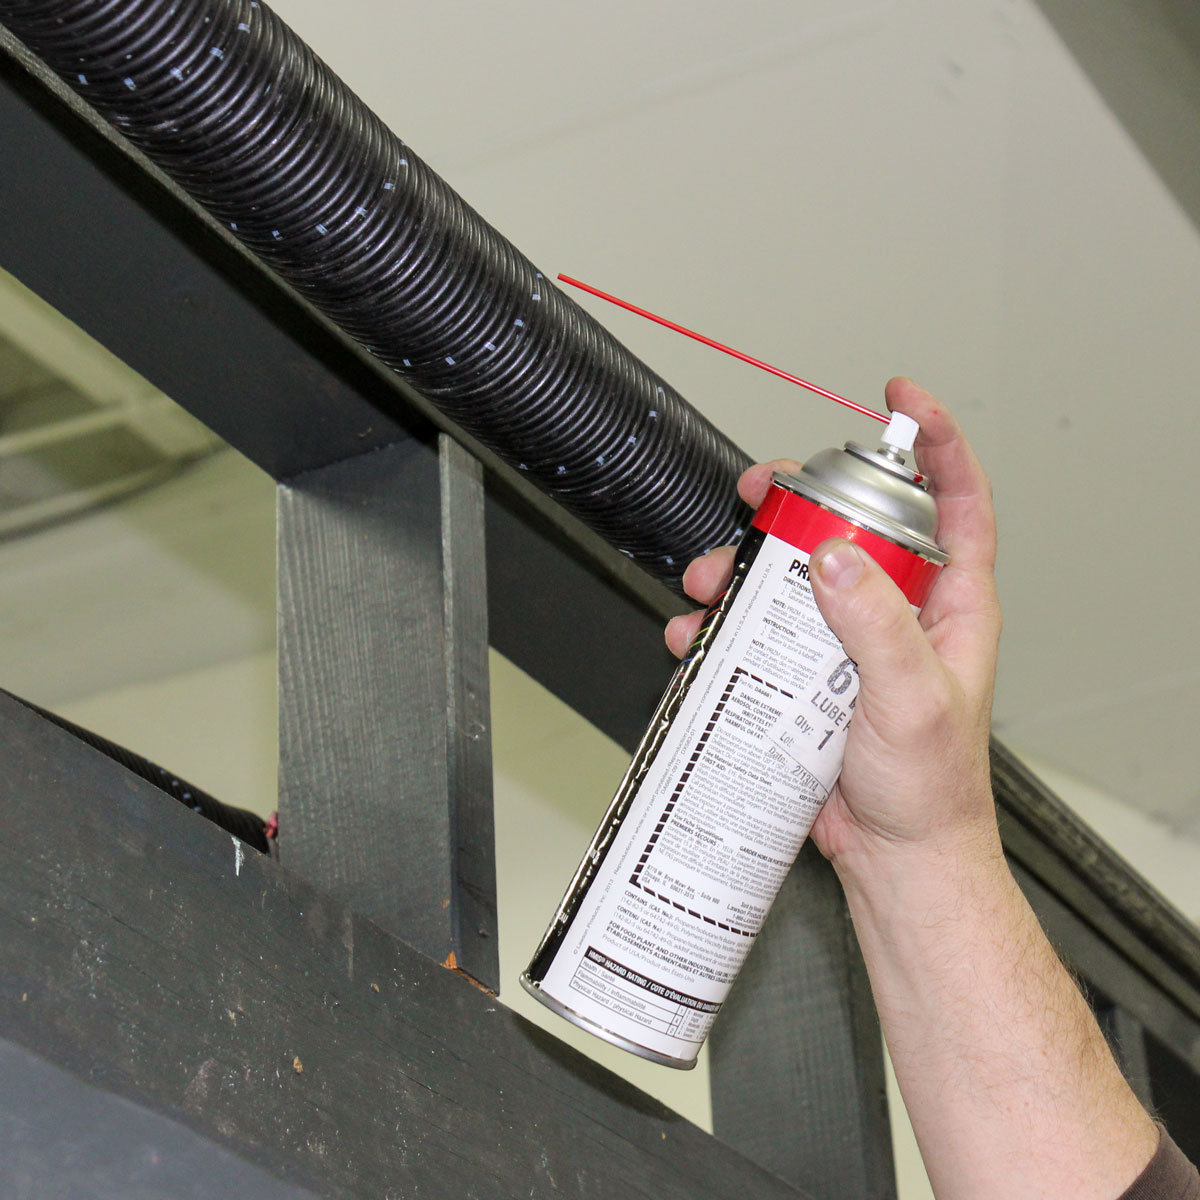
- Lubricate the tracks. Apply a silicone-based lubricant to the tracks to reduce friction and ensure smooth movement of the garage door. Avoid using greasy or oil-based lubricants, as they can attract dirt and debris.
- Check the track brackets and hardware. Ensure that all track brackets, bolts, and screws are securely tightened. If you notice any loose or damaged hardware, tighten or replace it promptly.
- Keep the tracks clear of obstructions. Be mindful of any objects or debris that may impede the movement of the garage door. Regularly check and remove any items that have accidentally fallen onto the tracks.
- Pay attention to the weather seal. Inspect the weather seal along the bottom of the garage door regularly and replace it if it becomes worn or damaged. A well-maintained weather seal helps to keep out drafts, pests, and precipitation.
- Perform routine checks on the garage door opener. Periodically test the safety sensors, adjust the force and travel limits, and ensure that the opener is operating smoothly. Refer to the manufacturer’s instructions for proper maintenance of your specific opener model.
By following these maintenance tips, you can keep your garage door track in optimal condition and extend its lifespan. Regular inspections and upkeep will help identify and address any potential issues early on, saving you time and money on major repairs in the future.
Remember, if you encounter any significant problems with your garage door track or if you are unsure about performing any maintenance tasks, it’s best to consult with a professional garage door technician who can provide expert advice and assistance.
With proper maintenance and care, your garage door track will continue to function smoothly, providing you with convenient access to your garage for years to come.
Frequently Asked Questions about How To Get Garage Door Back On Track
Was this page helpful?
At Storables.com, we guarantee accurate and reliable information. Our content, validated by Expert Board Contributors, is crafted following stringent Editorial Policies. We're committed to providing you with well-researched, expert-backed insights for all your informational needs.


0 thoughts on “How To Get Garage Door Back On Track”