
Articles
How To Program Blinds Remote
Modified: December 7, 2023
Learn how to program your blinds remote with our helpful articles. Get step-by-step instructions and troubleshoot common issues to control your blinds effortlessly.
(Many of the links in this article redirect to a specific reviewed product. Your purchase of these products through affiliate links helps to generate commission for Storables.com, at no extra cost. Learn more)
Introduction
Welcome to this comprehensive guide on how to program blinds remote. Blinds remotes provide a convenient and efficient way to control the operation of your blinds. Whether you have roller blinds, vertical blinds, or any other type of window treatment, programming the blinds remote will allow you to seamlessly adjust their position with just a push of a button.
In this article, we will walk you through the step-by-step process of programming your blinds remote. You don’t need to be an expert in electronics or have a background in programming to accomplish this task. Just follow the instructions outlined here, and you’ll be able to program your blinds remote in no time.
First, we’ll start by understanding the basics of a blinds remote and how it works. Then, we’ll dive into the specific steps required to power on the blinds remote, pair it with your blinds, program the remote, and test its functionality. We’ll also provide troubleshooting tips in case you encounter any issues along the way.
So, if you’re ready to take control of your blinds and enjoy the convenience of a remote-controlled window treatment, let’s get started with the process of programming your blinds remote.
Key Takeaways:
- Takeaway 1: Programming your blinds remote is a straightforward process that empowers you to effortlessly control your window treatments with just the push of a button, enhancing convenience and functionality in your home or office.
- Takeaway 2: Troubleshooting tips provided in this guide equip you with the knowledge to overcome common issues and ensure smooth operation of your programmed blinds remote, granting you full control and peace of mind.
Read more: How To Program A TWC Universal Remote
Understanding the Blinds Remote
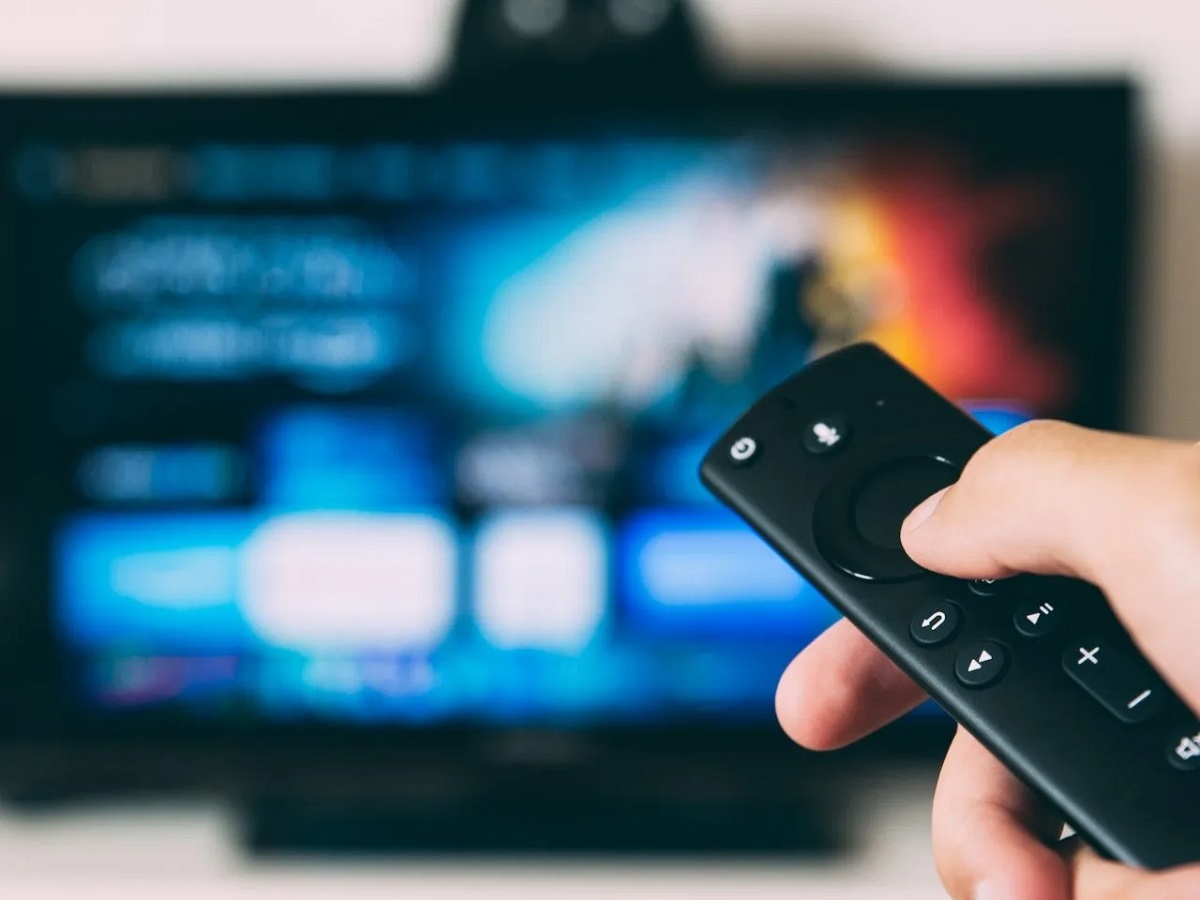
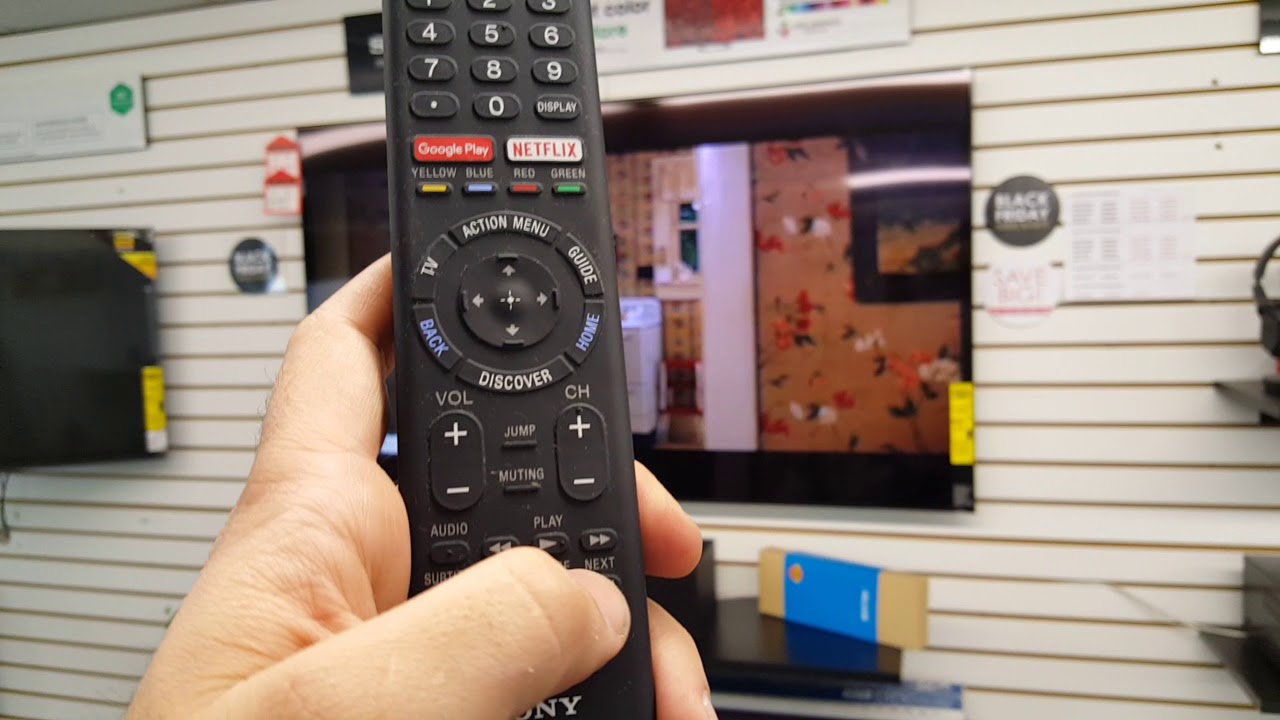
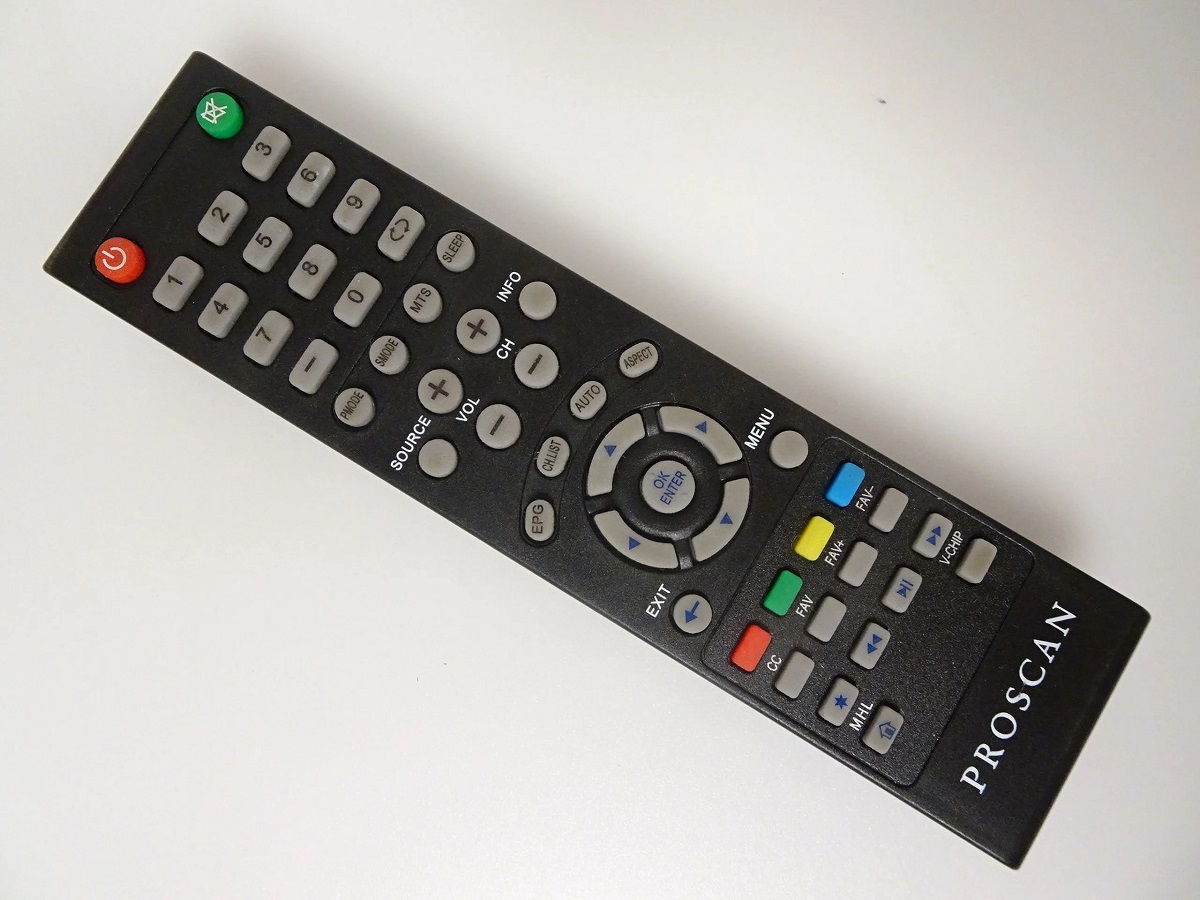
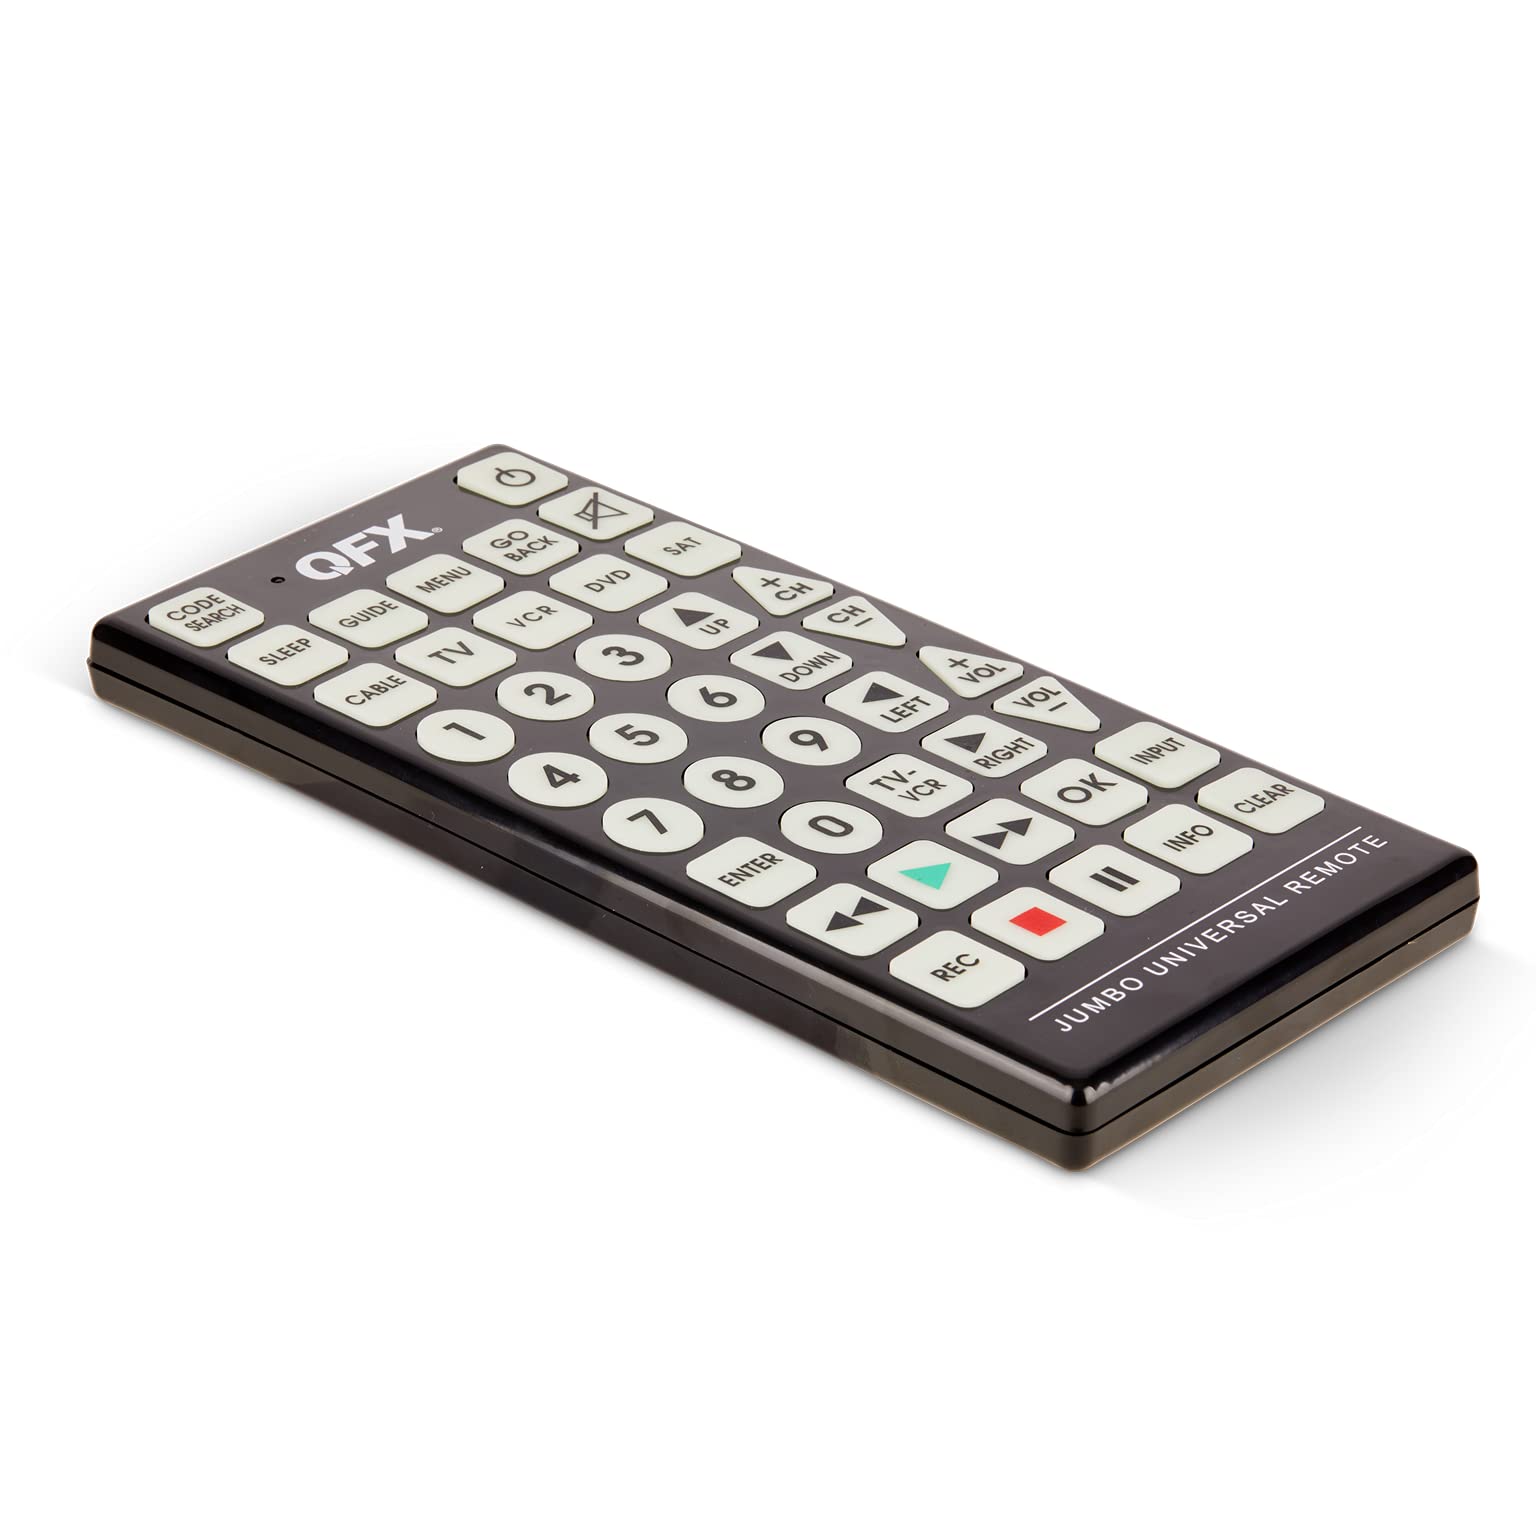
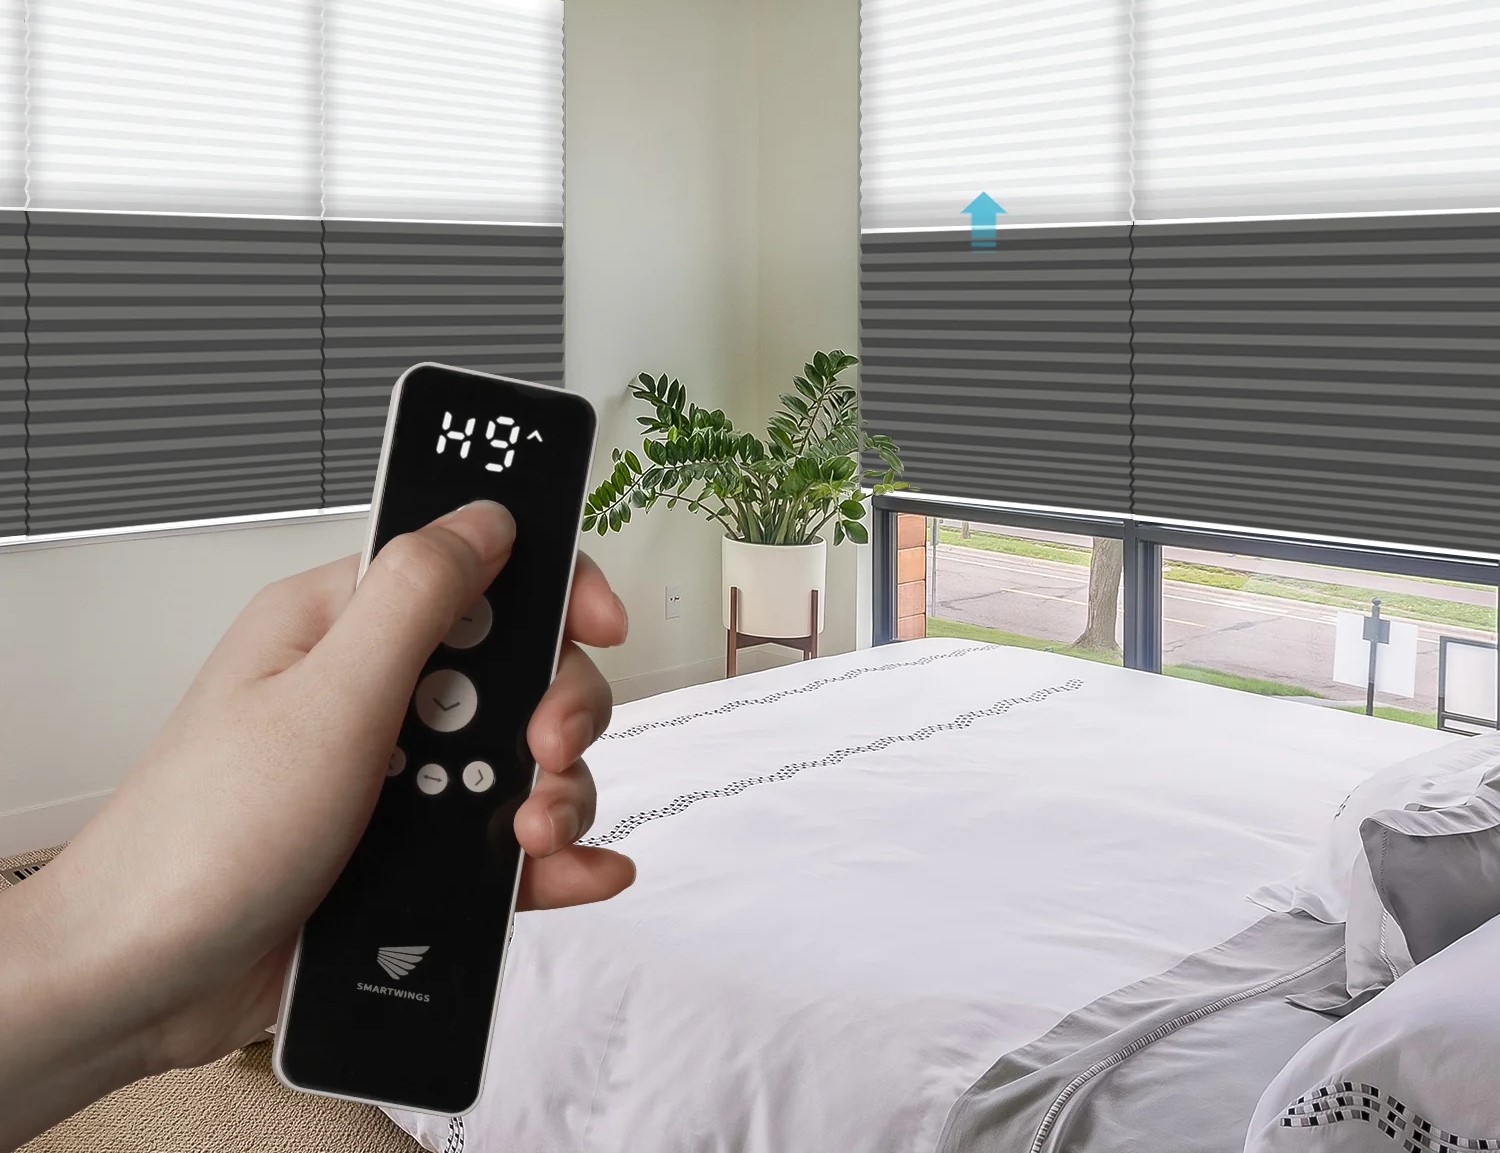
Before we delve into the programming process, it’s essential to understand the key features and components of a blinds remote. The blinds remote is a handheld device that allows you to wirelessly control the operation of your blinds. It typically consists of buttons, an LCD screen, and a transmitter that sends signals to the blinds’ receiver.
The buttons on the blinds remote are designed to perform various functions, such as opening and closing the blinds, adjusting the slats or position, and setting the blinds to a specific preset position. The LCD screen displays relevant information, such as the current position of the blinds or the battery level of the remote.
The blinds remote communicates with the blinds’ receiver using a wireless signal, which can be Bluetooth, infrared (IR), or radio frequency (RF), depending on the model. When you press a button on the remote, it sends a signal to the receiver, instructing the blinds to perform the desired action.
Some advanced blinds remotes offer additional features like timer settings, voice control capability, and integration with smart home systems. These features enhance the convenience and automation possibilities of your blinds, allowing you to schedule specific times for opening or closing the blinds or control them through voice commands.
Now that we have a general understanding of what a blinds remote is and how it functions, we can proceed to the step-by-step process of programming the remote to work with your blinds.
Step 1: Powering on the Blinds Remote
Before you can start programming your blinds remote, you need to make sure it is properly powered on. The exact power button location and method may vary depending on the model of your blinds remote, so refer to the user manual for specific instructions. However, here are some general steps to follow:
- Locate the power button on the blinds remote. It is typically labeled with a power symbol or “ON/OFF”.
- Press and hold the power button for a few seconds until you see the LCD screen light up or any other indication that the remote is powered on.
- Release the power button once the remote is powered on. The LCD screen should display the default settings or any initial information.
If you don’t see any response from the remote after pressing the power button, ensure that the batteries are properly inserted and functional. If the batteries are low or depleted, replace them with fresh ones and try again.
It’s worth mentioning that some blinds remotes come with rechargeable batteries and include a charging port. If your remote has this feature, make sure to charge it fully before proceeding with the programming process.
Once your blinds remote is successfully powered on, you’re ready to move on to the next step: pairing the remote with your blinds.
Step 2: Pairing the Blinds Remote with the Blinds
Pairing your blinds remote with the blinds is a crucial step in the programming process. This step establishes a wireless connection between the remote and the blinds’ receiver, allowing them to communicate and interact with each other. The pairing process may vary depending on the brand and model of your blinds and remote, so it’s recommended to refer to the user manual for specific instructions. However, here is a general guide to help you through the pairing process:
- Ensure that the blinds are installed correctly and powered on. The blinds should be in the default position, usually fully open or closed.
- Locate the pairing button on the blinds’ receiver or control mechanism. It is often a small button labeled with “Pair” or an icon representing a connection.
- Press and hold the pairing button for a few seconds until you see a confirmation light or hear a beep indicating that the blinds are ready to be paired.
- Now, grab your blinds remote and navigate to the pairing mode. The method to enter pairing mode may vary, but it usually involves pressing a combination of buttons or accessing a specific menu option on the remote.
- Follow the on-screen instructions or refer to the user manual to activate the pairing mode on the remote. Once in pairing mode, the remote will start searching for the blinds’ receiver.
- Wait for the remote and the blinds’ receiver to establish a connection. This may take a few seconds, and you may see a notification on the remote’s screen or a blinking light indicating a successful connection.
- Once the pairing is complete, test the remote by pressing different buttons to ensure that it controls the blinds’ movement correctly.
If the pairing process fails, make sure that the remote and blinds are within close proximity and that there are no obstructions obstructing the signal. Also, check that the batteries in the remote are fresh and properly inserted.
Congratulations! You have successfully paired your blinds remote with the blinds. Now, let’s move on to the next step: programming the blinds remote.
When programming a blinds remote, make sure to follow the manufacturer’s instructions carefully. This may involve holding down specific buttons or entering a code. Always test the remote after programming to ensure it is working correctly.
Step 3: Programming the Blinds Remote
Now that you have successfully paired your blinds remote with the blinds, it’s time to program the remote to perform specific functions and control the blinds according to your preferences. The programming process may vary depending on the features and options available on your blinds remote. Here is a general guide to help you navigate through the programming process:
- Refer to the user manual or instructions provided by the manufacturer to identify the programming options available on your blinds remote. This could include setting up presets, adjusting the speed of the blinds, or customizing individual buttons for specific actions.
- Access the programming menu or options on the remote. This is usually done by pressing a specific combination of buttons or navigating through the remote’s interface.
- Follow the on-screen instructions or refer to the user manual to select the desired programming option. For example, if you want to set up presets for different positions of the blinds, choose the “Preset Programming” option.
- Once you have selected the desired programming option, follow the prompts to enter the specific settings or preferences. This may include adjusting the height or slat position for each preset or assigning different presets to specific buttons on the remote.
- Repeat the process for each programming option available on your remote. Take your time to explore the different settings and customizations to ensure the remote is programmed to your preferences.
Remember to save and confirm your programming settings after making changes. This will ensure that your preferences are stored in the remote’s memory and will be applied whenever you operate the blinds using the remote.
If you encounter any difficulties or require additional guidance during the programming process, don’t hesitate to consult the user manual or reach out to the manufacturer’s customer support for assistance.
Great job! You’re almost there! In the next step, we’ll test the functionality of the blinds remote.
Read more: How To Program An ONN Universal Remote
Step 4: Testing the Blinds Remote
After programming your blinds remote, it’s important to test its functionality to ensure it is operating as intended. By testing the remote, you can verify that it properly controls the blinds and accurately executes the programmed functions. Here’s how you can test your blinds remote:
- Stand near the blinds and make sure you have a clear line of sight to the blinds’ receiver.
- Press the different buttons on the remote to test the basic functions, such as opening, closing, and adjusting the blinds’ position.
- Observe the blinds and make sure they respond accordingly to the commands from the remote. Check for any delays or inconsistencies in the movement of the blinds.
- If you have programmed presets, test each preset button to ensure that the blinds move to the desired positions accurately.
- Test any additional features or settings you have programmed on the remote, such as adjusting the speed of the blinds or activating special modes.
During the testing process, pay attention to any issues or unexpected behavior of the remote or blinds. If you encounter any problems, refer to the user manual for troubleshooting tips. It is also a good idea to contact the manufacturer’s customer support for assistance if the issue persists.
Once you have tested and confirmed that the blinds remote is functioning correctly, you can have peace of mind knowing that you have successfully programmed and set up your blinds remote.
Congratulations! You have completed all the necessary steps to program and test your blinds remote. You can now enjoy the convenience and ease of controlling your blinds with just the push of a button.
If you have multiple blinds or additional remotes, you can repeat the above steps to program and pair them to the respective blinds.
We hope this guide has been helpful in assisting you with programming your blinds remote. Enjoy the convenience and enhanced control over your window treatments!
Troubleshooting Tips
While programming and using a blinds remote is generally a straightforward process, you may encounter some issues or challenges along the way. Here are a few troubleshooting tips to help you overcome common problems:
- No Response from the Blinds: If you press the remote buttons but the blinds do not respond, check the batteries in both the remote and the blinds’ receiver. Ensure they are properly inserted and have enough power. If the batteries are low, replace them and try again.
- Inaccurate Movement: If the blinds are not moving to the programmed positions accurately, recalibrate the blinds and repeat the programming process. Follow the user manual’s instructions on how to reset or recalibrate the blinds.
- Interference Issues: Sometimes, other electronic devices or signals in the area can interfere with the communication between the remote and the blinds’ receiver. To resolve this, move electronic devices away from the blinds or relocate the blinds’ receiver to a different location.
- Remote Not Pairing: If you are unable to pair the remote with the blinds’ receiver, ensure that the remote and the receiver are within close proximity. Check if there are any obstructions blocking the signals and remove them. Also, double-check that both the remote and receiver are in pairing mode.
- Remote Button Malfunction: If a certain button on the remote is not functioning properly, make sure there are no physical obstructions or debris preventing the button from being pressed. If the issue persists, contact the manufacturer’s customer support for assistance.
- Check Firmware/Software Updates: Occasionally, manufacturers release firmware or software updates that can improve the performance and functionality of the blinds remote. Check the manufacturer’s website or contact customer support to see if there are any updates available for your remote.
If you encounter persistent issues or problems that cannot be resolved with the troubleshooting tips above, it is best to reach out to the manufacturer’s customer support. They have the expertise and knowledge to assist you further and provide more specific guidance tailored to your blinds remote model.
Remember, patience and persistence are key when troubleshooting any electronic device. With a little troubleshooting and perseverance, you’ll be able to overcome any challenges and enjoy the full functionality of your blinds remote.
Now that you’re armed with these troubleshooting tips, you’re ready to take control of your blinds and ensure a smooth and hassle-free operation.
Conclusion
Congratulations on successfully programming and setting up your blinds remote! You have gained the ability to control and adjust your blinds with ease, bringing convenience and functionality to your home or office. By following the step-by-step process outlined in this guide, you have empowered yourself to enjoy the benefits of remote-controlled window treatments.
Throughout this article, we discussed the importance of understanding the blinds remote and its components, powering on the remote, pairing it with the blinds, programming its functions, and testing its functionality. We also provided troubleshooting tips to help you overcome common issues that may arise during the programming and use of your blinds remote.
Remember that the specific steps and procedures may vary depending on the brand and model of your blinds remote. It is crucial to refer to the user manual provided by the manufacturer for detailed instructions and specifications.
With your programmed blinds remote, you now have the ability to effortlessly adjust the position, angle, or height of your blinds, granting you control over privacy, sunlight, and ambiance in every room. Take advantage of the various features, such as preset programming, adjustable speeds, or even voice control if available, to further enhance your experience.
If you have multiple blinds or additional remotes, feel free to repeat the programming process outlined in this guide to set them up as well. Having a fully functional blinds remote for all your window treatments will bring consistency and convenience to your space.
We hope that this comprehensive guide has been helpful in assisting you with programming your blinds remote. Now, sit back, relax, and enjoy the benefits of your newly programmed remote-controlled blinds. Should you encounter any issues or have further questions, don’t hesitate to refer back to this guide or reach out to the manufacturer’s customer support for assistance.
Thank you for taking the time to read this article, and we wish you all the best in enjoying the convenience and ease that your blinds remote provides!
Frequently Asked Questions about How To Program Blinds Remote
Was this page helpful?
At Storables.com, we guarantee accurate and reliable information. Our content, validated by Expert Board Contributors, is crafted following stringent Editorial Policies. We're committed to providing you with well-researched, expert-backed insights for all your informational needs.
