Home>Technology>Home Entertainment Systems>How To Program A Universal Remote To An Ematic Converter Box
Home Entertainment Systems
How To Program A Universal Remote To An Ematic Converter Box
Modified: October 20, 2024
Learn how to easily program a universal remote to control your Ematic converter box and enhance your home entertainment system. Simplify your setup and enjoy seamless control.
(Many of the links in this article redirect to a specific reviewed product. Your purchase of these products through affiliate links helps to generate commission for Storables.com, at no extra cost. Learn more)
Introduction
Welcome to the world of home entertainment systems, where the Ematic Converter Box serves as a gateway to a multitude of viewing options. As you immerse yourself in the realm of digital television, the convenience of a universal remote becomes increasingly apparent. In this comprehensive guide, we will explore the process of programming a universal remote to seamlessly integrate with the Ematic Converter Box. This endeavor is not only practical but also empowers you to streamline your viewing experience, eliminating the need for multiple remotes cluttering your living space.
Whether you are a tech enthusiast or a casual viewer seeking simplicity, the ability to program a universal remote to the Ematic Converter Box opens the door to effortless control over your entertainment system. By following the steps outlined in this guide, you will gain a deeper understanding of the functionality of both the Ematic Converter Box and the universal remote, allowing you to harness their full potential.
So, let's embark on this journey together, delving into the intricacies of home entertainment systems and mastering the art of programming a universal remote to the Ematic Converter Box. Get ready to elevate your viewing experience and embrace the convenience that comes with a seamlessly integrated entertainment setup. Let's dive into the world of home entertainment and unlock the potential of your Ematic Converter Box with the power of a universal remote.
Key Takeaways:
- You can program a universal remote to control your Ematic Converter Box, simplifying your TV setup and enhancing your viewing experience. Just follow the steps to sync the remote and enjoy seamless control.
- After programming, test the remote to ensure it powers the Ematic Converter Box, navigates channels, adjusts volume, and more. Troubleshoot any issues for optimized performance and convenience.
Read more: How To Program A TWC Universal Remote
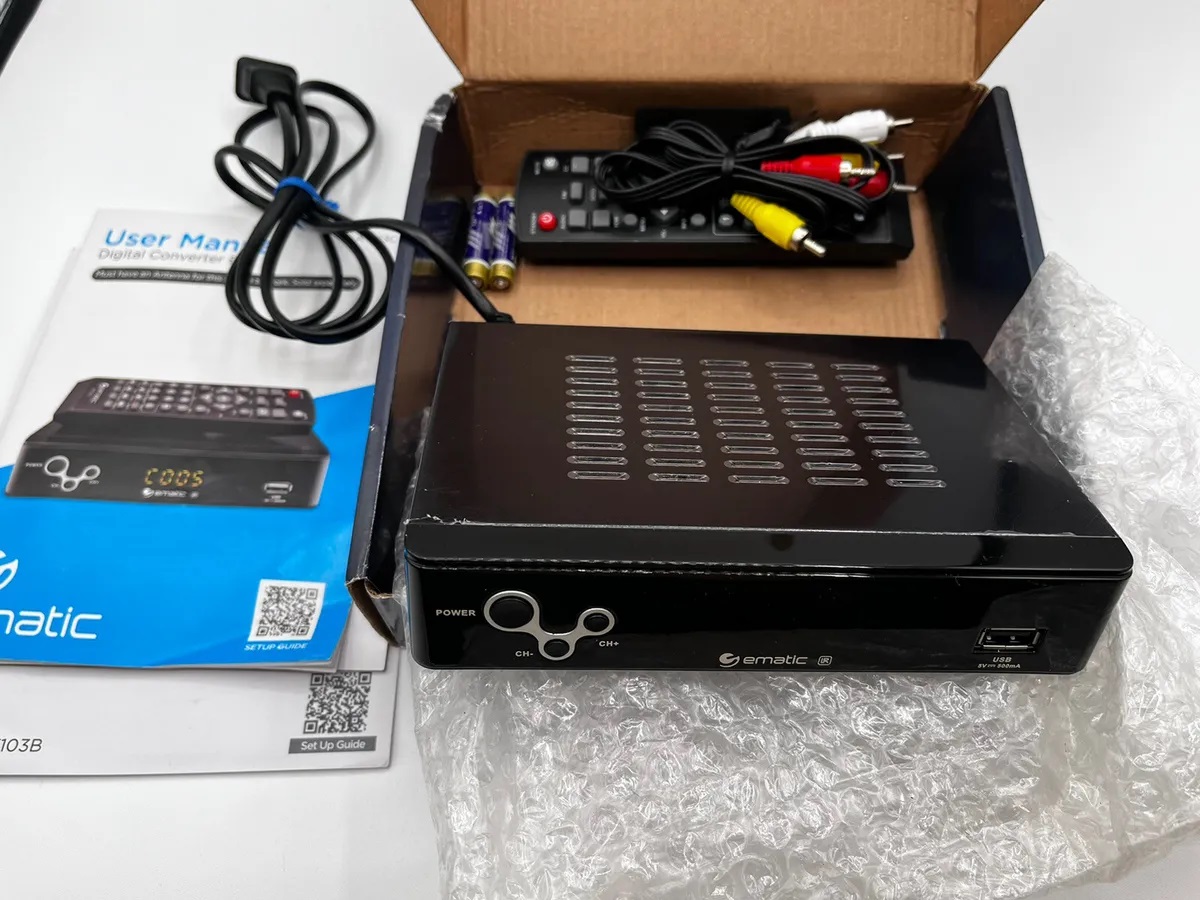
Understanding the Ematic Converter Box
Before delving into the process of programming a universal remote to the Ematic Converter Box, it’s essential to grasp the functionality and significance of this device. The Ematic Converter Box, also known as a digital TV converter box, plays a pivotal role in modernizing your television viewing experience. It serves as a bridge between traditional analog signals and the digital landscape, enabling older televisions to receive digital broadcasts.
Equipped with a variety of input and output options, the Ematic Converter Box acts as a versatile intermediary, converting digital signals into a format compatible with older television sets. This functionality is particularly valuable in regions where analog broadcasting has been phased out in favor of digital transmission. By connecting the Ematic Converter Box to your television, you can access a plethora of digital channels and high-definition content, breathing new life into your existing TV setup.
Furthermore, the Ematic Converter Box often features a user-friendly interface, allowing for seamless navigation through channels and settings. Its compact size and straightforward installation process make it an accessible and practical addition to any home entertainment system. Whether you are a cord-cutter seeking access to digital broadcasts or simply aiming to enhance the capabilities of your television, the Ematic Converter Box serves as a valuable tool in the modern era of digital entertainment.
By understanding the pivotal role of the Ematic Converter Box in transitioning older televisions to the digital age, you can appreciate the significance of integrating a universal remote into this setup. The next step involves preparing the universal remote for programming, a process that will grant you greater control and convenience in managing your viewing experience. Let’s now explore the essential steps for preparing the universal remote to synchronize effortlessly with the Ematic Converter Box.
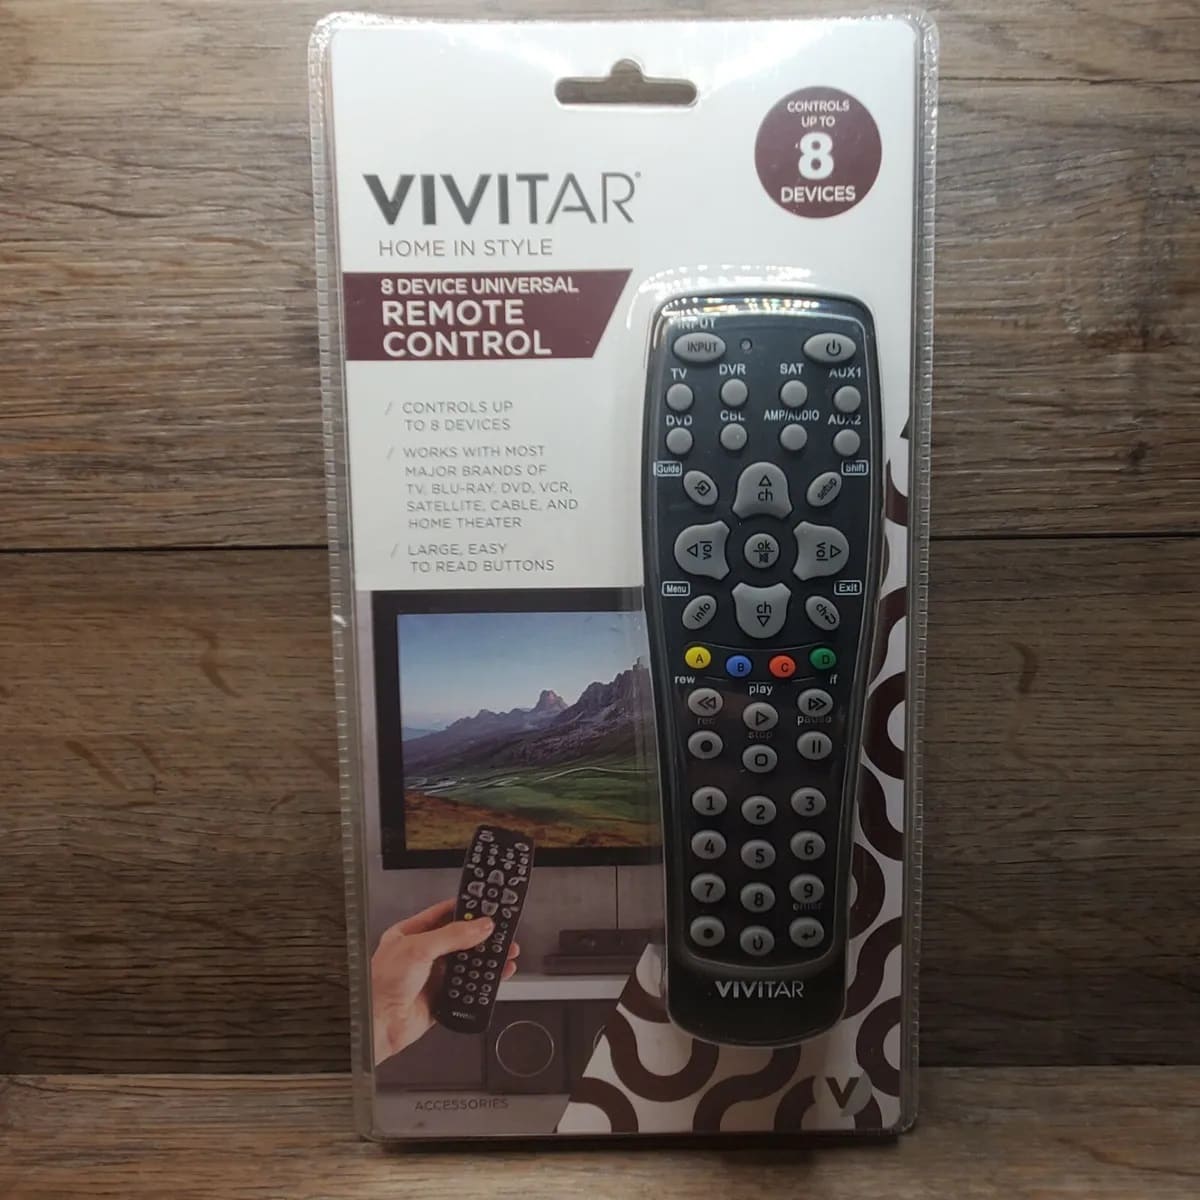
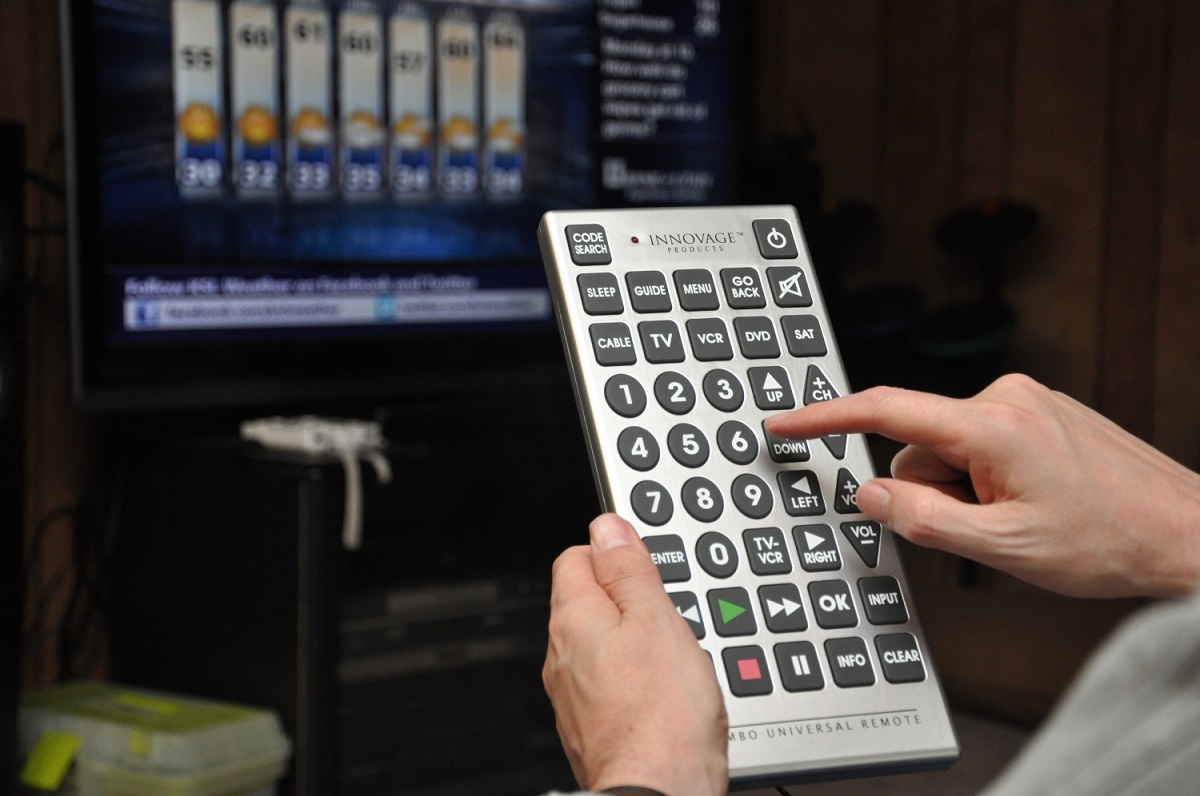
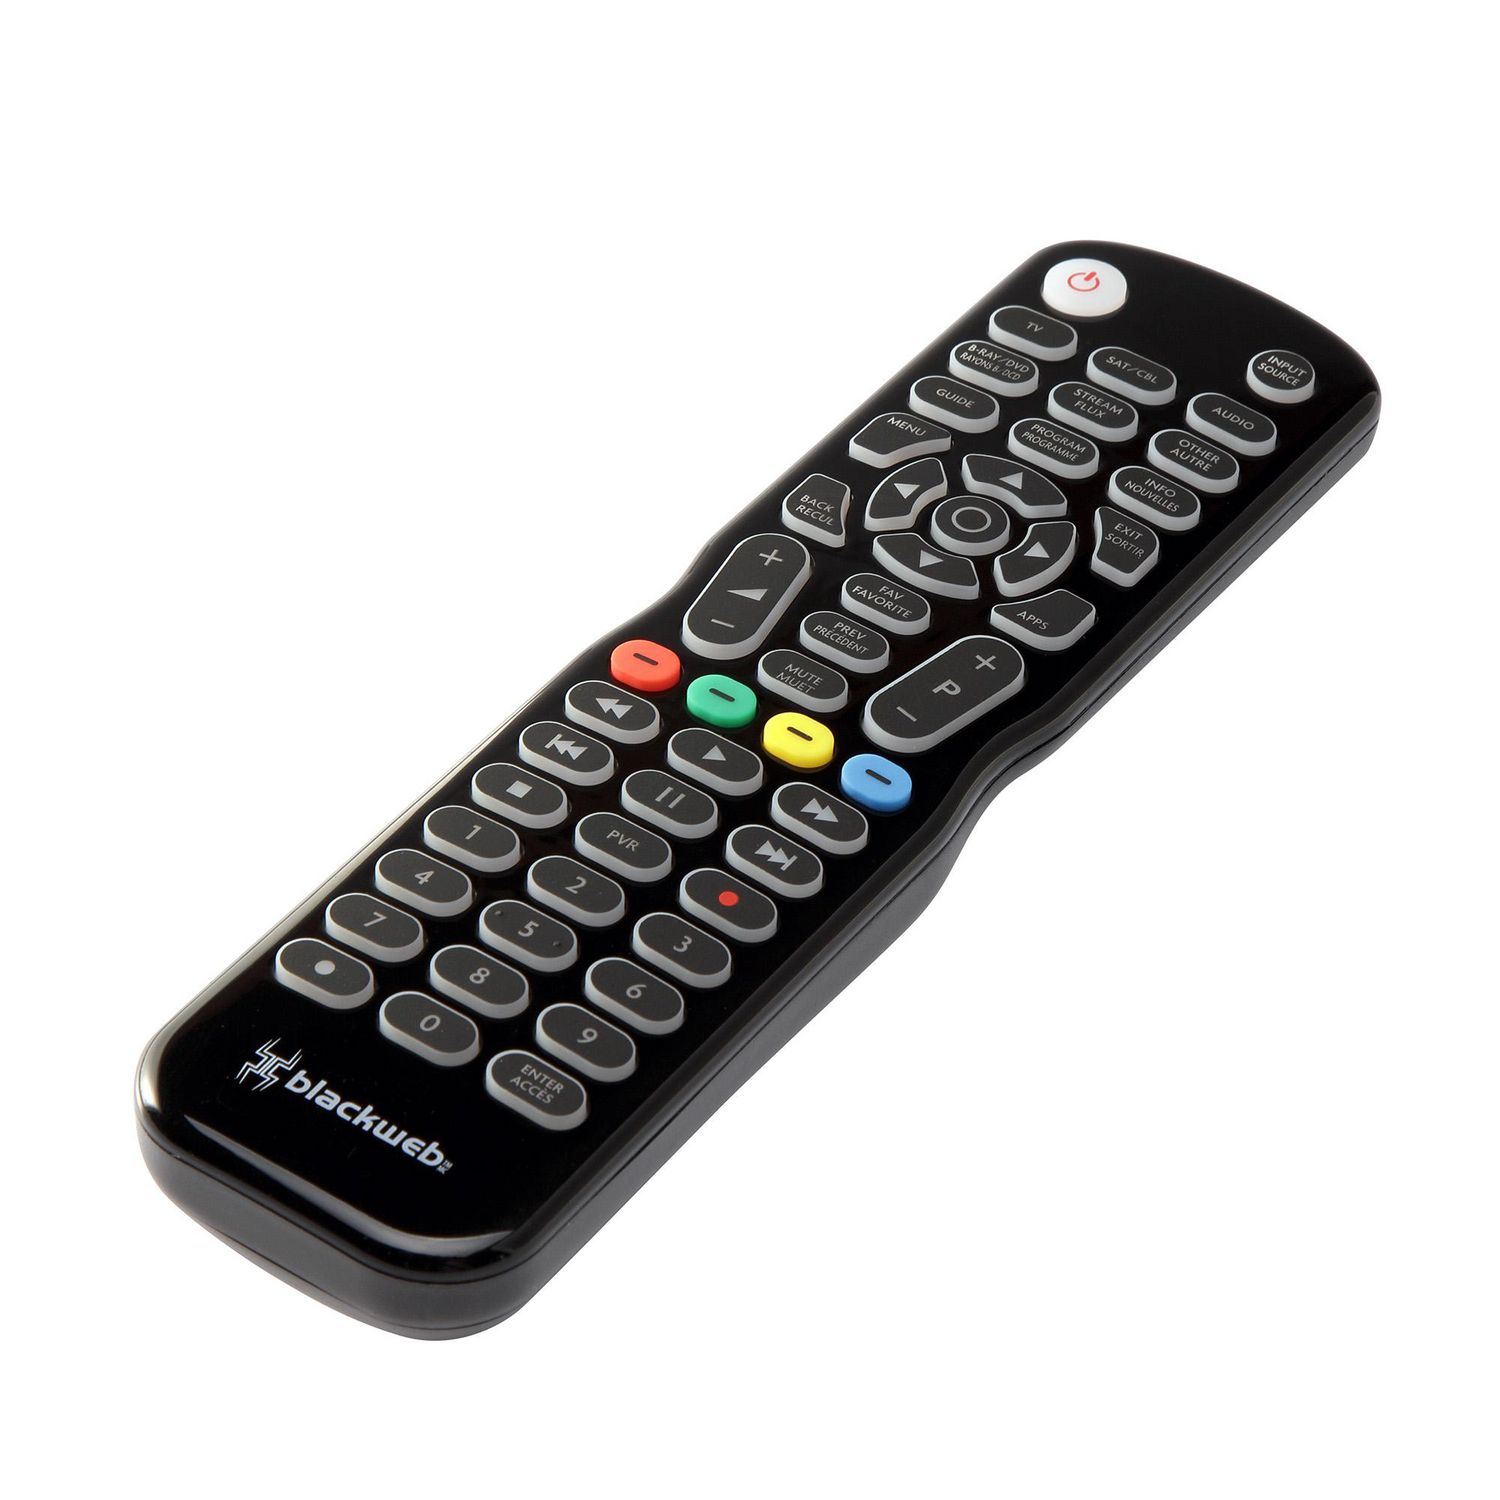
Preparing the Universal Remote
Before embarking on the process of programming the universal remote to operate the Ematic Converter Box, it’s crucial to ensure that the remote is ready for synchronization. This involves familiarizing yourself with the universal remote and preparing it for the upcoming programming steps.
First and foremost, locate the universal remote and ensure that it is equipped with fresh batteries. The reliability of the remote’s performance during programming and everyday use hinges on the condition of its power source. By replacing the batteries with new ones, you can guarantee uninterrupted functionality and optimal responsiveness, laying a solid foundation for the programming process.
Next, familiarize yourself with the layout and functionality of the universal remote. Take a moment to review the remote’s buttons, including the navigation controls, numeric keypad, and any dedicated function keys. Understanding the layout of the remote will streamline the programming process, allowing you to navigate the necessary steps with confidence and ease.
If the universal remote features a display screen, ensure that it is clear and free from any obstructions. A clear display facilitates the programming process by providing visual feedback and guidance as you input commands and settings. Additionally, if the remote includes any auxiliary controls or mode-selection buttons, familiarize yourself with their purpose and functionality to prepare for the upcoming programming sequence.
Once the universal remote is equipped with fresh batteries and you have familiarized yourself with its layout and functionality, you are ready to proceed to the next crucial phase: programming the remote to operate the Ematic Converter Box. This pivotal step will empower you to seamlessly control your digital television setup with a single, versatile remote, enhancing your viewing experience and simplifying the management of your entertainment system. With the universal remote prepared and ready for programming, let’s delve into the process of synchronizing it with the Ematic Converter Box.
Programming the Universal Remote
As you embark on the process of programming the universal remote to operate the Ematic Converter Box, it’s essential to approach this task with precision and attentiveness. By following the steps outlined below, you can seamlessly synchronize the universal remote with the Ematic Converter Box, unlocking the convenience of unified control over your home entertainment system.
Step 1: Accessing the Programming Mode
Begin by referring to the user manual or documentation that accompanies the universal remote. Look for instructions on accessing the programming mode specific to the brand and model of the remote. This typically involves pressing a combination of buttons or a dedicated programming button to initiate the programming sequence.
Step 2: Entering the Code
Once in programming mode, locate the code for the Ematic Converter Box in the remote’s documentation. This code is a numerical sequence assigned to the Ematic Converter Box, enabling the remote to communicate and control its functions. Input the code using the remote’s numeric keypad, following the instructions provided in the manual.
Step 3: Verifying Functionality
After entering the code, test the remote’s functionality by aiming it at the Ematic Converter Box and pressing various buttons, such as power, volume, and channel controls. Ensure that the remote effectively communicates with the converter box and that the commands are executed as intended. This verification step is crucial in confirming the successful programming of the remote.
Step 4: Additional Programming (If Necessary)
If the initial code input does not yield the desired functionality or if certain features of the Ematic Converter Box remain unresponsive to the remote’s commands, consult the remote’s documentation for alternative codes or programming methods. Some universal remotes offer multiple codes for a specific device, allowing for further customization to ensure comprehensive control over the Ematic Converter Box.
By diligently following these programming steps, you can synchronize the universal remote with the Ematic Converter Box, consolidating control over your home entertainment system into a single, versatile device. The next phase involves testing the remote to confirm its seamless integration with the Ematic Converter Box, ensuring that you can navigate your digital television setup with ease and convenience.
To program a universal remote to an Ematic converter box, find the code for the Ematic brand in the remote’s manual. Then, follow the remote’s instructions to input the code and sync it with the converter box.
Testing the Remote
After successfully programming the universal remote to operate the Ematic Converter Box, it’s essential to conduct a comprehensive testing phase to ensure that the integration is seamless and the remote functions as intended. By following the steps outlined below, you can verify the remote’s control over the Ematic Converter Box and confirm that all essential functions are readily accessible.
Step 1: Power Control
Initiate the testing phase by using the universal remote to power on the Ematic Converter Box. Verify that the remote effectively toggles the converter box’s power state, allowing you to turn it on and off with ease. This fundamental functionality serves as a cornerstone of the remote’s control over the entertainment system.
Step 2: Channel Navigation
Test the remote’s ability to navigate through digital channels accessible via the Ematic Converter Box. Use the channel up and down controls on the remote to switch between channels, ensuring that the commands are relayed to the converter box without delay and that the channel selection is responsive.
Step 3: Volume Adjustment
Verify that the universal remote effectively adjusts the volume output of the Ematic Converter Box. Use the volume controls on the remote to increase and decrease the audio level, confirming that the commands are transmitted accurately and that the volume adjustments are reflected in the audio output from the connected television or audio system.
Step 4: Additional Functions
If the Ematic Converter Box offers additional features, such as menu navigation, audio settings, or aspect ratio adjustments, test the remote’s control over these functions. Ensure that the remote provides comprehensive access to all essential features of the converter box, allowing for seamless management of your digital television setup.
Step 5: Range and Responsiveness
During the testing phase, assess the remote’s range and responsiveness by operating it from various positions within the viewing area. Confirm that the remote reliably communicates with the Ematic Converter Box from different angles and distances, ensuring that you can control the entertainment system from any desired location within the room.
By meticulously testing the remote’s functionality and responsiveness, you can validate its integration with the Ematic Converter Box, ensuring that you have full control over your digital television setup with a single, versatile remote. In the event of any issues or discrepancies, the following section will guide you through troubleshooting steps to address potential challenges and optimize the remote’s performance.
Read more: How To Program Terk Universal Remote
Troubleshooting
While the process of programming and testing the universal remote to operate the Ematic Converter Box is designed to yield seamless integration, occasional challenges or issues may arise. In such instances, employing troubleshooting techniques can help address these concerns and optimize the performance of the remote in controlling the entertainment system. Below are essential troubleshooting steps to consider when encountering issues with the remote’s functionality.
Step 1: Battery Check
Begin by verifying the status of the batteries in the universal remote. If you notice any signs of diminished power, such as a dim display or unresponsiveness, replace the batteries with fresh ones. Ensuring a reliable power source is essential for the remote’s optimal performance and responsiveness.
Step 2: Reprogramming the Remote
If certain functions of the Ematic Converter Box are unresponsive to the remote’s commands, consider reprogramming the remote using alternative codes or methods provided in the remote’s documentation. This can help address any discrepancies in the initial programming process and ensure comprehensive control over the converter box.
Step 3: Clear Line of Sight
Ensure that there is a clear line of sight between the universal remote and the Ematic Converter Box. Obstructions or interference, such as other electronic devices or physical barriers, can impede the remote’s signals from reaching the converter box. Adjust the positioning of the remote and the converter box to establish an unobstructed line of communication.
Step 4: Remote Compatibility
Verify that the universal remote is compatible with the Ematic Converter Box by consulting the remote’s documentation or the manufacturer’s specifications. Incompatibility between the remote and the device can lead to operational issues. If necessary, consider using a different universal remote that is certified for compatibility with the Ematic Converter Box.
Step 5: Firmware Updates
If the Ematic Converter Box offers firmware updates or software enhancements, ensure that it is running the latest version available. Updated firmware can address compatibility issues and improve the device’s responsiveness to remote commands, enhancing the overall integration with the universal remote.
By systematically addressing potential issues and employing these troubleshooting steps, you can optimize the performance of the universal remote in controlling the Ematic Converter Box. These measures are designed to enhance the seamless integration of the remote with your home entertainment system, ensuring that you can navigate your digital television setup with ease and convenience.
Conclusion
Congratulations on successfully navigating the process of programming a universal remote to operate the Ematic Converter Box, unlocking a new level of convenience and control over your home entertainment system. By following the comprehensive steps outlined in this guide, you have empowered yourself to streamline your viewing experience and eliminate the clutter of multiple remotes, consolidating control into a single, versatile device.
As you reflect on the journey of integrating the universal remote with the Ematic Converter Box, it’s important to recognize the value of this endeavor. The ability to seamlessly navigate digital channels, adjust volume settings, and access additional features of the converter box with a single remote exemplifies the convenience and practicality that modern home entertainment systems can offer.
Furthermore, the knowledge gained from this process equips you with a deeper understanding of the functionality and compatibility of the Ematic Converter Box with universal remotes, allowing you to approach future integration efforts with confidence and proficiency. Whether you are exploring additional features of the converter box or considering the integration of other devices into your entertainment setup, the skills acquired through this experience serve as a valuable asset.
As you continue to enjoy the benefits of a seamlessly integrated home entertainment system, remember that the convenience and control afforded by the universal remote extend beyond mere functionality. They contribute to a more immersive and enjoyable viewing experience, allowing you to focus on the content and entertainment without the distractions of managing multiple remotes or navigating complex control interfaces.
In conclusion, the successful programming of a universal remote to operate the Ematic Converter Box marks a significant milestone in your journey toward optimizing your home entertainment setup. By embracing the convenience and efficiency of unified control, you have elevated your viewing experience and positioned yourself to fully appreciate the diverse array of digital content accessible through the Ematic Converter Box.
As technology continues to evolve, your newfound expertise in integrating devices and maximizing their functionality will serve you well in adapting to future advancements and enhancing your home entertainment experience. Embrace the seamless control, relish the convenience, and immerse yourself in the captivating world of digital entertainment made accessible through the harmonious integration of the Ematic Converter Box and a universal remote.
Frequently Asked Questions about How To Program A Universal Remote To An Ematic Converter Box
Was this page helpful?
At Storables.com, we guarantee accurate and reliable information. Our content, validated by Expert Board Contributors, is crafted following stringent Editorial Policies. We're committed to providing you with well-researched, expert-backed insights for all your informational needs.


0 thoughts on “How To Program A Universal Remote To An Ematic Converter Box”