
Articles
How To Program Garage Door Opener With Car
Modified: August 16, 2024
Learn how to program your garage door opener with your car in a few easy steps. Check out our informative articles for a hassle-free experience.
(Many of the links in this article redirect to a specific reviewed product. Your purchase of these products through affiliate links helps to generate commission for Storables.com, at no extra cost. Learn more)
Introduction
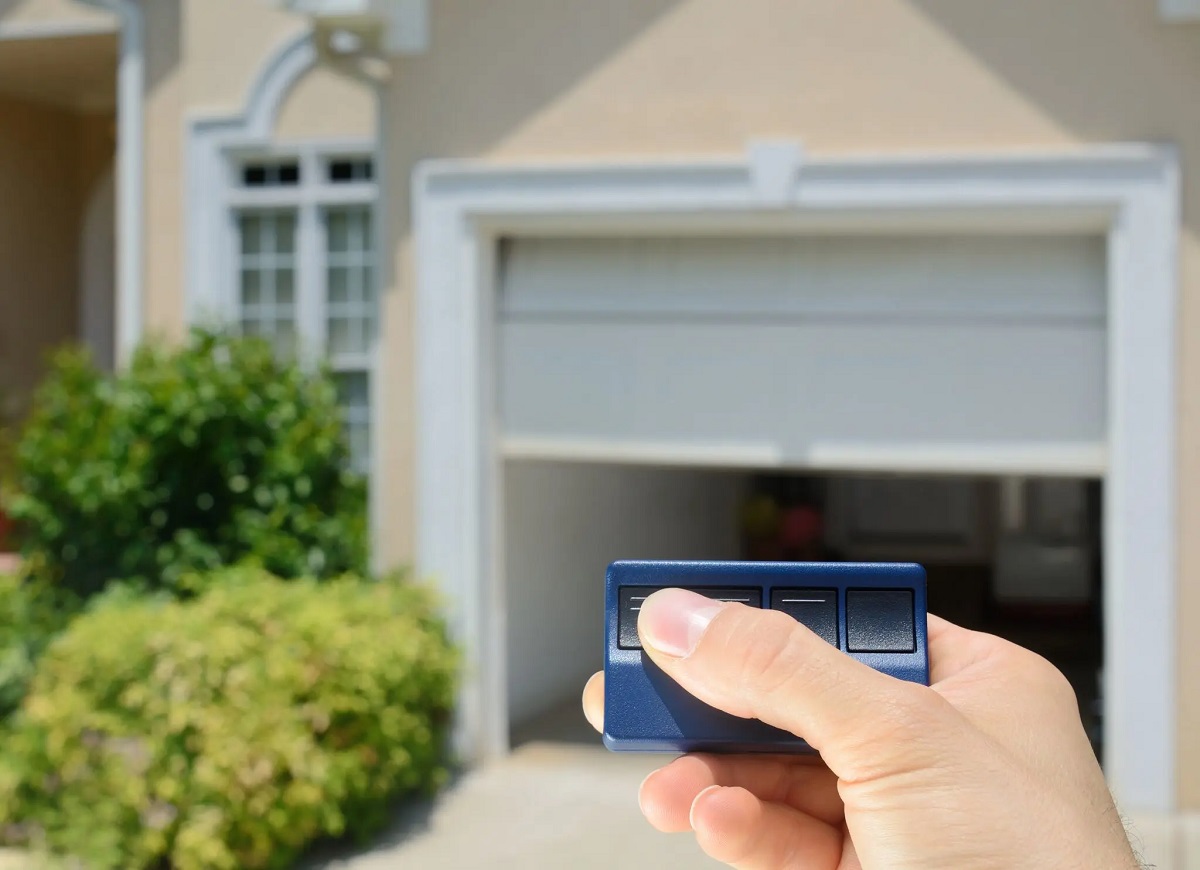
Programming your garage door opener with your car can provide added convenience and security. Instead of relying on a separate remote control, you can sync your vehicle’s built-in opener to operate your garage door. This enables you to effortlessly open and close your garage door without having to manually press any buttons.
In this article, we will guide you through the step-by-step process of programming your garage door opener with your car. Whether you have a newer model with advanced technology or an older vehicle with a basic opener, we’ll provide you with the necessary instructions to successfully complete the programming.
Before we delve into the steps, it’s important to note that not all car models and garage door openers are compatible. Therefore, our first step will be to determine the compatibility between your car and garage door opener. This will help ensure a successful programming experience.
So, let’s get started and make operating your garage door a breeze!
Key Takeaways:
- Ensure compatibility between your car and garage door opener before programming to avoid frustration. Clear existing codes and prepare your car for a smooth syncing process.
- Program your car’s remote with the garage door opener and test its functionality. Troubleshoot common issues for seamless operation and enjoy the convenience of opening and closing your garage door from your vehicle.
Step 1: Determine Compatibility
Before you begin the programming process, it’s essential to determine the compatibility between your car and garage door opener. This will save you time and frustration by ensuring that your car’s built-in opener is compatible with your specific garage door opener model.
Start by consulting your car’s manual or contacting the manufacturer’s customer support to find out if your vehicle has a built-in garage door opener feature. The manual or customer support should provide details on whether your car is equipped with this functionality and what type of garage door openers it is compatible with.
If your car does have a built-in opener feature, the next step is to check the compatibility with your garage door opener brand and model. Look for information on your garage door opener’s manual or on the manufacturer’s website. They should provide a list of compatible car brands and models. If your car is on the list, you’re good to go. If not, unfortunately, your car may not be compatible with your current garage door opener.
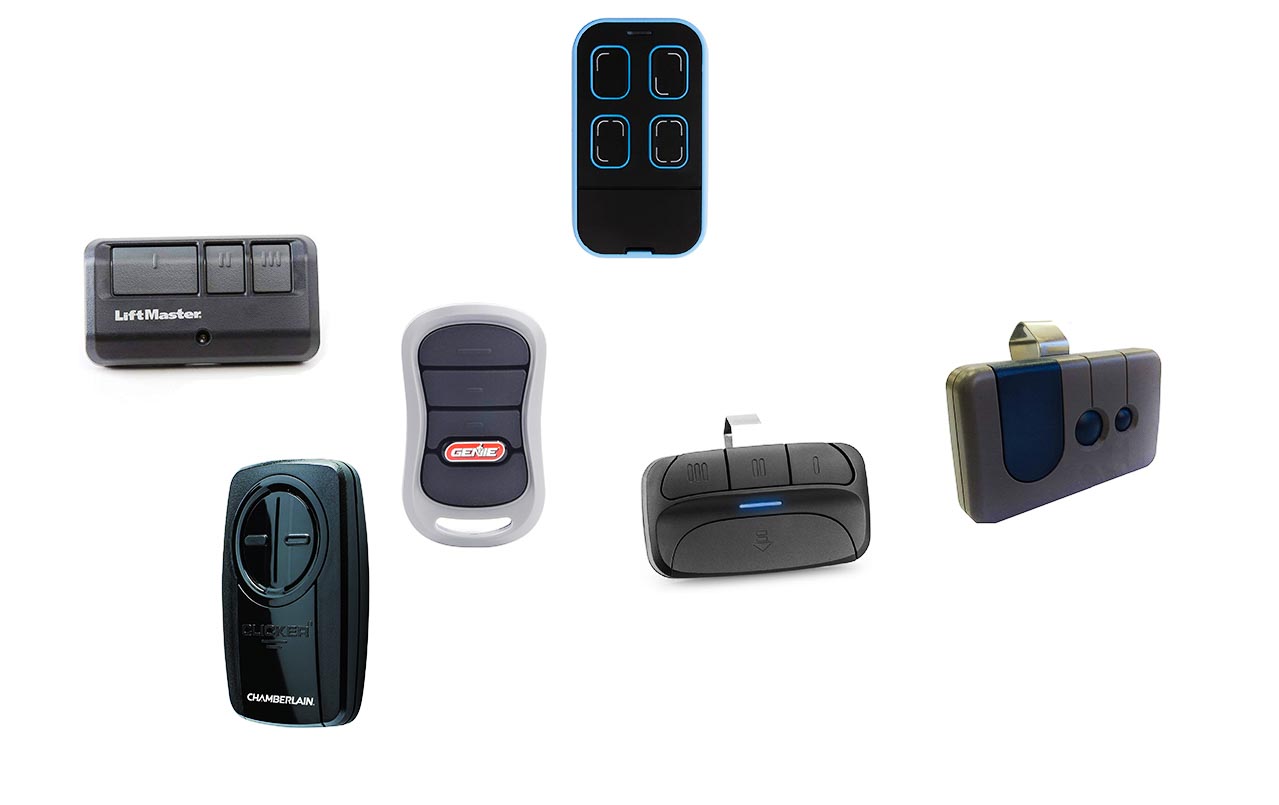
If compatibility is confirmed, you can proceed with the programming process. However, if your car is not compatible with your garage door opener, don’t worry. There are alternative solutions available, such as purchasing a separate universal garage door opener remote that is compatible with your car.
Remember, determining compatibility is a crucial first step to avoid any potential compatibility issues during the programming process. It ensures a smooth and successful garage door opener programming experience with your car.
Step 2: Clear Existing Codes
Before programming your garage door opener with your car, it’s important to clear any existing codes that may be stored in the opener. This step ensures that you start with a clean slate and prevents any interference or confusion during the programming process.
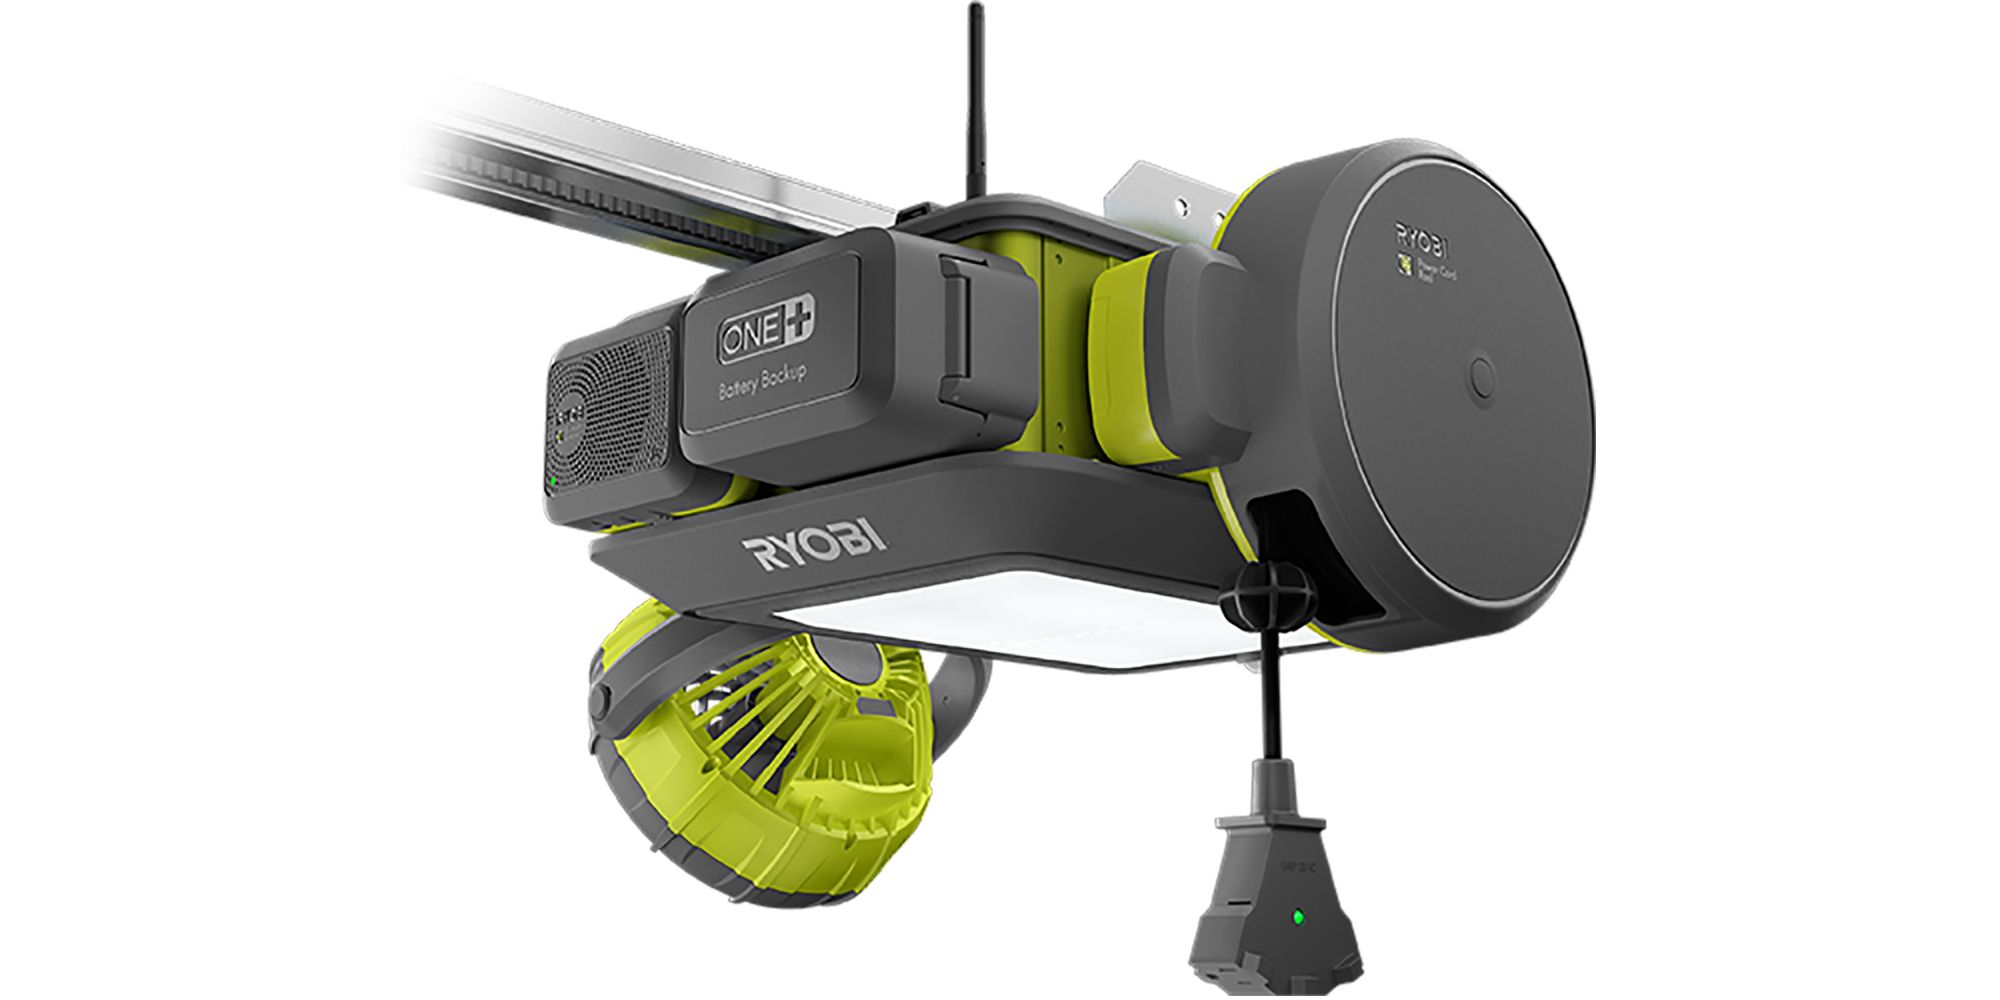
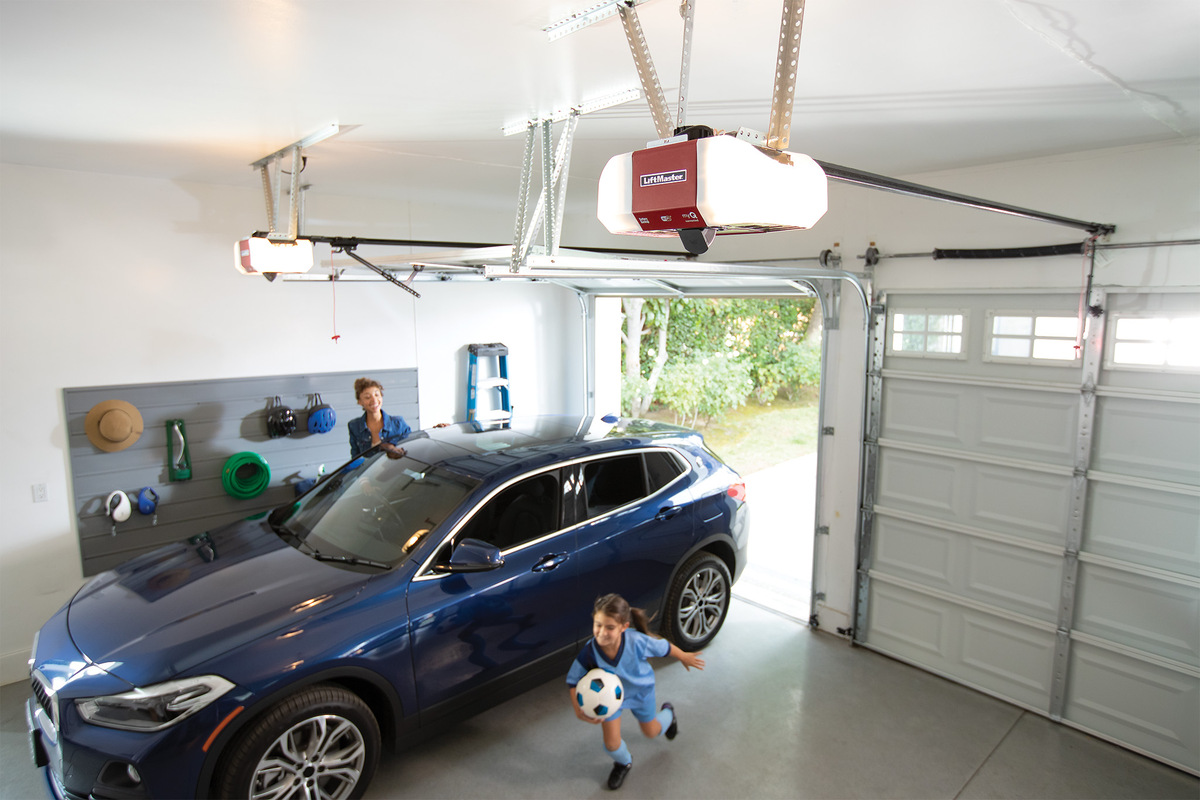
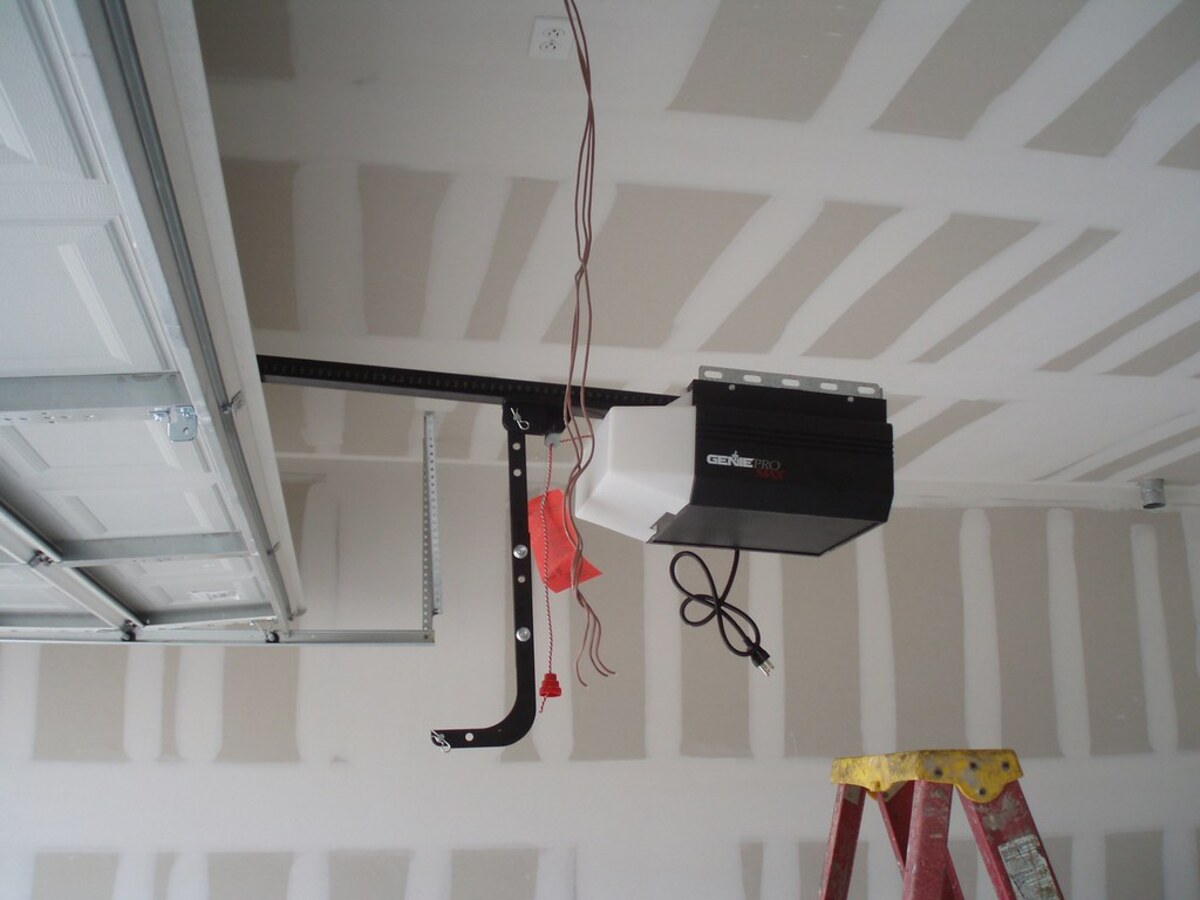
To clear existing codes, locate the “Learn” button on your garage door opener. This button is typically found on the main unit or the control panel. Consult your garage door opener’s manual if you are unsure of its location.
Once you have located the “Learn” button, press and hold it for approximately 10-15 seconds. This action will clear all the codes previously programmed into the garage door opener. Some models may emit a beep or flash a light to indicate that the codes have been successfully cleared.
After clearing the codes, it’s a good idea to test your garage door to ensure that the previous codes have been deleted. Use your existing remote control or wall-mounted control panel to open and close the garage door. If it operates normally, it means the codes have been successfully cleared.
Clearing existing codes should be done even if you have just purchased a new car or if you’re programming a different car with your existing garage door opener. This step ensures that there are no conflicting codes that can cause malfunction or reduce the security of your garage door opener.
Remember, clearing existing codes is an essential step to prepare your garage door opener for programming with your car. It clears any stored codes and ensures a fresh start for the programming process.
Step 3: Prepare Your Car
Before you can program your garage door opener with your car, you’ll need to prepare your vehicle for the programming process. Follow these steps to ensure everything is set up correctly:
- Make sure your car is parked outside or in a well-ventilated area. This will allow for better signal reception between the car and the garage door opener.
- Check that your car’s battery is fully charged. It’s essential to have a strong and consistent power supply during the programming process.
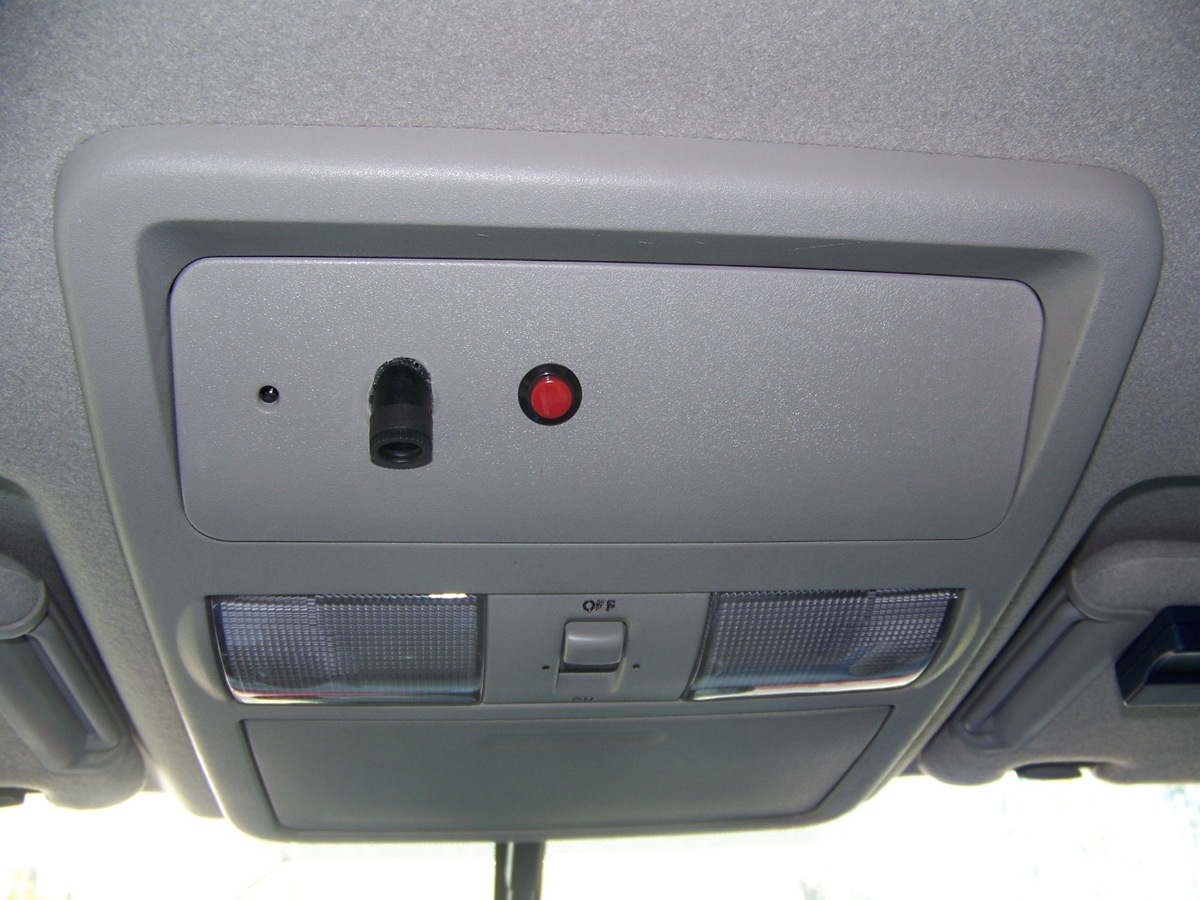
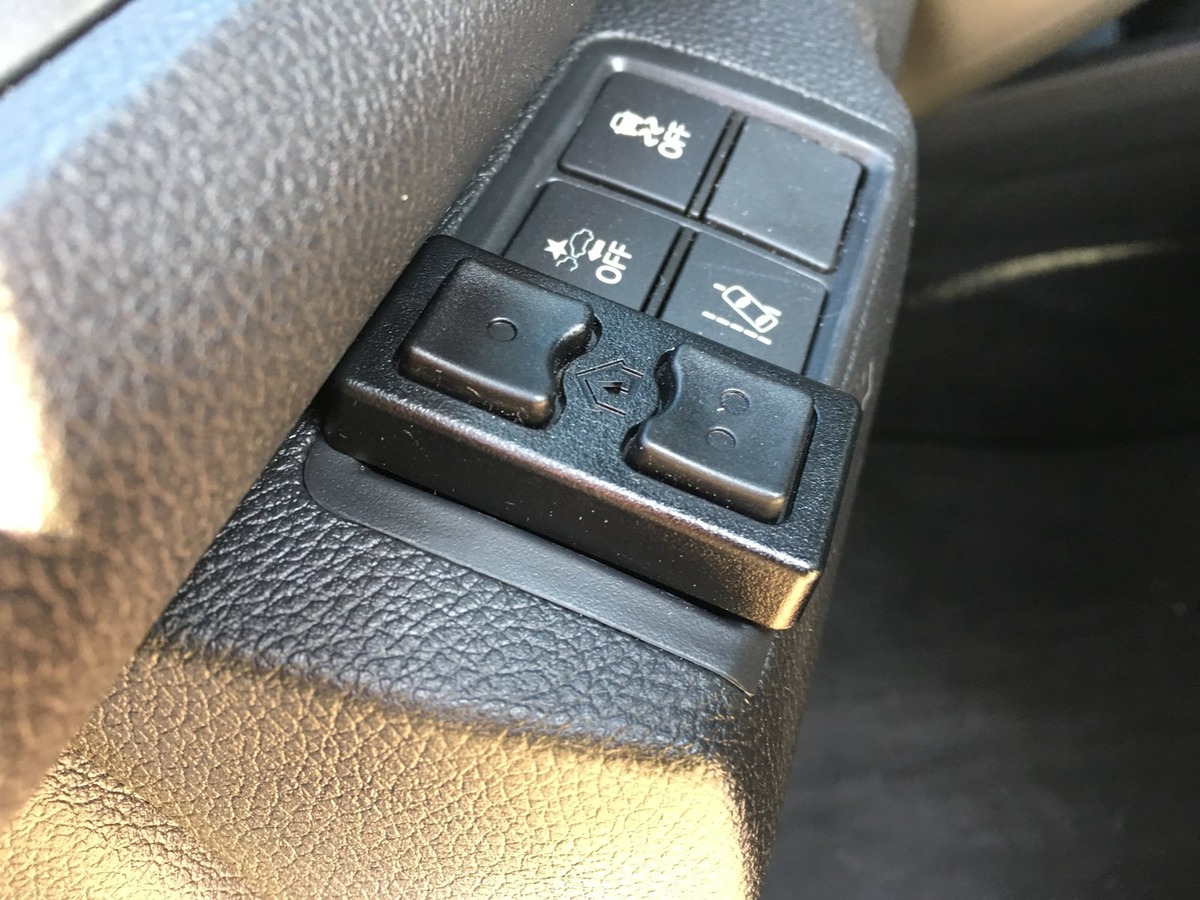
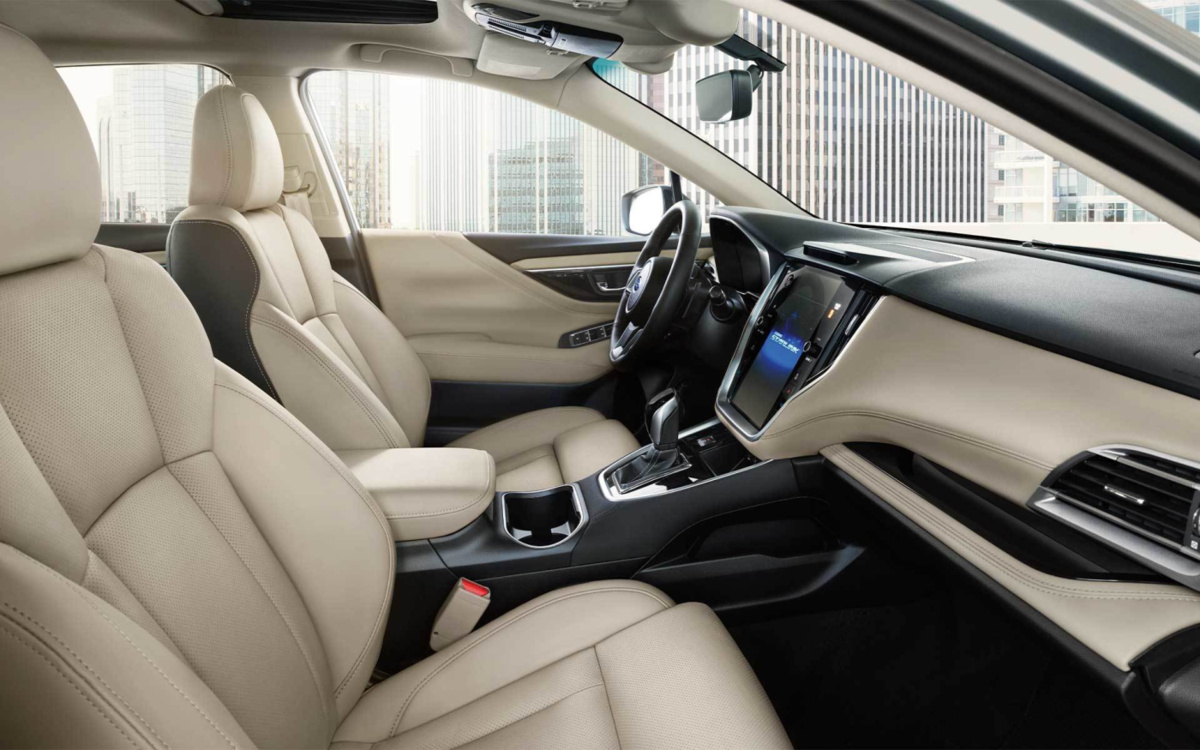
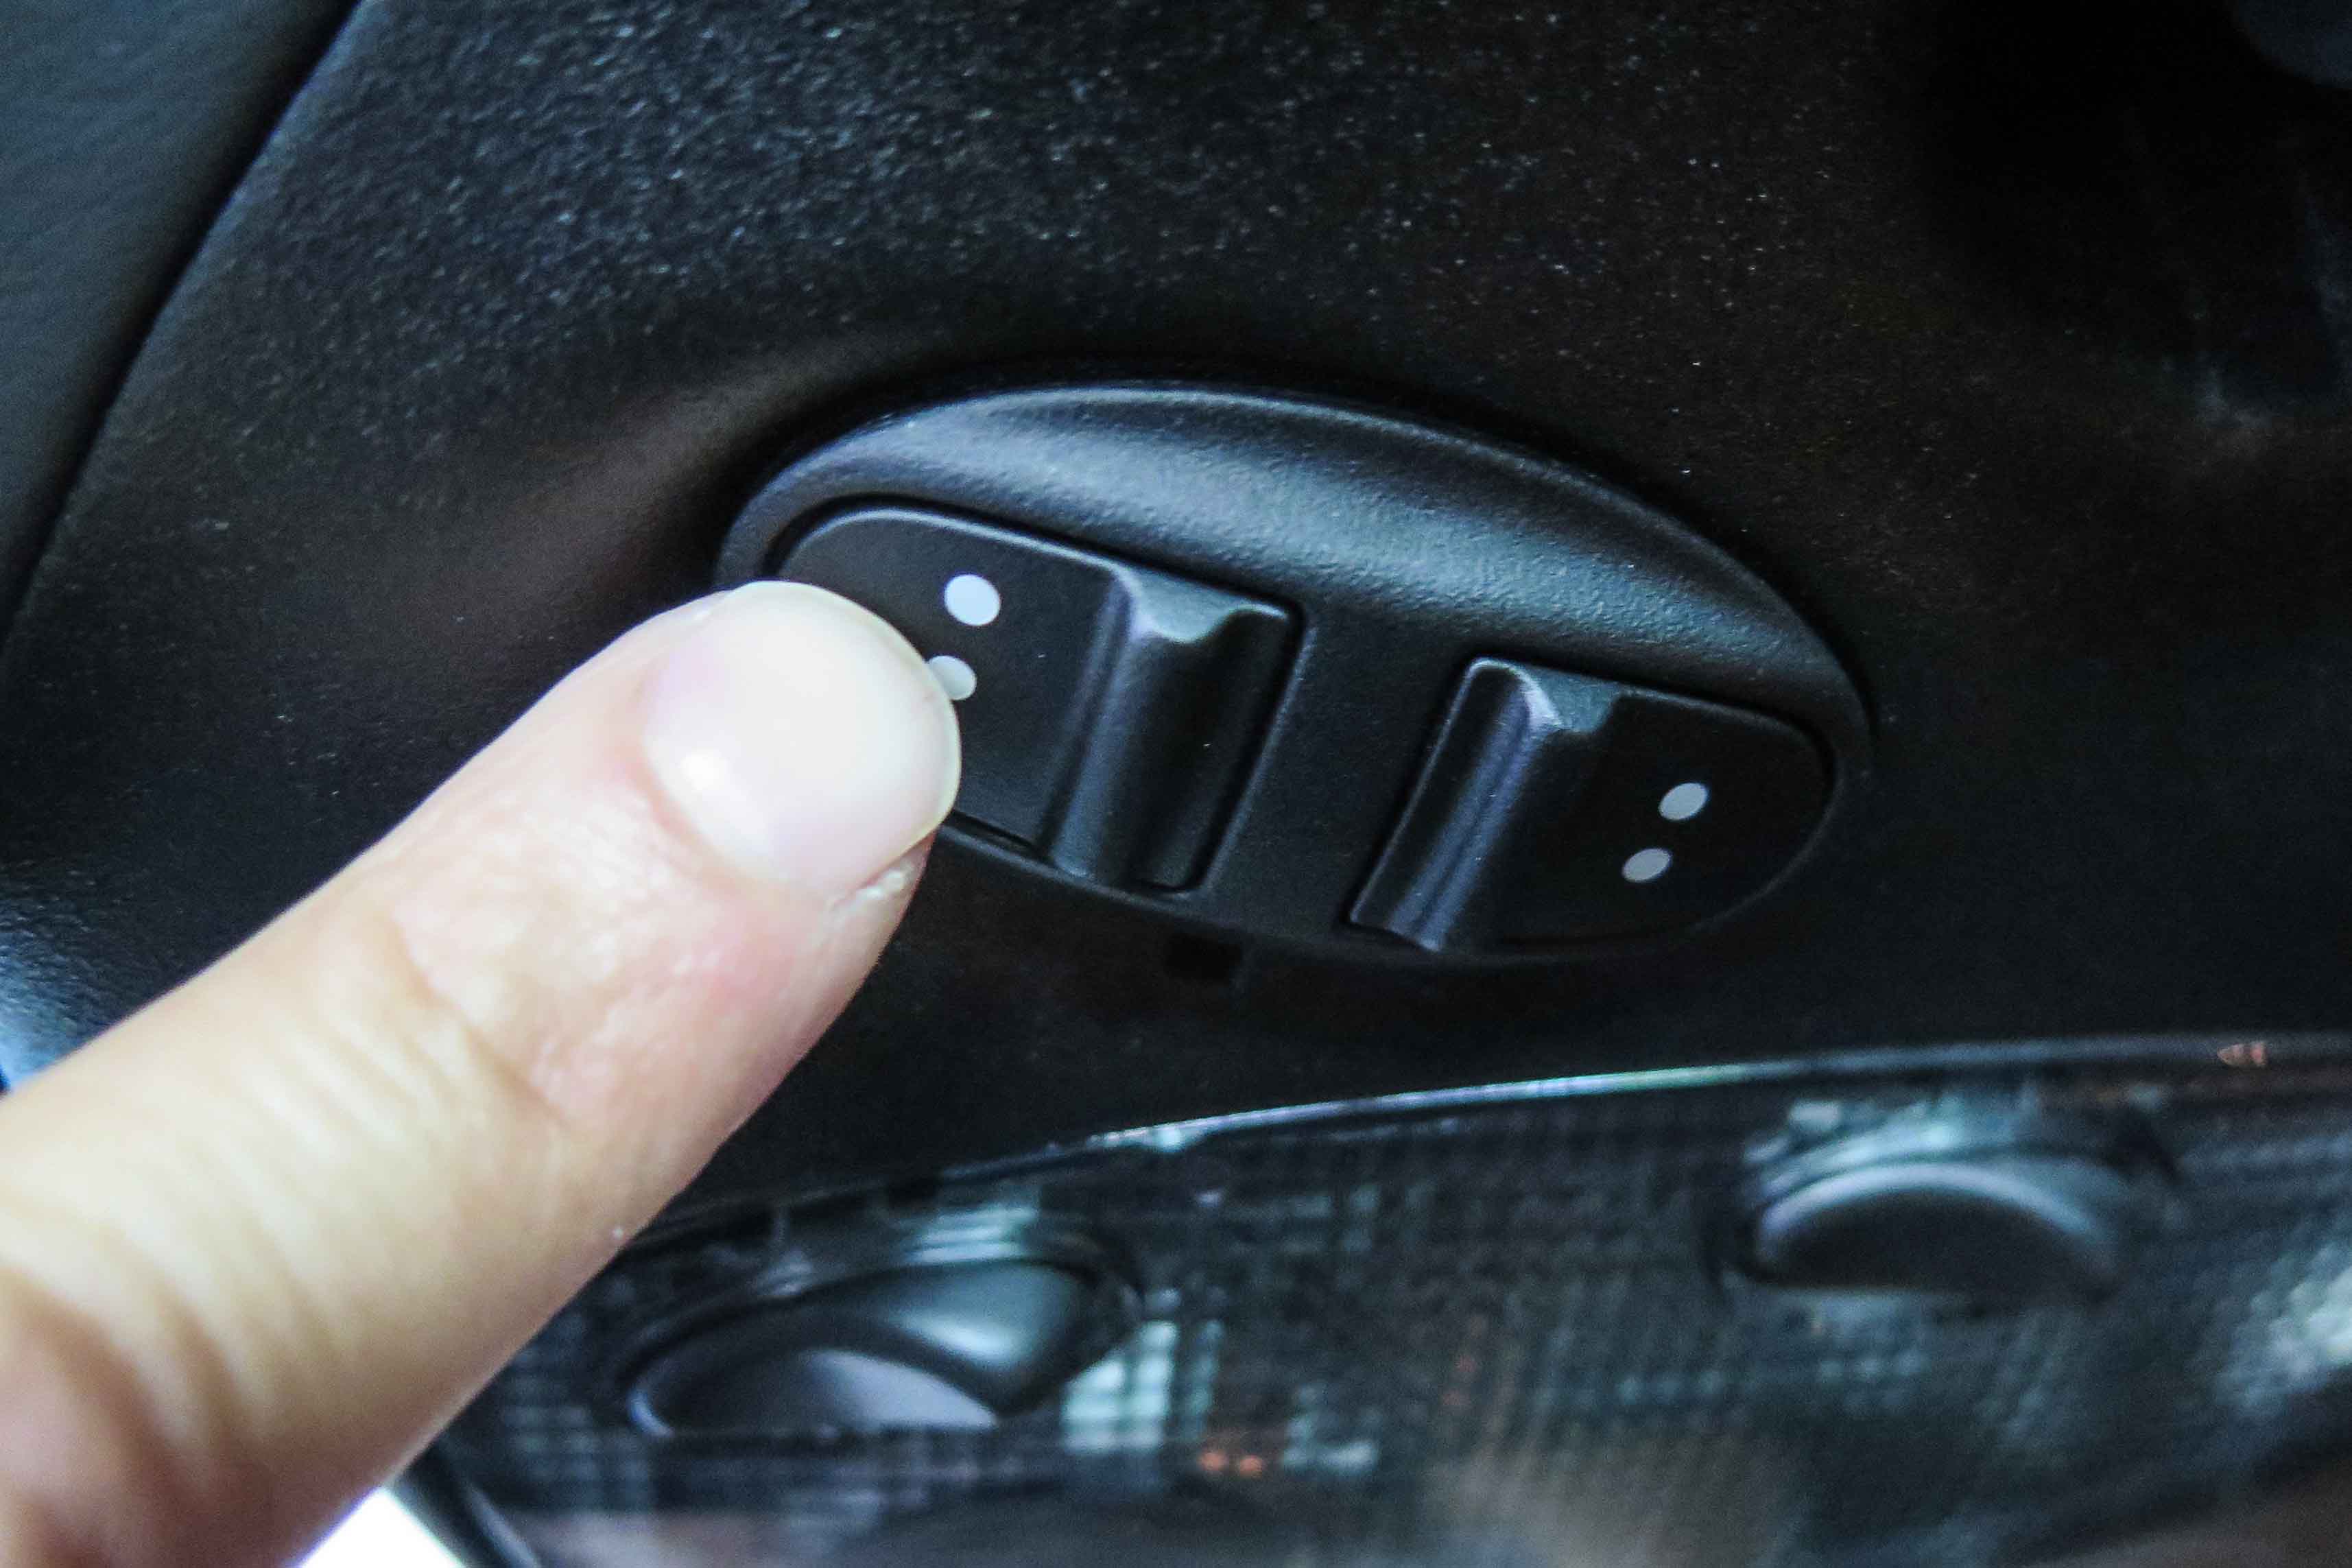
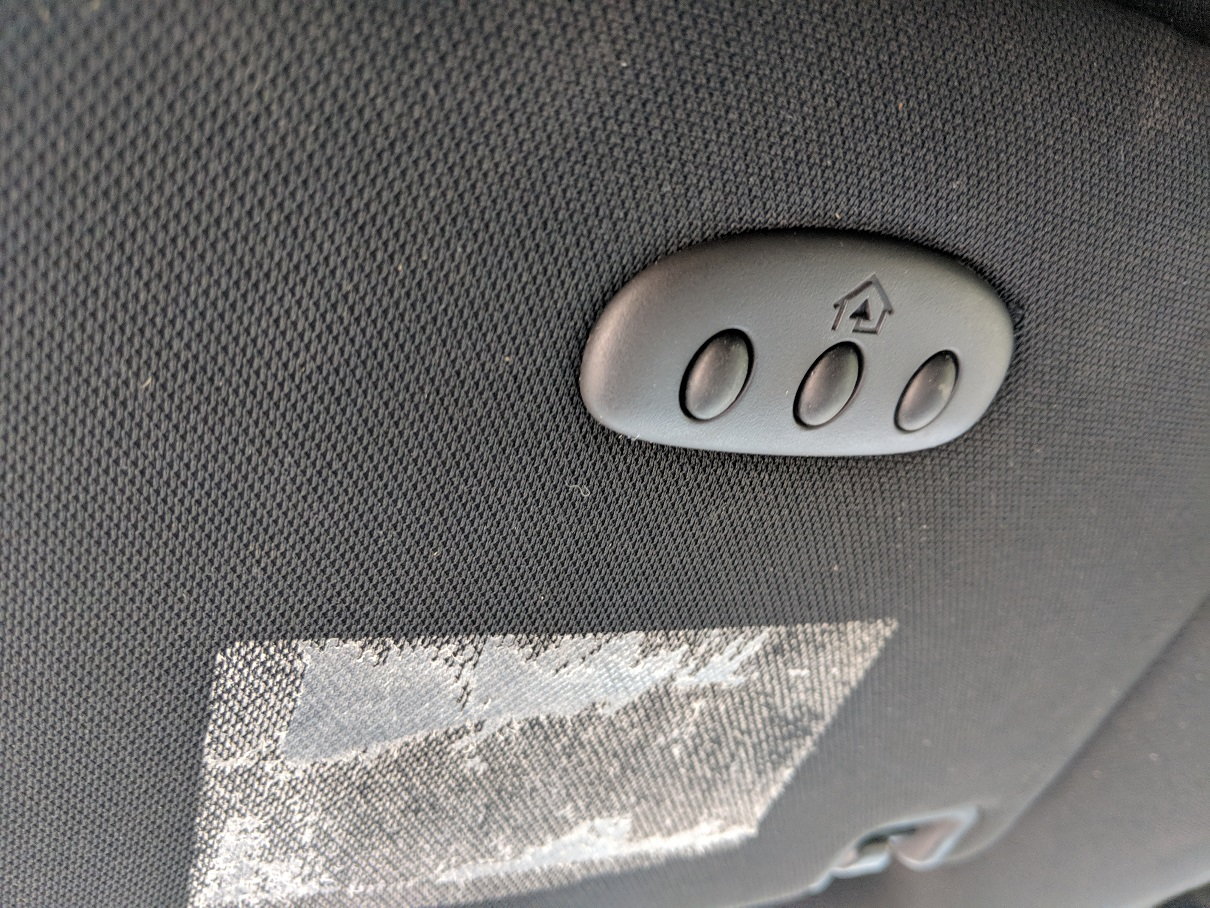
- Locate the car’s built-in opener controls. These are usually found on the driver’s side sun visor, the overhead console, or the rearview mirror. Consult your car’s manual if you’re unsure of the exact location.
- Remove any existing programming or syncing that may have been done previously with another garage door opener. Follow the instructions in your car’s manual to clear any existing codes or programming.
- Ensure that all windows and doors of the car are closed. This will minimize any external interference during the programming process.
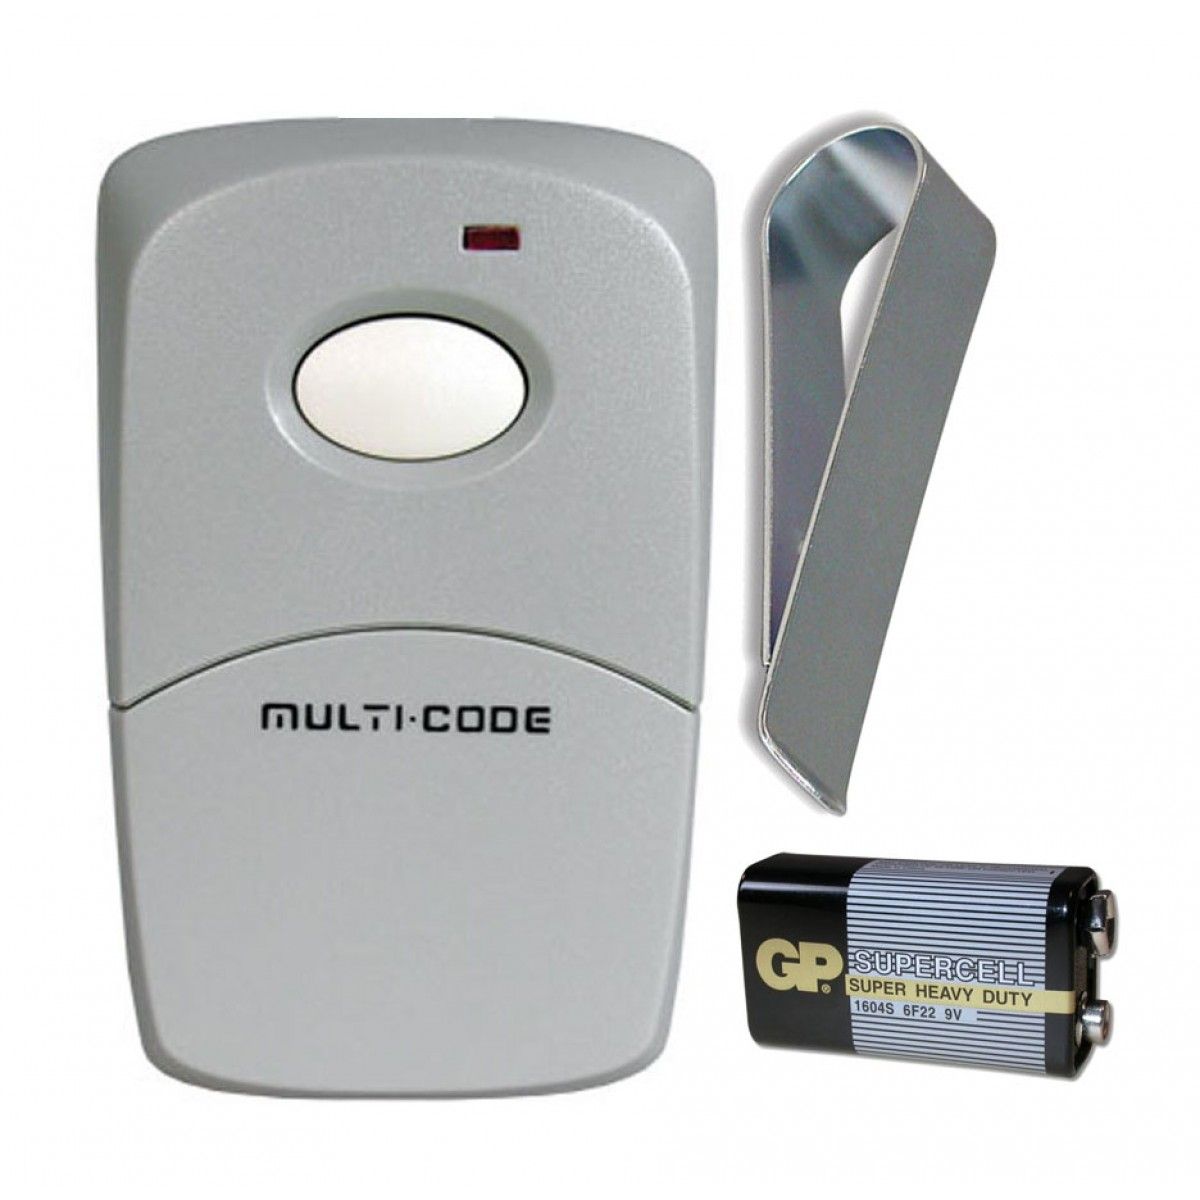
- Double-check that you have the necessary remote control for your car’s built-in opener. If you don’t have the remote control or if it’s not working, you may need to contact your car’s manufacturer or dealership for a replacement.
Preparing your car appropriately will help ensure a smooth and successful programming process. By following these steps, you’ll have your vehicle ready to sync with your garage door opener for seamless operation.
Step 4: Locate the Learn Button
In order to program your garage door opener with your car, you need to locate the learn button on your garage door opener. This button is usually found on the main unit of the opener or on the control panel. Here’s how to locate it:
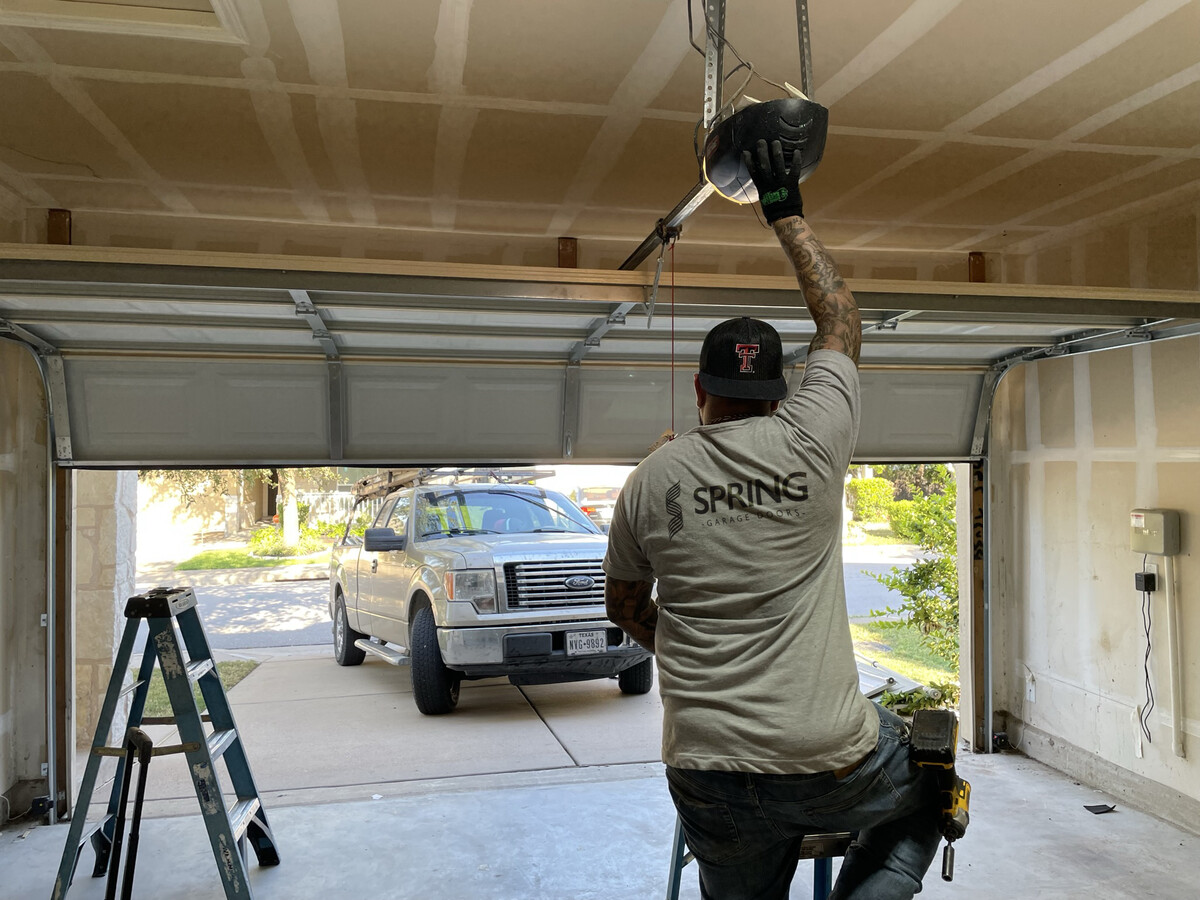
- Start by visually inspecting your garage door opener unit. Look for a button that is labeled “Learn” or “Program”. The button may be round or rectangular in shape, and it is often located near the antenna or the control panel of the opener.
- If you’re unable to find the learn button by visual inspection, consult the manual of your garage door opener. The manual should provide detailed information on the specific location of the learn button for your model.
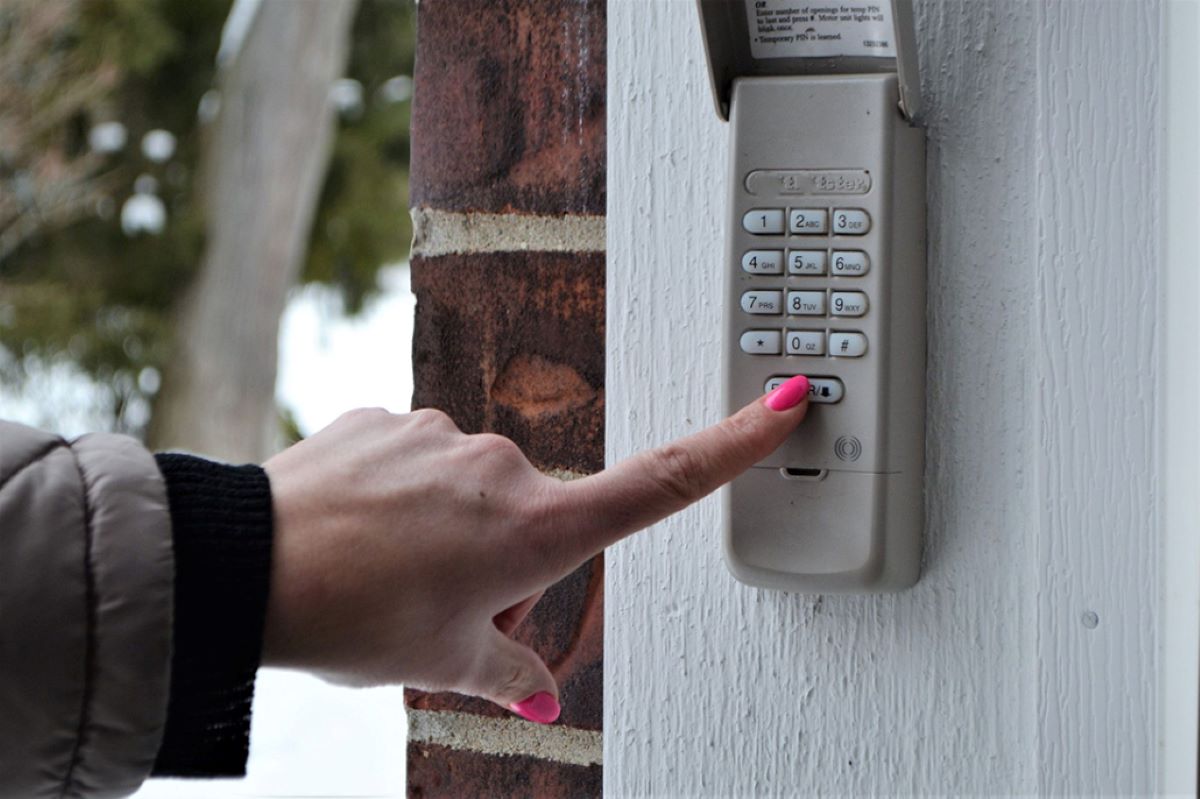
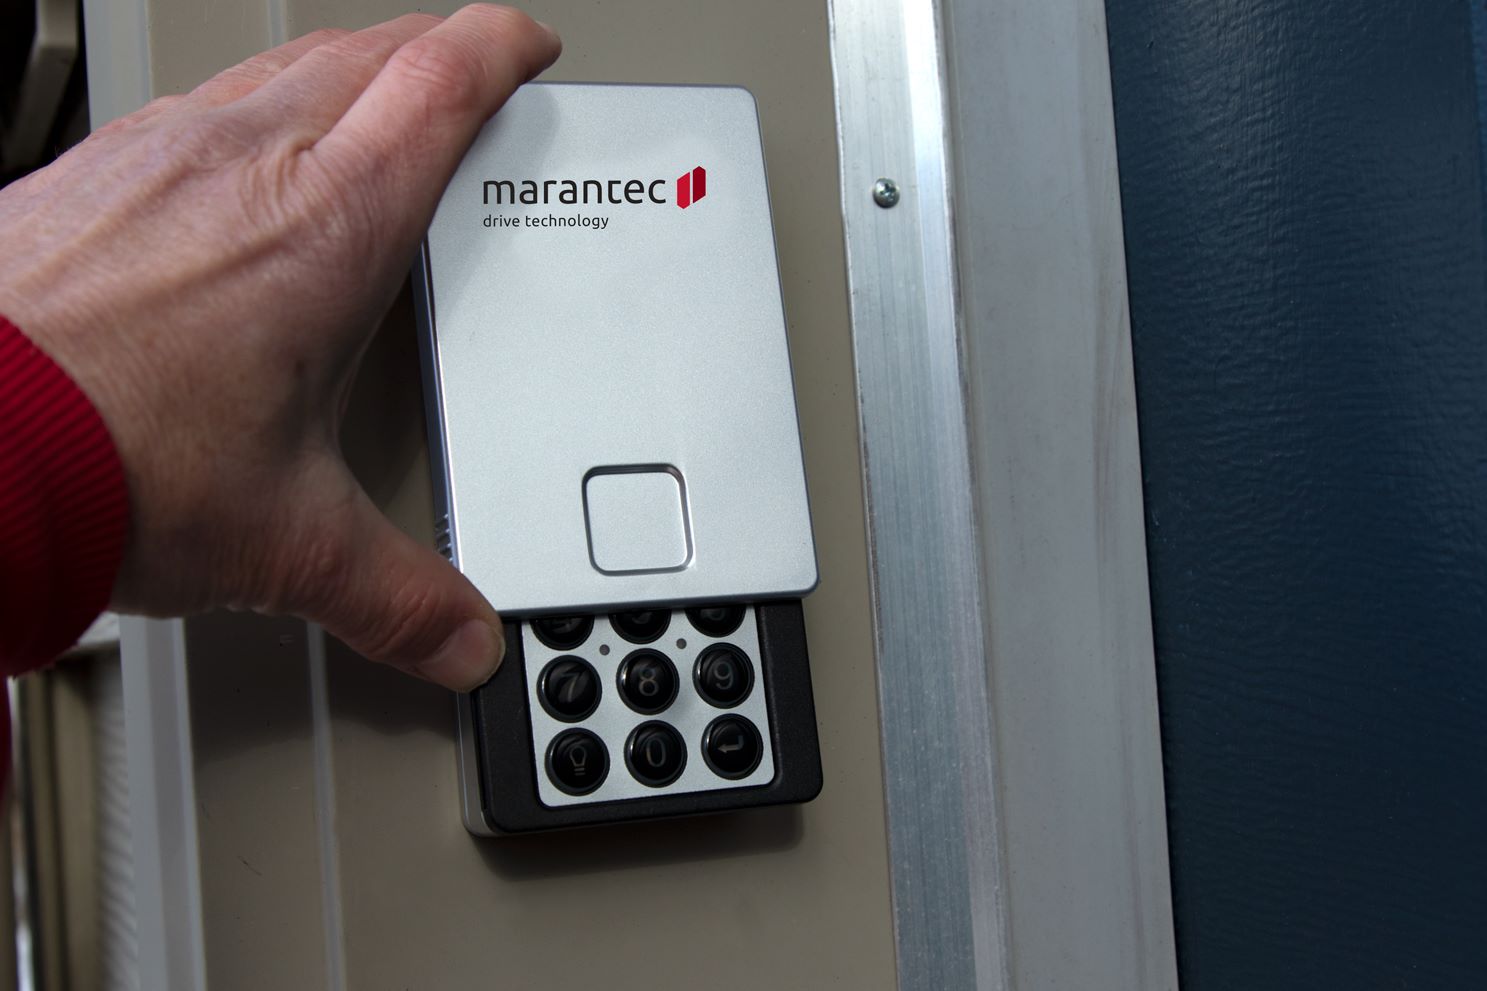
- If you have a newer model of a garage door opener, it may feature a learn button that is integrated into the control panel or is located on the wall-mounted control panel near the garage door.
- Once you have located the learn button, familiarize yourself with its operation. Some buttons may need to be pressed and released, while others may require you to hold them down for a certain duration during the programming process.
- Make a note of the color of the LED light on the garage door opener. This LED light will indicate the status of the programming process and whether it is ready to receive signals from your car’s built-in opener.
Locating the learn button is a crucial step before proceeding with the programming process. It ensures that you can properly access and activate the programming mode of your garage door opener, allowing for successful syncing with your car’s opener functionality.
Make sure to follow the specific instructions in your car’s manual for programming the garage door opener. Typically, you’ll need to locate the “learn” button on the opener and then follow the steps to sync it with your car’s system.
Step 5: Program the Car’s Remote
Now that you have located the learn button on your garage door opener, it’s time to program your car’s remote with the opener. Follow these steps to successfully sync your car’s remote:
- Enter your car and close all doors and windows. Make sure you are sitting in the driver’s seat with the key inserted in the ignition, but the engine is turned off.
- Hold down the desired button on your car’s built-in opener control. This button is typically labeled “HomeLink,” “Car2U,” or “Universal Remote Control.
- At the same time, press and release the learn button on the garage door opener unit. The LED light on the opener should flash or change color to indicate that it is in programming mode and ready to receive signals.
- Continue holding down the button on your car’s remote control. After a few seconds, the LED light on the garage door opener should indicate a successful programming by either turning off or flashing a different color.
- Release the button on your car’s remote control. Test the programming by pressing the programmed button again. The garage door should respond by opening or closing, indicating that the programming was successful.
- If you have multiple garage doors, repeat the above steps to program additional buttons on your car’s remote control for each door.
It’s important to note that the specific steps for programming may vary depending on your car’s make and model, as well as the garage door opener brand. Always refer to your car’s manual and the garage door opener’s manual for accurate, model-specific instructions.
Programming your car’s remote allows for seamless operation of your garage door opener without the need for separate remote controls. It streamlines the process and adds convenience to your daily routine.
Step 6: Test the Garage Door Opener
After programming your car’s remote with the garage door opener, it’s crucial to test the functionality to ensure everything is working properly. Follow these steps to test the garage door opener:
- Sit in your car and make sure it is in a safe position with enough clearance for the garage door to open and close without any obstructions.
- Press the programmed button on your car’s remote control that corresponds to the garage door opener. It might take a second or two for the signal to reach the opener, so be patient.
- Observe the garage door as it opens or closes. It should move smoothly without any unusual noises or sudden jerks.
- If the garage door does not respond or only partially opens or closes, repeat the programming steps. Ensure that you follow each step carefully and hold down the appropriate button for the suggested duration.
- Double-check your car’s remote control battery if the garage door is still not responding. A weak or dead battery can affect the signal transmission.
- If the garage door responds correctly and operates smoothly, congratulations! Your programming was successful, and you can now use your car’s remote control to conveniently operate your garage door opener.
Regularly test the garage door opener’s functionality to ensure that it continues to work correctly over time. If you encounter any issues or notice any changes in its operation, refer to the troubleshooting section or consult the manuals for further guidance.
Testing the garage door opener confirms that the programming was successful and allows you to enjoy the convenience of opening and closing your garage door with just the touch of a button from your car.
Step 7: Troubleshooting Tips
While programming your car’s remote with the garage door opener can be a straightforward process, you may encounter occasional issues. Here are some troubleshooting tips to help you address common problems:
- If the garage door does not respond to the programmed remote control, check that you followed the programming steps correctly. Make sure you held down the appropriate button on your car’s remote control for the suggested duration.
- Ensure that you are within range of the garage door opener when programming or operating it. Being too far away can result in a weak or interrupted signal.
- Check the battery level of your car’s remote control. A weak or depleted battery can affect the signal transmission. Replace the battery as needed.
- Verify that the learn button on the garage door opener is functioning correctly. If the LED light does not respond or there is no change in color, consult the opener’s manual for troubleshooting steps specific to your model.
- Inspect the antenna on both your car’s built-in opener control and the garage door opener unit. Ensure that they are not damaged or obstructed, as this can interfere with signal transmission. Clean the antenna if necessary.
- If you have multiple garage doors, confirm that you have programmed the correct button on your car’s remote control for each door. It’s easy to mistakenly program a button for the wrong door.
- Consult the manuals for both your car’s built-in opener control and the garage door opener unit for detailed troubleshooting instructions. They may provide specific solutions or suggest contacting customer support for further assistance.
If you exhaust all troubleshooting options and still encounter issues, reaching out to the manufacturer’s customer support or a professional garage door opener technician can provide the expertise and guidance needed to resolve complex problems.
By following these troubleshooting tips, you can address common programming and operational challenges, ensuring that your garage door opener functions smoothly and reliably.
Conclusion
Programming your garage door opener with your car can greatly enhance convenience and security. By following the steps outlined in this article, you can easily sync your car’s built-in opener with your garage door opener. This allows you to operate your garage door effortlessly from the comfort of your vehicle.
Remember to start by determining the compatibility between your car and garage door opener to ensure a successful programming experience. Clear any existing codes from the garage door opener to start with a clean slate. Prepare your car by ensuring it’s in a suitable location and has a fully charged battery.
Locate the learn button on your garage door opener to enter programming mode. Program your car’s remote control by following the specific steps outlined in the car’s manual. Test the functionality of the garage door opener to ensure it responds correctly.
If you encounter any issues, refer to the troubleshooting tips provided to address common problems. It’s also important to consult the manuals for both your car and garage door opener for model-specific instructions and further assistance.
Once you’ve successfully programmed your car’s remote with the garage door opener, you can enjoy the convenience of opening and closing your garage door with just a touch of a button from your vehicle. No more fumbling for separate remote controls or manually operating the garage door.
With proper programming and regular maintenance, your car’s opener and garage door opener will provide seamless operation and added convenience to your daily routine. Program your garage door opener with your car today and experience the ease and efficiency it brings to your home’s security system.
Frequently Asked Questions about How To Program Garage Door Opener With Car
Was this page helpful?
At Storables.com, we guarantee accurate and reliable information. Our content, validated by Expert Board Contributors, is crafted following stringent Editorial Policies. We're committed to providing you with well-researched, expert-backed insights for all your informational needs.

0 thoughts on “How To Program Garage Door Opener With Car”