Articles
How To Open A Chamberlain Garage Door Opener
Modified: October 22, 2024
Looking for step-by-step articles on how to open a Chamberlain garage door opener? Discover expert guidance and tips to easily access your garage with our informative guides.
(Many of the links in this article redirect to a specific reviewed product. Your purchase of these products through affiliate links helps to generate commission for Storables.com, at no extra cost. Learn more)
Introduction
Welcome to the world of Chamberlain garage door openers! If you’re looking to open a Chamberlain garage door opener, you’ve come to the right place. Whether you’re a new homeowner or simply upgrading your current garage door opener system, this article will guide you through the process step by step. With the right tools and a little know-how, you’ll have your Chamberlain opener up and running smoothly in no time.
A Chamberlain garage door opener is a reliable and convenient device that allows you to effortlessly open and close your garage door with just a push of a button. These openers offer a range of features, including remote control access, safety sensors, and smart home compatibility.
Opening your Chamberlain garage door opener may seem like a daunting task, but fear not! With careful planning and attention to detail, you’ll be able to successfully install and set up your opener. This article will provide you with a comprehensive guide to walk you through each step of the process.
Before we delve into the steps, it’s important to ensure that you have all the necessary tools and materials at hand. This will help make the installation process smooth and hassle-free. Additionally, familiarizing yourself with the different types of Chamberlain garage door openers will help you navigate the setup process more effectively.
So, let’s get started! In the next step, we’ll discuss the tools and materials you’ll need to have on hand before you begin opening your Chamberlain garage door opener.
Key Takeaways:
- Properly opening and installing a Chamberlain garage door opener requires gathering the right tools, determining the specific opener type, unboxing and inspecting components, and following precise steps for mounting, wiring, programming, and testing the opener.
- Regular maintenance and care, such as inspecting, cleaning, lubricating, and testing the opener, are crucial for ensuring its longevity and optimal performance. Following manufacturer’s instructions and safety guidelines is essential for effective maintenance.
Read more: How To Wire Chamberlain Garage Door Opener
Step 1: Gather the necessary tools and materials
Before you begin opening your Chamberlain garage door opener, it’s essential to gather all the required tools and materials. Having everything prepared in advance will save you time and ensure a smooth installation process. Here’s a list of the basic tools and materials you’ll need:
- Power drill
- Drill bits
- Tape measure
- Screwdriver
- Pliers
- Adjustable wrench
- Stepladder
- Chamberlain garage door opener package
- Mounting bracket
- Hardware kit
- Electrical tape
- Safety goggles
- Gloves
Having these tools and materials readily available will make the installation process much more convenient. It’s important to note that some additional tools or materials may be required based on the specific model of your Chamberlain garage door opener or any special installation requirements.
Once you’ve gathered all the necessary tools and materials, it’s important to double-check that everything is in excellent working condition. Inspect the contents of the Chamberlain garage door opener package to ensure that all components are present and undamaged. If you notice any missing or damaged parts, contact the manufacturer or supplier immediately for a replacement.
Furthermore, it’s crucial to observe safety precautions while handling the tools and materials. Wear safety goggles to protect your eyes from any potential debris or accidents. Use gloves to safeguard your hands during the installation process. Additionally, keep electrical tape on hand for any electrical connections that may require insulation.
With all the tools and materials ready to go, you’re now prepared for the next step in the process: determining the type of Chamberlain garage door opener you have. In the following step, we’ll guide you through identifying your specific opener model to ensure a seamless installation process.
Step 2: Determine the type of Chamberlain garage door opener
Before you can proceed with the installation of your Chamberlain garage door opener, it’s important to determine the type of opener you have. Chamberlain offers a variety of models, each with its own unique features and specifications.
Start by locating the model number of your Chamberlain garage door opener. This information can usually be found on the opener itself or in the user manual. The model number is a combination of letters and numbers that identifies the specific opener you own.
Once you have the model number, visit the Chamberlain website or consult the user manual to gather information about your garage door opener. This will help you understand the features and installation requirements specific to your model.
Chamberlain garage door openers come in different drive types, such as belt drive, chain drive, and screw drive. Each drive type has its own advantages and considerations, so it’s essential to know which type you have before proceeding with the installation process.
In addition to the drive type, you should also be aware of the horsepower rating of your Chamberlain opener. The horsepower rating indicates the power and strength of the motor, which affects the opener’s performance in lifting the garage door. Common horsepower ratings for Chamberlain garage door openers range from ½ HP to 1 ½ HP.
Understanding the specific details of your Chamberlain garage door opener will help you make informed decisions during the installation process. It will also assist you in troubleshooting any issues that may arise in the future.
Once you’ve determined the type and specifications of your Chamberlain garage door opener, you’re ready to move on to the next step: unboxing and inspecting the opener. In the following step, we’ll guide you through the process of unboxing and ensuring that all components are in good condition before installation.
Step 3: Unbox and inspect the Chamberlain garage door opener
Now that you’ve determined the type and specifications of your Chamberlain garage door opener, it’s time to unbox and inspect the contents of the package. Properly inspecting the opener before installation ensures that all components are present and in good condition.
Start by carefully opening the Chamberlain garage door opener package. Make sure to handle the package with care to avoid any damage to the contents inside. Take note of any specific instructions or warnings provided on the packaging.
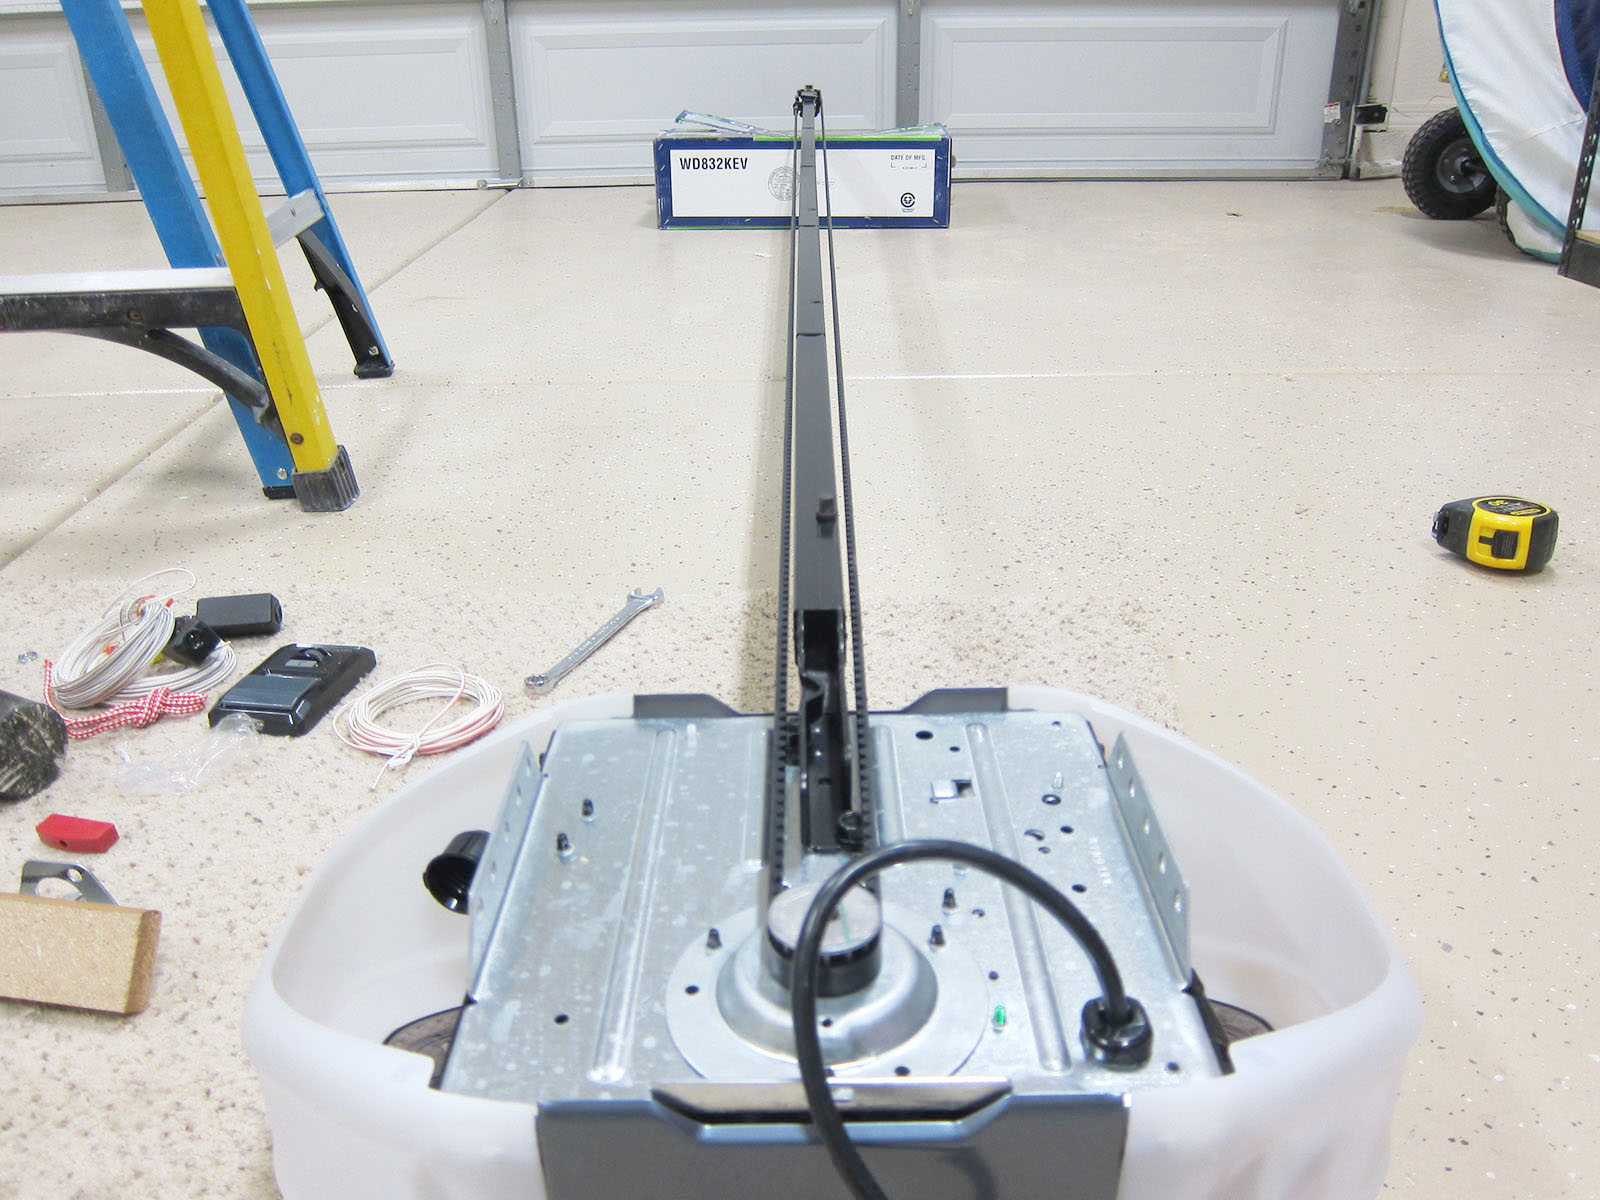
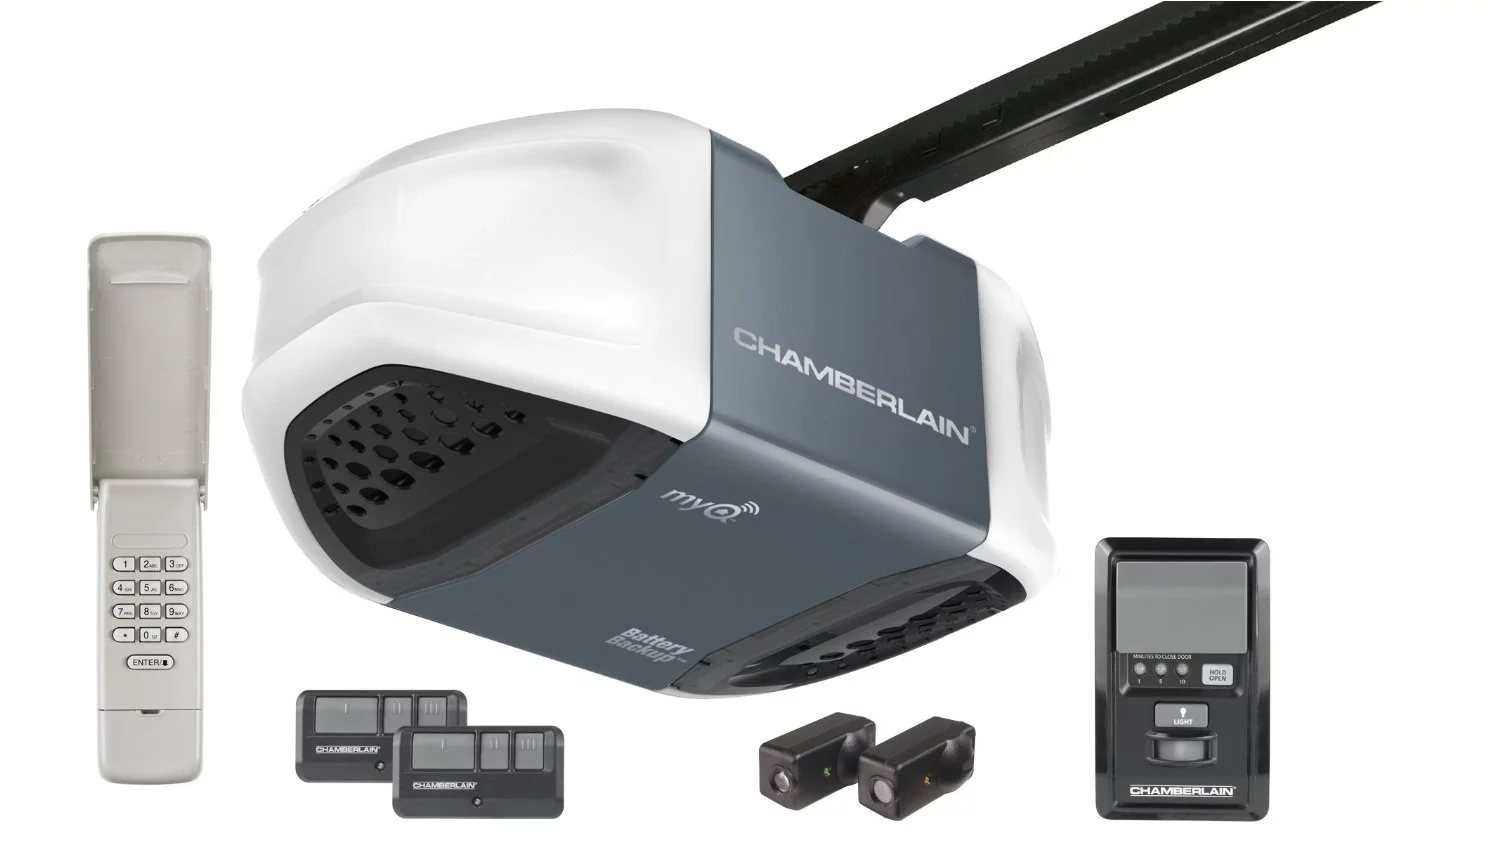
Once open, remove each component of the Chamberlain garage door opener and place them on a clean, flat surface. Check to ensure that all the components are included, such as the motor unit, rail, wall control panel, remote controls, safety sensors, and any additional accessories.
Inspect each component for any signs of damage or defects. Look for cracks, dents, or other visible issues that may affect the performance of the opener. It’s important to address any concerns or defects before proceeding with the installation process.
Refer to the user manual or the Chamberlain website for a detailed diagram or description of the components. Familiarize yourself with the purpose of each component, as this will help later in the installation process.
It’s also a good idea to check the warranty information provided with the Chamberlain garage door opener. This will give you an overview of the warranty period and any specific conditions or requirements for claim coverage.
If you discover any missing or damaged components, contact the manufacturer or supplier promptly. They will be able to provide assistance and arrange for replacements if necessary.
Once you’ve thoroughly inspected all the components and confirmed their good condition, you’re ready to move on to the next step: installing the mounting bracket. In the following step, we’ll guide you through the process of preparing the area and installing the mounting bracket for your Chamberlain garage door opener.
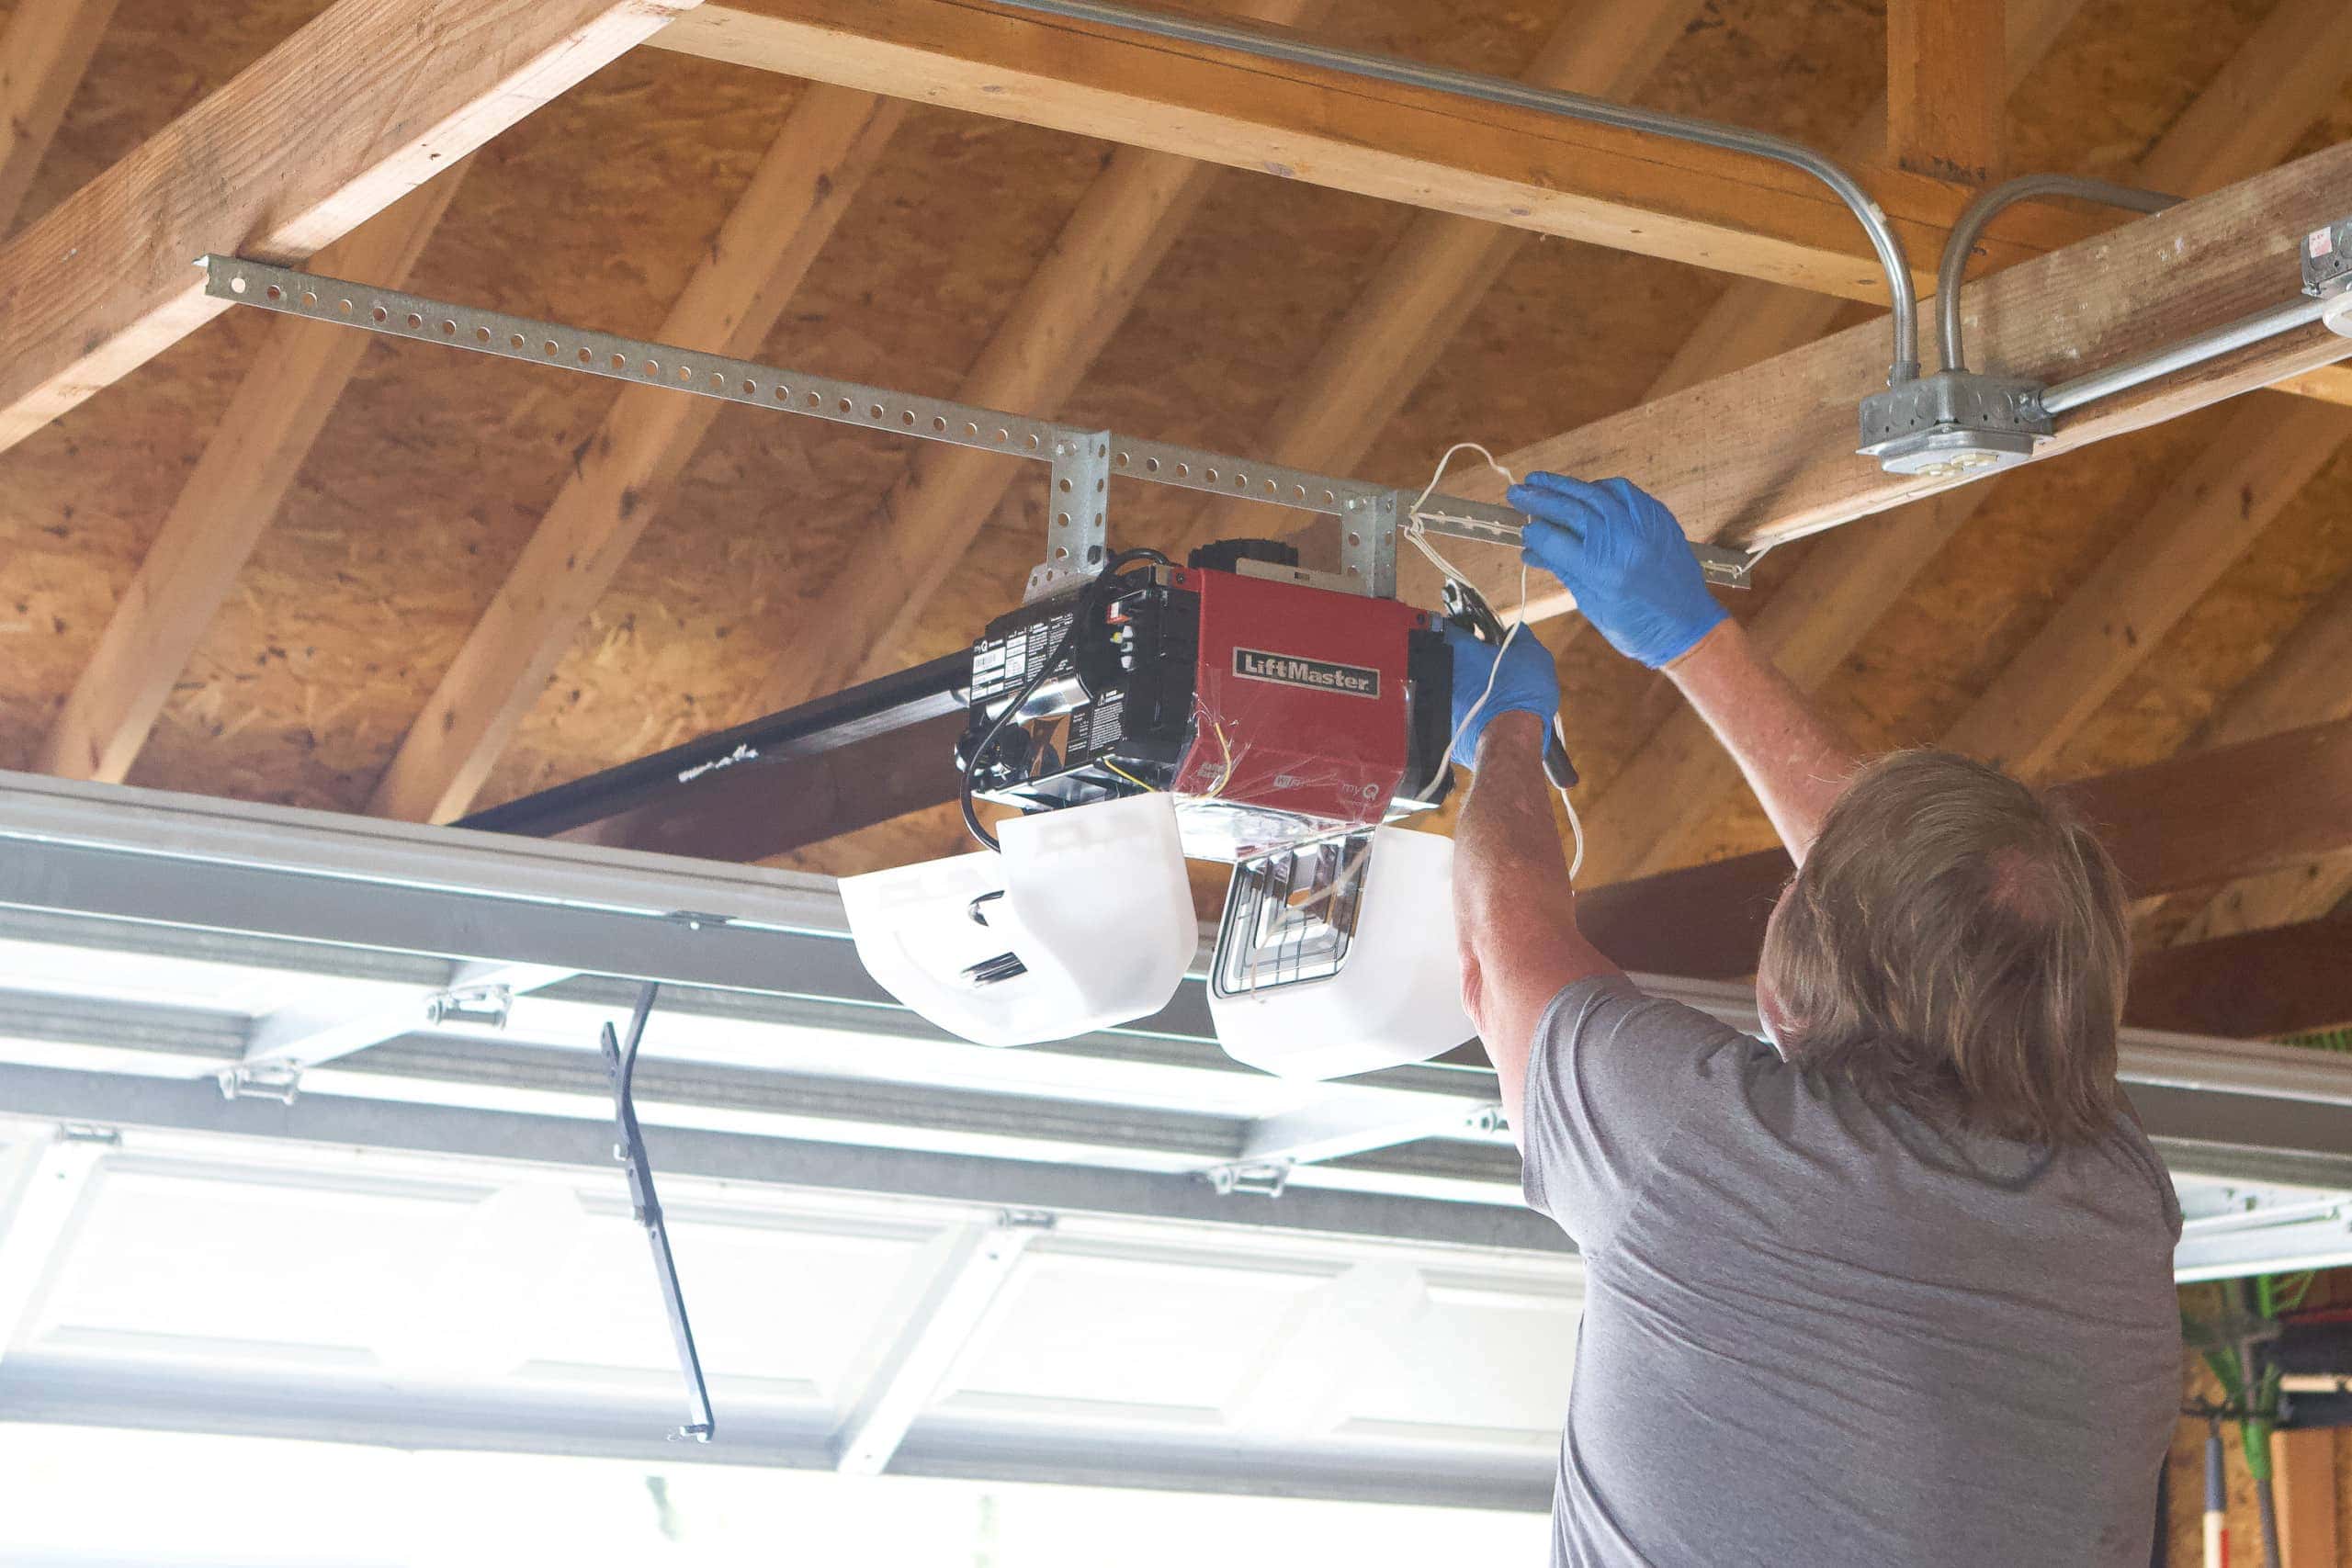
Step 4: Install the mounting bracket
With the Chamberlain garage door opener unboxed and all components inspected, it’s time to install the mounting bracket. The mounting bracket is a crucial component as it securely holds the motor unit in place.
Before you proceed with the installation, make sure the garage door is closed and fully secured. This will provide a safe working environment and prevent any accidents during the installation process.
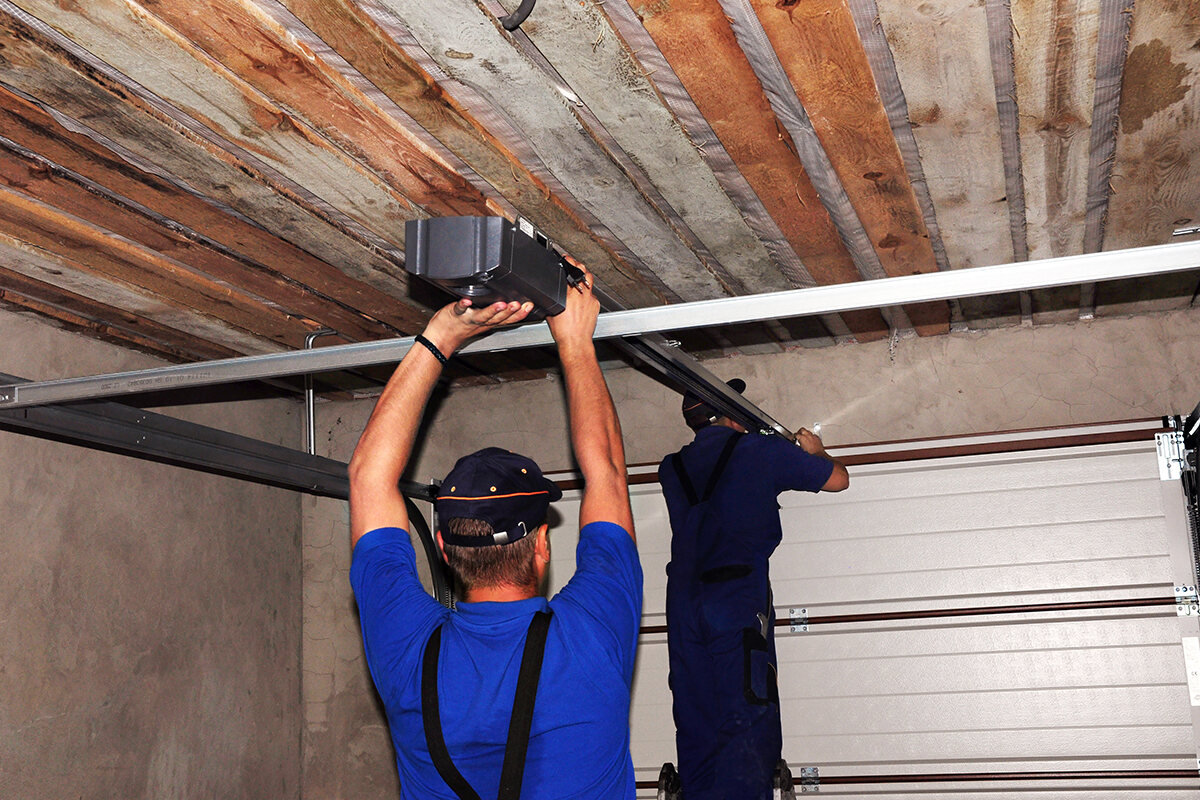
Start by identifying the ideal location for the mounting bracket on the ceiling of your garage. The mounting bracket should be positioned in a central and accessible area to ensure proper alignment and functionality.
Using a tape measure, carefully measure and mark the desired location for the mounting bracket. It’s important to follow the manufacturer’s instructions and guidelines regarding the proper distance from the garage door and any other specific requirements.
Next, use a power drill and appropriate drill bit to create pilot holes for the mounting bracket. Make sure to use the correct size and depth based on the instructions provided.
Once the pilot holes are created, align the mounting bracket with the holes and secure it in place using the provided screws and hardware. Use a screwdriver or power drill to tighten the screws, ensuring the bracket is securely attached to the ceiling.
Double-check the stability of the mounting bracket, ensuring that it can withstand the weight and movement of the garage door opener. Any wobbling or instability should be addressed immediately to avoid potential issues in the future.
Once you’ve installed the mounting bracket, take a moment to admire your progress! You’re one step closer to having your Chamberlain garage door opener fully installed and operational.
In the following step, we’ll guide you through the process of mounting the Chamberlain garage door opener on the bracket. This step is crucial as it ensures proper alignment and functionality for the opener.
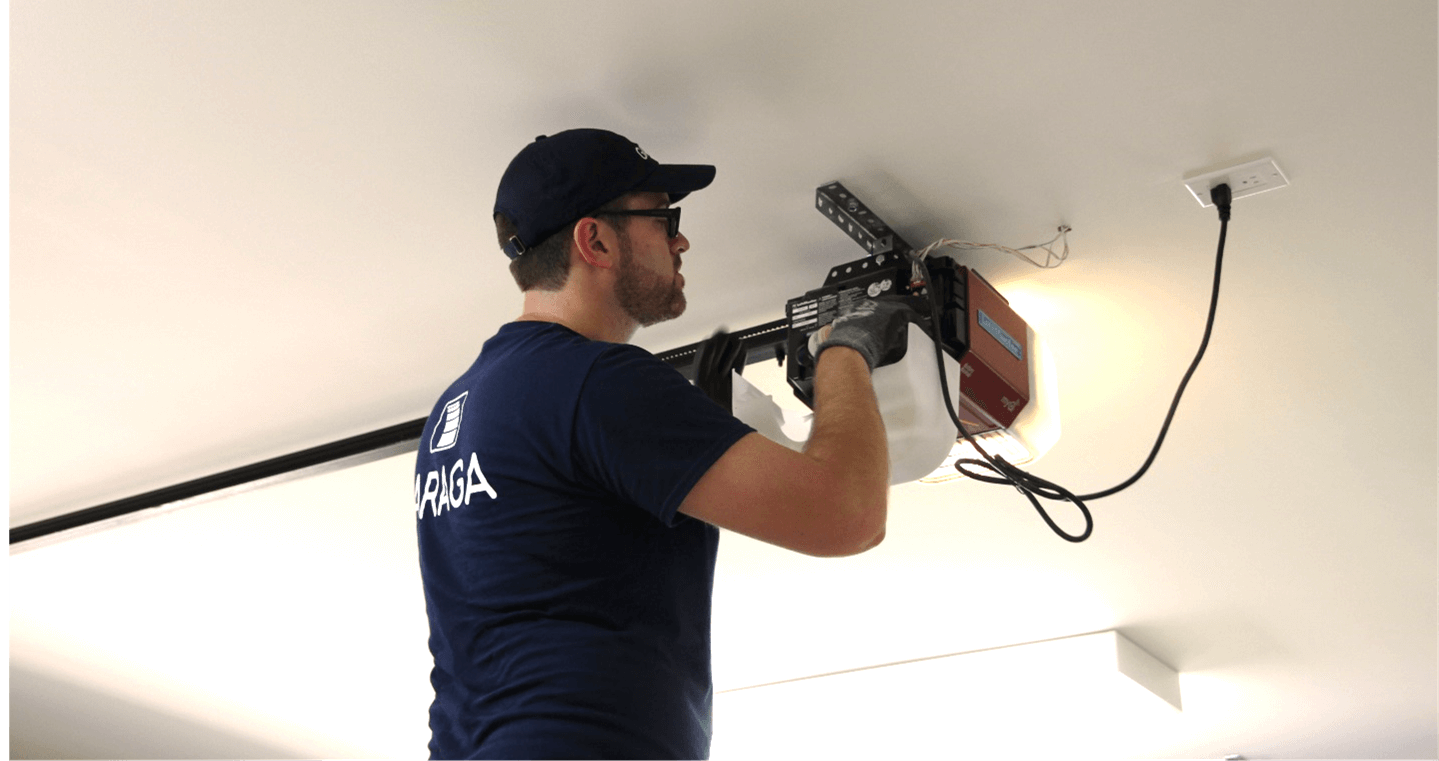
Step 5: Mount the Chamberlain garage door opener
Now that you have successfully installed the mounting bracket, it’s time to mount the Chamberlain garage door opener on it. Properly mounting the opener ensures that it is securely attached and aligned for optimal performance.
Start by carefully lifting the Chamberlain garage door opener and placing it on the mounting bracket. Make sure to align the holes on the back of the opener with the corresponding holes on the bracket.
Using the provided screws, attach the opener to the mounting bracket. Make sure to tighten the screws securely, but be careful not to overtighten and damage the components.
Once the opener is mounted, check for any wobbling or instability. The opener should be securely and firmly attached to the mounting bracket, without any excessive movement. If you notice any issues, adjust the screws as necessary to ensure stability.
Next, check the alignment of the opener with the garage door. The opener should be parallel to the door and centered in relation to the opening. Use a level to ensure proper alignment, making any necessary adjustments if needed.
If your Chamberlain garage door opener comes with a rail assembly, follow the manufacturer’s instructions to attach it to the opener and secure it to the mounting bracket. The rail assembly is responsible for guiding the door as it opens and closes, so it’s crucial to ensure it is properly installed.
Once the opener and rail assembly (if applicable) are securely mounted, take a moment to test the stability and alignment. Manually open and close the garage door a few times to ensure that the opener operates smoothly and the door moves without any issues.
If you notice any problems during the testing process, such as unusual noises or door misalignment, address them immediately. Consult the Chamberlain user manual or contact their customer support for assistance in troubleshooting and resolving any issues.
With the Chamberlain garage door opener successfully mounted and aligned, you’re one step closer to enjoying the convenience and security it provides. In the following step, we’ll guide you through connecting the necessary wires to ensure proper functionality and operation.
Make sure to follow the manufacturer’s instructions for programming the remote and setting up the opener. Keep the area around the garage door clear to avoid any obstructions.
Step 6: Connect the necessary wires
Now that you’ve mounted the Chamberlain garage door opener, it’s time to connect the necessary wires to ensure proper functionality and operation. Properly connecting the wires is essential for powering the opener and enabling its various features.
Start by locating the power source for the garage door opener. This is typically a nearby electrical outlet or a dedicated circuit specifically for the opener. Ensure that you have a safe and easily accessible power source available.
Before connecting any wires, it’s important to turn off the power supply to the garage door opener. This will prevent any accidental electrical discharges or injuries during the wiring process. Locate the circuit breaker or disconnect switch for the opener and switch it off to cut off power.
Next, carefully guide the power cord of the Chamberlain garage door opener to the power source. Plug it into the electrical outlet or connect it to the dedicated circuit as per the manufacturer’s instructions. Make sure the connection is secure.
Take a moment to inspect the wires and cords for any signs of damage or fraying. If you notice any issues, contact the manufacturer or a professional electrician for assistance. It’s crucial to maintain the integrity of the wiring for safety and optimal performance.
In addition to the power cord, there may be other wires that need to be connected depending on the features of your Chamberlain opener. These could include wires for safety sensors, wall control panels, keypads, or additional accessories.
Consult the user manual or the Chamberlain website for detailed instructions on connecting these additional wires. Follow the recommended wiring diagrams and color-coded instructions provided by the manufacturer to ensure proper installation.
As you connect each wire, double-check that they are securely fastened and properly insulated. Use electrical tape to wrap the exposed parts of the wires, providing an added layer of protection and insulation.
Once all the necessary wires are connected, it’s time to restore power to the garage door opener. Switch on the circuit breaker or reconnect the power supply and verify that the opener has power. You may need to use the wall control panel or remote control to activate the opener and test its functionality.
If you encounter any issues during the testing process, consult the user manual or reach out to Chamberlain customer support for assistance. They will be able to guide you through troubleshooting steps and provide solutions to common wiring problems.
With the necessary wires connected and power restored, your Chamberlain garage door opener is now ready to be programmed and set up. In the following step, we’ll guide you through the process of programming the opener’s settings to suit your specific needs.
Step 7: Program the opener’s settings
With the Chamberlain garage door opener connected and powered on, it’s time to program the opener’s settings to customize its functionality according to your specific needs. Programming the opener allows you to set features such as remote controls, keypads, and operating modes.
Start by locating the control panel or programming button on the Chamberlain garage door opener. Refer to the user manual or the manufacturer’s instructions to identify the specific location of the programming button.
Press the programming button or follow the provided instructions to enter the programming mode. This may involve a series of button presses or holding the button down for a specified period of time.
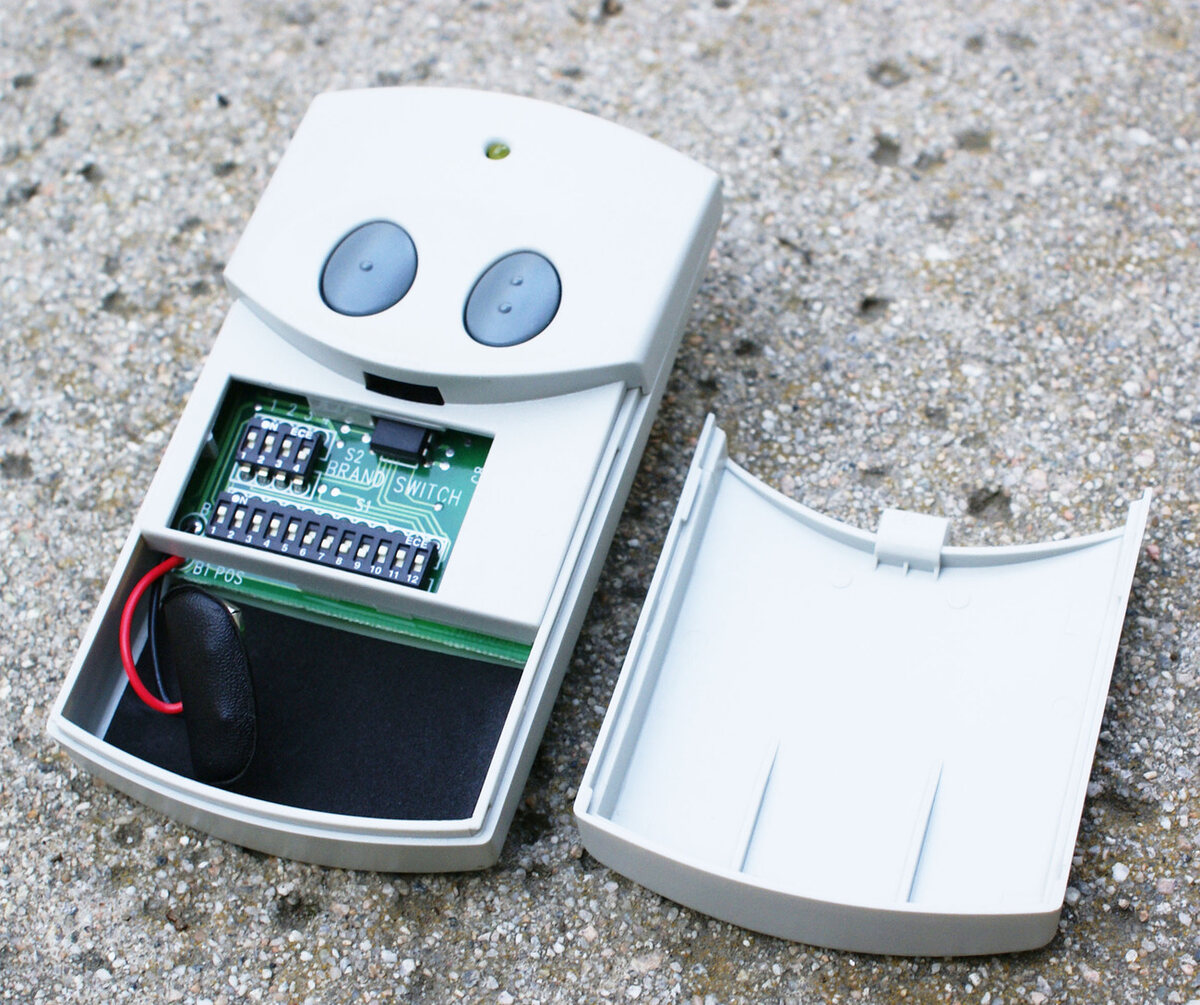
Once in programming mode, you can start programming the opener’s settings. This typically involves setting up remote controls, keypads, or any additional accessories you may have.
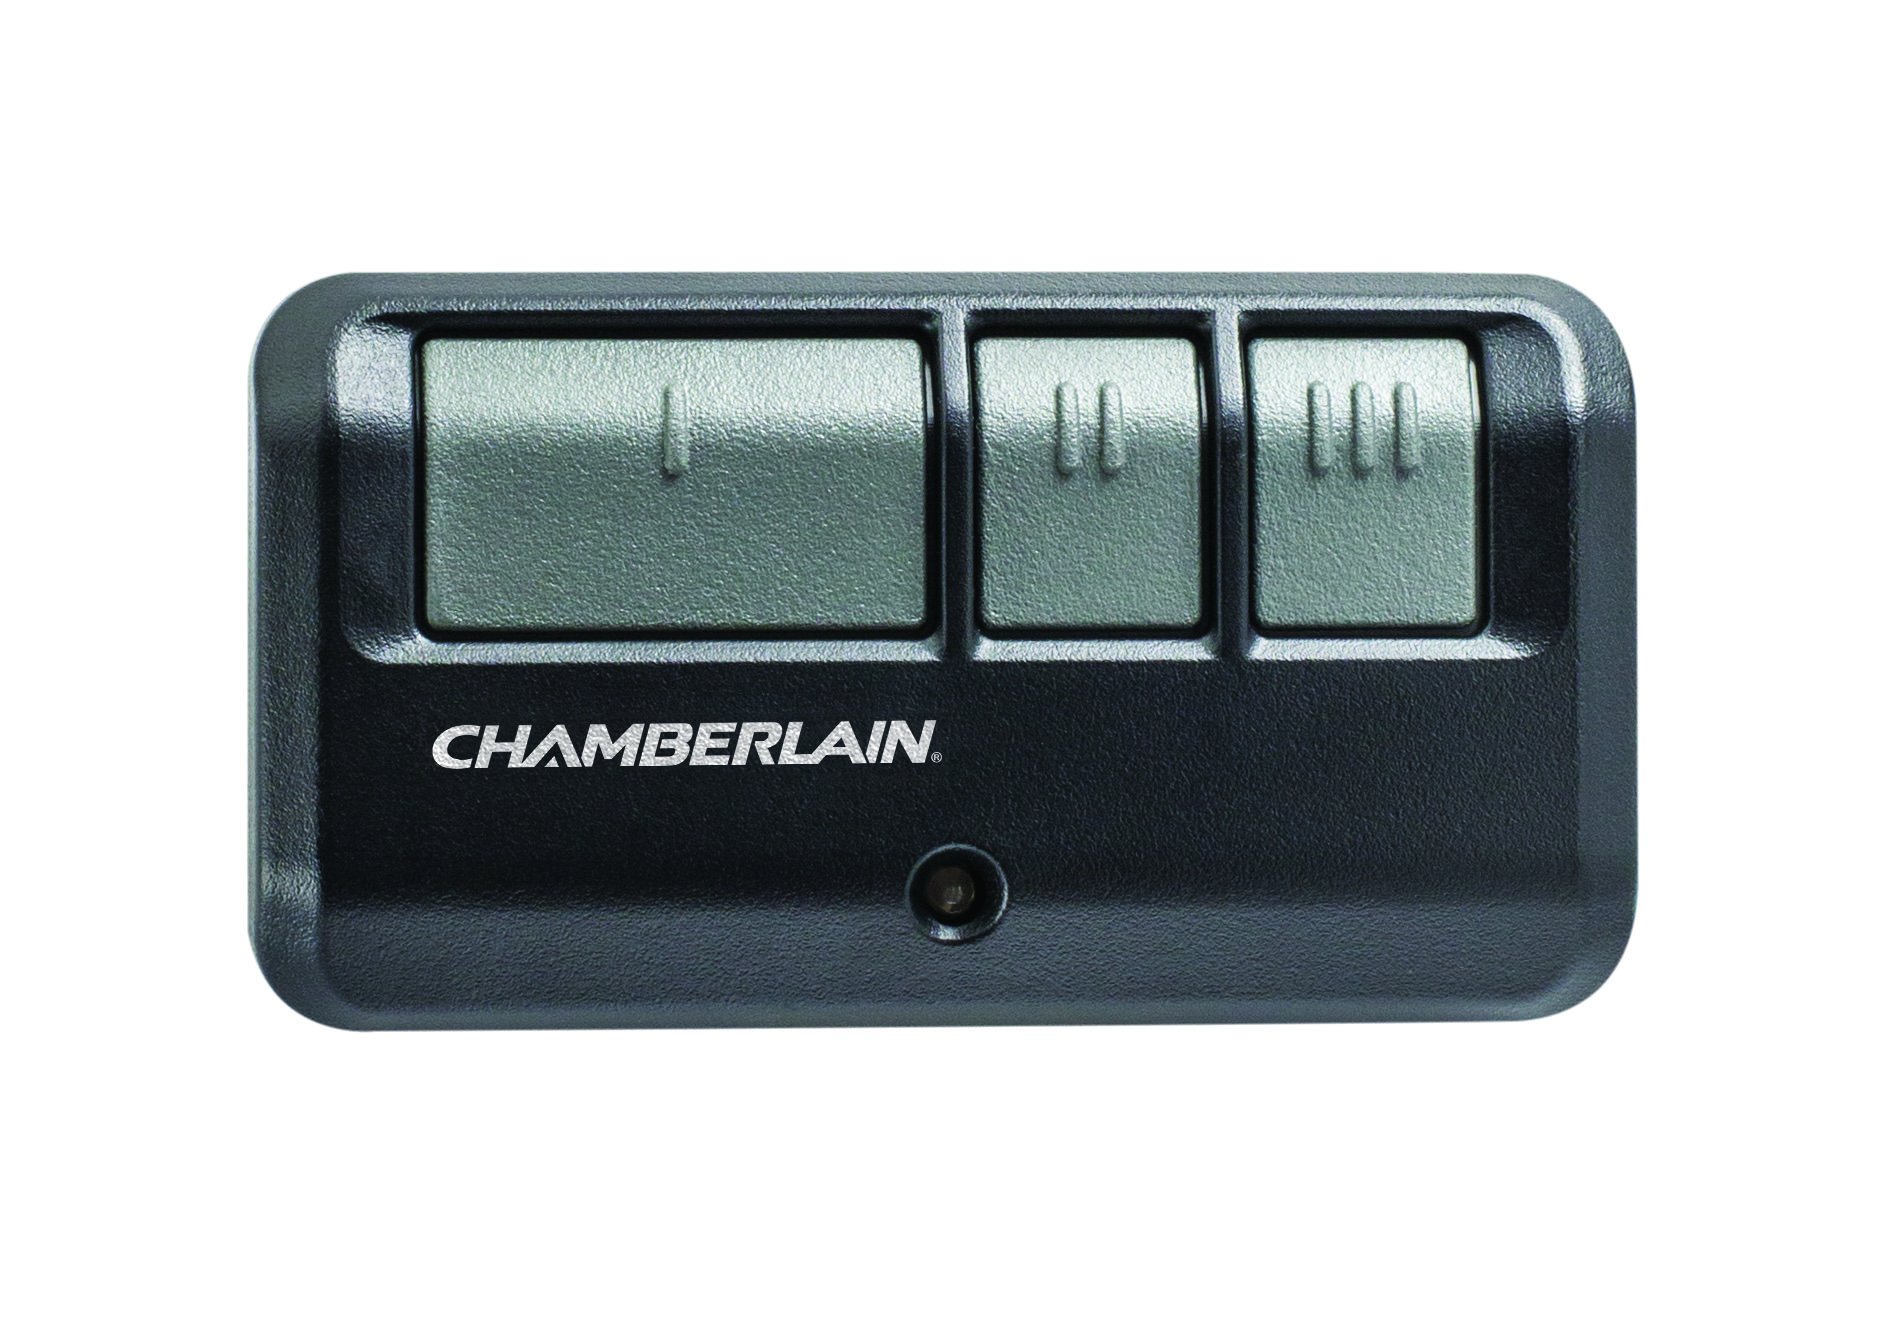
To program a remote control, press the programming button on the opener and then press the button on the remote control that you want to pair. The opener will usually indicate a successful pairing with a beep or flashing lights.
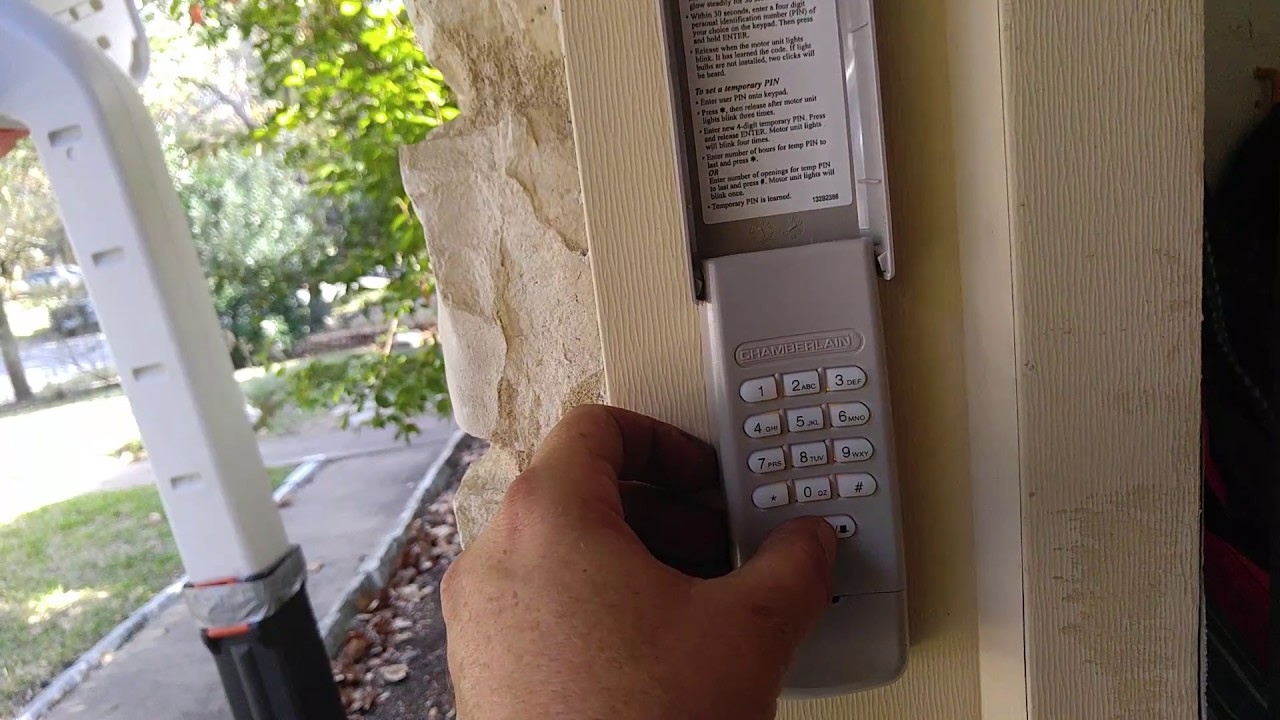
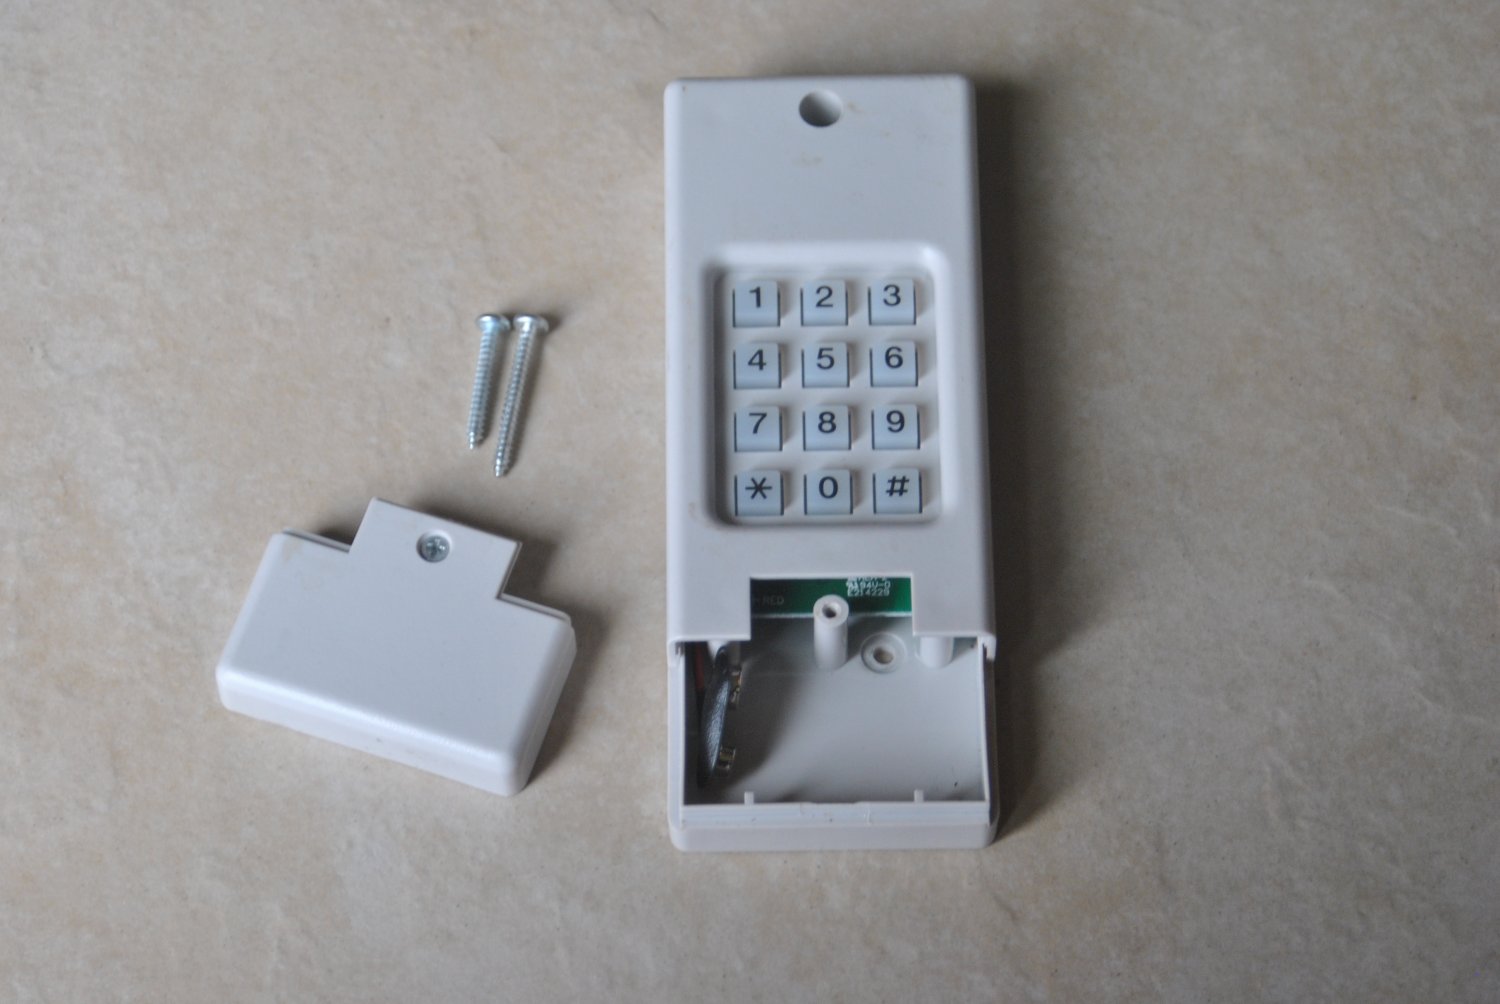
If you have a keypad, follow the manufacturer’s instructions to enter a specific code or sequence to program it. Make sure to choose a code that is easy to remember but not easily guessable for security purposes.
Depending on the model of your Chamberlain opener, you may have additional programming options such as adjusting the speed of the door, setting a time delay, or enabling vacation mode. Refer to the user manual or the manufacturer’s instructions for specific details on these features.
Once you’ve programmed the desired settings, exit the programming mode by pressing the programming button again or following the provided instructions.
Test the programmed settings to ensure that everything is functioning correctly. Use the remote control to open and close the garage door, and verify that any additional accessories, such as keypads or smart home integrations, are working as expected.
If you encounter any issues or difficulties during the programming process, consult the user manual or contact Chamberlain customer support for assistance. They will be able to guide you through troubleshooting steps and provide solutions.
With the opener’s settings programmed and customized to your preferences, you’re now ready to move on to the next step: testing the Chamberlain garage door opener to ensure proper operation. In the following step, we’ll guide you through the testing process.
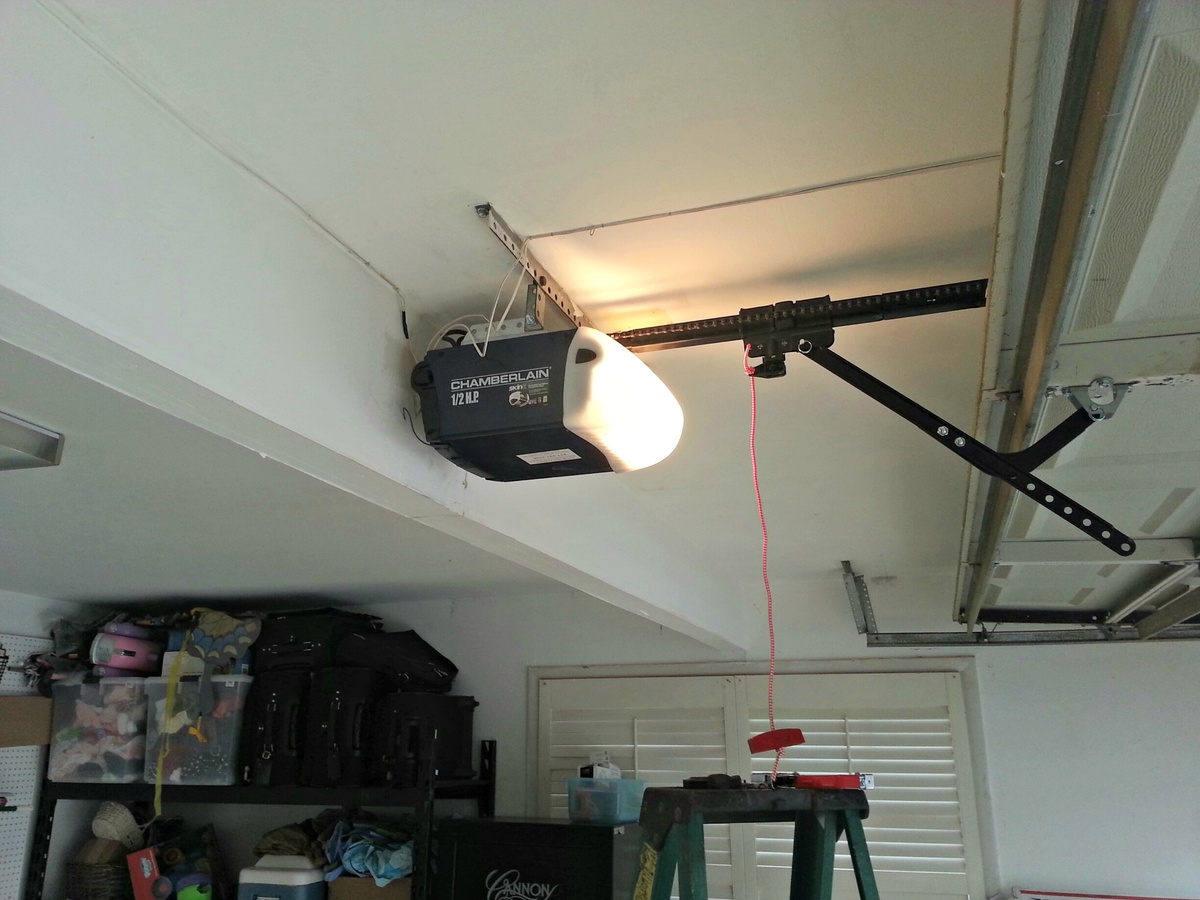
Step 8: Test the Chamberlain garage door opener
Once you have programmed the settings of your Chamberlain garage door opener, it’s important to thoroughly test its functionality to ensure proper operation. Testing the opener allows you to identify any potential issues or adjustments that may be needed before regular use.
Start by standing inside the garage and close the garage door completely. Ensure that no objects or obstructions are in the path of the door.
Using the wall control panel or a remote control, activate the Chamberlain garage door opener to open the door. Observe the motion of the door as it opens. It should move smoothly and without any jerking or audible noises.
If you notice any unusual noises or jerky movements, stop the door immediately and investigate the issue. There may be a problem with the alignment, balance, or lubrication of the door. Consult the user manual or Chamberlain customer support for guidance on troubleshooting and resolving the issue.
Once the door is fully open, test the reverse mechanism. Place a sturdy object, such as a block of wood, in the path of the closing door. Activate the opener to close the door and observe its response.
The opener should automatically reverse direction when it encounters the obstruction. If the door does not reverse or reverses too late, there may be an issue with the safety sensors or the force setting of the opener. Again, consult the user manual or Chamberlain customer support for assistance in resolving the problem.
If the reverse mechanism is functioning correctly, remove the obstruction and test the opener again. Open and close the door multiple times to ensure consistent and smooth operation.
During the testing process, pay attention to the overall performance and response time of the Chamberlain garage door opener. It should operate promptly, smoothly, and without any unexpected interruptions or malfunctions.
If you encounter any persistent issues or concerns during the testing, it may be necessary to seek professional assistance from a garage door technician or contact Chamberlain customer support for further guidance.
Once you are satisfied with the performance and functionality of your Chamberlain garage door opener, you can proceed to the next step: troubleshooting common issues that may arise during regular use. In the following step, we’ll provide you with some helpful tips to address common problems.
Step 9: Troubleshooting common issues
While Chamberlain garage door openers are known for their reliability, occasionally, you may encounter some common issues during regular use. Being aware of these issues and their potential solutions will help you troubleshoot and address any problems that may arise.
Here are some common issues you may encounter with your Chamberlain garage door opener and how to troubleshoot them:
- Door not responding: If the garage door does not respond to the opener or the wall control panel, check the power source to ensure it is functioning properly. Also, verify that the opener is receiving power, and the wiring connections are secure.
- Interference with the remote control: If the remote control is not working reliably or has limited range, check for any potential sources of interference, such as nearby electronics or wireless devices. Reprogramming the remote control or changing its batteries may also help resolve the issue.
- Door reversing unexpectedly: If the garage door reverses while opening or closing without encountering any obstructions, check the alignment and sensitivity of the safety sensors. Make sure they are clean, properly aligned, and not blocked by any objects.
- Noise and vibration: If the garage door opener produces excessive noise or vibrations during operation, it may indicate a need for lubrication or some mechanical adjustments. Apply a recommended garage door lubricant to the moving parts and check for any loose hardware that needs tightening.
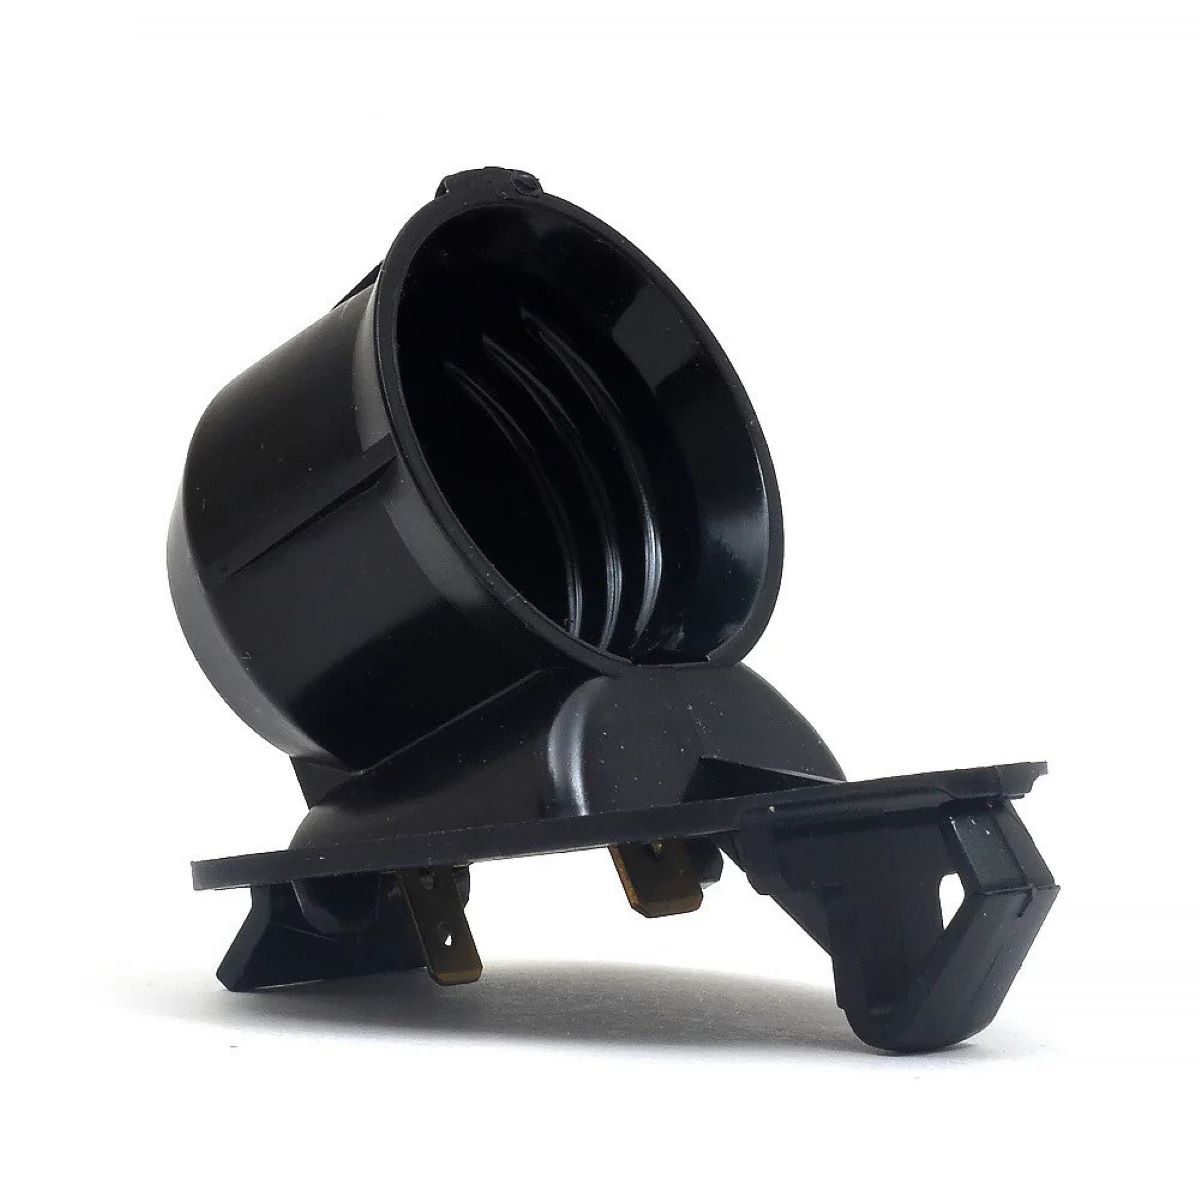
- Lights not working: If the lights on the Chamberlain garage door opener are not functioning, check the light bulb to ensure it is not burned out. If the bulb is in good condition, verify the wiring connections to the light socket. Replacing the bulb or reseating the connections may resolve the issue.
If you encounter any other issues or have difficulty troubleshooting the problem, consult the user manual or contact Chamberlain customer support for assistance. They have trained professionals who can provide further guidance and address any specific concerns you may have.
Remember to follow the recommended safety precautions and specifications provided by Chamberlain to avoid any accidents or damage to the garage door opener system.
With effective troubleshooting and problem-solving, you can quickly address any common issues that may arise and ensure that your Chamberlain garage door opener continues to operate reliably and efficiently.
Finally, in the last step, we’ll provide you with some maintenance and care tips to keep your Chamberlain garage door opener in optimal condition for years to come.
Step 10: Maintenance and care tips for your Chamberlain garage door opener
Proper maintenance and regular care of your Chamberlain garage door opener are essential to extend its lifespan and ensure optimal performance. By following these maintenance tips, you can keep your opener in top shape:
- Inspect and clean regularly: Regularly inspect the opener, rails, and components for any signs of wear, debris, or buildup. Clean the tracks and remove any dirt or obstructions that may hinder the smooth operation of the garage door.
- Lubricate moving parts: Apply a recommended garage door lubricant to the moving parts of the opener, including the chains, rollers, and hinges. This helps reduce friction and ensures smooth operation.
- Check the safety sensors: Periodically check the alignment and cleanliness of the safety sensors. Make sure they are properly aligned and free of any obstructions. If necessary, clean the sensors or adjust their position to improve accuracy and responsiveness.
- Tighten loose hardware: Over time, the vibrations from the garage door’s operation can cause nuts and bolts to become loose. Regularly inspect and tighten all hardware, including brackets, screws, and fasteners, to maintain stability and prevent any potential accidents.
- Test the door balance: Test the balance of your garage door by disconnecting the opener and manually operating the door. It should move smoothly and stay in place when partially open. If it doesn’t, adjust the tension springs or seek professional assistance.
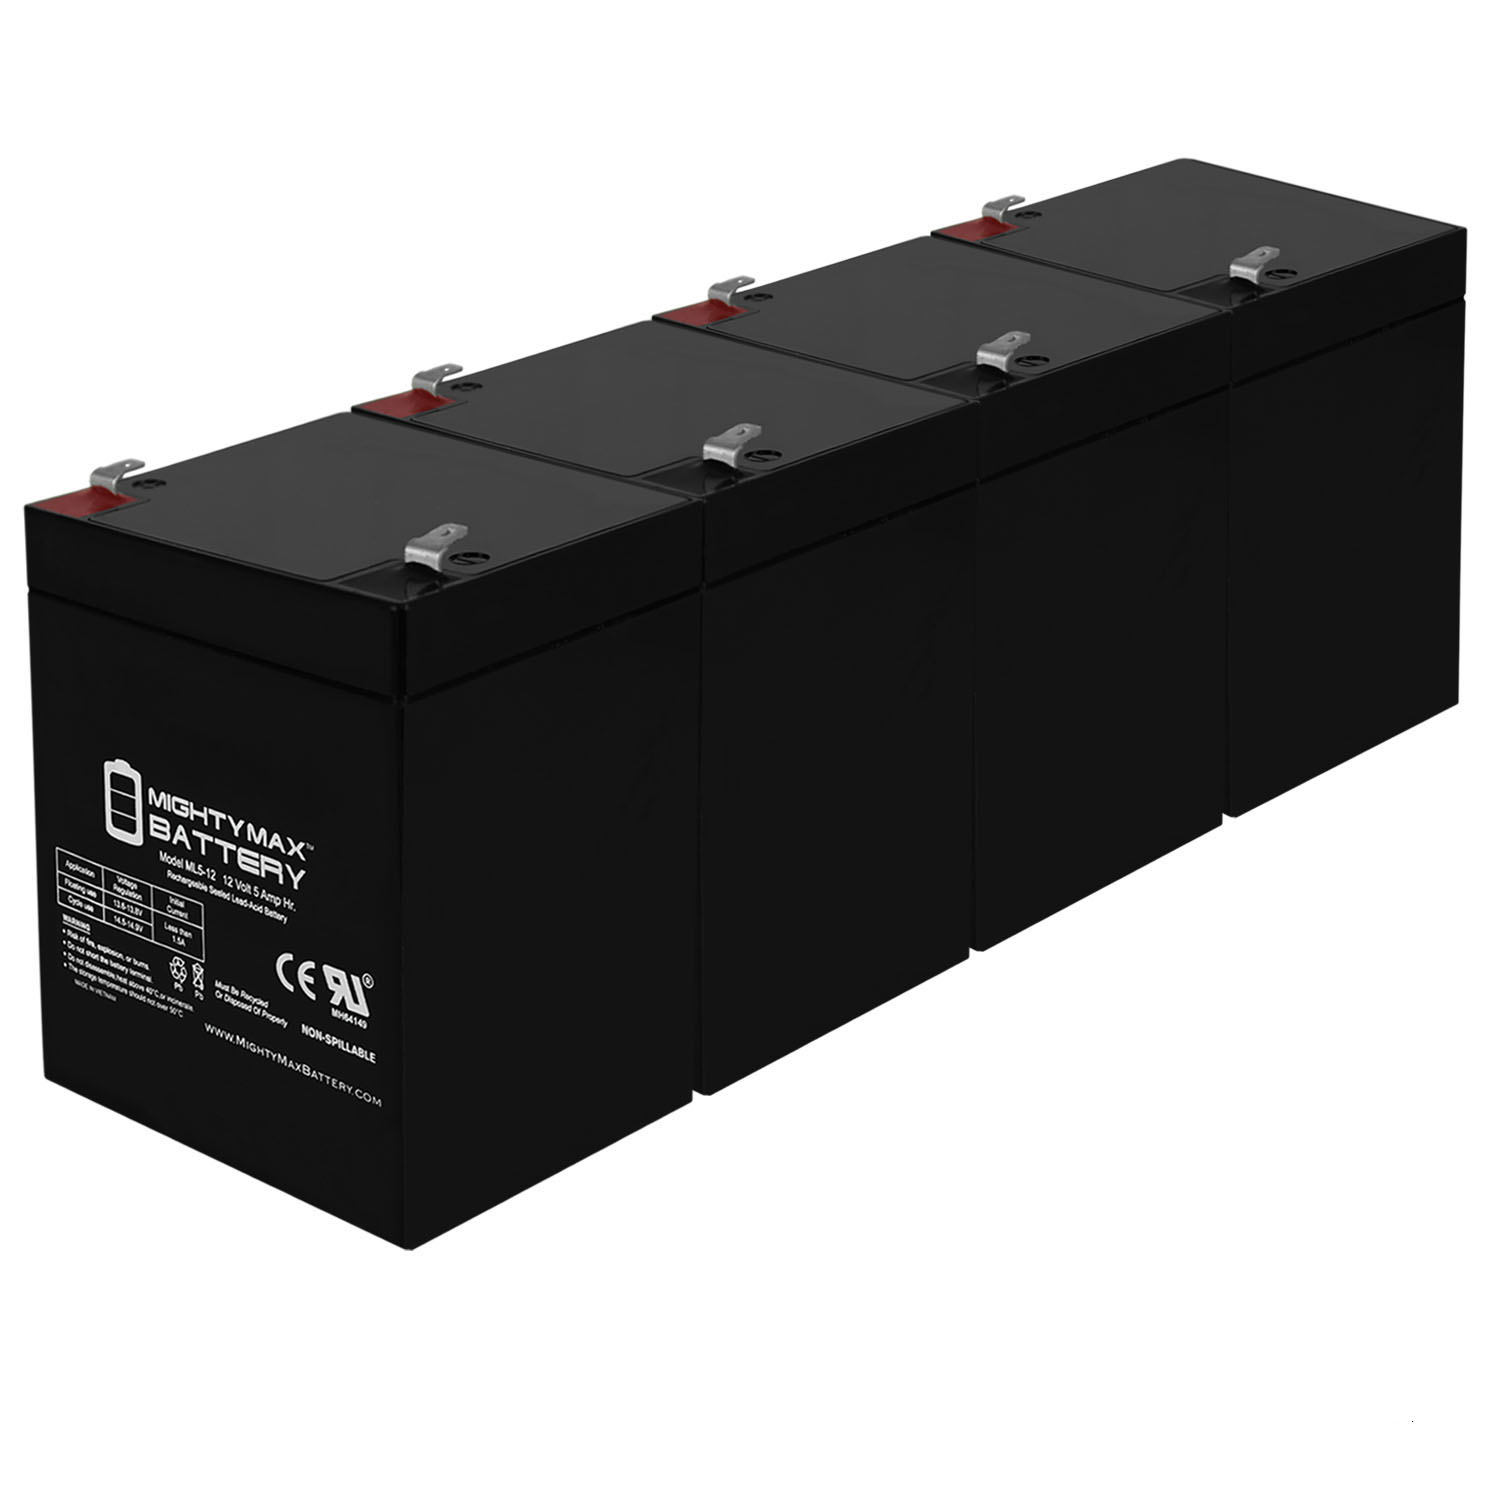
- Replace batteries: For remote controls, keypads, and other accessories, regularly check and replace the batteries as needed. This ensures reliable and consistent operation without any interruptions.
- Keep the area clear: Maintain a clear and clutter-free area around the garage door opener. Avoid storing any objects or debris near the opener to prevent interference or potential damage to the system.
- Follow manufacturer’s instructions: Always refer to the user manual and follow the recommended maintenance procedures and safety guidelines provided by Chamberlain. This ensures that you are taking proper care of your opener and maximizing its performance.
By implementing these maintenance and care tips, you can ensure that your Chamberlain garage door opener remains in excellent condition and provides reliable operation for years to come. Regular upkeep will also help identify any potential issues early on, allowing for prompt repairs and avoiding costly problems down the line.
Congratulations! You have successfully completed all steps, from opening your Chamberlain garage door opener to maintaining it. Enjoy the convenience and security of your new opener!
Note: Please note that the above steps are general guidelines, and it’s essential to consult the specific user manual and manufacturer’s instructions for your Chamberlain garage door opener for accurate and detailed instructions.
Conclusion
Congratulations on successfully opening and installing your Chamberlain garage door opener! By following the steps outlined in this guide, you have equipped yourself with the knowledge and skills to set up your opener and ensure its proper functionality. You are now ready to enjoy the convenience, security, and smooth operation that a Chamberlain garage door opener brings to your home.
Throughout the process, you gathered the necessary tools and materials, determined the type of Chamberlain opener you have, unboxed and inspected the components, installed the mounting bracket, mounted the opener, connected the required wires, programmed the settings, tested the opener’s functionality, and learned how to troubleshoot common issues. By completing these steps with care and attention to detail, you have set a solid foundation for a well-functioning garage door opener system.
Remember to regularly maintain and care for your Chamberlain garage door opener to prolong its lifespan and ensure optimal performance. Inspect, clean, lubricate, and tighten as necessary, and always follow the manufacturer’s recommendations and safety guidelines for maintenance.
If you encounter any issues or have further questions, always refer to the user manual provided by Chamberlain or reach out to their customer support for additional assistance. They are the best resource for accurate and specific guidance tailored to your Chamberlain garage door opener model.
Thank you for choosing Chamberlain and taking the time to go through this comprehensive guide. We hope it has been helpful in opening and installing your garage door opener. Enjoy the convenience, security, and peace of mind that your Chamberlain opener brings to your daily life!
Frequently Asked Questions about How To Open A Chamberlain Garage Door Opener
Was this page helpful?
At Storables.com, we guarantee accurate and reliable information. Our content, validated by Expert Board Contributors, is crafted following stringent Editorial Policies. We're committed to providing you with well-researched, expert-backed insights for all your informational needs.
0 thoughts on “How To Open A Chamberlain Garage Door Opener”