Articles
How To Fix Garage Door Opener Sensor
Modified: August 22, 2024
Learn how to fix your garage door opener sensor with these informative articles. Find step-by-step guides and troubleshooting tips to get your garage door opener working smoothly again.
(Many of the links in this article redirect to a specific reviewed product. Your purchase of these products through affiliate links helps to generate commission for Storables.com, at no extra cost. Learn more)
Introduction
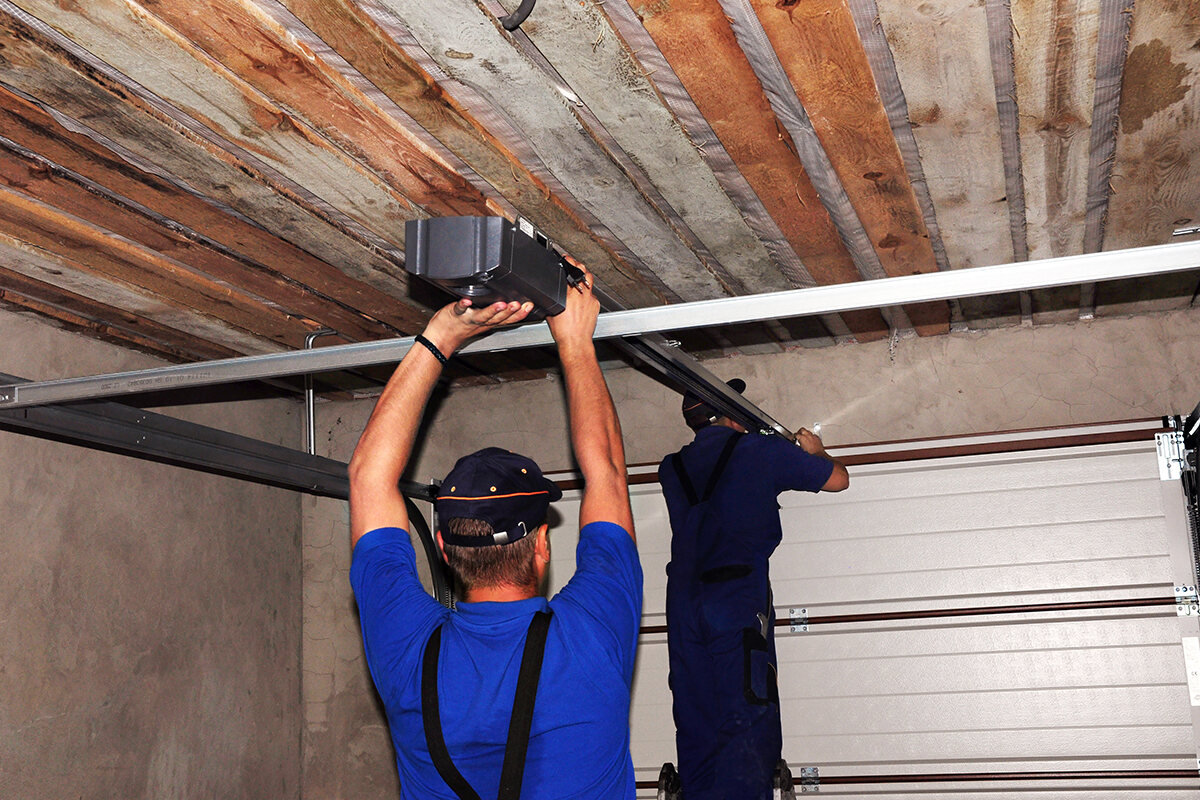
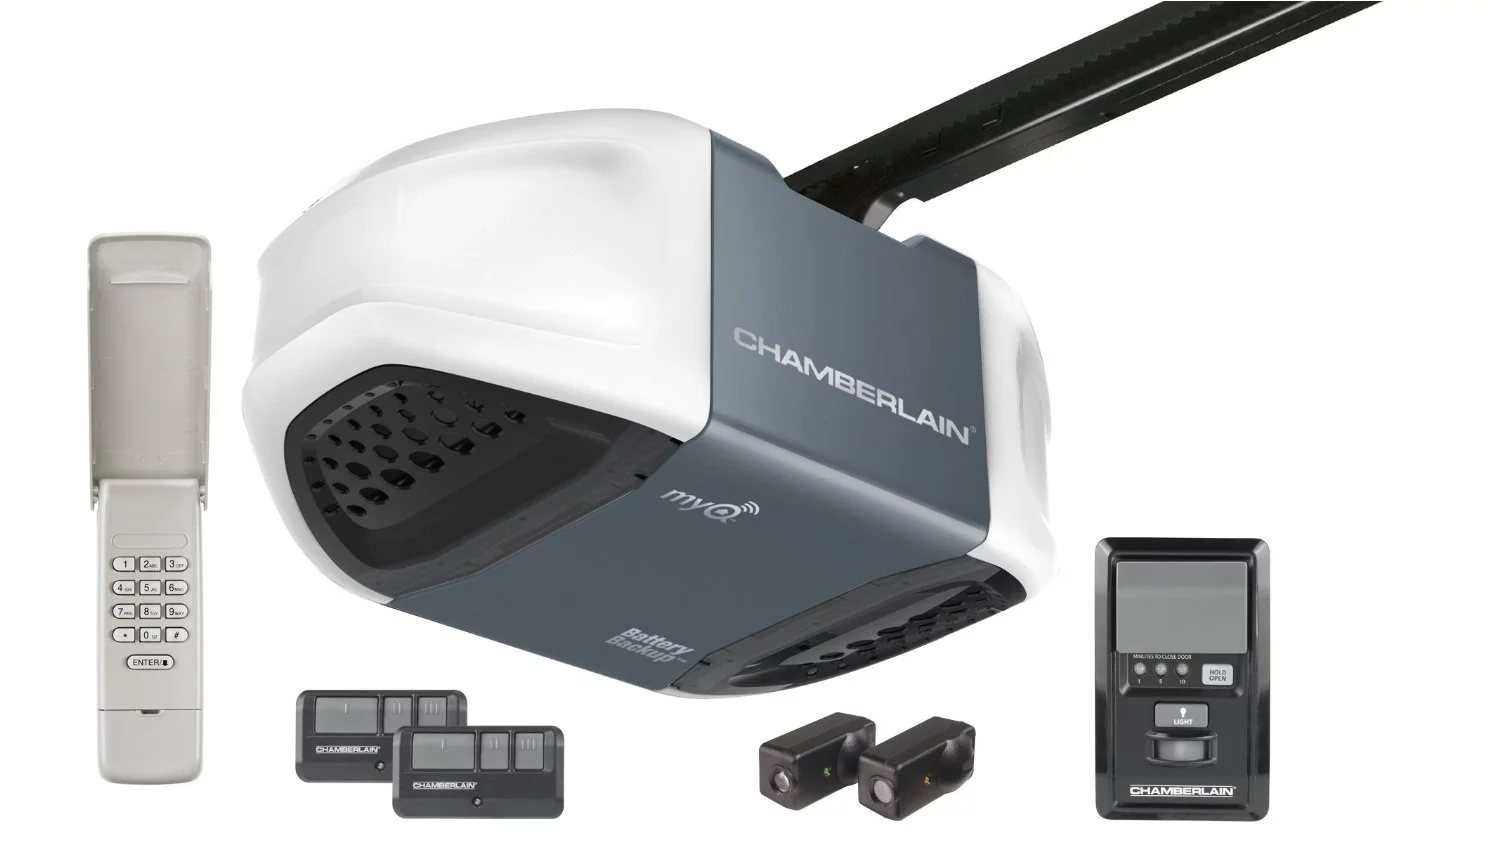
Welcome to the world of smart garage door openers! These nifty devices have revolutionized the way we enter and exit our garages, providing convenience and security with just a push of a button. However, like any electronic system, garage door openers can experience issues and malfunctions over time. One common issue that homeowners encounter is a malfunctioning garage door opener sensor.
The sensors play a crucial role in ensuring the safe operation of your garage door opener. They are typically located on either side of the garage door, near the bottom. Their purpose is to detect any obstructions or objects in the path of the closing door, preventing accidents and damage. When the sensors detect an obstruction, they send a signal to the opener to stop closing the door and reverse its direction.
When the sensors malfunction or get misaligned, it can lead to various problems, such as the garage door not closing or reversing unexpectedly. Fortunately, fixing the garage door opener sensor is not a complicated task, and in most cases, you can do it yourself with a few basic tools and some troubleshooting techniques.
In this article, we will guide you through the process of fixing a malfunctioning garage door opener sensor. We will start by understanding the sensors and the reasons behind their malfunction. Then, we will take you step-by-step through the process of preparing for sensor repair and troubleshooting the sensors. We will also cover the essential tasks of adjusting sensor alignment, cleaning the sensors, and replacing faulty sensors when necessary.
With the information provided in this article, you will be able to diagnose and fix common issues with your garage door opener sensor, saving you time and money from unnecessary professional repairs. So, let’s dive in and help you get your garage door opener back in smooth working condition!
Key Takeaways:
- Regularly cleaning and aligning your garage door opener sensors can prevent malfunctions and ensure the safety of your garage door system, saving you time and money on unnecessary professional repairs.
- If troubleshooting techniques fail to resolve sensor issues, safely replacing faulty sensors can effectively restore the smooth operation of your garage door, providing convenience and security for your home.
Read more: How To Fix Garage Door Opener
Understanding Garage Door Opener Sensors
Before we delve into the troubleshooting and repair process, let’s take a moment to understand how garage door opener sensors work. These sensors are essential safety features that help prevent accidents and damage caused by a closing garage door.
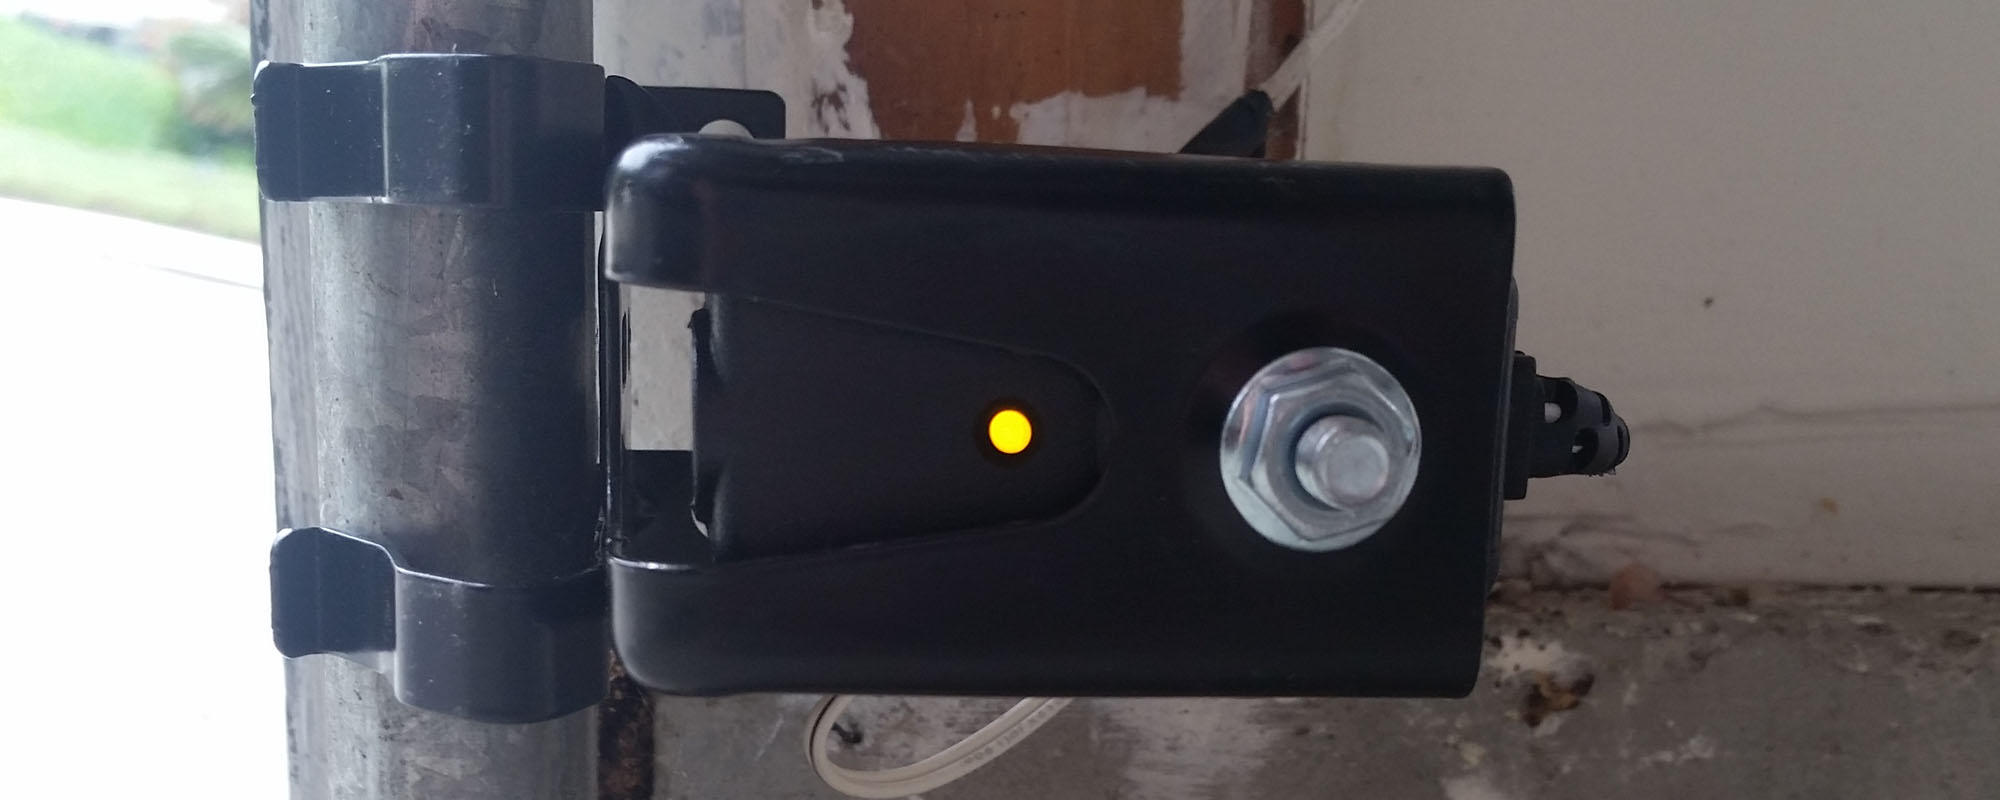
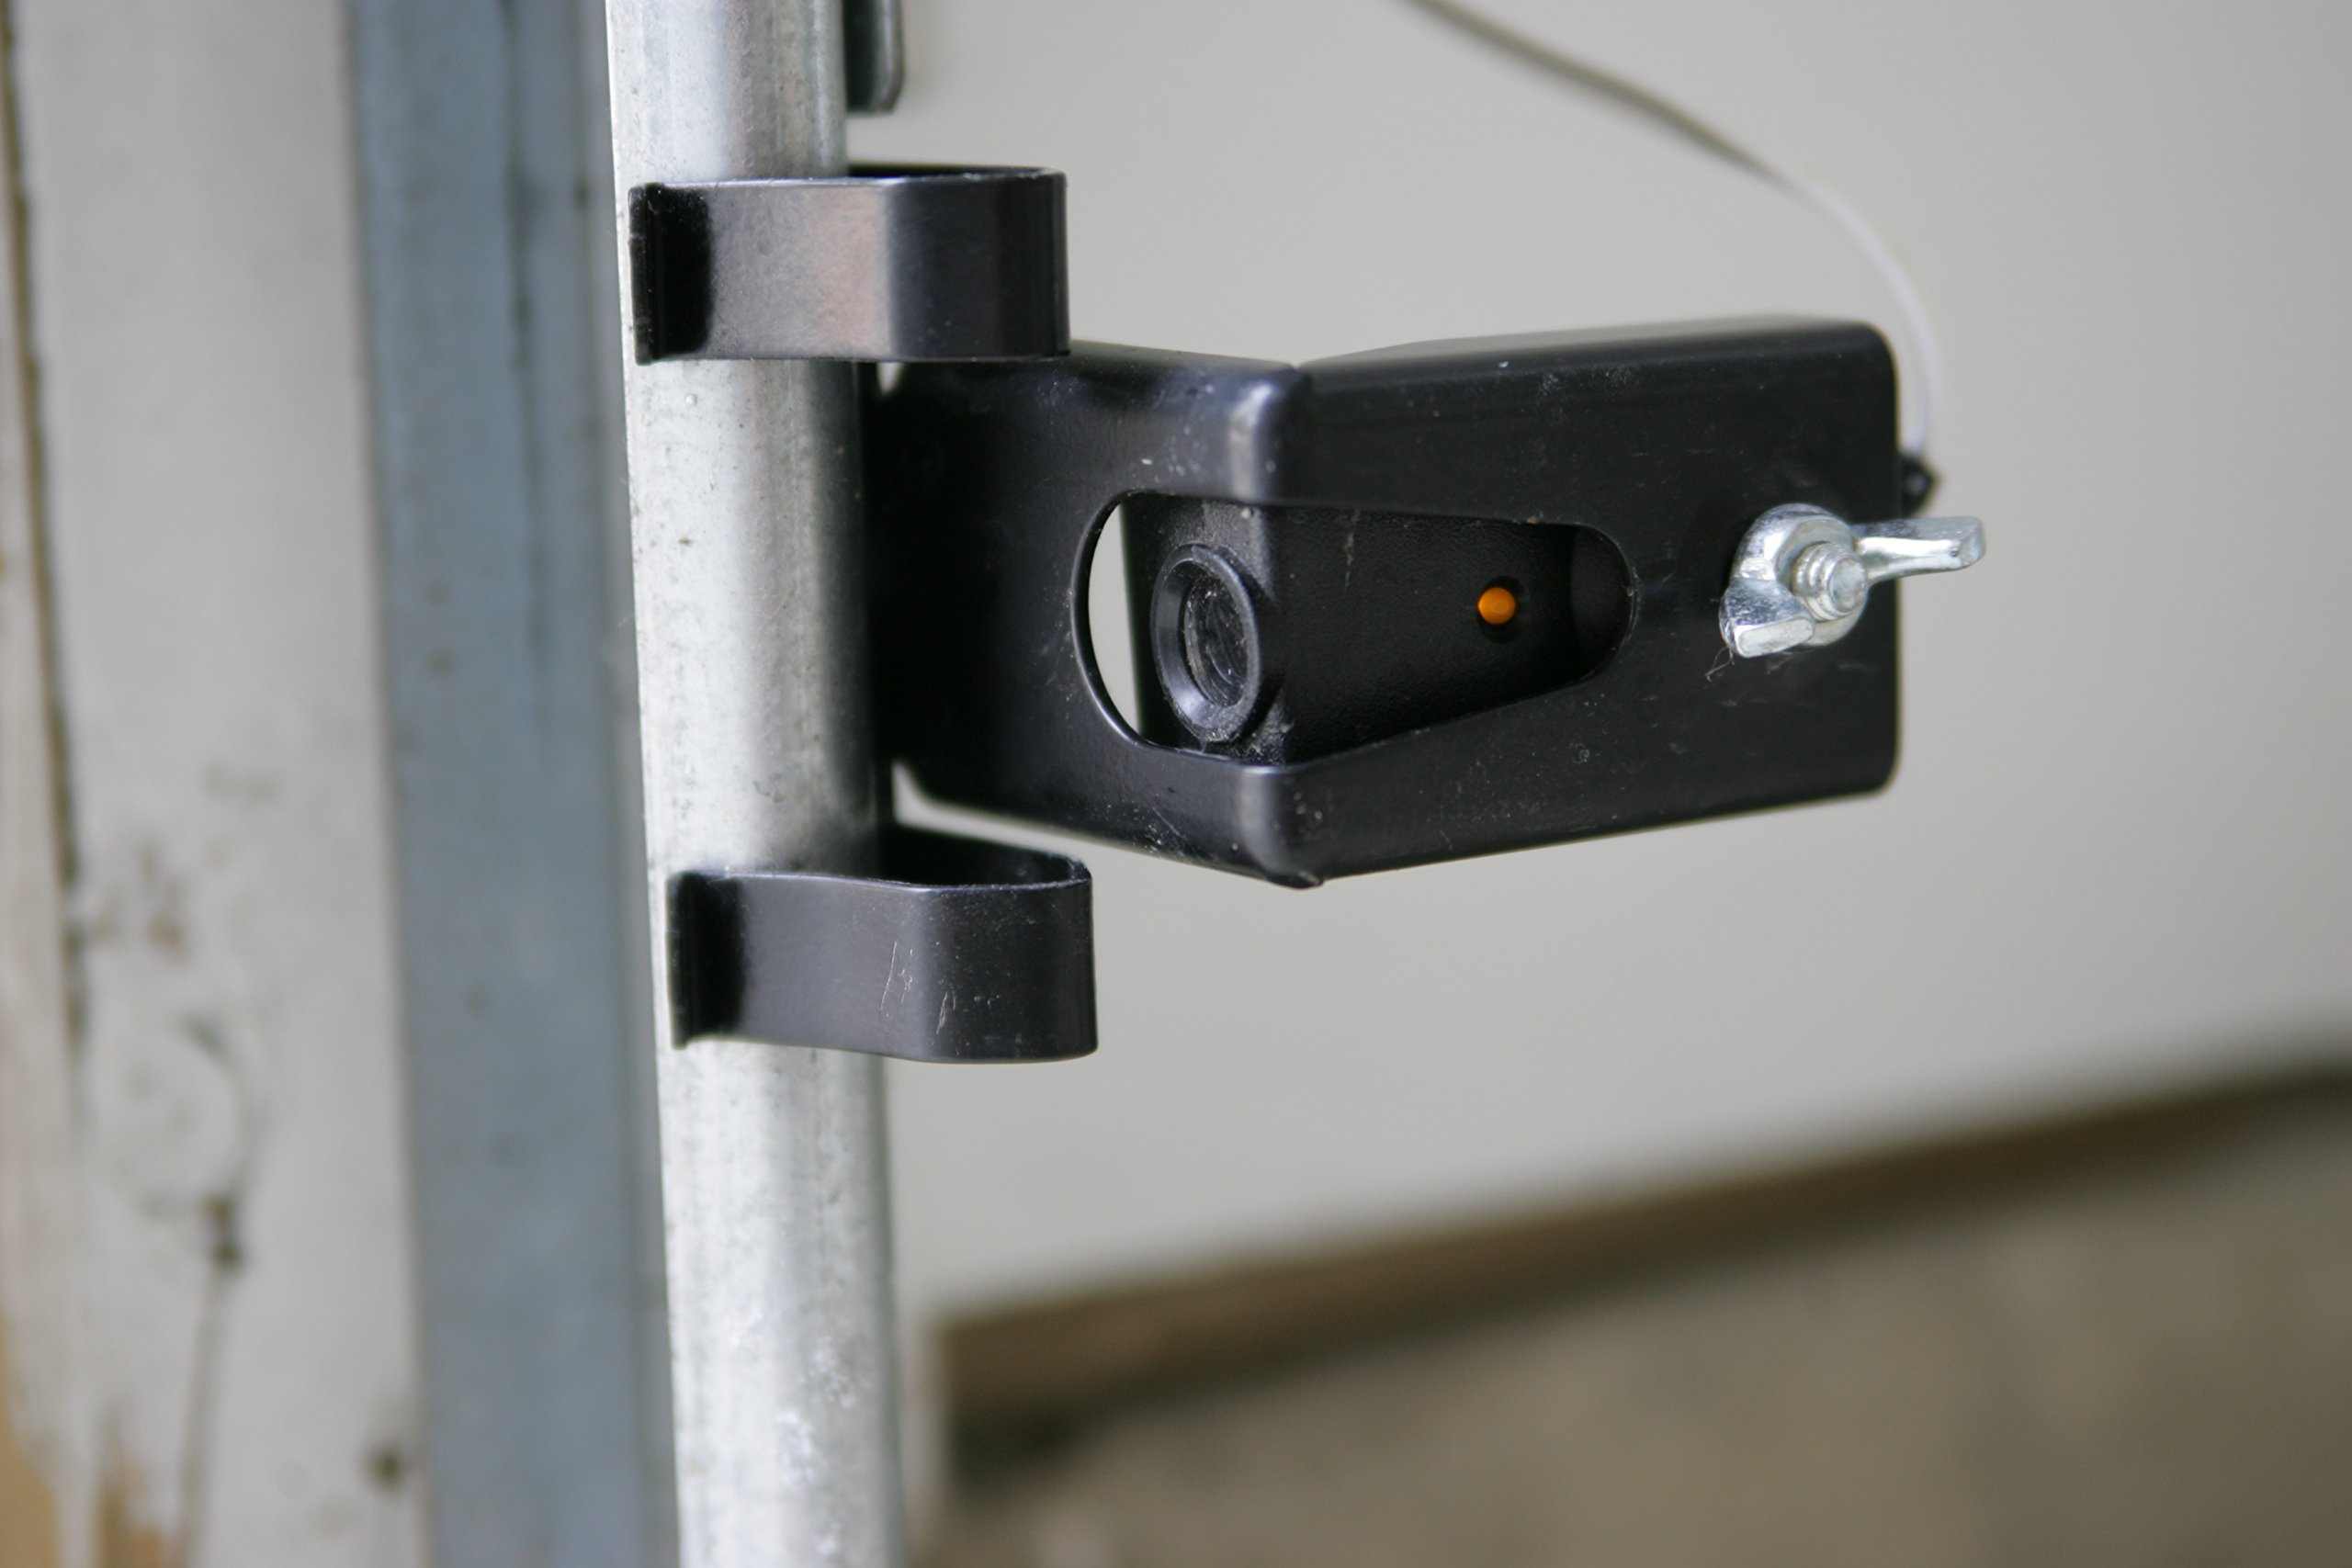
The garage door opener sensors are usually located on each side of the garage door, about six inches above the floor. They consist of two components: a sending sensor and a receiving sensor. The sending sensor emits an invisible beam of light, and the receiving sensor detects that beam. When the beam of light is interrupted, it indicates that there is something obstructing the path of the garage door.
When the garage door is closing, the beam of light is projected from the sending sensor to the receiving sensor, creating a continuous circuit. If the circuit is interrupted, the sensors send a signal to the garage door opener to stop closing and reverse its direction, preventing accidents or damage.
It’s important to note that the garage door opener sensors only work when the garage door is closing. They do not detect objects when the door is opening. Therefore, if an obstruction is present when the door is opening, the sensors will not prevent the door from closing on the obstruction. This is why it’s crucial to keep the garage door path clear at all times.
The garage door opener sensors are designed to provide an added layer of safety for your garage door system. They are especially important if you have children or pets, as they help prevent entrapment or injury caused by a closing garage door.
Now that we have a basic understanding of how the garage door opener sensors work, let’s move on to the common reasons why these sensors may malfunction.
Reasons for Sensor Malfunction
Garage door opener sensors are prone to malfunction due to various reasons. Understanding these common causes can help you diagnose and resolve sensor issues effectively. Here are some of the most common reasons for sensor malfunction:
- Misalignment: Over time, the sensors can get misaligned due to vibrations or accidental bumps. If the sensors are not properly aligned, the beam of light may not reach the receiving sensor, triggering a malfunction.
- Obstructions: The sensors need a clear path for the beam of light to travel. Obstructions such as dirt, spider webs, or debris can block the path and prevent the sensors from functioning correctly.
- Dirty lenses: The lenses of the sensors can accumulate dust and dirt, impairing the transmission of the beam of light. This can lead to false readings and sensor malfunction.
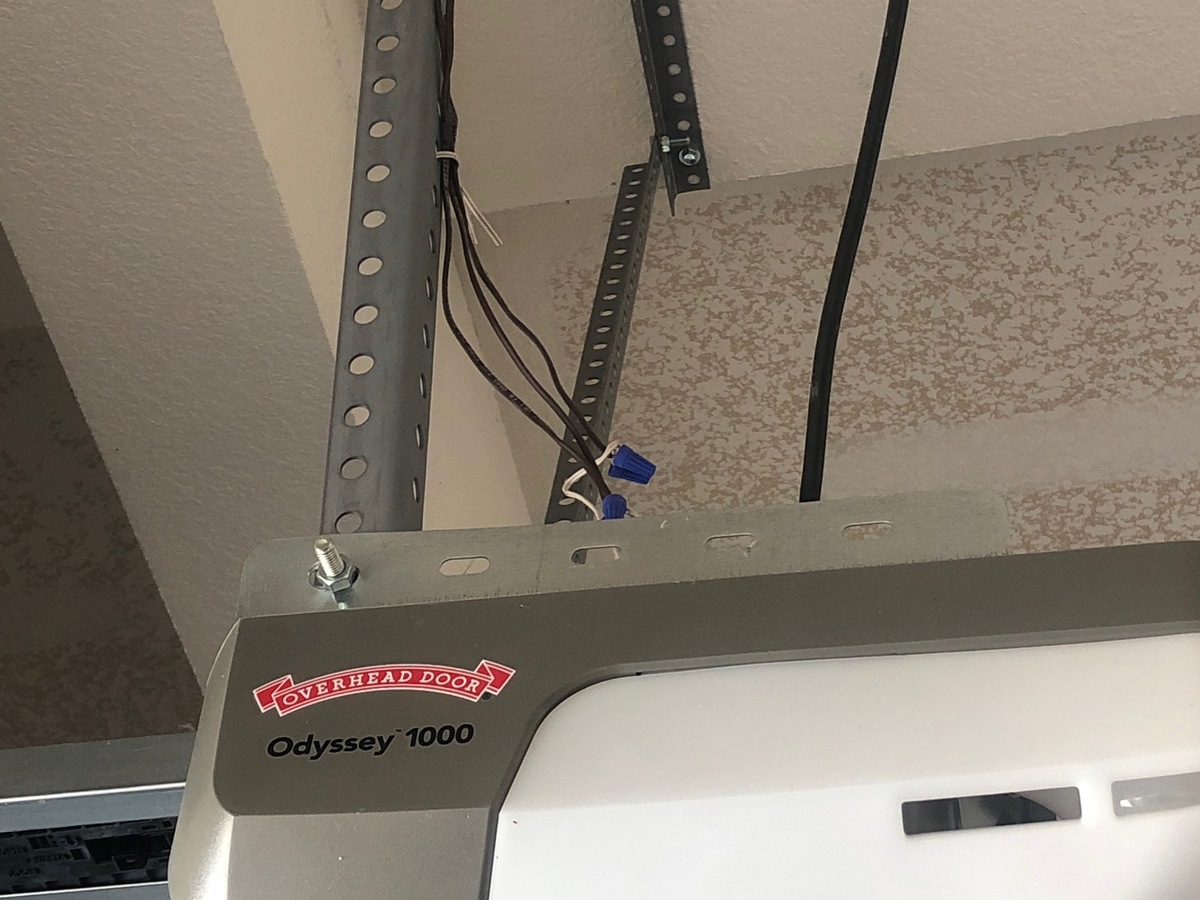
- Wiring issues: Faulty or damaged wiring can disrupt the signal transmission between the sensors and the garage door opener. This can cause the sensors to malfunction or not communicate with the opener at all.
- Power supply problems: Garage door opener sensors require a stable power supply to function correctly. If there are issues with the power source or the electrical connections, it can affect the sensors’ performance.
- Sensor age and wear: Like any electronic component, garage door opener sensors can deteriorate over time. The internal components may become less sensitive or wear out, leading to sensor malfunction.
It’s important to note that sensor malfunction can be a result of a combination of these factors. For example, misalignment combined with dirt buildup on the lenses can lead to frequent false readings and sensor issues.
Now that we understand the common reasons for sensor malfunction, the next step is to prepare for sensor repair and troubleshooting. This involves gathering the necessary tools and taking precautionary measures to ensure safety. We will explore this process in the next section.
Preparing for Sensor Repair
Before you begin repairing or troubleshooting your garage door opener sensors, it’s important to take some necessary precautions and gather the required tools. Following these steps will ensure your safety and make the repair process more efficient. Here’s what you need to do:
- Read the manufacturer’s manual: Start by referring to the manual that came with your garage door opener. It will provide specific instructions and safety guidelines for working with the sensors. Familiarize yourself with the recommended procedures and precautions to avoid any accidents.
- Disconnect the power: To ensure your safety, always disconnect the power to the garage door opener before working on the sensors. This can be done by unplugging the opener from the power source or turning off the circuit breaker dedicated to the garage door opener.
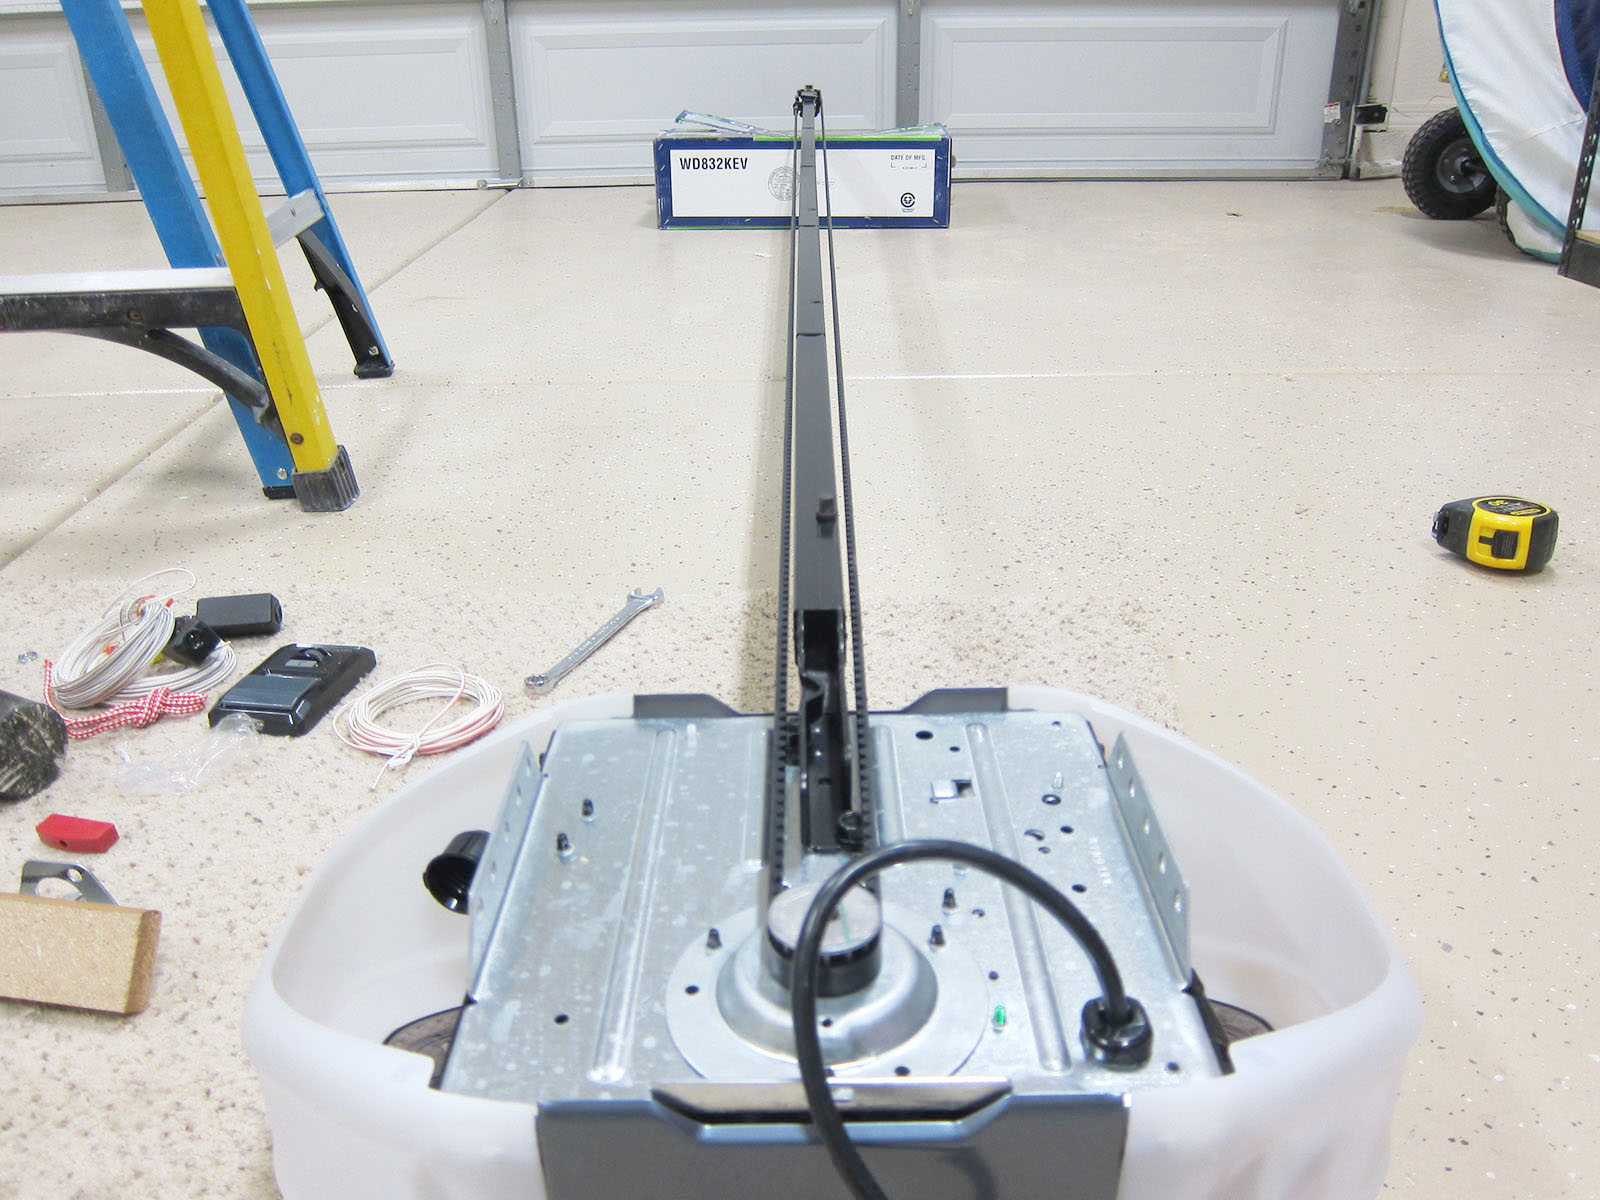
- Gather the necessary tools: Depending on the type of repair or troubleshooting you will be doing, you may need a few basic tools. These can include a screwdriver, pliers, level, ladder, cleaning supplies, and wire connectors. Having these tools on hand will make the repair process more convenient.
- Protect yourself: It’s a good idea to wear safety gear, such as safety goggles and gloves, to protect your eyes and hands during the repair process. Additionally, make sure you have adequate lighting in the garage to work comfortably and avoid any accidents.
- Notify others: Inform your family members or anyone else in the household that you will be working on the garage door opener sensors. This is especially important if they regularly use the garage or may inadvertently activate the opener while you’re working on it.
- Inspect the sensors: Take a close look at the sensors and the surrounding area. Check for any obvious signs of damage, such as loose wires, corrosion, or physical obstructions. This initial inspection will help you identify any potential issues that need to be addressed during the repair process.
By following these preparation steps, you will ensure a safe working environment and be ready to tackle any sensor issues that arise. Next, we will move on to the troubleshooting process, where we will explore common techniques to diagnose and resolve sensor malfunctions.
Troubleshooting the Sensors
When dealing with a malfunctioning garage door opener sensor, it’s essential to start with some troubleshooting steps to pinpoint the issue. The following are some common techniques you can use to diagnose and resolve sensor problems:
- Check the sensor power: Ensure that the sensors are receiving power by checking the electrical connections. Make sure the wires are securely connected at both the sensors and the garage door opener.
- Clean the sensors: Dirt, dust, and debris can accumulate on the sensor lenses, affecting their performance. Use a soft, dry cloth to clean the lenses thoroughly. Avoid using abrasive materials or cleaning agents that could damage the sensors.
- Inspect the sensor alignment: The sensors should be perfectly aligned for the beam of light to pass between them. Use a level to check their alignment both vertically and horizontally. If they are misaligned, gently adjust them until they are perfectly aligned again.
- Remove any obstructions: Look for any physical obstructions between the sensors that may be blocking the beam of light. Clear away any debris, spider webs, or objects that may be in the way, hindering the proper functioning of the sensors.
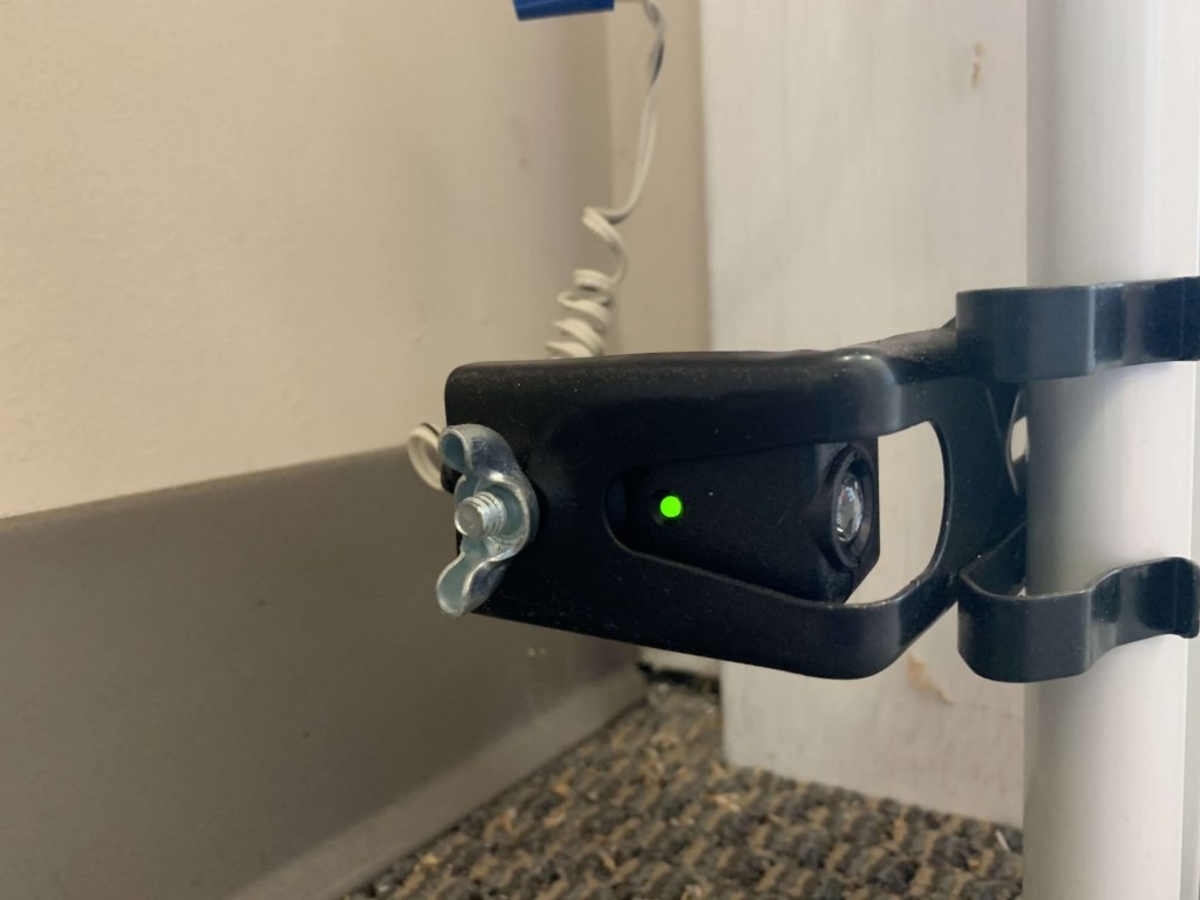
- Test the sensors: With the power restored, stand clear of the garage door path and initiate a closing command. Observe the LED lights on the sensors. They should both illuminate and remain steady without blinking. If one or both LEDs blink or do not light up at all, it indicates a problem with the sensors.
- Check for loose wires: Inspect the wiring connecting the sensors to the garage door opener for any loose or damaged connections. Resecure or repair any loose or damaged wires and ensure proper insulation.
- Reset the opener: In some cases, resetting the garage door opener can help resolve sensor issues. Consult your manufacturer’s manual for instructions on how to perform a reset, as it may vary depending on the model and manufacturer.
By performing these troubleshooting steps, you can often identify and fix common sensor malfunctions. However, if the problem persists or if you notice any significant damage to the sensors, it may be necessary to proceed with adjusting the sensor alignment or even replacing the faulty sensors. We will cover these topics in the next sections.
Now that we have covered troubleshooting techniques, let’s move on to adjusting the alignment of the garage door opener sensors.
Check the alignment of the sensors and clean any obstructions. Make sure the wires are connected properly and not damaged. Adjust the sensitivity settings if necessary.
Adjusting Sensor Alignment
One of the most common causes of garage door opener sensor malfunction is misalignment. If the sensors are not properly aligned, the beam of light may not reach the receiving sensor, leading to issues with the garage door’s operation. Here’s a step-by-step guide on how to adjust the alignment of your garage door opener sensors:
- Inspect the sensor alignment: Start by visually inspecting the sensors to determine if they are misaligned. Look for any noticeable differences in their positioning, such as one sensor being higher or lower than the other.
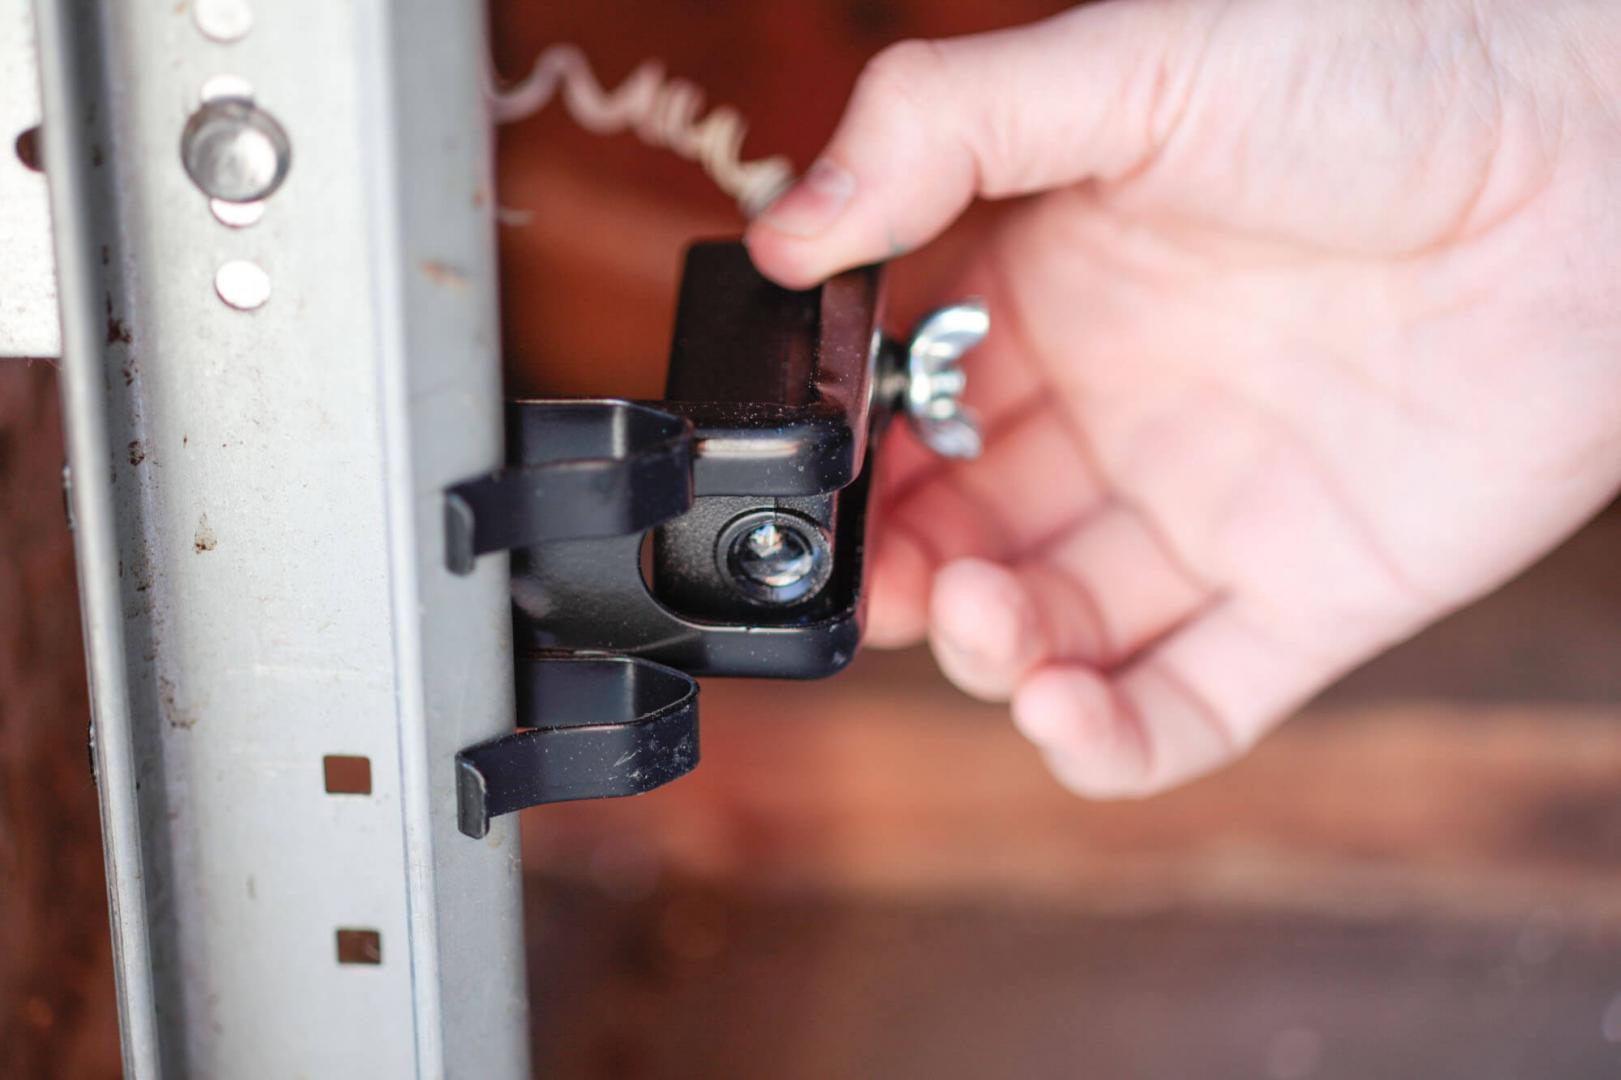
- Loosen the sensor brackets: Using a screwdriver or the appropriate tool, loosen the brackets holding the sensors in place. Make sure to only loosen them enough to allow for adjustment.
- Align the sensors: Gently adjust the sensors until they are perfectly aligned. Use a level to ensure that they are both positioned at the same angle vertically and horizontally. Take your time to achieve the correct alignment.
- Tighten the sensor brackets: Once the sensors are aligned, securely tighten the brackets to hold them in place. Ensure that they are firmly attached, but be careful not to overtighten and potentially damage the sensors or their brackets.
- Test the sensor alignment: With the sensors realigned and secured, conduct a test to ensure they are functioning correctly. Stand clear of the garage door path and initiate a closing command. Observe the LED lights on the sensors to verify if they illuminate and remain steady.
- Make further adjustments if needed: If the sensors are still not functioning properly or if the LED lights do not indicate a successful alignment, repeat the alignment process. Make minor adjustments as necessary until the sensors are perfectly aligned.
Remember, it’s crucial to take your time and ensure that the sensors are aligned accurately. Even a slight misalignment can affect the performance of the sensors, so be patient and thorough during this process.
If adjusting the alignment does not resolve the sensor issues or if you notice any significant damage to the sensors or their components, you may need to consider replacing them. We will cover the process of replacing faulty sensors in the next section.
Now that you understand how to adjust the alignment of your garage door opener sensors, let’s move on to the importance of cleaning the sensors and how to do it properly.
Cleaning the Sensors
Regular cleaning of your garage door opener sensors is essential to ensure their proper functioning and prevent unnecessary malfunctions. Dust, dirt, and debris can accumulate on the sensor lenses over time, affecting their ability to transmit and receive the beam of light. Here’s a step-by-step guide on how to effectively clean your garage door opener sensors:
- Disconnect the power: Before you begin cleaning the sensors, make sure to disconnect the power to the garage door opener to avoid any accidents or injury. This can be done by unplugging the opener or turning off the circuit breaker dedicated to the opener.
- Inspect the sensor lenses: Take a close look at the sensor lenses to assess the level of dirt or debris buildup. If you notice any significant dirt, dust, or smudges, it’s time to clean the lenses.
- Use a soft, dry cloth: Start by wiping the sensor lenses with a soft, dry cloth to remove any loose dirt or dust. Gently wipe in a circular motion to ensure thorough cleaning.
- Remove stubborn residues: If there are stubborn residues or smudges on the lenses, dampen the cloth with a small amount of mild soapy water. Make sure the cloth is not dripping wet and gently wipe the lenses to remove the residues.
- Dry the lenses: After cleaning with the damp cloth, use a dry cloth to wipe the sensor lenses and remove any remaining moisture. Make sure the lenses are completely dry before reconnecting the power.
- Inspect the sensors after cleaning: Once the lenses are dry, inspect the sensors to ensure they are clean and free from any dirt or smudges. The sensor lenses should be clear and transparent for optimal performance.
- Reconnect the power: After you’re satisfied with the cleanliness of the sensor lenses, you can reconnect the power to the garage door opener.
- Test the sensor operation: With the power restored, initiate a closing command and observe the LED lights on the sensors. They should illuminate and remain steady, indicating that the sensors are functioning correctly.
Regularly cleaning the sensor lenses will help maintain their effectiveness and prevent false readings or malfunctions. It’s a good practice to include sensor cleaning as part of your routine garage door maintenance to ensure smooth and reliable operation.
If, despite cleaning the sensors, you are still experiencing issues and the sensors are in good condition, it may be necessary to consider replacing them. In the next section, we will discuss the process of replacing faulty sensors.
Now that you understand the importance of cleaning your garage door opener sensors, let’s move on to the process of replacing faulty sensors when necessary.
Replacing Faulty Sensors
If you have tried troubleshooting, adjusting the alignment, and cleaning your garage door opener sensors but are still experiencing issues, it may be necessary to replace the faulty sensors. Here’s a step-by-step guide on how to replace the sensors:
- Disconnect the power: Start by disconnecting the power to the garage door opener to ensure your safety. Unplug the opener or turn off the circuit breaker dedicated to the opener.
- Remove the existing sensors: Carefully remove the faulty sensors by unscrewing them from their brackets. Take note of the wiring connections and how the sensors are mounted to make it easier to install the new ones.
- Prepare the new sensors: Take out the new sensors and ensure they are the correct model and compatible with your garage door opener. Familiarize yourself with the manufacturer’s instructions for installing and wiring the sensors.
- Mount the new sensors: Install the new sensors in the same location as the old ones, using the provided brackets. Securely fasten the sensors to the brackets, making sure they are positioned correctly and aligned with each other.
- Connect the wiring: Connect the wiring from the new sensors to the appropriate terminals on the garage door opener. Follow the manufacturer’s instructions and ensure that the connections are secure and properly insulated.
- Reconnect the power: After confirming that the wiring is correctly connected, you can reconnect the power to the garage door opener by plugging it back in or turning on the circuit breaker.
- Test the new sensors: With the power restored, initiate a closing command to see if the new sensors are functioning properly. Observe the LED lights on the sensors to ensure they illuminate and remain steady without flickering.
- Make adjustments if necessary: If the new sensors are not functioning correctly or if the LED lights indicate a misalignment, repeat the alignment process to ensure the sensors are properly aligned and the beam of light is uninterrupted.
Replacing faulty sensors can effectively resolve persistent issues with your garage door opener system. If you are unsure about the replacement process or if you are uncomfortable working with electrical components, it’s always best to consult a professional to ensure the proper installation and functionality of the new sensors.
Now that you understand the process of replacing faulty sensors, let’s conclude our guide on fixing garage door opener sensor issues and recap what we have covered.
Conclusion
Dealing with a malfunctioning garage door opener sensor can be frustrating, but with the right knowledge and techniques, you can resolve the issue and restore the smooth operation of your garage door. Throughout this article, we have provided you with a comprehensive guide on how to fix garage door opener sensor problems.
We started by understanding the function and importance of garage door opener sensors in ensuring safety and preventing accidents. We then explored the common reasons for sensor malfunction, such as misalignment, obstructions, dirty lenses, wiring issues, power supply problems, and sensor age and wear.
To prepare for sensor repair, we emphasized the importance of reading the manufacturer’s manual, disconnecting the power, gathering the necessary tools, and taking safety precautions. We then delved into troubleshooting the sensors, covering techniques such as checking the sensor power, cleaning the sensors, inspecting the alignment, removing obstructions, testing the sensors, checking for loose wires, and resetting the opener.
If troubleshooting wasn’t enough to resolve the sensor issues, we discussed how to adjust the alignment of the sensors to ensure the beam of light is properly transmitted and received. We also highlighted the importance of regular cleaning to prevent dirt and debris from interfering with the sensor’s performance.
However, in some cases, replacing faulty sensors may be necessary. We provided a step-by-step guide to help you safely remove the old sensors and install new ones, ensuring proper wiring and alignment for optimal functionality.
By following the instructions and techniques described in this article, you can effectively diagnose, repair, and replace faulty garage door opener sensors, saving you time and money on unnecessary professional repairs.
Remember, safety should always be your top priority when working with garage door opener sensors or any other electrical components. If you are unsure about any aspect of the repair process or if you encounter complex issues, it is recommended to seek assistance from a professional technician to avoid any potential hazards.
Now, armed with this knowledge, you can confidently address garage door opener sensor malfunctions and enjoy the convenience and security that a properly functioning garage door brings.
Frequently Asked Questions about How To Fix Garage Door Opener Sensor
Was this page helpful?
At Storables.com, we guarantee accurate and reliable information. Our content, validated by Expert Board Contributors, is crafted following stringent Editorial Policies. We're committed to providing you with well-researched, expert-backed insights for all your informational needs.
0 thoughts on “How To Fix Garage Door Opener Sensor”