Articles
How To Program Harbor Breeze Fan Remote
Modified: August 17, 2024
Learn how to program your Harbor Breeze fan remote effortlessly with our informative articles. Simplify your fan control and enhance your comfort.
(Many of the links in this article redirect to a specific reviewed product. Your purchase of these products through affiliate links helps to generate commission for Storables.com, at no extra cost. Learn more)
Introduction
Welcome to our guide on how to program a Harbor Breeze fan remote. Harbor Breeze fans are known for their stylish designs, energy efficiency, and ease of use. With the help of a remote control, you can conveniently adjust the fan speed, turn on or off the lights, and even reverse the fan’s direction without having to get up from your comfortable spot.
While the fan remote control comes pre-programmed from the factory, there might be instances where you need to reprogram it. This could be due to a battery replacement, a new fan installation, or simply a desire to reset the remote. Fortunately, programming a Harbor Breeze fan remote is a straightforward process that you can easily do on your own.
In this guide, we will walk you through the steps to set up and program your Harbor Breeze fan remote. Whether you’re a seasoned DIYer or just getting started, we’ve got you covered. So let’s dive in and get your remote control up and running in no time!
Key Takeaways:
- Easily program your Harbor Breeze fan remote by following simple steps to set up the fan receiver, initialize the remote control, and customize fan settings for optimal comfort and convenience.
- Troubleshooting tips are available to help you overcome common issues during the programming process, ensuring a smooth and hassle-free experience with your Harbor Breeze fan remote control.
Read more: How To Install Harbor Breeze Ceiling Fan
Understanding Harbor Breeze Fans and Remote Control
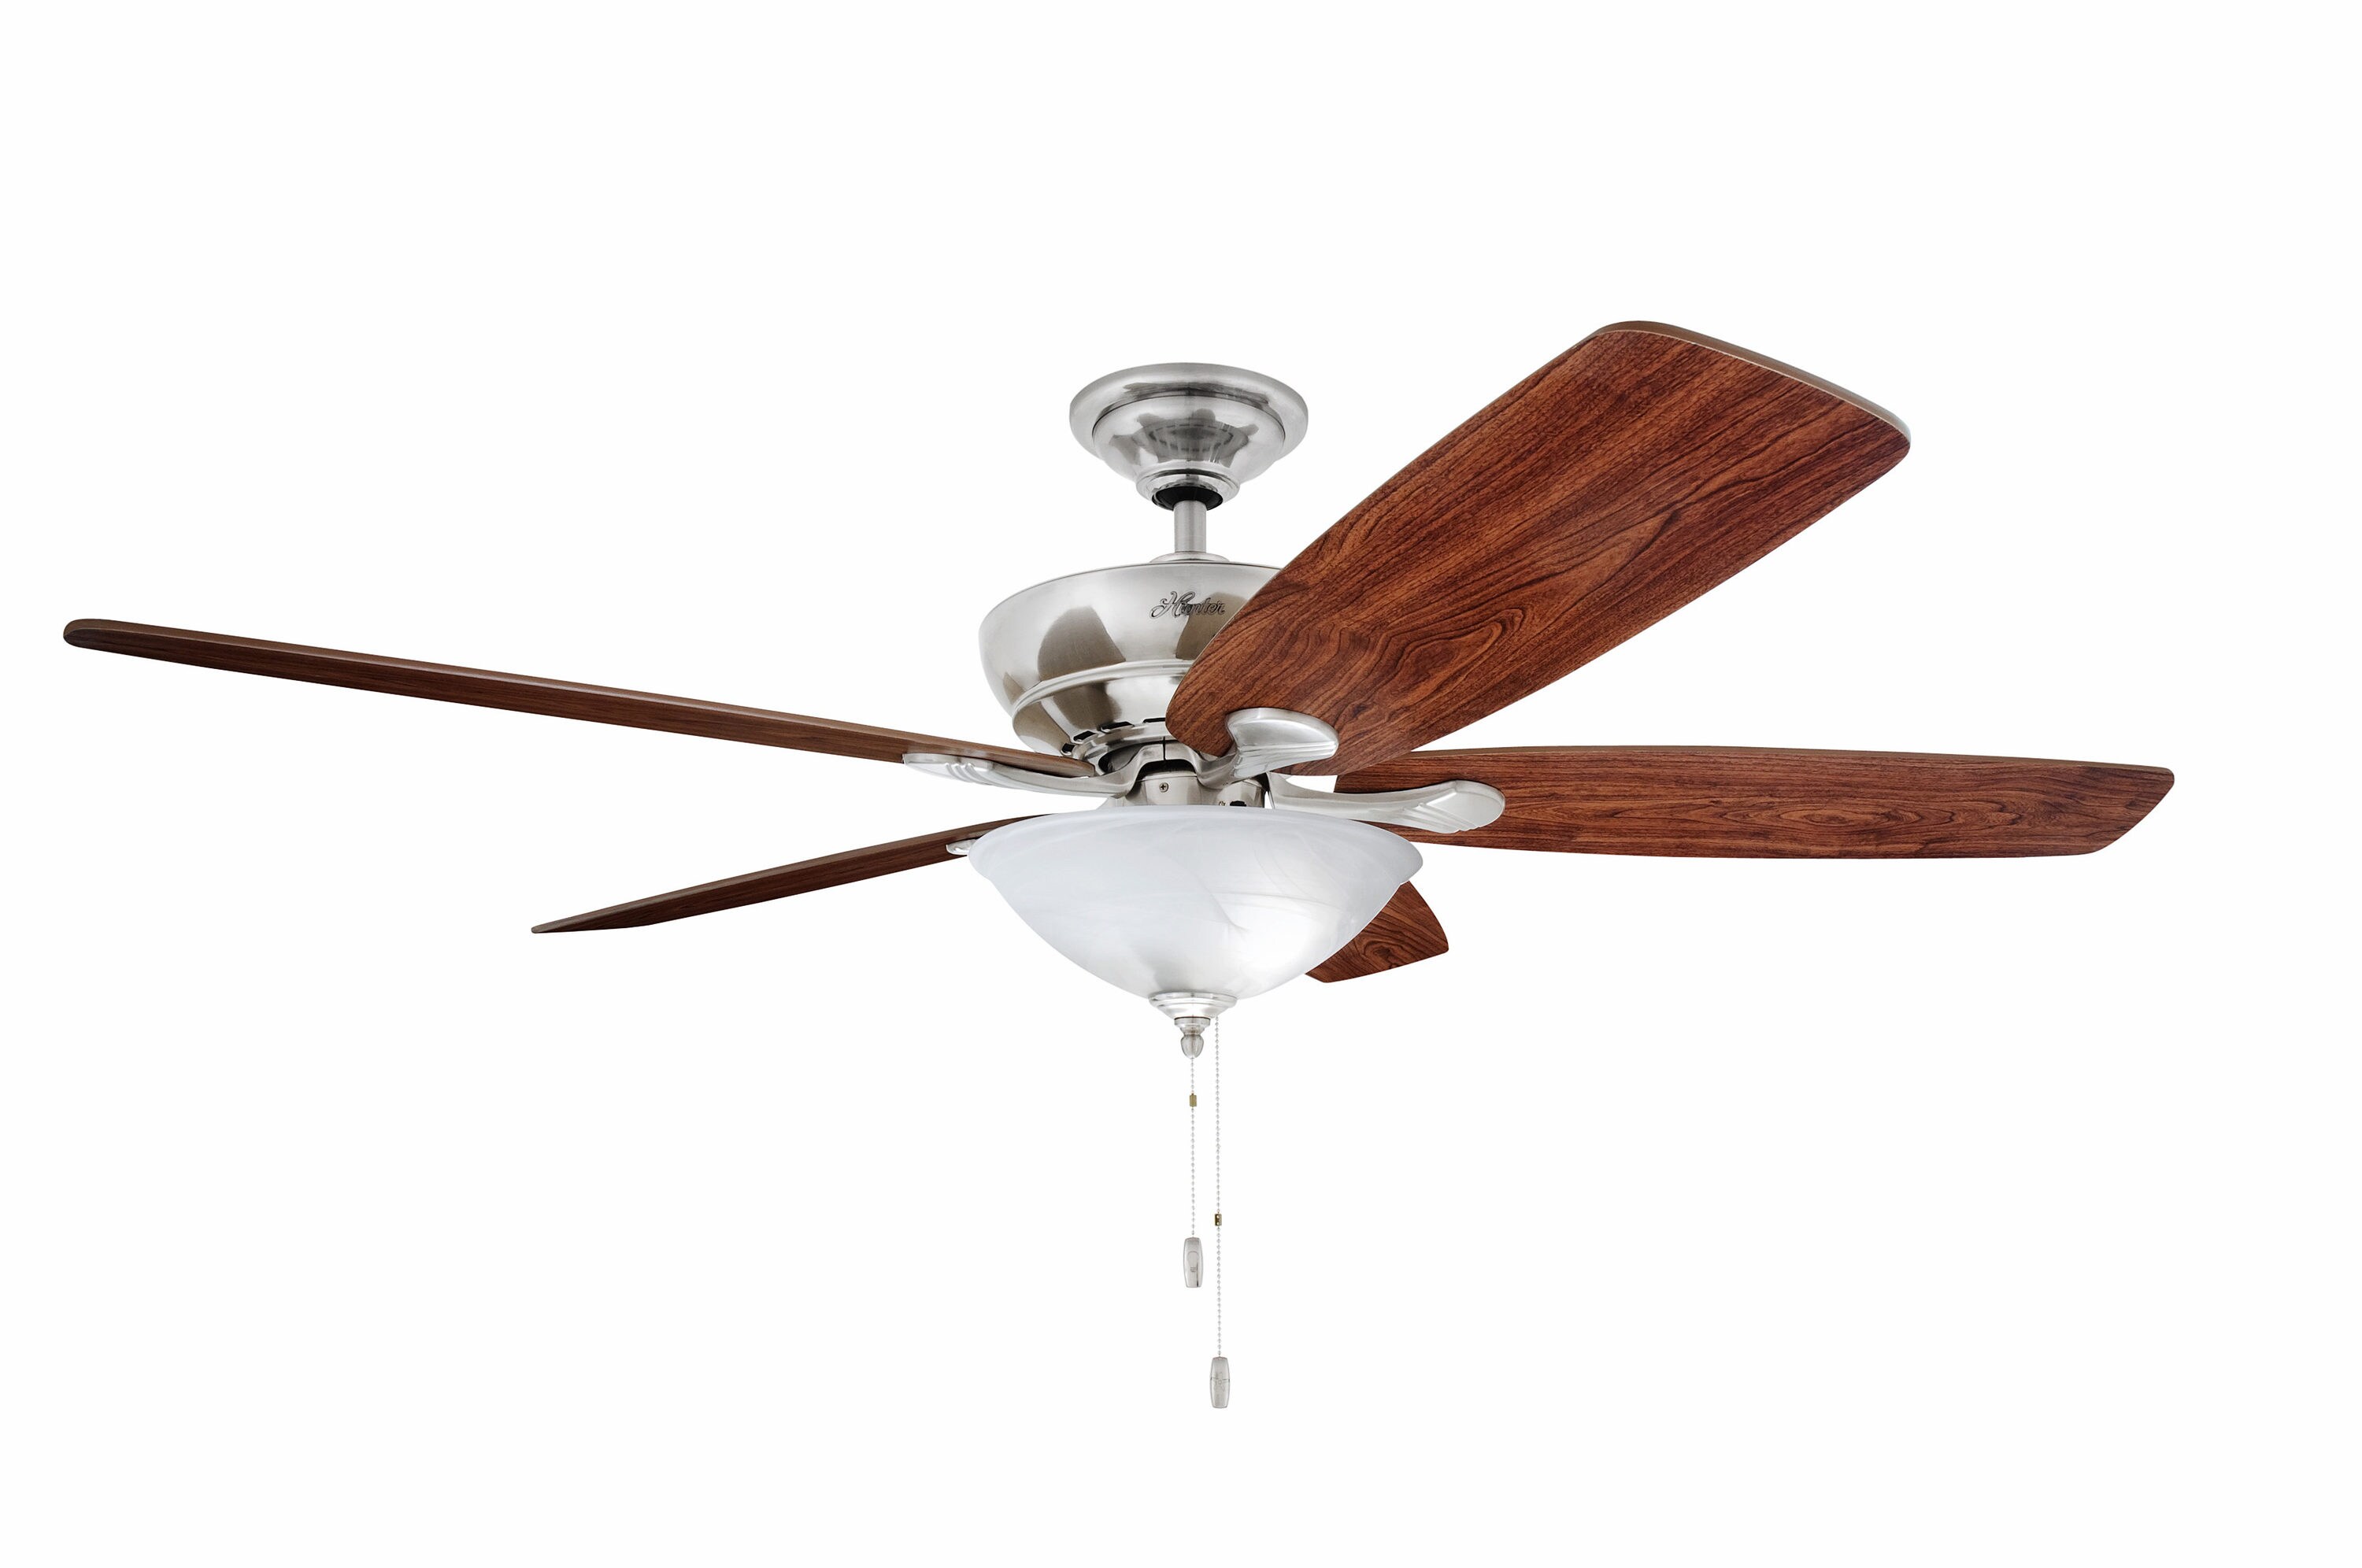
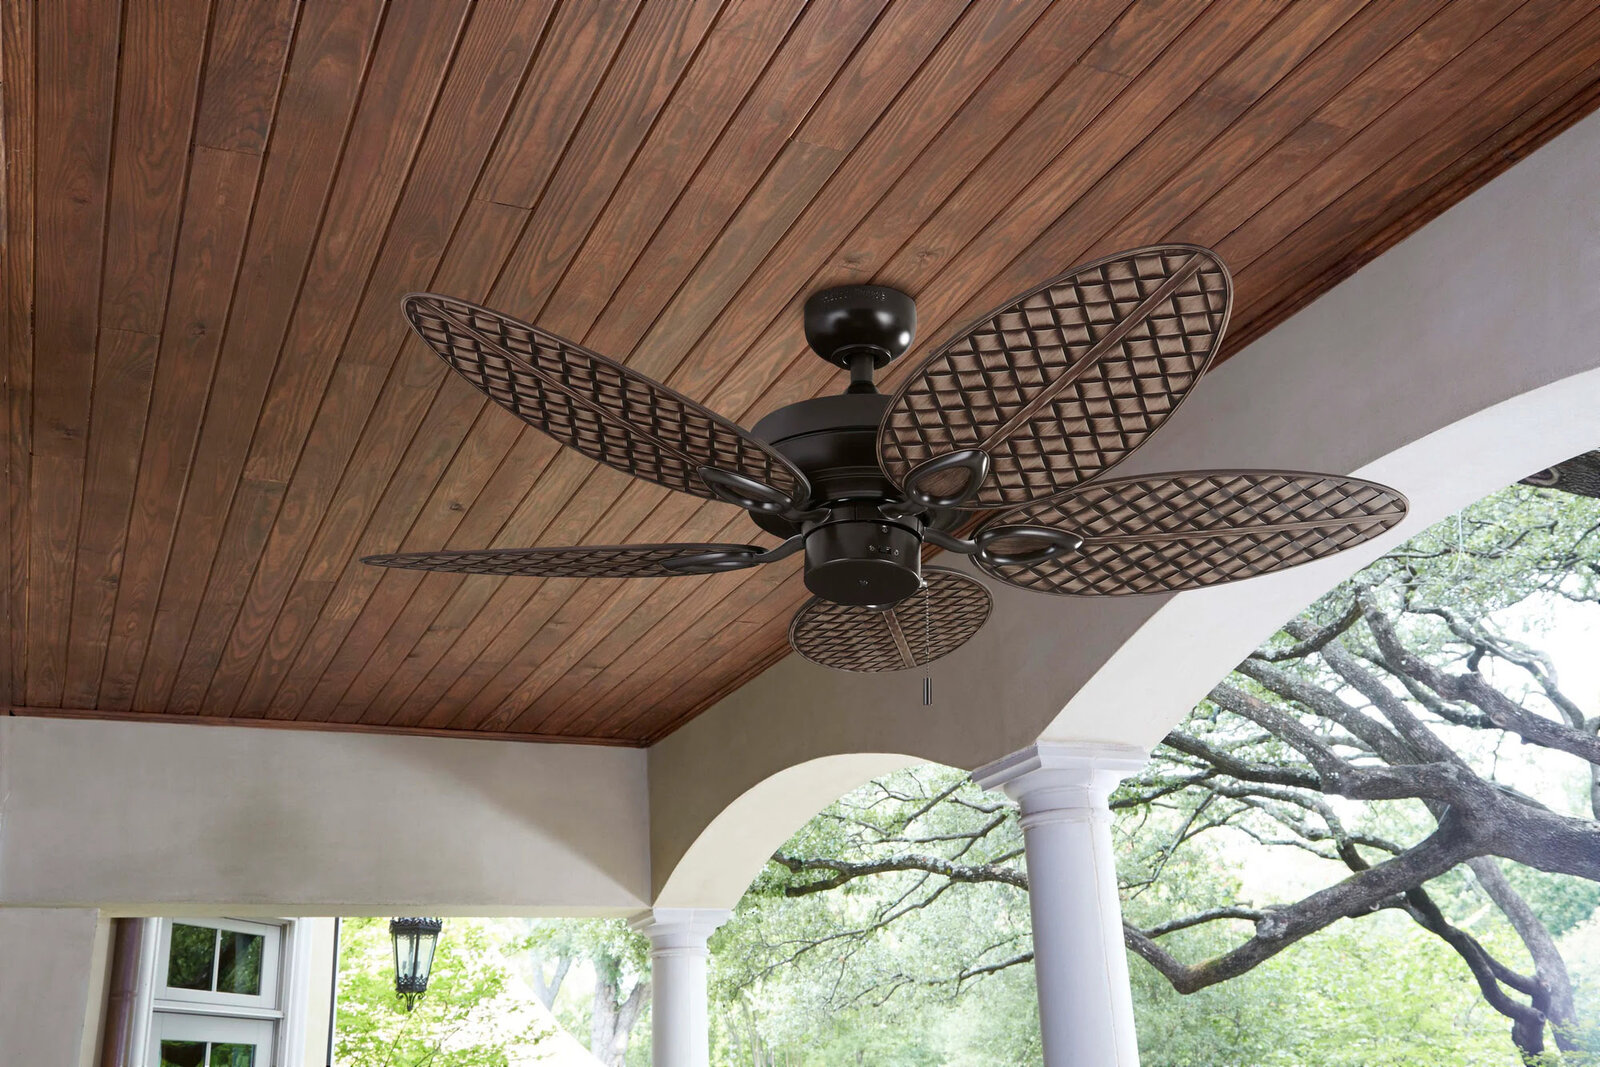
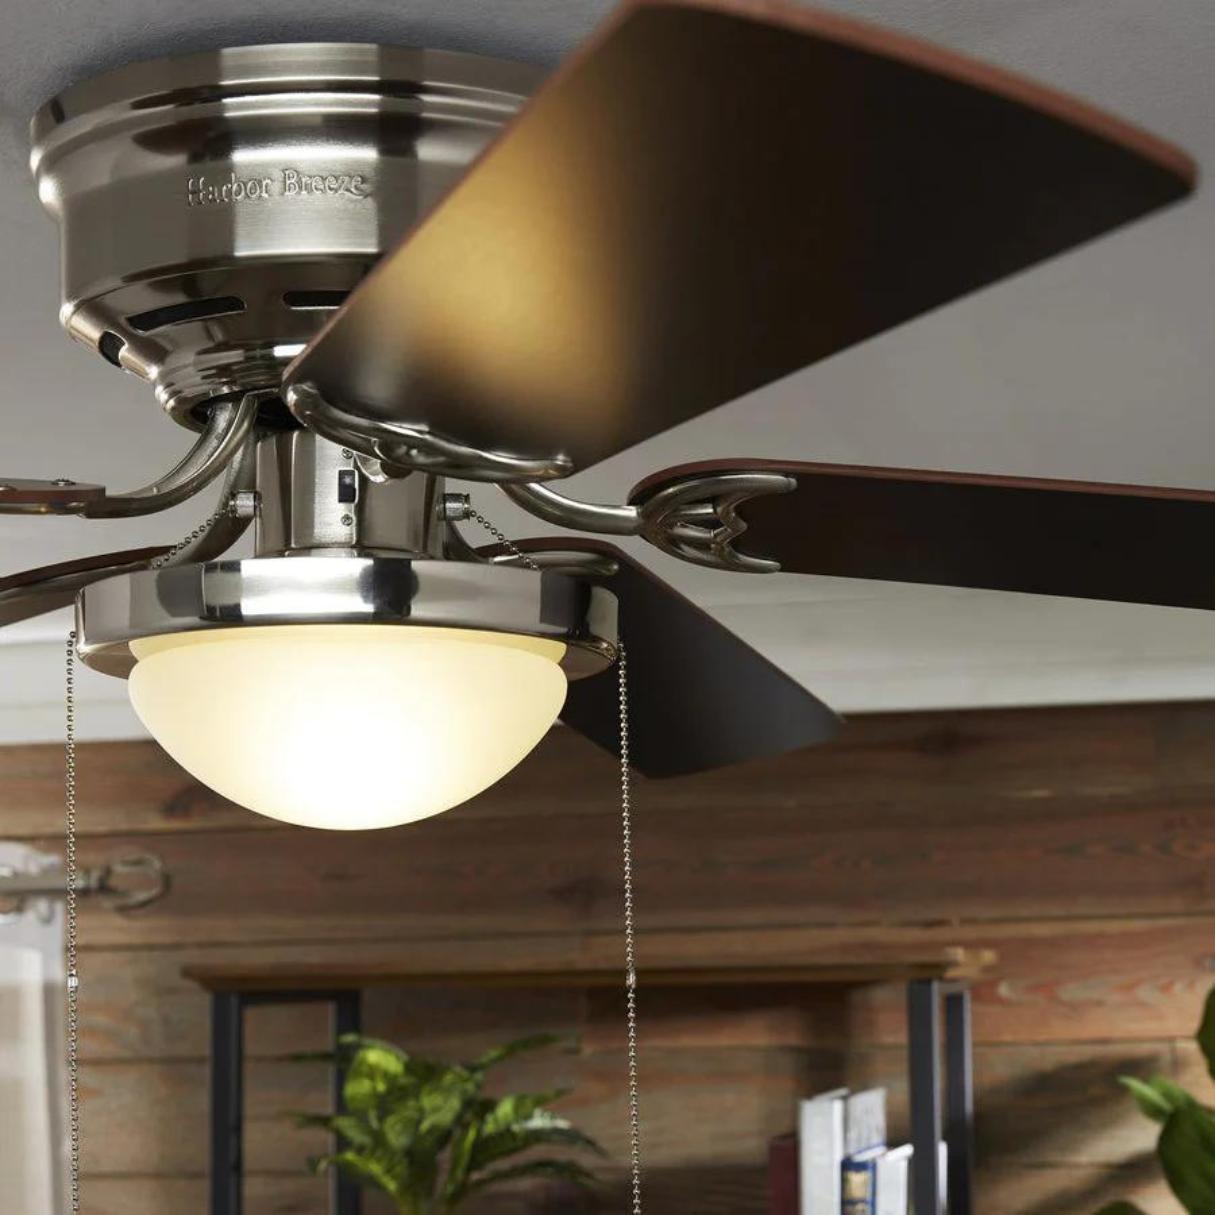
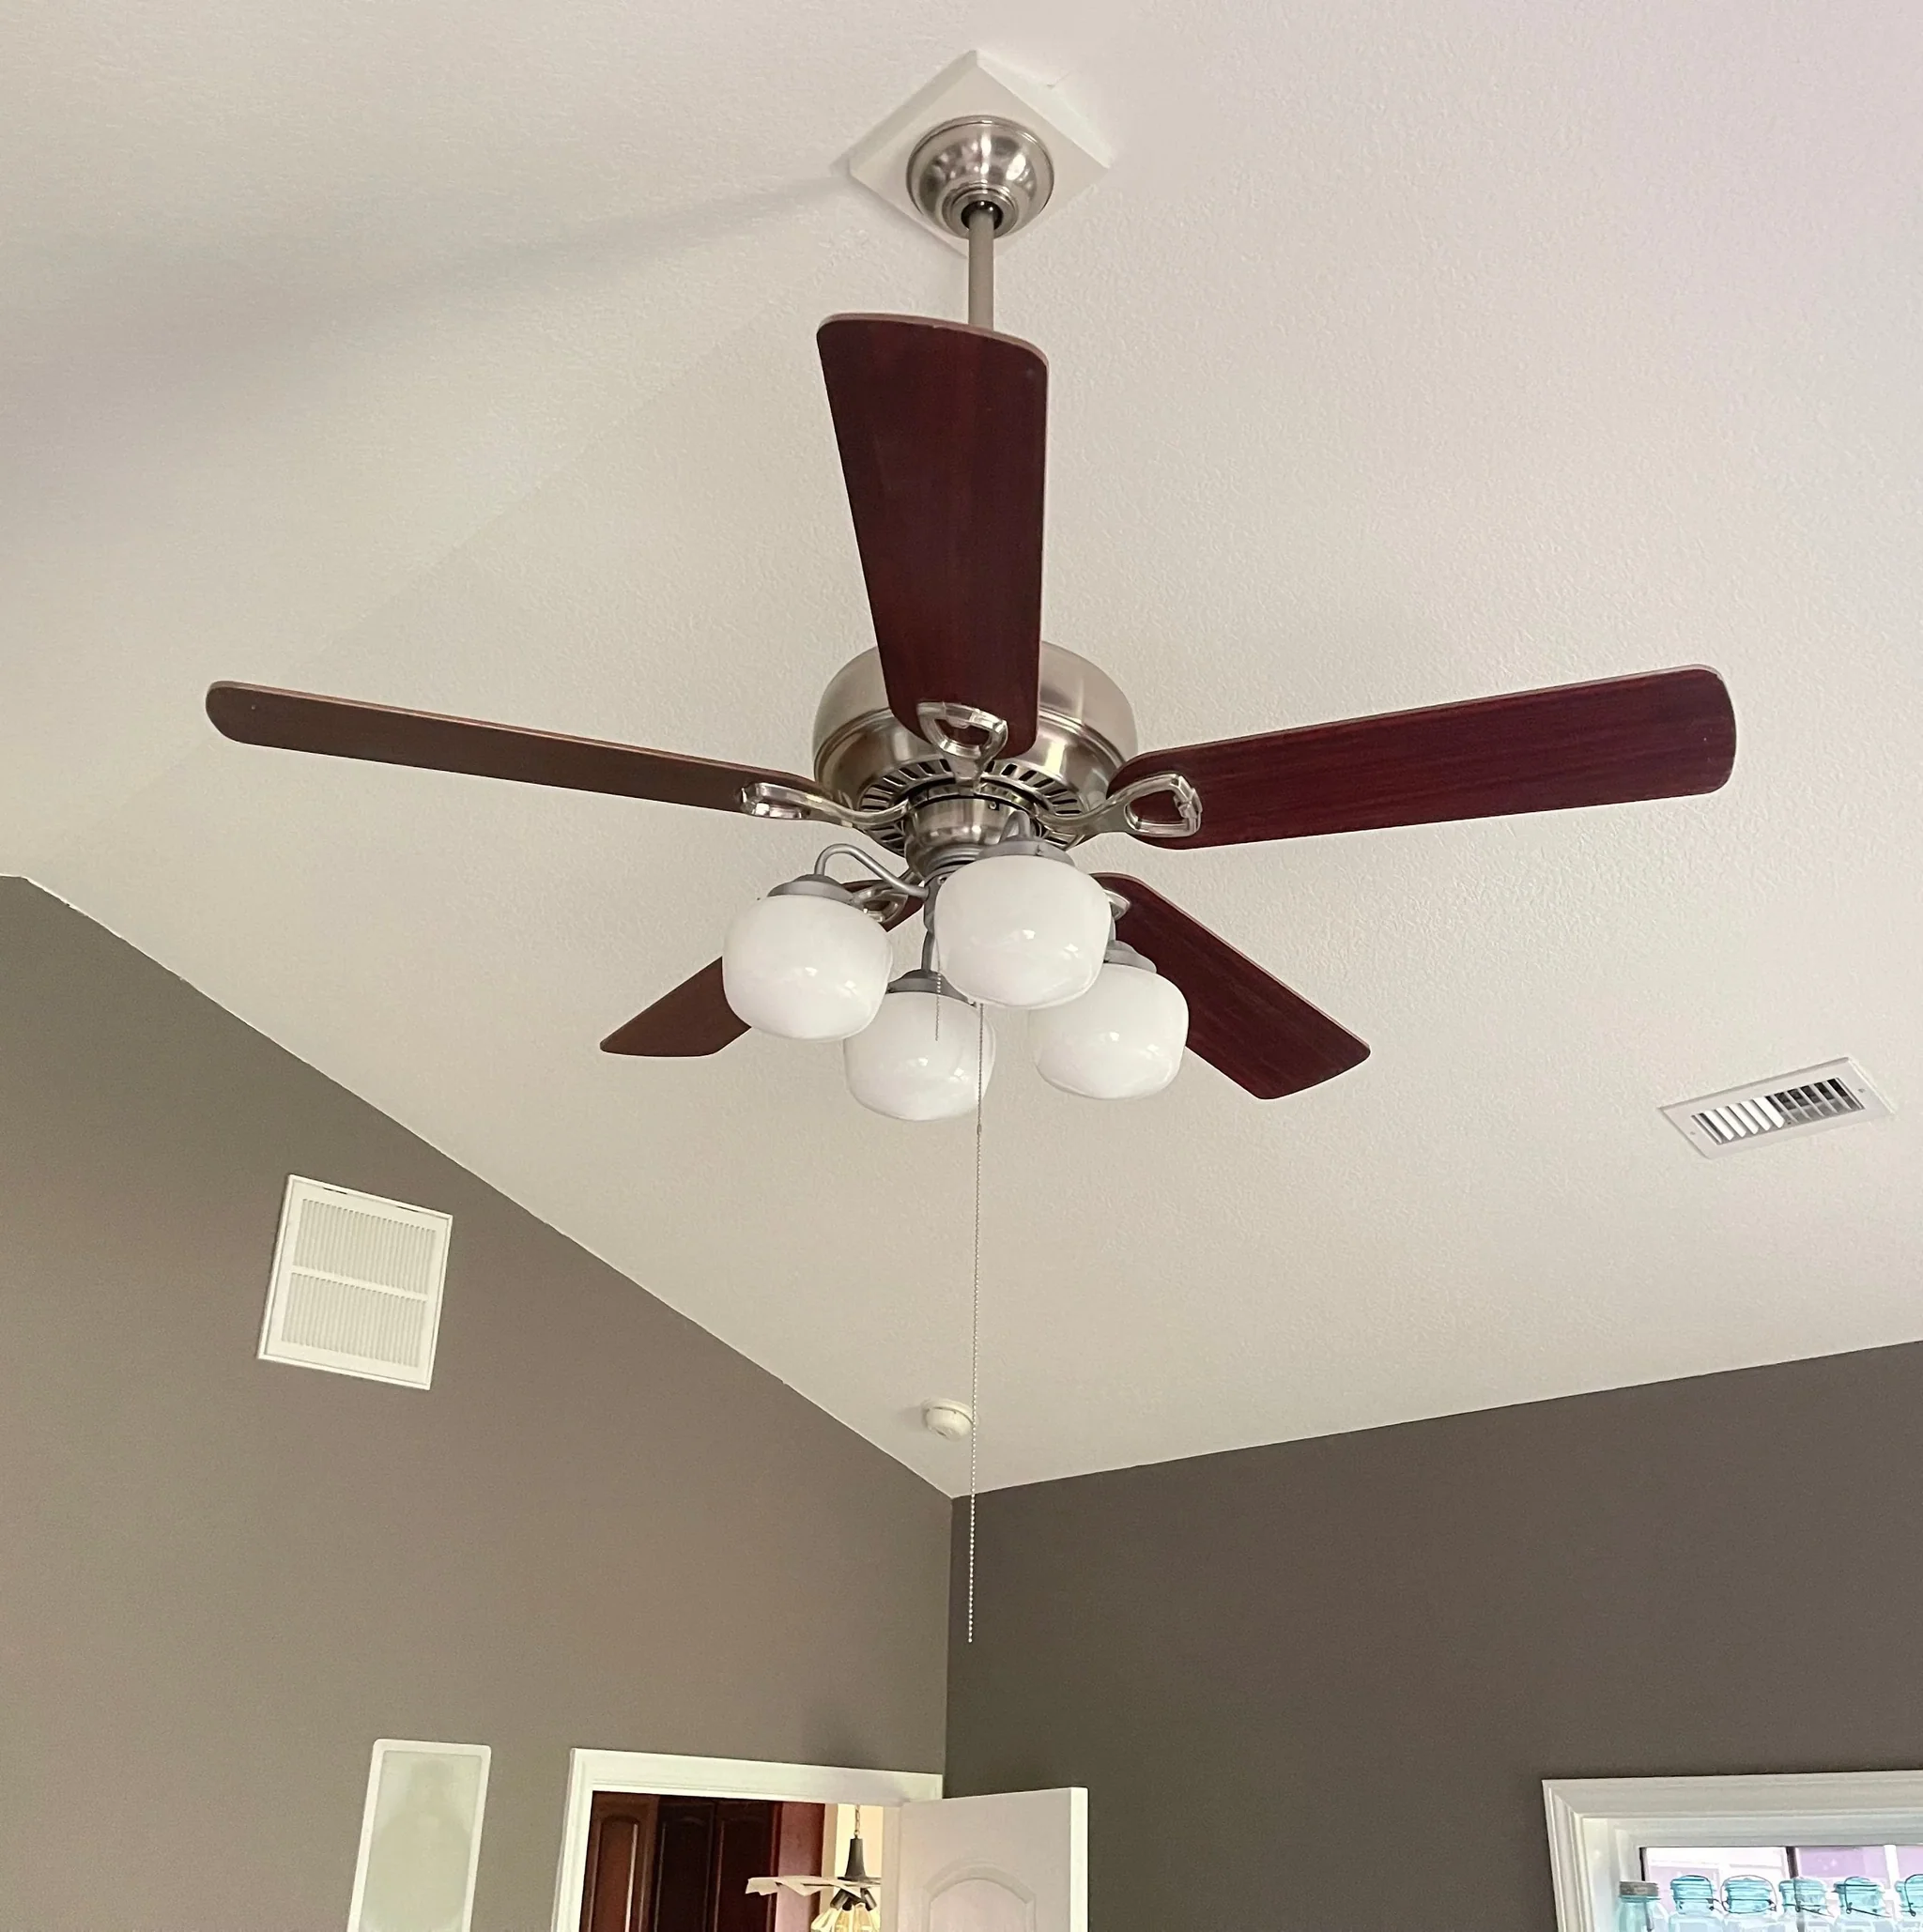
Before we delve into the programming process, it’s important to have a basic understanding of Harbor Breeze fans and their remote control systems. Harbor Breeze fans are popular for their sleek designs, energy efficiency, and quiet operation. They are available in various styles, including ceiling fans and wall-mounted fans, to suit different needs and preferences.
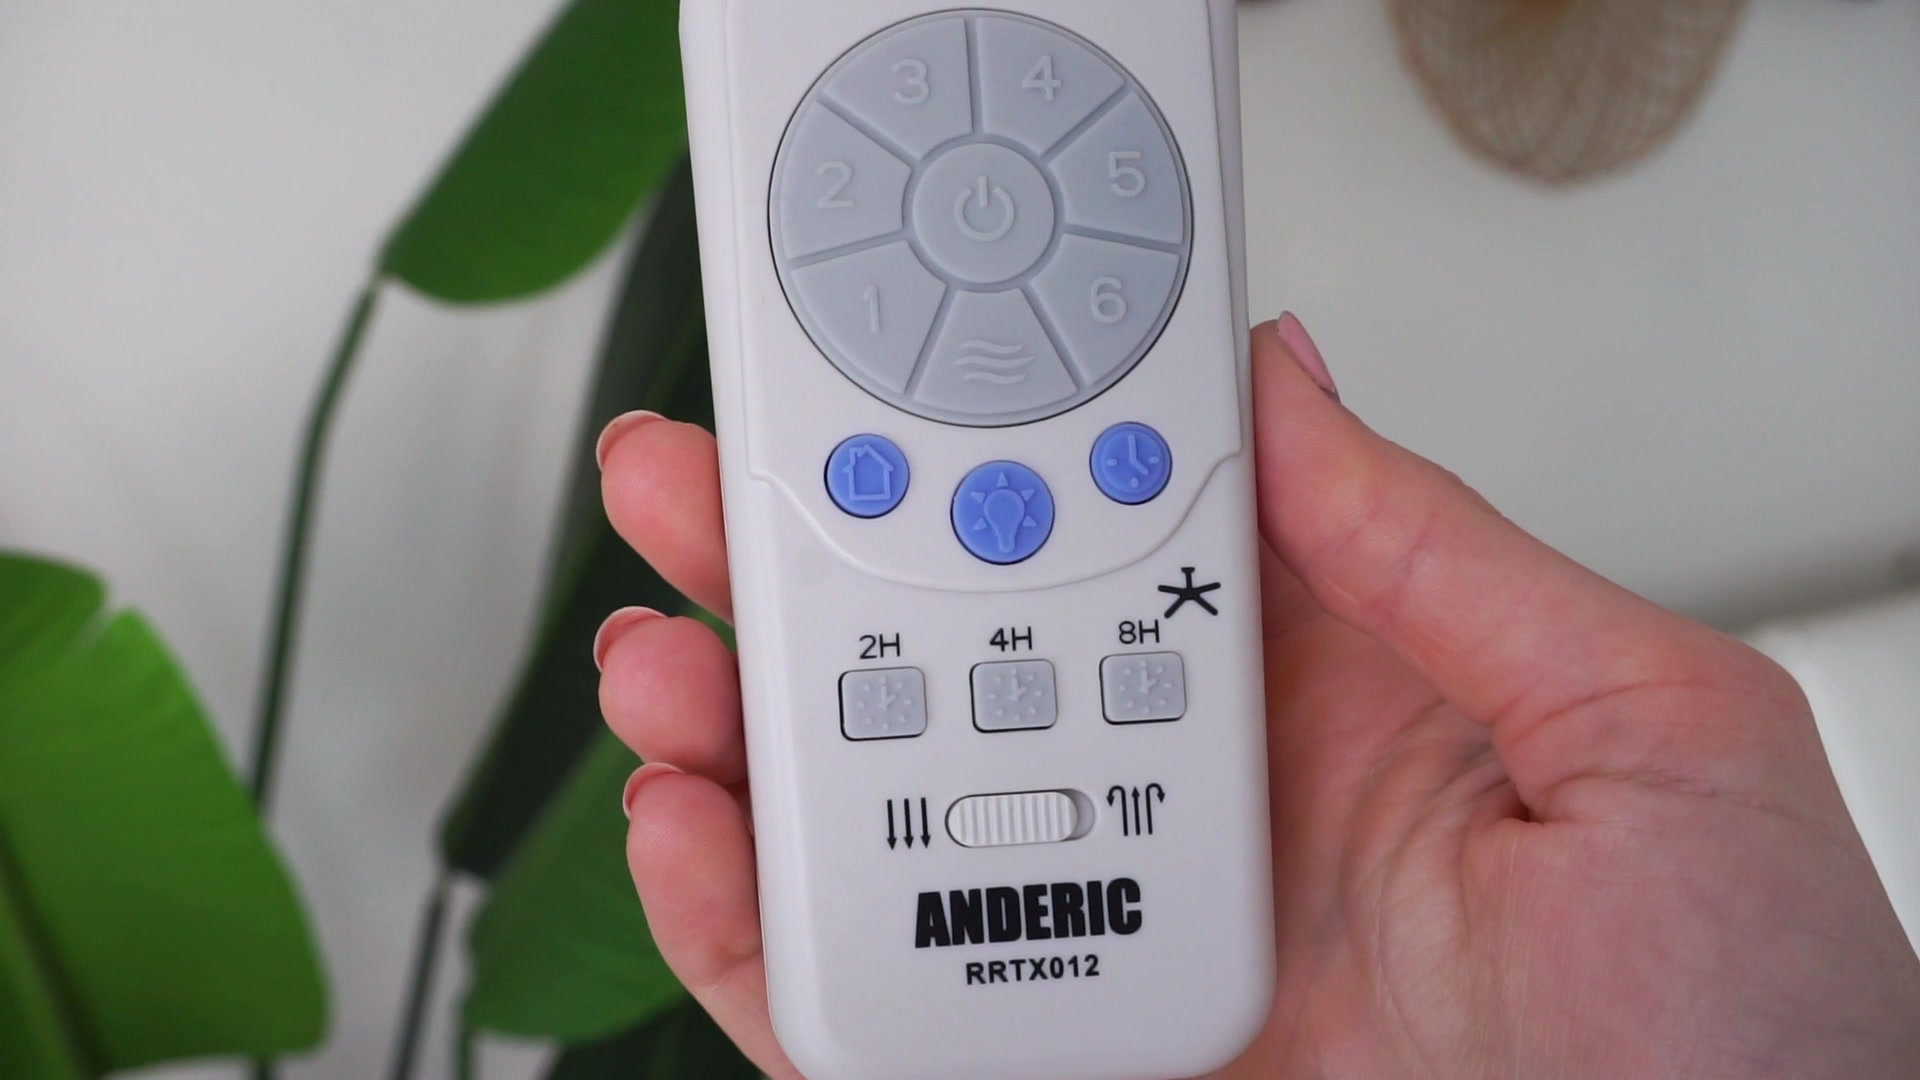
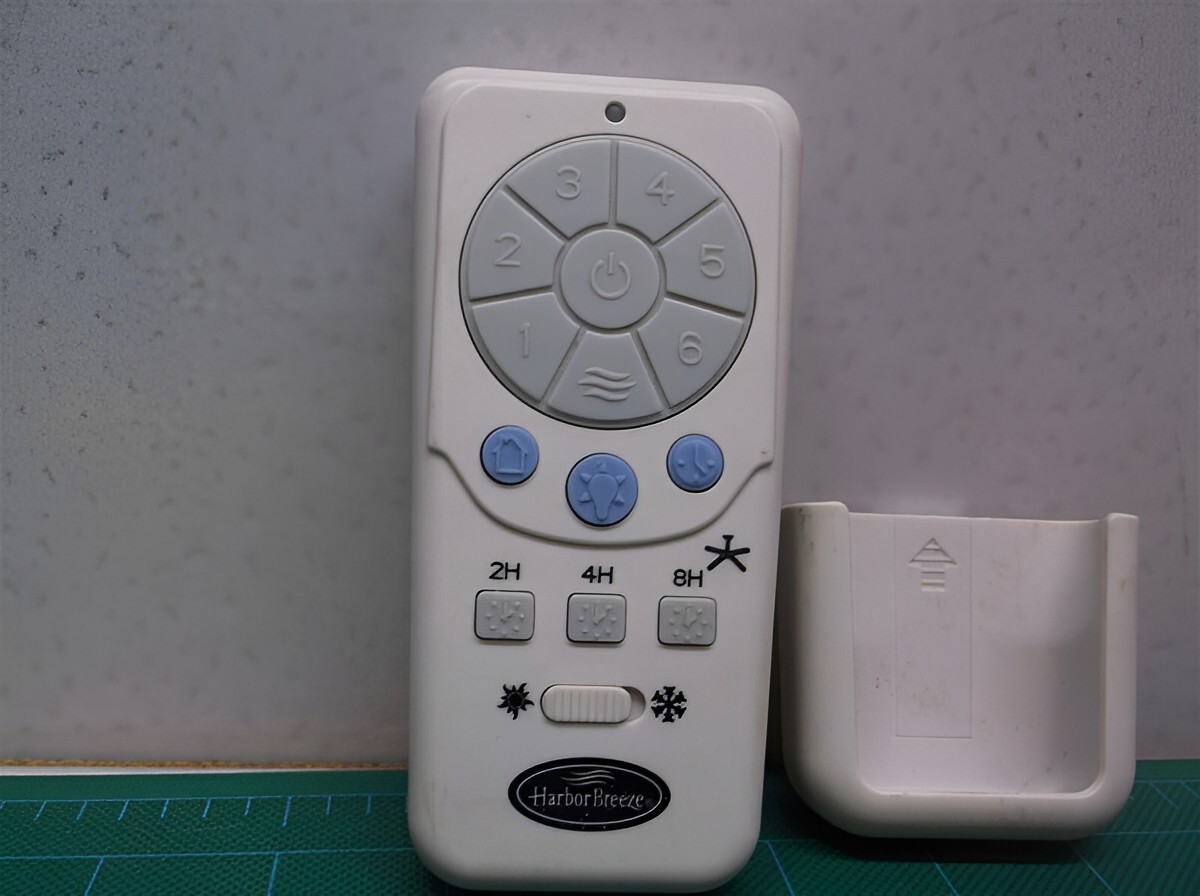
The Harbor Breeze remote control is a key component of these fans, allowing you to control various functions from the comfort of your seat. The remote control typically features buttons to adjust the fan speed, control the lights (if your fan has them), and even change the direction of the fan blades. The range of the remote control varies depending on the model, but it is generally designed to work within a reasonable distance from the fan.
One important thing to note is that not all Harbor Breeze fans come with a remote control. Some models are operated solely by a wall switch or a pull chain. If you have a remote control-compatible fan, you will see a receiver unit inside the fan housing that receives signals from the remote control. This receiver unit is what we will be focusing on during the programming process.
It’s also worth mentioning that Harbor Breeze fans may have different remote control models. While the basic functions are similar, there may be slight variations in button layout or additional features. Therefore, it’s important to consult your fan’s manual or the manufacturer’s website to ensure you have the correct instructions for your specific remote control model.
Now that we have a better understanding of Harbor Breeze fans and their remote control systems, let’s move on to the steps involved in preparing to program the remote control.
Preparing to Program the Harbor Breeze Fan Remote
Before you start programming your Harbor Breeze fan remote, it’s important to gather a few things to ensure a smooth and hassle-free process. Here’s what you’ll need:
- The Harbor Breeze fan remote control
- A ladder or step stool (if your fan is mounted high)
- A new set of batteries (if needed)
- The user manual for your specific fan model
First, locate your fan’s receiver unit. This is a small device that receives signals from the remote control. The receiver unit is usually found inside the fan’s canopy or housing, near the ceiling. Use a ladder or step stool to access the fan safely if it’s mounted high.
If you’re replacing the batteries in your remote control, make sure to have a fresh set on hand. Most Harbor Breeze remote controls operate on standard AAA batteries. Open the battery compartment on the back of the remote control and insert the batteries following the indicated polarity (+/-).
Having the user manual for your specific fan model is essential during the programming process. If you can’t locate the physical copy of the manual, check the manufacturer’s website for a digital version. The manual will provide you with detailed instructions and any specific button combinations required for programming the remote control.
Once you have all the necessary items, you’re ready to start programming your Harbor Breeze fan remote. Make sure that your fan is turned off before proceeding to the next steps. In the next section, we will guide you through the process of setting up the fan receiver.
Step 1: Setting up the Fan Receiver
Setting up the fan receiver is the first step in programming your Harbor Breeze fan remote. The receiver unit is responsible for receiving signals from the remote control and translating them into actions for the fan. Follow these steps to ensure a successful setup:
- Turn off the power: Before working with any electrical components, it is crucial to turn off the power to the fan at the circuit breaker or by switching off the wall switch. This will prevent any accidents or electrical shocks while you’re setting up the fan receiver.
- Locate the fan receiver: The fan receiver is typically located inside the fan housing or canopy. Remove the fan housing or canopy cover to access the receiver unit. Take note of the wire connections and how the receiver unit is mounted.
- Disconnect the existing wires: Carefully disconnect the wires from the existing receiver unit, taking note of their positions. You may want to take a picture or label the wires to ensure correct reconnection later.
- Mount the new receiver unit: Take the new receiver unit and mount it in the same location as the old one. Make sure to use the screws or mounting brackets provided. Ensure that the antenna wire of the receiver is properly extended to receive signals from the remote control.
- Reconnect the wires: Take the wires from the fan motor and connect them to the corresponding labeled terminals on the new receiver unit. Double-check that the connections are secure and tight.
- Secure the receiver unit: Once the wires are connected, secure the receiver unit in place using the screws or mounting brackets provided. Ensure that the unit is properly aligned and positioned within the fan housing or canopy.
- Replace the fan housing or canopy cover: With the receiver unit securely mounted, replace the fan housing or canopy cover. Make sure it fits snugly and aligns with the fan’s design.
With the fan receiver properly set up, you’re now ready to proceed to the next step: initializing the remote control. This step ensures that the remote control is synced with the fan receiver, allowing for seamless communication between the two. We’ll cover this in the next section of our guide.
When programming a Harbor Breeze fan remote, make sure to follow the specific instructions provided in the user manual. This usually involves setting the dip switches on the remote and receiver to the same code.
Step 2: Initializing the Remote Control
After setting up the fan receiver, the next step in programming your Harbor Breeze fan remote is to initialize or sync the remote control with the receiver. This process establishes a connection between the two, enabling the remote control to communicate with the fan. Follow these steps to initialize the remote control:
- Ensure the fan is turned off: Before initializing the remote control, make sure the fan is turned off at the wall switch or the circuit breaker to prevent any accidental activation during the process.
- Locate the receiver’s pairing button: Look for the pairing button on the fan receiver. It is a small button typically located near the wiring terminals or alongside the antenna wire. Refer to your fan’s user manual for the exact location of the pairing button.
- Press and hold the pairing button: Press and hold the pairing button on the fan receiver for a few seconds until you see a light or hear a beep indicating that it is ready for pairing. The light or beep serves as a signal that the receiver is in pairing mode.
- Activate the pairing mode on the remote control: While the fan receiver is in pairing mode, activate the pairing mode on the remote control. This process may vary depending on your remote control model. Typically, you will need to press and hold a specific button combination or use a pairing sequence outlined in the user manual. Follow the instructions carefully to ensure successful pairing.
- Wait for pairing confirmation: After activating the pairing mode on the remote control, wait for a confirmation signal. This can be a light flash, a beep, or a specific message on the LCD screen, depending on your remote control model. Once you receive confirmation, it means that the remote control and the fan receiver are successfully synced.
With the remote control successfully initialized, you can now move on to the next step: programming the remote control to control the fan functions. This step will allow you to customize how the remote control interacts with your Harbor Breeze fan. We’ll cover the programming process in the next section.
Read more: How To Remove A Harbor Breeze Ceiling Fan
Step 3: Programming the Remote to Control the Fan
Once you have successfully initialized the remote control, you can now proceed to program it to control the different functions of your Harbor Breeze fan. Programming the remote allows you to customize settings such as fan speed, light control, and direction. Follow these steps to program the remote control:
- Identify the programming buttons: Before you begin programming, familiarize yourself with the various buttons on the remote control. These buttons may include fan speed controls, light controls, and direction controls. Each button serves a specific function and will be used during the programming process.
- Select the desired fan speed settings: The remote control allows you to set different fan speed settings. Press the appropriate fan speed button (usually indicated by icons or labels), such as “Low,” “Medium,” or “High,” to set your preferred fan speed. Test the fan speed by pressing the button and observing the fan’s response.
- Control the lights (if applicable): If your Harbor Breeze fan includes lights, the remote control will have dedicated buttons to control the light settings. Press the light button to turn the lights on or off. Some remote controls may allow you to adjust the brightness or even change the light color temperature.
- Reverse the fan direction (if applicable): Many Harbor Breeze fans have a reverse function, allowing you to change the direction of the fan blades. This is helpful for different seasons, as it can help distribute air more effectively. Press the reverse button to toggle between the clockwise and counterclockwise direction.
- Save your programming settings: Once you have set your desired fan speed, light control, and direction, save the programming settings by pressing the appropriate button on the remote control. This step may vary depending on your remote control model. Consult your user manual for specific instructions on how to save the programming settings.
- Test the remote control: After saving the programming settings, test the remote control to ensure that it is working properly. Try adjusting the fan speed, controlling the lights, and changing the direction of the fan to verify that the remote control successfully communicates with the fan.
With the remote control successfully programmed, you can now enjoy the convenience of controlling your Harbor Breeze fan from anywhere in the room. If you encounter any difficulties during the programming process, refer to the troubleshooting tips in the next section. These tips will help you resolve common issues and ensure that your fan remote control functions smoothly.
Troubleshooting Tips
While programming your Harbor Breeze fan remote is generally a straightforward process, you may encounter some challenges along the way. Here are some troubleshooting tips to help you overcome common issues:
- Check the batteries: If your remote control is not responding, the first thing to check is the batteries. Ensure that you have inserted fresh batteries with the correct polarity (+/-). Replace the batteries if necessary, as weak or depleted batteries can affect the remote control’s performance.
- Ensure proper initialization: If the remote control does not seem to be syncing with the fan receiver, repeat the initialization process. Make sure you are following the correct button combinations or pairing sequences outlined in your user manual. Try holding the pairing button on the fan receiver for a few seconds longer to ensure it is in pairing mode.
- Verify the receiver’s power: Check that the fan’s receiver unit is receiving power. Ensure that the circuit breaker or wall switch is turned on, and there is a power supply to the fan. If there is no power, the remote control will not work.
- Check for interference: Interference from other devices can disrupt the communication between the remote control and the fan receiver. Make sure there are no nearby devices, such as wireless routers or cordless phones, causing interference. You can also try resetting the remote control by removing the batteries, waiting for a few minutes, and then reinserting them.
- Refer to the user manual: If you’re encountering any specific issues or errors during the programming process, consult your user manual. The manual usually contains troubleshooting sections with specific instructions for common problems. It may also provide contact information for customer support if further assistance is needed.
If you have gone through these troubleshooting steps and are still unable to resolve the issue, it’s recommended to reach out to Harbor Breeze customer support for further assistance. They have dedicated support teams who can guide you through the troubleshooting process or arrange for a replacement remote control if necessary.
Remember, patience and careful attention to detail are key when troubleshooting any technical issues. By following these troubleshooting tips, you should be able to overcome most common problems and enjoy the convenience of your Harbor Breeze fan remote control.
Conclusion
Congratulations! You have successfully learned how to program your Harbor Breeze fan remote control. With the ability to adjust fan speed, control lights, and change the fan direction from the comfort of your seat, you can enjoy optimal comfort and convenience in your living space.
Throughout this guide, we covered the importance of understanding Harbor Breeze fans and their remote control systems. We discussed the preparation steps, including setting up the fan receiver and initializing the remote control. Then, we walked you through the programming process, allowing you to customize the fan’s settings to your liking. We also provided troubleshooting tips to help you overcome common issues that may arise during the programming process.
Remember to refer to your specific fan model’s user manual for exact instructions and any additional features that may be available with your remote control. It’s always a good idea to keep the user manual in a safe place for future reference.
Having a properly programmed remote control enhances the functionality and convenience of your Harbor Breeze fan, making it a valuable addition to your home. Enjoy the benefits of a comfortable, well-ventilated space with the touch of a button.
If you have any further questions or encounter any difficulties, don’t hesitate to reach out to Harbor Breeze’s customer support team. They are there to assist you and provide any additional guidance you may need.
Thank you for choosing Harbor Breeze, and we hope this guide has been helpful in programming your fan remote control. Sit back, relax, and enjoy the cool breeze and ambiance created by your Harbor Breeze fan!
Now that you've mastered programming your Harbor Breeze fan remote, why stop there? Dive into our next feature, an insightful review of 12 amazing ceiling fan remotes set to sweep you off your feet in 2024. From sleek designs to cutting-edge technology, these remotes promise to simplify your daily life and bring a breeze of functionality right at your fingertips. Don't miss out on finding your perfect match for a cooler, more comfortable home environment.
Frequently Asked Questions about How To Program Harbor Breeze Fan Remote
Was this page helpful?
At Storables.com, we guarantee accurate and reliable information. Our content, validated by Expert Board Contributors, is crafted following stringent Editorial Policies. We're committed to providing you with well-researched, expert-backed insights for all your informational needs.
0 thoughts on “How To Program Harbor Breeze Fan Remote”