
Articles
How To Paint A Ceiling Fan
Modified: September 1, 2024
Learn how to paint a ceiling fan with our helpful articles. Transform your old fan into a stylish statement piece.
(Many of the links in this article redirect to a specific reviewed product. Your purchase of these products through affiliate links helps to generate commission for Storables.com, at no extra cost. Learn more)
Introduction
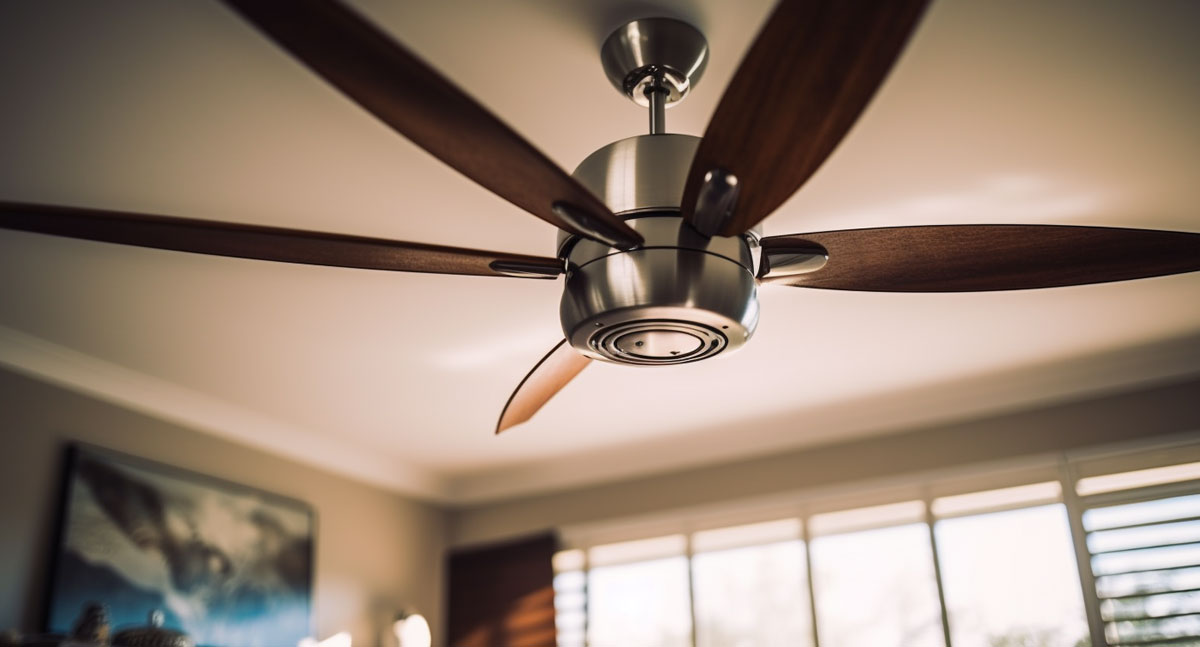
Are you tired of looking at the same old, boring ceiling fan in your living room? Do you want to give it a fresh, new look without breaking the bank? Well, good news! You can easily transform your ceiling fan with a fresh coat of paint. Painting a ceiling fan is a simple and cost-effective way to update the look of your room and add a touch of personal style.
In this article, we will guide you through the step-by-step process of painting a ceiling fan. Whether you want to match it with your room’s decor or give it a completely new color, we’ve got you covered. So, let’s get started and turn that dull ceiling fan into a showpiece that will impress your friends and family.
Key Takeaways:
- Transform your old ceiling fan into a personalized showpiece with a fresh coat of paint. Follow the step-by-step process to achieve professional-looking results and revitalize your room’s decor.
- Choosing the right paint, applying primer, and taking your time with the painting process will ensure a durable and stylish finish for your newly painted ceiling fan. Enjoy the refreshed atmosphere and impress your friends and family with your DIY skills!
Read more: How A Ceiling Fan Works
Step 1: Preparing the Area
Before you begin painting your ceiling fan, it is essential to prepare the surrounding area to avoid any unnecessary mess or damage. Here are the steps to follow:
- Cover nearby furniture and floors: Start by covering any nearby furniture, floors, or other items that you want to protect from paint splatters. Use plastic sheets or drop cloths to cover the areas, ensuring they are securely taped down to prevent any movement.
- Remove any accessories or light fixtures: If your ceiling fan has any accessories or light fixtures attached, remove them before painting. This will make the painting process easier and allow you to paint the fan blades more effectively without any obstacles in the way.
- Clean the fan and blades: Use a damp cloth or sponge to wipe down the entire ceiling fan and its blades. This will remove any dust, dirt, or grease that may have accumulated over time. Cleaning the fan will ensure a smooth surface for the paint to adhere to.
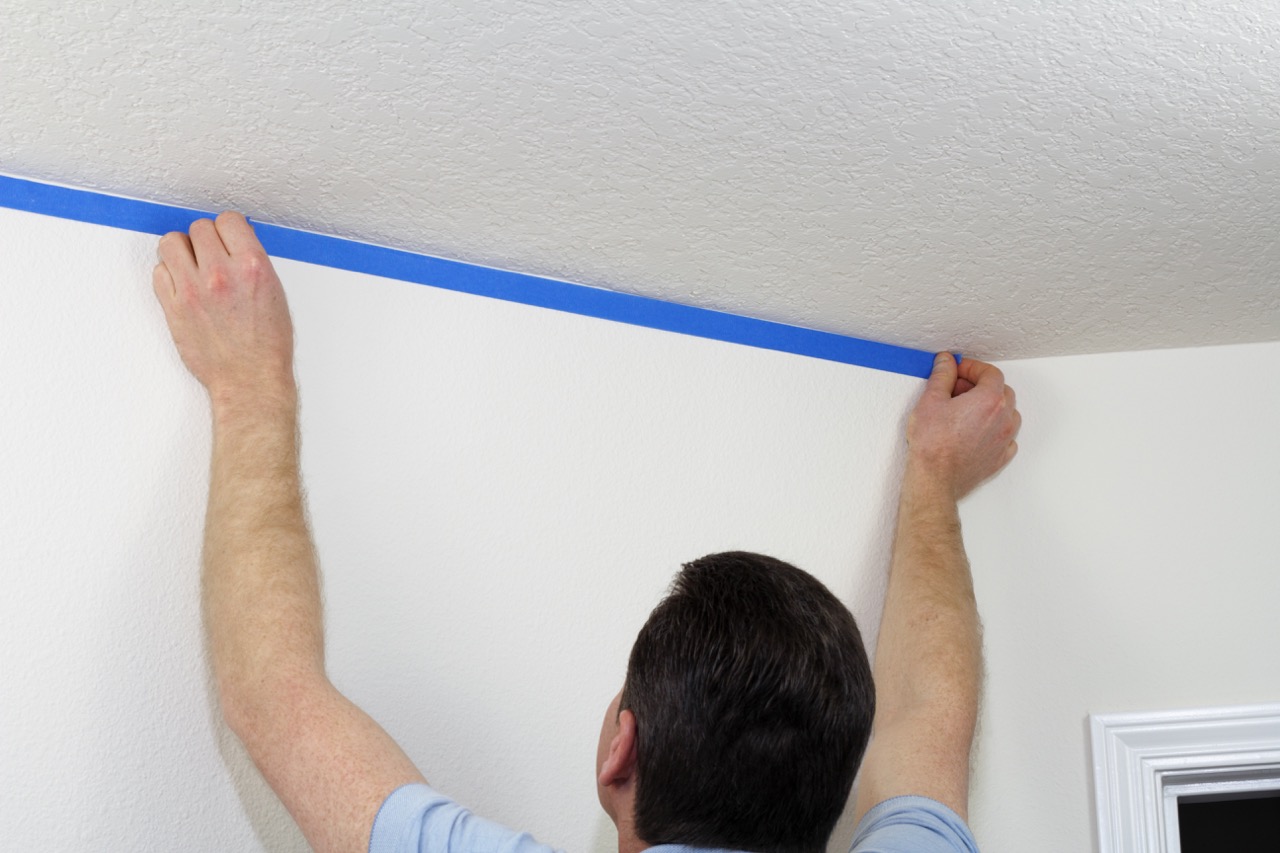
- Tape off any areas you don’t want to paint: If there are any areas of the fan or the surrounding ceiling that you don’t want to paint, such as the motor housing or the room’s walls, use painter’s tape to carefully cover and protect these areas. This will help you achieve clean and precise lines while painting.
By taking the time to properly prepare the area, you will minimize mess and potential damage while ensuring a seamless painting process. Once you have completed these steps, you are ready to move on to the next step of painting your ceiling fan.
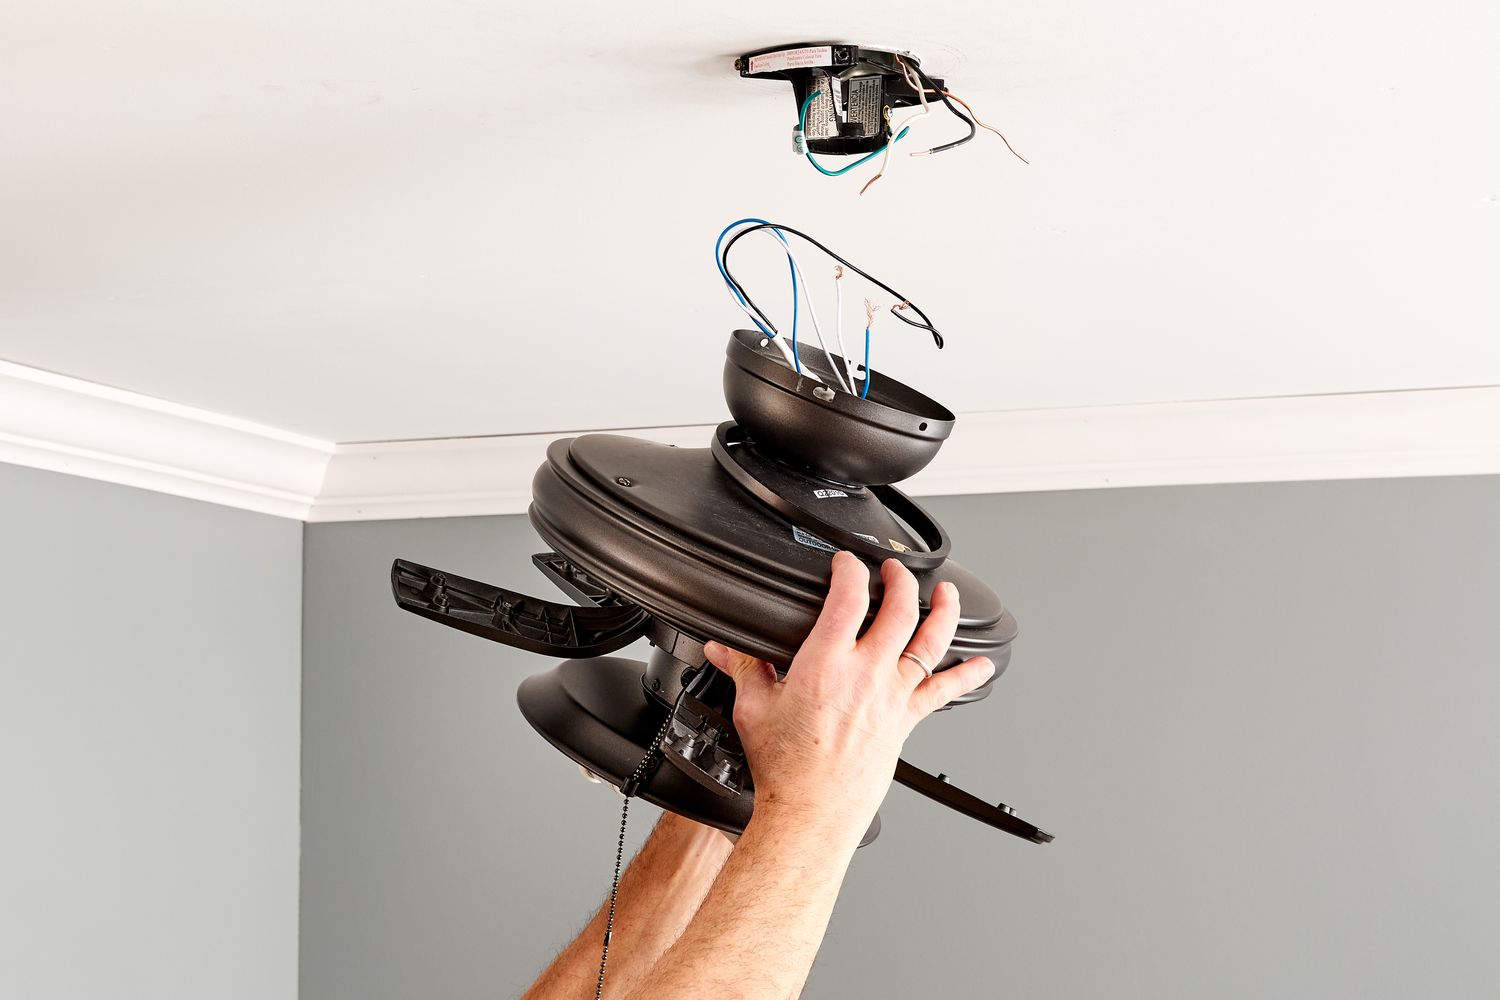
Step 2: Removing the Fan Blades
Now that you have prepared the area, it’s time to remove the fan blades. Removing the blades will make it easier to paint them and ensure that you get complete and even coverage. Follow these steps to safely and effectively remove the fan blades:
- Switch off the power: Before you begin removing the fan blades, make sure to switch off the power to the ceiling fan. You can do this by turning off the circuit breaker or disconnecting the power supply at the main electrical panel. This step is crucial to avoid any accidental injuries during the blade removal process.
- Locate the screws or brackets: Most ceiling fans have screws or brackets that hold the blades in place. Locate these screws or brackets on each blade. They are usually located on the underside of the fan blades, near the center area.
- Remove the screws or brackets: Use a screwdriver or an appropriate tool to remove the screws or loosen the brackets from each blade. Be sure to keep track of the screws or brackets as you will need them for reassembly later. Carefully set the screws or brackets aside in a safe place.
- Gently remove the fan blades: Once the screws or brackets are removed, gently lift each fan blade away from the fan motor. Be cautious and handle the blades with care to avoid any damage. Place the removed blades in a safe location where they won’t be accidentally knocked or damaged.
By following these steps, you can easily and safely remove the fan blades from your ceiling fan. Now that the blades are detached, you can proceed to the next step of cleaning them before painting.
Step 3: Cleaning the Fan Blades
Now that the fan blades are removed, it’s time to give them a thorough cleaning. Cleaning the blades will ensure a smooth and even surface for the paint to adhere to, resulting in a professional-looking finish. Follow these steps to clean the fan blades effectively:
- Prepare a cleaning solution: Fill a basin or bucket with warm water and a mild detergent. You can also use a gentle cleaning solution specifically designed for delicate surfaces. Avoid using harsh chemicals or abrasive cleaners, as they can damage the blades.
- Dampen a cloth or sponge: Dip a clean cloth or sponge into the cleaning solution, ensuring it is not dripping wet. Squeeze out any excess water to avoid damaging the blades or the electrical components.
- Wipe down the blades: Gently wipe down each fan blade with the damp cloth or sponge. Start from the base of the blade and work your way towards the tip, removing any dust, dirt, or grime that may have accumulated. Pay attention to both sides of the blade and ensure you clean all the nooks and crevices.
- Rinse and dry the blades: Once you have cleaned all the blades, rinse them with clean water to remove any leftover detergent. Use a dry cloth or towel to pat the blades dry. Make sure the blades are completely dry before proceeding to the next step. This will prevent any water marks or streaks from appearing on the painted surface.
By taking the time to clean the fan blades thoroughly, you are ensuring a clean and smooth surface for the paint application. Once the blades are clean and dry, you are ready to move on to the next step of sanding them in preparation for painting.
Step 4: Sanding the Fan Blades
Now that the fan blades are clean, it’s time to give them a light sanding to create a smooth surface for the paint to adhere to. Sanding helps remove any existing finish, rough patches, or imperfections on the blades, ensuring a professional-looking paint job. Follow these steps to sand the fan blades effectively:
- Gather the necessary materials: You will need fine-grit sandpaper (around 220 to 320-grit), a sanding block or sponge, and a clean cloth or towel to wipe away the dust.
- Protect yourself and the surrounding area: Wear a dust mask or respirator to protect yourself from inhaling any dust particles. Lay down a drop cloth or plastic sheet to catch any sandpaper dust and make cleaning up easier.
- Start sanding the blades: Begin sanding the fan blades using a back-and-forth motion. Sand lightly and evenly across the entire surface of each blade. Focus on smoothing out any rough areas or removing any existing finish. Be careful not to apply too much pressure to avoid damaging the blades.
- Check the smoothness: Periodically stop sanding and run your hand along the blade to check for smoothness. The blades should feel evenly sanded and free of any rough patches.
- Remove dust and debris: After sanding, use a clean cloth or towel to wipe away any dust or debris left behind. Ensure that the blades are clean and free of any particles that may affect the paint application.
Sanding the fan blades not only creates a smooth surface but also helps the paint adhere better, resulting in a long-lasting finish. Once you have finished sanding and cleaning the blades, you are ready to move on to the next step: applying primer.
Read more: How To Update A Ceiling Fan
Step 5: Applying Primer
Before painting the fan blades, it is important to apply a coat of primer. Primer helps to create a suitable base for the paint, improves adhesion, and enhances the durability of the finish. Follow these steps to apply primer to the fan blades:
- Choose the right primer: Select a primer specifically designed for the type of surface you are working with. Look for a primer that is suitable for both metal and wood surfaces, as ceiling fan blades can be made from either material. Make sure the primer is compatible with the type of paint you plan to use.
- Prepare the fan blades: Ensure that the fan blades are clean, dry, and free from any dust or debris. If needed, use a clean cloth or towel to wipe them down before applying the primer.
- Protect the surrounding area: Cover any nearby surfaces or objects that you want to keep paint-free. Use drop cloths or plastic sheets and painter’s tape to secure them in place and avoid any accidental damage or overspray.
- Apply the primer: Open the can of primer and stir it thoroughly. Pour a small amount of primer into a paint tray or onto a disposable plate. Use a brush or roller to apply an even coat of primer to each fan blade. Start from the base of the blade and work your way towards the tip, applying smooth and even strokes. Be sure to cover the entire surface, including the edges, and avoid leaving any drips or clumps.
- Allow the primer to dry: Check the drying time specified on the primer can and allow the primer to dry completely. This usually takes a few hours, but it’s best to follow the manufacturer’s instructions for the recommended drying time. Make sure the fan blades are completely dry before proceeding to the next step.
Applying primer to the fan blades prepares them for the paint application, ensuring better adhesion and a long-lasting finish. Once the primer is dry, you can move on to the next step: choosing the right paint for your ceiling fan.
When painting a ceiling fan, be sure to clean the fan blades thoroughly before applying any paint. Use a primer to ensure better adhesion and a smoother finish.
Step 6: Choosing the Right Paint
When it comes to painting your ceiling fan, selecting the right type of paint is essential for a successful and long-lasting finish. You’ll want a paint that is durable, easy to clean, and suitable for the specific materials of your fan blades. Follow these steps to choose the right paint for your ceiling fan:
- Consider the fan blade material: Determine whether your fan blades are made of wood or metal. Different materials require different types of paint. For wood blades, choose a paint that is formulated for wood surfaces. For metal blades, opt for a paint that is designed for metal surfaces.
- Look for quality and durability: Choose a paint that is known for its durability and ability to withstand wear and tear. Look for paints that are labeled as “scrubbable” or “easy to clean” to ensure that you can easily maintain the finish without it fading or chipping.
- Consider the sheen: Decide whether you want a glossy, satin, or matte finish for your fan blades. Glossy finishes are highly reflective and provide a shiny appearance, while satin and matte finishes have a more subtle sheen. Consider the aesthetic you want to achieve and how it matches with the rest of your room’s decor.
- Take color into account: Choose a paint color that complements your room’s overall color scheme and style. Consider whether you want your ceiling fan blades to blend in or stand out as a statement piece. You can opt for a color that matches the walls, furniture, or other accents in the room, or go for a contrasting color to create a bold look.
- Read product labels and reviews: Before making a final decision, read the labels and product descriptions of different paint options. Look for paints that are specifically recommended for use on ceiling fans or similar surfaces. Additionally, take the time to read customer reviews to get an idea of the quality and performance of the paints you are considering.
By carefully choosing the right paint for your ceiling fan, you can ensure a beautiful and durable finish that will enhance the look of your room. Once you have selected the paint, you are ready to move on to the next step: painting the fan blades.
Step 7: Painting the Fan Blades
Now that you have prepared the fan blades and selected the right paint, it’s time to start painting! Follow these steps to achieve a smooth and even coat of paint on your ceiling fan blades:
- Protect the surrounding area: Cover any nearby surfaces, furniture, or objects with drop cloths or plastic sheets to protect them from paint splatters or drips. Use painter’s tape to secure the coverings in place and create clean edges.
- Stir the paint: Open the can of paint and stir it thoroughly with a paint stirrer or a wooden stick. This will ensure an even distribution of the color and any settling that may have occurred during storage.
- Apply the paint: Use a brush or a small roller that is appropriate for the size of the fan blade. Starting at the base of the blade, apply a thin and even coat of paint, moving towards the tip. Work in smooth, overlapping strokes, following the natural shape of the blade. Avoid applying too much paint at once to prevent drips and uneven drying.
- Allow the paint to dry: Check the drying time specified on the paint can and allow the first coat of paint to dry completely. This usually takes a few hours, but it’s best to follow the manufacturer’s instructions for the recommended drying time. Avoid touching or disturbing the painted surfaces during this time to prevent any smudging or imperfections.
- Apply additional coats if needed: Once the first coat is dry, assess the coverage and decide if additional coats are required. If the color is not opaque or if you can see streaks or imperfections, apply a second or even third coat of paint. Allow each coat to dry completely before applying the next one, following the same technique as before.
- Inspect and touch up: Once the final coat is dry, inspect the blades for any areas that may require touch-ups. Use a small brush or a touch-up roller to carefully fix any imperfections or uneven spots. Once the touch-ups are dry, step back and admire your newly painted ceiling fan blades!
By following these steps and taking your time, you can achieve a professional-looking paint job on your ceiling fan blades. Once the paint is fully dry, you can move on to the next step: reassembling the ceiling fan.
Step 8: Reassembling the Ceiling Fan
Now that the fan blades are dry and you’re satisfied with the paint job, it’s time to reassemble the ceiling fan. Follow these steps to safely and effectively put your ceiling fan back together:
- Gather the necessary tools: Before you start reassembling, make sure you have all the tools you need, including a screwdriver, pliers, and any additional hardware that came with the fan.
- Attach the fan blades: Line up each fan blade with its corresponding bracket or screw holes on the fan motor. Carefully attach each blade, ensuring they are securely fastened. Use the screws or brackets you removed earlier to secure the blades in place.
- Reinstall any accessories or light fixtures: If you had previously removed any accessories or light fixtures from the ceiling fan, now is the time to reinstall them. Follow the manufacturer’s instructions to correctly attach these components to the fan.
- Tighten all screws and connections: Go through the entire fan assembly and ensure that all screws and connections are properly tightened. Use a screwdriver or pliers to secure any loose screws or connections, but be careful not to over-tighten and risk damaging the fan or its components.
- Test the fan: Once you have reassembled the ceiling fan, switch the power back on and test the fan to ensure it is functioning properly. Check for any unusual noises, wobbling, or issues with the fan blades.
By following these steps, you can safely and effectively reassemble your ceiling fan after painting the fan blades. Once you’re satisfied that the fan is working correctly, you can move on to the final step: adding finishing touches and cleaning up.
Read more: How To Dispose Ceiling Fans
Step 9: Finishing Touches and Clean Up
After reassembling your newly painted ceiling fan, it’s time to add the finishing touches and complete the project. Follow these steps to ensure a polished finish and clean up any remaining mess:
- Remove any tape and protective coverings: Carefully remove any painter’s tape and protective coverings from the surrounding area, being mindful not to damage the freshly painted blades or any other surfaces.
- Inspect and touch up as needed: Take a close look at the fan blades and the surrounding area. If you notice any spots or imperfections that need touch-ups, use a small brush or touch-up roller to carefully correct them. Allow any touch-ups to dry completely.
- Clean your painting tools: Thoroughly clean your brushes, rollers, and any other painting tools you used. Use water and appropriate cleaning agents according to the type of paint you used. Make sure to remove all paint residue and allow the tools to dry before storing them.
- Wipe down the fan and surrounding area: Take a soft, damp cloth and wipe down the fan blades and the surrounding area to remove any dust or debris. This will help your freshly painted ceiling fan look clean and polished.
- Dispose of paint cans and other waste properly: Follow the proper waste disposal guidelines for any leftover paint cans and other painting-related waste materials. Contact your local waste management facility to find out the best way to dispose of them.
- Enjoy your newly painted ceiling fan: Step back and admire your handiwork! Turn on your newly painted ceiling fan and enjoy the refreshed look it brings to your room. Sit back, relax, and bask in the satisfying feeling of transforming your ceiling fan with your own personal touch.
By following these final steps, you can complete the process of painting your ceiling fan and ensure a clean and well-finished result. Now you can sit back, relax, and enjoy the refreshed and personalized look of your newly painted ceiling fan!
Conclusion
Painting a ceiling fan is a simple yet impactful way to transform the look of a room and add a touch of personal style. By following the step-by-step process outlined in this article, you can successfully paint your ceiling fan and achieve professional-looking results.
In the beginning, we discussed the importance of preparing the area, removing the fan blades, and cleaning them thoroughly. We then explored the steps of sanding the blades to create a smooth surface and applying primer to ensure better paint adhesion.
We also covered the crucial step of choosing the right paint for your fan blades, considering factors such as material, durability, sheen, and color. With the right paint in hand, we delved into the process of painting the fan blades, ensuring a smooth and even application.
After the painting is complete, reassembling the ceiling fan and conducting a final inspection to ensure proper functionality is essential. Adding the finishing touches and cleaning up any mess or residue will provide a polished finish to the project.
By following these steps and paying attention to detail, you can revitalize your ceiling fan, giving it a fresh and personalized look that complements your room’s decor. Whether you choose to match the fan blades with the rest of the room or make them stand out as a statement piece, painting your ceiling fan is a cost-effective way to breathe new life into your space.
Now it’s time to sit back, relax, and enjoy the stylish and refreshed atmosphere created by your newly painted ceiling fan. Get ready to wow your friends and family with your DIY skills and the beautiful transformation of your room!
Frequently Asked Questions about How To Paint A Ceiling Fan
Was this page helpful?
At Storables.com, we guarantee accurate and reliable information. Our content, validated by Expert Board Contributors, is crafted following stringent Editorial Policies. We're committed to providing you with well-researched, expert-backed insights for all your informational needs.


0 thoughts on “How To Paint A Ceiling Fan”