Articles
How To Install Harbor Breeze Ceiling Fan
Modified: November 2, 2024
Looking for articles on how to install Harbor Breeze ceiling fans? Learn step-by-step instructions and helpful tips in our comprehensive guide.
(Many of the links in this article redirect to a specific reviewed product. Your purchase of these products through affiliate links helps to generate commission for Storables.com, at no extra cost. Learn more)
Introduction
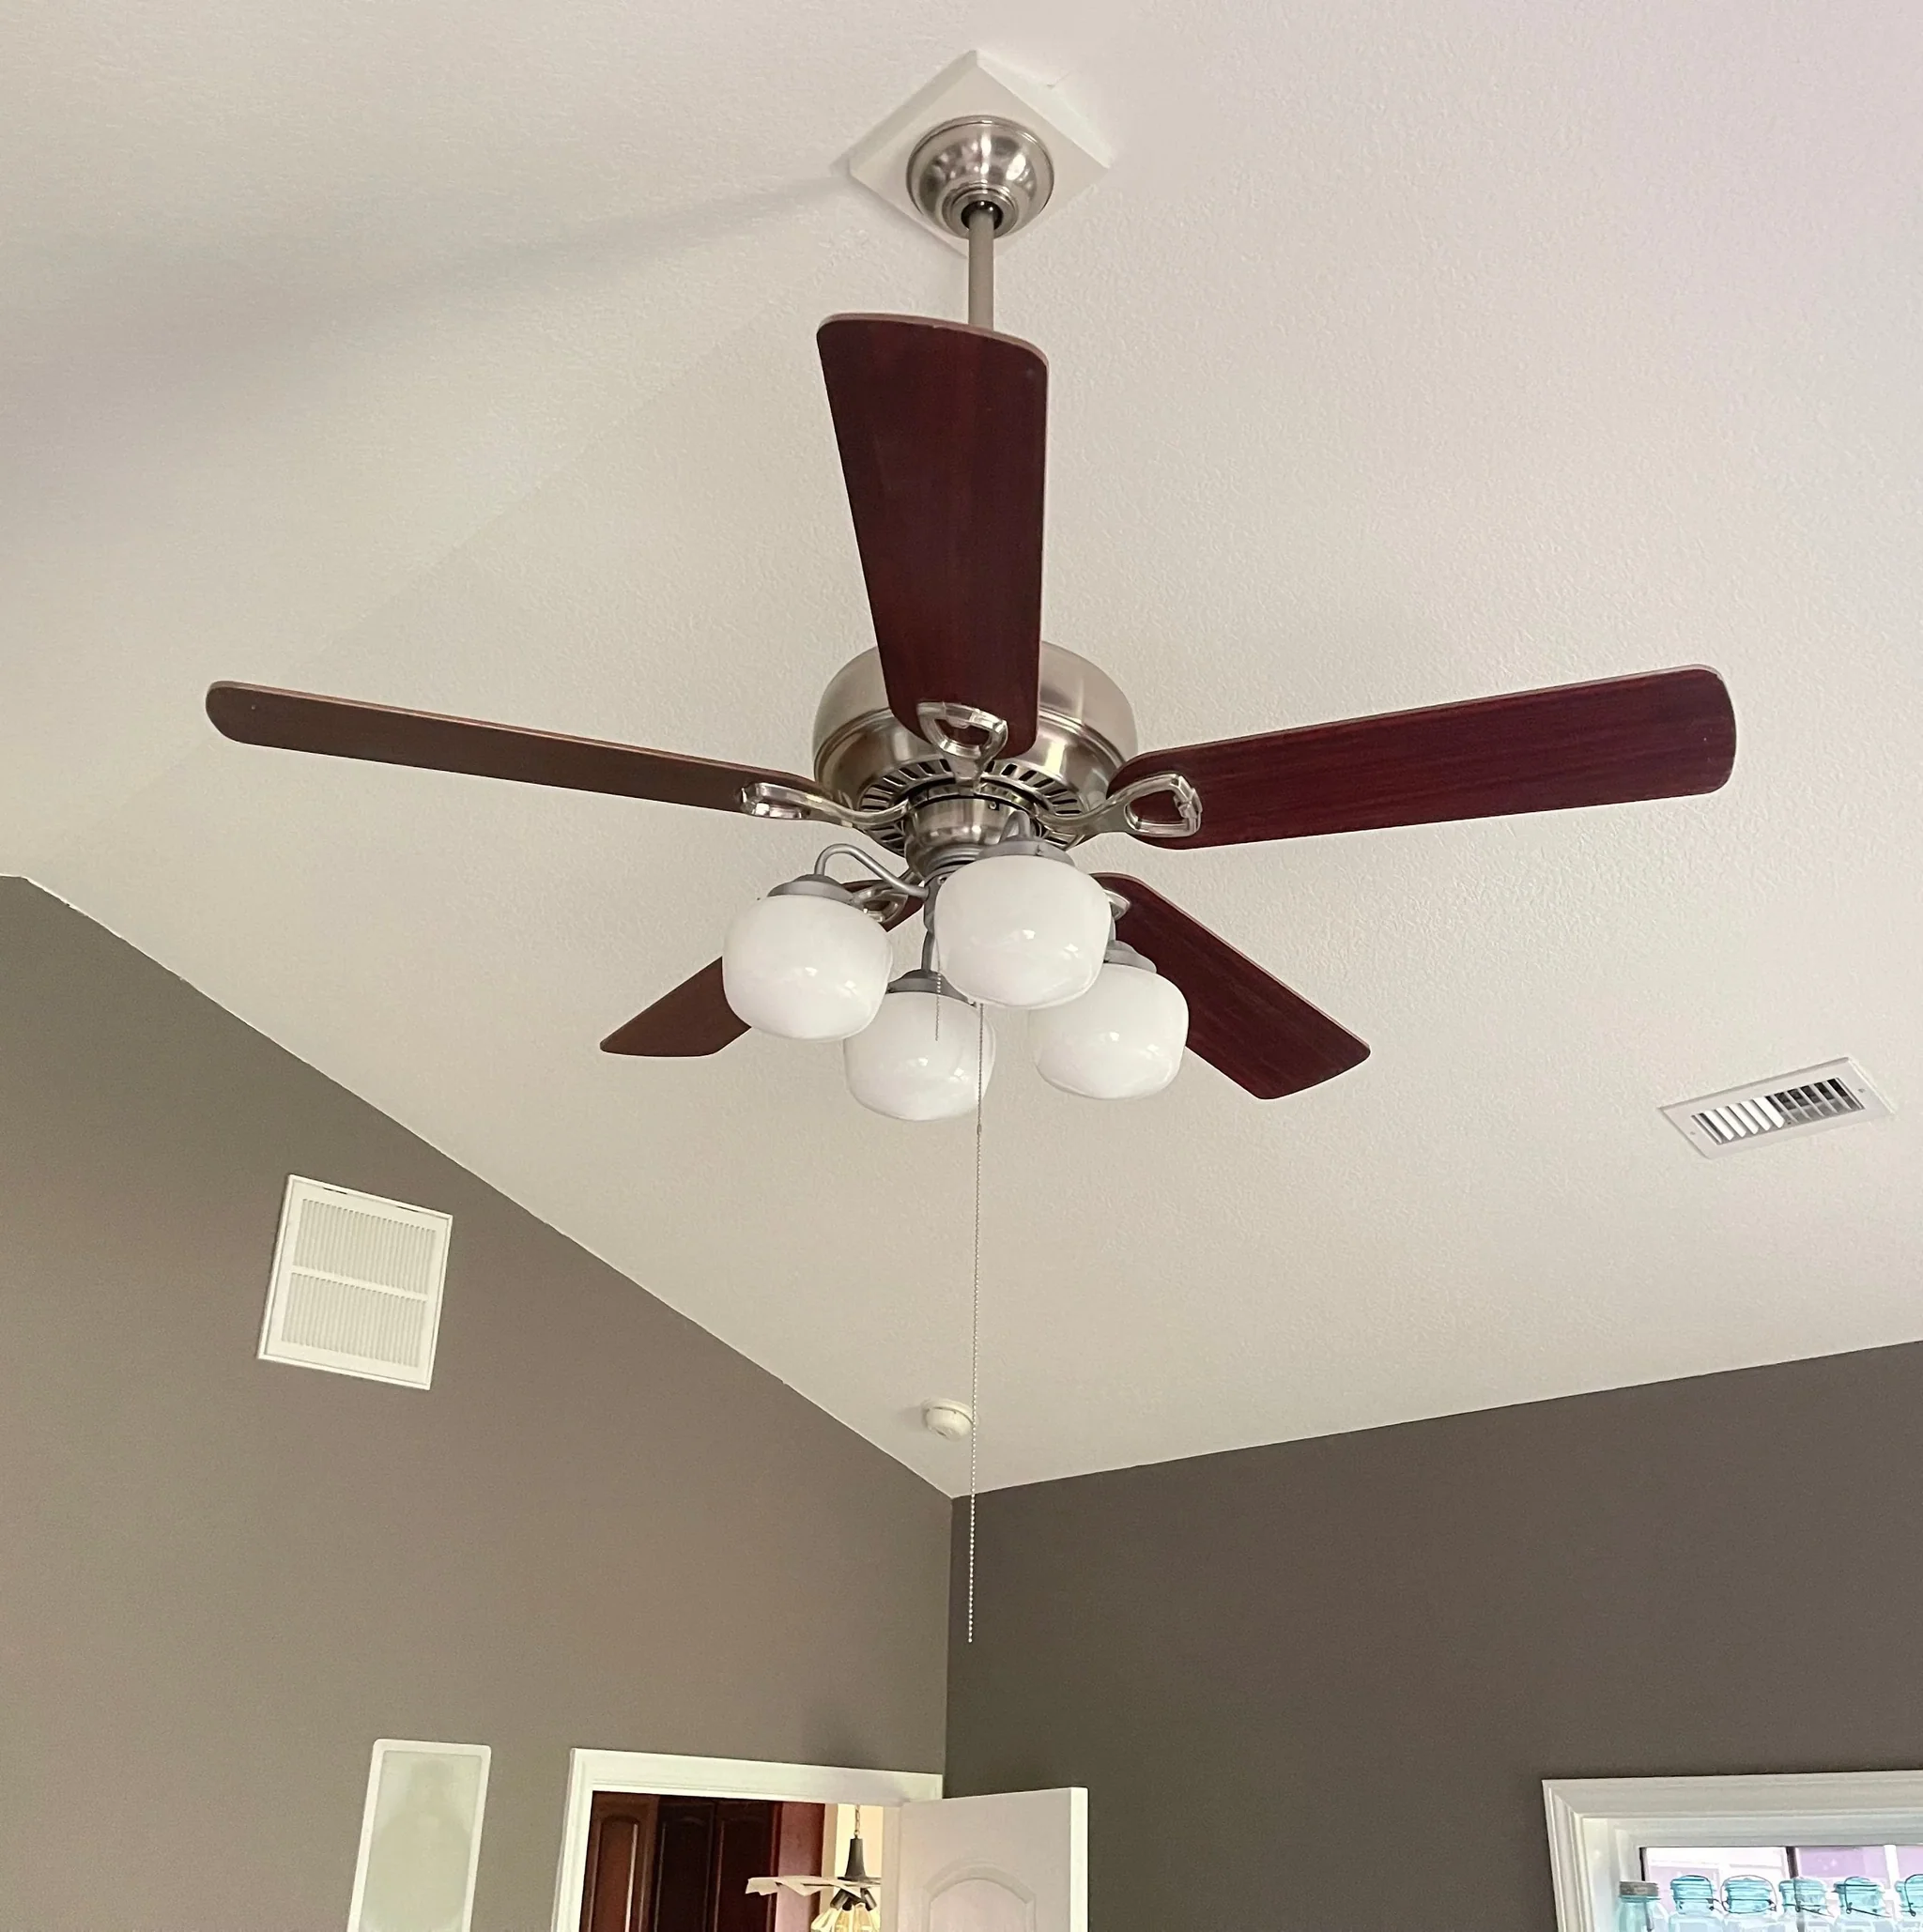
Welcome to the ultimate guide on how to install a Harbor Breeze ceiling fan! Whether you’re replacing an old fan or installing a new one, Harbor Breeze ceiling fans are a popular choice known for their sleek design, energy efficiency, and quiet operation.
Installing a ceiling fan may seem like a daunting task, but with the right tools, materials, and a little bit of know-how, you can easily transform your space and enjoy the comfort and air circulation that a ceiling fan provides.
In this article, we’ll take you through a step-by-step process on how to install a Harbor Breeze ceiling fan. From gathering the necessary tools to mounting the fan blades, connecting the wiring, and testing the fan, we’ll cover everything you need to know to complete the installation successfully.
Before we dive into the installation process, it’s important to note that working with electricity can be dangerous. Always prioritize safety and power off the circuit breaker or fuse for the area where you’ll be installing the fan. If you’re unsure or uncomfortable working with electrical wiring, it’s best to consult a licensed electrician.
Now, let’s get started on installing your Harbor Breeze ceiling fan and creating a cool and inviting atmosphere in your home or office!
Key Takeaways:
- Transform your space with ease by following the step-by-step guide to install a Harbor Breeze ceiling fan. Enjoy improved air circulation, energy efficiency, and enhanced aesthetics in your home or office.
- Prioritize safety and thorough testing to ensure a successful installation. Embrace the comfort and versatility of your newly installed Harbor Breeze ceiling fan, and don’t forget to maintain it for optimal performance.
Read more: How To Remove A Harbor Breeze Ceiling Fan
Step 1: Gather the Necessary Tools and Materials
Before you begin installing your Harbor Breeze ceiling fan, it’s important to gather all the necessary tools and materials. Having everything prepared ahead of time will make the installation process smooth and efficient. Here’s a list of what you’ll need:
- Harbor Breeze ceiling fan kit (includes fan motor, blades, and mounting hardware)
- Ladder or step stool
- Screwdriver set (flathead and Phillips)
- Wire stripper or utility knife
- Pliers
- Electrical tester
- Wire connectors
- Ceiling fan-rated electrical box
- Wire nuts
- Electrical tape
- Measuring tape
It’s essential to ensure that you have the correct Harbor Breeze ceiling fan kit that matches the size and style you desire for your space. The kit should include the fan motor, fan blades, and mounting hardware.
Additionally, have a ladder or step stool nearby to safely access the area where the fan will be installed. A screwdriver set with both flathead and Phillips screwdrivers will be needed for removing any existing fan or assembling the new one.
For working with electrical components, a wire stripper or utility knife and pliers will be necessary for stripping and connecting wires. An electrical tester is crucial for confirming that the power is turned off before beginning any wiring work.
To secure the wiring connections, you’ll need wire connectors and wire nuts. Electrical tape can be used to insulate and secure any exposed wiring. And finally, a measuring tape will come in handy for ensuring proper placement and alignment of the fan.
Once you have gathered all the necessary tools and materials, you’ll be well-prepared to move on to the next steps of installing your Harbor Breeze ceiling fan. Let’s proceed to Step 2: Turn off the Power.
Step 2: Turn off the Power
Prior to starting any electrical work, it’s crucial to turn off the power to the area where you’ll be installing the Harbor Breeze ceiling fan. This ensures your safety and prevents any accidents or electrical shocks.
The power to the fan is typically controlled by a circuit breaker or a fuse. Locate the electrical panel in your home or office and find the circuit breaker or fuse that corresponds to the room where the fan will be installed.
Once you’ve identified the correct breaker or fuse, switch it off to cut off the electricity. For extra safety, use a voltage tester to confirm that the power is truly off before proceeding. Simply hold the tester against the wires or terminals to check for any voltage. If there is no indication of voltage, it’s safe to continue with the installation.
Turning off the power not only protects you from electric shock but also prevents any accidental activation of the fan during the installation process. It’s a critical step that should never be overlooked.
Remember, if you’re unsure or uncomfortable working with electrical wiring, it’s best to consult a licensed electrician. They have the knowledge and experience to safely handle electrical connections and ensure everything is done correctly.
Once you’ve confirmed the power is off, it’s time to move on to Step 3: Remove the Existing Fan (if applicable).
Step 3: Remove the Existing Fan (if applicable)
If you already have a ceiling fan installed in the area where you’ll be installing the Harbor Breeze fan, you’ll need to remove it before proceeding. However, if you’re installing a fan in a new location, you can skip this step.
To remove the existing fan, follow these steps:
- Turn off the power: Before starting any removal work, turn off the power to the fan by switching off the corresponding circuit breaker or removing the fuse.
- Unscrew the fan blades: Use a screwdriver to loosen and remove the screws that hold the fan blades in place. Carefully detach the blades from the motor housing and set them aside.
- Disconnect the wiring: Locate the wiring connections near the ceiling or inside the electrical box. Unscrew the wire nuts and carefully disconnect the wires. It’s important to take note of which wires are connected together for easier installation of the new fan.
- Remove the mounting bracket: Most ceiling fans are mounted using a bracket that attaches the fan to the ceiling. Remove any screws or bolts securing the bracket to the ceiling and carefully lower it down.
- Patch and paint (optional): If desired, this is an opportunity to repair any damage or imperfections on the ceiling caused by the previous fan. Patch any holes or cracks and touch up the paint to ensure a clean installation for the new fan.
Remember to take your time and handle all parts with care during the removal process. Keep the screws, wires, and other components in a safe place for later use or disposal.
Once the existing fan has been completely removed, you can proceed to the next step of installing your Harbor Breeze ceiling fan. In Step 4, we’ll guide you through the process of assembling the fan.
Step 4: Assemble the Harbor Breeze Ceiling Fan
With the old fan removed, it’s time to assemble your Harbor Breeze ceiling fan. This step involves putting together the fan motor, attaching the fan blades, and preparing it for installation.
Follow these steps to assemble your Harbor Breeze ceiling fan:
- Read the instructions: Begin by carefully reading the instruction manual provided with your Harbor Breeze fan. This will guide you through the specific assembly steps for your particular model.
- Attach the fan blades: Take the fan blades and align them with the designated slots on the motor housing. Use the provided screws and a screwdriver to securely fasten each blade into place. Make sure they are evenly spaced and balanced.
- Install the mounting bracket: Depending on your specific Harbor Breeze model, this step may vary. Follow the instructions to mount the bracket securely to the ceiling. Ensure it’s centered and properly aligned.
- Connect the motor housing: Once the fan blades are attached, connect the motor housing to the mounting bracket by aligning the slots and twisting it into place. Ensure it’s securely attached and level.
- Familiarize yourself with the controls: Take a moment to familiarize yourself with the fan’s controls and switches. This may include pull chains, remote control receivers, or wall-mounted controls.
Assembling your Harbor Breeze ceiling fan may require some additional steps specific to your model. Make sure to carefully follow the instructions provided with your fan kit to ensure a successful assembly.
Take your time during this step to ensure that all components are properly connected and secure. Once you’ve completed the assembly process, you’re ready to move on to the next step, which is mounting the ceiling fan bracket.
Read more: Who Makes Harbor Breeze Ceiling Fans
Step 5: Mount the Ceiling Fan Bracket
With your Harbor Breeze ceiling fan assembled, it’s time to mount the ceiling fan bracket. The bracket provides a secure base to attach the fan motor and ensures stability during operation. Follow these steps to mount the bracket:
- Locate the ceiling fan-rated electrical box: Ensure that you have a proper, ceiling fan-rated electrical box securely installed in the ceiling. If there isn’t one already, you may need to hire an electrician to install a suitable box.
- Position the bracket: Hold the ceiling fan bracket against the electrical box, aligning the screw holes of the bracket with the holes on the box. For added stability, check that the bracket is level using a spirit level.
- Secure the bracket: Insert the provided screws through the holes in the bracket and into the corresponding holes in the electrical box. Using a screwdriver, tighten the screws securely, ensuring that the bracket is firmly attached to the ceiling.
It’s important to note that the installation process may vary depending on the specific model of your Harbor Breeze ceiling fan. Always refer to the manufacturer’s instructions for detailed guidance tailored to your fan.
Mounting the ceiling fan bracket is a crucial step, as it provides the foundation for the fan to be securely attached. Taking the time to ensure proper alignment and securely fasten the bracket will prevent any issues during and after installation.
Once the ceiling fan bracket is securely mounted, you are ready to move on to the next step: installing the fan blades. This step brings you one step closer to enjoying the cool breeze and comfort provided by your Harbor Breeze ceiling fan.
When installing a Harbor Breeze ceiling fan, make sure to turn off the power at the circuit breaker before starting. Follow the instructions carefully and use the provided hardware for a secure installation.
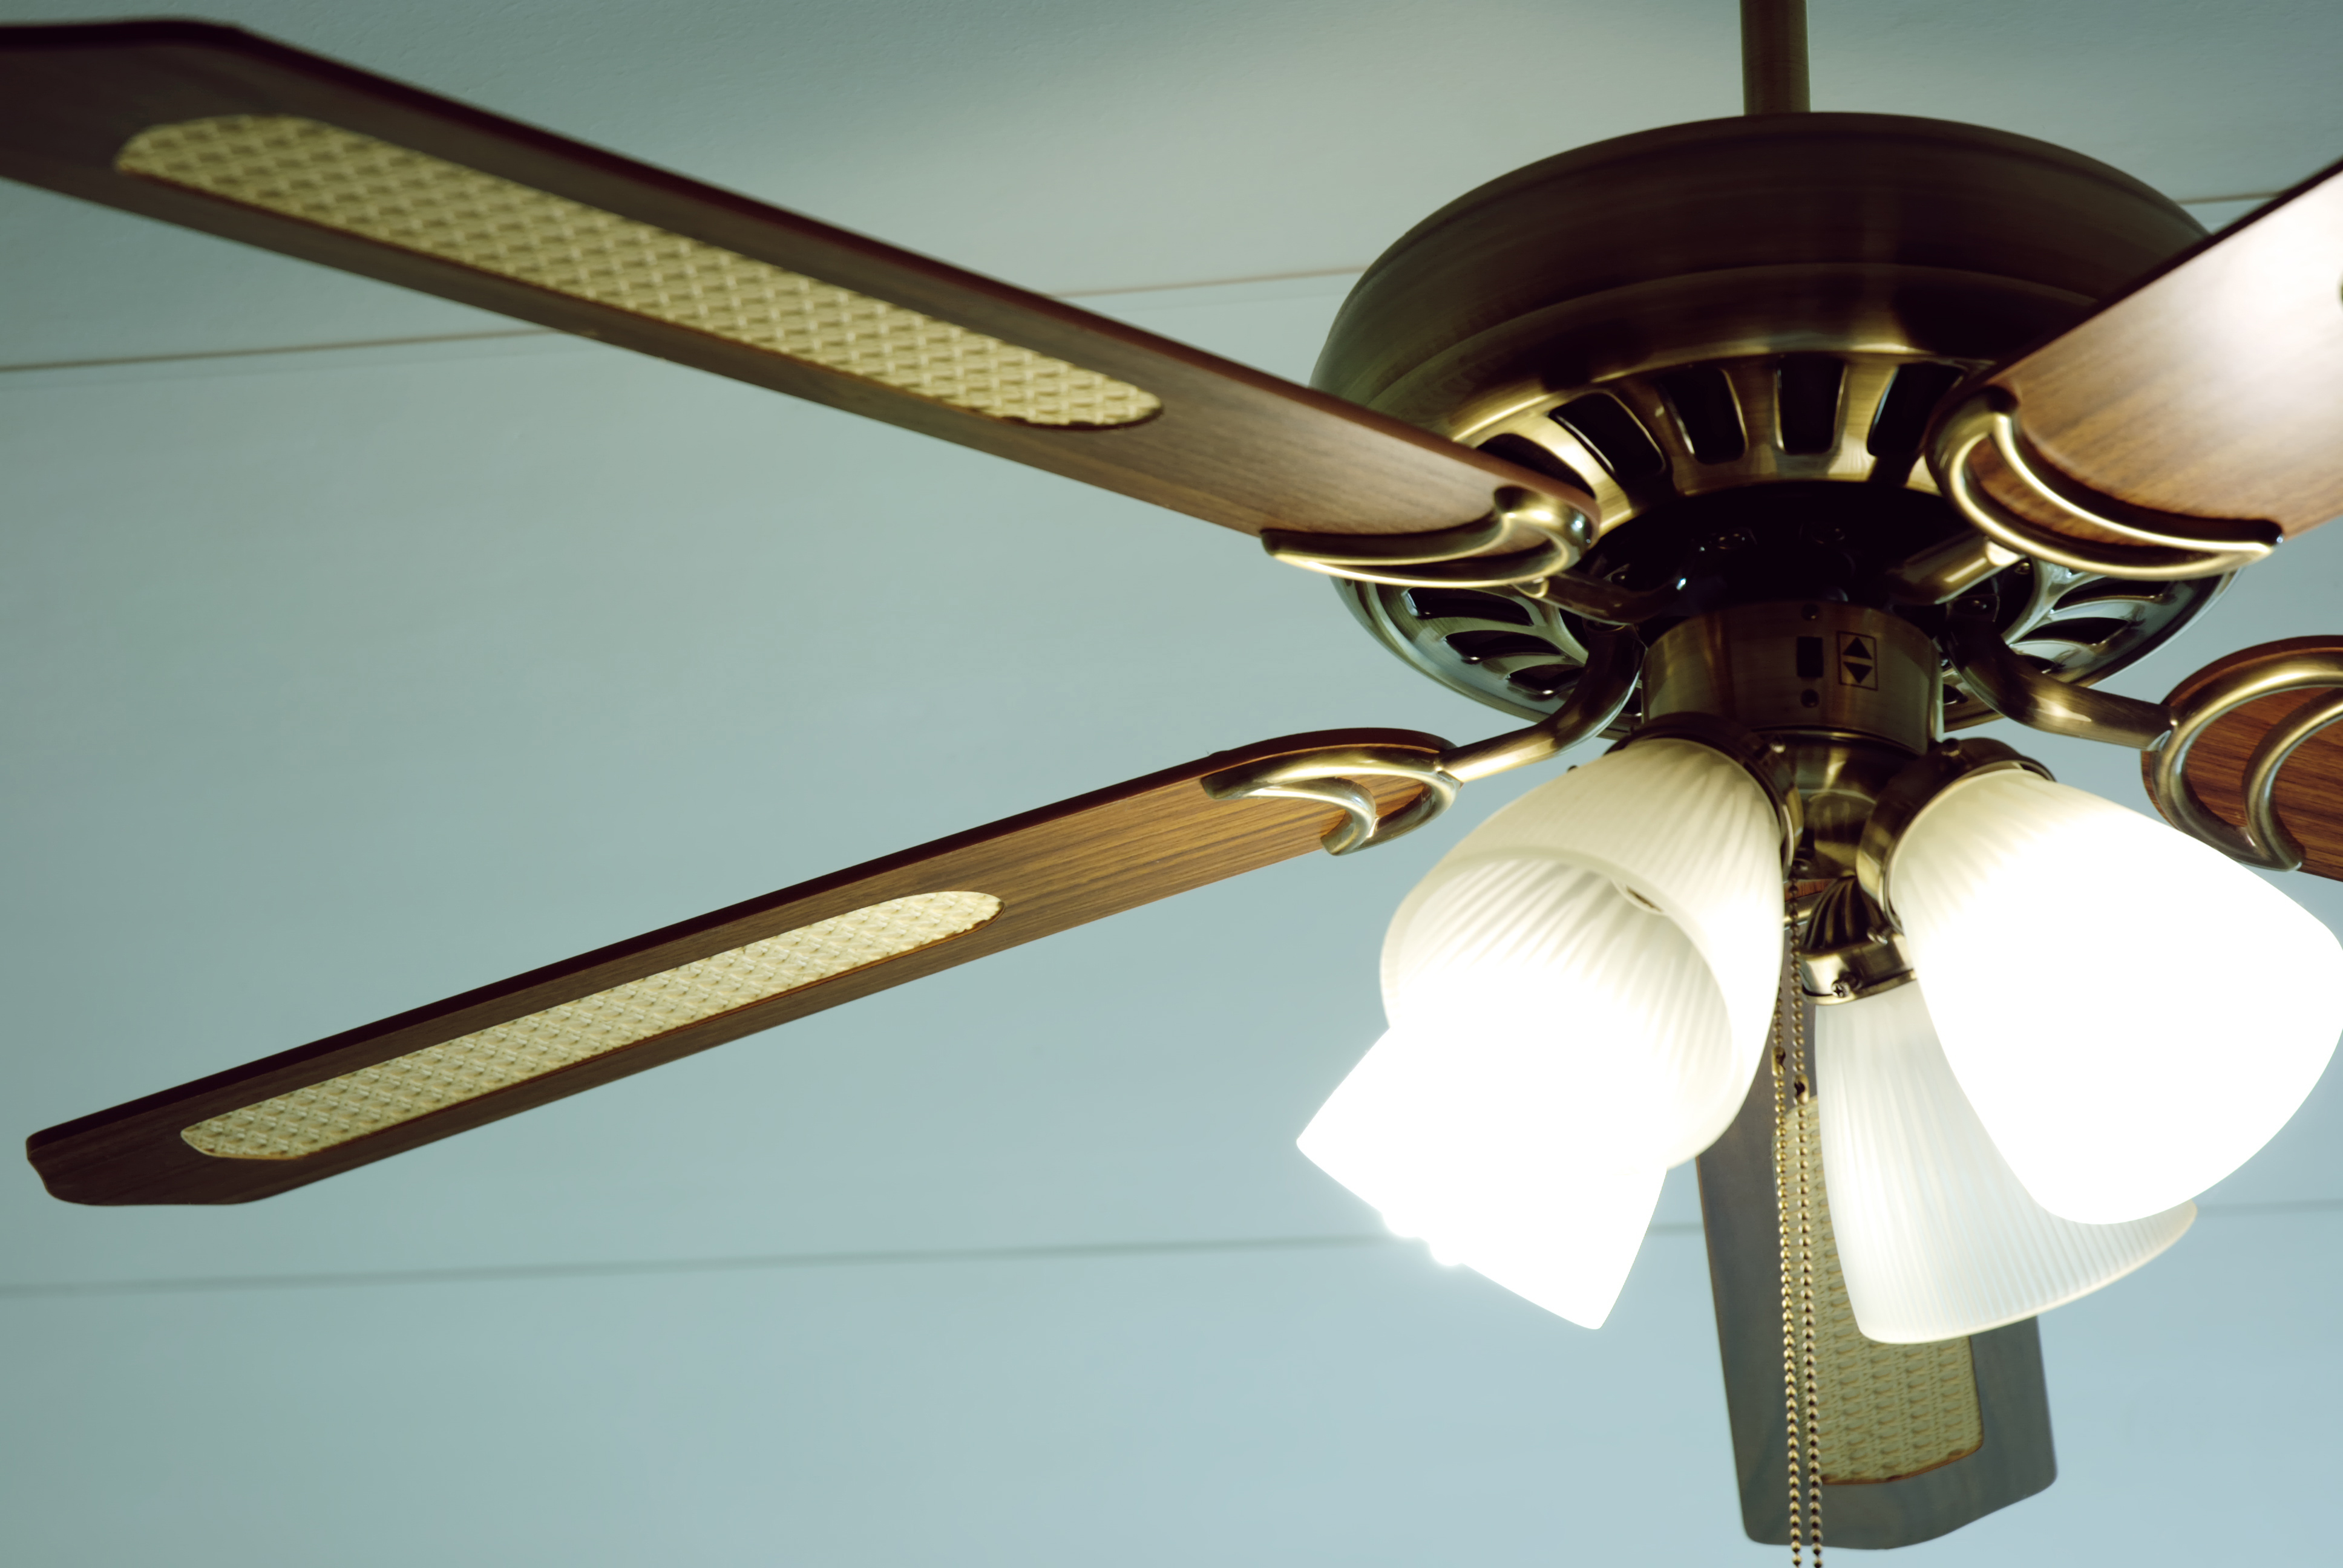
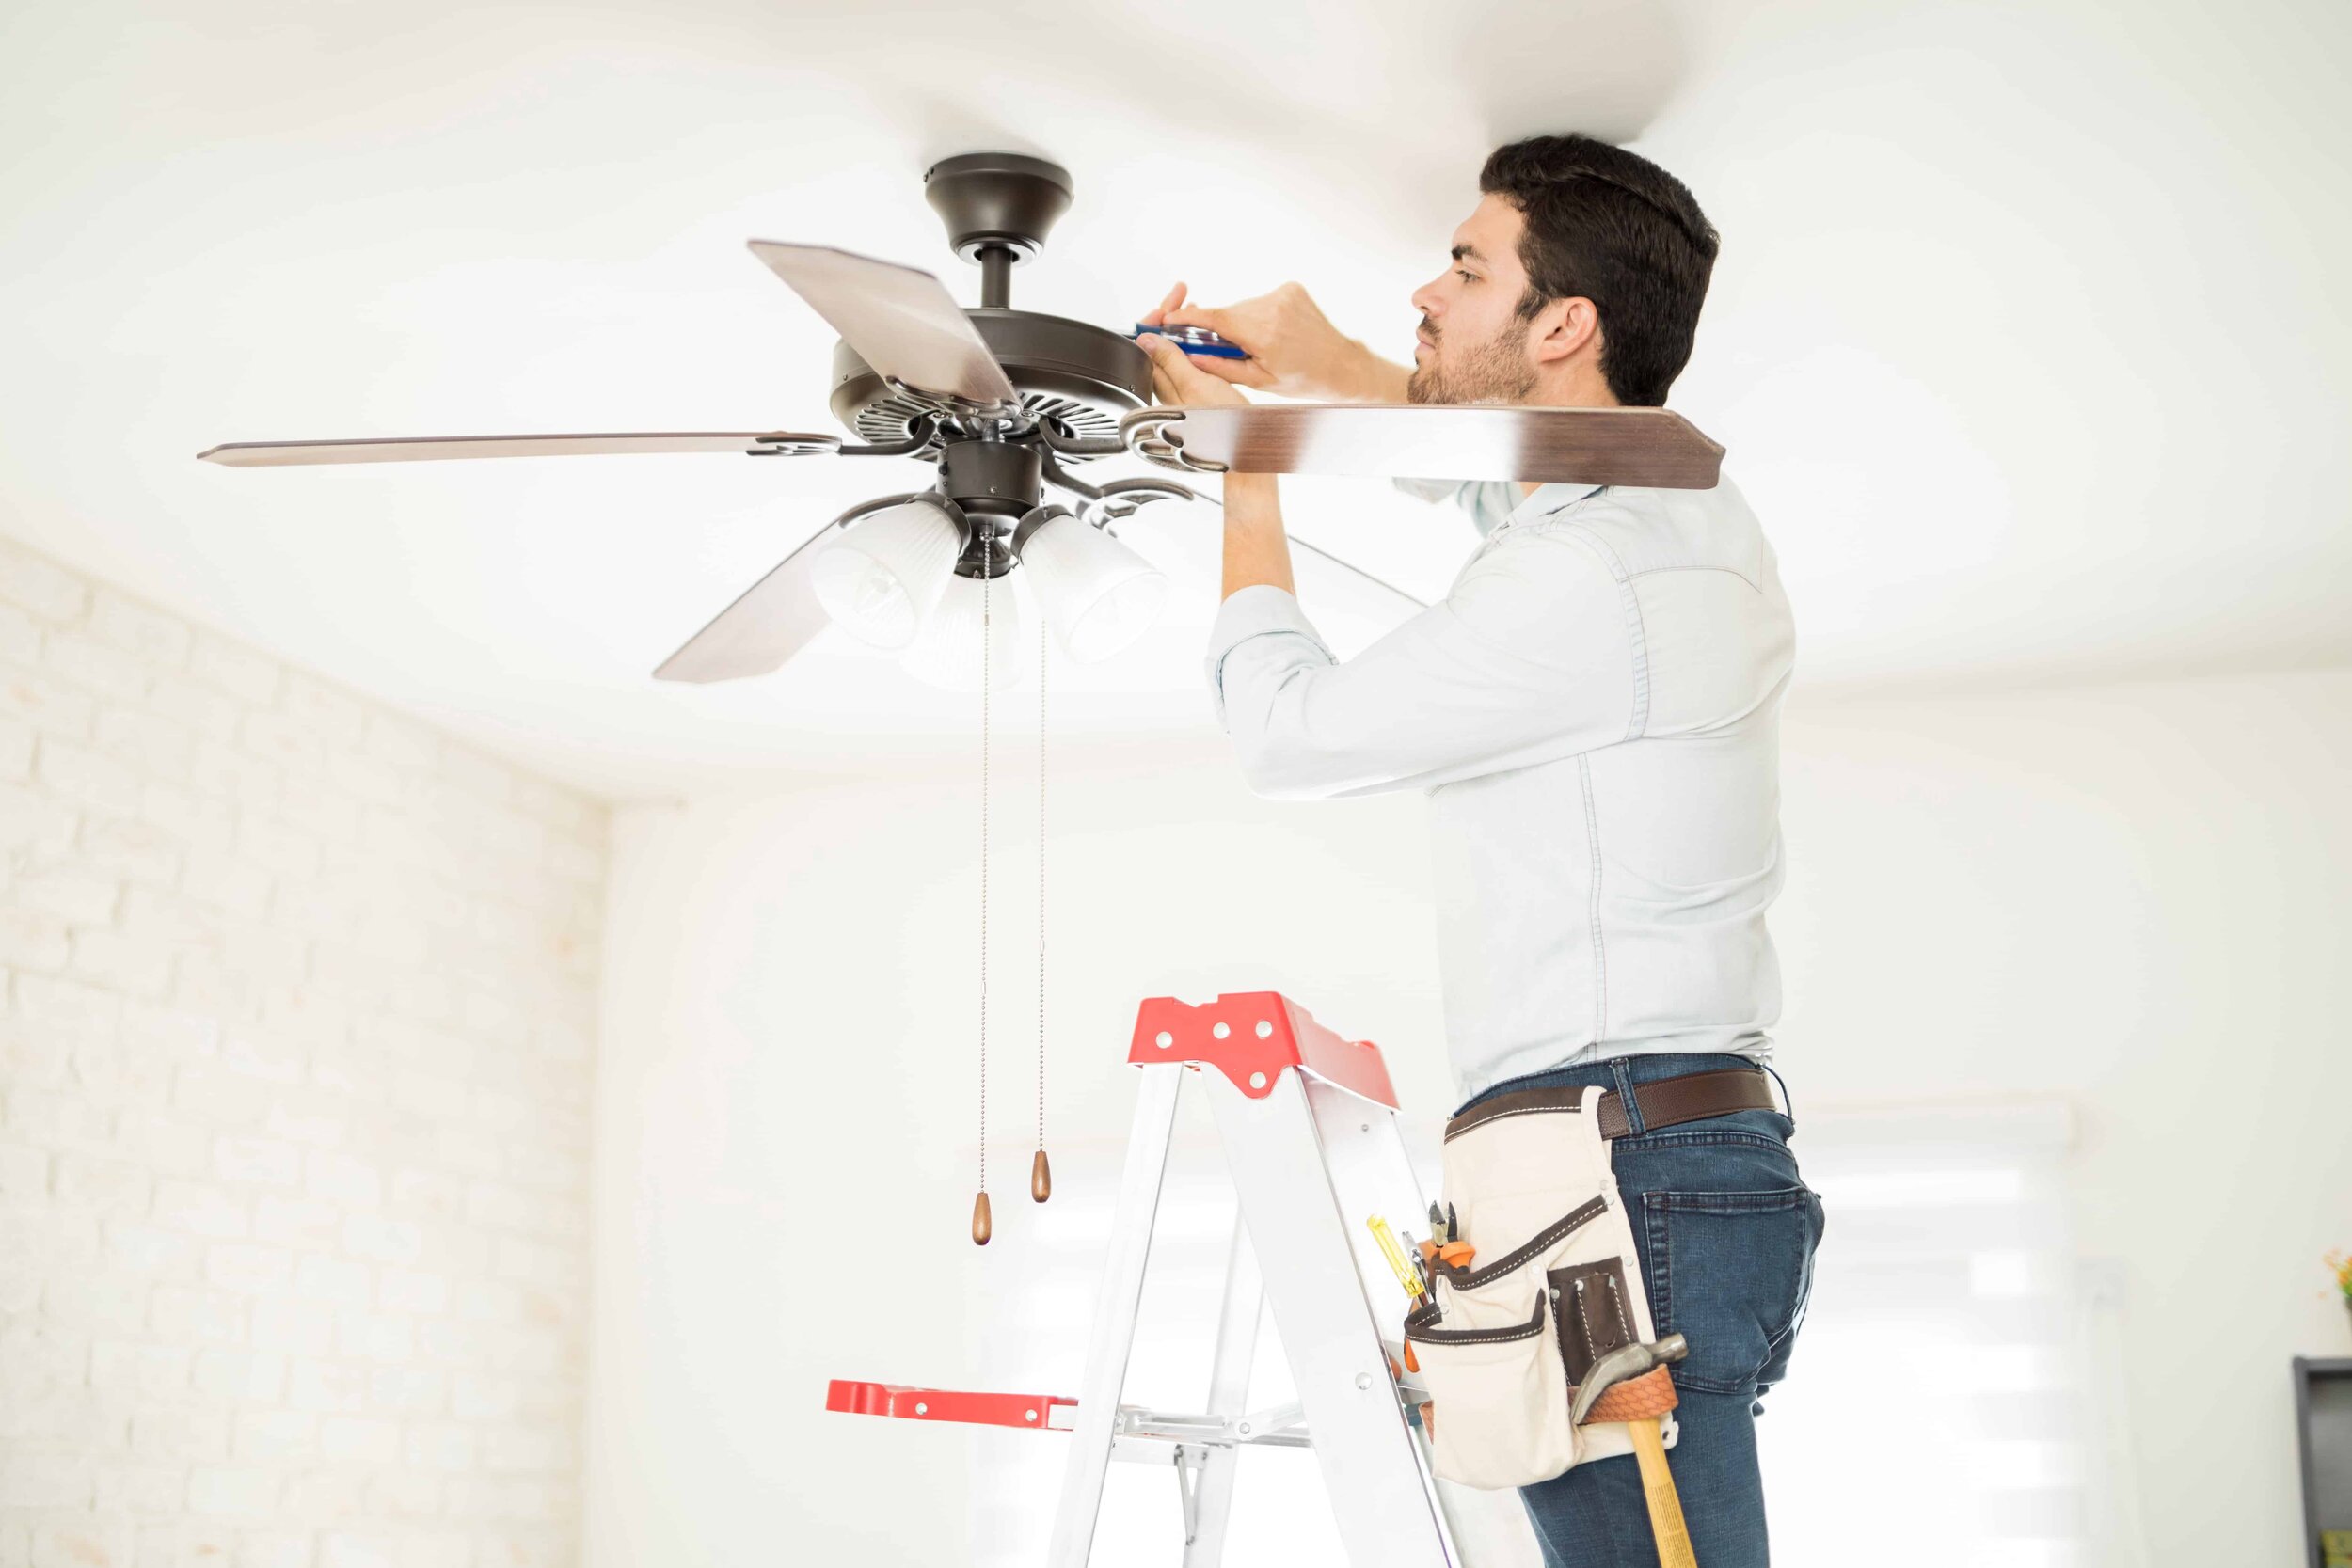
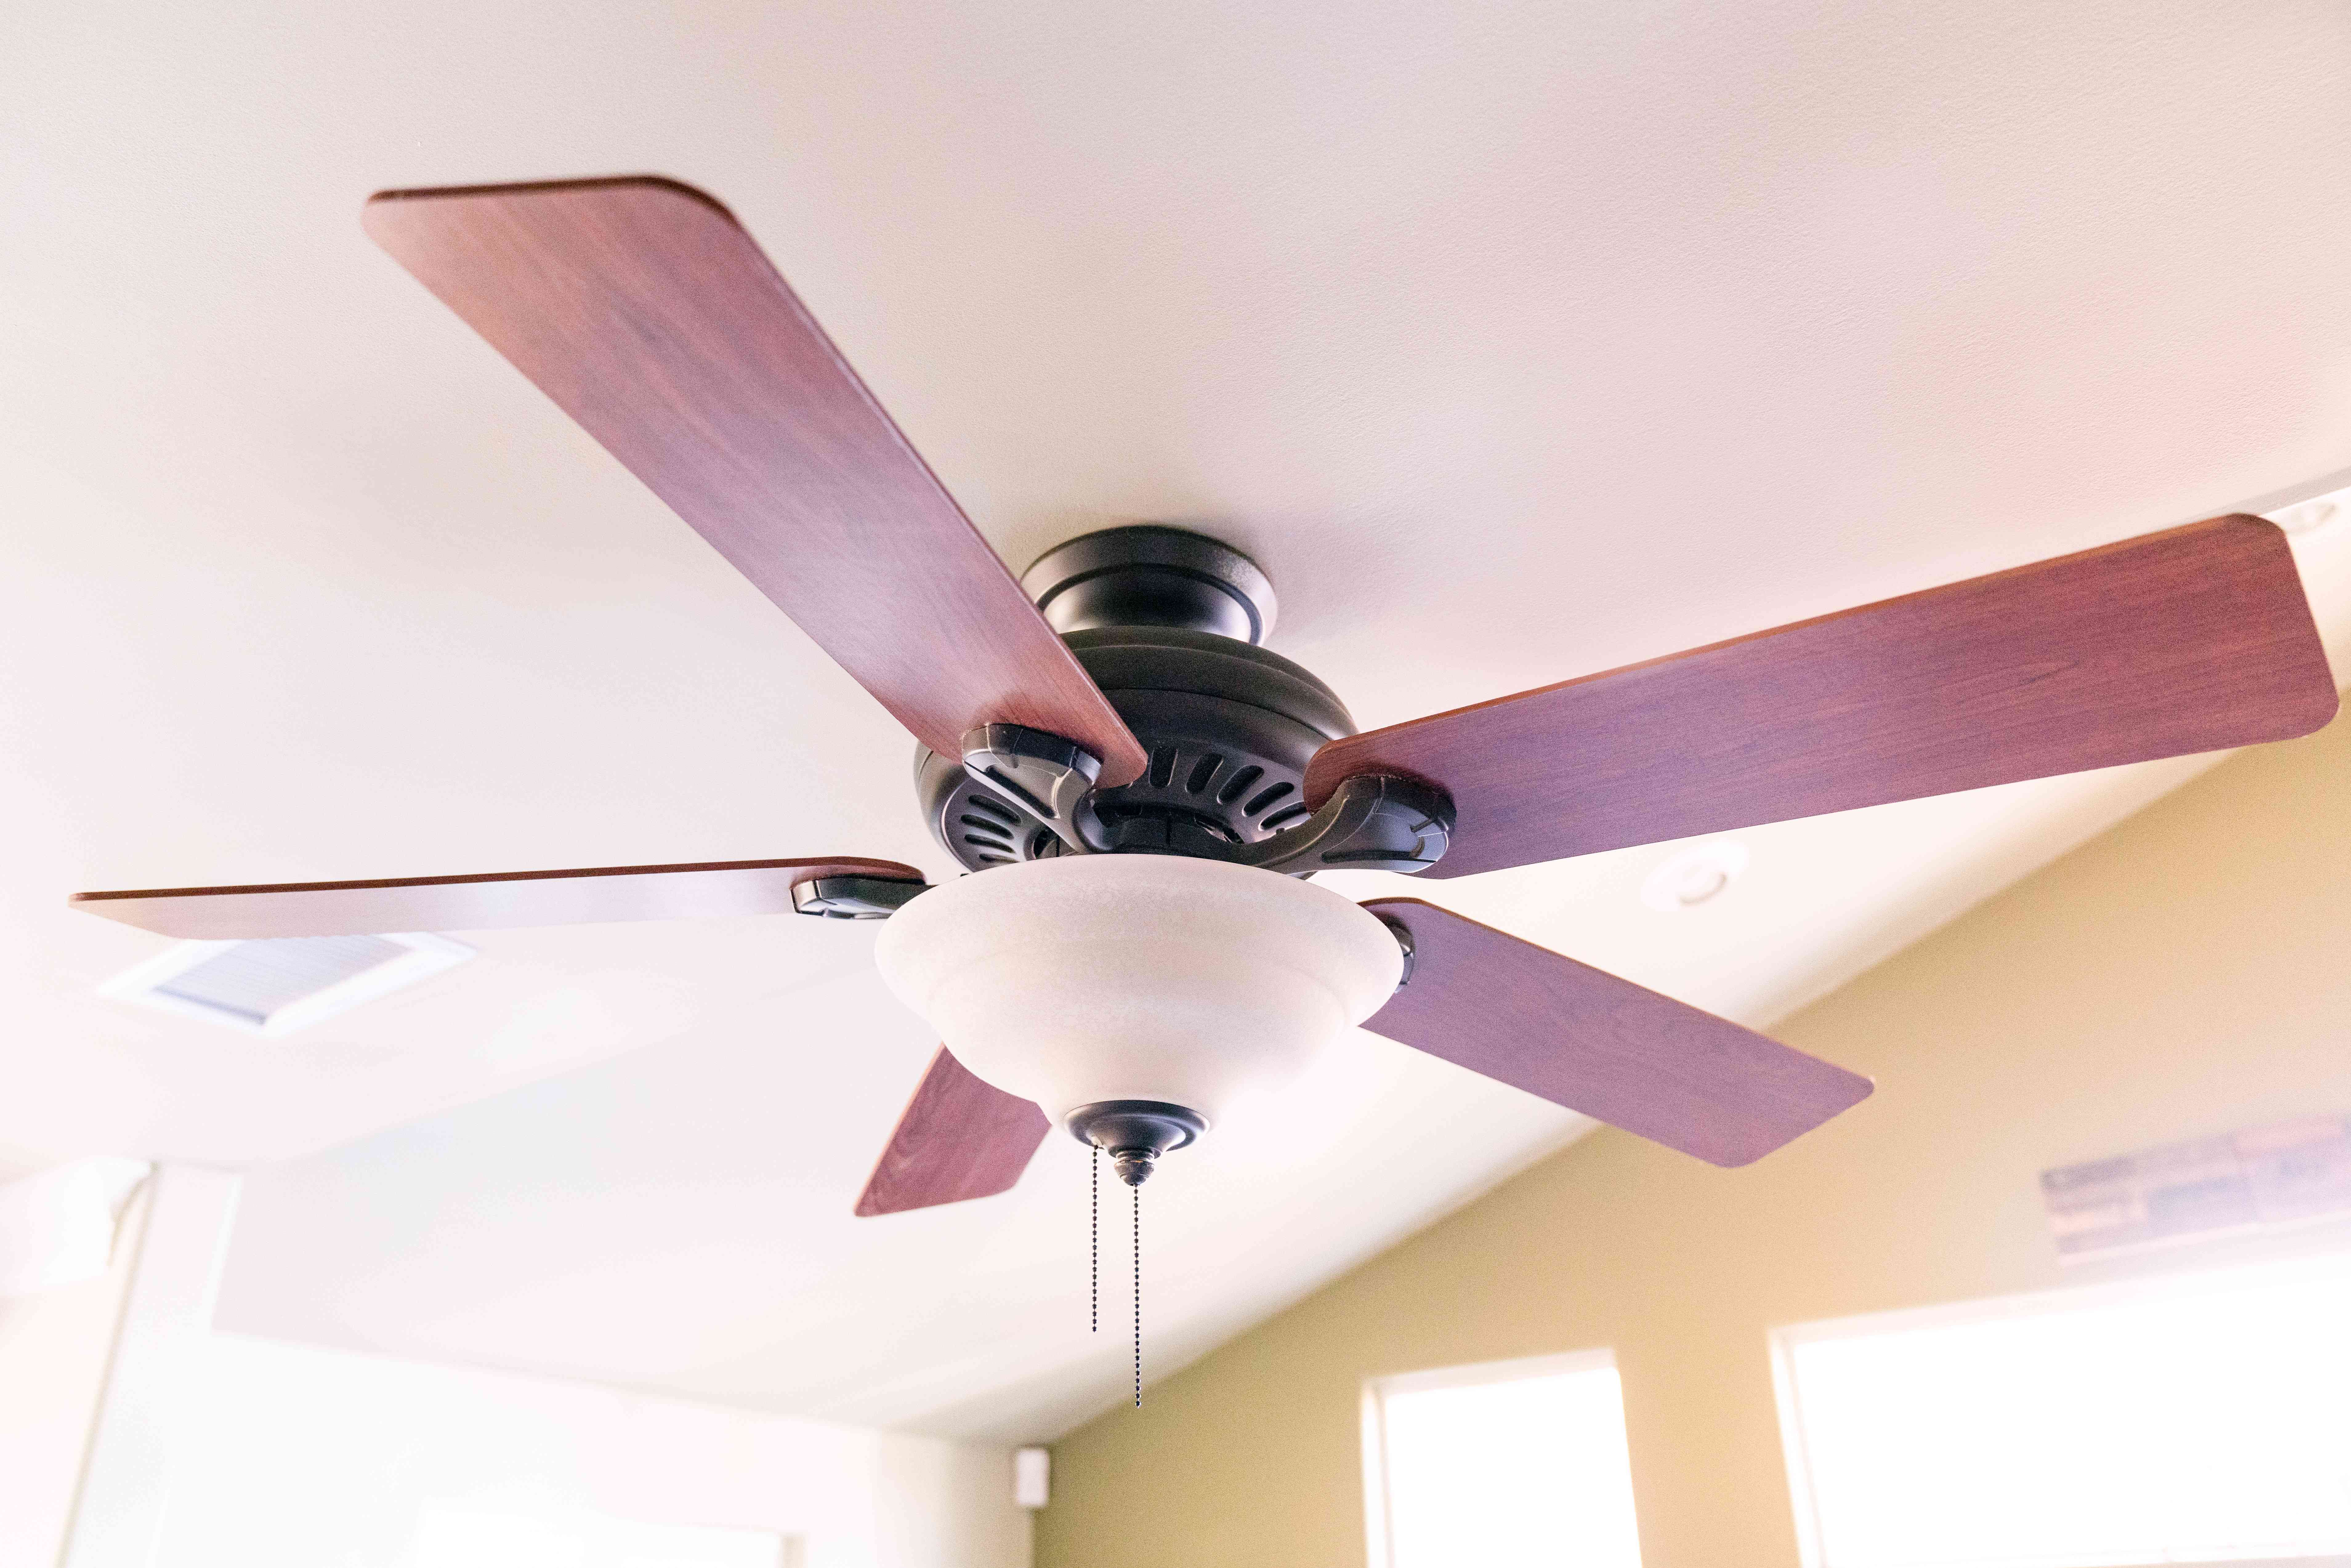
Step 6: Install the Fan Blades
Now that you have successfully mounted the ceiling fan bracket, it’s time to install the fan blades on your Harbor Breeze ceiling fan. The fan blades play a crucial role in circulating air and providing efficient cooling. Follow these steps to install the fan blades:
- Retrieve the fan blades: Locate the fan blades that you previously attached to the motor housing during the assembly process.
- Identify the blade mounting brackets: Each fan blade will have a corresponding mounting bracket on the motor housing.
- Align the blades: Carefully position each fan blade onto its respective mounting bracket, ensuring that the holes in the blades match up with the holes in the brackets.
- Secure the blades: Insert the provided screws through the holes in the blades and into the mounting brackets. Use a screwdriver to tighten the screws, ensuring that the blades are securely attached.
As you install the fan blades, make sure they are evenly spaced and balanced. Check for any wobbling or instability once all blades are attached. If necessary, adjust the position of the blades or tighten the screws further to achieve a balanced rotation.
Properly installing the fan blades is crucial for the fan’s performance and safety. Make sure to follow the manufacturer’s instructions provided with your Harbor Breeze ceiling fan to ensure correct installation.
With the fan blades securely installed, your Harbor Breeze ceiling fan is taking its final shape. The next step, Step 7, will guide you through the process of connecting the wiring.
Step 7: Connect the Wiring
Now that the fan blades are securely in place, it’s time to connect the wiring for your Harbor Breeze ceiling fan. Properly connecting the wiring ensures that the fan functions correctly and safely. Here’s a step-by-step guide to help you connect the wiring:
- Locate the wiring connectors: Inside the motor housing, you will find wiring connectors. These connectors are typically color-coded to facilitate the wiring process.
- Identify the corresponding wires: Each wire from the fan (usually black, white, and blue) needs to be connected to the corresponding wires from the ceiling.
- Match the wires: Connect the black (or live) wire from the fan to the black wire from the ceiling. Use a wire connector to secure the connection, twisting the wires together and then securing them with the connector.
- Connect the white (or neutral) wire: Connect the white wire from the fan to the white wire from the ceiling using a wire connector.
- Connect the blue wire (if applicable): If your Harbor Breeze ceiling fan has a light kit, there will be a blue wire. Connect this wire to the corresponding blue or black wire from the ceiling using a wire connector.
- Secure the wiring: Once all the wires are properly connected, tuck them neatly into the motor housing. Use electrical tape to secure any loose wiring and prevent it from interfering with fan operation.
It’s important to ensure that all wiring connections are secure and free from any exposed or loose wires. Double-check each connection to ensure they are tight and properly insulated.
Always refer to the instruction manual and wiring diagram provided with your Harbor Breeze fan for specific guidance and to ensure proper wiring connections.
With the wiring successfully connected, you’re almost there! The next step, Step 8, will guide you through attaching the light fixture (if applicable) to your Harbor Breeze ceiling fan.
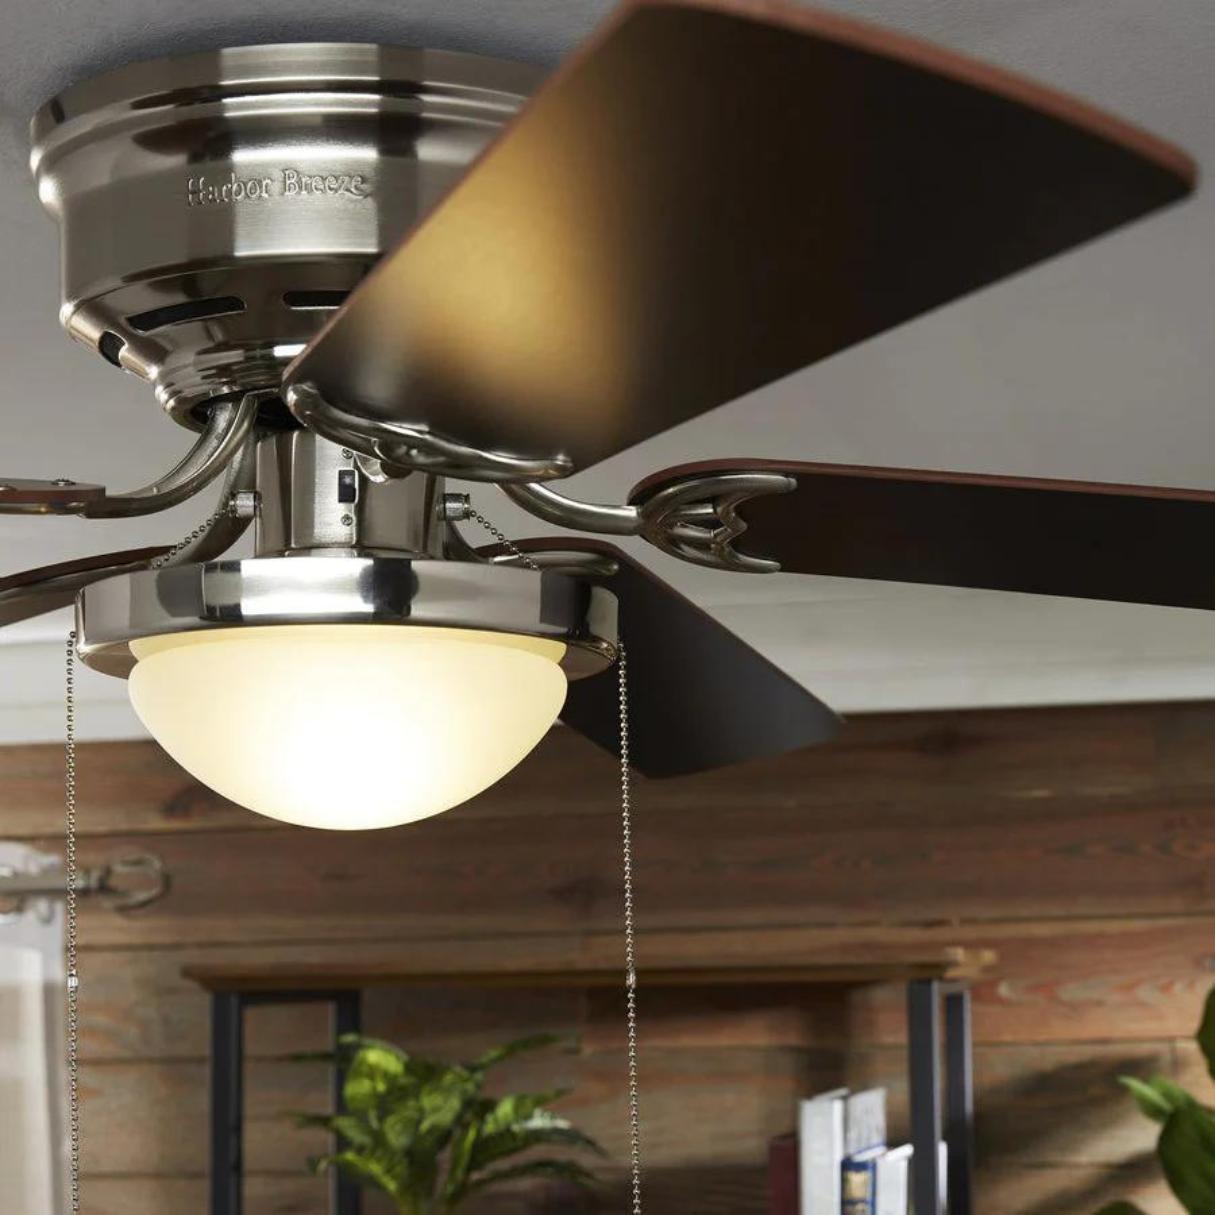
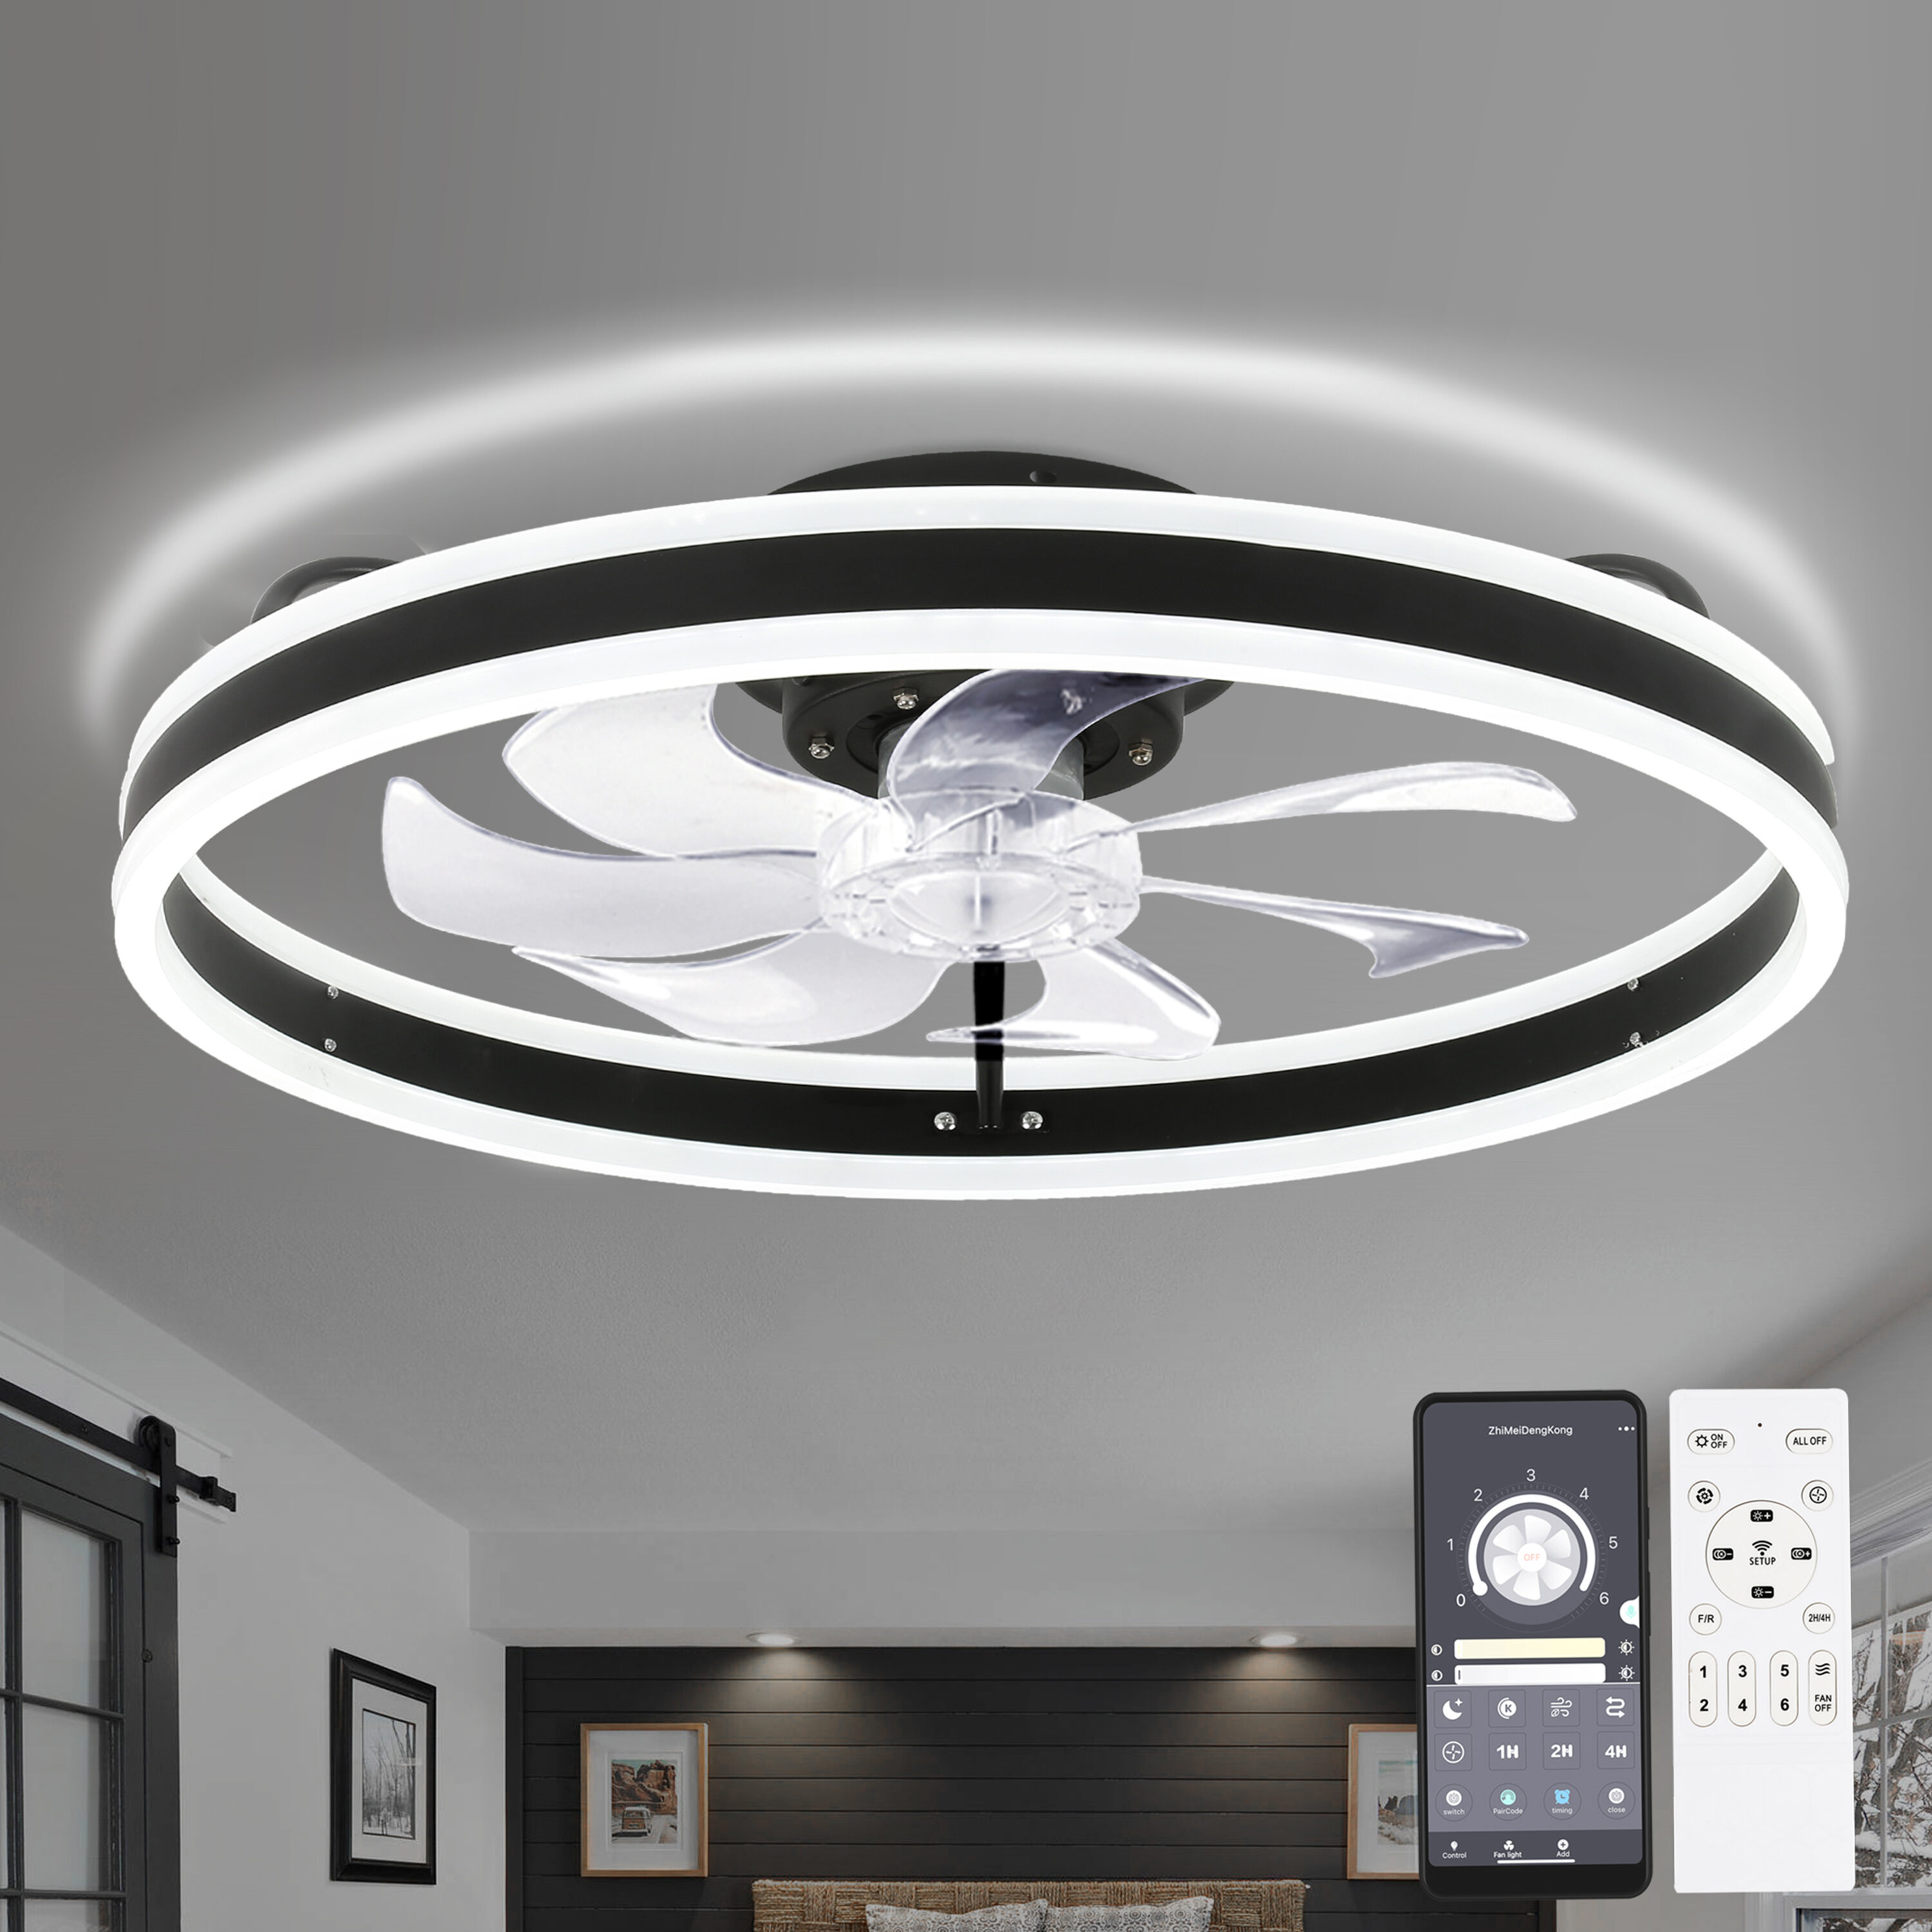
Step 8: Attach the Light Fixture (if applicable)
If your Harbor Breeze ceiling fan includes a light fixture, Step 8 is all about attaching it. The light fixture adds functionality and illumination to your space. Follow these steps to attach the light fixture:
- Prepare the light fixture: Gather the components of the light fixture, including the light kit, light bulbs, and any necessary screws or brackets.
- Align the light kit: Position the light kit onto the fan motor housing. Align the screw holes of the light kit with the corresponding holes on the motor housing.
- Secure the light kit: Using the provided screws and a screwdriver, fasten the light kit to the motor housing. Ensure that the screws are tightened securely, but be cautious not to overtighten and damage the housing.
- Install the light bulbs: Depending on the specific model of your Harbor Breeze ceiling fan, you may need to install light bulbs. Follow the instructions provided with your light kit to properly insert and secure the bulbs.
- Attach the light shades (if applicable): Some light kits come with shades or covers. If included, attach them to the light kit according to the manufacturer’s instructions.
When attaching the light fixture, be mindful of the wattage and type of light bulbs recommended for your fan. Ensure that you use bulbs that are compatible with your fan’s specifications to avoid any electrical issues or damage to the fixture.
Before turning on the power, double-check all the connections, including the wiring and the secure attachment of the light fixture. Take the time to ensure that everything is properly aligned and fastened.
With the light fixture attached, you’re almost ready to enjoy the functionality and ambience created by your Harbor Breeze ceiling fan. The next step, Step 9, will guide you through the installation of the remote control (if applicable).
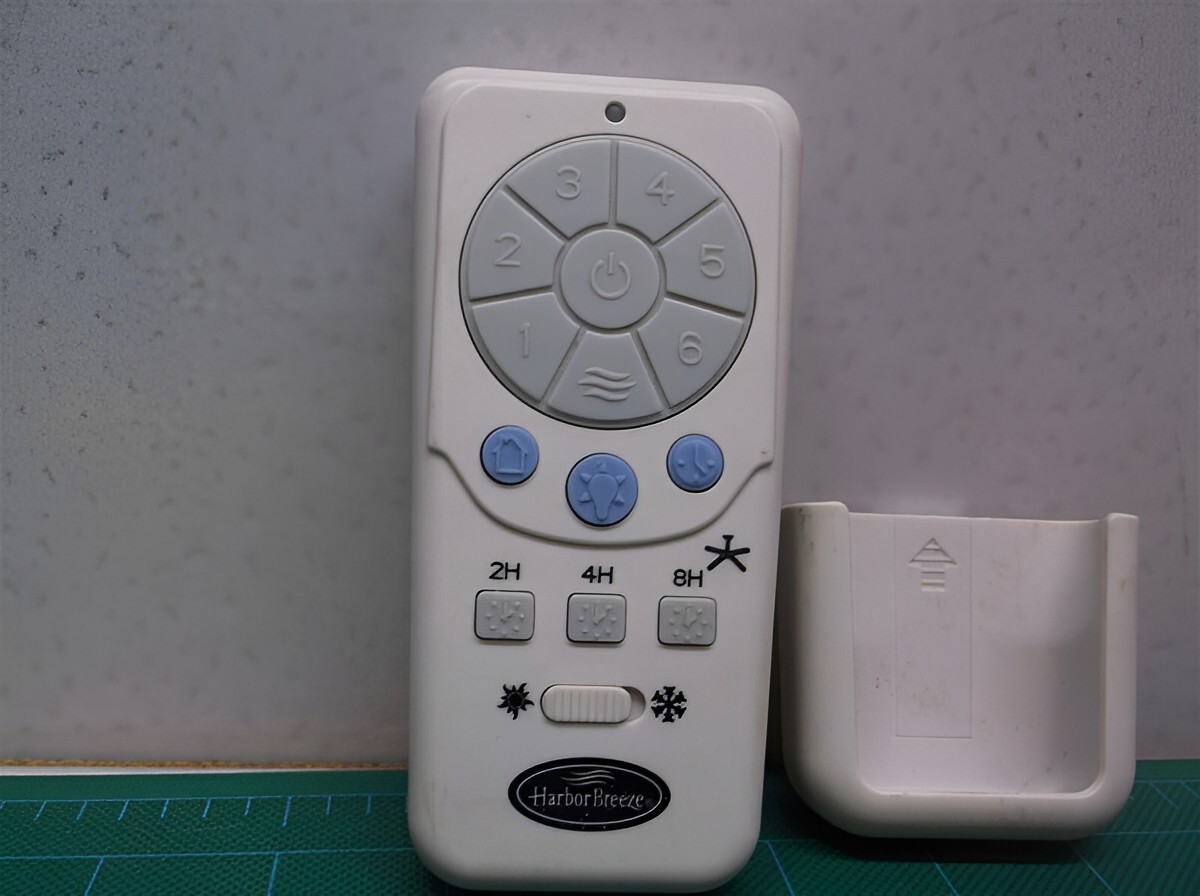
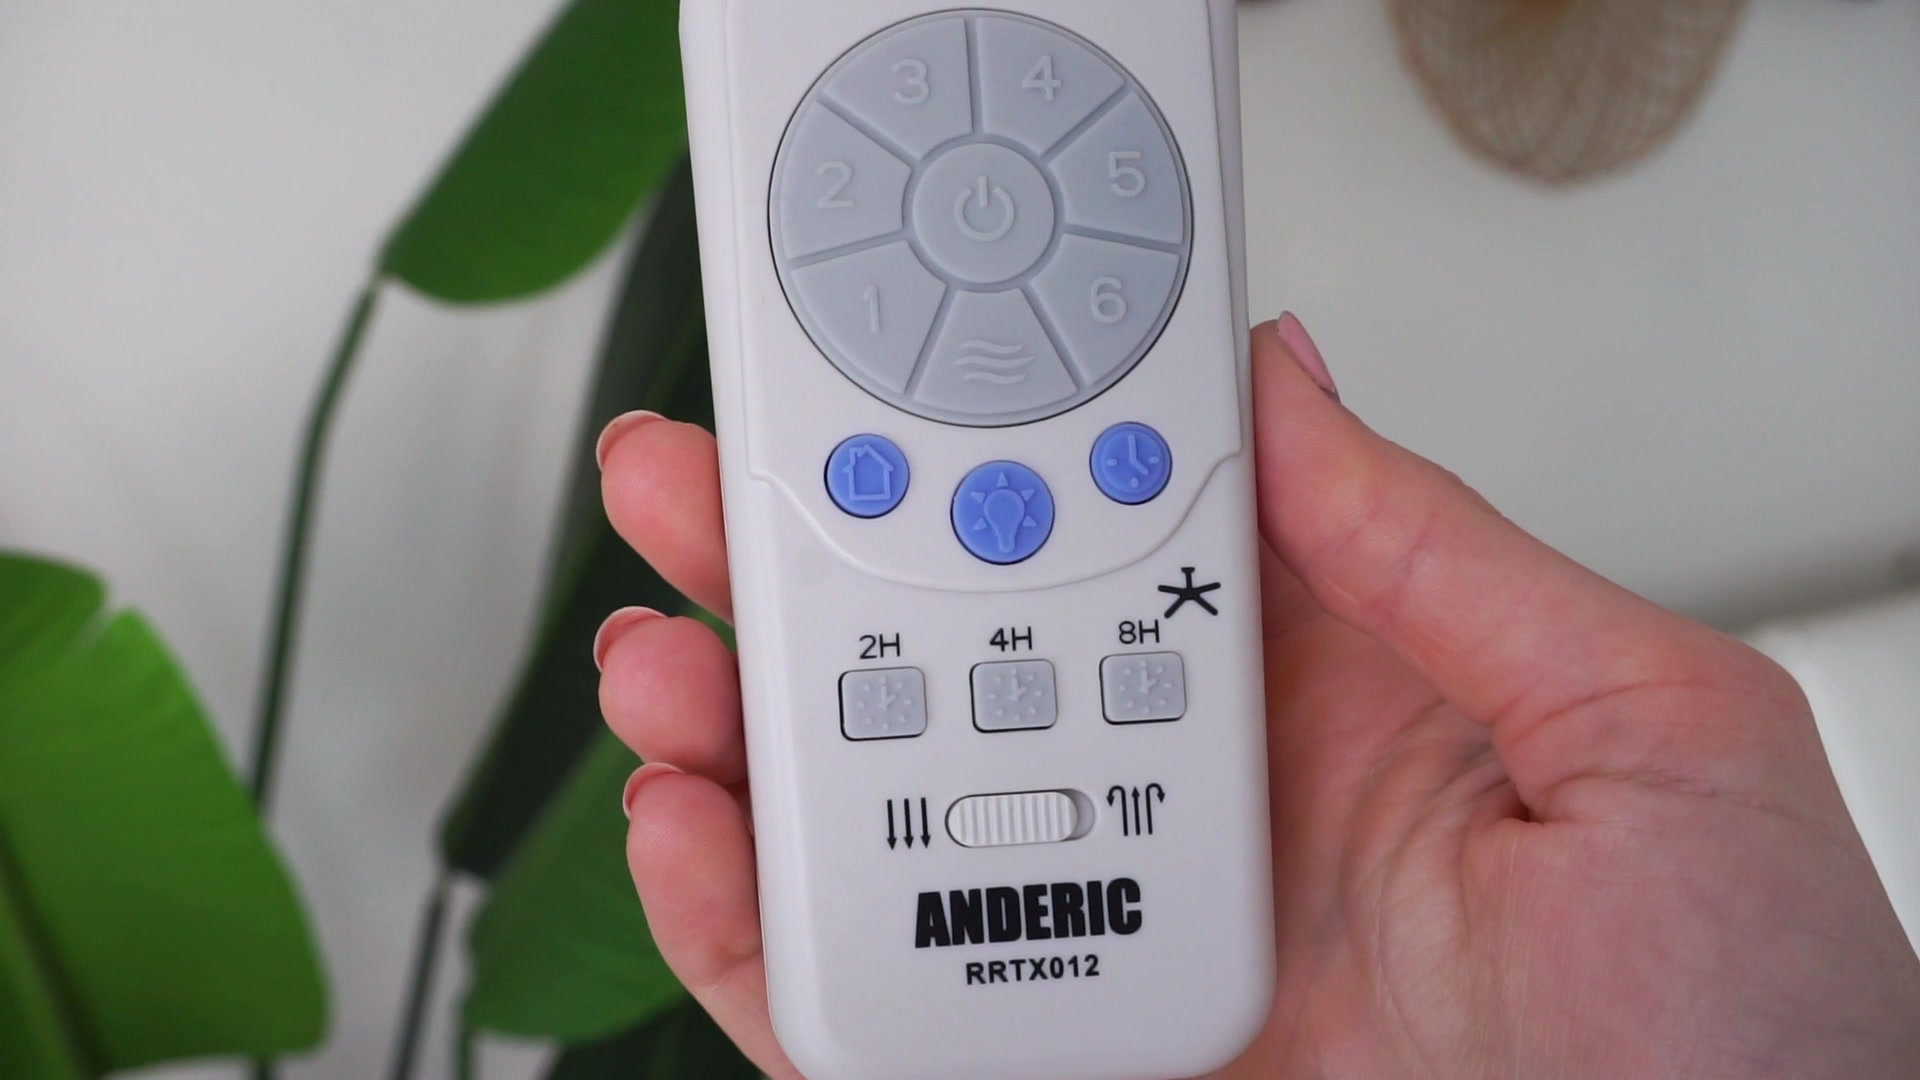
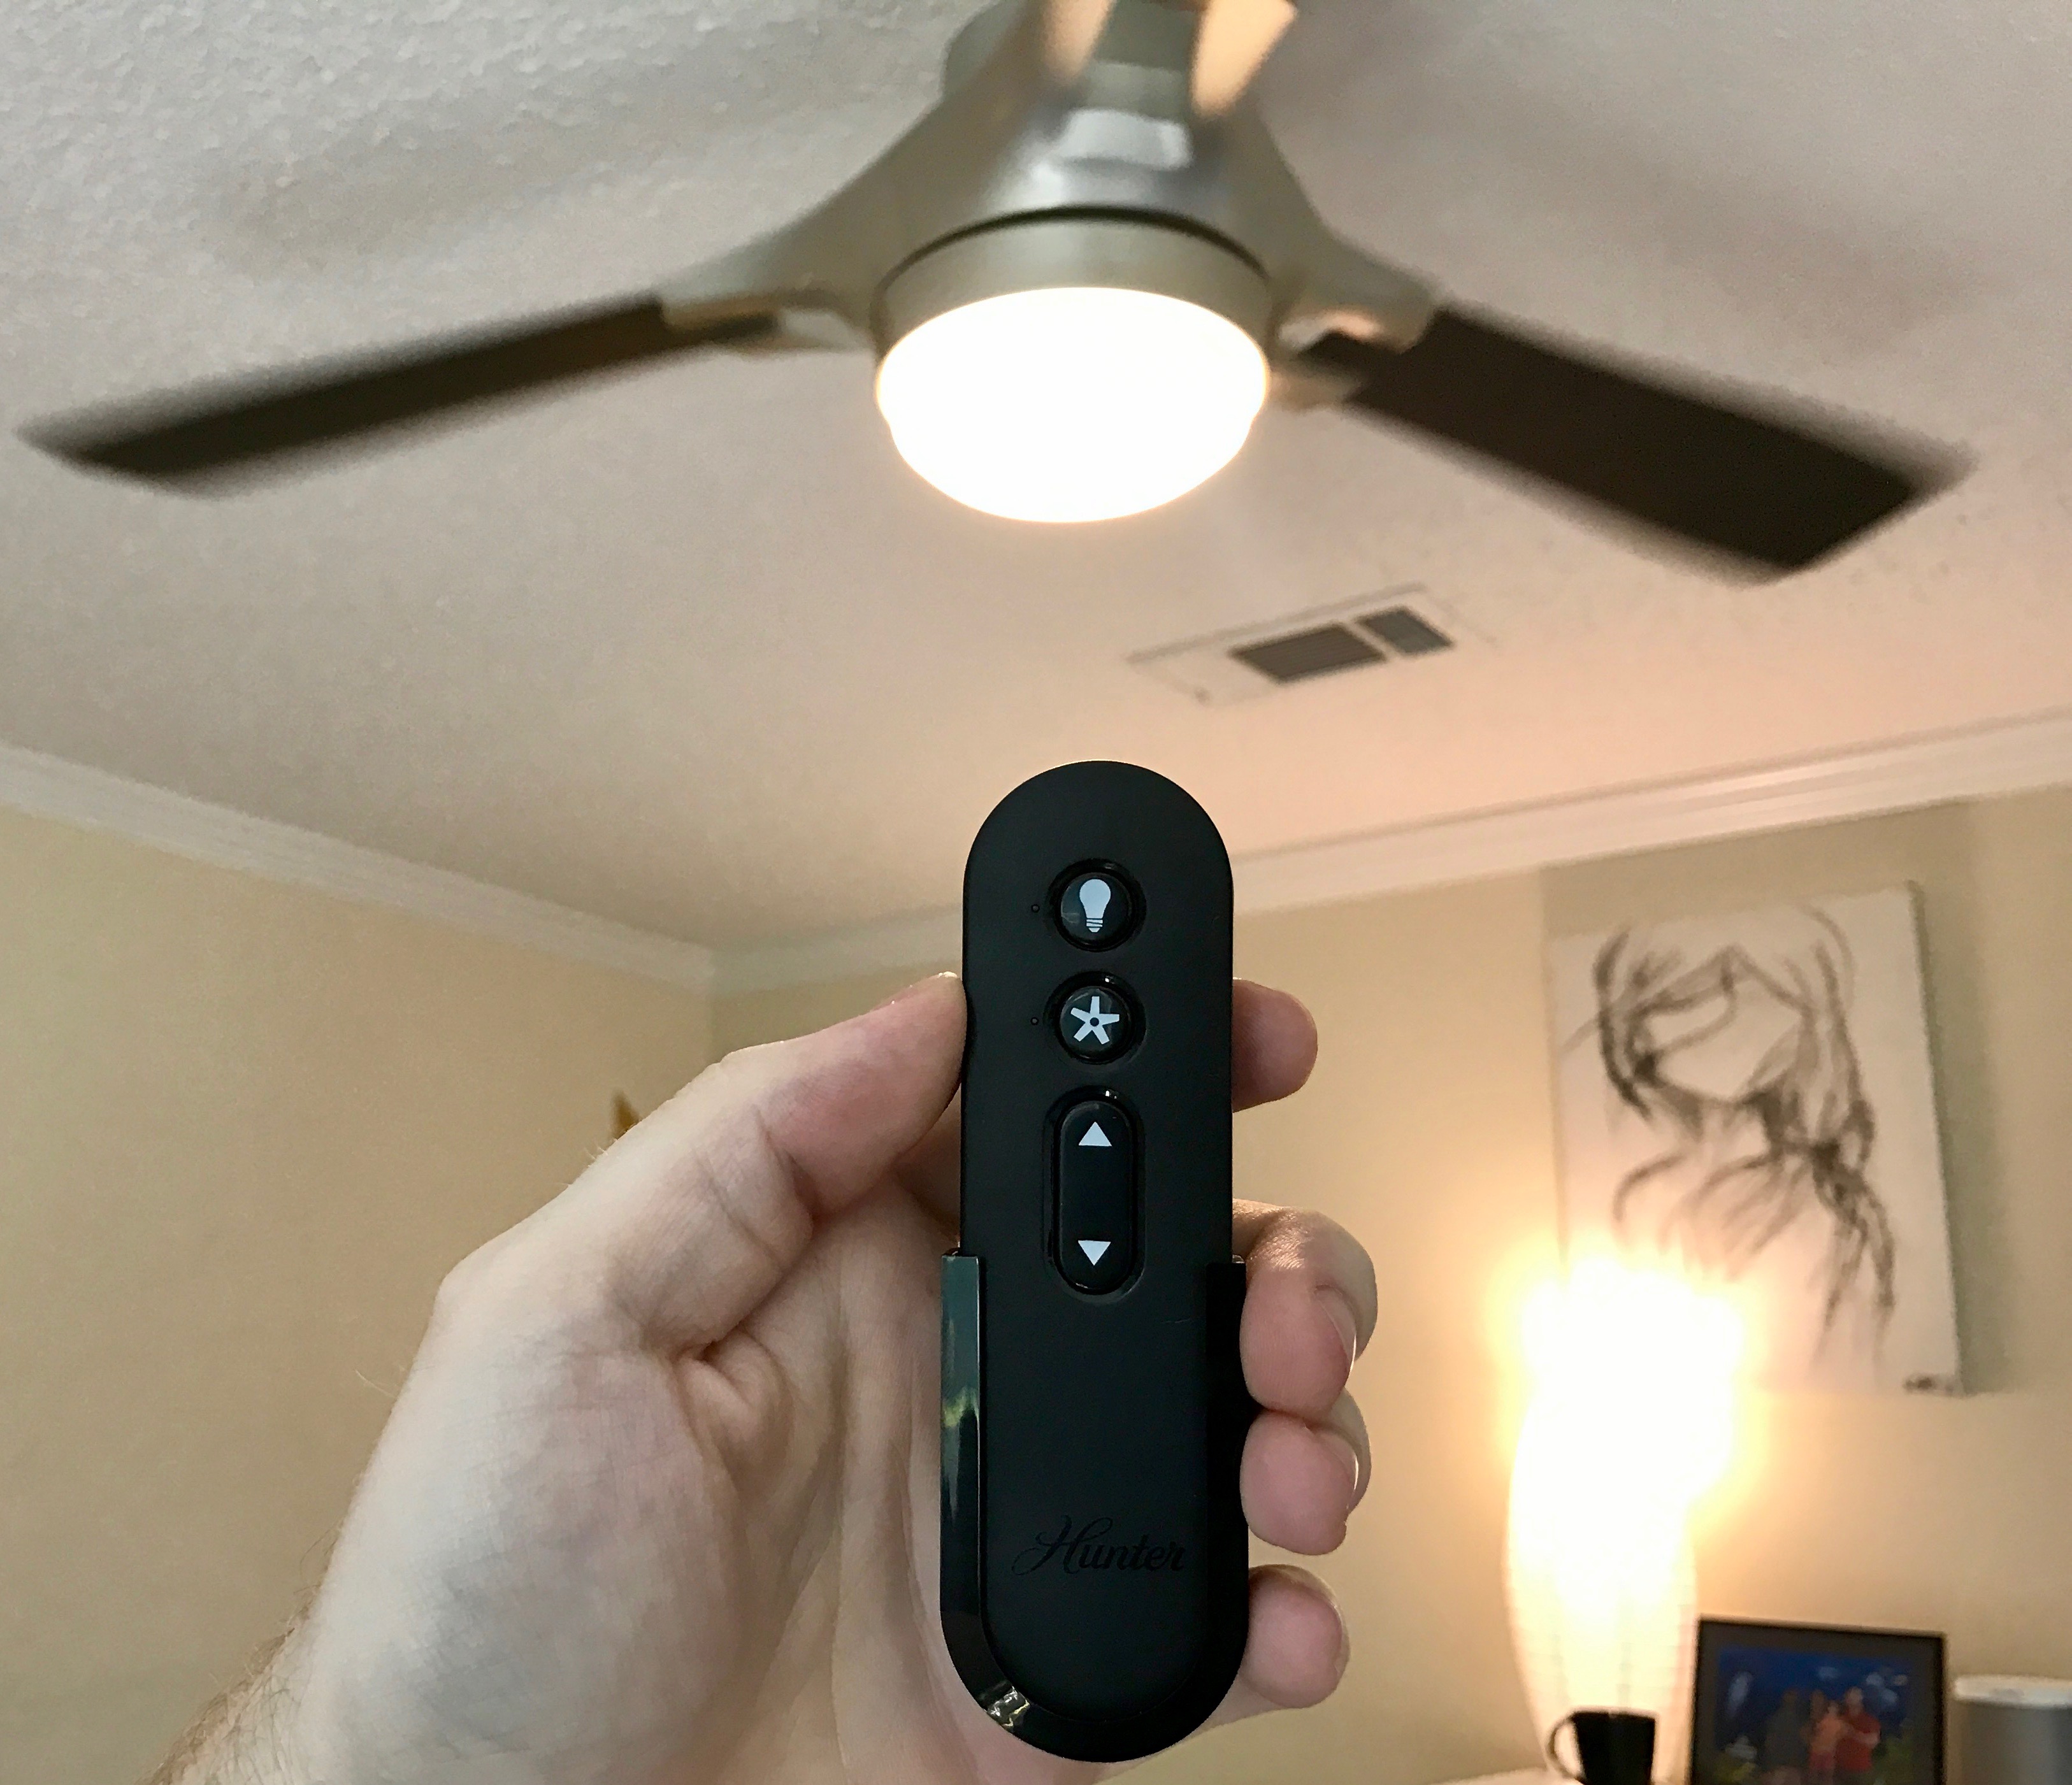
Step 9: Install the Remote Control (if applicable)
If your Harbor Breeze ceiling fan comes with a remote control, Step 9 will guide you through the process of installing it. The remote control adds convenience and allows you to easily control the fan’s settings from a distance. Follow these steps to install the remote control:
- Read the remote control instructions: Begin by reviewing the instructions provided with your Harbor Breeze fan’s remote control. Familiarize yourself with the setup and programming process.
- Access the fan’s receiver: Open the fan motor housing to locate the receiver. This is typically a small device that receives signals from the remote control and translates them into fan settings.
- Connect the receiver: Follow the manufacturer’s instructions to connect the receiver to the wiring in the motor housing. Ensure that the connection is secure and properly insulated.
- Install the batteries: Insert the batteries into the remote control, following the polarity (+/-) indicated. Ensure that the batteries are properly positioned to power the remote control.
- Pair the remote control: Activate the pairing process as outlined in the remote control instructions. This usually involves pressing specific buttons on the remote control and receiver to establish a connection.
- Test the remote control: Ensure that the remote control is functioning correctly by testing various fan settings, such as speed controls, light operation, and any additional features.
It’s important to follow the manufacturer’s instructions regarding the installation and pairing process to ensure that the remote control functions properly with your Harbor Breeze ceiling fan.
Once the remote control is successfully installed and paired with the receiver, you’ll have the convenience of controlling your fan’s settings from anywhere in the room. The final step, Step 10, will guide you through securing the canopy and testing the fan.
Step 10: Secure the Canopy and Test the Fan
In the final step of installing your Harbor Breeze ceiling fan, you’ll secure the canopy and conduct a thorough test to ensure everything is functioning correctly. Follow these steps to complete the installation:
- Align the canopy: Position the canopy over the motor housing, ensuring that it aligns properly with the mounting bracket and covers all the wiring and connections.
- Secure the canopy: Use the provided screws and a screwdriver to fasten the canopy to the mounting bracket. Make sure the screws are tightened securely, keeping the canopy in place.
- Test the fan operation: Turn on the power to the fan at the circuit breaker or fuse box. Use the remote control or wall switch to test the fan’s operation. Start with the lowest speed setting and gradually increase it to ensure smooth and quiet operation.
- Test the light function (if applicable): If your Harbor Breeze ceiling fan has a light kit, test the light function as well. Turn on/off the lights using the remote control or any wall-mounted controls if included.
- Check for any issues: During the testing phase, pay attention to any unusual noises, wobbling, or loose parts. If you notice any issues, stop the fan immediately and troubleshoot the problem. It may involve tightening screws, balancing the fan, or adjusting the positioning of the blades.
- Enjoy your Harbor Breeze ceiling fan: Congratulations! You have successfully installed and tested your Harbor Breeze ceiling fan. Sit back, relax, and enjoy the comfort, airflow, and enhanced aesthetics that your new ceiling fan provides.
If you encounter any difficulties or issues during the installation process, don’t hesitate to consult the manufacturer’s instructions or seek assistance from a professional electrician.
Remember to always prioritize safety when working with any electrical equipment. Ensure that the power is turned off before making any adjustments or repairs to the fan.
Now that the canopy is securely in place and the fan has passed all tests, you can fully embrace the benefits of your newly installed Harbor Breeze ceiling fan. Enjoy a cool and comfortable environment in your home or office!
Conclusion
Congratulations on successfully installing your Harbor Breeze ceiling fan! By following the step-by-step process outlined in this guide, you have transformed your space into a more comfortable and inviting environment. The installation of a Harbor Breeze ceiling fan brings numerous benefits, including improved air circulation, energy efficiency, and enhanced aesthetics.
Throughout the installation process, it’s important to prioritize safety. Always turn off the power before working with electrical components, and if you are unsure or uncomfortable with any aspect of the installation, don’t hesitate to seek the help of a professional electrician.
We started by gathering the necessary tools and materials, ensuring that we were properly equipped for the installation. After turning off the power, we removed any existing fan (if applicable) and proceeded to assemble the Harbor Breeze ceiling fan. Then, we mounted the ceiling fan bracket, installed the fan blades, connected the wiring, and attached the light fixture (if applicable). If your fan included a remote control, we also guided you through the installation process for that. Finally, we secured the canopy and thoroughly tested the fan for proper operation.
Now that your Harbor Breeze ceiling fan is installed, take a moment to appreciate the comfort and versatility it brings to your space. Whether you’re looking to cool down during hot summer months or improve air circulation year-round, your ceiling fan is there to create a pleasant atmosphere.
As you enjoy the benefits of your Harbor Breeze ceiling fan, don’t forget to periodically clean and maintain it. Dust the fan blades and motor housing regularly to keep it running smoothly. Check the screws and connections to ensure everything remains secure over time. By taking these simple steps, you’ll extend the longevity and performance of your ceiling fan.
Thank you for choosing Harbor Breeze and trusting this guide to help you install your ceiling fan. We hope you find many days of comfort and satisfaction with your new addition.
Ready to tackle your next DIY project? If you've ever wondered about converting a ceiling light fixture to a spinning, cooling delight, our guide on ceiling fan installation is your next must-read. It walks you through each critical step, ensuring you're prepared to enhance any room's comfort and style. Whether you're a seasoned handyperson or a novice, these instructions make the process straightforward and satisfying. Don't miss out on transforming your spaces with ease and confidence.
Frequently Asked Questions about How To Install Harbor Breeze Ceiling Fan
Was this page helpful?
At Storables.com, we guarantee accurate and reliable information. Our content, validated by Expert Board Contributors, is crafted following stringent Editorial Policies. We're committed to providing you with well-researched, expert-backed insights for all your informational needs.


0 thoughts on “How To Install Harbor Breeze Ceiling Fan”