Articles
How To Put Carpet In Basement
Modified: January 9, 2024
Learn how to install carpet in your basement with our informative articles. Get step-by-step instructions and expert tips to transform your basement into a cozy, comfortable space.
(Many of the links in this article redirect to a specific reviewed product. Your purchase of these products through affiliate links helps to generate commission for Storables.com, at no extra cost. Learn more)
Introduction
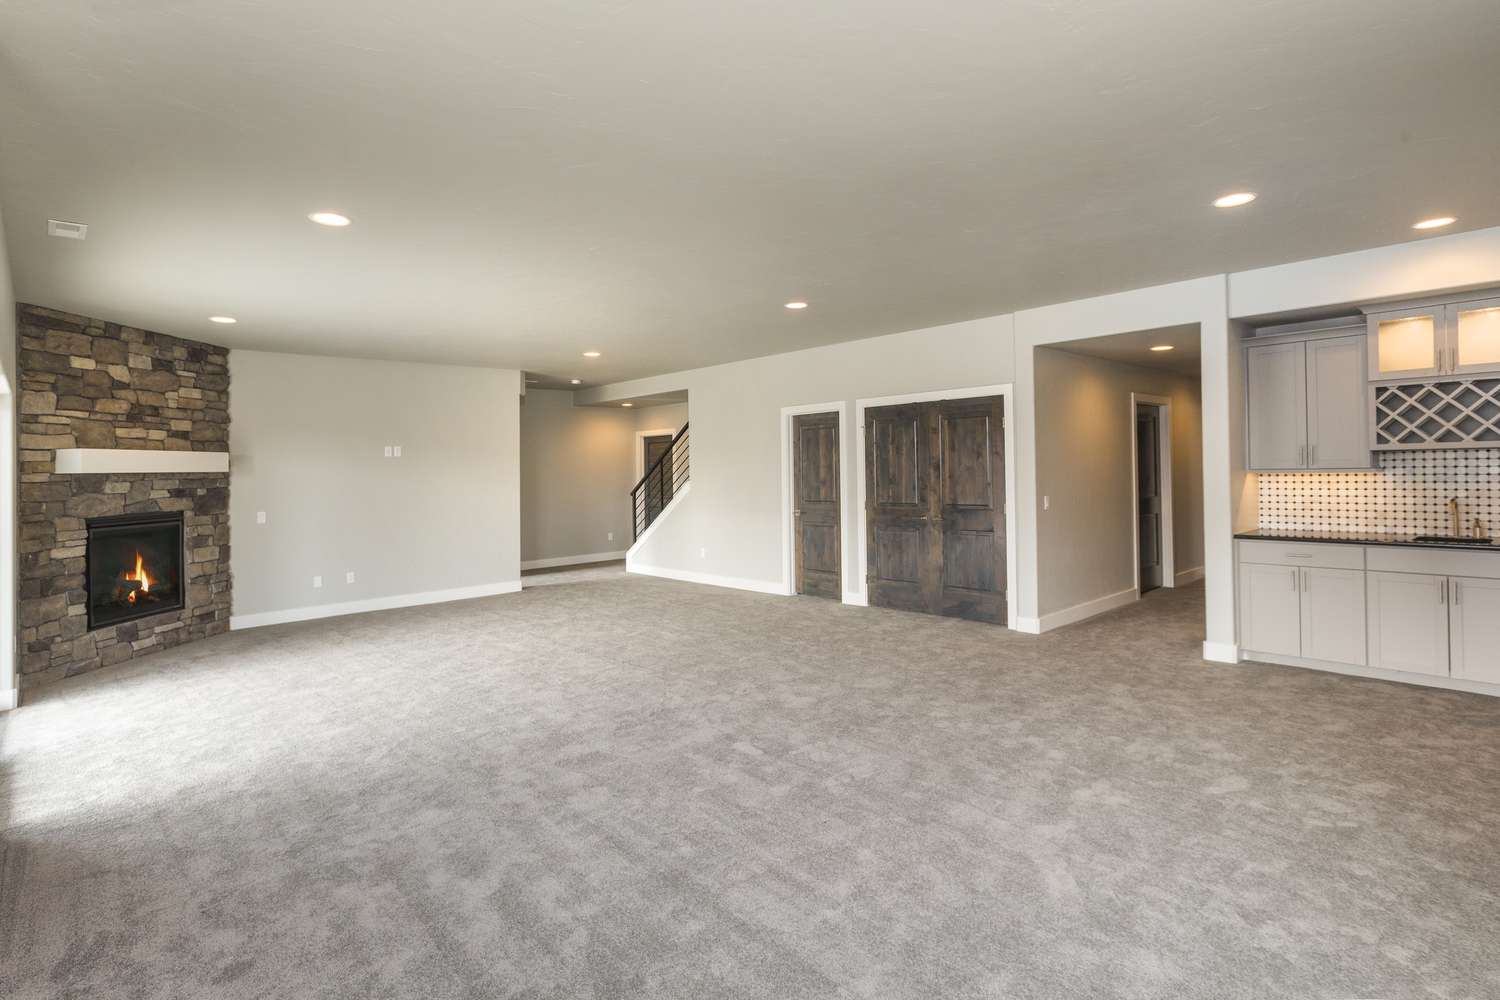
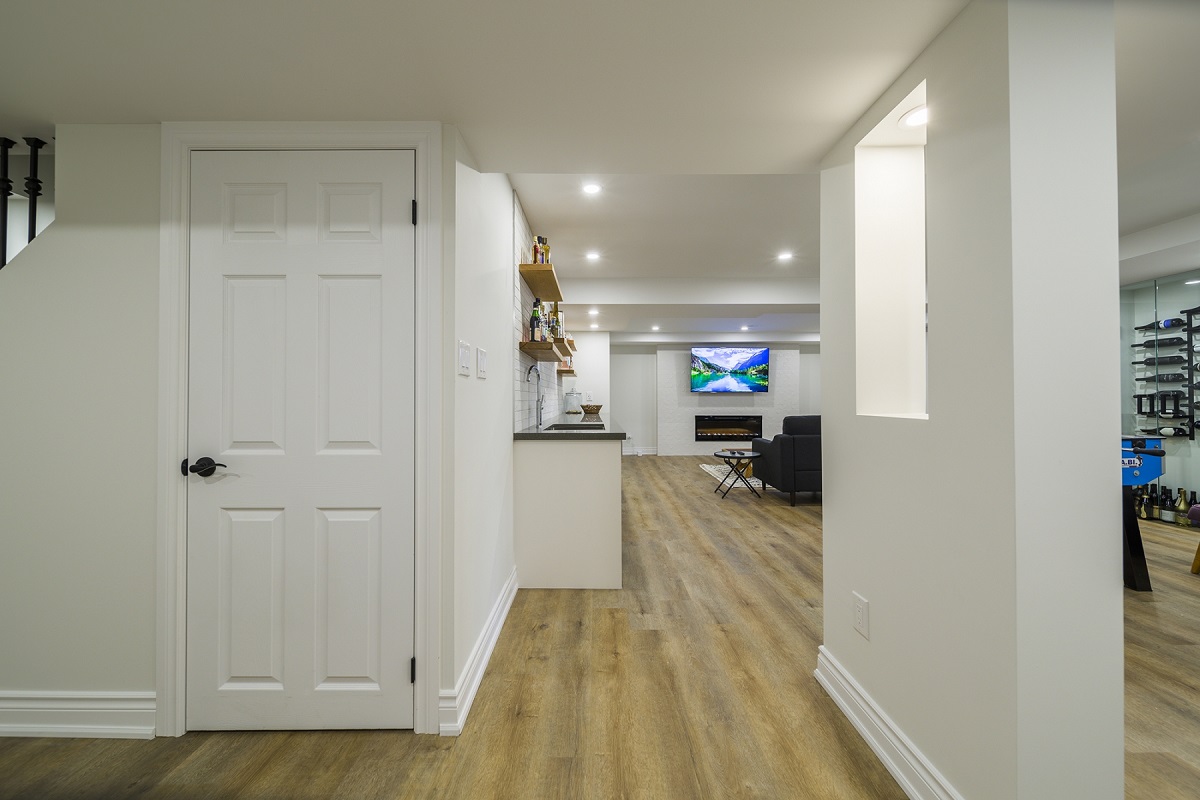
When it comes to transforming your basement into a cozy and inviting space, one of the key elements to consider is the flooring. While there are various options available, from tiles to laminate, one popular choice is carpet. Not only does carpet add warmth and comfort to the basement, but it also helps to absorb sound and insulate the space.
However, installing carpet in a basement requires careful planning and execution to ensure long-lasting results. In this article, we will guide you through the step-by-step process of putting carpet in your basement, from preparing the space to finishing touches. So, roll up your sleeves and get ready to transform your basement into a truly inviting retreat.
Key Takeaways:
- Transform your basement into a cozy retreat by following the step-by-step process of installing carpet. From preparing the space to choosing the right carpet, each detail ensures a professional and long-lasting result.
- Create a comfortable and inviting basement space with moisture-resistant, low-pile carpets and quality padding. Pay attention to details like stretching, securing, and finishing touches for a polished and long-lasting installation.
Read more: How To Carpet A Basement
Step 1: Preparing the Basement
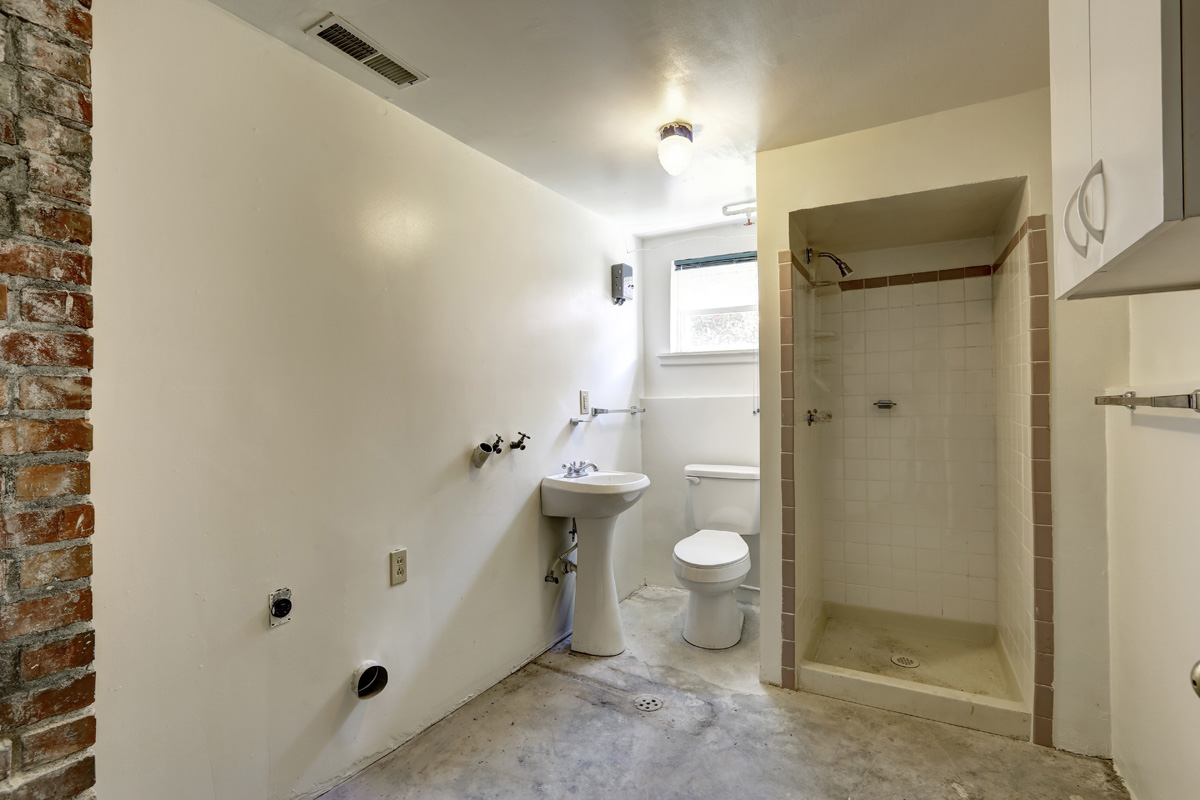
Before you start installing carpet in your basement, it’s essential to properly prepare the space. Here are some key steps to follow:
- Clean the area: Remove any debris, dust, or existing flooring from the basement. Use a broom, vacuum cleaner, or mop to thoroughly clean the surface.
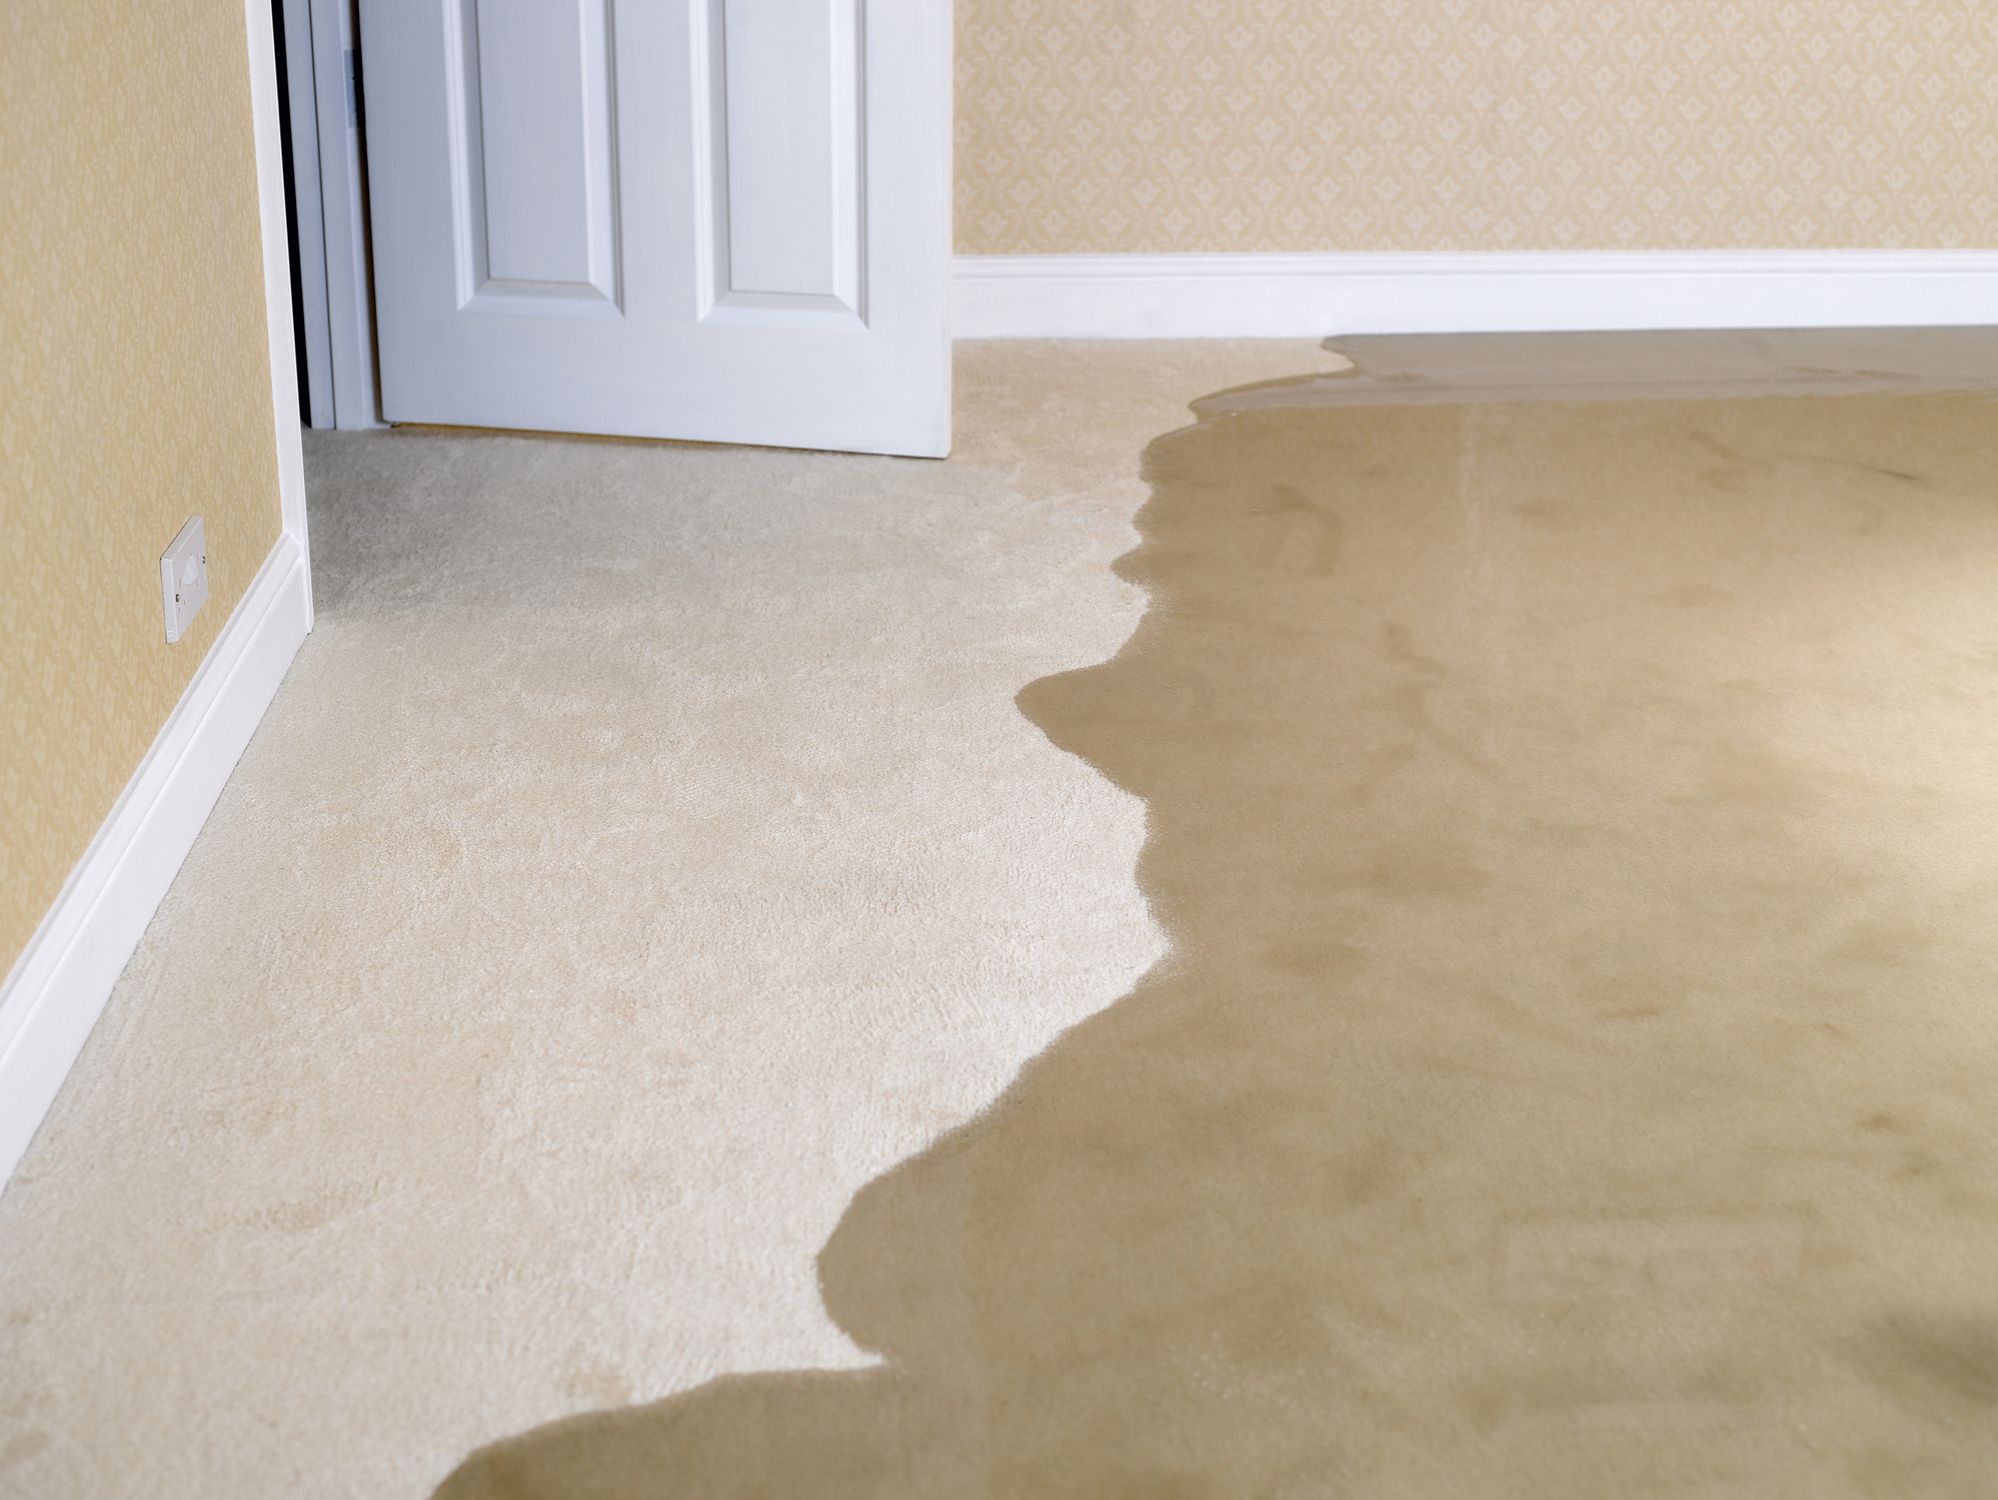
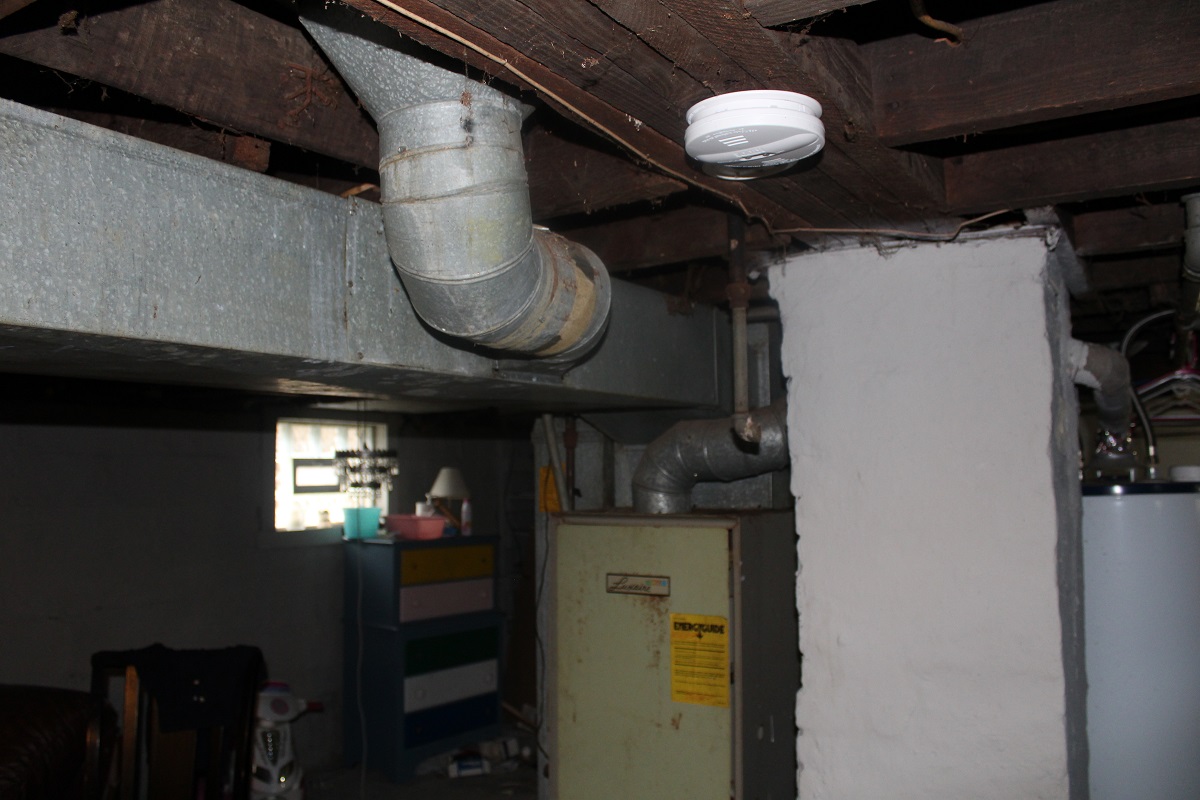
- Check for moisture: Basements are susceptible to moisture issues, so it’s crucial to check for any signs of water seepage or excessive dampness. Inspect the walls and floor for water stains, mold, or musty smells. If you notice any issues, address them before proceeding with carpet installation.
- Repair any damage: If there are any cracks, holes, or uneven areas in the floor, make sure to repair them. Use a suitable filler or patching compound to level the surface. Smooth out any rough spots or bumps to create a solid foundation for the carpet.
- Seal the concrete: Applying a concrete sealer is an important step to prevent moisture from penetrating the carpet and causing damage. Follow the instructions on the sealer product and apply it evenly across the basement floor. Allow ample time for drying before moving on to the next steps.
- Install a vapor barrier: To provide an extra layer of protection against moisture, consider installing a vapor barrier over the concrete. This thin sheet of plastic helps to prevent moisture from seeping up into the carpet. Tape the seams and ensure the barrier covers the entire floor area.
By properly preparing your basement, you’ll create an ideal environment for the carpet installation process. This will help ensure that your carpet stays in excellent condition for years to come.
Step 2: Choosing the Right Carpet
When it comes to selecting the right carpet for your basement, several factors need to be taken into consideration. Here are some tips to help you make an informed decision:
- Consider the carpet type: There are various types of carpets available, including plush, Berber, and frieze. Each type has its own characteristics, so think about your preferences and the overall style of your basement before making a choice.
- Look for moisture-resistant options: Since basements can be prone to moisture, it’s important to choose a carpet that is moisture-resistant. Look for carpets with moisture barriers or those specifically designed for basements.
- Opt for low-pile or loop carpets: Low-pile or loop carpets are more suitable for basements compared to high-pile options. They are easier to clean and are less likely to trap moisture.
- Consider carpet padding: A quality carpet pad is essential for basement installations. It helps to provide insulation, cushioning, and moisture resistance. Look for padding specifically designed for basements to enhance the durability and comfort of your carpet.
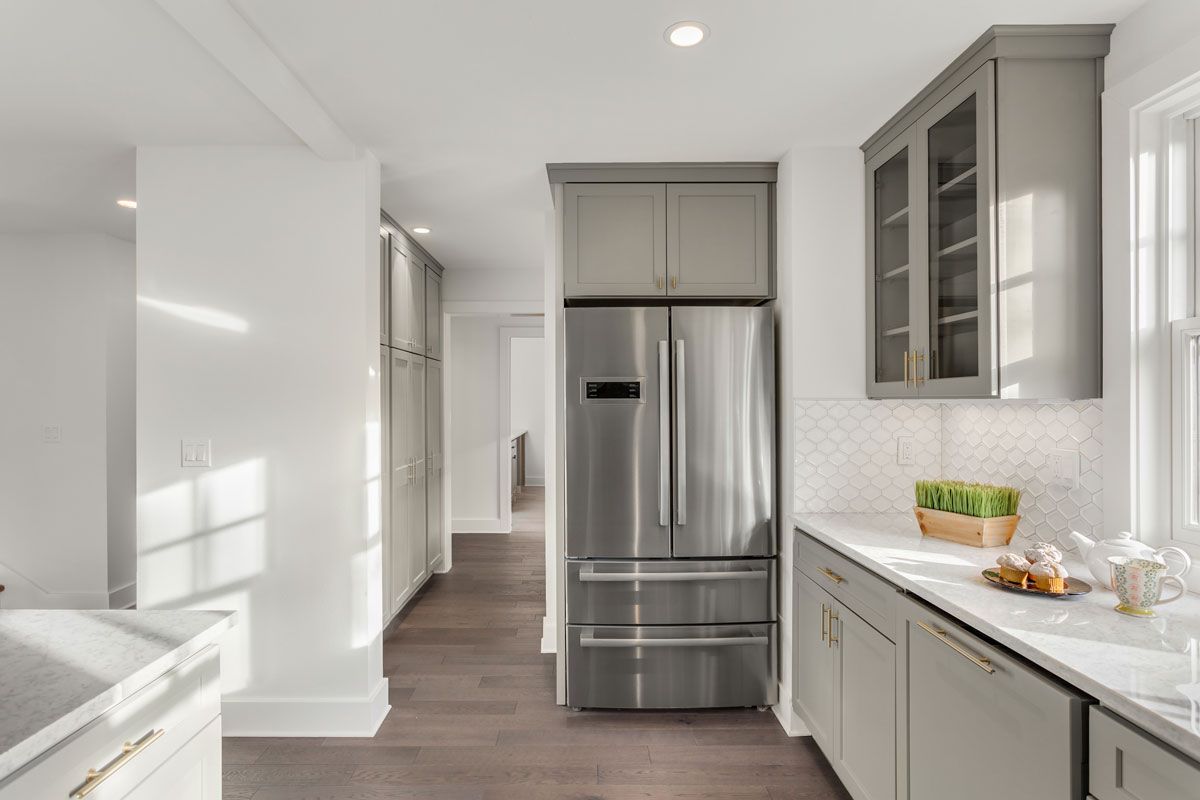
- Choose appropriate colors and patterns: Consider the lighting and overall aesthetic of your basement when choosing the color and pattern of the carpet. Lighter colors can make the space feel brighter and more spacious, while darker colors can add coziness.
- Check for stain resistance: Since basements can be prone to spills, it’s a good idea to choose a carpet that is stain-resistant. This will make it easier to clean and maintain the appearance of your carpet.
It’s always a good idea to visit a local carpet store and seek professional advice. They can help you find the right carpet that suits your basement and meets your specific requirements.
Step 3: Measuring and Estimating
Accurate measurements and estimations are crucial for ensuring you purchase the right amount of carpet and padding for your basement. Here’s how to measure and estimate the required materials:
- Measure the floor area: Use a tape measure to measure the length and width of the basement floor. It’s important to measure the area precisely, accounting for any nooks, corners, or irregular shapes.
- Calculate square footage: To determine the square footage of your basement, multiply the length by the width. For example, if your basement is 20 feet long and 15 feet wide, the square footage would be 300 square feet.
- Including excess for cutting and waste: It’s recommended to add around 10% to 15% to the total square footage to account for cutting and waste during installation. This provides extra carpet to ensure a seamless finish and allows for any mistakes or adjustments.
- Estimate padding requirements: Determine the amount of carpet padding needed by multiplying the square footage of the basement by the thickness of the padding. Most padding comes in standard thicknesses of ½ inch to ¾ inch.
- Consult with the carpet supplier: Once you have the measurements and estimates, consult with the supplier or retailer where you plan to purchase the carpet. They can guide you further and help ensure you purchase the correct amount of carpet and padding for your basement.
By accurately measuring and estimating, you can avoid unnecessary expenses and have the right amount of materials for a successful carpet installation in your basement.
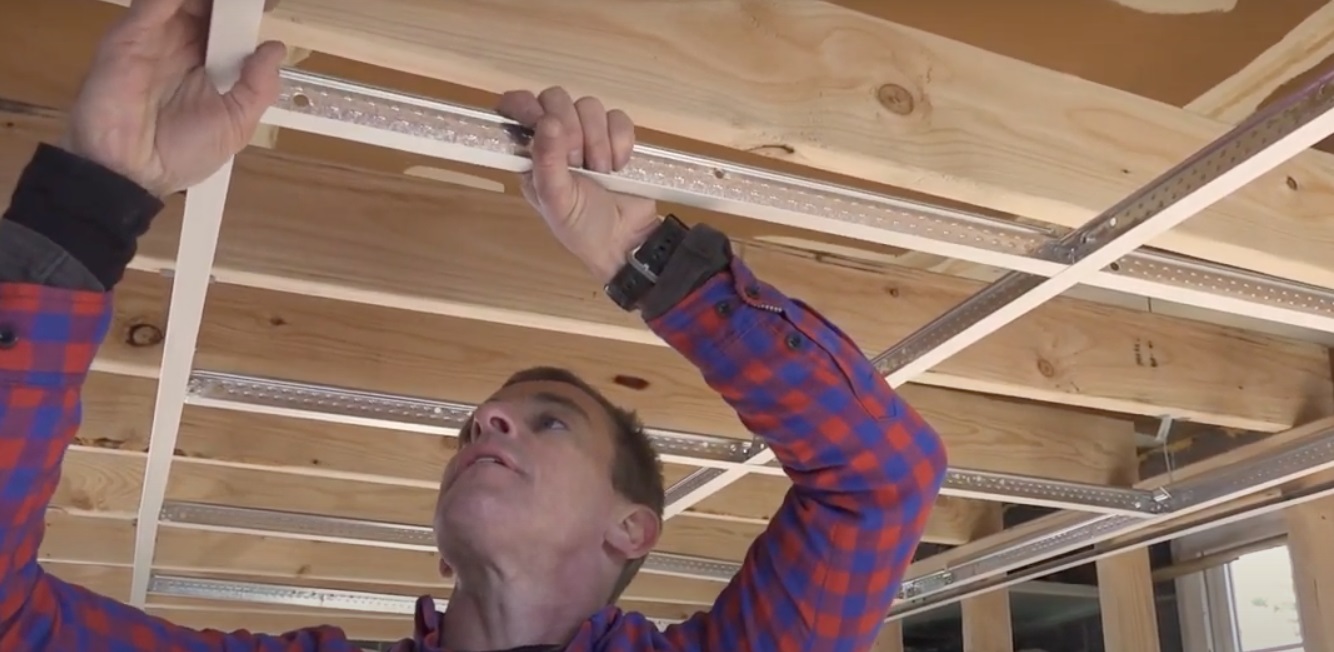
Step 4: Preparing the Subfloor
Preparing the subfloor is a critical step in ensuring a smooth and long-lasting carpet installation in your basement. Follow these steps to properly prepare the subfloor:
- Remove any existing flooring: If there is any existing flooring, such as tiles or laminate, remove it completely. Use a pry bar and a hammer to carefully lift and detach the flooring, taking care not to damage the subfloor.
- Clean the subfloor: Thoroughly clean the subfloor to remove any dust, dirt, or debris. Sweep or vacuum the surface, and use a damp mop to wipe away any stubborn grime. Allow the subfloor to dry completely before proceeding.
- Check for unevenness: Inspect the subfloor for any uneven areas or dips. Use a straightedge or level to identify any high or low spots. Smoothen uneven areas by sanding, patching, or using a self-leveling compound to create a flat surface.
- Repair subfloor damage: Carefully inspect the subfloor for any signs of damage, such as rot or water damage. If you notice any issues, repair or replace the damaged sections before proceeding with carpet installation.
- Install a subfloor moisture barrier: In basements where moisture is a concern, it’s advisable to install a subfloor moisture barrier. This protective layer helps to prevent moisture from seeping into the carpet. Follow the manufacturer’s instructions for installation.
- Ensure the subfloor is level: Before proceeding with carpet installation, it’s essential to ensure that the subfloor is level. Use a level to check for any slopes or unevenness. If needed, adjust the subfloor by adding shims or sanding down high spots.
By properly preparing the subfloor, you create a solid foundation for your carpet and ensure its longevity and performance. Take the time to address any issues and ensure a smooth and level surface before moving on to the next steps.
Before installing carpet in the basement, make sure the area is dry and free of moisture to prevent mold and mildew. Consider using a moisture barrier or waterproof underlayment for added protection.
Read more: How To Install Carpet In A Basement
Step 5: Installing the Carpet Padding
Installing carpet padding is an important step that adds cushioning, insulation, and support to your carpet in the basement. Follow these guidelines to properly install the carpet padding:
- Unroll the padding: Start by unrolling the carpet padding, making sure it covers the entire floor area of the basement.
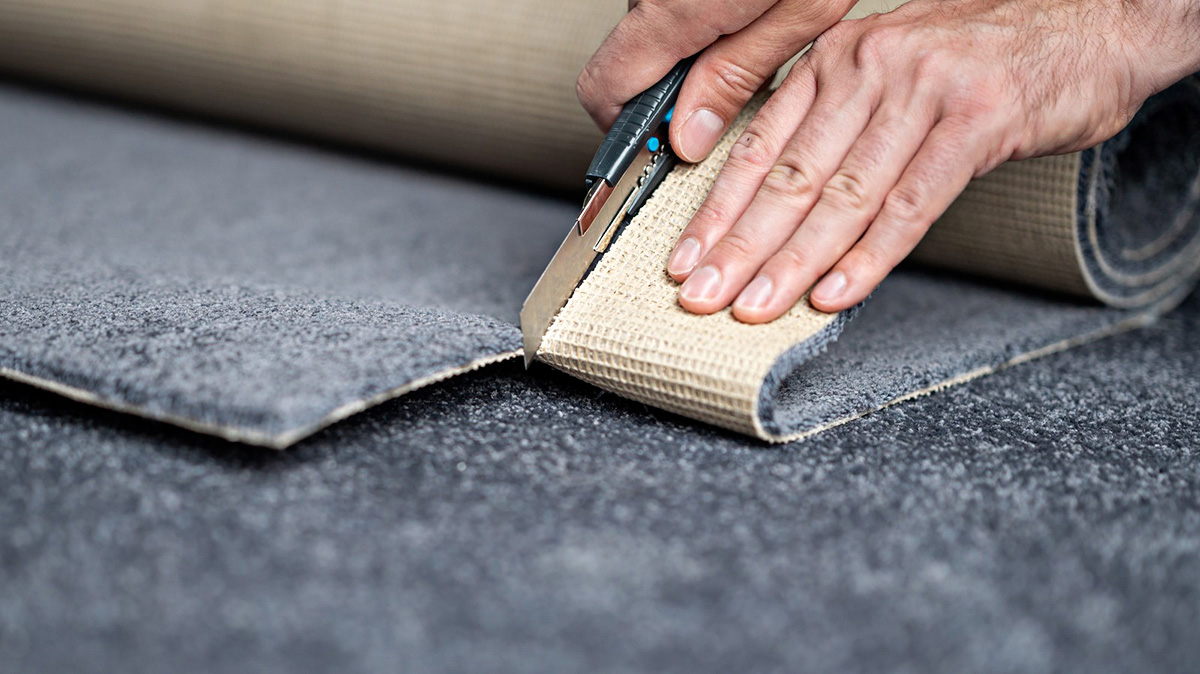
- Trim the padding: Use a utility knife to cut the padding to fit the size and shape of the basement. Take care to make clean and precise cuts, ensuring the padding fits neatly against the walls.
- Secure the padding: Once the padding is trimmed to the correct size, secure it to the subfloor. You can use double-sided carpet tape or adhesive to keep the padding in place. Make sure the padding is flat and smooth, without any wrinkles or folds.
- Overlap seams: If your basement is larger than the width of the padding, you may need to use multiple pieces of padding. When overlapping the seams, ensure they are tightly secured and do not create any lumps or unevenness.
- Trim excess padding: Use a utility knife to trim any excess padding along the walls or edges of the basement. A clean and precise trim will allow for a smooth transition between the padding and the walls, ensuring a professional finish.
Installing the carpet padding provides a comfortable and supportive layer underneath the carpet. It helps to absorb impact and reduce noise, creating a pleasant and enjoyable atmosphere in your basement.
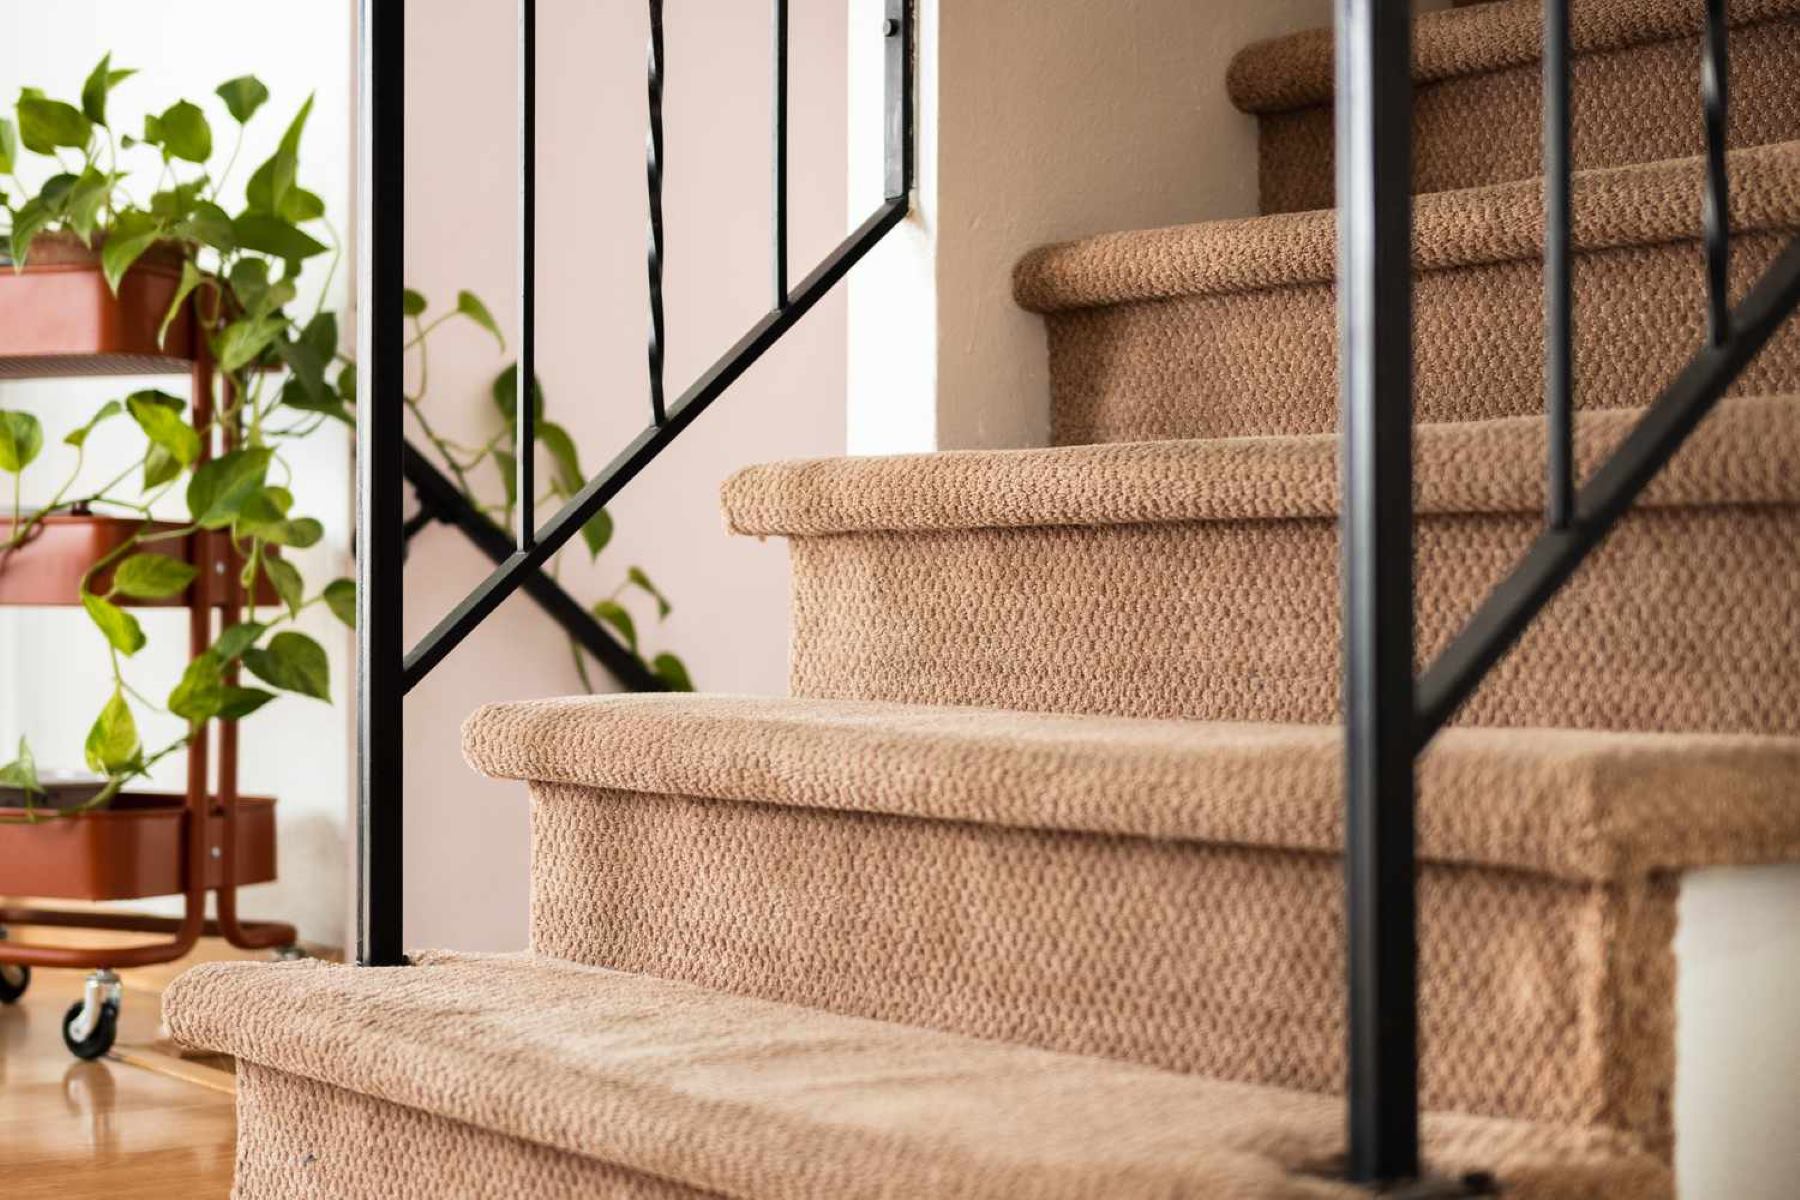
Step 6: Laying the Carpet
Now that the subfloor and padding are ready, it’s time to lay the carpet in your basement. Follow these steps to ensure a smooth and successful installation:
- Roll out the carpet: Start by unrolling the carpet in one corner of the basement. Allow it to relax and acclimate to the room temperature for a few hours before installation.
- Position the carpet: Position the carpet so that it aligns with the walls of the basement. Leave a few inches of excess carpet along the walls to allow for trimming and adjustment later.
- Trim the carpet: Use a utility knife to carefully trim the carpet along the edges, ensuring a neat and even cut. Take your time to make accurate cuts, especially around corners and obstacles.
- Secure the carpet: Once the carpet is trimmed, secure it in place. You can use a carpet kicker or a power stretcher to stretch the carpet and ensure a tight fit. Start in one corner and work your way across the room, stretching and attaching the carpet to the tack strips along the perimeter.
- Smooth out any wrinkles or bumps: Use a carpet stretcher or knee kicker to eliminate any wrinkles or bumps in the carpet. Work from the center of the room towards the edges, making adjustments as needed.
- Trim excess carpet: Once the carpet is securely attached and free from wrinkles, trim any excess carpet along the edges. Use a straightedge and utility knife to make clean and precise cuts.
- Seam the carpet (if necessary): If your basement is larger than the width of the carpet, you may need to seam multiple pieces together. Follow manufacturer guidelines for seaming, making sure to create a tight and inconspicuous seam.
Taking the time to properly lay the carpet in your basement will ensure a professional and visually appealing result. Pay attention to details, such as trimming and stretching, to create a seamless and snug fit.
Step 7: Stretching and Securing the Carpet
Once the carpet is laid in your basement, it’s important to properly stretch and secure it to ensure a tight and wrinkle-free installation. Follow these steps to achieve professional results:
- Inspect the carpet: Before stretching, carefully inspect the carpet for any wrinkles, folds, or loose areas. Smooth out any imperfections and ensure the carpet is properly aligned along the walls.
- Use a power stretcher: A power stretcher is a tool used to stretch the carpet by applying tension across the room. Start at one corner and attach the power stretcher to the carpet along the opposite wall. Activate the stretcher, gradually pulling and stretching the carpet towards the other wall.
- Secure the carpet to the tack strips: As you stretch the carpet, use a knee kicker or carpet kicker to attach it to the tack strips along the walls. Position the kicker a few inches from the wall, and kick with your knee to push the carpet into the tack strips. Repeat this process along each wall, making sure the carpet is securely held in place.
- Trim excess carpet: Once the carpet is stretched and secured, trim any excess carpet along the edges. Use a straightedge and utility knife to make clean and precise cuts.
- Check for wrinkles and bumps: After stretching and securing the carpet, inspect the entire room for any remaining wrinkles or bumps. Smooth them out by hand or use a carpet stretcher and knee kicker to make adjustments as needed.
- Install transition strips: If your basement transitions into another type of flooring, such as tile or hardwood, install transition strips to create a seamless and smooth transition. Follow manufacturer instructions for proper installation.
- Ensure a secure and tight fit: Walk across the carpet and check for any areas that feel loose or have excessive give. Use a knee kicker or carpet kicker to secure those areas to the tack strips, ensuring a secure and tight fit throughout the basement.
Stretching and securing the carpet is a crucial step in achieving a professional and long-lasting installation in your basement. Take your time and ensure the carpet is properly stretched and attached, eliminating any wrinkles or loose areas.
Step 8: Trimming and Finishing Touches
After the carpet is stretched and secured in your basement, the final step involves trimming and adding the finishing touches. Follow these steps to complete the installation:
- Trim excess carpet: Using a sharp utility knife and a straightedge, carefully trim any remaining excess carpet along the walls. Make clean and straight cuts to ensure a neat and finished appearance.
- Check for uneven seams: Inspect the seams where multiple carpet pieces are joined together. Ensure the seams are smooth and inconspicuous. If necessary, use a carpet seam iron to fuse the edges of the carpet together and create a seamless transition.
- Install threshold strips: If your basement has doorways leading to other rooms, install threshold strips to create a clean and professional transition. These strips will cover the carpet edges and provide a seamless connection between rooms.
- Smooth and flatten the carpet: Use a carpet brush or broom to smooth and flatten the carpet fibers. This will help the carpet regain its full appearance and ensure a uniform texture throughout the basement.
- Final inspection: Take a walk around the room to inspect the entire carpeted area. Check for any loose areas, wrinkles, or imperfections. Smooth out any issues by re-stretching the carpet or using a knee kicker and carpet tucker.
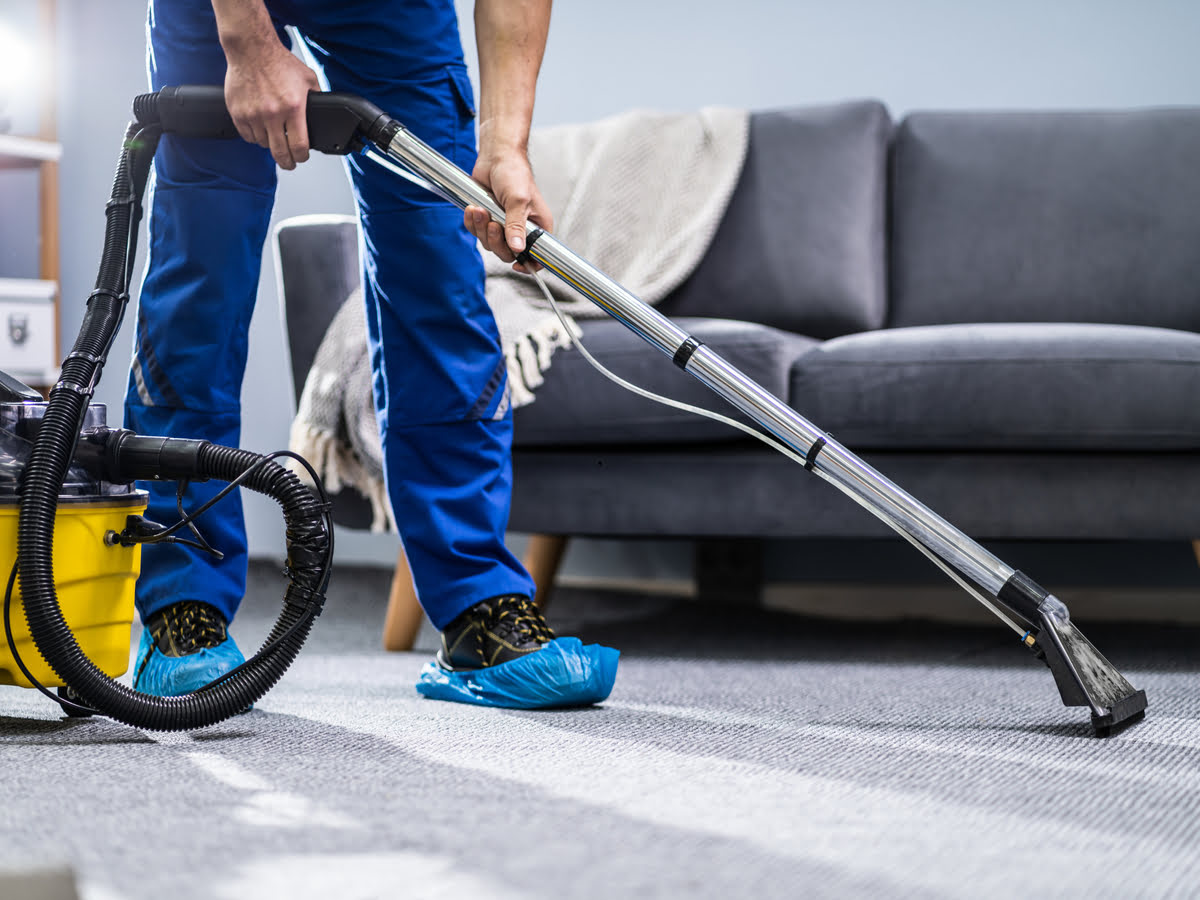
- Clean and maintain the carpet: Lastly, follow the manufacturer’s instructions for regular cleaning and maintenance of your carpet. Vacuum regularly to remove dirt and debris, and address any spills or stains promptly to keep your basement carpet looking fresh and inviting.
Taking the time to trim and attend to the finishing touches will give your basement carpet a polished and professional appearance. Pay attention to the small details to ensure a beautiful and long-lasting finished product.
Read more: How To Put Flooring In Basement
Conclusion
Transforming your basement into a comfortable and inviting space starts with the installation of carpet. By following the step-by-step process outlined in this article, you can ensure a successful carpet installation in your basement. From preparing the space and selecting the right carpet to measuring, padding, laying, stretching, and trimming, each step plays a crucial role in achieving a professional and long-lasting result.
Properly preparing the subfloor, choosing moisture-resistant and low-pile carpets, and installing quality padding are essential for a successful installation. Taking accurate measurements, estimating the required materials, and properly laying the carpet are crucial for a seamless and snug fit. Stretching and securing the carpet, trimming any excess, and adding finishing touches like transition strips and threshold strips complete the process.
Remember to consider factors like moisture resistance, stain resistance, and overall aesthetics when selecting your carpet. Regularly clean and maintain your carpet to keep it looking fresh and extend its lifespan.
With careful planning and attention to detail, installing carpet in your basement can create a cozy and comfortable space that you’ll enjoy for years to come. So, roll up your sleeves, follow the steps outlined in this article, and transform your basement into a beautiful and inviting retreat.
Frequently Asked Questions about How To Put Carpet In Basement
Was this page helpful?
At Storables.com, we guarantee accurate and reliable information. Our content, validated by Expert Board Contributors, is crafted following stringent Editorial Policies. We're committed to providing you with well-researched, expert-backed insights for all your informational needs.


0 thoughts on “How To Put Carpet In Basement”