Home>Articles>A 10-Step Guide To Installing Carpet On Stairs
Articles
A 10-Step Guide To Installing Carpet On Stairs
Modified: October 20, 2024
Learn how to install carpet on stairs with this comprehensive 10-step guide. Follow these instructions to transform your staircase with ease.
(Many of the links in this article redirect to a specific reviewed product. Your purchase of these products through affiliate links helps to generate commission for Storables.com, at no extra cost. Learn more)
Introduction
Installing carpet on stairs can be a great way to enhance the beauty and comfort of your home. Whether you’re replacing worn-out carpet or adding a touch of elegance to your staircase, this 10-step guide will walk you through the process.
Carpeting stairs requires special attention to detail to ensure a professional and durable installation. By following these steps, you’ll be able to achieve a polished look while ensuring the safety and functionality of your stairs.
Before you begin, it’s important to note that installing carpet on stairs can be a challenging project, and if you’re not comfortable with DIY projects, it may be best to hire a professional. However, if you’re up for the challenge, let’s dive into the steps!
Key Takeaways:
- Installing carpet on stairs requires meticulous preparation, including measuring, cleaning, and inspecting the stairs. It’s crucial to gather the right tools and materials and address any damage before beginning the installation process.
- Once the carpet is installed, regular maintenance is essential for preserving its appearance and longevity. Vacuuming, treating stains promptly, and protecting high-traffic areas are key to keeping your carpeted stairs looking beautiful.
Read more: How To Install A Carpet On Steps
Step 1: Measure and Prepare
The first step in installing carpet on stairs is to measure and prepare your staircase. Start by measuring the width and length of each individual stair tread, as well as the height of each riser. This will help you determine how much carpet you’ll need for the project.
Next, make sure to properly clean the stairs. Remove any debris, dust, or loose particles from the surface. This will ensure that the carpet adheres properly and does not have any bumps or unevenness.
If you have existing carpet on your stairs, you’ll need to remove it before proceeding. Carefully pull up the carpet, taking care not to damage the stair treads. Remove any staples or tacks that are still attached to the stairs, ensuring a smooth surface for the new carpet installation.
Additionally, inspect the condition of the stairs. If you notice any damage, such as loose or squeaky steps, it’s essential to repair them before proceeding. This will prevent any further damage to the carpet and ensure a long-lasting installation.
After measuring and preparing your stairs, it’s time to gather all the necessary tools and materials for the project. Let’s move on to the next step!
Step 2: Gather Tools and Materials
Before you start the actual installation process, it’s important to gather all the tools and materials you’ll need to complete the project. Having everything prepared in advance will save you time and ensure a smooth installation process.
Here’s a list of the essential tools and materials you’ll need:
- Carpet – Measure the square footage of your stairs to determine the amount of carpet needed. Choose a carpet that is durable and suitable for high traffic areas.
- Carpet padding – This provides additional cushioning and helps extend the lifespan of your carpet. Measure and cut the padding to fit each stair.
- Tackless strips – These are strips of wood with embedded nails used to hold the carpet in place. Measure and cut the tackless strips to fit the width and length of each stair.
- Staple gun or carpet adhesive – Depending on your preference and the type of carpet, you’ll need either a staple gun or carpet adhesive to secure the carpet to the stairs.
- Utility knife – Use a sharp utility knife to cut the carpet and padding to the appropriate size and shape.
- Hammer – If you’re using tackless strips, a hammer will be necessary for nailing them in place.
- Scissors – You’ll need scissors to trim any excess carpet and make precise cuts.
- Measuring tape – A measuring tape is essential for accurately measuring the dimensions of each stair tread and riser.
- Safety goggles and gloves – Protect your eyes and hands while working with tools and materials.
Once you have gathered all the necessary tools and materials, you’ll be well-prepared to proceed with the installation process. In the next step, we’ll cover removing the old carpet and padding. Let’s move forward!
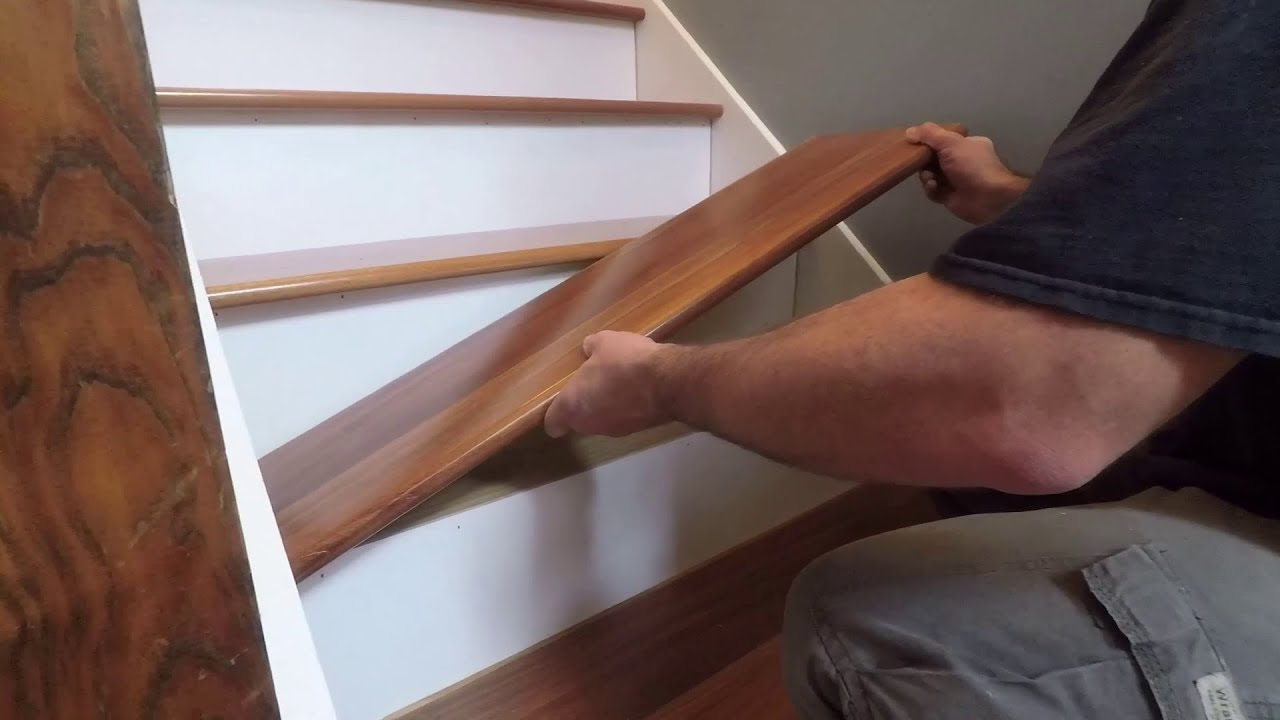
Step 3: Remove Old Carpet and Padding
Now that you have all the tools and materials gathered, it’s time to remove the old carpet and padding from your stairs. This step is crucial as it provides a clean surface for the new carpet installation.
Start by carefully pulling up the old carpet from one corner of the first stair. Use a pair of pliers or a carpet removal tool to grip the edge of the carpet and gently lift it up. Slowly work your way along the stair, pulling up the carpet and rolling it as you go.
Once the carpet is removed, you’ll likely find an underpad or padding beneath it. This padding is typically stapled or glued to the stair treads. Use a utility knife to carefully cut through the padding along the edge of each stair, and then pull it up, taking care not to damage the stairs.
If you encounter any stubborn staples or adhesive residue, use pliers or a scraper to remove them. It’s crucial to ensure that the stair treads are completely free of any remnants from the old carpet and padding.
After removing the old carpet and padding, thoroughly clean the stairs to remove any dirt or debris. This will provide a smooth and clean surface for the installation of the new carpet.
Now that the old carpet and padding have been removed, you’re one step closer to having freshly carpeted stairs. In the next step, we will discuss inspecting and repairing the stair treads. Let’s move on!
Step 4: Inspect and Repair Stair Treads
Now that the old carpet and padding have been removed, it’s time to inspect the condition of the stair treads. Inspecting and repairing any damage is essential to ensure a solid foundation for your new carpet installation.
Start by carefully examining each stair tread. Look for signs of wear, cracks, or any loose or squeaky steps. If you notice any damage, it’s important to address it before proceeding with the carpet installation.
If you come across loose steps, secure them by adding screws or nails to reinforce the connection. This will help prevent any further damage and ensure a safe and stable staircase.
For cracks or damaged areas, you may need to fill them with wood filler and sand them down to create a smooth surface. This step is crucial as it helps create a solid and even base for the new carpet.
Additionally, check that the stair treads are level and even. If you notice any unevenness, you may need to make adjustments by sanding or adding shims to ensure a uniform surface.
By inspecting and repairing the stair treads, you’re ensuring that your carpet installation will be secure and long-lasting. Once you’ve assessed and fixed any issues, you’re ready to move on to the next step: installing the tackless strips. Let’s proceed!
Step 5: Install Tackless Strips
With the stair treads in good condition, it’s time to move on to installing the tackless strips. These strips will help secure the carpet in place and provide a clean and professional finish.
Start by measuring and cutting the tackless strips to fit the width and length of each stair. The tackless strips should be slightly shorter than the width of the stair tread to allow for a small gap on either side. This gap will be covered by the carpet later on.
Place the tackless strips along the back of each stair tread, positioning them about half an inch from the edge. Make sure the sharp side of the nails is facing towards the riser, allowing the carpet to be hooked onto the strips securely.
Using a hammer, nail the tackless strips into the stair treads, ensuring that they are firmly attached. Repeat this process for each stair, making sure to align the tackless strips evenly.
Once all the tackless strips are installed, take a moment to check that they are secure and evenly spaced. This will ensure that the carpet will be properly anchored and prevent any slipping or movement.
With the tackless strips in place, you’re ready to move on to the next step: cutting and attaching the carpet padding. This step will add an additional layer of cushioning and support for your carpeted stairs. Let’s proceed!
When installing carpet on stairs, be sure to use a knee kicker to stretch the carpet tightly across each step, ensuring a smooth and secure fit.
Step 6: Cut and Attach Carpet Padding
Now that the tackless strips are installed, it’s time to cut and attach the carpet padding. The carpet padding not only adds comfort underfoot but also helps to extend the life of your carpet, providing extra insulation and noise reduction.
Start by measuring and cutting the carpet padding to fit the dimensions of each stair tread. Lay the padding onto the stair, making sure it covers the entire tread without overlapping onto the tackless strip area.
Secure the carpet padding to the stairs by using a staple gun or carpet adhesive. If using a staple gun, staple the carpet padding along the edges of each tread, ensuring it is taut and smooth. If using carpet adhesive, spread a thin layer on each tread and press the padding firmly onto it.
Continue this process for each stair, adjusting the padding as needed to ensure it fits snugly against the stair riser and stays in place.
Once the carpet padding is securely attached, take a moment to trim any excess padding using a utility knife. Cut along the edge of the stair tread, following the contour of the steps for a clean finish.
With the carpet padding in place, you’re one step closer to completing your carpeted stairs. In the next step, we will discuss cutting and installing the carpet runners. Let’s move forward!
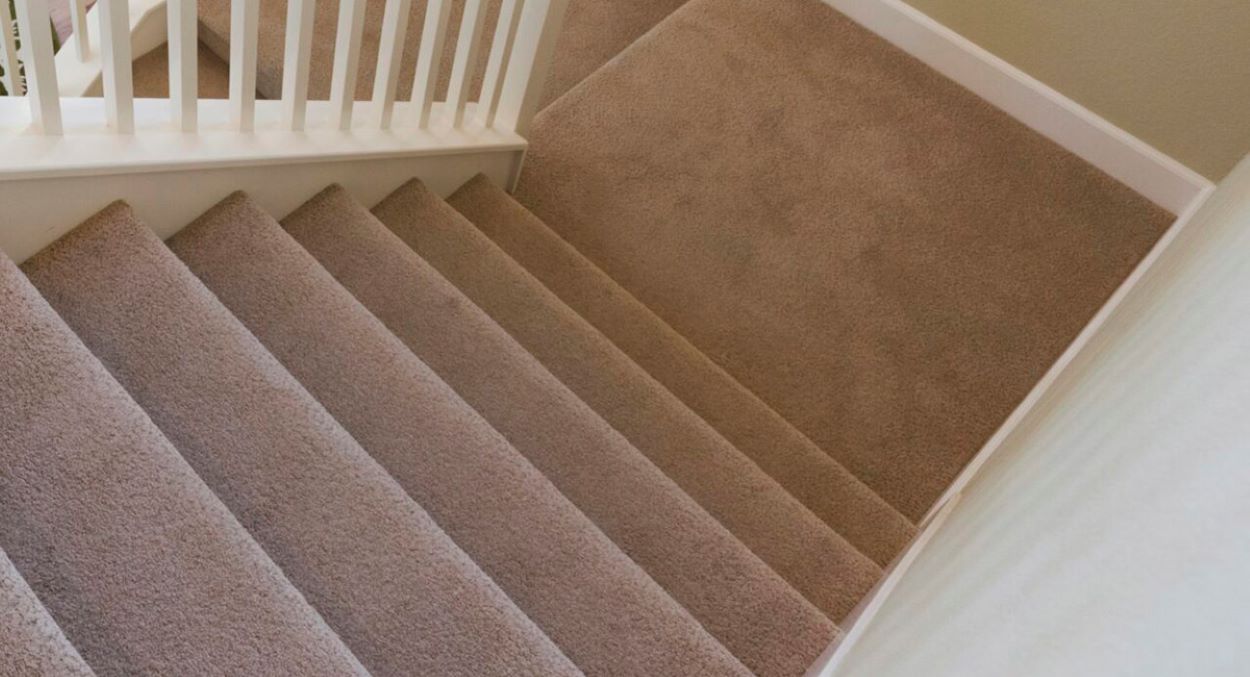
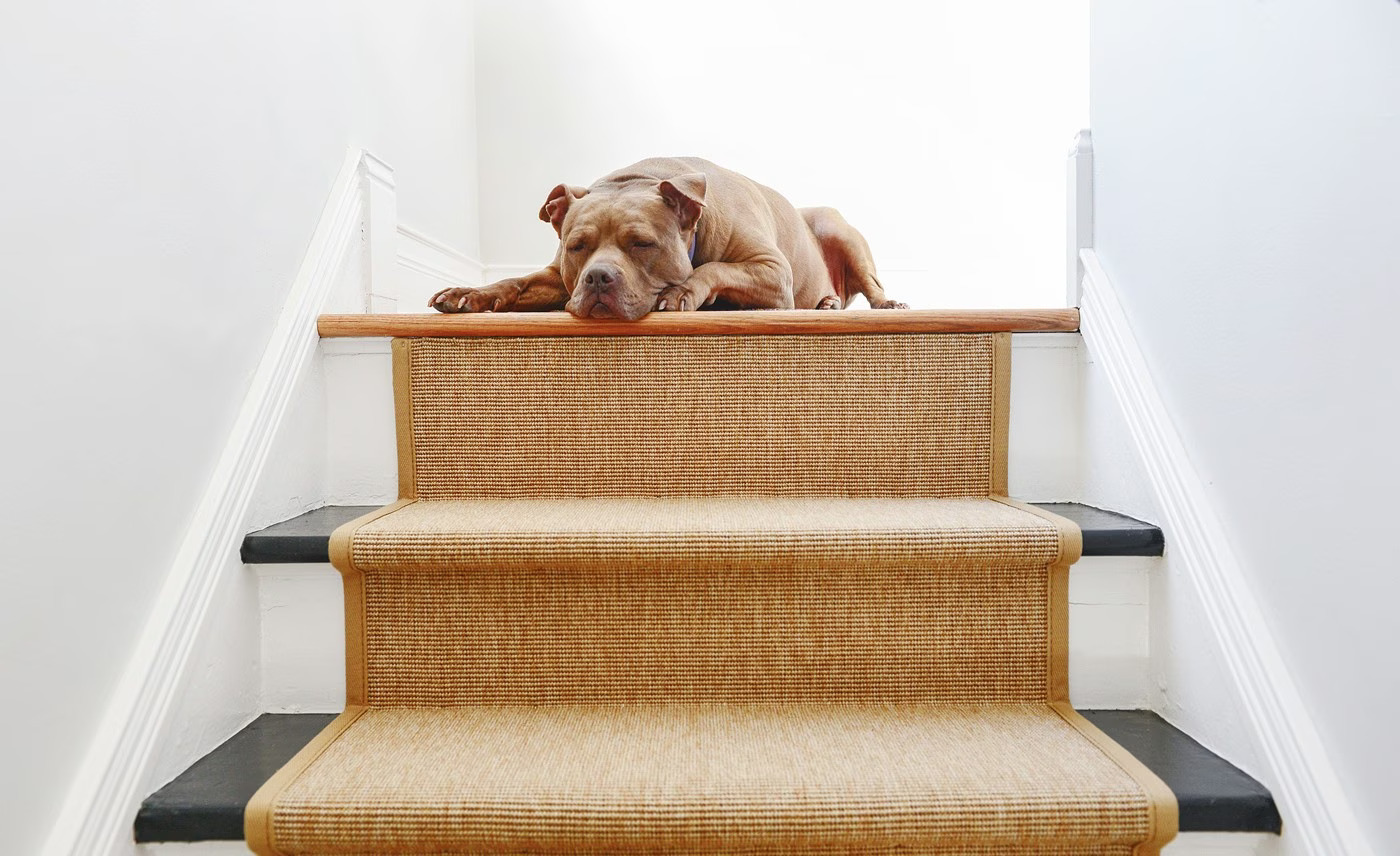
Step 7: Cut and Install Carpet Runners
Now that the carpet padding is in place, it’s time to move on to cutting and installing the carpet runners. The carpet runners will be the main visible layer of carpeting on your stairs, adding beauty and functionality.
Start by measuring the length of the stairs and cut the carpet runner to the appropriate size, leaving a few inches of extra length to allow for adjustments during installation.
Position the carpet runner at the bottom of the stairs and align it evenly with the edge. Make sure that the runner extends slightly over the edge of the tread to create a clean and finished look.
If your stairs have a nose or bullnose, you may need to cut the carpet runner into sections to fit the curved shape. Use a sharp utility knife or carpet cutter to make precise cuts along the edge, following the contour of the stairs.
Once the carpet runner is cut to size, begin installing it by starting from the bottom of the stairs and working your way up. Press the carpet firmly onto the tackless strips, ensuring a secure and snug fit.
Smooth out any wrinkles or bubbles as you go, using your hands or a carpet roller to ensure a smooth and even surface. Pay extra attention to the edges and corners to ensure they are neatly tucked and secured.
Continue installing the carpet runner on each step, making any necessary adjustments along the way to ensure a seamless appearance.
With the carpet runner installed, your stairs are beginning to take shape. In the next step, we will cover how to secure the carpet with staples or stair rods. Let’s proceed!
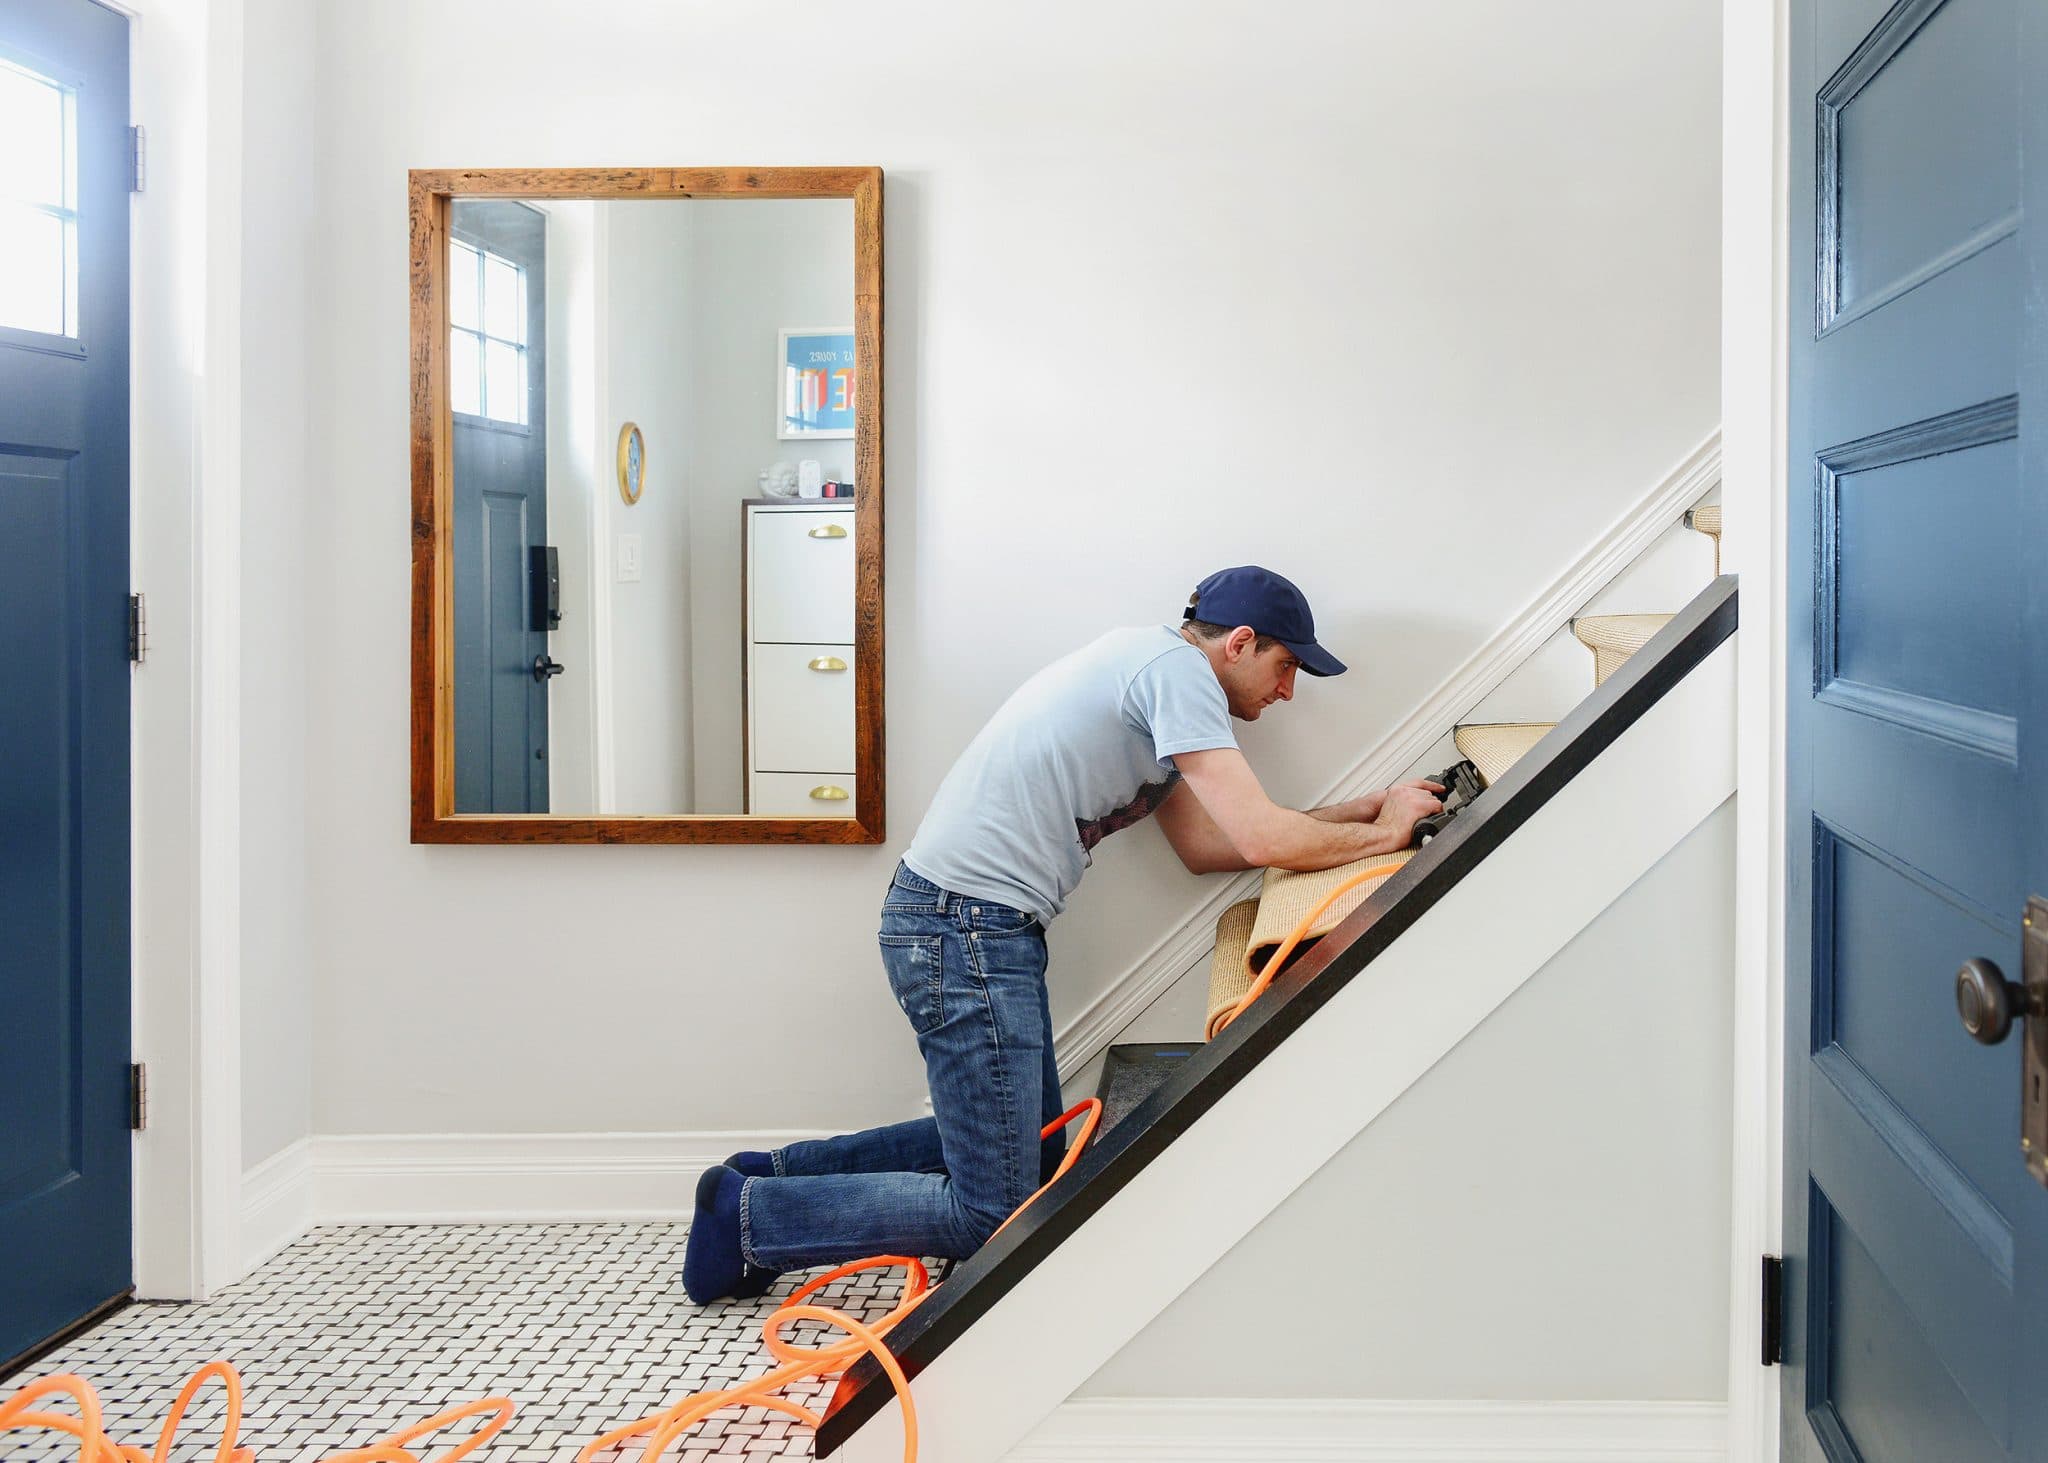
Step 8: Secure the Carpet with Staples or Stair Rods
With the carpet runner in place, it’s time to secure it to the stairs to ensure a long-lasting installation. There are two commonly used methods for securing the carpet: using staples or stair rods.
If you choose to use staples, start by folding the excess carpet at the bottom of the stairs over the bottom riser. Use a staple gun to secure the carpet to the riser, placing the staples approximately every 2-3 inches along the edge. Be careful not to staple through the carpet and into the stair tread.
Next, fold the carpet over the bullnose or nosing, securing it with staples or small nails. Make sure the carpet is taut and smooth as you work your way up the stairs, stapling along the edges of each stair tread.
For a more decorative option, you can use stair rods instead of staples. Stair rods are typically decorative metal rods that hold the carpet in place. To install stair rods, follow the manufacturer’s instructions, positioning the rods securely along the stair runner.
Whichever method you choose, make sure the carpet is securely fastened to prevent any shifting or movement. Take your time to ensure that the carpet is smooth and free of wrinkles or bubbles for a professional and polished look.
Once the carpet is securely installed, trim any excess carpet using a sharp utility knife. Carefully cut along the edge, following the contour of the stairs for a clean finish.
With the carpet secured, your newly carpeted stairs are nearly complete. In the next step, we will discuss trimming excess carpet and adding finishing touches. Let’s move forward!
Step 9: Trim Excess Carpet and Finishing Touches
Now that the carpet is securely in place, it’s time to trim any excess carpet and add the finishing touches to complete your carpeted stairs.
Start by carefully trimming the excess carpet along the edge of each stair. Use a sharp utility knife to make precise cuts, following the contour of the stairs for a clean and polished look.
Ensure that the edges of the carpet are neatly tucked and secured, either under the nosing or against the wall. Use a carpet kicker or a hammer to ensure a tight fit and prevent any loose edges.
Next, inspect the entire carpeted staircase for any visible imperfections or loose areas. Smooth out any wrinkles or bubbles that may have formed during installation, using your hands or a carpet roller to ensure a seamless appearance.
If you opted for stair rods, install them according to the manufacturer’s instructions. Stair rods can add an elegant and decorative touch to your carpeted stairs, providing a finishing detail that enhances the overall aesthetic.
Finally, take a moment to step back and admire your newly installed carpeted stairs! Take note of any areas that may require additional adjustments or attention. Make sure the carpet is securely in place and that all edges are properly tucked and fastened.
With the excess carpet trimmed and the finishing touches added, your carpeted stairs are now complete. In the final step, we will discuss clean up and maintenance tips to help ensure the longevity and beauty of your newly installed carpet. Let’s proceed!
Step 10: Clean up and Maintenance Tips
Once your carpeted stairs are complete, it’s important to properly clean up and establish a maintenance routine to keep them looking fresh and in top condition for years to come.
Start by thoroughly cleaning up any debris, tools, or materials that may have accumulated during the installation process. Vacuum or sweep the stairs to remove any loose particles or dust. Use a damp cloth or mop to wipe down the stair treads and risers, ensuring they are clean and ready to be enjoyed.
Regular maintenance is key to preserving the appearance and lifespan of your carpeted stairs. Here are a few tips to keep in mind:
- Vacuum regularly: Regular vacuuming helps remove dirt, dust, and debris that can become embedded in the fibers of the carpet. Use a vacuum cleaner with a brush attachment to effectively clean the steps.
- Treat stains promptly: Accidents happen, but it’s important to treat stains on your carpeted stairs as soon as possible. Blot the stain gently with a clean cloth and a mild carpet cleaner. Avoid rubbing the stain, as it can spread and damage the carpet fibers.
- Protect high-traffic areas: If certain areas of your carpeted stairs experience heavy foot traffic, consider using carpet runners or mats to protect those areas. This can help minimize wear and tear and extend the life of your carpet.
- Avoid wearing shoes: Encourage family members and guests to remove their shoes before walking on the carpeted stairs. This can prevent dirt and grime from being tracked onto the carpet, reducing the need for frequent cleaning.
- Regular professional cleaning: It’s beneficial to schedule professional carpet cleaning at least once a year. This will help remove deep-seated dirt and stains, and refresh the appearance of your carpeted stairs.
By following these maintenance tips and taking proactive measures, you can keep your carpeted stairs looking beautiful and in excellent condition for years to come.
Congratulations on successfully installing carpet on your stairs! With your newly transformed staircase, you can enjoy the enhanced beauty and comfort that comes with carpeted stairs. Well done!
Frequently Asked Questions about A 10-Step Guide To Installing Carpet On Stairs
Was this page helpful?
At Storables.com, we guarantee accurate and reliable information. Our content, validated by Expert Board Contributors, is crafted following stringent Editorial Policies. We're committed to providing you with well-researched, expert-backed insights for all your informational needs.


0 thoughts on “A 10-Step Guide To Installing Carpet On Stairs”