Articles
How To Put Flooring In Basement
Modified: August 28, 2024
Learn the step-by-step process of installing flooring in your basement with our informative articles. Discover expert tips and techniques for a successful basement flooring project.
(Many of the links in this article redirect to a specific reviewed product. Your purchase of these products through affiliate links helps to generate commission for Storables.com, at no extra cost. Learn more)
Introduction
Welcome to our comprehensive guide on how to put flooring in the basement. Whether you’re looking to convert your basement into a cozy living space or simply want to upgrade its flooring, we’ve got you covered! The basement is often an underutilized area in many homes, but with the right flooring, it can become a functional and inviting part of your house.
Before diving into the step-by-step process of installing basement flooring, it’s important to understand that basements have unique considerations due to factors like moisture, temperature fluctuations, and uneven surfaces. Proper preparation and the right choice of materials are crucial to ensure a successful and long-lasting installation.
In this guide, we will take you through the entire process, from preparing the basement to selecting the right flooring material and completing the finishing touches. By following these steps, you’ll be well-equipped to transform your basement into a beautiful, comfortable, and functional space.
So, let’s get started on this exciting flooring journey and turn your basement into a space you’ll love!
Key Takeaways:
- Properly preparing the basement, choosing moisture-resistant flooring, and installing a stable subfloor are crucial for a successful and durable basement flooring installation. Attention to detail and patience are key!
- Completing the finishing touches, such as cleaning, sealing, and decorating, elevates the overall look and functionality of the basement. Regular maintenance ensures the longevity of the newly installed flooring.
Read more: How To Put A Ceiling In A Basement
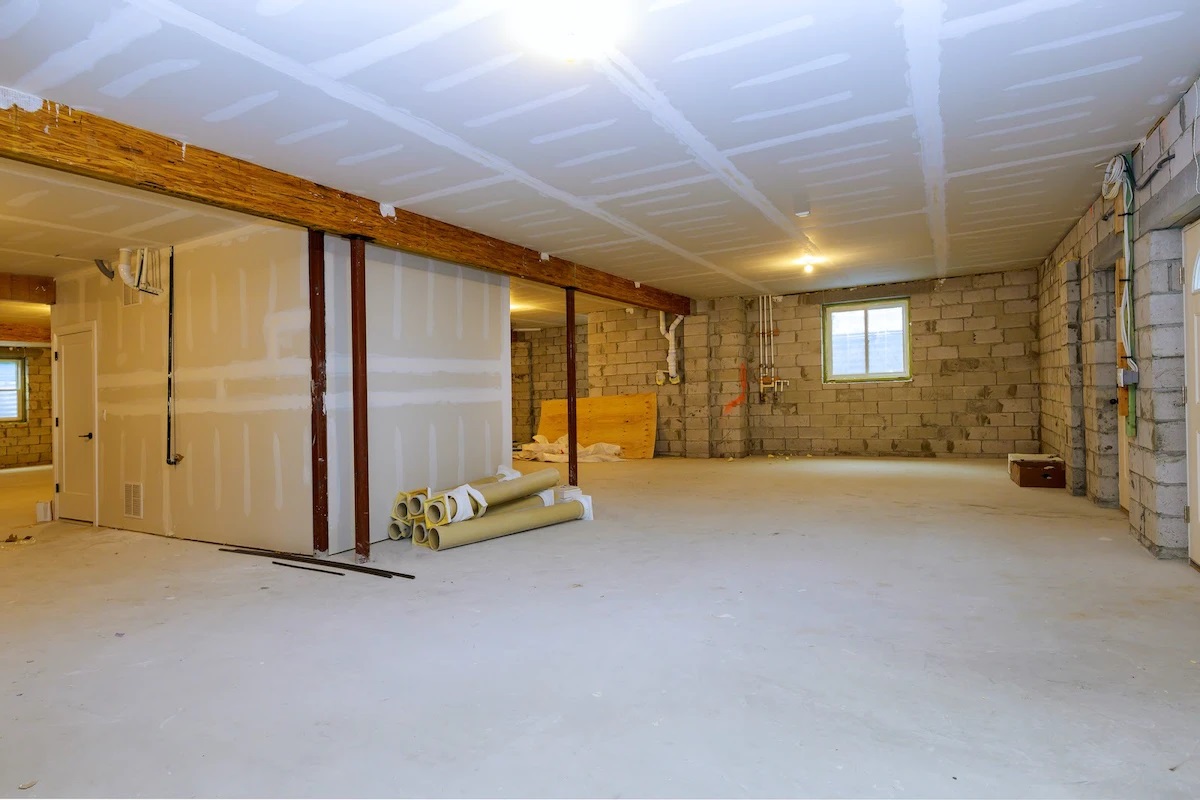
Step 1: Preparing the Basement
Before you can install flooring in your basement, it’s essential to properly prepare the space. Here are the key steps to follow:
- Clear out the basement: Start by removing any existing furniture, appliances, and other items from the basement. This will give you a clear workspace and make the preparation process easier.
- Clean and dry the basement: Basement floors are more prone to moisture and dust accumulation, so it’s crucial to thoroughly clean the area. Sweep or vacuum the floor to remove any loose dirt and debris. Use a damp mop or a suitable cleaning solution to thoroughly clean the floor. Ensure that the basement is completely dry before proceeding to the next step.
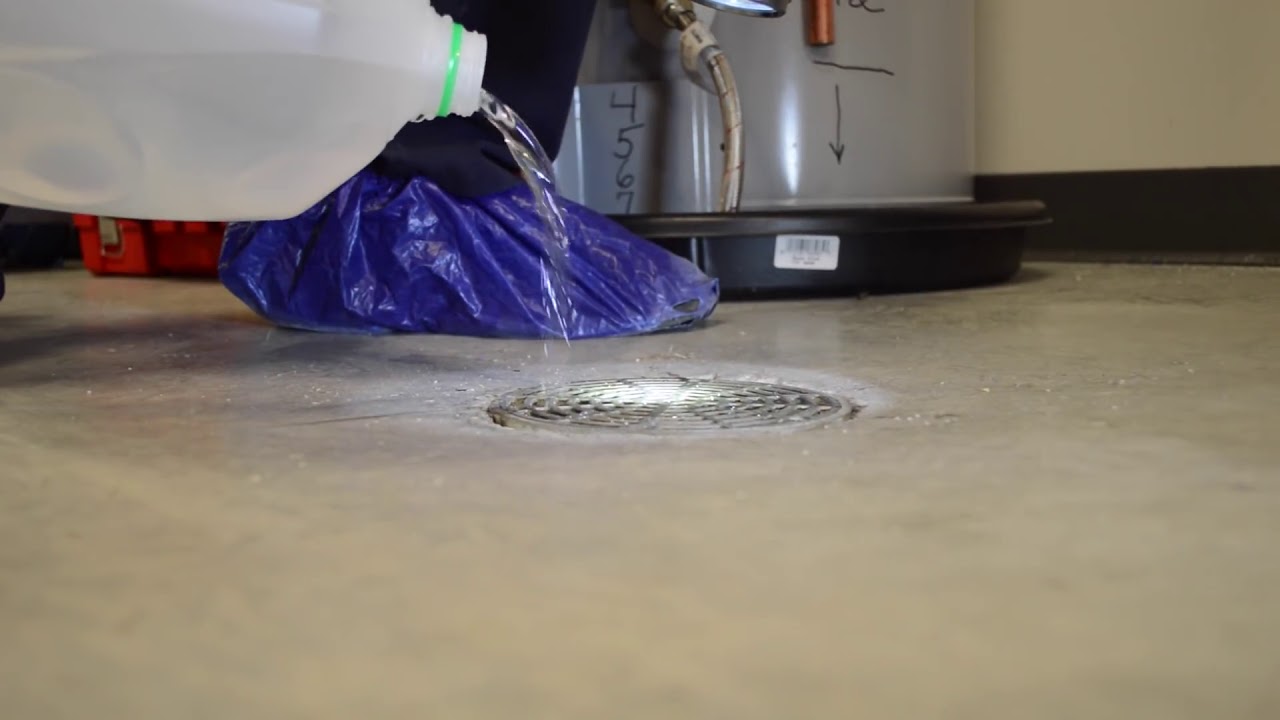
- Inspect for moisture: Basements are notorious for their susceptibility to moisture issues. Before installing flooring, it’s crucial to check for any signs of moisture or water infiltration. Look for dampness, water stains, or a musty smell. If you notice any signs of moisture, address them before proceeding with the installation.
- Repair any damage: Inspect the basement floor for any cracks, holes, or uneven surfaces. Repair any damage using appropriate products like concrete repair kits or leveling compounds. It’s important to have a smooth and level surface for the flooring installation.
- Address moisture concerns: If your basement has ongoing moisture issues or a high water table, it’s crucial to address these concerns before installing flooring. Consider installing a basement waterproofing system or contacting a professional to evaluate and address the problem.
- Install a vapor barrier: To further protect your flooring from moisture, consider installing a vapor barrier. This is a thick plastic sheet that acts as a barrier between the concrete floor and the flooring material. It helps prevent moisture from seeping into the flooring, protecting it from damage.
By following these steps and adequately preparing your basement, you’ll create a solid foundation for your flooring installation. Taking the time to address any issues and ensure a clean and dry space will help ensure the longevity and performance of your new basement flooring.
Step 2: Choosing the Right Flooring Material
Choosing the right flooring material for your basement is an important decision. Since basements often have unique challenges, such as moisture and temperature fluctuations, it’s crucial to select a material that can withstand these conditions. Here are some factors to consider when choosing the right flooring material:
- Moisture resistance: Basements are prone to moisture, so it’s essential to choose a flooring material that is moisture-resistant. Look for options that are specifically designed for basements or have moisture-resistant properties, such as vinyl, laminate, or tile.
- Durability: Basements often have high traffic, so it’s important to select a flooring material that is durable and can withstand heavy use. Materials like concrete, luxury vinyl, or engineered hardwood are known for their durability and can handle the demands of a basement environment.
- Installation ease: Consider the ease of installation when choosing a flooring material. Some materials, such as vinyl or laminate, come in easy-to-install, click-lock systems, making them ideal for DIY installations. On the other hand, materials like tile or hardwood may require professional installation due to their complexity.
- Subfloor compatibility: Check if the flooring material is compatible with the type of subfloor in your basement. For example, luxury vinyl flooring can be installed directly on concrete or an existing subfloor, while hardwood may require additional layers like plywood or an engineered subfloor.
- Comfort and insulation: If you plan to spend a lot of time in the basement, consider materials that offer comfort and insulation. Carpet or cork flooring can provide warmth and insulation, making the space more comfortable and cozy.
It’s also important to consider your aesthetic preferences and the overall design of the basement. Different flooring materials offer various styles and finishes, so choose one that complements your desired look and matches your personal style.
To make an informed decision, research different flooring options, read customer reviews, and consult with flooring professionals who can provide valuable insights and recommendations based on your specific needs. By taking the time to choose the right flooring material, you’ll ensure a beautiful, functional, and long-lasting finished basement.
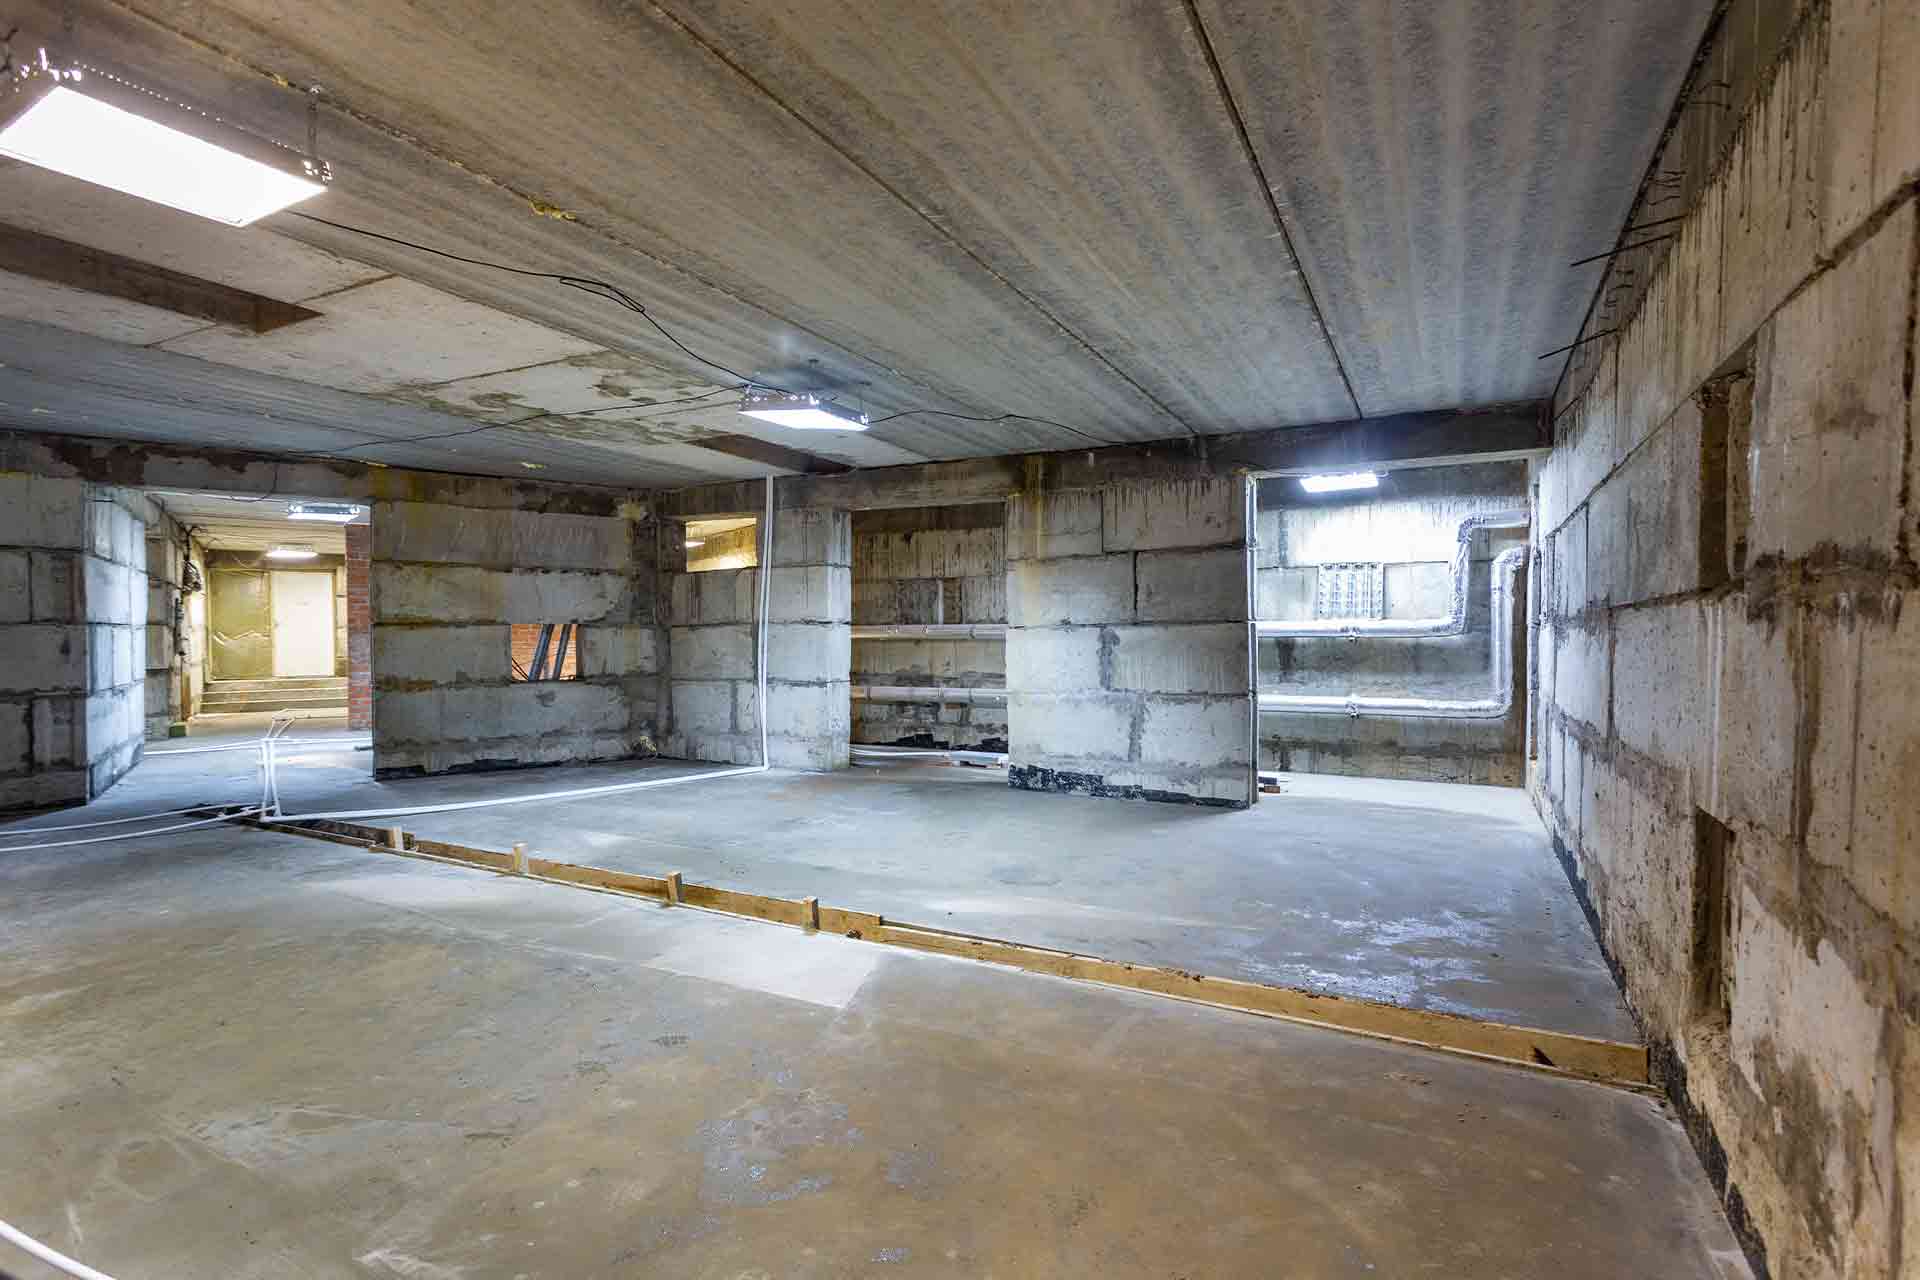
Step 3: Preparing the Subfloor
Preparing the subfloor is a crucial step in the basement flooring installation process. The subfloor provides a stable and level surface for the flooring material to be installed on. Here’s how to prepare the subfloor:
- Clean the subfloor: Start by cleaning the subfloor to ensure that it is free of any debris, dirt, or dust. Use a broom or vacuum cleaner to thoroughly clean the surface. This will help create a clean and smooth base for the flooring material.
- Check for moisture: Before proceeding, check the subfloor for any signs of moisture. Use a moisture meter to determine if there are any moisture issues that need to be addressed. If there is excessive moisture, it’s important to resolve the problem before continuing.
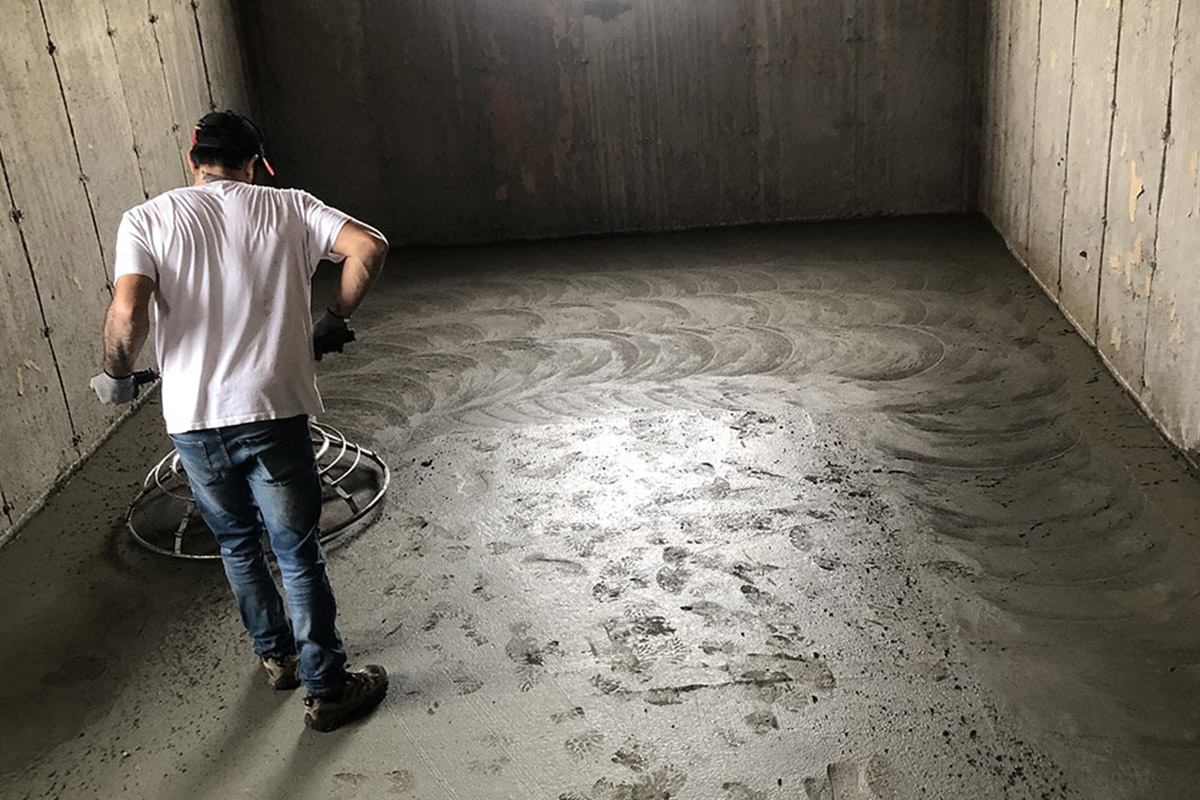
- Level the subfloor: Basement floors can be uneven, so it’s essential to level the subfloor before installing the flooring material. Use a self-leveling compound to fill in any low spots or uneven areas. Follow the manufacturer’s instructions for mixing and applying the compound, ensuring a smooth and level surface.
- Inspect for cracks and damage: Examine the subfloor for any cracks, holes, or damage. Repair any issues by applying a suitable patching compound or filling material. This will help create a solid and stable subfloor for the flooring installation.
- Address insulation needs: Depending on your basement’s insulation requirements, you may need to install insulation on the subfloor. This can help regulate temperature, reduce noise, and provide additional comfort. Follow the recommended insulation method for your chosen flooring material.
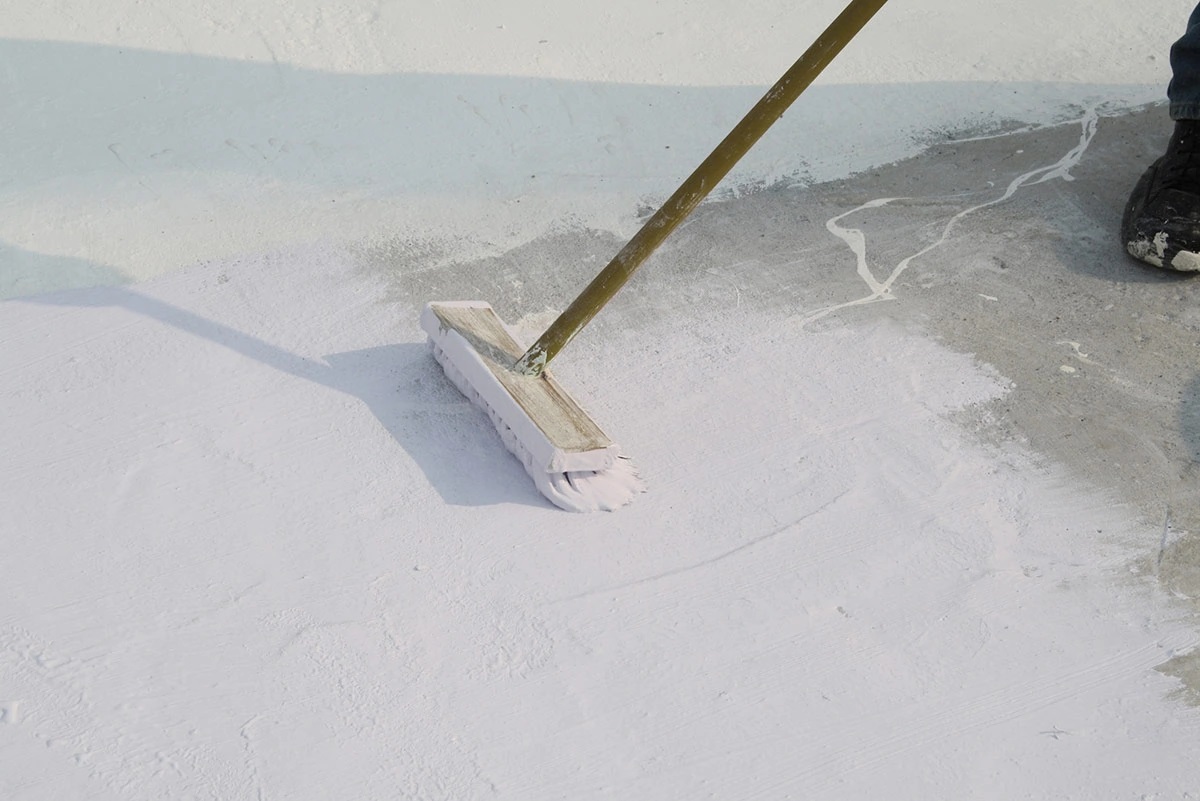
- Apply a primer: Applying a primer to the subfloor can help improve adhesion and provide a barrier against moisture. Follow the manufacturer’s instructions for the specific primer product you choose. Let the primer dry completely before moving on to the next step.
By adequately preparing the subfloor, you create a stable and level surface for the flooring material to be installed on. This ensures a smooth and successful installation, minimizing the risk of future issues or damage to the flooring.
When putting flooring in a basement, it’s important to choose a material that can withstand moisture. Consider options like vinyl, ceramic tile, or engineered wood, which are more resistant to water damage. Additionally, be sure to properly seal the concrete floor to prevent moisture from seeping through.
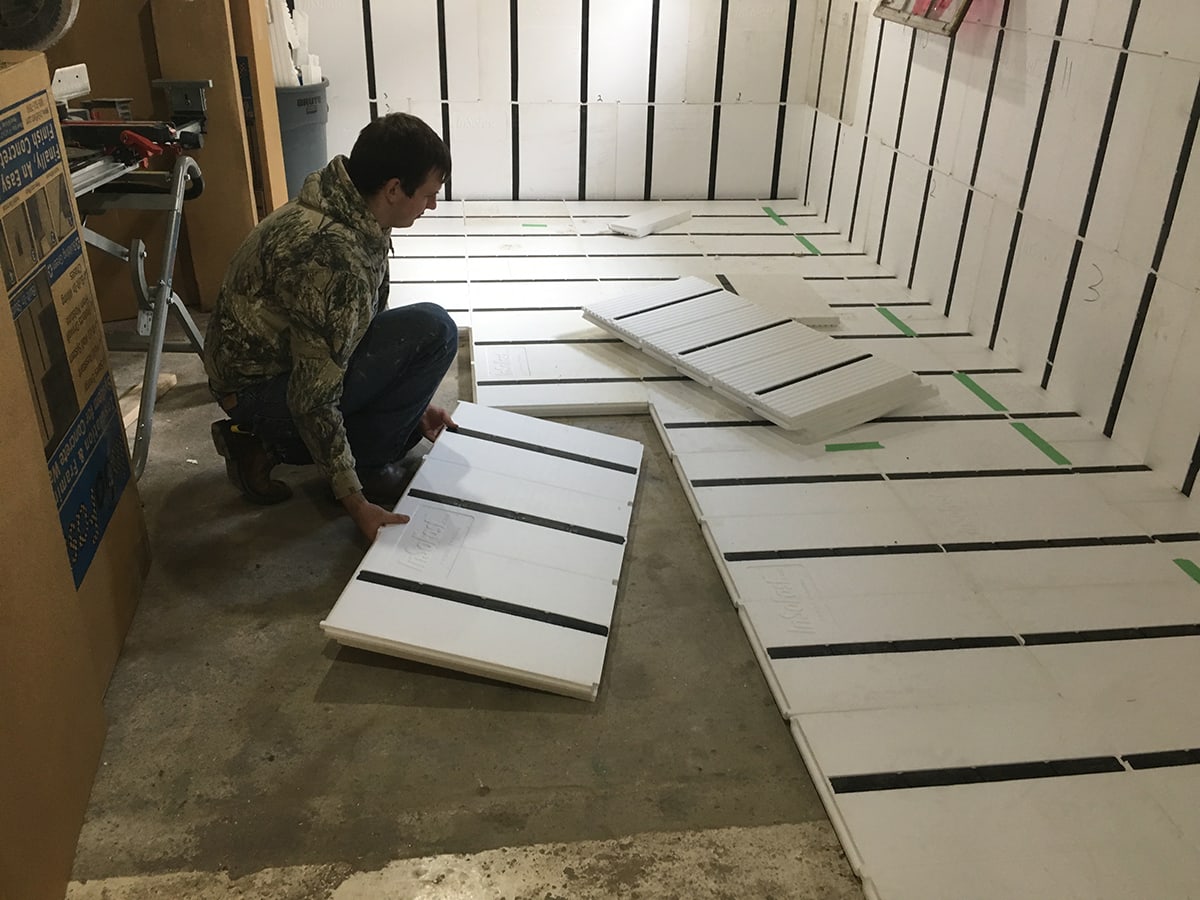
Step 4: Installing the Underlayment
Installing an underlayment is an important step in basement flooring installation. The underlayment provides several benefits, including moisture protection, noise reduction, and added cushioning. Here’s how to install the underlayment:
- Choose the right underlayment: There are various types of underlayment available, such as foam, cork, or rubber. Select an underlayment that is suitable for your chosen flooring material and provides the desired level of cushioning and moisture protection.
- Cut the underlayment: Measure the dimensions of the basement floor and cut the underlayment accordingly. Leave a slight overlap around the edges to ensure complete coverage.
- Prepare the subfloor: Before installing the underlayment, make sure the subfloor is clean, dry, and level. Remove any debris or obstacles that may affect the underlayment’s installation.
- Lay the underlayment: Unroll or lay the underlayment over the entire subfloor. Ensure it is aligned properly and covers the entire surface without any gaps or overlaps. Use adhesive or tape, if necessary, to secure the underlayment in place.
- Secure the seams: If your underlayment comes in multiple pieces or rolls, secure them together by overlapping the seams and using adhesive or tape to create a seamless surface. This will prevent the underlayment from shifting or separating during the flooring installation.
- Trim excess underlayment: Once the underlayment is in place, trim any excess material around the edges using a utility knife or scissors. This will ensure a neat and clean finish.
Installing the underlayment provides a protective barrier between the subfloor and the flooring material. It helps reduce moisture seepage, minimizes noise transmission, and adds cushioning for improved comfort underfoot. The underlayment also helps to even out minor imperfections in the subfloor, creating a smooth surface for the flooring installation.
Make sure to follow the manufacturer’s instructions for the specific type of underlayment you are using, as installation methods may vary. By properly installing the underlayment, you set the stage for a successful and durable basement flooring installation.
Read more: How To Waterproof Basement Floor
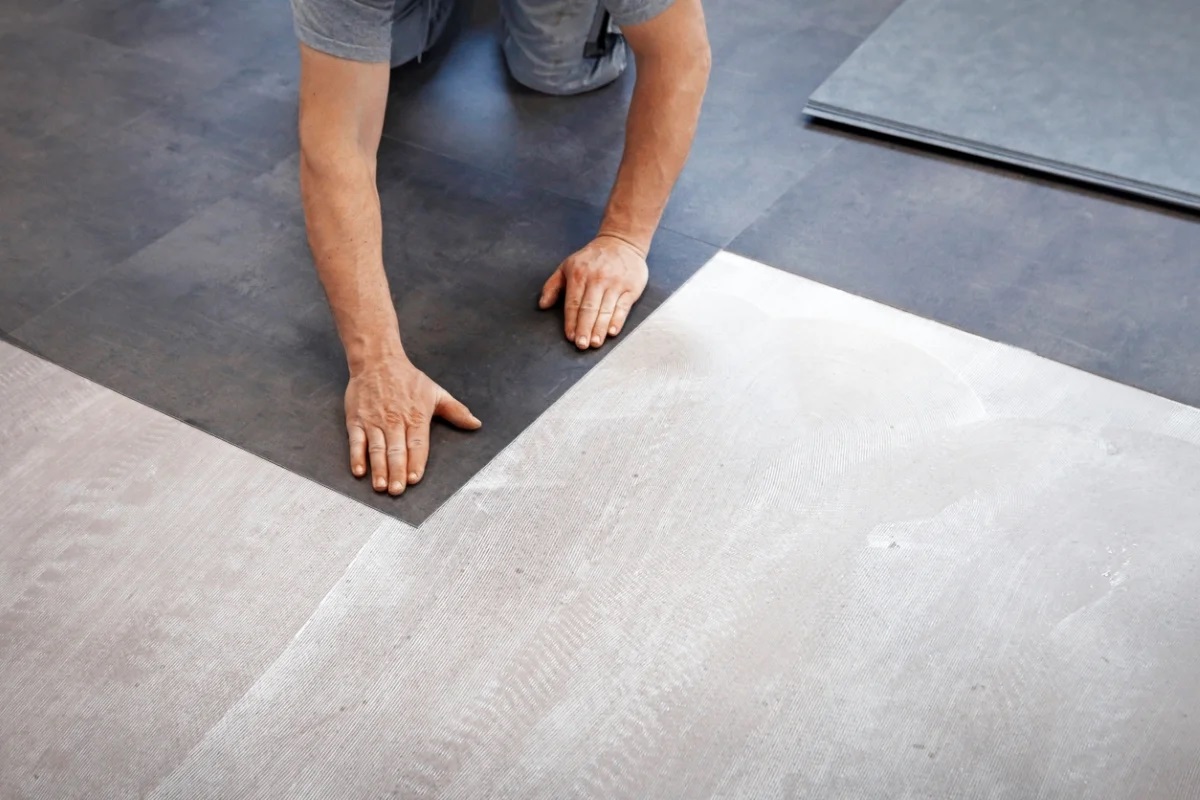
Step 5: Installing the Flooring
Now that you have prepared the basement, chosen the right flooring material, and installed the underlayment, it’s time to move on to the exciting step of installing the actual flooring. Here’s a step-by-step guide on how to install the flooring in your basement:
- Begin in a corner: Start the installation in a corner of the basement, preferably the one farthest from the main entrance. This will allow for a more seamless and natural flow of the flooring throughout the space.
- Lay the first row: Place the first piece of flooring along the starting wall, ensuring it is snug against the wall and aligned properly. Use spacers, if needed, to maintain a consistent expansion gap along the perimeter of the room.
- Continue with subsequent rows: Lay the following rows of flooring, interlocking or adhering them according to the specific instructions provided by the manufacturer. It’s important to stagger the joints of each row for increased stability and a visually appealing look.
- Measure and cut: As you progress, you may need to measure and cut the flooring to fit around corners, doorways, or other obstacles. Use appropriate tools, such as a miter saw or utility knife, to achieve precise cuts.
- Click or glue the pieces together: Depending on the type of flooring you have chosen, you may need to click the pieces together or apply adhesive to ensure a secure and seamless installation. Follow the manufacturer’s instructions for the specific method required.
- Pay attention to transitions: If your basement flooring transitions to another type of flooring material, such as carpet or tile, use appropriate transition pieces to create a smooth and visually appealing transition between the different surfaces.
- Work your way across the room: Continue laying the flooring row by row, working your way across the room until you reach the opposite wall. Take breaks as needed and double-check the alignment as you progress to ensure a straight and uniform installation.
- Trim and finish: Once you have completed the main field of the flooring, trim any excess material along the walls using a saw or trim cutter. Install baseboards or other finishing touches to provide a polished and professional look.
Remember to refer to the manufacturer’s installation guidelines for your specific flooring material, as the process may vary depending on the type of flooring you have chosen. Patience and attention to detail are essential during this step to achieve a high-quality and visually appealing basement floor.
Congratulations! You have successfully installed your basement flooring and transformed the space into a functional and beautiful part of your home.
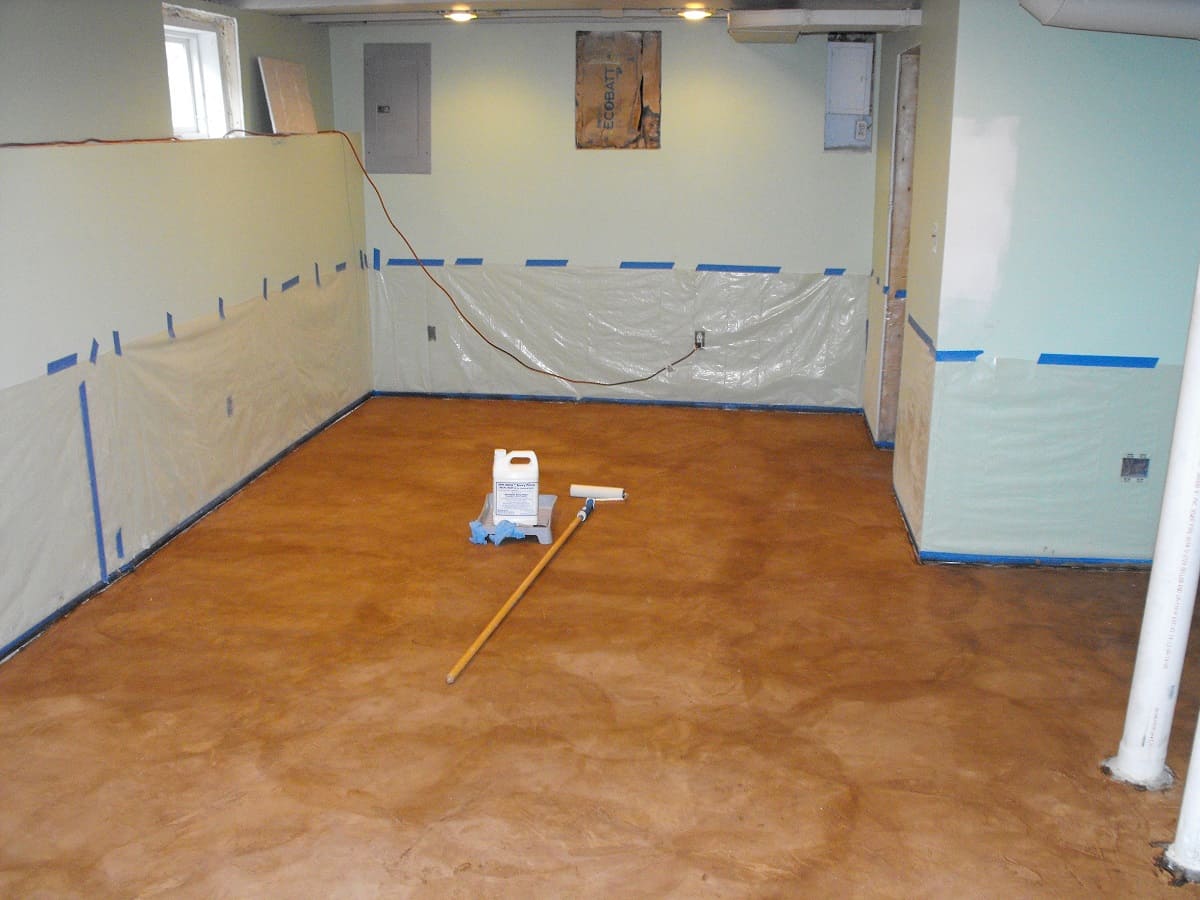
Step 6: Finishing Touches
After completing the installation of your basement flooring, it’s time to add the finishing touches that will enhance the overall look and functionality of the space. Here are some important finishing touches to consider:
- Clean up: Thoroughly clean the newly installed flooring to remove any dust, debris, or residue from the installation process. Use a gentle cleaner or the recommended cleaning products for your specific flooring material.
- Apply sealant or finish: Depending on the type of flooring you have chosen, applying a sealant or finish can provide added protection and enhance its durability. Check with the manufacturer’s recommendations and follow the appropriate steps for sealing or finishing your specific flooring material.
- Add floor mats or rugs: Consider placing floor mats or rugs in high traffic areas or designated spaces to provide extra protection and add warmth and style to the basement. These can also help prevent dirt and moisture from being tracked onto the floor.
- Install baseboards: Install baseboards along the edges of the walls to cover any expansion gaps and create a polished and finished look. Ensure the baseboards are securely attached and align perfectly with the flooring.
- Enhance lighting: Proper lighting can greatly enhance the overall ambiance of the basement. Install adequate lighting fixtures or use floor and table lamps strategically placed to illuminate the space and create a welcoming atmosphere.
- Furnish and decorate: Once your flooring is installed and the finishing touches are complete, it’s time to decorate and furnish your basement. Consider the purpose of the space and choose furniture, decor, and accessories that align with your vision and create a cozy and inviting environment.
- Maintain and care for your flooring: Regular maintenance and care are essential to keep your basement flooring in optimal condition. Follow the recommended cleaning and maintenance guidelines for your specific type of flooring to ensure its longevity and performance. This may include sweeping or vacuuming regularly, avoiding harsh chemicals, and promptly addressing any spills or stains.
By focusing on these finishing touches, you can elevate the overall look and functionality of your basement flooring. Take the time to properly clean, seal, and decorate the space, creating a welcoming and enjoyable area that you and your family can enjoy for years to come.
Congratulations on completing the installation and finishing touches! You have successfully transformed your basement into a beautiful and functional part of your home.
Conclusion
Transforming your basement with new flooring is a rewarding project that can add value, functionality, and style to your home. By following the steps outlined in this comprehensive guide, you have learned how to prepare the basement, choose the right flooring material, prepare the subfloor, install the underlayment, and finally, install the flooring.
Proper preparation, selecting a suitable flooring material, and ensuring a level and moisture-resistant surface are essential for a successful installation. By taking the time to follow these steps diligently, you can enjoy a basement that is not only visually appealing but also durable, comfortable, and resistant to the unique challenges basements can present.
Remember to complete the process by adding the finishing touches, such as cleaning, sealing, and decorating the space. These final steps will truly elevate the overall look and feel of your basement, making it a welcoming and inviting part of your home.
Keep in mind that regular maintenance and care will help preserve the beauty and longevity of your basement flooring. Follow the recommended cleaning and maintenance procedures provided by the manufacturer to keep it in optimal condition for years to come.
With the knowledge and steps provided in this guide, you are well-equipped to embark on your journey of putting flooring in your basement. Enjoy the process, be patient, and savor the satisfaction of creating a functional and stunning space that you and your family will enjoy for years to come!
Frequently Asked Questions about How To Put Flooring In Basement
Was this page helpful?
At Storables.com, we guarantee accurate and reliable information. Our content, validated by Expert Board Contributors, is crafted following stringent Editorial Policies. We're committed to providing you with well-researched, expert-backed insights for all your informational needs.


0 thoughts on “How To Put Flooring In Basement”