Home>Articles>How To Paint Basement Stairs Without Getting Trapped

Articles
How To Paint Basement Stairs Without Getting Trapped
Modified: October 28, 2024
"Learn how to transform your basement stairs with a fresh coat of paint. Our articles provide step-by-step instructions to ensure you don't get trapped in the process."
(Many of the links in this article redirect to a specific reviewed product. Your purchase of these products through affiliate links helps to generate commission for Storables.com, at no extra cost. Learn more)
Introduction
Painting basement stairs can be a great way to transform the look and feel of your home. Whether you want to freshen up the existing paint or completely change the color, a fresh coat of paint can make a big difference. However, the process of painting basement stairs can be challenging, especially if you are not properly prepared.
In this article, we will walk you through a step-by-step guide on how to paint basement stairs without getting trapped. We will cover everything from prepping the stairs to choosing the right paint and supplies, cleaning and sanding the surface, priming, painting, and adding a protective finish. By following these steps, you can achieve a professional-looking finish and avoid any mishaps along the way.
Before diving into the process, it’s essential to note that safety should always be a priority when working on any home improvement project. Make sure to take necessary precautions, such as wearing protective goggles, gloves, and a mask to protect yourself from dust and fumes. Additionally, ensure proper ventilation in your basement for adequate airflow while painting.
Now, let’s get started on how to paint basement stairs and give your home a fresh, new look!
Key Takeaways:
- Transform your home with a professional finish by following a systematic approach to painting basement stairs, from preparation and cleaning to applying multiple coats of paint and optional protective finishes.
- Achieve a durable and visually appealing finish by choosing the right paint and supplies, allowing sufficient drying time, and adding optional protective finishes for long-lasting results.
Read more: How To Build Basement Stairs
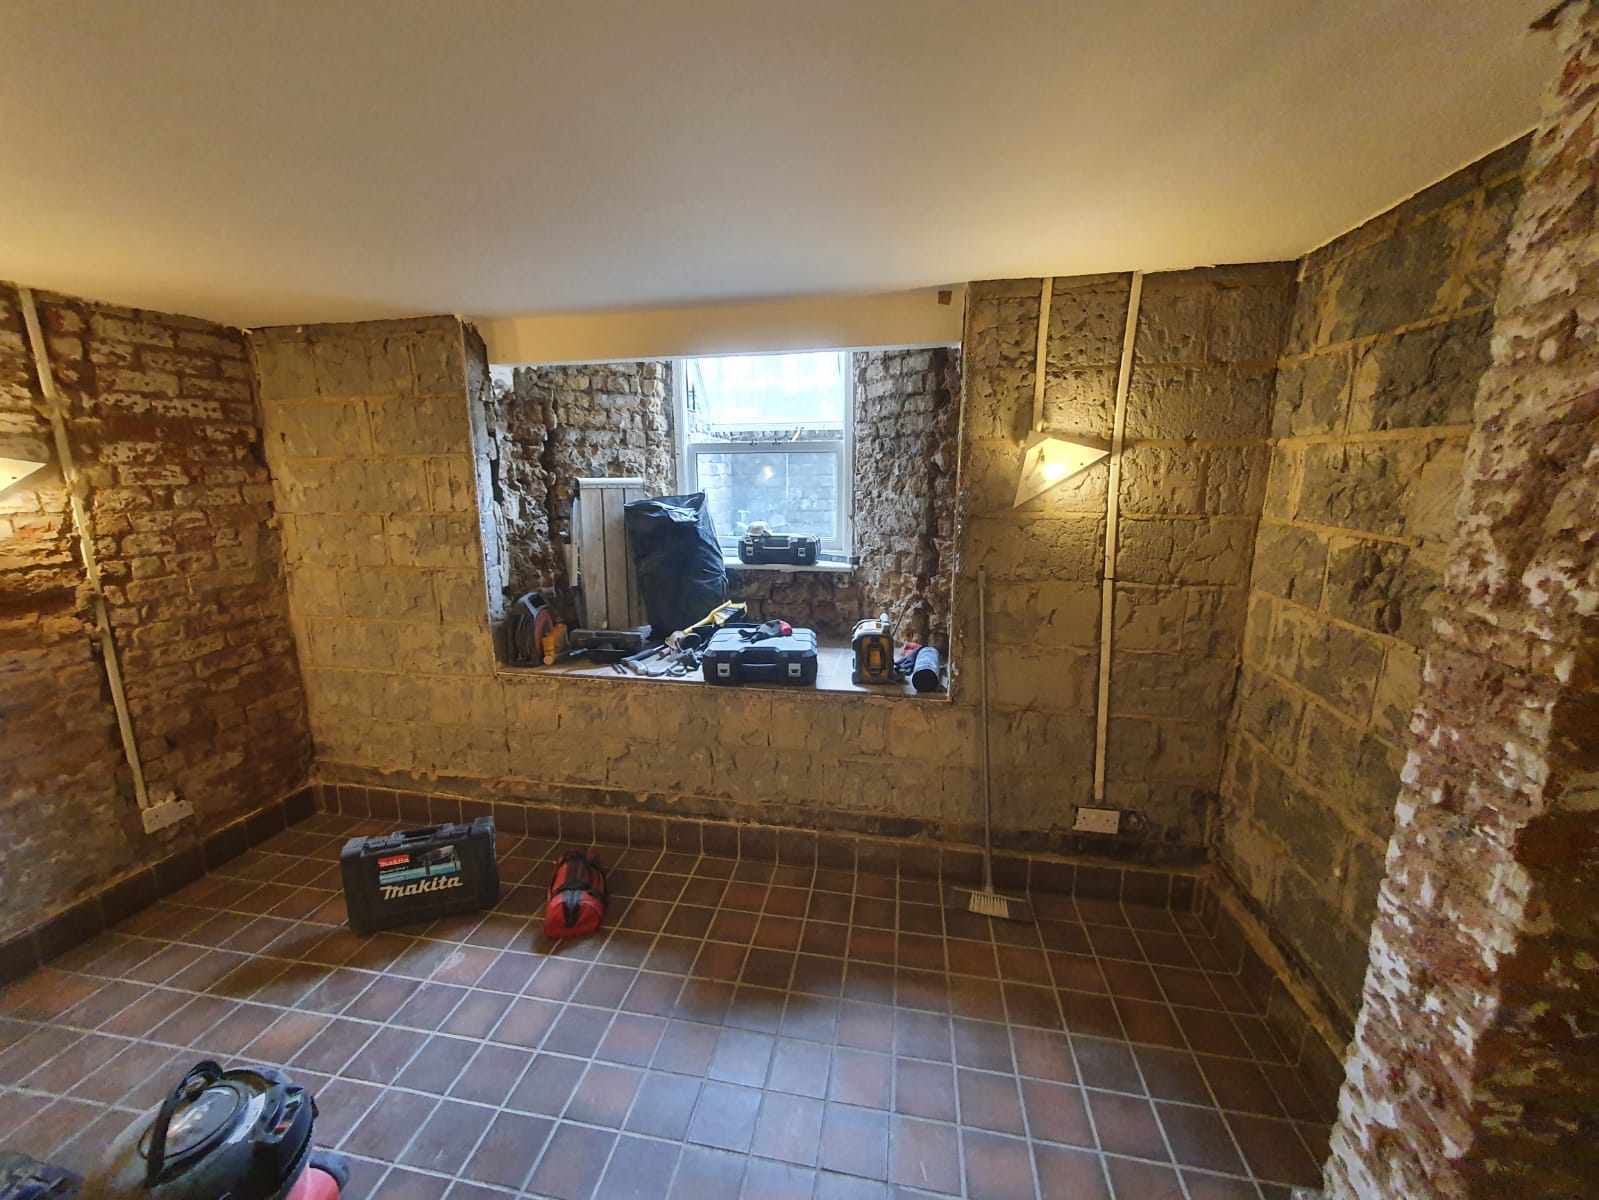
Step 1: Preparing the Basement Stairs
Before you begin the painting process, it’s crucial to properly prepare the basement stairs to ensure a smooth and long-lasting finish. Here are the steps to follow:
- Clean the stairs: Start by removing any loose dirt, dust, or debris from the stairs. Use a broom or a vacuum cleaner with a brush attachment to sweep the entire surface. Pay close attention to the corners and edges, as they can accumulate a significant amount of dirt.
- Remove any existing paint or varnish: If there is any old paint or varnish on the stairs, it’s essential to remove it before applying a new coat. You can use a paint scraper or a chemical paint stripper to remove the existing paint. Follow the manufacturer’s instructions when using chemical strippers and make sure to wear proper protective gear.
- Repair any damages: Inspect the stairs for any cracks, chips, or holes. Fill in any imperfections with wood filler or a suitable patching compound. Allow the filler to dry completely, and then sand the repaired areas smooth.
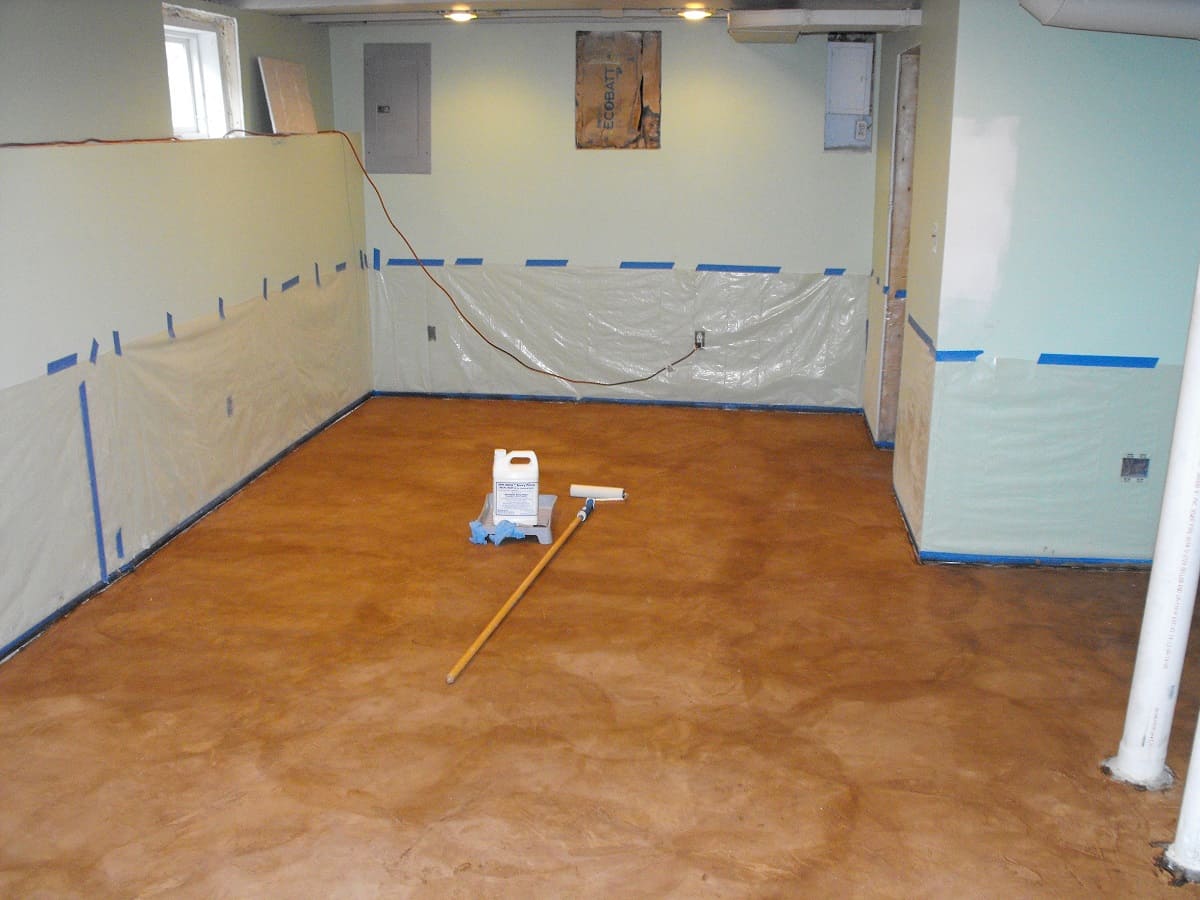
- Protect the surrounding area: Cover the walls, handrails, and any adjacent surfaces with painter’s tape and plastic sheets to prevent accidental paint splatter. This step will save you time and effort during the cleanup process.
- Ensure proper airflow: Basements can be lacking in ventilation, which can affect the drying time of the paint. Open windows and doors or use fans to improve the airflow in the basement. This will help the paint dry faster and prevent any unwanted odors from lingering.
By thoroughly preparing the basement stairs, you create a clean and smooth canvas for the painting process. This step is crucial for achieving a professional and long-lasting finish. Once you have prepared the stairs, you can move on to the next step: choosing the right paint and supplies.
Step 2: Choosing the Right Paint and Supplies
Choosing the right paint and supplies for painting basement stairs is essential for achieving a durable and visually appealing finish. Here are the factors to consider:
- Type of paint: Opt for a paint that is specifically formulated for high-traffic areas and is resistant to scuffing and moisture. Oil-based and epoxy paints are popular choices for basement stairs as they offer excellent durability. Alternatively, you can also use acrylic latex paint, which is more eco-friendly and easier to work with.
- Color: Consider the overall aesthetics of your home and the desired look for your basement stairs. Lighter shades can make the area appear more spacious, while darker shades can add depth and character. Take into account the existing color scheme of your basement and choose a color that complements it.
- Finish: For basement stairs, it’s best to opt for a semi-gloss or satin finish. These finishes offer both durability and easy maintenance. They are also more resistant to stains and scuffs compared to flat or matte finishes.
- Supplies: Along with the paint, you’ll need a set of essential supplies, including a paint roller, paintbrushes (in various sizes), a paint tray, sandpaper (medium-grit), a drop cloth or plastic sheeting to protect the floor, and a stirring stick to mix the paint thoroughly. Additionally, get a quality painter’s tape to create clean lines and prevent paint bleed.
- Quantity: Estimate the amount of paint you’ll need based on the size of your basement stairs. Measure the square footage and check the paint can for coverage information. It’s always better to have a little extra paint on hand than to run out in the middle of the project.
When choosing the paint and supplies, it’s important to invest in high-quality products to ensure a professional finish. Cheap or low-quality paints can peel or chip easily, while inferior brushes may leave streaks or bristles behind. Take your time to select the right products, as they can make a significant difference in the overall outcome of your painting project.
Now that you have chosen the right paint and supplies, it’s time to move on to the next step: cleaning the stairs before painting.
Step 3: Cleaning the Stairs
Before you begin painting the basement stairs, it’s crucial to thoroughly clean the surface to remove any dirt, dust, and grease that could affect the adhesion of the paint. Here’s how to clean the stairs properly:
- Sweep or vacuum: Use a broom or a vacuum cleaner with a brush attachment to remove loose dirt and debris from the stairs. Pay attention to the corners, edges, and crevices where dirt might accumulate.
- Remove grease or stains: If you notice any grease or stubborn stains on the stairs, use a mild detergent solution or a degreaser to clean them. Scrub the affected areas gently with a soft-bristle brush or sponge. Rinse with clean water and allow the stairs to dry completely.
- Address mold or mildew: Basements can be prone to moisture, which can lead to the growth of mold or mildew. If you notice any signs of mold or mildew on the stairs, use a mixture of bleach and water to clean and disinfect the area. Follow the recommended dilution ratio and safety precautions mentioned on the bleach label. Ensure proper ventilation while working with bleach.
- Dust off any residual particles: After cleaning the stairs, wipe them down with a microfiber cloth or tack cloth to remove any remaining dust or particles. This step is crucial for creating a smooth surface for the paint to adhere to.
By thoroughly cleaning the stairs, you create an optimal surface for the paint to bond with, ensuring a long-lasting and professional finish. Remember to allow the stairs to dry completely before moving on to the next step to avoid any issues with the paint application.
Now that the stairs are clean and ready, it’s time to move on to Step 4: Sanding the Stairs.
Step 4: Sanding the Stairs
Sanding the basement stairs is an essential step in the painting process as it helps to create a smooth and even surface for the paint to adhere to. Here’s a step-by-step guide on how to sand the stairs effectively:
- Gather the necessary supplies: To sand the stairs, you’ll need medium-grit sandpaper (around 120 to 150 grit), a sanding block or a sanding sponge, and a dust mask to prevent inhalation of dust particles.
- Start sanding: Begin by sanding the flat surfaces of the stairs. Use the sanding block or sanding sponge to sand in the direction of the wood grain. Apply even pressure and make long, smooth strokes. Be sure to sand the edges and corners as well.
- Focus on rough areas: Pay extra attention to areas that have rough or uneven surfaces. These areas may require more sanding to achieve a smooth finish. Be patient and take your time to ensure that the surface is even throughout.
- Remove dust: After sanding, use a clean cloth or a vacuum cleaner with a brush attachment to remove any sanding dust from the stairs. It’s important to have a clean surface before moving on to the next step.
- Inspect the surface: Once the stairs are sanded, inspect the surface for any remaining rough spots or imperfections. If necessary, repeat the sanding process on those areas until you achieve a smooth and consistent surface.
By sanding the stairs, you not only create a smooth canvas for the paint but also ensure better adhesion and a professional-looking finish. Removing any roughness or unevenness on the surface will result in a more even distribution of the paint and reduce the chance of visible brushstrokes or imperfections.
Now that the stairs are sanded, you can move on to the next step: Step 5: Priming the Stairs.
Read more: How To Install Basement Stairs
Step 5: Priming the Stairs
Priming the basement stairs is a crucial step in the painting process as it helps to create a smooth and uniform surface, enhances the adhesion of the paint, and ensures better coverage. Here’s a step-by-step guide on how to prime the stairs:
- Gather the necessary supplies: To prime the stairs, you’ll need a high-quality primer suitable for the type of paint you’ll be using, a paintbrush, a paint roller, a paint tray, and painter’s tape.
- Prepare the stairs: Ensure the staircase is clean and dry before applying the primer. Use painter’s tape to protect any areas you don’t want to prime, such as handrails or walls.
- Mix the primer: Open the primer can and give it a good stir with a stirring stick. This will help mix any settled pigments and ensure a consistent application.
- Start priming: Begin by cutting in the edges of the stairs with a paintbrush. Apply a thin, even coat of primer along the edges, corners, and hard-to-reach areas. Use smooth and deliberate brush strokes.
- Roll on the primer: Next, pour the primer into a paint tray and use a paint roller to apply an even coat of primer to the larger, flat surfaces of the stairs. Work in sections, starting from the top and working your way down.
- Even out the primer: Once you have applied the primer, use a paintbrush or roller to gently go over the surface, smoothing out any drips or uneven areas. This will ensure a consistent finish.
- Allow the primer to dry: Follow the manufacturer’s instructions regarding the drying time of the primer. Typically, it takes around 1 to 2 hours for the primer to dry. Make sure the stairs are completely dry before proceeding to the next step.
Priming the stairs provides a solid foundation for the paint and improves its durability and longevity. It also helps to seal any porous wood, preventing the paint from soaking in and resulting in uneven coverage or discoloration. By taking the time to properly prime the stairs, you’ll achieve a smoother and more professional-looking finish.
Now that the stairs are primed, you can move on to the next step: Step 6: Painting the Stairs.
Before starting to paint basement stairs, make sure to have an alternate exit route planned out in case the stairs become inaccessible during the painting process. This could include using a temporary staircase or ladder.
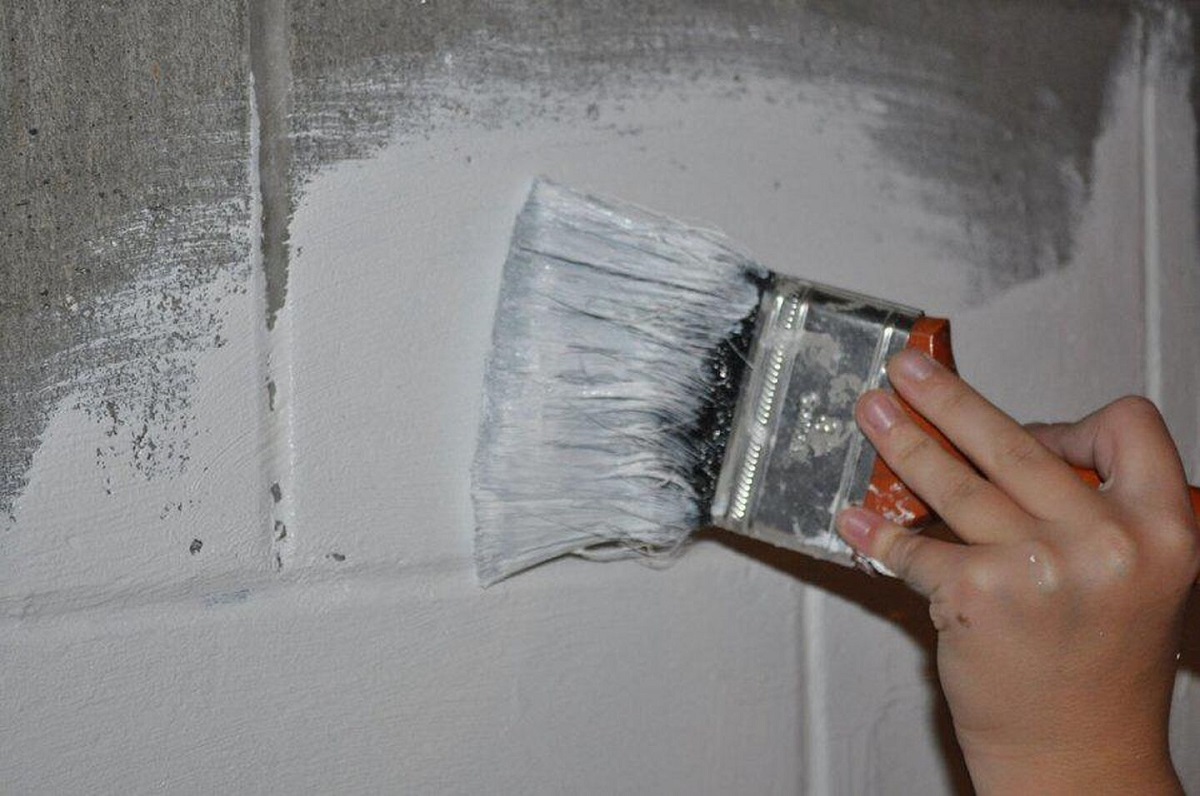
Step 6: Painting the Stairs
Now that you’ve prepared the basement stairs, chosen the right paint, and applied the primer, it’s time to start painting! Follow these steps to ensure a smooth and professional finish:
- Gather the necessary supplies: To paint the stairs, you’ll need your chosen paint, a paintbrush (for cutting in edges and corners), a paint roller (for larger areas), a paint tray, painter’s tape, and a drop cloth to protect the surrounding area.
- Prepare the stairs: Ensure the stairs are clean and dry before painting. Remove any painter’s tape that was used during the priming process.
- Apply painter’s tape: If you want clean, crisp edges, carefully apply painter’s tape along the edges of the stairs, ensuring it adheres well and covers any areas you want to protect from paint splatter.
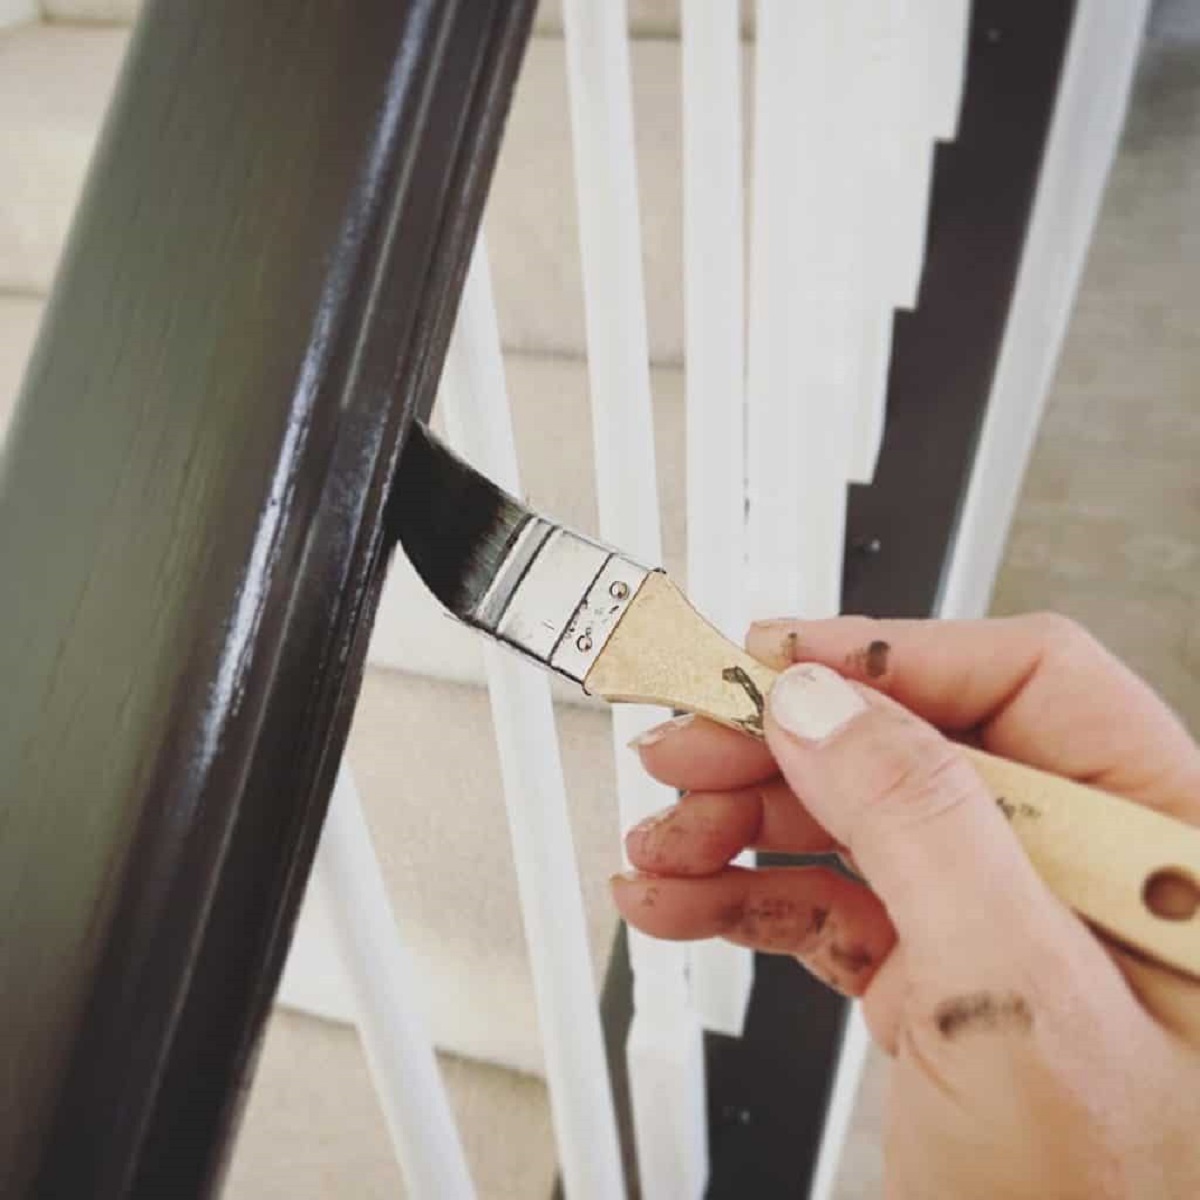
- Cut in the edges: Use a paintbrush to cut in around the edges, corners, and other areas that are difficult to reach with a roller. Apply an even coat of paint, maintaining a smooth and steady hand.
- Roll on the paint: Pour your chosen paint into a paint tray and use a roller to apply an even coat of paint to the larger, flat surfaces of the stairs. Work in small sections, starting from the top and working your way down.
- Blend the paint: To achieve a seamless finish, gently blend the newly applied paint with the previously painted areas using the roller. This will ensure a consistent color and texture across the stairs.
- Allow the paint to dry: Follow the manufacturer’s instructions regarding the drying time of the paint. Typically, it takes around 2 to 4 hours for the paint to dry. Make sure the stairs are completely dry before moving on to the next step or applying a second coat.
When painting the stairs, it’s important to maintain a steady hand, work in small sections, and avoid applying too much paint at once. Multiple thin coats are better than one thick coat, as they ensure better adhesion and prevent drips and uneven drying.
Now that you’ve completed the painting process, you can move on to the next optional step: Step 7: Applying a Second Coat.
Step 7: Applying a Second Coat (Optional)Applying a second coat of paint to your basement stairs is an optional step but highly recommended, as it helps to enhance the color, coverage, and durability of the painted surface. Here’s how to apply a second coat effectively:
- Inspect the first coat: Before applying a second coat, carefully examine the stairs to ensure that the first coat has dried completely and that the coverage is even. If there are any thin spots or areas where the previous coat is not fully opaque, a second coat is necessary.
- Prepare the stairs: Ensure the stairs are clean and dry before proceeding. Remove any painter’s tape that was used during the first coat, and touch up any areas that may require minor repairs or sanding.
- Stir the paint: Give the paint can a thorough stir before applying the second coat. Mixing the paint ensures consistent color and texture throughout the stairs.
- Apply the second coat: Follow the same painting techniques used in the previous step: cut in the edges using a paintbrush and then roll on the paint using a roller. Apply an even coat of paint, blending it with the existing paint for a seamless finish.
- Allow the paint to dry: Once the second coat is applied, follow the manufacturer’s instructions for the drying time of the paint. Typically, it takes around 2 to 4 hours for the paint to dry between coats. Make sure the stairs are completely dry before using them.
Applying a second coat of paint helps to ensure better color saturation and coverage. It also strengthens the durability of the painted surface, making it more resistant to wear and tear. An additional coat can provide a more polished and professional-looking finish, especially for bold or dark colors.
After the second coat of paint is dry, you can move on to the next step: Step 8: Allowing Sufficient Drying Time.
Step 8: Allowing Sufficient Drying Time
Allowing sufficient drying time for your painted basement stairs is crucial to ensure a durable and long-lasting finish. Rushing the drying process can lead to smudges, smears, or damage to the painted surface. Here’s what you need to know about drying your newly painted stairs:
- Follow the paint manufacturer’s instructions: Different paints have varying drying times, so it’s essential to refer to the instructions provided by the manufacturer. In general, it can take anywhere from 24 to 48 hours for paint to dry completely, but this can vary based on factors such as humidity and ventilation.
- Avoid heavy traffic: During the drying period, avoid walking on the freshly painted stairs as much as possible. Heavy foot traffic can disturb the paint’s surface and cause it to smudge or chip before it has fully cured.
- Ensure proper ventilation: Adequate airflow is crucial for paint to dry properly. Open windows and doors to allow fresh air to circulate in the basement. You can also use fans to help speed up the drying process. However, avoid placing the fans too close to the stairs to prevent dust or debris from settling on the wet paint.
- Be patient: Patience is key when it comes to allowing paint to dry. Even though the surface may feel dry to the touch after a few hours, it doesn’t necessarily mean it has cured completely. Give the paint ample time to harden and fully bond with the surface before resuming regular use of the stairs.
- Monitor ideal curing conditions: Once the paint is dry to the touch, continue to monitor the curing conditions. Avoid exposing the newly painted stairs to excessive heat, extreme cold, or high humidity, as these conditions can negatively impact the paint’s durability and appearance.
By allowing sufficient drying time, you give the paint the opportunity to cure properly, resulting in a strong and resilient finish that will withstand everyday wear and tear. Remember, it’s better to wait a little longer for the paint to dry than to risk damaging your hard work by using the stairs too soon.
Now that you’ve allowed the paint to dry, you can move on to the next optional step: Step 9: Adding a Protective Finish.
Read more: How To Finish Stairs To Basement
Step 9: Adding a Protective Finish (Optional)
Adding a protective finish to your painted basement stairs is an optional step but highly recommended to enhance the durability and longevity of the paint job. A protective finish can help protect the painted surface from scratches, scuffs, and fading caused by everyday use. Here’s how to apply a protective finish to your stairs:
- Choose the right finish: Select a clear topcoat or polyurethane that is compatible with the type of paint you used. Consider factors such as durability, sheen level, and whether the product is suitable for high-traffic areas.
- Gather the necessary supplies: You’ll need a clear topcoat or polyurethane, a paintbrush, a paint tray, and a stirring stick.
- Prepare the stairs: Ensure the stairs are clean and dry before you begin. If necessary, lightly sand the painted surface with fine-grit sandpaper to create a smooth and even texture.
- Mix and stir the protective finish: Open the topcoat or polyurethane can and thoroughly stir the product with a stirring stick. This will ensure that any settled particles are evenly distributed.
- Apply the protective finish: Use a paintbrush to apply a thin and even coat of the protective finish over the painted surface of the stairs. Work in small sections, being mindful of drips or streaks. Follow the manufacturer’s instructions for drying and recoating time.
- Allow the protective finish to dry and cure: Give the protective finish ample time to dry and cure according to the manufacturer’s instructions. Ensure proper ventilation in the basement during this time.
By adding a protective finish, you provide an extra layer of defense against wear and tear, making the painted surface more resistant to scratches, scuffs, and fading. It can also make it easier to clean and maintain the appearance of your basement stairs over time.
With the optional addition of a protective finish, your basement stairs are now ready to be enjoyed and admired. The final step is Step 10: Cleaning Up, where you’ll tidy up the workspace and put away your painting supplies.
Step 10: Cleaning Up
After successfully painting and adding any optional finishing touches to your basement stairs, it’s time to clean up the workspace and put away your painting supplies. Here’s a step-by-step guide on how to wrap up the project:
- Dispose of any waste: Properly dispose of any used paint cans, empty containers, and discarded painter’s tape. Check with your local waste management guidelines for how to dispose of these items responsibly.
- Clean your brushes and rollers: Rinse your paintbrushes and rollers with water or the appropriate cleaning solvent (if using oil-based paint) to remove any remaining paint. Use a brush comb or your fingers to gently remove any paint from the bristles. Allow the brushes and rollers to air dry before storing them.
- Remove and clean protective coverings: Carefully remove any plastic sheets or drop cloths that were used to protect the surrounding area. Shake them outdoors to remove any paint dust or debris, and wash them according to the manufacturer’s instructions for future use.
- Put away unused paint: Seal any leftover paint cans tightly to prevent air exposure and preserve the paint for future touch-ups or projects. Store the paint in a cool, dry place, away from extreme temperatures.
- Inspect the painted stairs: Take a final look at the painted stairs to ensure you have achieved the desired finish. Check for any touch-ups or spots that may require further attention.
- Clean the immediate area: Vacuum or sweep the immediate area around the stairs to remove any dust or debris that may have accumulated during the painting process.
- Enjoy your newly painted stairs: Once everything is cleaned up, step back and appreciate the transformation of your basement stairs. They are now ready for you to enjoy and showcase to others!
By properly cleaning up and organizing your painting supplies, you not only maintain a tidy workspace but also prolong the life of your tools and materials. Plus, you’ll have everything neatly stored and easily accessible for future projects.
Congratulations on completing your basement stairs painting project! With proper care and maintenance, your newly painted stairs will continue to enhance the visual appeal and ambiance of your home for years to come.
If you have any unused paint, make sure to label the can with the color, brand, and date for future reference. And don’t forget to step back and admire the beautiful results of your hard work!
Conclusion
Painting basement stairs can be a rewarding home improvement project that can transform the look and feel of your space. By following the steps outlined in this guide, you can successfully paint your basement stairs and achieve a professional and visually appealing finish.
Remember, preparation is key when it comes to painting basement stairs. Take the time to properly clean and repair the stairs, choose the right paint and supplies, and ensure proper ventilation and safety precautions throughout the process.
Following a systematic approach, starting from preparing the stairs, cleaning, sanding, and priming, to applying multiple coats of paint and adding a protective finish, will yield excellent results. Optional steps such as applying a second coat or a protective finish can enhance the durability and longevity of the painted stairs.
Throughout the project, it’s important to balance attention to detail, creativity, and patience. Take breaks as needed, step back to assess your progress, and make any necessary adjustments or touch-ups along the way.
Lastly, enjoy the transformation of your basement stairs and the impact it has on the overall aesthetic of your home. With proper care and maintenance, your painted basement stairs will continue to impress guests and bring joy for years to come.
Now, armed with the knowledge and step-by-step guide, it’s time to pick up your paintbrush and let your creativity shine as you embark on your basement stairs painting journey!
Frequently Asked Questions about How To Paint Basement Stairs Without Getting Trapped
Was this page helpful?
At Storables.com, we guarantee accurate and reliable information. Our content, validated by Expert Board Contributors, is crafted following stringent Editorial Policies. We're committed to providing you with well-researched, expert-backed insights for all your informational needs.


0 thoughts on “How To Paint Basement Stairs Without Getting Trapped”