Home>Articles>How To Cut Out A Section Of Carpet & Put In Laminate
Articles
How To Cut Out A Section Of Carpet & Put In Laminate
Modified: October 20, 2024
Learn how to seamlessly replace a section of carpet with laminate flooring in this step-by-step guide. Find expert articles and tips for tackling this DIY home improvement project.
(Many of the links in this article redirect to a specific reviewed product. Your purchase of these products through affiliate links helps to generate commission for Storables.com, at no extra cost. Learn more)
Introduction
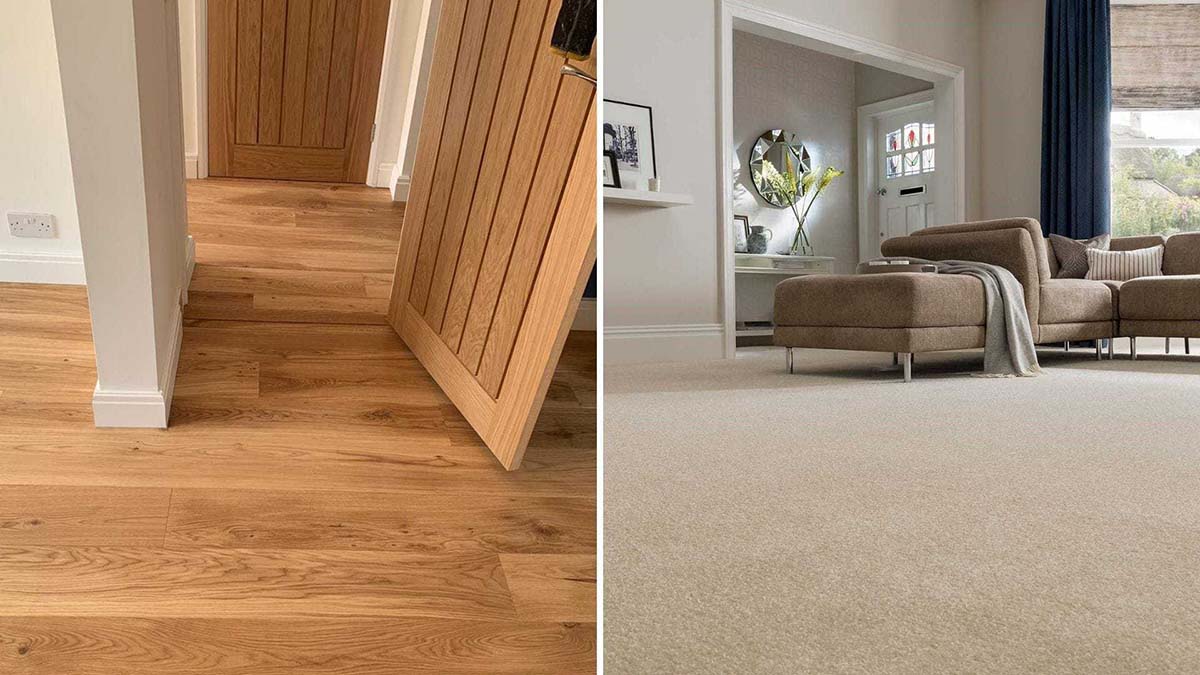
Are you tired of the old, worn-out carpet in your home? Do you dream of replacing it with modern, durable laminate flooring? Well, you’re in luck! In this article, we will guide you through the process of cutting out a section of carpet and installing laminate flooring in its place.
Replacing carpet with laminate can significantly change the look and feel of a room. Not only does laminate flooring offer a wide range of styles and finishes to choose from, but it is also easier to clean and maintain compared to carpet. By following this step-by-step guide, you’ll be able to transform your space into a stunning and functional area.
Before we dive into the process, let’s go over the tools and materials you’ll need to successfully complete the project. By gathering everything beforehand, you’ll be well-prepared and ensure a smooth installation process.
Key Takeaways:
- Transform your space by replacing old carpet with modern laminate flooring. Enjoy the benefits of durability, easy maintenance, and a wide range of styles to choose from.
- Follow the step-by-step guide to confidently cut out a section of carpet and install laminate flooring. Enjoy the satisfaction of transforming your space with a beautiful, functional, and low-maintenance flooring option.
Read more: How To Cut Laminate Countertop For Sink
Tools and Materials Needed
Before you begin cutting out the section of carpet and installing laminate flooring, make sure you have the following tools and materials:
- Utility knife or carpet knife
- Measuring tape
- Straightedge or level
- Chalk or pencil
- Underlayment
- Laminate flooring planks
- Hammer
- Nails or flooring staples
- Screwdriver or power drill
- Primer (if necessary)
- Floor adhesive
- Safety goggles
- Dust mask
- Knee pads
- Clean cloth or sponge
Make sure you have all these tools and materials readily available before you begin the project. This will save you time and ensure a smoother installation process.
Preparing the Area
Before you start cutting out the section of carpet and installing laminate flooring, it’s important to properly prepare the area. Follow these steps:
- Clear the room: Remove all furniture, rugs, and any other items from the room. This will give you ample space to work and prevent any obstacles during the installation process.
- Inspect the subfloor: Check the condition of the subfloor beneath the carpet. It should be clean, dry, and free from any dirt, debris, or damage. If necessary, repair or replace any damaged areas before proceeding.
- Remove baseboards: Carefully remove the baseboards along the walls using a pry bar or a small crowbar. This will allow you to install the laminate flooring flush with the walls for a seamless finish. Set the baseboards aside for reinstallation later.
- Check for moisture: Use a moisture meter to check the moisture levels in the subfloor. Excessive moisture can lead to issues with the laminate flooring, so it’s important to ensure the subfloor is dry before proceeding. If moisture is present, address the issue and allow the subfloor to dry completely.
- Prepare the underlayment: Lay down the underlayment over the entire area where the laminate flooring will be installed. The underlayment acts as a moisture barrier and helps to reduce noise. Trim the excess underlayment using a utility knife or scissors.
By properly preparing the area, you’ll create a solid foundation for the new laminate flooring and ensure a successful installation.
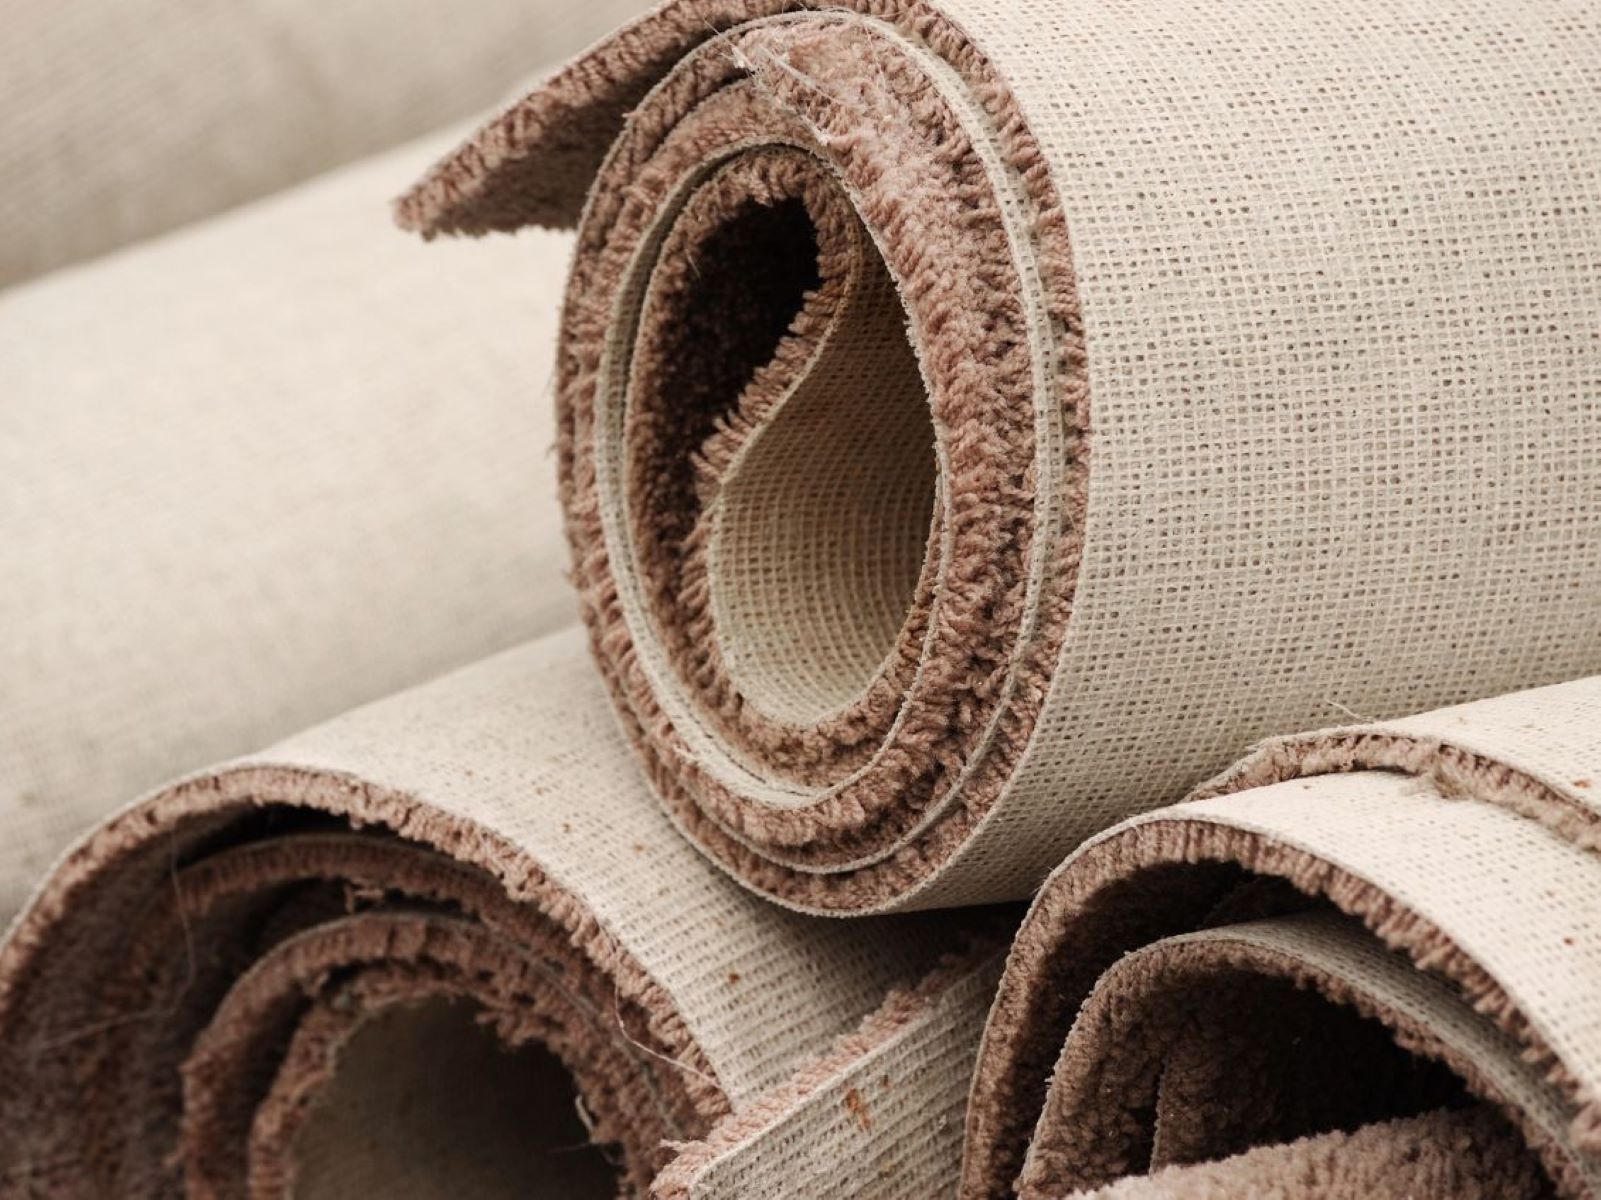
Removing the Section of Carpet
Now that you have prepared the area, it’s time to remove the section of carpet that you’ll be replacing with laminate flooring. Follow these steps:
- Locate the area: Determine the specific section of carpet that you want to remove. This could be a single room or a specific area within a room.
- Measure and mark: Use a measuring tape to measure and mark the dimensions of the section you’ll be cutting out. Ensure the measurements are accurate for a precise cut.
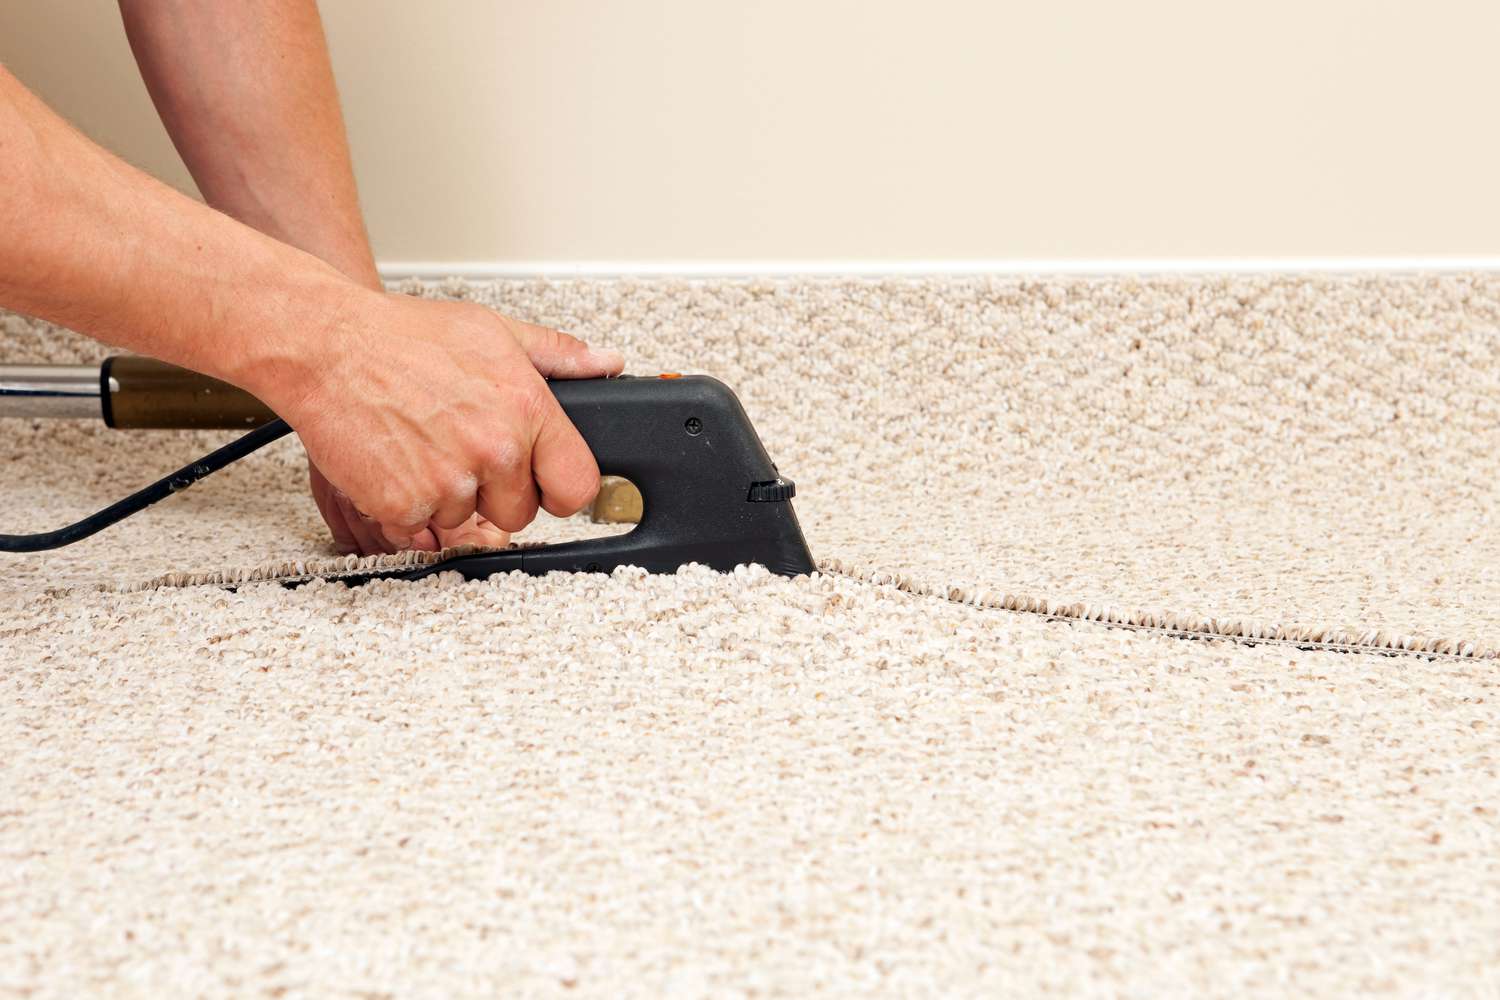
- Cut the carpet: Using a utility knife or carpet knife, carefully cut along the marked lines to separate the section of carpet from the rest of the floor. Apply firm pressure to ensure a clean cut.
- Roll up and remove: Once the section of carpet is cut, roll it up tightly and secure it with tape or rope. This will make it easier to dispose of or reuse if it’s still in good condition.
- Remove any excess padding: If there is carpet padding beneath the section you’ve cut out, use a utility knife or scissors to remove it. Dispose of the padding properly.
Be cautious when cutting the carpet and make sure to wear safety goggles and a dust mask. The process of removing the section of carpet may produce dust and debris, so it’s important to protect your eyes and lungs.
With the section of carpet removed, you’re one step closer to installing your new laminate flooring. Next, we’ll cover how to prepare the subfloor for the installation.
Preparing the Subfloor
After removing the section of carpet, it’s important to properly prepare the subfloor before installing laminate flooring. Follow these steps:
- Clean the subfloor: Thoroughly sweep or vacuum the subfloor to remove any dust, dirt, or debris. Use a damp cloth or sponge to wipe away any stains or spills. A clean subfloor ensures a smooth and even surface for the laminate flooring.
- Inspect for damage: Carefully inspect the subfloor for any signs of damage, such as cracks or uneven areas. Repair any damaged spots using wood filler or other appropriate materials. Ensure that the subfloor is stable and level.
- Apply primer (if needed): If you’re installing laminate flooring over a concrete subfloor, check with the manufacturer’s instructions or consult a professional to determine if a primer is necessary. Apply the primer according to the product instructions and let it dry completely.
- Level the subfloor: Use a level or straightedge to check the flatness of the subfloor. If you notice any areas that are uneven or have low spots, you may need to use a self-leveling compound to create a level surface. Follow the manufacturer’s instructions for applying the compound and allow it to dry thoroughly.
Properly preparing the subfloor is crucial for a successful laminate flooring installation. It ensures the stability, durability, and longevity of the new floor. Once you have prepared the subfloor, you’re ready to move on to the next step: measuring and cutting the laminate flooring.
Before cutting out the section of carpet, make sure to measure and mark the area accurately. Use a sharp utility knife to cut along the marked lines, and then carefully remove the carpet. Ensure the subfloor is clean and level before installing the laminate.
Measuring and Cutting the Laminate
With the subfloor prepared, it’s time to measure and cut the laminate flooring to fit the area where the carpet used to be. Follow these steps:
- Acclimate the flooring: Before you start measuring and cutting the laminate planks, allow them to acclimate to the room temperature and humidity for at least 48 hours. This will minimize the risk of expansion or contraction after installation.
- Measure the area: Use a measuring tape to measure the length and width of the space where the carpet has been removed. Take accurate measurements, accounting for any corners or irregularities in the shape.
- Add an expansion gap: Laminate flooring needs space to expand and contract with changes in temperature and humidity. Leave a small gap, usually around ¼ inch, along the walls and any fixed objects. This will allow for proper installation and prevent buckling.
- Cut the planks: Using a saw with a fine-tooth or laminate-specific blade, carefully cut the laminate planks to the measured dimensions. Make sure to cut each plank with the decorative side facing up to avoid chipping or splintering.
- Test fit the planks: Before moving on to the installation, test fit the cut laminate planks in the area where the carpet was removed. Ensure that the planks fit properly and make any necessary adjustments if they are too long or too wide.
Measuring and cutting the laminate accurately is crucial for a seamless and professional-looking installation. Take your time to measure carefully and double-check your measurements before cutting the planks. Once you are confident with the fit, you’re ready to move on to the next step: installing the laminate flooring.
Installing the Laminate
Now that you have measured and cut the laminate planks, it’s time to install them in the area where the carpet used to be. Follow these steps for a successful installation:
- Start in the corner: Begin the installation in one of the corners of the room. Place spacers along the wall to create an expansion gap and ensure a professional finish.
- Apply adhesive (if needed): Depending on the type of laminate flooring you have, you may need to apply floor adhesive to the grooves of the planks. Follow the manufacturer’s instructions for proper adhesive application.
- Fit the planks together: Take the first plank and fit the tongue of one plank into the groove of the adjacent plank at a slight angle. Gently tap the plank with a hammer and tapping block to secure the connection. Repeat this step for subsequent planks, connecting them end to end.
- Stagger the planks: To create a more natural and visually appealing look, stagger the end joints of the planks. This will prevent a repetitive pattern and increase the overall stability of the floor.
- Use a tapping block and mallet: As you install each plank, use a tapping block and mallet to ensure a tight fit and proper alignment. This will help to eliminate any gaps or unevenness between the planks.
- Continue the installation: Keep installing the laminate planks row by row, working your way across the room. Use spacers between the planks and the walls to maintain the necessary expansion gap.
- Trim the last row: In most cases, the last row of planks will need to be trimmed to fit the space. Measure the width of the remaining gap and cut the planks accordingly, leaving the necessary expansion gap.
- Reinstall the baseboards: Once the laminate flooring is installed, reinstall the baseboards along the walls using a hammer and finish nails. This will provide a finished look to the room.
Take your time during the installation process to ensure each plank is properly aligned and tightly connected. Once you have completed the installation, you’re ready for the final steps: adding finishing touches to the laminate floor.
Finishing Touches
With the laminate flooring installed, it’s time to add the finishing touches to complete the transformation. Follow these steps to give your new floor a polished and professional look:
- Remove spacers: Carefully remove the spacers that were placed along the walls during the installation process. This will give the laminate flooring room to expand and contract as needed.
- Clean the floor: Use a clean cloth or sponge to remove any dust, debris, or adhesive residue from the laminate. Wipe the floor gently to avoid scratching the surface.
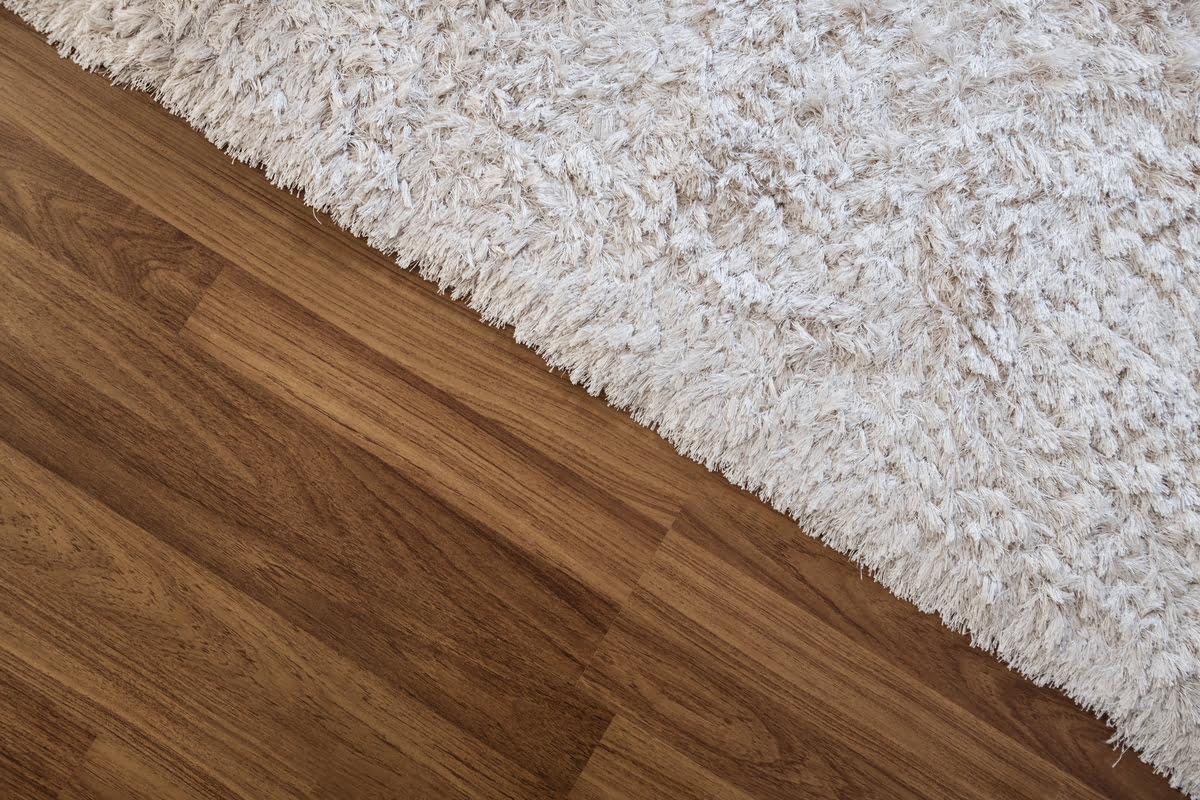
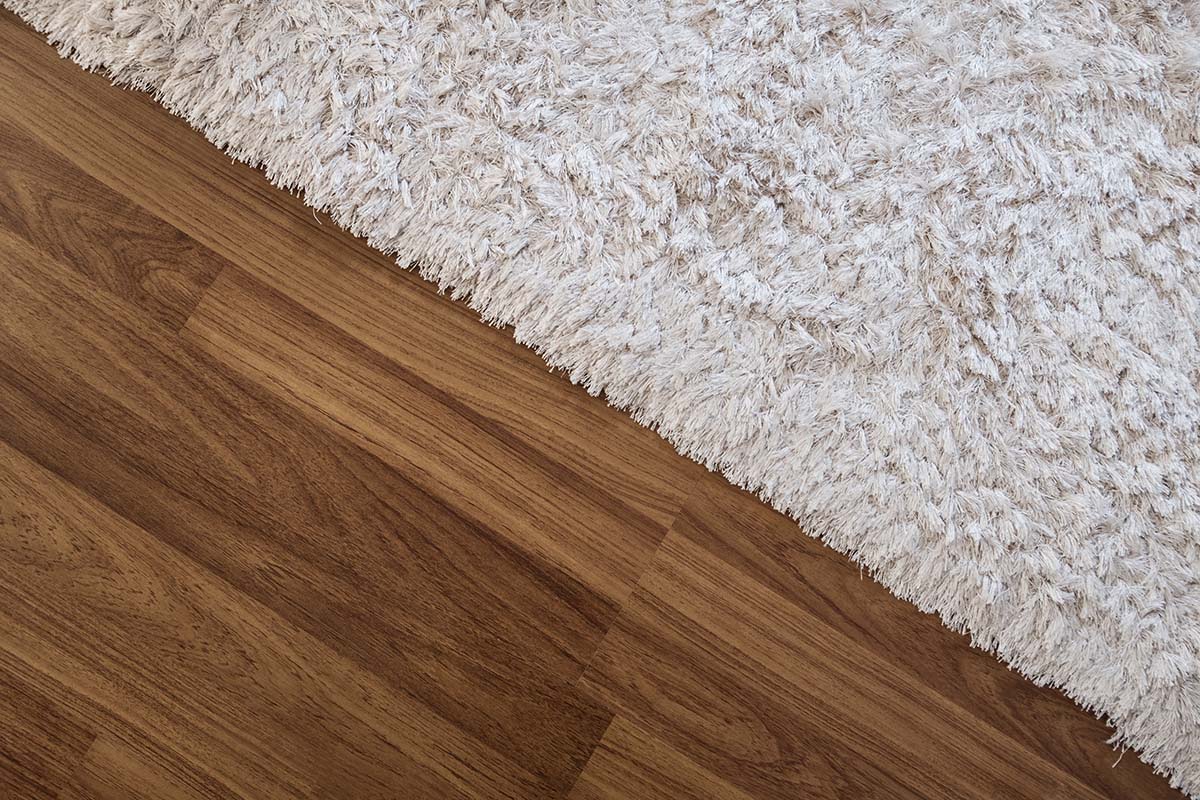
- Install transition pieces: If there are any areas where the laminate flooring meets a different type of flooring, such as a doorway or a room transition, you may need to install transition pieces. These pieces bridge the gap between the different types of flooring and provide a smooth and seamless transition.
- Reinstall furniture: Once the floor is clean and all transition pieces are installed, you can move your furniture back into the room. Use furniture pads or felt protectors on the legs of chairs, tables, and other heavy items to prevent scratches on the laminate surface.
- Enjoy your new laminate floor: Step back and admire your newly installed laminate flooring! Bask in the beauty and durability of your new floor as you enjoy the transformed space.
Taking care of your laminate flooring is essential to maintain its appearance and longevity. Follow the manufacturer’s care instructions, which may include regular sweeping, mopping with a laminate floor cleaner, and avoiding excessive moisture or harsh cleaning agents.
Congratulations! By following these steps and adding the finishing touches, you have successfully cut out a section of carpet and installed laminate flooring in its place. Enjoy your new beautiful and low-maintenance flooring for years to come.
Note: It’s important to consult the manufacturer’s instructions for your specific laminate flooring and follow any additional steps or recommendations they provide.
Conclusion
Replacing a section of carpet with laminate flooring can have a transformative effect on your space. The process, although it requires careful planning and execution, is relatively straightforward with the right tools and materials. By following the step-by-step guide outlined in this article, you can achieve a professional-looking installation and enjoy the benefits of a durable and stylish laminate floor.
From preparing the area and removing the carpet to measuring, cutting, and installing the laminate planks, each step is crucial for a successful outcome. Take the time to properly prepare the subfloor, measure accurately, and ensure tight connections between the planks. Adding the finishing touches, such as removing spacers, cleaning the floor, and installing transition pieces, will give your new laminate floor a polished and cohesive look.
Remember, it’s important to carefully follow the manufacturer’s instructions for your specific laminate flooring, as different products may have unique requirements. Additionally, consult a professional or seek advice from experts if you have any doubts or concerns throughout the process.
By replacing your old carpet with laminate flooring, you not only improve the aesthetics of your space but also enjoy the benefits of easy maintenance and longevity. Laminate flooring is more resistant to stains, scratches, and wear compared to carpet, making it a practical choice for homes with high foot traffic or households with kids and pets.
Now that you have the knowledge and steps to cut out a section of carpet and install laminate flooring, you can confidently take on this home improvement project. Embrace the creativity and satisfaction of transforming your space with a beautiful, functional, and low-maintenance flooring option.
So go ahead, grab your tools, gather the materials, and start your journey towards a stunning and inviting space with laminate flooring!
Frequently Asked Questions about How To Cut Out A Section Of Carpet & Put In Laminate
Was this page helpful?
At Storables.com, we guarantee accurate and reliable information. Our content, validated by Expert Board Contributors, is crafted following stringent Editorial Policies. We're committed to providing you with well-researched, expert-backed insights for all your informational needs.