Articles
How To Put Toilet Seat Cover
Modified: October 20, 2024
Learn how to properly put on a toilet seat cover with our helpful articles. Ensure hygiene and convenience in one easy step.
(Many of the links in this article redirect to a specific reviewed product. Your purchase of these products through affiliate links helps to generate commission for Storables.com, at no extra cost. Learn more)
Introduction
When it comes to maintaining cleanliness and hygiene in public restrooms, using a toilet seat cover is essential. These disposable covers provide a protective barrier between you and the toilet seat, minimizing the risk of coming into contact with bacteria and germs. In this article, we will guide you through the step-by-step process of properly placing a toilet seat cover to ensure a comfortable and hygienic experience.
Whether you are in a busy airport, a restaurant, or a shopping mall, knowing how to put on a toilet seat cover will help you maintain your peace of mind while using public facilities. With just a few simple steps, you can create a protective barrier that will keep you safe from potentially harmful bacteria and viruses.
In the following sections, we will walk you through the process of gathering the necessary supplies, preparing the toilet seat, placing the cover, adjusting it if needed, and finishing up. By following these steps, you will be able to use a toilet seat cover confidently and without any hassle.
So, let’s get started and learn how to properly put on a toilet seat cover for a cleaner and more hygienic restroom experience.
Key Takeaways:
- Protect yourself from bacteria and germs in public restrooms by following simple steps to properly place a toilet seat cover. Maintain personal hygiene and minimize exposure to potential health risks.
- Gather necessary supplies, prepare the toilet seat, place the cover, make adjustments if needed, and finish up to ensure a clean and hygienic restroom experience. Prioritize your health and well-being in public facilities.
Read more: How To Use A Toilet Seat Cover
Step 1: Gathering the Necessary Supplies
Before you begin, it’s important to gather all the necessary supplies in order to properly place a toilet seat cover. Here is a list of items you will need:
- Toilet seat cover: These can typically be found in a dispenser near the restroom or at the entrance of the restroom itself. They are usually made of thin, disposable paper material.
- Toilet paper: It’s always a good idea to have some toilet paper handy for any additional needs you may have in the restroom.
- Optional: Hand sanitizer or wet wipes: While not essential, carrying a small bottle of hand sanitizer or some wet wipes can provide additional hygiene if you prefer.
Make sure you have all these supplies with you before entering the restroom. It’s also important to note that some restrooms may not provide toilet seat covers, so you might need to carry your own if you’re particular about using them.
Once you have all the necessary supplies, you’re ready to move on to the next step: preparing the toilet seat before placing the cover.
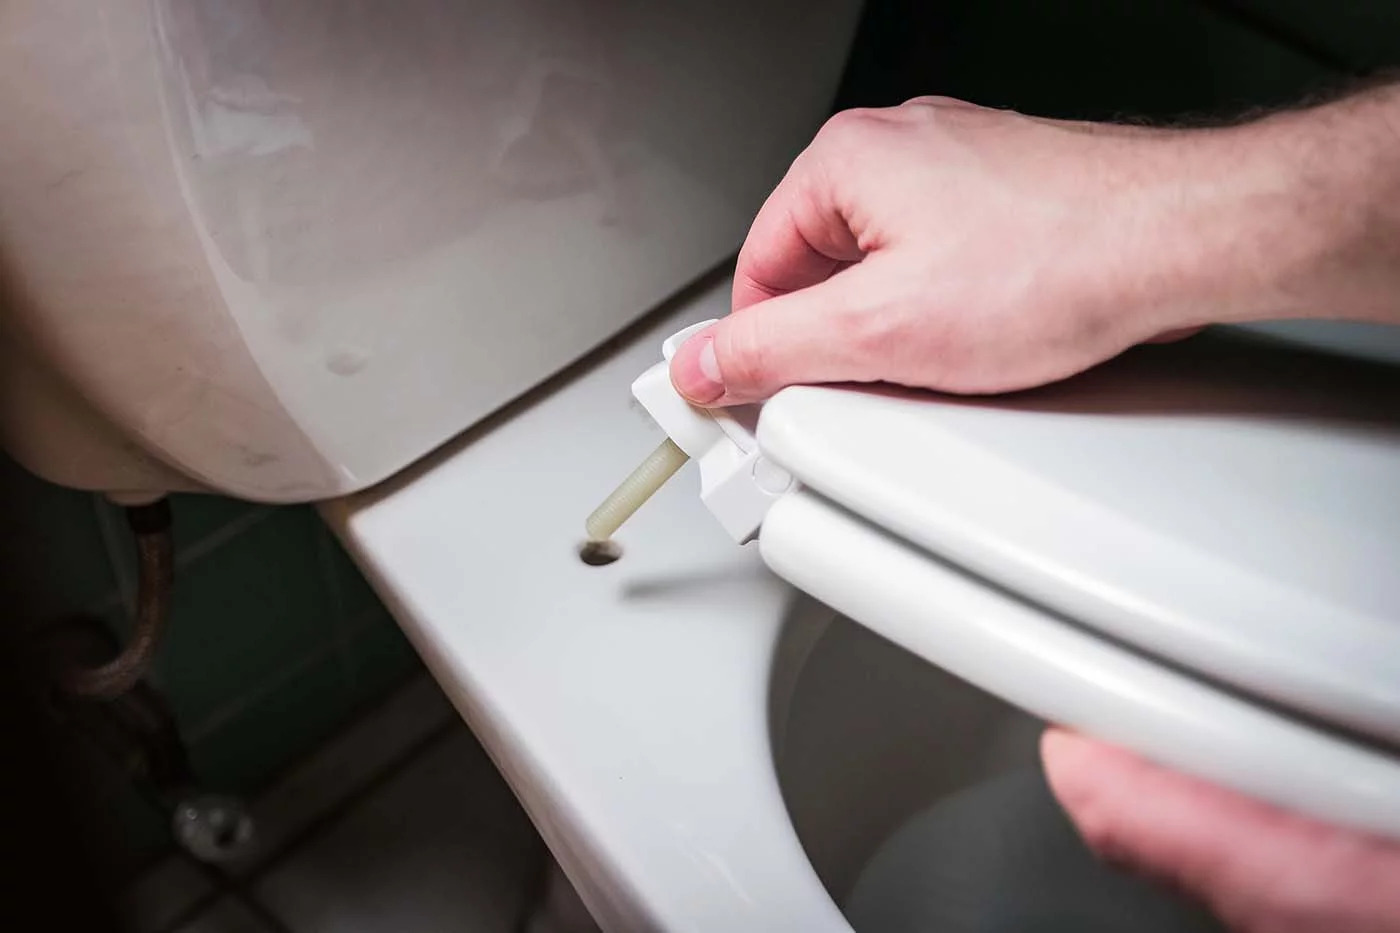
Step 2: Preparing the Toilet Seat
Before placing the toilet seat cover, it’s essential to make sure the toilet seat is clean and dry. Follow these steps to prepare the toilet seat:
- Inspect the toilet seat: Take a quick look at the toilet seat to ensure there are no visible signs of dirt, debris, or liquid. If you notice any, use toilet paper or a wet wipe to clean the seat surface.
- Dry the seat: If the seat is wet or damp, use a piece of toilet paper or tissue to dry it. It’s important to have a dry surface to prevent the toilet seat cover from sticking or tearing.
- Dispose of any existing covers: If there is a toilet seat cover already on the seat, remove and dispose of it properly. Avoid touching the used cover with your bare hands.
By following these steps, you ensure that the toilet seat is clean and ready for the next step of placing the cover. Keeping the seat dry is particularly important since wet surfaces can affect the adherence of the toilet seat cover.
Once you have prepared the toilet seat, you can move on to the next step: placing the toilet seat cover.
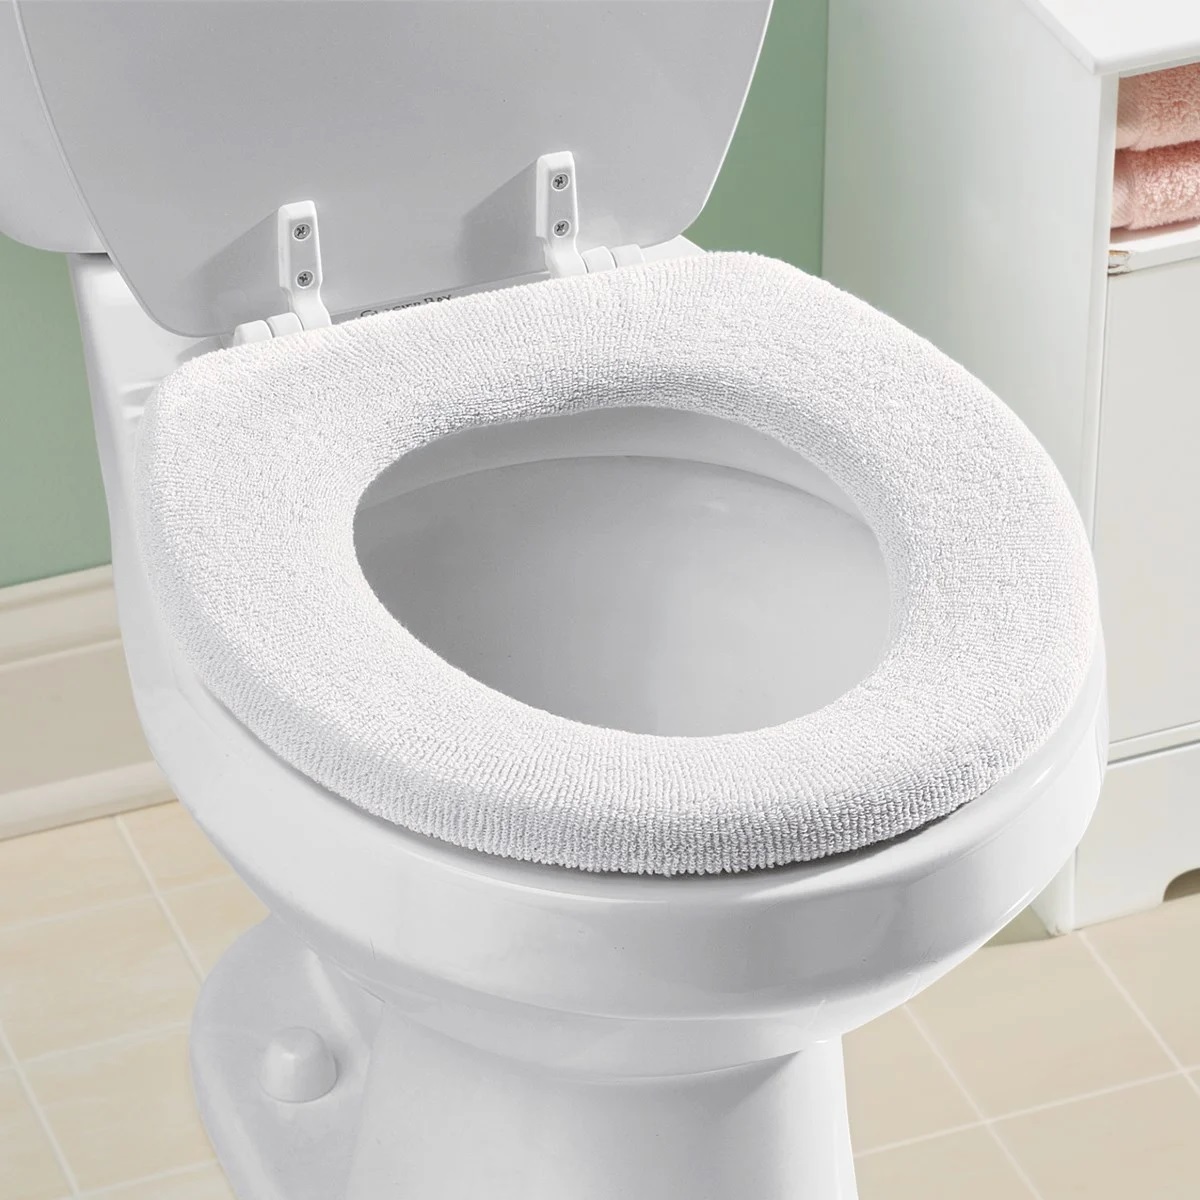
Step 3: Placing the Toilet Seat Cover
Now that the toilet seat is clean and dry, it’s time to place the toilet seat cover. Follow these steps to correctly position the cover:
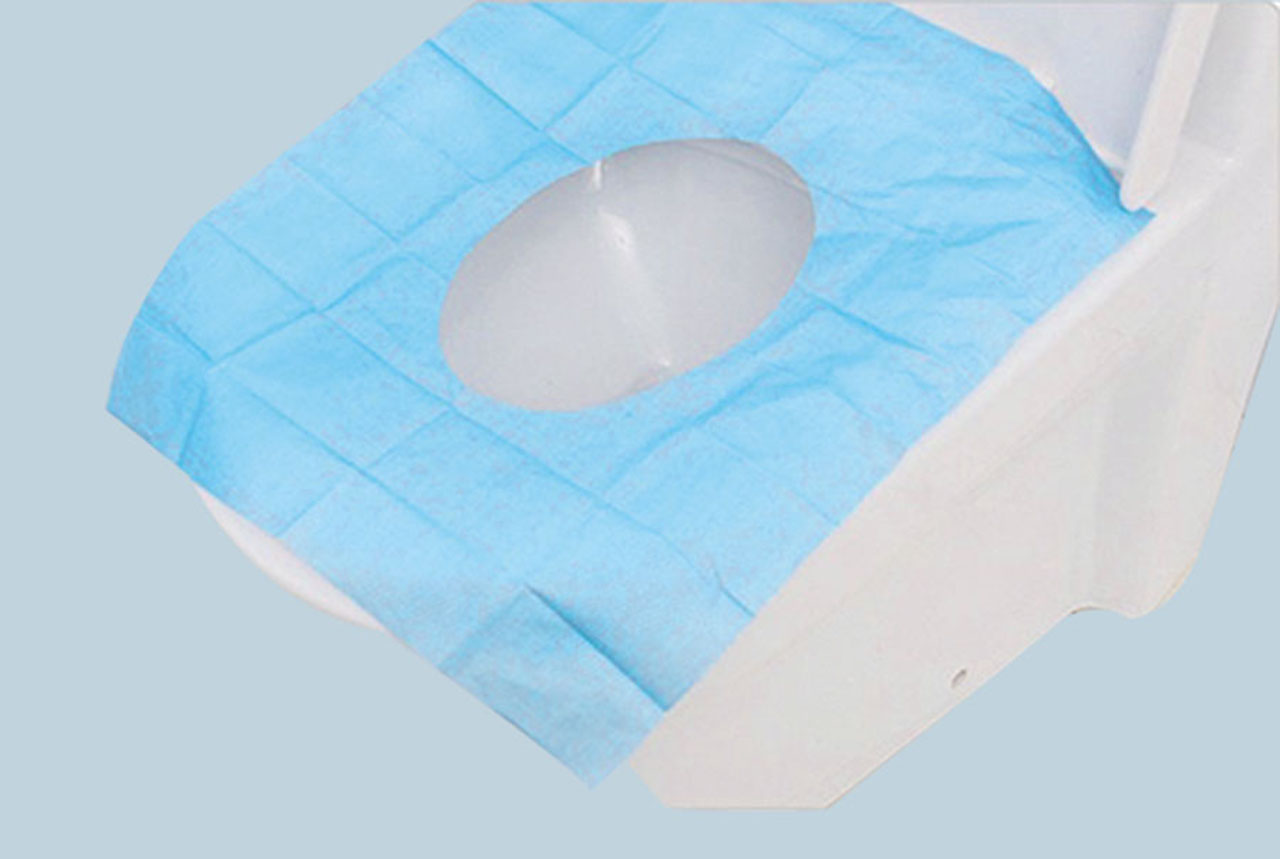
- Take the toilet seat cover out of its dispenser or packaging. Ensure that the cover is intact and doesn’t have any tears or punctures.
-
Identify the flap: Most toilet seat covers will have a flap at the front. This flap is designed to go over the front end of the toilet seat to provide additional coverage and prevent contact with the porcelain.
- Note: Not all toilet seat covers have flaps. If the cover you have doesn’t have a flap, proceed to the next step.
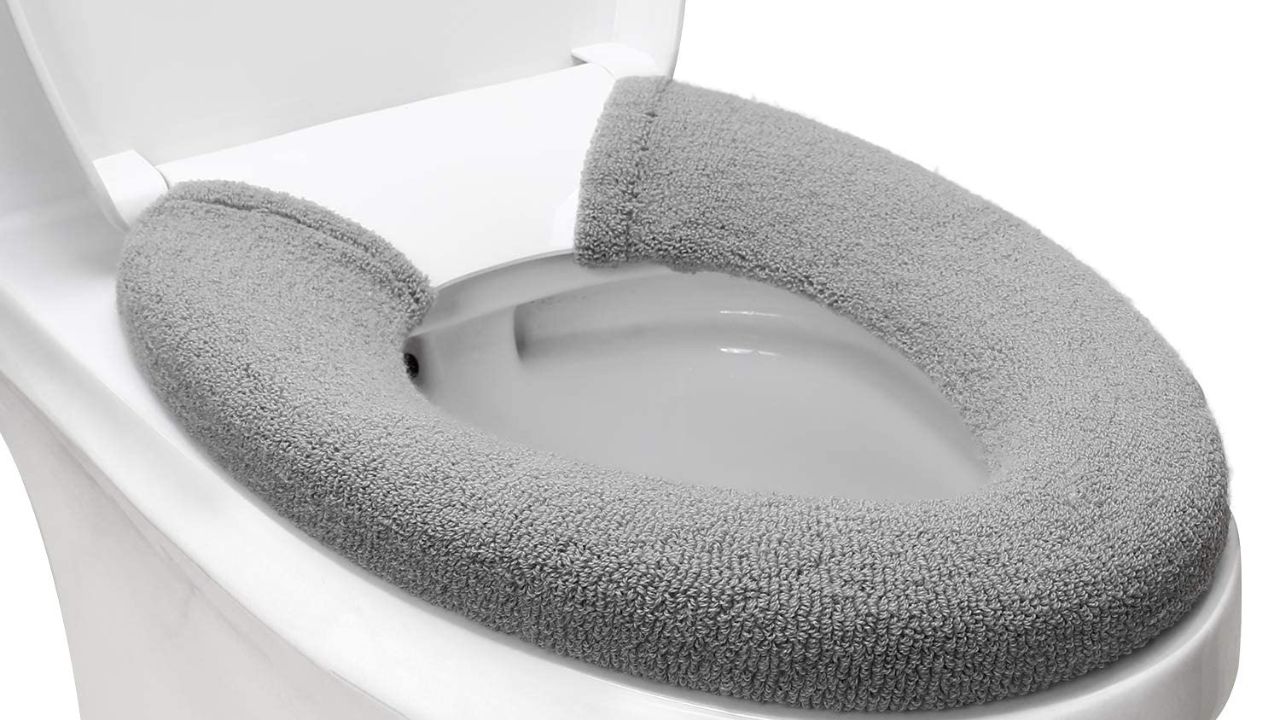
- Hold the toilet seat cover with both hands, positioning it in front of the toilet seat. The flap (if applicable) should be facing towards the front of the toilet bowl.
- Align the cover: With both hands, carefully align the cover with the shape of the toilet seat, ensuring it covers the entire seating area. The cover should be centered and aligned symmetrically.
- Press down gently: Once aligned, press down on the cover with your hands to ensure it adheres to the toilet seat. Smooth out any creases or wrinkles to ensure a proper fit.
By following these steps, you can effectively place the toilet seat cover on the toilet seat, providing a barrier between you and the surface. This helps maintain personal hygiene and minimize the risk of exposure to bacteria and germs.
In the next step, we’ll discuss how to adjust the cover if necessary to ensure a comfortable fit.
When putting on a toilet seat cover, make sure to align the cover with the seat and gently press down on all sides to ensure a secure fit. This will help prevent the cover from slipping or moving when in use.
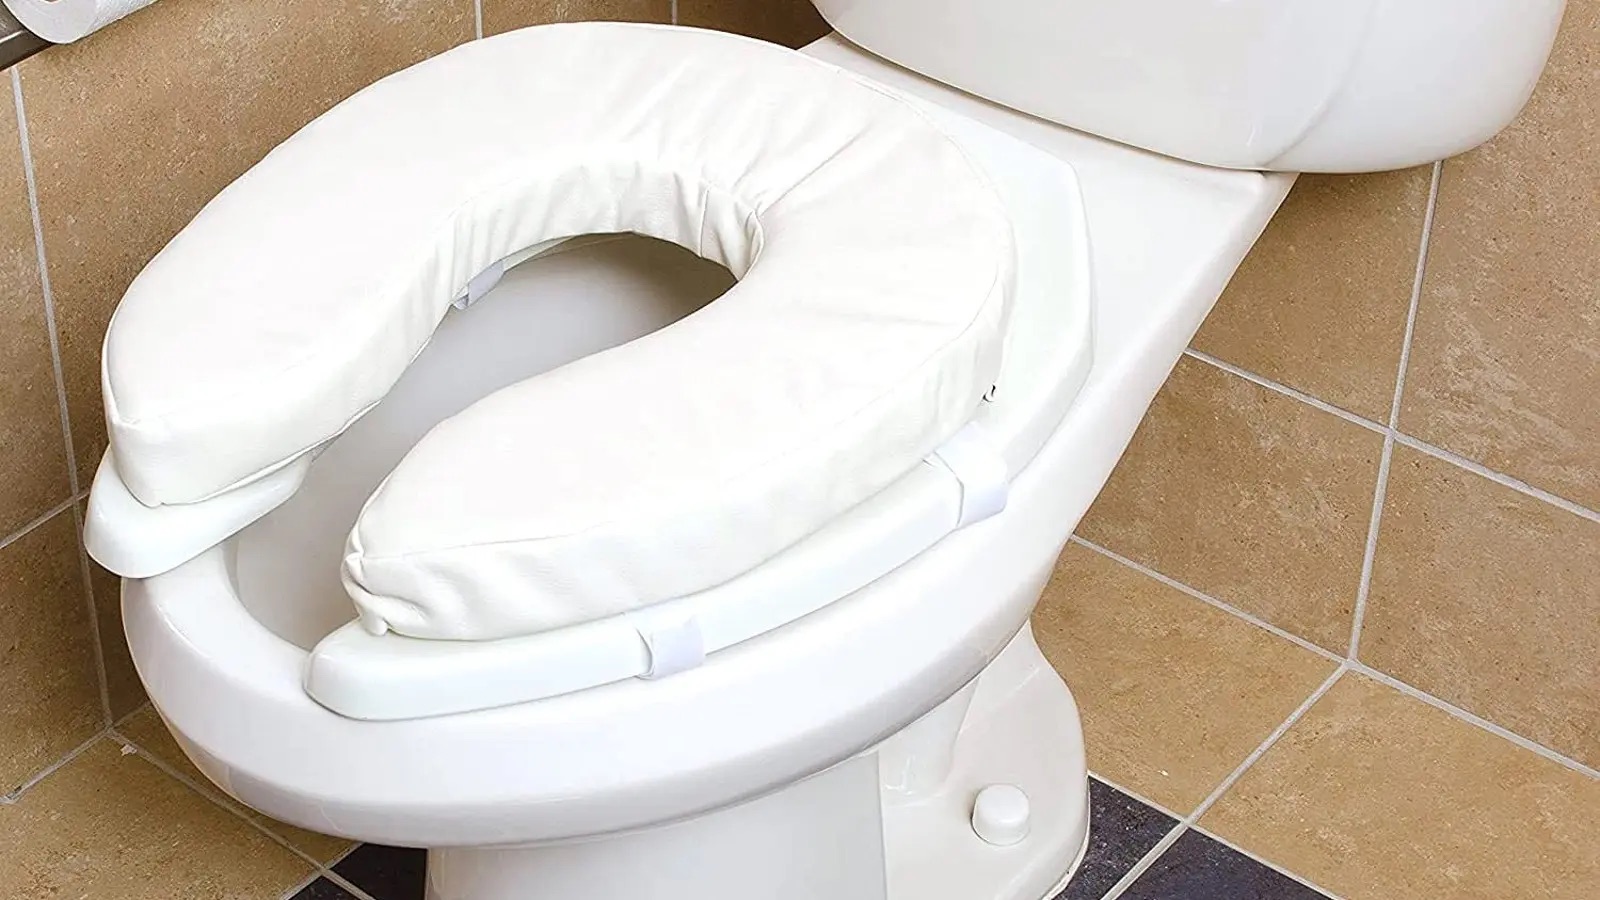
Step 4: Adjusting the Cover if Necessary
After placing the toilet seat cover, it’s important to verify that it fits comfortably and securely. If needed, you can make adjustments to ensure a proper fit. Follow these steps to adjust the cover:
- Check for alignment: Take a moment to inspect the cover and ensure that it is centered and aligned with the toilet seat. If it is slightly off-center, you can adjust it by gently nudging it with your hands.
- Smooth out wrinkles: If there are any wrinkles or folds in the cover, smooth them out by running your hand over the surface of the cover. This will help create a more comfortable and secure fit.
- Reposition the flap (if applicable): If the toilet seat cover has a front flap, make sure it is properly positioned over the front end of the toilet seat. Adjust it if necessary to ensure it covers the entire seating area.
- Ensure proper coverage: Double-check that the cover completely covers the seating area of the toilet seat. There should be no exposed areas where your skin may come into contact with the seat.
By making these adjustments, you can ensure that the toilet seat cover is positioned correctly and provides effective coverage. This step is important for maintaining hygiene and minimizing the risk of exposure to germs and bacteria.
Once you are satisfied with the fit and positioning of the toilet seat cover, you’re ready for the final step: finishing touches and cleaning up.
Read more: What Are Toilet Seat Covers For
Step 5: Finishing Touches and Cleaning Up
Now that the toilet seat cover is properly placed, there are a few final touches and steps to complete before leaving the restroom. Follow these steps to wrap up the process:
- Secure the edges: Double-check that the edges of the toilet seat cover are securely pressed down. This will help prevent the cover from sliding or shifting while you are using the toilet.
- Dispose of waste properly: If you have removed any existing toilet seat covers or used any additional toilet paper, make sure to discard them properly in the designated receptacles. Avoid leaving any trash behind in the restroom.
- Wash your hands: After completing the process of placing the toilet seat cover, it’s crucial to wash your hands thoroughly with soap and water for at least 20 seconds. This will help remove any potential bacteria or germs that may have come in contact with your hands.
- Clean up any spills: If during the process of placing the toilet seat cover, any water or liquid spilled on the floor or the toilet seat, use toilet paper or a tissue to wipe it up. This helps keep the restroom clean and hygienic.
- Exit the restroom: Once you have washed your hands and tidied up, exit the restroom in a respectful manner, leaving the area clean for the next person.
Completing these final steps ensures that the toilet seat cover has been properly placed, and you have maintained personal hygiene throughout the process. It is important to be mindful of the cleanliness of the restroom and the comfort and safety of others who will be using it.
With the completion of Step 5, you have successfully learned how to place a toilet seat cover. By following these steps, you can ensure a clean and hygienic experience when using public restrooms. Remember to always prioritize your health and well-being when it comes to personal hygiene.
Now go forth with confidence, knowing that you have the knowledge and skills to protect yourself in public restrooms!
Conclusion
Properly placing a toilet seat cover is an important step in maintaining cleanliness and hygiene, especially in public restrooms. By following the step-by-step process outlined in this article, you can confidently protect yourself from bacteria and germs while using these facilities.
Remember to start by gathering the necessary supplies, such as toilet seat covers and toilet paper. Preparing the toilet seat by ensuring it is clean and dry is crucial to ensure a proper fit for the cover. When placing the toilet seat cover, be mindful of aligning it correctly and pressing it down gently for a secure fit.
Adjustments may be required to ensure the cover is aligned, smooth, and covers the entire seating area. Once the toilet seat cover is in place, take the time to secure the edges and dispose of any waste properly. Clean up any spills and wash your hands thoroughly to maintain personal hygiene.
By following these steps, you can confidently protect yourself from potential germs and bacteria present on toilet seats. Remember to be considerate of others by leaving the restroom clean and ready for the next person.
Next time you find yourself in a public restroom, you’ll have the knowledge and skills to properly place a toilet seat cover, ensuring a cleaner and more hygienic experience. Don’t hesitate to share this valuable information with others, promoting good hygiene practices for a healthier environment for all.
Stay clean, stay healthy!
Frequently Asked Questions about How To Put Toilet Seat Cover
Was this page helpful?
At Storables.com, we guarantee accurate and reliable information. Our content, validated by Expert Board Contributors, is crafted following stringent Editorial Policies. We're committed to providing you with well-researched, expert-backed insights for all your informational needs.


0 thoughts on “How To Put Toilet Seat Cover”