Articles
How To Seal Toilet To Floor
Modified: January 6, 2024
Learn how to properly seal your toilet to the floor with these helpful articles. Step-by-step instructions and tips for a leak-free and sturdy installation.
(Many of the links in this article redirect to a specific reviewed product. Your purchase of these products through affiliate links helps to generate commission for Storables.com, at no extra cost. Learn more)
Introduction
When it comes to maintaining a functional and hygienic bathroom, ensuring that your toilet is properly sealed to the floor is of utmost importance. A secure toilet-to-floor connection not only prevents leaks and potential water damage, but also helps maintain stability and prevents unwanted movement of the toilet. In this comprehensive guide, we will walk you through the step-by-step process of sealing your toilet to the floor.
Whether you are replacing an old wax ring or installing a new toilet, it is essential to follow the correct procedure to ensure a proper seal. This involves removing the toilet, cleaning and preparing the floor, applying a new wax ring, re-installing the toilet, and finally securing it firmly to the floor. By following these steps, you can have peace of mind knowing that your toilet is securely sealed and functioning optimally.
Before diving into the process, let’s review the tools and materials you will need for this project:
- Adjustable wrench or pliers
- Screwdriver
- Putty knife or scraper
- Bucket or container
- Gloves
- Rag or sponge
- Wax ring
- New toilet mounting bolts (if necessary)
- Toilet caulk (optional)
With these items readily available, you can proceed to the first step of the process, which is removing the toilet.
Key Takeaways:
- Ensure a stable and leak-free toilet by following the step-by-step process of sealing it to the floor. Proper preparation, wax ring application, and secure installation are key to a functional bathroom.
- Regular maintenance and inspection of the toilet seal are essential for long-term effectiveness. Address leaks and instability promptly to prevent water damage and maintain a hygienic bathroom environment.
Read more: How To Seal A Concrete Floor
Step 1: Gather the Tools and Materials
Before you begin the process of sealing your toilet to the floor, it is crucial to have all the necessary tools and materials at hand. This ensures a smooth and efficient workflow, making the task much easier to accomplish. Here is a list of the tools and materials you will need:
- Adjustable wrench or pliers: This will be used to disconnect the water supply line from the toilet’s fill valve.
- Screwdriver: You will need a screwdriver to remove the screws or bolts that secure the toilet to the floor.
- Putty knife or scraper: This tool is essential for removing the wax ring and any residue left on the floor.
- Bucket or container: You will need a bucket or container to catch any water that may spill during the removal process.
- Gloves: It is advisable to wear gloves to protect your hands from dirt, grime, and any potential bacteria.
- Rag or sponge: This will come in handy for cleaning the toilet and the floor.
- Wax ring: The wax ring is the key component that provides a watertight seal between the toilet and the floor. Make sure you have a new wax ring on hand for installation.
- New toilet mounting bolts (if necessary): If the existing bolts are damaged or rusted, it is recommended to replace them with new ones.
- Toilet caulk (optional): Caulk can be used to provide an additional layer of protection and prevent water from seeping through the base of the toilet.
Once you have gathered all the necessary tools and materials, you are ready to move on to the next step, which involves removing the toilet.
Step 2: Remove the Toilet
With the tools and materials gathered, it’s time to remove the toilet in order to access the wax ring and prepare the floor for sealing. Follow these step-by-step instructions to remove the toilet:
- Turn off the water supply: Locate the shut-off valve behind or beside the toilet and turn it clockwise to shut off the water supply. Flush the toilet to drain most of the water from the tank and bowl.
- Disconnect the water supply line: Use an adjustable wrench or pliers to loosen and disconnect the water supply line from the toilet’s fill valve. Be cautious of any remaining water in the line or valve that may spill.
- Remove the tank lid and empty the tank: Place the tank lid in a safe location and empty any additional water from the tank by holding down the flush handle until all water has drained.
- Detach the tank from the bowl (if applicable): Some toilets have a separate tank and bowl. If this is the case, locate the bolts securing the tank to the bowl and use a screwdriver or wrench to remove them. Carefully lift the tank off the bowl and set it aside.
- Remove the toilet bowl from the floor: Look for the bolts or screws securing the base of the toilet to the floor. Typically, there are two on either side. Use a screwdriver or wrench to loosen and remove these bolts. Gently rock the toilet back and forth to break the seal with the wax ring. Once the seal is broken, lift the toilet bowl straight up and place it on a towel or cardboard to protect the floor.
With the toilet removed, you can proceed to the next step, which involves cleaning and preparing the floor for the new seal.
Step 3: Clean and Prepare the Floor
Now that the toilet has been successfully removed, it’s time to clean and prepare the floor for the new seal. This step is crucial to ensure a clean and stable surface for the toilet and the wax ring. Follow these steps to clean and prepare the floor:
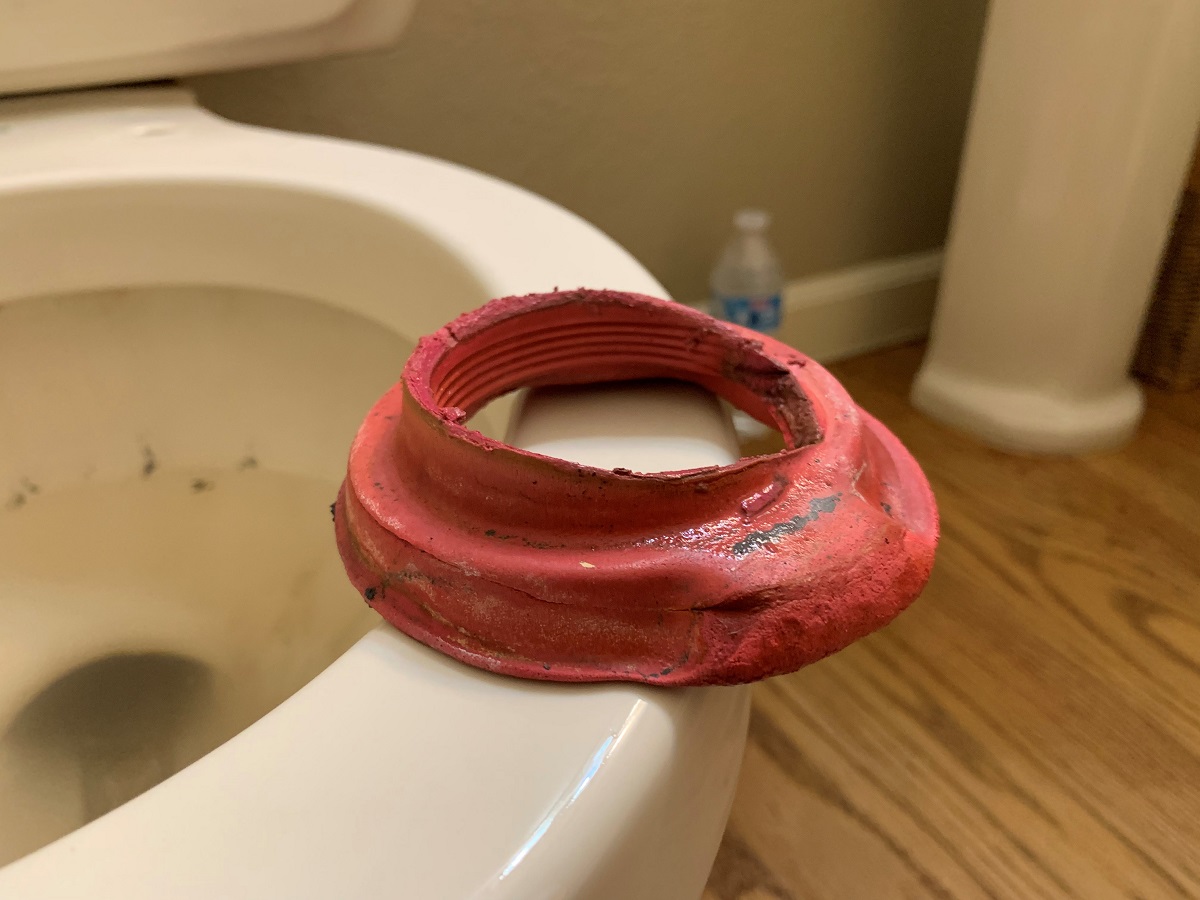
- Scrape off the old wax ring: Using a putty knife or scraper, gently remove any remnants of the old wax ring from the flange on the floor. Take care not to damage or scratch the flange or the surrounding area.
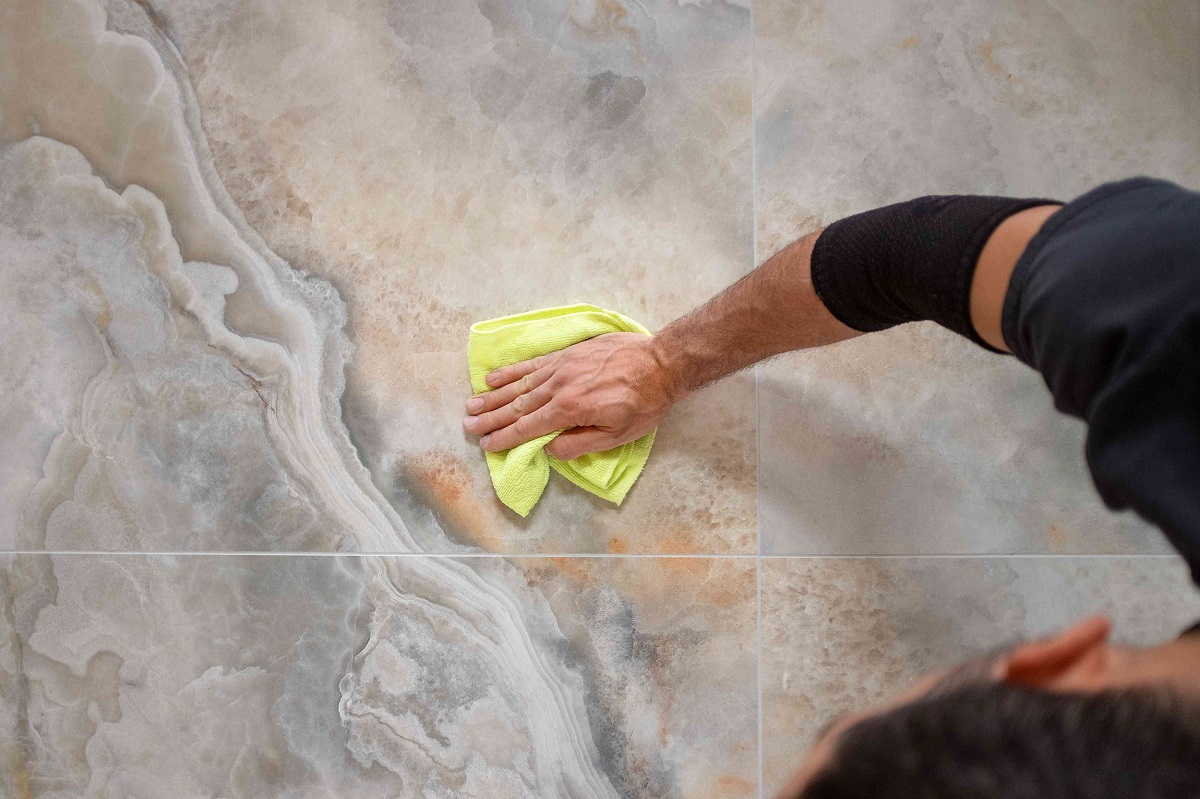
- Clean the flange and surrounding area: Use a rag or sponge to wipe away any dirt, grime, or residue on the flange and the floor surface around it. Ensure that the area is free from any debris or buildup.
- Inspect the flange and floor: Take a moment to inspect the flange and the floor for any cracks, damage, or unevenness. If you notice any issues, such as a cracked flange or a warped floor, it is best to address them before proceeding further.
- Remove any old caulk or adhesive: If there is any old caulk or adhesive present on the floor around the flange, use a putty knife or scraper to carefully remove it. A clean and smooth surface will ensure a proper seal.
- Ensure the flange is level and secure: Check that the flange is securely attached to the floor and is level. If it is loose or not properly aligned, use screws or bolts to secure it in place and ensure a stable base for the toilet.
Once you have completed these steps and the floor is clean and prepared, you are ready to move on to the next step: applying the new wax ring.
Step 4: Apply the Wax Ring
The next step in sealing your toilet to the floor is applying a new wax ring. The wax ring creates a watertight seal between the toilet flange and the toilet bowl, preventing any leaks or odors from escaping. Follow these instructions to properly apply the wax ring:
- Inspect the wax ring: Before applying the wax ring, check for any damage or deformities. Make sure it is in good condition and free from any cracks or tears.
- Position the wax ring: Place the wax ring directly onto the toilet flange, ensuring that it is centered and fully covering the flange opening. Gently press down on the wax ring to create a secure seal.
- Align the wax ring with the toilet bowl: Carefully lower the toilet bowl onto the wax ring, aligning it with the bolts or screws on the floor. Apply downward pressure to compress the wax ring and create a tight seal.
It’s important to note that there are variations of wax rings available, including wax-free options. Follow the manufacturer’s instructions provided with the specific wax ring you are using to ensure proper installation.
With the wax ring in place, you can now move on to the next step, which involves re-installing the toilet.
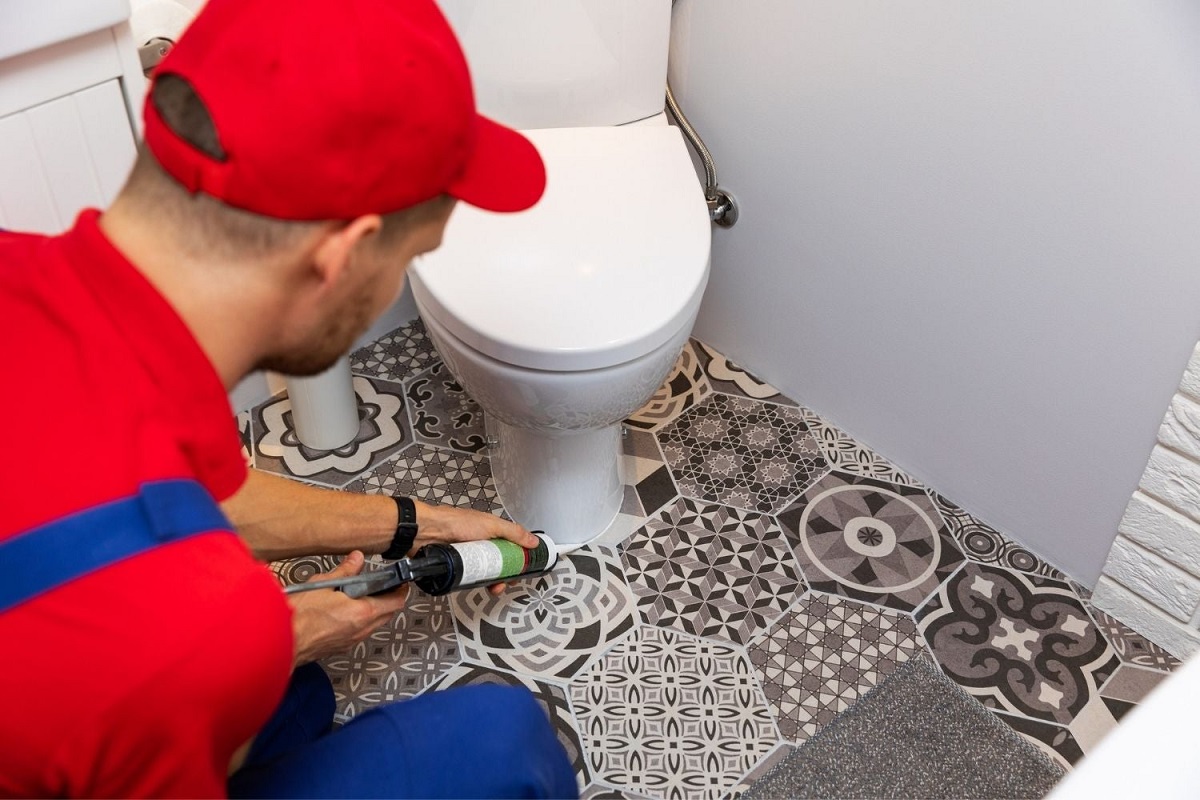
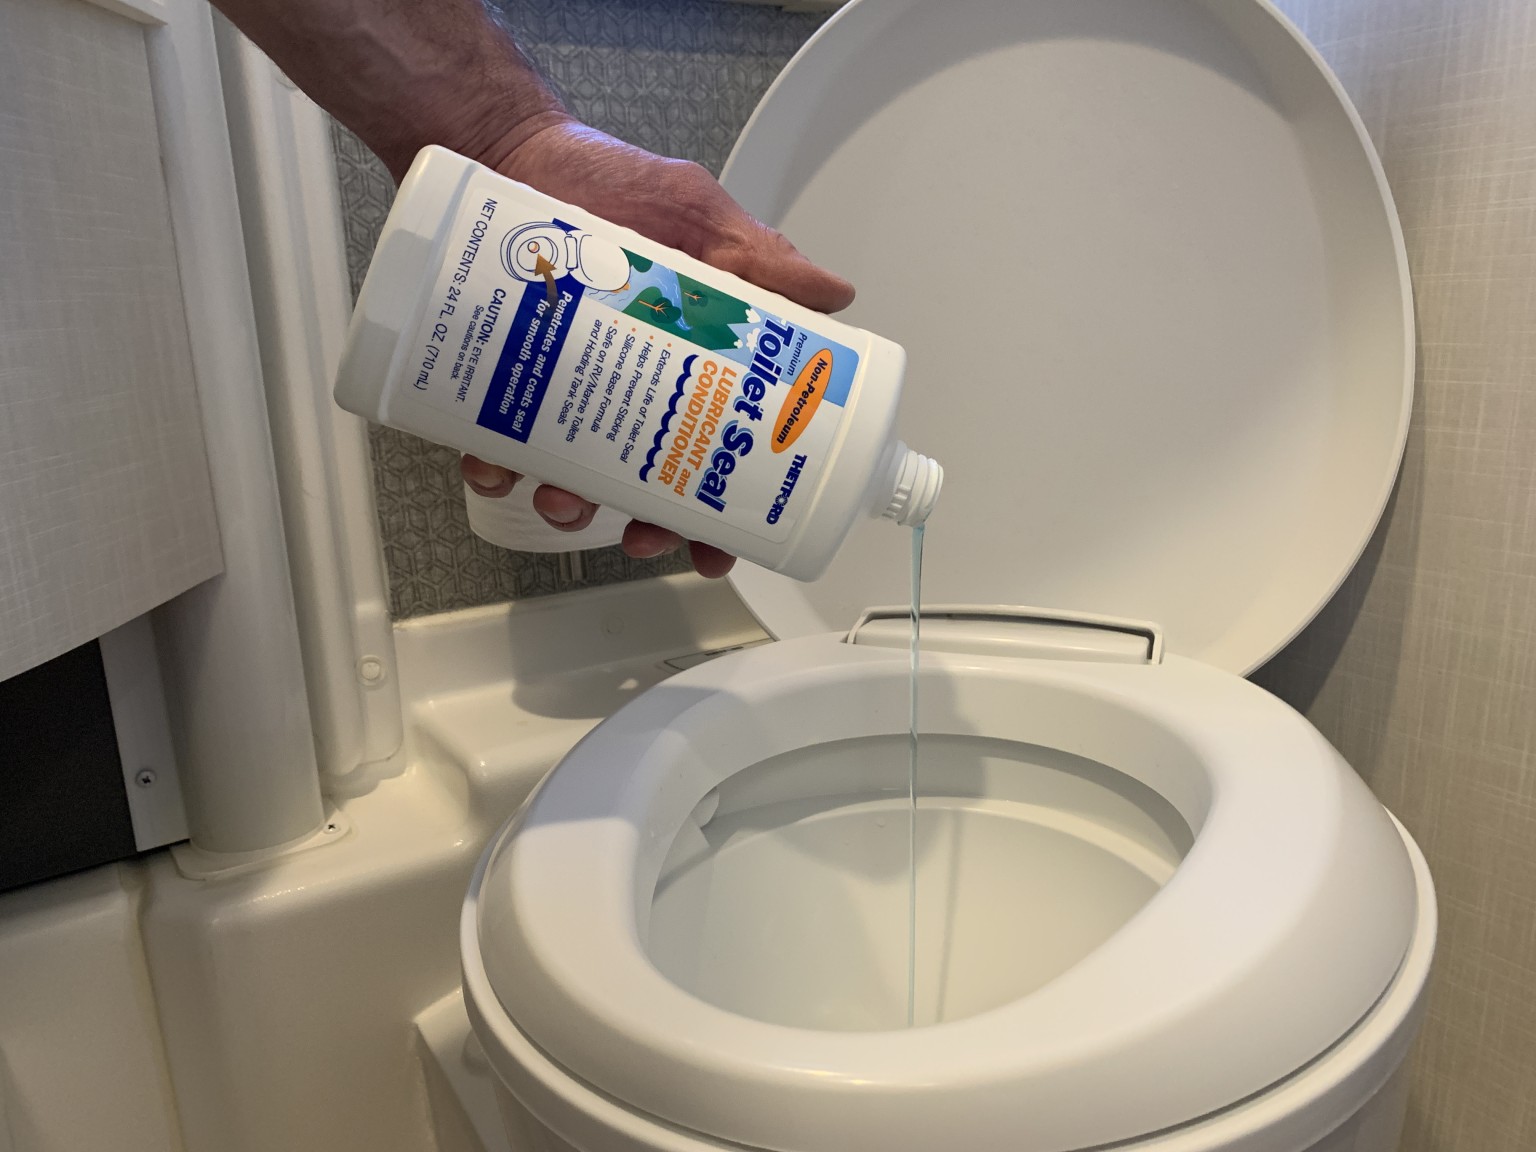
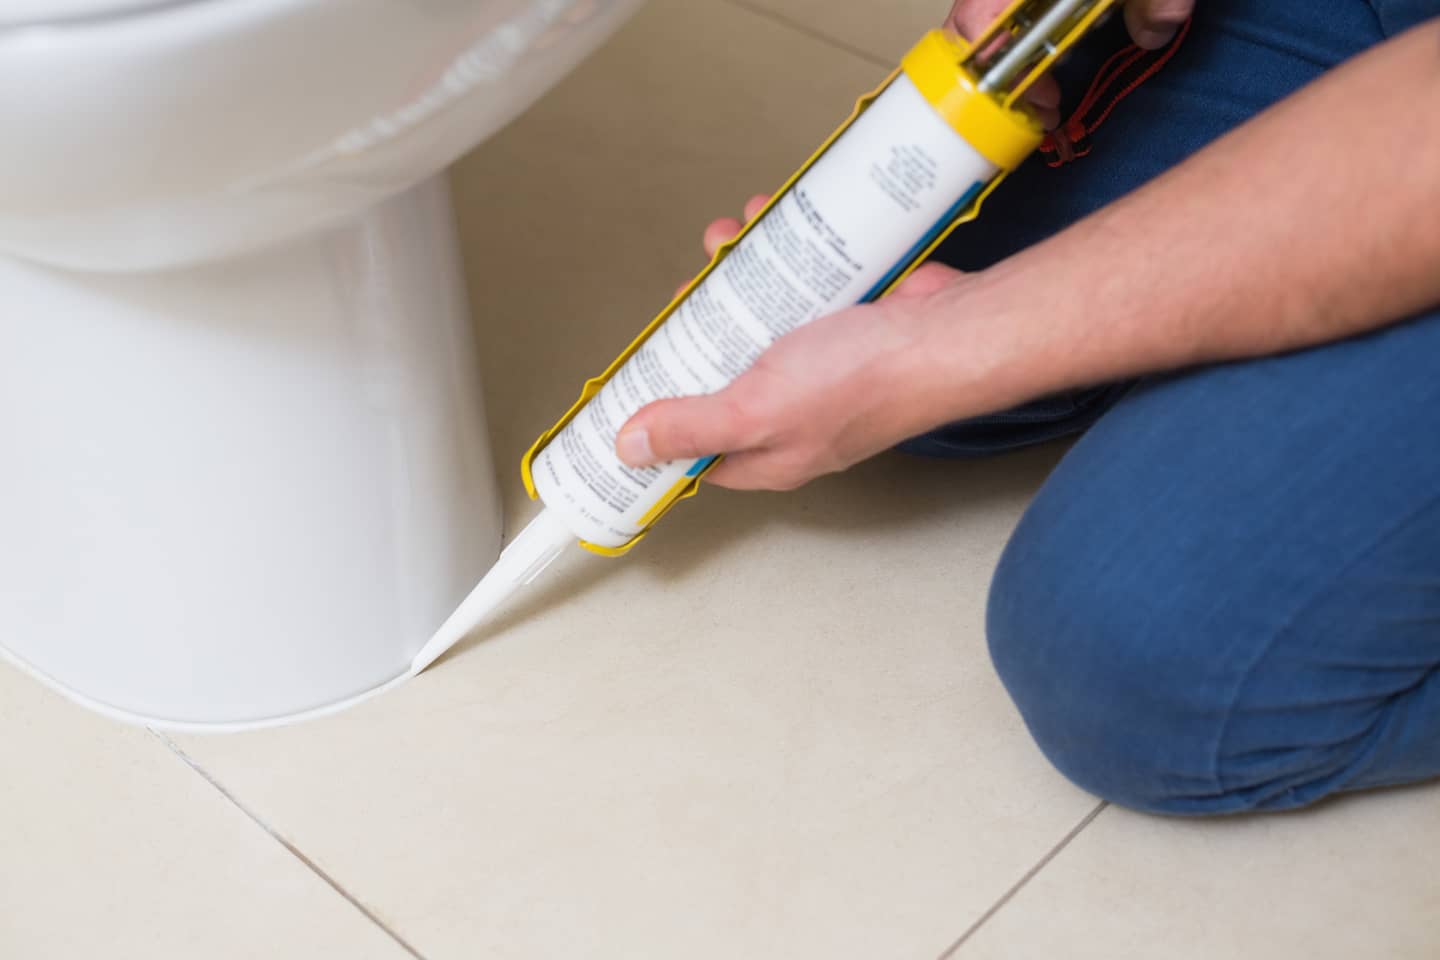
Use a high-quality silicone caulk to seal the base of the toilet to the floor. Make sure the area is clean and dry before applying the caulk, and use a caulk gun for even application. This will help prevent leaks and keep the toilet securely in place.
Read more: How To Seal A Wood Floor
Step 5: Reinstall the Toilet
After applying the wax ring, it’s time to re-install the toilet and secure it to the floor. Follow these step-by-step instructions to ensure a proper reinstallation:
- Align the toilet bowl with the floor bolts: Carefully lower the toilet bowl onto the wax ring, aligning the mounting holes of the toilet base with the floor bolts or screws.
- Press down to compress the wax ring: Apply downward pressure on the toilet bowl to compress the wax ring and create a secure seal. Make sure the toilet is centered and level.
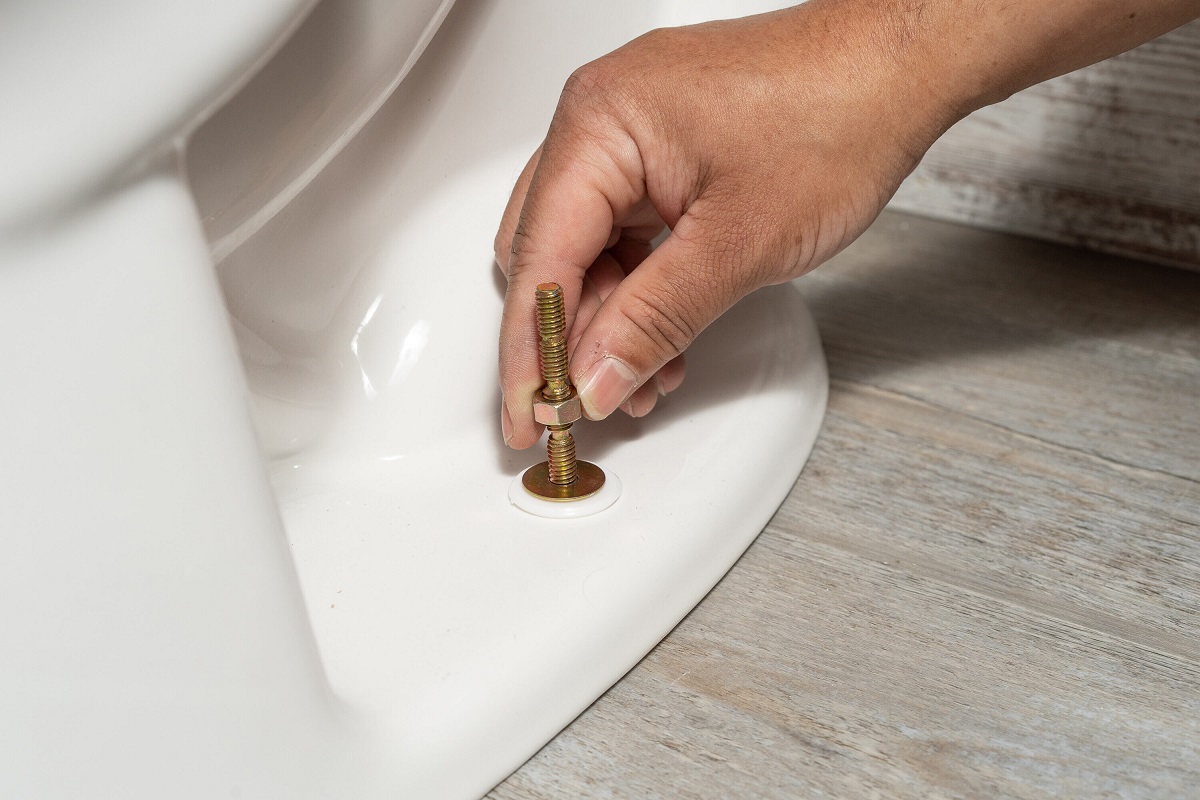
- Hand tighten the nuts or bolts: Place the washers and nuts or bolts onto the floor bolts and hand tighten them. Be careful not to over-tighten, as this can crack the toilet bowl or damage the flange.
- Alternate tightening the nuts or bolts: Use a wrench to alternately tighten the nuts or bolts on each side of the toilet. This ensures even pressure and prevents the toilet from rocking or being improperly secured.
- Reinstall the tank (if applicable): If the toilet has a separate tank, carefully place it back onto the bowl and reattach the bolts or screws that secure it. Use a screwdriver or wrench to tighten them.
- Reconnect the water supply line: Take the water supply line and reconnect it to the toilet’s fill valve. Use an adjustable wrench or pliers to securely tighten the connection.
- Turn on the water supply: Open the shut-off valve to restore water flow to the toilet. Allow the tank to fill completely.
- Test for leaks: Once the tank is full, flush the toilet and observe for any signs of leaks around the base, tank, or supply line. If you notice any leaks, tighten the connections or address the issue accordingly.
By following these steps, you can ensure a secure and properly installed toilet. The next step is to secure the toilet to the floor.
Step 6: Secure the Toilet to the Floor
Securing the toilet to the floor is an essential step in the sealing process. This ensures stability and prevents any movement or rocking of the toilet. Follow these steps to securely attach the toilet to the floor:
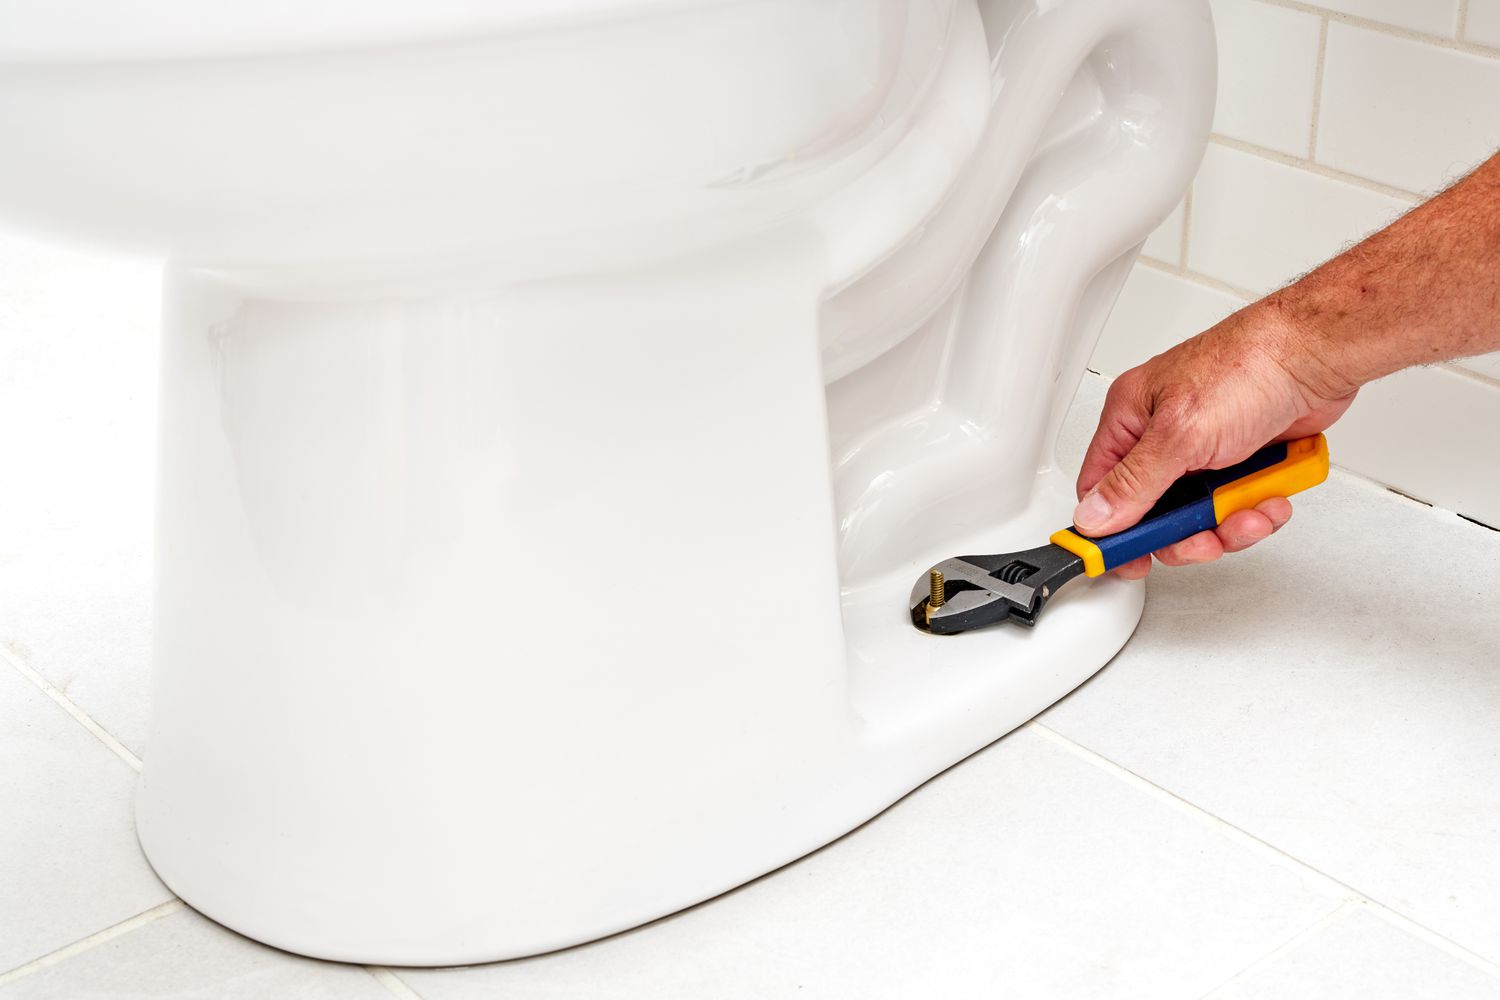
- Tighten the nuts or bolts: Using a wrench, tighten the nuts or bolts that secure the toilet to the floor. Make sure to tighten them evenly on both sides to maintain balance.
- Avoid over-tightening: Be cautious not to over-tighten the nuts or bolts, as this can crack the toilet bowl or damage the flange. Tighten them until the toilet feels stable and does not wobble.
- Alternate tightening: To ensure an even and secure attachment, alternate tightening the nuts or bolts on each side of the toilet. This helps distribute the pressure evenly and prevents any imbalances.
- Check for stability: Once the toilet is securely attached, test its stability by gently rocking it back and forth. If it feels stable and does not move, you have successfully secured the toilet to the floor.
It’s important to remember that the toilet should be secure, but not overly tight. Over-tightening can lead to damage, while insufficient tightening can cause leaks and movement. Find the right balance to ensure a secure and stable toilet.
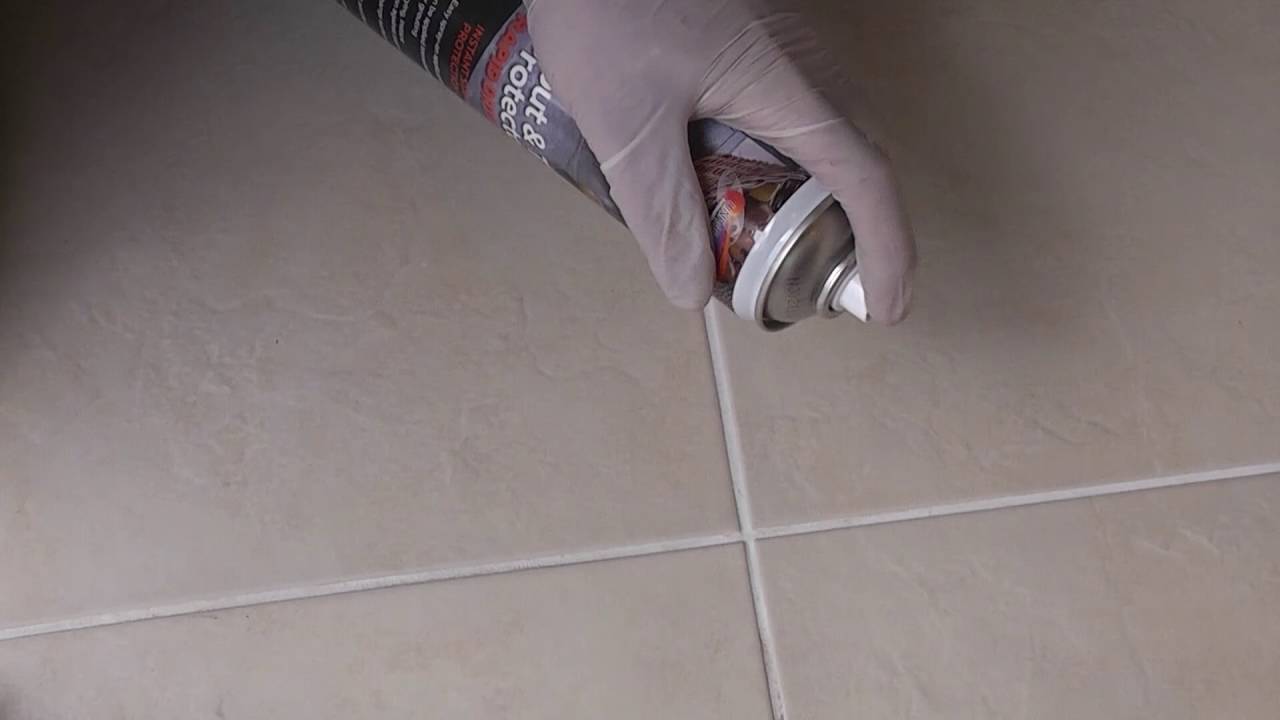
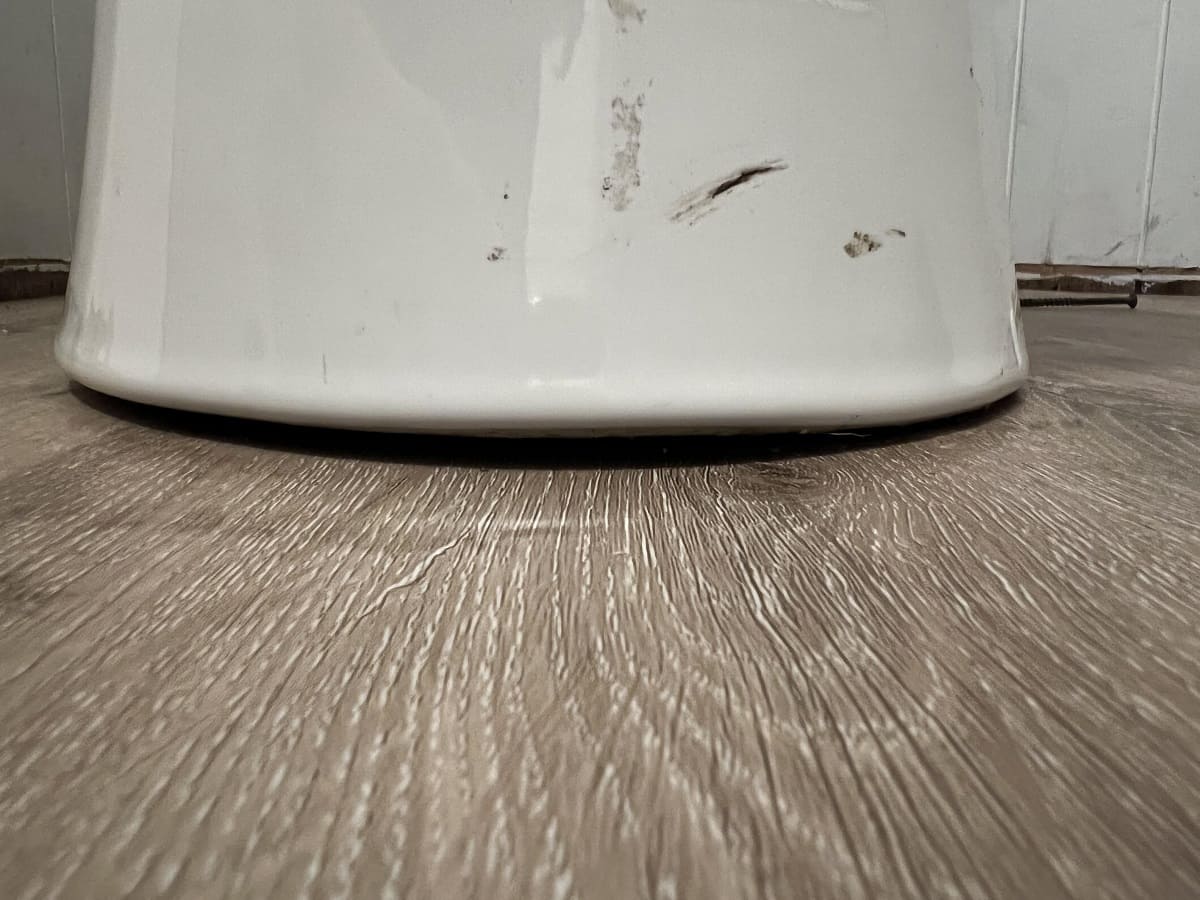
If you prefer additional stability, you can also consider applying a bead of waterproof caulk around the base of the toilet after it is secured to the floor. This can provide an extra layer of protection against leaks and further secure the toilet to the floor.
With the toilet securely attached, it’s time for the final step: testing for leaks.
Step 7: Test for Leaks
The final step in sealing your toilet to the floor is to test for any potential leaks. This ensures that the wax ring and the toilet’s connections are properly sealed and functioning correctly. Follow these steps to test for leaks:
- Fill the tank: Ensure that the tank is filled with water by allowing it to fill completely after flushing.
- Observe the base: Carefully inspect the base of the toilet for any signs of water or moisture. Check all areas around the base, including the floor bolts and the connection between the tank and the bowl.
- Check the supply line: Examine the connection between the water supply line and the fill valve for any leaks. Inspect the area for any drips or water accumulation.
- Flush the toilet: Flush the toilet and pay close attention to the base and the supply line connection. Look for any sudden or consistent water leaks.
- Verify a tight seal: Confirm that the wax ring is forming a tight seal between the toilet flange and the base of the toilet. There should be no gaps or areas where water can escape.
- Make necessary adjustments: If you observe any leaks or areas of concern, turn off the water supply and make the necessary adjustments. This may involve tightening connections, repositioning the wax ring, or seeking professional assistance if needed.
By diligently testing for leaks, you can ensure that your toilet is properly sealed and functioning as intended. Addressing any leaks or issues promptly will help prevent potential water damage and maintain the integrity of your bathroom.
With the testing complete and any necessary adjustments made, you have successfully sealed your toilet to the floor. Enjoy the peace of mind that comes with a properly secured and leak-free toilet!
Now that you have completed all the necessary steps, take a moment to admire your work and appreciate the improved functionality and stability of your toilet. You can now enjoy a fully sealed and reliable bathroom fixture.
Remember, periodically checking for leaks and maintaining the wax ring will help ensure a long-lasting seal and prevent potential water damage. If you ever need to replace the wax ring or address any issues, follow these steps again to maintain the integrity of your toilet-to-floor seal.
Thank you for following this guide on how to seal your toilet to the floor. We hope this has been helpful for you and that you enjoy a leak-free and secure bathroom!
Conclusion
Sealing your toilet to the floor is a crucial step in maintaining a functional, leak-free, and hygienic bathroom. By properly sealing your toilet, you can prevent water damage, eliminate unpleasant odors, and ensure the stability of the fixture. With the step-by-step guide provided above, you have learned how to seal your toilet to the floor effectively.
Throughout this guide, we have covered the essential steps, from gathering the necessary tools and materials to removing the toilet, cleaning and preparing the floor, applying the wax ring, reinstalling the toilet, securing it to the floor, and testing for leaks. By following these steps diligently, you can have confidence in the performance and longevity of your sealed toilet.
Remember to be mindful of the condition of the wax ring and check for any signs of wear or damage. If you notice leaks or instability, address the issues promptly to prevent further damage or complications. Regular maintenance and inspection of your toilet’s seal will help maintain its effectiveness over time.
We hope this comprehensive guide has empowered you with the knowledge and confidence to seal your toilet to the floor successfully. By completing this task, you are taking an important step towards maintaining a well-functioning and clean bathroom environment.
Thank you for following along, and we wish you all the best with your toilet sealing project!
Frequently Asked Questions about How To Seal Toilet To Floor
Was this page helpful?
At Storables.com, we guarantee accurate and reliable information. Our content, validated by Expert Board Contributors, is crafted following stringent Editorial Policies. We're committed to providing you with well-researched, expert-backed insights for all your informational needs.

0 thoughts on “How To Seal Toilet To Floor”