Home>Furniture & Design>Bathroom Accessories>How To Take Toilet Seat Cover Off
Bathroom Accessories
How To Take Toilet Seat Cover Off
Modified: March 21, 2024
Learn how to easily remove a toilet seat cover with our step-by-step guide. Find out the best way to take off bathroom accessories for cleaning or replacement.
(Many of the links in this article redirect to a specific reviewed product. Your purchase of these products through affiliate links helps to generate commission for Storables.com, at no extra cost. Learn more)
Introduction
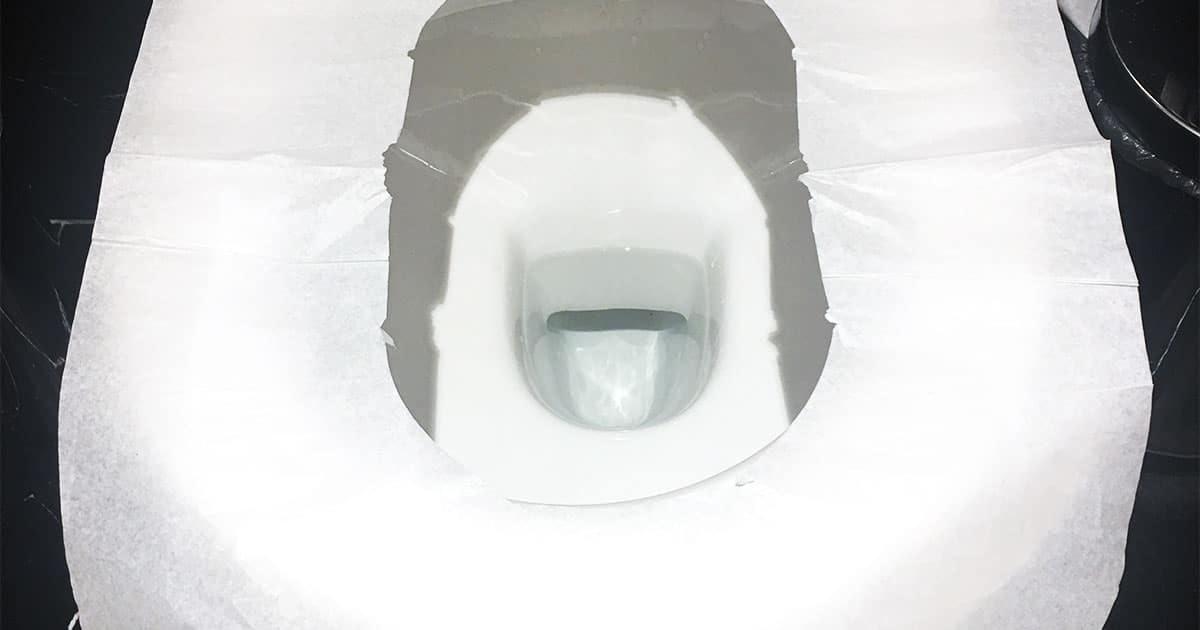
Removing a toilet seat cover may seem like a simple task, but it can be a bit tricky if you're not familiar with the process. Whether you're looking to clean the seat or replace it with a new one, knowing how to properly remove the cover is essential. In this guide, we'll walk you through the step-by-step process of taking off a toilet seat cover, providing you with the knowledge and confidence to tackle this task with ease.
A toilet seat cover is typically attached to the toilet bowl using tabs or hinges, and understanding how these mechanisms work is the key to successful removal. By following the instructions outlined in this guide, you'll be able to navigate the process smoothly and avoid any potential mishaps. So, let's dive into the steps and learn how to take off a toilet seat cover effectively.
Key Takeaways:
- Removing a toilet seat cover involves identifying tabs or hinges, lifting them carefully, and gently detaching the cover. This skill empowers you to maintain a clean and functional bathroom with confidence.
- Understanding the location and mechanism of tabs or hinges is crucial for a smooth removal process. By following specific steps, you can safely disengage the seat cover and address any cleaning or maintenance needs.
Read more: How To Take Off Toto Toilet Seat
Step 1: Locate the tabs or hinges
Before you can remove the toilet seat cover, it's crucial to identify the tabs or hinges that secure it to the toilet bowl. These components serve as the connection points and vary in design based on the type of toilet seat. Here's how you can locate the tabs or hinges:
Tabs:
- Tabs are commonly found on plastic toilet seats and are positioned at the back of the seat, near the tank. They are small, flat protrusions that secure the seat to the bowl.
- To locate the tabs, stand in front of the toilet and lift the seat cover. Look for the tabs on the underside of the seat, where they connect to the bowl. They may be positioned at the back corners or along the sides, depending on the seat's design.
- Once you've identified the tabs, take note of their location and how they are attached to the toilet bowl. Understanding their placement will be essential for the next steps in the removal process.
Hinges:
- Hinges are typically found on wooden or metal toilet seats and are located at the back of the seat, connecting it to the bowl. They consist of two parts: the hinge base attached to the bowl and the hinge cover attached to the seat.
- To locate the hinges, lift the seat cover and inspect the area where the seat connects to the bowl. You should see the hinge bases secured to the bowl and the hinge covers attached to the seat.
- Take a moment to observe how the hinges are fastened and the type of mechanism used to secure them. Understanding the hinge structure will be crucial for the subsequent steps in removing the seat cover.
By carefully identifying the tabs or hinges and familiarizing yourself with their placement and attachment, you'll be well-prepared to proceed with the next steps of lifting the tabs or releasing the hinges to remove the toilet seat cover. This initial step sets the stage for a smooth and successful removal process, ensuring that you can complete the task with confidence and precision.
Step 2: Lift the tabs or release the hinges
Once you have successfully located the tabs or hinges securing the toilet seat cover, the next step is to lift the tabs or release the hinges to detach the cover from the toilet bowl. This process may vary slightly depending on whether your toilet seat has tabs or hinges, so we'll cover the steps for both scenarios.
Lifting the tabs:
If your toilet seat cover is equipped with tabs, follow these steps to lift and detach them:
-
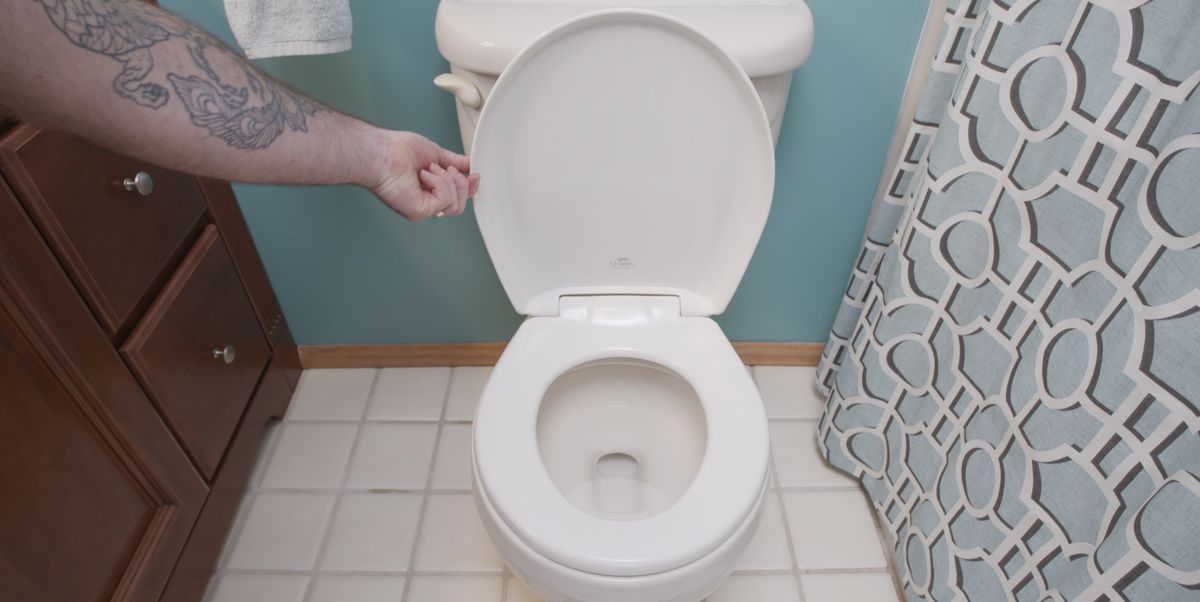
Positioning: Stand in front of the toilet and lift the seat cover to access the tabs located on the underside of the seat. Ensure that you have a clear view and easy reach of the tabs.
-
Lifting Technique: Using your fingers or a flathead screwdriver, gently lift the tabs upward to release them from the slots on the toilet bowl. Apply even pressure to both tabs simultaneously to prevent any imbalance.
-
Steady Removal: As you lift the tabs, keep the seat cover steady to prevent any sudden movements. Once the tabs are disengaged from the slots, continue holding them up while preparing to remove the seat cover.
Releasing the hinges:
For toilet seats with hinges, the process of releasing them is slightly different. Here's how you can proceed:
-
Accessing the Hinges: Lift the seat cover to expose the hinges connecting it to the toilet bowl. Take note of the hinge mechanism, which may involve screws, bolts, or a quick-release mechanism.
-
Unfastening Screws or Bolts: If your hinges are secured with screws or bolts, use the appropriate tool, such as a screwdriver or wrench, to loosen and remove them. Keep the hardware in a safe place for reassembly.
-
Quick-Release Mechanism: In the case of a quick-release hinge, look for the release button or lever located on the hinge assembly. Press or activate the release mechanism to disengage the hinges from the toilet bowl.
-
Careful Handling: As you release the hinges, ensure that the seat cover is supported and stable. Avoid any sudden movements to prevent accidental damage or misalignment.
By following these steps to lift the tabs or release the hinges, you can safely detach the toilet seat cover from the bowl. This process sets the stage for cleaning, replacement, or any necessary maintenance, allowing you to proceed with confidence and precision. With the cover removed, you can address any cleaning or replacement needs before reattaching it securely to the toilet bowl.
Step 3: Remove the toilet seat cover
With the tabs lifted or the hinges released, you are now ready to proceed with the final step of removing the toilet seat cover. This step involves carefully detaching the cover from the toilet bowl, ensuring a smooth and controlled process to avoid any potential damage or mishaps. Here's how you can effectively remove the toilet seat cover:
-
Gentle Disengagement: Whether your seat cover is secured by tabs or hinges, it's essential to approach the removal process with care. Begin by gently lifting the seat cover upward, ensuring that it is free from any resistance or obstruction. If the cover feels stuck or difficult to lift, double-check the tabs or hinges to confirm that they have been properly released.
-
Steady Support: As you lift the seat cover, provide steady support to prevent any sudden movements or accidental slips. Keep a firm grip on the cover, especially if it's a larger or heavier seat, to maintain control throughout the removal process. By maintaining stability, you can avoid potential damage to the cover or the toilet bowl.
-
Smooth Maneuvering: Once the seat cover is lifted, maneuver it carefully to detach it from the tabs or hinges. If your seat has tabs, ensure that they are fully disengaged from the slots on the bowl before proceeding. For seats with hinges, gently separate the hinge covers from the hinge bases, allowing the cover to come free from the bowl.
-
Safe Placement: After successfully removing the seat cover, place it on a stable and secure surface to prevent any accidental drops or damage. Consider using a soft towel or cloth to cushion the cover and protect its surface during handling. By placing the cover in a safe location, you can proceed with any cleaning, maintenance, or replacement tasks as needed.
By following these steps, you can effectively remove the toilet seat cover with confidence and precision. Whether you're undertaking a cleaning routine, replacing the cover, or performing maintenance on the seat and hinges, this process sets the stage for seamless and hassle-free handling. With the cover removed, you can address any necessary tasks before reattaching it securely to the toilet bowl, ensuring a well-maintained and functional bathroom environment.
Conclusion
In conclusion, knowing how to take off a toilet seat cover is a valuable skill that empowers individuals to maintain their bathroom fixtures with ease. By following the step-by-step process outlined in this guide, you can confidently navigate the removal of the seat cover, whether for cleaning, replacement, or maintenance purposes.
Understanding the location and mechanism of tabs or hinges is the foundational step in this process. By identifying these components and familiarizing yourself with their attachment to the toilet bowl, you set the stage for a smooth and successful removal process. Whether it's the small, flat tabs on plastic seats or the hinge assemblies on wooden or metal seats, recognizing these elements is essential for a seamless removal experience.
Lifting the tabs or releasing the hinges requires careful attention to detail and a gentle touch. By following the specific steps outlined for each type of attachment, you can safely disengage the seat cover from the toilet bowl without causing any damage or misalignment. Whether it involves lifting the tabs with precision or releasing the hinges with the appropriate tools, this step sets the stage for the final removal process.
The final step of removing the toilet seat cover involves a controlled and steady approach. By gently disengaging the cover from the tabs or hinges and providing steady support throughout the process, you can ensure a smooth and hassle-free removal. This step sets the stage for any subsequent cleaning, maintenance, or replacement tasks, allowing you to address the seat and bowl with confidence and precision.
In essence, the ability to take off a toilet seat cover is a practical skill that contributes to the overall maintenance and cleanliness of your bathroom. Whether you're a homeowner, a maintenance professional, or simply someone looking to tackle a DIY project, mastering this process empowers you to handle bathroom fixtures with confidence and efficiency.
By following the steps outlined in this guide, you can approach the task of removing a toilet seat cover with the knowledge and expertise needed to achieve a successful outcome. With this newfound understanding, you can navigate the process seamlessly, ensuring that your bathroom remains a well-maintained and functional space for all who use it.
Frequently Asked Questions about How To Take Toilet Seat Cover Off
Was this page helpful?
At Storables.com, we guarantee accurate and reliable information. Our content, validated by Expert Board Contributors, is crafted following stringent Editorial Policies. We're committed to providing you with well-researched, expert-backed insights for all your informational needs.

0 thoughts on “How To Take Toilet Seat Cover Off”