
Articles
How To Quilt A Table Runner For Beginners
Modified: October 18, 2024
Learn how to quilt a table runner with this beginner-friendly guide. Find helpful articles and step-by-step instructions to create your own unique table runner.
(Many of the links in this article redirect to a specific reviewed product. Your purchase of these products through affiliate links helps to generate commission for Storables.com, at no extra cost. Learn more)
Introduction
Welcome to the world of quilting! Quilting is a beautiful and fulfilling craft that allows you to create unique and functional pieces of art. One of the most popular quilting projects for beginners is a table runner. A table runner not only adds a touch of warmth and elegance to your dining table but also serves as a practical element for protecting the table surface.
In this article, we will guide you through the process of quilting a table runner from start to finish. Whether you have never touched a needle and thread or have some basic sewing skills, this guide is designed to help you create a stunning table runner that you can proudly display in your home or give as a thoughtful handmade gift.
Before we dive into the quilting process, let’s take a look at the materials you will need to get started.
Key Takeaways:
- Quilting a table runner is a fulfilling and creative process that allows beginners to express their personal style and craftsmanship while adding beauty and functionality to their dining table.
- From choosing fabrics to adding finishing touches, this guide provides essential steps and techniques for confidently quilting a stunning table runner, making it a cherished heirloom or thoughtful handmade gift.
Read more: How To Quilt For Beginners
Materials Needed
To quilt a table runner, you will require the following materials:
- Fabric: Choose 100% cotton fabric in various colors and patterns. You will need fabric for the table runner top, backing, and binding. Consider the size of your table and the desired length and width of the runner when determining how much fabric to purchase.
- Batting: This is the material that goes between the table runner top and backing to add thickness and insulation. Look for batting specifically designed for table runners or opt for low-loft cotton batting.
- Thread: Select a high-quality thread that matches or complements the colors of your fabric. Polyester or cotton thread in a coordinating color will work well for quilting and construction.
- Sewing Machine: A basic sewing machine that can handle multiple layers of fabric is essential. Make sure it is in good working condition and that you have spare needles and bobbins.
- Cutting Tools: You will need a rotary cutter, cutting mat, and acrylic ruler for accurate fabric cutting. These tools will make the cutting process quicker and more precise.
- Pins or Clips: Use straight pins or sewing clips to hold the fabric pieces together during sewing and quilting.
- Iron and Ironing Board: Pressing your fabric and seams is crucial for achieving crisp and professional-looking results. Make sure you have a working iron and a sturdy ironing board.
- Quilting Gloves: Quilting gloves with grippy palms can help you maneuver the fabric smoothly as you quilt.
- Scissors: Keep a pair of sharp fabric scissors handy for trimming threads and cutting fabric.
- Quilting Ruler: A long, straight quilting ruler will assist you in measuring and marking the fabric accurately.
Having these materials on hand will make the quilting process more efficient and enjoyable. Once you have gathered all the necessary supplies, it’s time to move on to selecting the fabric for your table runner.
Choosing the Fabric
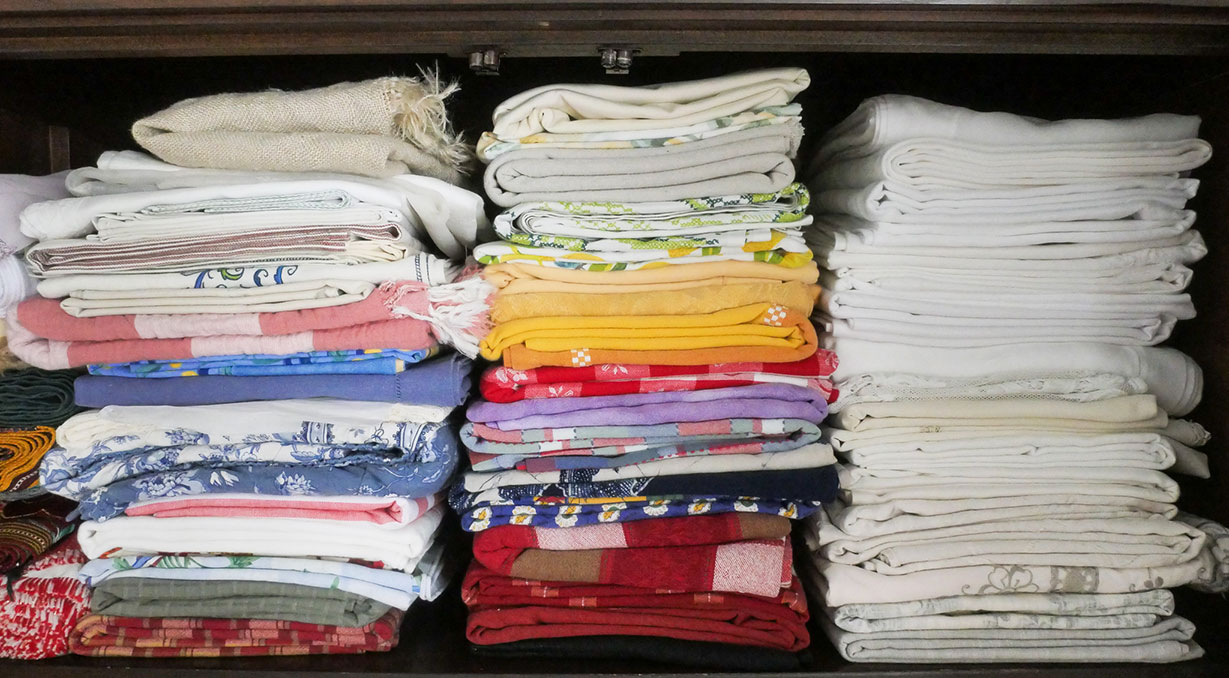
When it comes to choosing the fabric for your table runner, the options are endless. You can select fabric in various colors, patterns, and textures, depending on your personal style and the aesthetic you want to achieve.
Consider the following tips when choosing your fabric:
- Color Palette: Determine the color scheme you want for your table runner. You can choose a monochromatic look with shades of the same color or go for a contrasting color palette. Look for fabrics that complement each other and create a cohesive look.
- Pattern and Print: Decide if you want your table runner to have a specific theme or design. Look for fabrics with geometric patterns, floral prints, or abstract designs depending on your preference. Mixing different patterns can add visual interest to your table runner.
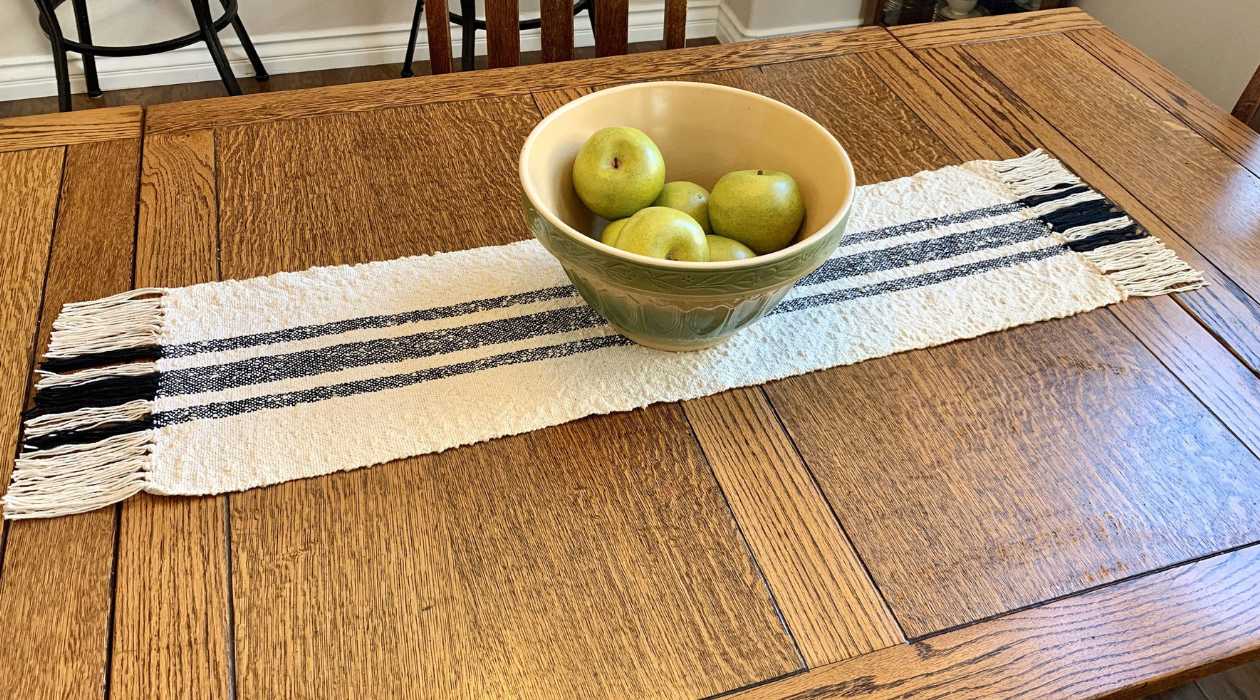
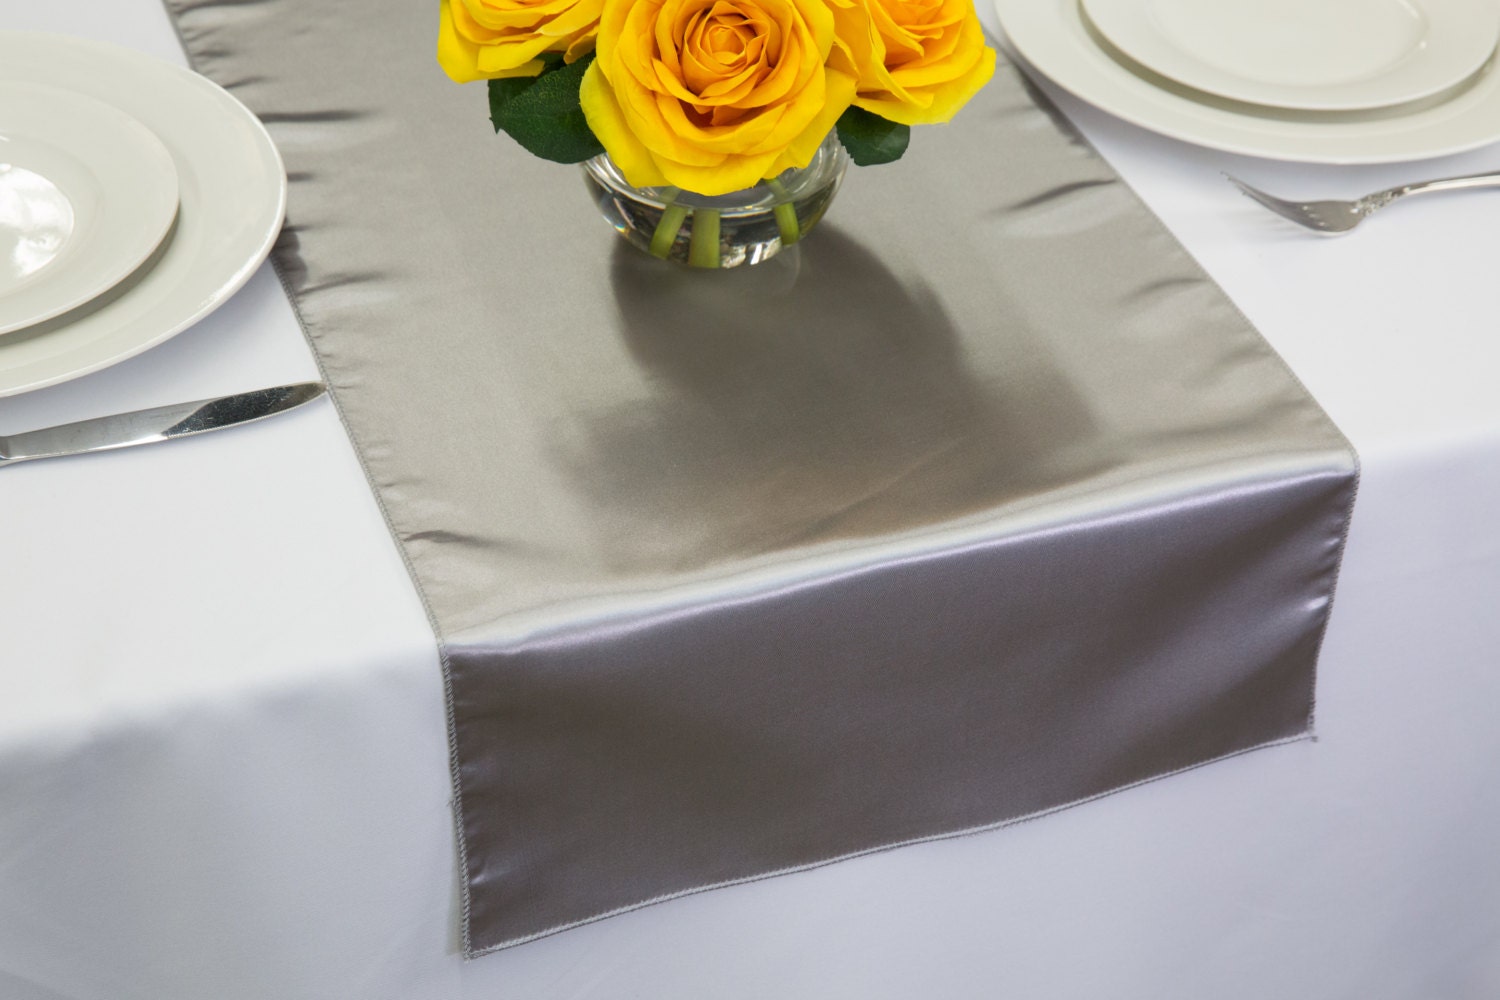
- Fabric Texture: Consider the texture of the fabric. You can choose smooth, silky fabrics for a more formal and elegant look or opt for textured fabrics like linen or burlap for a rustic or farmhouse-style table runner.
- Seasonal or Occasional Fabrics: If you want to create a table runner for a specific occasion or season, look for fabrics that reflect the theme. For example, choose festive fabrics with holiday motifs for a Christmas table runner or bright, floral fabrics for a spring-themed runner.
- Print Scale: Consider the scale of the fabric print. Larger prints can make a bold statement, while smaller prints can create a more subtle and intricate design.
It’s a good idea to gather swatches of the fabrics you are considering and lay them out together to see how they look as a cohesive collection. Experiment with different combinations and see which ones you are most drawn to.
Remember, quilting is all about creativity and personal expression, so trust your instincts and choose the fabrics that make you feel excited and inspired. Once you have selected your fabrics, it’s time to move on to the next step: measuring and cutting.
Measuring and Cutting
Accurate measuring and cutting are crucial steps in quilting a table runner. Properly measuring and cutting your fabric pieces will ensure that your table runner turns out the right size and shape. Here’s a step-by-step guide to help you with this process:
- Measure your table: Start by measuring the length and width of your table. Consider how much of the table surface you want the runner to cover. Typically, a table runner extends a few inches beyond the edges of the table on both sides.
- Determine the size of the runner: Based on the table measurements, decide the dimensions of your table runner. Keep in mind the desired width and length, and add a few extra inches to account for seam allowances and the desired overhang.
- Cut the backing fabric: Begin by cutting the backing fabric to the size of the desired runner. Ensure that the fabric is squared off and straight before cutting.
- Cut the batting: Next, cut the batting slightly smaller than the runner top. This will allow for seam allowances when assembling the layers.
- Cut the table runner top: Now it’s time to cut the fabric for the table runner top. Measure and cut the fabric according to the desired dimensions, taking into account seam allowances.
- Block cutting: If you plan to create quilt blocks for your table runner design, measure and cut the fabric for each block. Make sure to follow the block pattern or design instructions precisely for accurate cutting.
- Trimming and squaring: Once you have cut all the fabric pieces for the runner top and blocks, use a ruler and rotary cutter to trim any uneven edges and square off the fabric pieces. This will make it easier to align and sew the pieces together.
Remember to double-check your measurements before cutting to avoid any costly mistakes. It’s better to take your time and be accurate during this step to ensure a professional-looking end result.
With your fabric pieces accurately measured and cut, you are now ready to move on to the next step: sewing the quilt blocks together.
Sewing the Quilt Blocks
Once you have your fabric pieces cut and ready, it’s time to start sewing the quilt blocks for your table runner. Quilt blocks are individual units that, when sewn together, create a visually appealing design. Here’s a guide to help you sew the quilt blocks:
- Arrange the fabric pieces: Lay out your fabric pieces in the desired pattern and design for your table runner. This will give you a clear idea of how the finished runner will look.
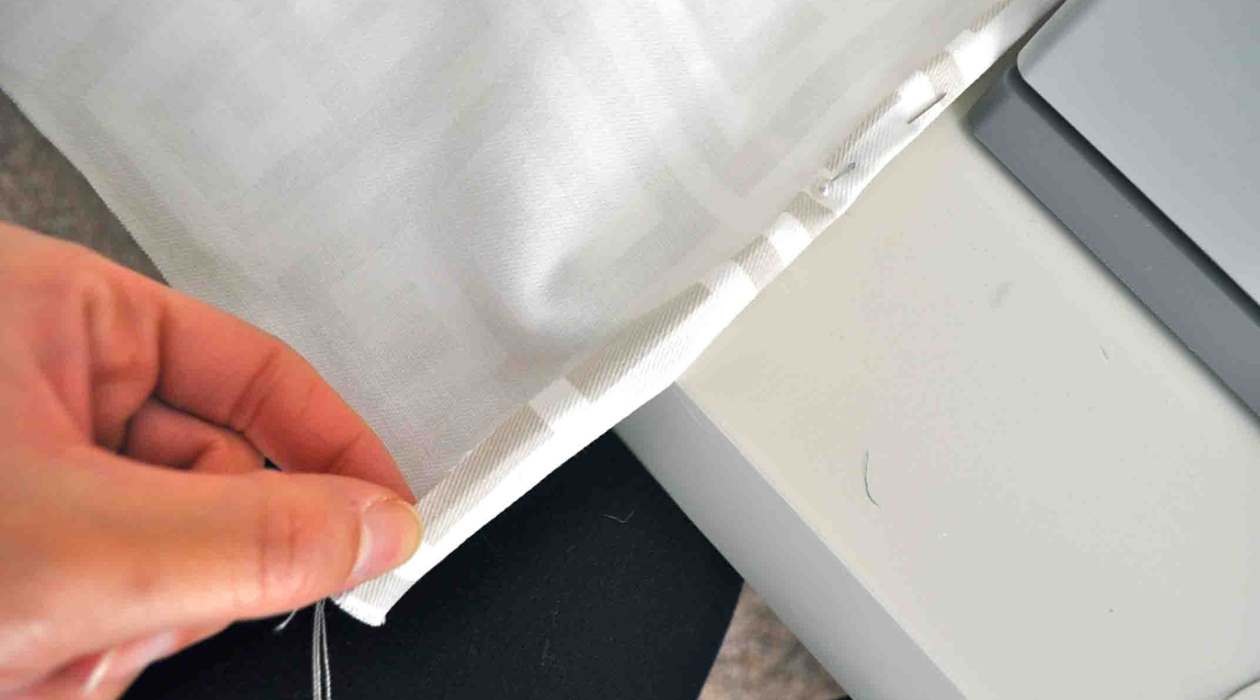
- Pin or clip the pieces: Once you are satisfied with the arrangement, pin or clip the fabric pieces together to keep them in place. Make sure to align the edges accurately.
- Sew the pieces together: Starting with the first two fabric pieces, place them right sides together and sew along the edge using a ¼ inch seam allowance. Press the seam open or towards one side as desired. Continue sewing the remaining fabric pieces together until you have completed the quilt block.
- Press the block: After sewing each seam, press it with an iron to create crisp and flat seams. This will also help to set the stitches and make the block easier to work with.
- Repeat for additional blocks: Repeat the process of arranging, pinning, sewing, and pressing for each quilt block according to your design. Take your time to ensure accurate piecing and seam matching.
- Trim and square the blocks: Once you have completed sewing the quilt blocks, trim any excess fabric and square off the blocks to ensure they are all the same size. Use a ruler and rotary cutter for precise trimming.
Remember to backstitch at the beginning and end of each seam to secure the stitches. This will prevent the fabric from unraveling during the quilting process. Also, take your time and sew with care to achieve neat and accurate seams.
Once all your quilt blocks are sewn, you can move on to the next step: assembling the table runner.
Read more: How To Make Braided Quilted Table Runners
Assembling the Table Runner
Now that you have sewn your quilt blocks, it’s time to assemble your table runner. Assembling the runner involves arranging the quilt blocks in the desired pattern and sewing them together to create the main body of the runner. Here’s how you can assemble your table runner:
- Lay out the quilt blocks: Start by laying out your quilt blocks in the desired order and pattern. Experiment with different arrangements until you find one that you like.
- Pin or clip the blocks: Once you are satisfied with the arrangement, pin or clip the blocks together to keep them in place. Ensure that the edges are aligned and secure.
- Sew the blocks together: Starting with the first two blocks, place them right sides together and sew along the edge using a ¼ inch seam allowance. Press the seam open or towards one side as desired. Continue sewing the remaining blocks together until you have completed the table runner top.
- Press the seams: After sewing each seam, press it with an iron to create crisp and flat seams. This will give your table runner a polished and professional appearance.
- Trim the edges: Once the blocks are sewn together, trim the edges of the table runner top to ensure that all sides are straight and even.
- Inspect for any adjustments: Take a moment to inspect the table runner top for any adjustments that may be needed. If you notice any uneven seams or misaligned blocks, make the necessary corrections before proceeding.
When assembling your table runner, keep in mind the overall design and the visual impact you want to achieve. Take your time in arranging and sewing the blocks to ensure a well-executed table runner that reflects your style and creativity.
With the table runner top assembled, you’re one step closer to completing your project. The next step is adding the border to enhance the overall look of the runner.
When quilting a table runner for beginners, start with simple straight-line quilting to build confidence and practice control. Gradually progress to more complex designs as skills improve.
Adding the Border
Adding a border to your table runner not only finishes the look but also provides a frame for the design. Borders can be a contrasting fabric or a continuation of the main fabric used in the quilt blocks. Here’s how you can add a border to your table runner:
- Measure the sides of the table runner: Start by measuring the length of each side of your table runner. This will help you determine the length of the border strips needed.
- Cut the border fabric: Use the measurements obtained in the previous step to cut strips of fabric for the borders. The width of the strips can vary based on your preference, but a common width is 2 to 4 inches.
- Attach the borders: Starting with one side of the table runner, align and pin the border strip to the edge, right sides together. Sew the border strip to the runner using a ¼ inch seam allowance. Repeat this process for all sides of the runner.
- Press the seams: After sewing each border strip, press the seams open or towards the border fabric using an iron. This will make the borders lie flat and blend seamlessly with the table runner top.
- Trim and square the borders: Once the borders are attached, trim any excess fabric and square off the corners to ensure that all sides are even. Use a ruler and rotary cutter for precise trimming.
- Inspect and adjust: Take a moment to inspect the table runner with the added borders. Check for any uneven seams or misaligned corners. Make any necessary adjustments to achieve a well-finished runner.
When selecting the border fabric, consider the color and pattern that will complement the quilt blocks and enhance the overall design of the table runner. Borders can provide a visually striking contrast or create a harmonious blend, depending on your desired aesthetic.
With the border added, your table runner is starting to take shape. The next step is quilting the runner to give it texture and stability.
Quilting the Table Runner
Quilting is the process of stitching through the layers of the table runner to create texture and secure the fabric. It not only adds beauty to the runner but also provides stability and durability. Here’s how you can quilt your table runner:
- Prepare the layers: Lay the table runner top with the border right side up on a flat surface. Place the batting on top of the runner, ensuring it is centered and smooth. Finally, place the backing fabric right side down on top of the batting.
- Baste the layers: To hold the layers together during quilting, you will need to baste them. There are different methods to baste, such as using safety pins or temporary adhesive spray. Choose the method that works best for you and baste the layers at regular intervals to prevent shifting during quilting.
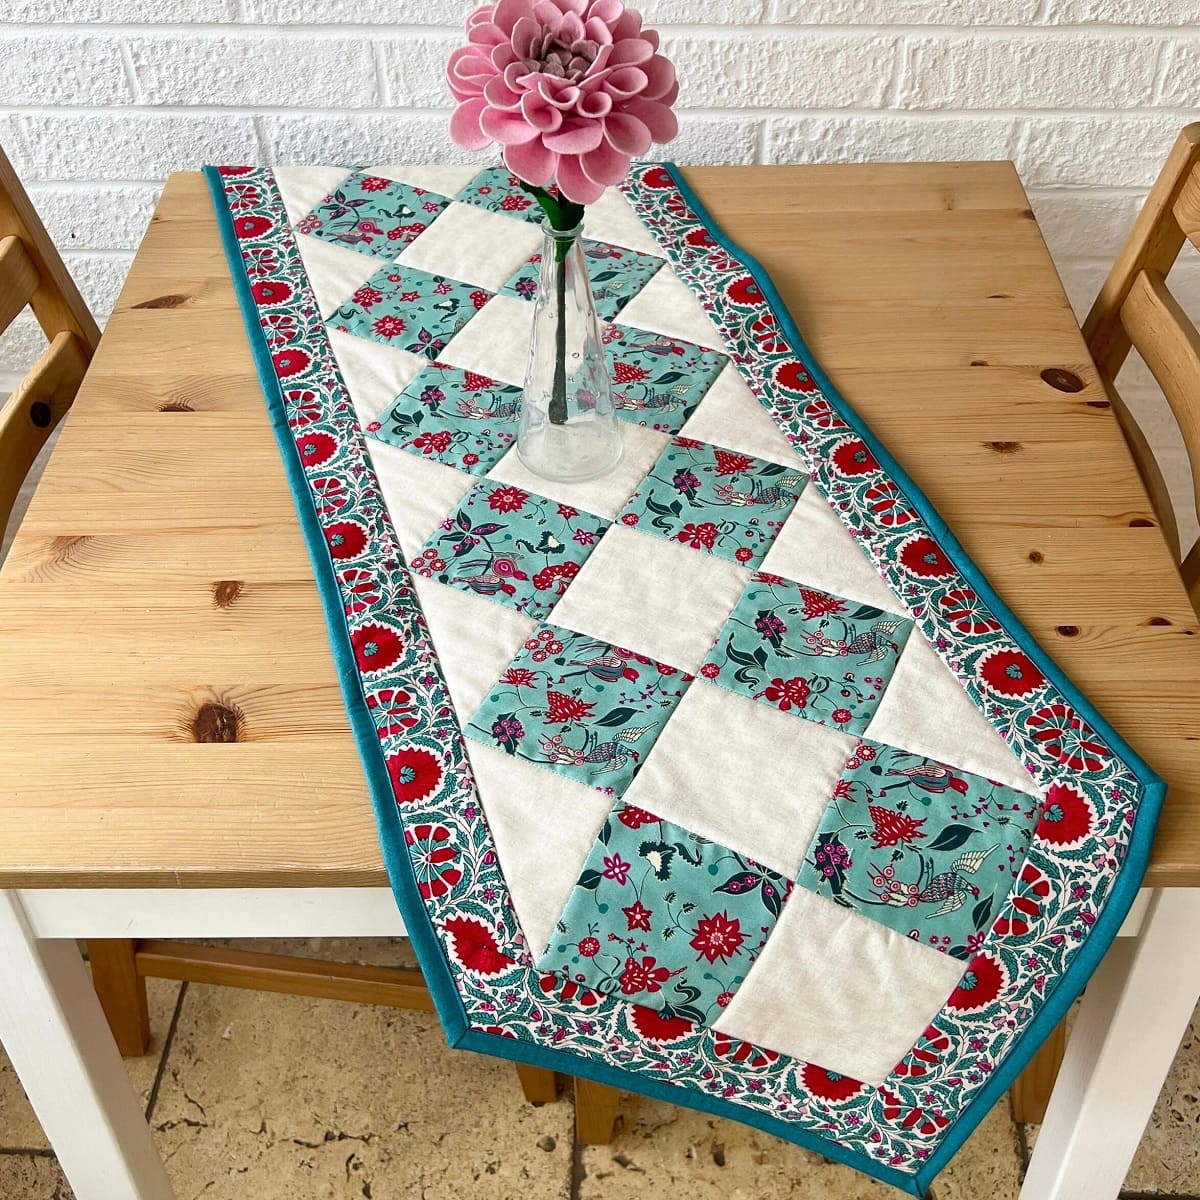
- Choose a quilting design: Decide on the quilting design you want to stitch on the table runner. This can be simple straight lines, a meandering pattern, or intricate free-motion quilting. Consider the overall design of your table runner and the level of quilting experience you have.
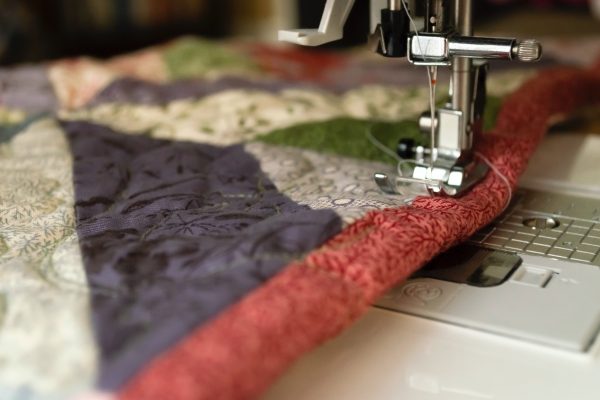
- Quilt the table runner: Using your sewing machine, stitch along the chosen quilting design. Take your time and ensure even stitching throughout the runner. Start from the center and work your way outward to minimize wrinkles and puckering.
- Secure loose threads: After quilting, trim any loose threads and secure them to prevent unraveling. A quick way to secure loose threads is to stitch in place, backstitch, or tie knots.
- Inspect and adjust: Once quilting is complete, carefully inspect the table runner for any uneven stitching or areas that require adjustment. Make any necessary fixes to ensure a polished and well-quilted runner.
Quilting gives your table runner a professional and finished look. It is also an opportunity to unleash your creativity and add your personal touch to the project. Remember to quilt with patience and enjoy the process.
With the quilting done, your table runner is almost complete! The next step is binding the runner to provide a clean and neat edge.
Binding the Table Runner
Binding is the final step in completing your table runner. It not only gives a polished look to the edges but also helps to secure the layers together. Here’s how you can bind your table runner:
- Measure and cut the binding strips: Measure the perimeter of your table runner to determine the length of the binding strips. The width of the strips is typically 2.5 to 3 inches. Cut enough strips to cover the entire perimeter of the runner, plus a little extra for joining and mitered corners.
- Join the binding strips: If necessary, join the binding strips together to create one continuous strip. To join, lay two ends at a right angle and sew diagonally from corner to corner. Trim the excess fabric and press the seam open.
- Prepare the binding: Fold the binding strip in half lengthwise, wrong sides together, and press to create a crease. This will serve as a guide when attaching the binding to the runner.
- Attach the binding: Starting in the middle of one side, align the raw edges of the binding with the raw edge of the table runner. Leave a few inches of binding loose at the beginning. Begin sewing with a ¼ inch seam allowance, and backstitch at the beginning. Sew along the edge, stopping ¼ inch away from the corner.
- Create mitered corners: To create mitered corners, fold the binding up at a 45-degree angle, away from the runner. Then fold it back down, aligning the edge with the next side of the runner. Continue sewing along the next edge, again stopping ¼ inch away from the next corner. Repeat this process for all corners.
- Finishing the binding: Once you have stitched around all four corners, leave a few inches of binding loose before reaching the starting point. Trim the excess binding and overlap the loose ends. Fold the ends back on themselves and stitch across to secure.
- Final touches: Press the binding away from the runner, away from the seam line, and then fold it over to the back of the runner. Pin or clip in place. Hand stitch the folded binding to the back of the runner using a blind stitch or a slip stitch. This will create an invisible finish.
- Inspect and finalize: Take a moment to inspect the binding for any missed stitches or unevenness. Make any necessary adjustments before declaring your table runner complete.
The binding gives your table runner a clean and professional edge. It also adds durability, ensuring that the layers stay securely in place for years to come.
With the binding sewn on, your table runner is now finished! All that’s left is to add the final touches.
Read more: How To Machine Quilt For Beginners
Finishing Touches
Congratulations on completing your table runner! Just a few final touches will elevate the overall look and ensure your runner is ready to be displayed or gifted. Here are some ideas for adding those finishing touches:
- Press the table runner: Give your table runner a final press with an iron to smooth out any wrinkles and ensure the quilt blocks and borders look crisp and neat.
- Trim loose threads: Take a moment to trim any loose threads that may be sticking out from the quilting stitches or the binding. This will give your table runner a clean and polished appearance.
- Add embellishments: If desired, consider adding embellishments to your table runner. This could include applique, decorative buttons, ribbon, or embroidery. However, be mindful not to overwhelm the design and keep it cohesive with the overall style of your runner.
- Label your table runner: For a personal touch, consider adding a label to the back of your table runner. Include your name, the date it was made, and any other details you’d like to remember. This will add a special touch and make it a cherished heirloom for years to come.
- Display or gift-wrap: Once your table runner is complete, decide whether you want to display it in your home or gift-wrap it for a loved one. If displaying, choose an appropriate location that showcases the beauty and craftsmanship of your creation. If gifting, carefully wrap the table runner with tissue paper or a gift box and add a heartfelt note to accompany it.
Remember, the finishing touches are a chance to personalize and make your table runner truly unique. Feel free to get creative and let your style shine through.
Now that you have completed all the necessary steps, you can proudly enjoy your handmade table runner or present it as a thoughtful and meaningful gift. Quilting a table runner is a rewarding and satisfying project that allows you to showcase your creativity and craftsmanship. Enjoy the process and the beauty it brings to your home!
Happy quilting!
Conclusion
Congratulations on reaching the end of this guide on how to quilt a table runner for beginners! You have learned the essential steps and techniques to create a stunning table runner that adds beauty and functionality to your dining table. Quilting a table runner is a rewarding journey that allows you to express your creativity and create a unique piece of art.
Throughout this guide, we covered the materials needed, choosing the fabric, measuring and cutting, sewing the quilt blocks, assembling the table runner, adding the border, quilting the runner, binding the edges, and finally, adding the finishing touches. By following these steps, you have acquired the knowledge and skills to confidently quilt a table runner.
Remember, quilting is a personal and creative endeavor. Use this guide as a foundation and let your imagination soar. Experiment with color combinations, patterns, and quilting designs to make your table runner truly one-of-a-kind.
Whether you display your table runner in your own home or gift it to someone special, it will surely be appreciated and admired. The time, effort, and love you put into creating the runner will shine through in its beauty and craftsmanship.
So gather your materials, choose your fabrics, and get started on quilting a table runner that reflects your personal style and creativity. Embrace the joy of quilting and enjoy the process of bringing your vision to life.
Happy quilting and may your table runner bring warmth and elegance to your home for years to come!
Now that you're on your way to creating stunning table runners, why not expand your quilting horizons? Our next guide, Quilt Patterns, offers a collection of inspired designs that are perfect for any skill level. Whether you're looking to add a touch of modern flair or stick with traditional styles, these patterns provide plenty of creative fuel to keep your projects fresh and exciting. Dive into these new challenges and watch your quilting skills flourish!
Frequently Asked Questions about How To Quilt A Table Runner For Beginners
Was this page helpful?
At Storables.com, we guarantee accurate and reliable information. Our content, validated by Expert Board Contributors, is crafted following stringent Editorial Policies. We're committed to providing you with well-researched, expert-backed insights for all your informational needs.

0 thoughts on “How To Quilt A Table Runner For Beginners”