Home>Dining>Table Decor>How To Sew Table Runners

Table Decor
How To Sew Table Runners
Modified: February 24, 2024
Create beautiful table decor with these easy-to-follow instructions on how to sew table runners. Enhance your dining experience with stylish and custom-made designs.
(Many of the links in this article redirect to a specific reviewed product. Your purchase of these products through affiliate links helps to generate commission for Storables.com, at no extra cost. Learn more)
Introduction
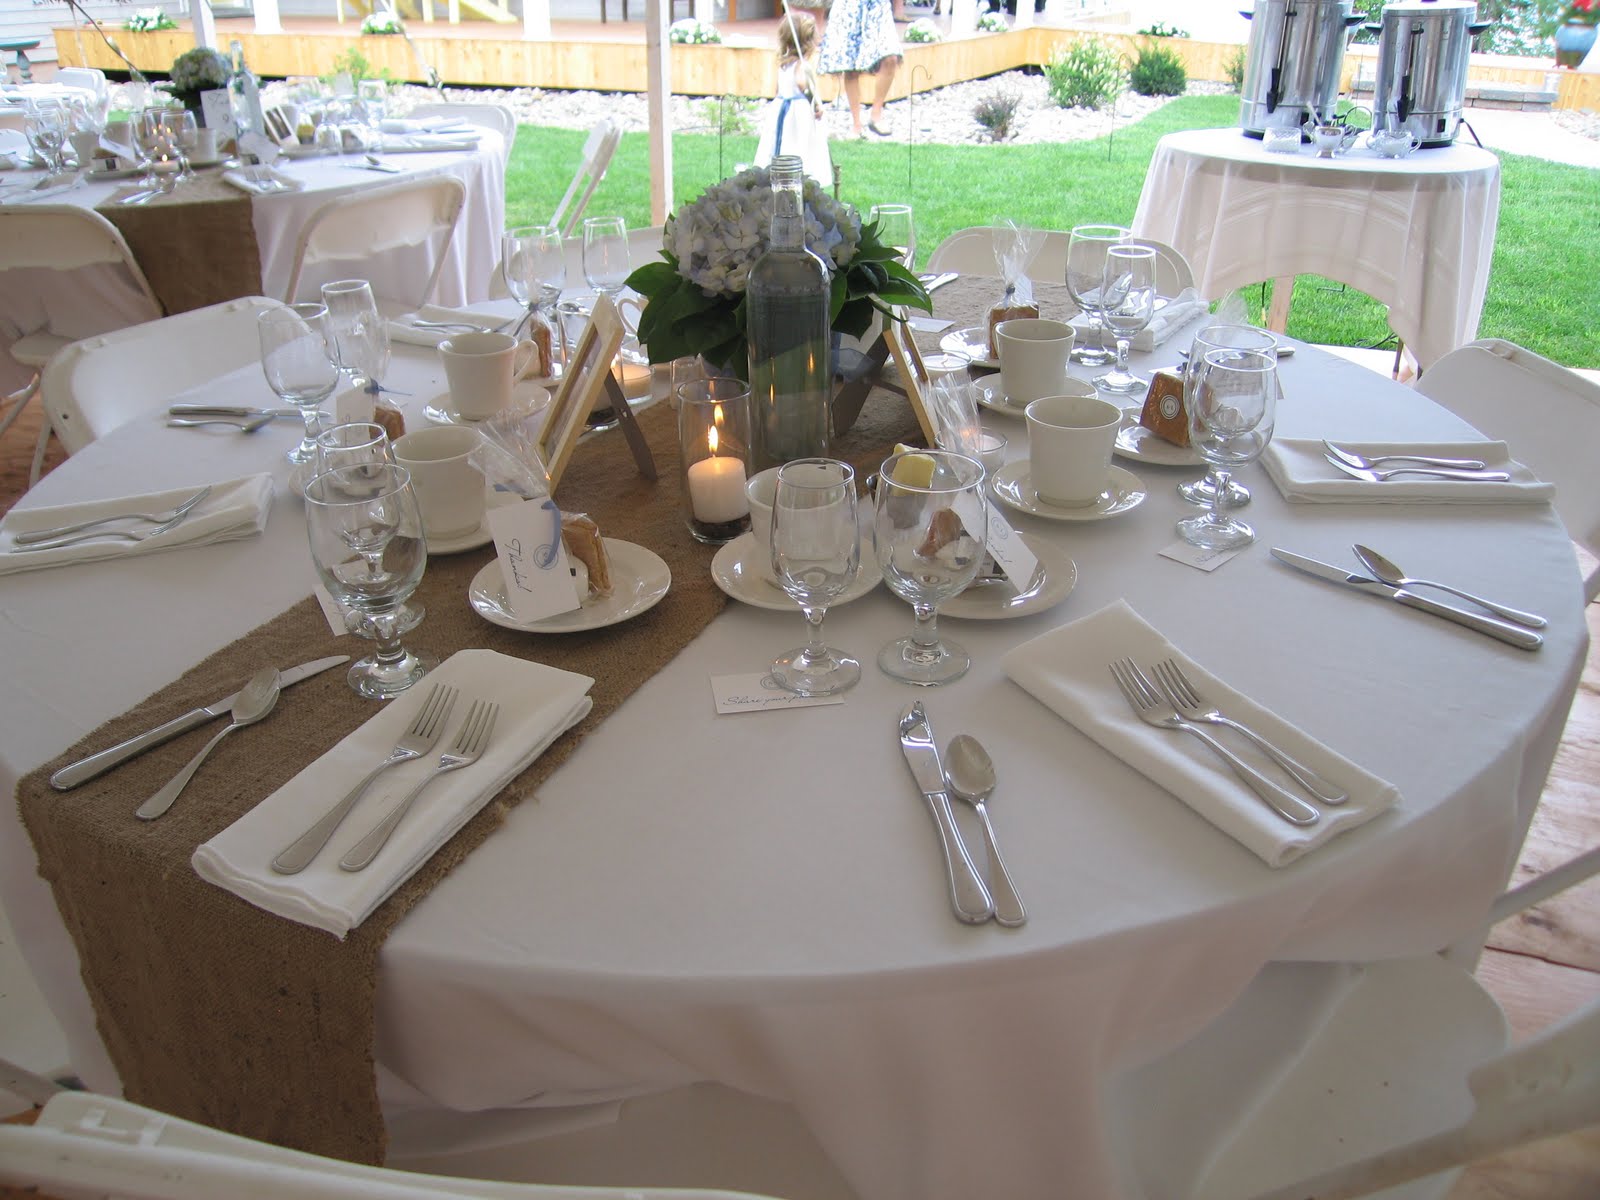
Welcome to the world of table decorations! Whether you’re hosting a formal dinner party, a casual gathering, or just want to add a touch of elegance to your dining room, table runners are a wonderful way to enhance the aesthetic appeal of your table. These long strips of fabric not only protect your table from scratches and spills but also serve as a stylish centerpiece for any occasion.
In this article, we will explore the art of sewing table runners. We will discuss the materials needed, the step-by-step process of creating a table runner, and offer some tips and tricks to make your design stand out. So, let’s gather our tools and dive into the world of table decor!
Key Takeaways:
- Elevate your dining experience by sewing your own table runner. Choose the perfect fabric, add embellishments, and enjoy the creative process to impress your guests and add a personal touch to any occasion.
- Let your creativity shine as you embark on the fulfilling journey of sewing a table runner. Experiment with fabrics, colors, and embellishments to create a stunning and unique centerpiece for your dining table.
Materials Needed
Before we embark on our table runner sewing adventure, let’s gather the necessary materials. Here’s a list of items you’ll need:
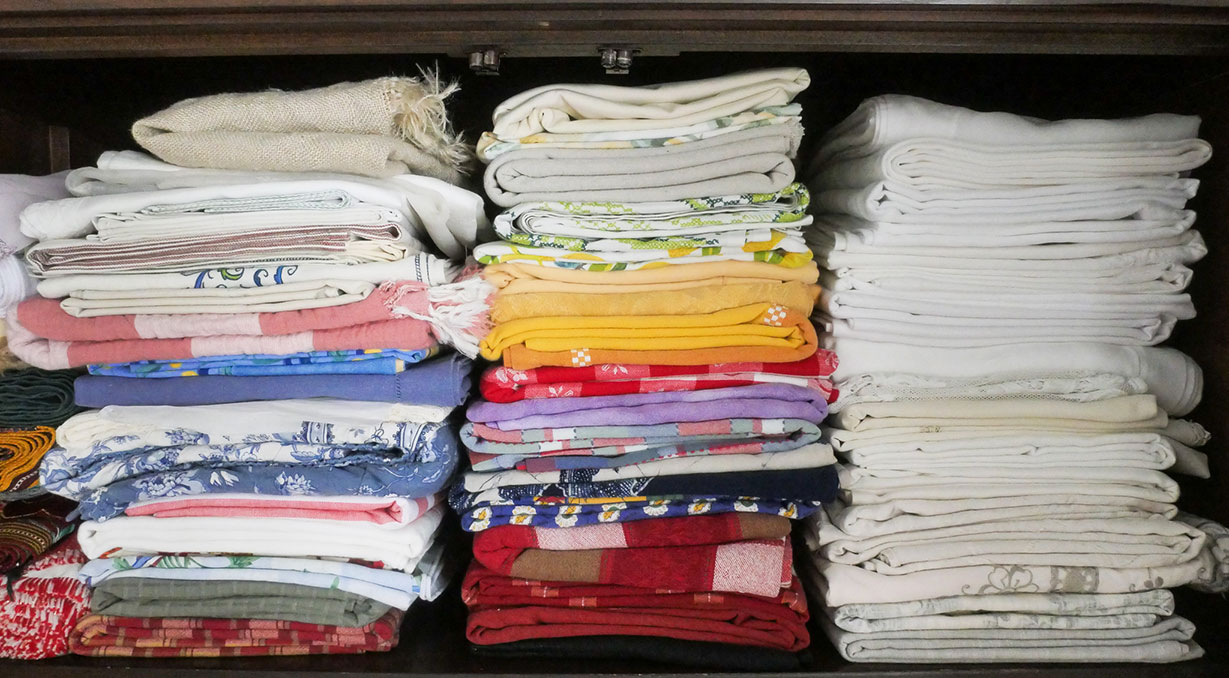
- Fabric: Choose a fabric that suits your style and the occasion. Consider the size of your table and the desired length of the runner. Opt for high-quality fabric like cotton, linen, or silk for a luxurious feel.
- Thread: Select a thread that matches or complements the color of your fabric. Polyester or cotton thread works well for most projects.
- Measuring tape: This essential tool will help you accurately measure the dimensions of your table and the desired length of the runner.
- Pins: Use straight pins to secure the fabric in place as you sew.
- Scissors: A sharp pair of fabric scissors will make cutting the fabric a breeze.
- Sewing machine: While you can hand-sew a table runner, a sewing machine will save you time and ensure a neat and professional finish.
- Iron: An iron is necessary for pressing the fabric and achieving crisp and clean lines.
- Optional embellishments: If you want to add a personal touch to your table runner, consider adding embellishments such as lace trim, ribbon, or embroidery thread.
Once you have gathered these materials, you’ll be well-equipped to start sewing your very own table runner!
Getting Started
Now that you have all the necessary materials, it’s time to dive into the world of table runner sewing. Here’s a step-by-step guide to get you started:
- Prepare your workspace: Find a clean, well-lit area where you can comfortably work on your project. Clear any clutter and make sure you have enough space to lay out your fabric.
- Measure your table: Use a measuring tape to determine the length and width of your table. This will help you calculate the dimensions of your table runner.
- Determine the length of your table runner: Decide how long you want your table runner to be. It can be a few inches shorter or longer than the length of your table, depending on your personal preference and style.
- Cut the fabric: Using your measurements, cut the fabric to the desired width and length of your table runner. Remember to add a few inches for hemming and seam allowance.
- Prepare the fabric edges: To prevent fraying, fold and press the edges of the fabric by half an inch, and then fold and press it again. Secure the folded edges with pins.
Now that you have prepared your workspace and cut the fabric, you’re ready to move on to the next steps of sewing your table runner. In the following sections, we will discuss fabric selection, hemming the edges, adding embellishments, sewing the seams, and adding the final touches to create a beautiful and personalized table runner.
Choosing the Fabric
When it comes to choosing the fabric for your table runner, the options are endless. The fabric you select will play a vital role in the overall look and feel of your table decor. Here are a few tips to help you choose the perfect fabric:
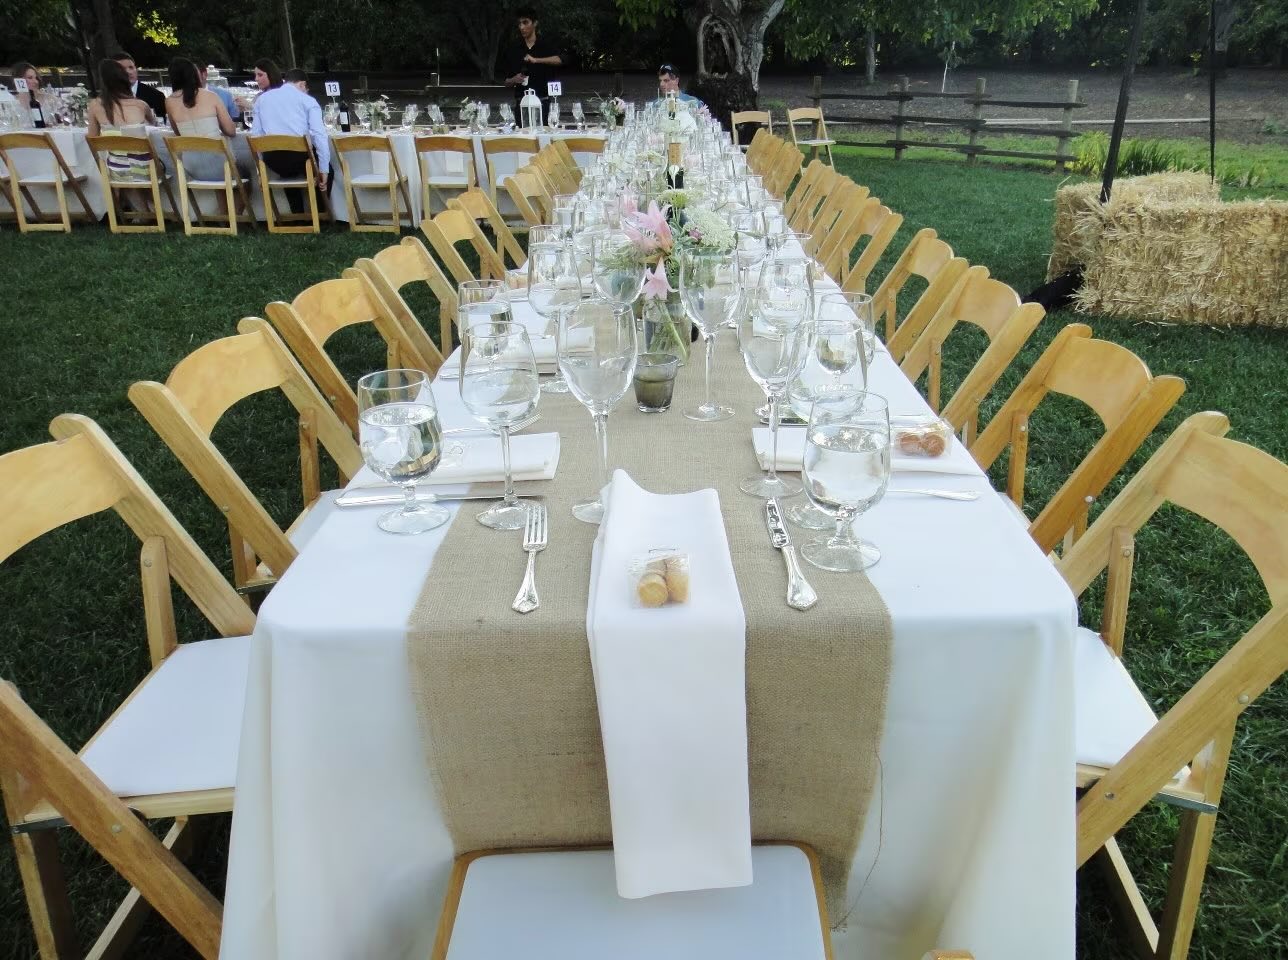
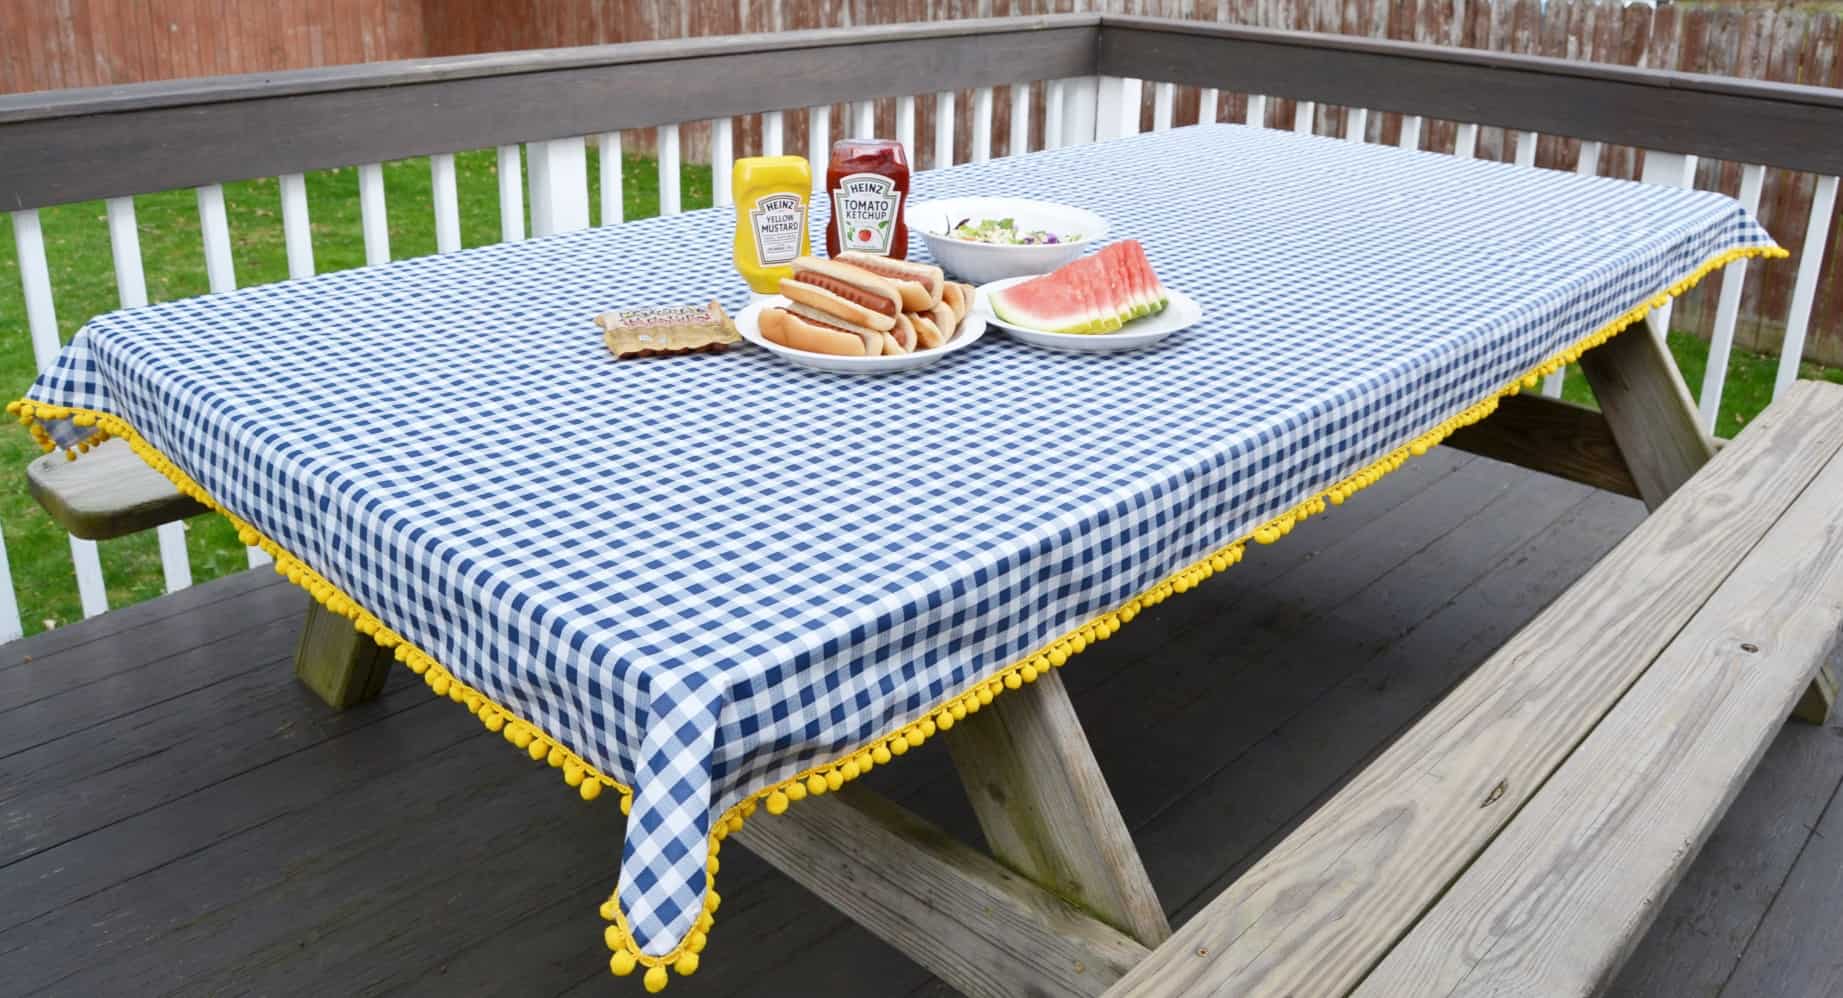
- Consider the occasion: Think about the theme or occasion for which you’ll be using the table runner. For formal events, like weddings or holiday dinners, consider luxurious fabrics like silk or satin. For a more casual or everyday look, cotton or linen fabric may be more appropriate.
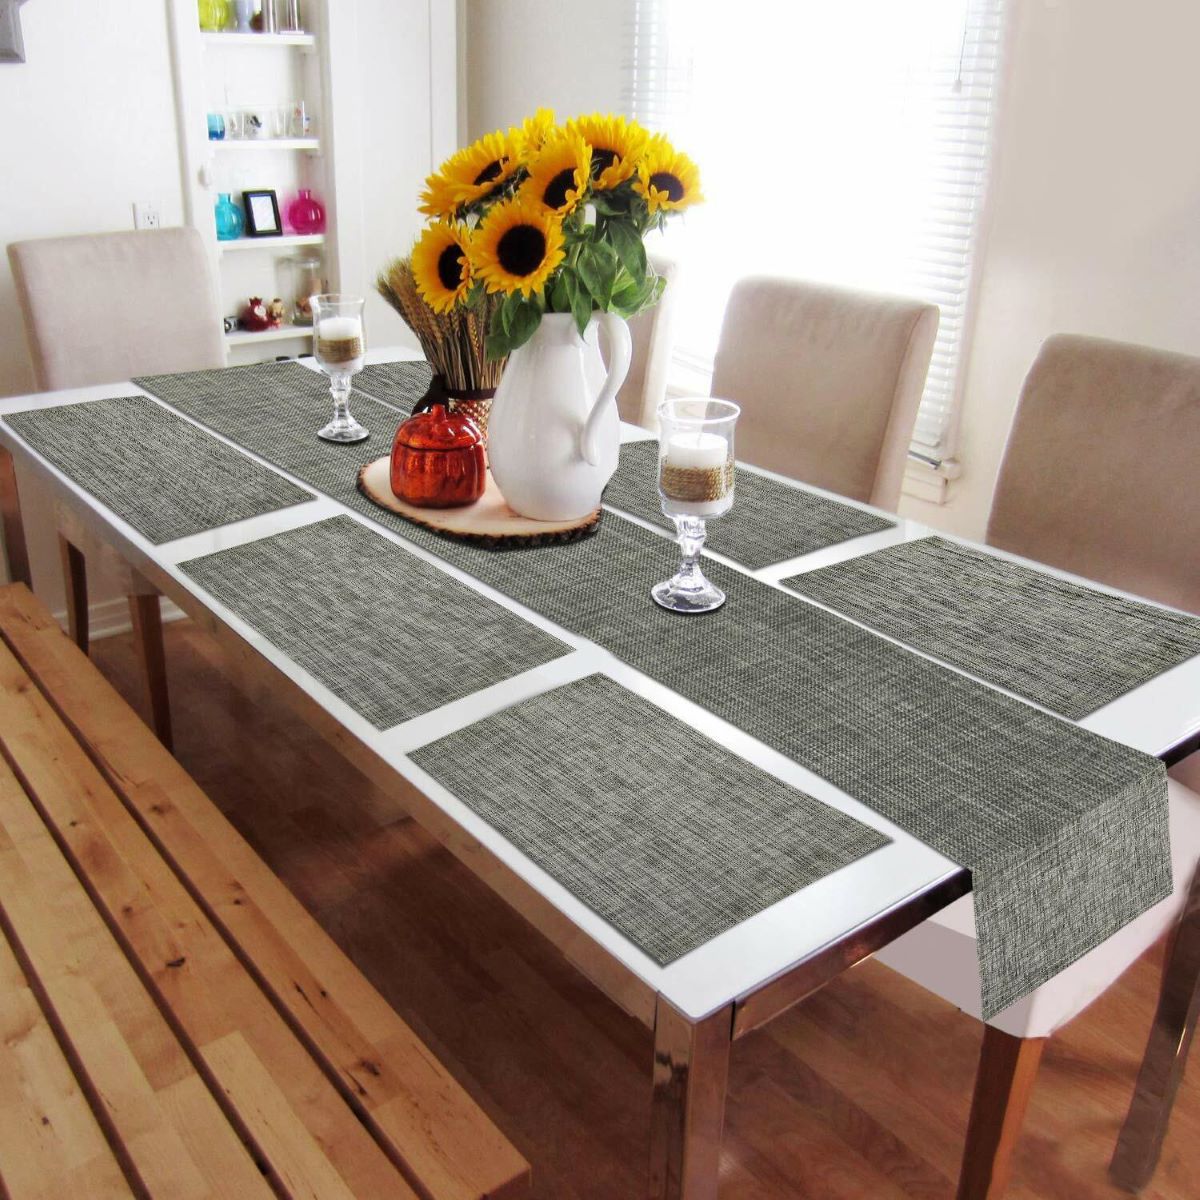
- Take into account the table shape and size: If you have a round or oval table, you may want to choose a fabric with a pattern that complements the shape. For rectangular or square tables, you have more flexibility to choose any fabric design you like.
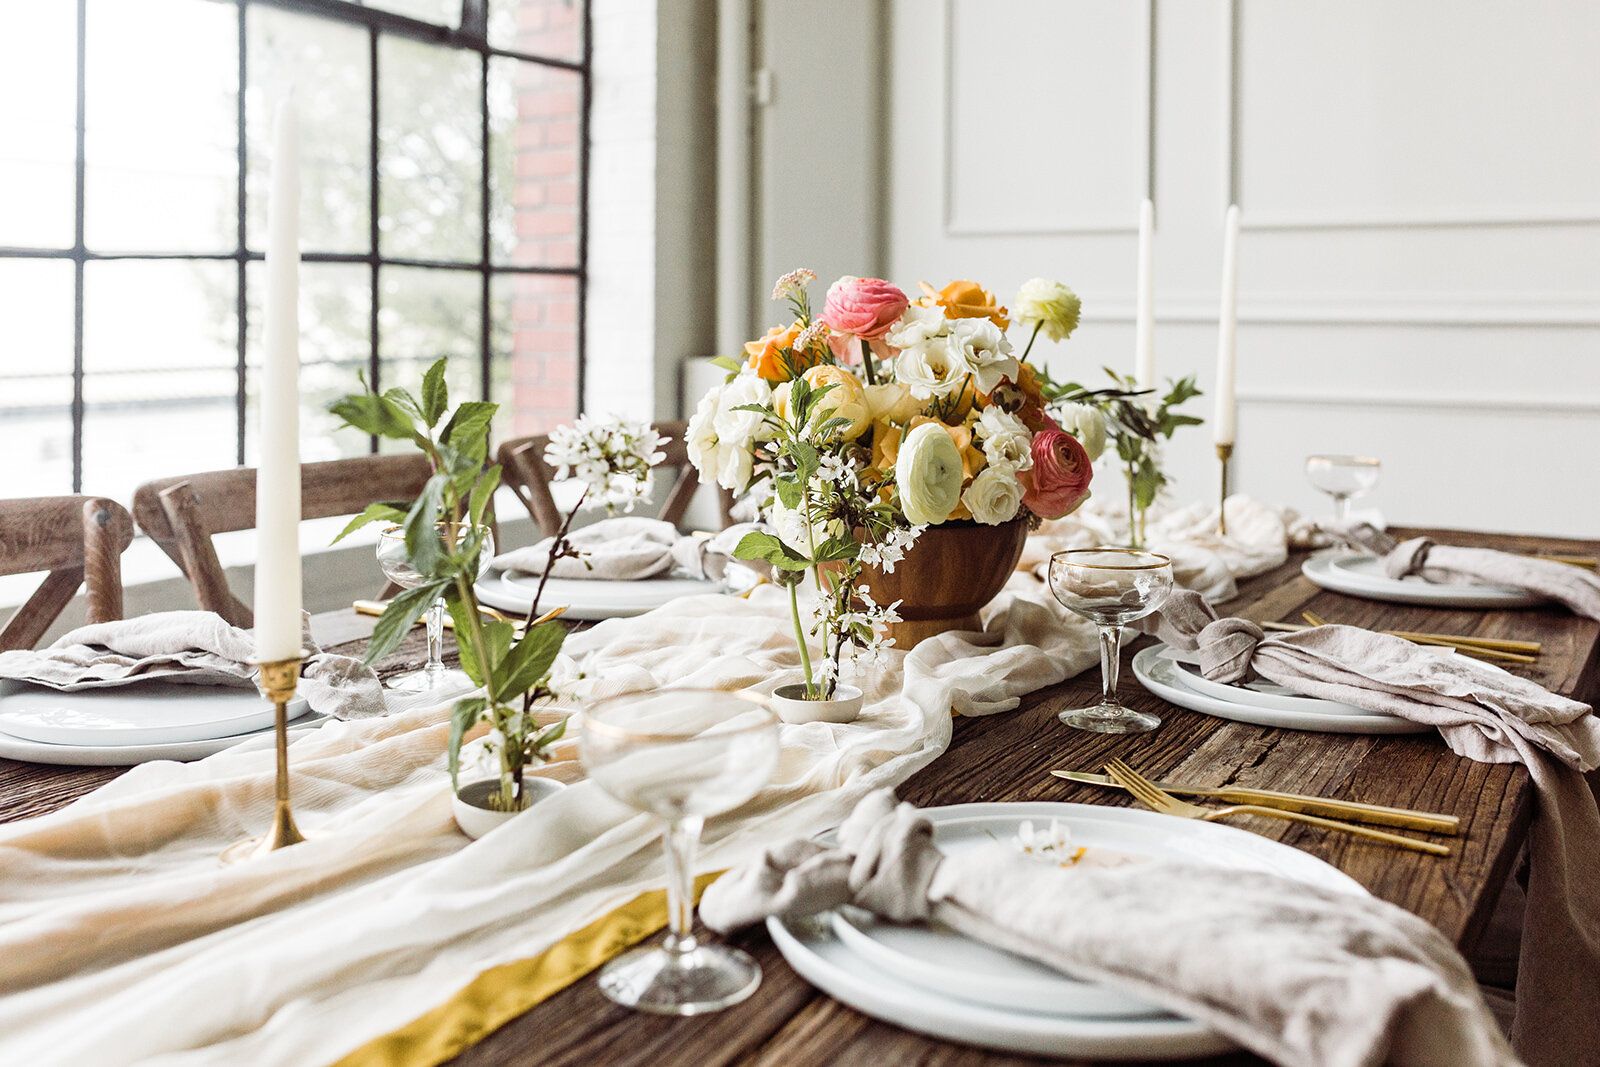
- Think about color and pattern: Consider the color scheme of your dining room or the event you’re hosting. Choose a fabric color that complements the room’s decor or adds a pop of color to your table setting. If you prefer a patterned fabric, select one that aligns with your personal style and matches the overall aesthetic of your dining area.
- Consider the practicality: If you anticipate heavy use of the table runner, opt for a fabric that is durable and easy to clean. Avoid delicate fabrics that may snag or stain easily. Look for machine-washable or stain-resistant fabrics that will withstand regular use.
- Think about the seasons: Consider the time of the year when selecting your fabric. For spring and summer, lighter fabrics with vibrant colors or floral prints can create a fresh and airy atmosphere. For fall and winter, you may prefer heavier fabrics in rich, warm tones to create a cozy and inviting ambiance.
By carefully considering these factors, you can choose a fabric that not only matches your personal style but also complements the occasion and enhances the overall aesthetic of your table decor.
Measuring and Cutting
Now that you have chosen the perfect fabric for your table runner, it’s time to take accurate measurements and cut the fabric to the desired size. Follow these steps to ensure that your table runner fits your table perfectly:
- Measure your table: Use a measuring tape to determine the length and width of your table. If your table has rounded edges, measure from one rounded corner to the other for an accurate length measurement.
- Determine the dimensions: Decide how wide and long you want your table runner to be. You may want a narrow runner that sits in the center of the table or a wider one that drapes over the edges.
- Add the seam allowance: Consider adding an extra half inch to each side for seam allowance. This will ensure that your table runner doesn’t end up too short after sewing the edges.
- Mark the fabric: Using a fabric pencil or chalk, mark the measurements on your fabric. Use a ruler or a straight edge to draw straight lines for precise cutting.
- Cut the fabric: Carefully cut along the marked lines using fabric scissors. Take your time to ensure that the cuts are straight and clean.
Once you have cut the fabric to the desired size, you are one step closer to completing your table runner. In the next section, we will discuss how to hem the edges and create a professional-looking finish.
Read more: How To Get Grass Stains Out Of Tennis Shoes
Hemming the Edges
After cutting the fabric to the desired size, it’s important to hem the edges of your table runner. Hemming not only prevents fraying but also gives your table runner a polished and finished look. Follow these steps to hem the edges:
- Prepare the fabric: Fold and press the edge of the fabric by half an inch towards the wrong side of the fabric. Use an iron to create a crisp fold. Repeat this step for all four sides of the table runner.
- Secure with pins: Once the edges are folded, use straight pins to secure the folded edges in place. Space the pins evenly along the hem to keep the fabric aligned.
- Stitch the hem: Using a sewing machine, stitch along the folded edge to secure the hem. Choose a straight stitch or a decorative stitch, depending on your preference. Remove the pins as you sew, being careful not to sew over them.
- Trim excess fabric: After sewing the hem, trim any excess fabric or loose threads for a clean and tidy finish.
Remember to backstitch at the beginning and end of your stitches to secure the thread. Hem all four edges of the table runner, and make sure the corners are neatly folded and stitched. Take your time to ensure that the stitches are straight and even for a professional-looking result.
Once you have hemmed all the edges, your table runner is ready for the next step—adding embellishments to add a personal touch. We will discuss this exciting step in the following section.
When sewing table runners, be sure to prewash your fabric to prevent shrinkage. Also, use a walking foot to help feed the fabric evenly and prevent shifting during sewing.
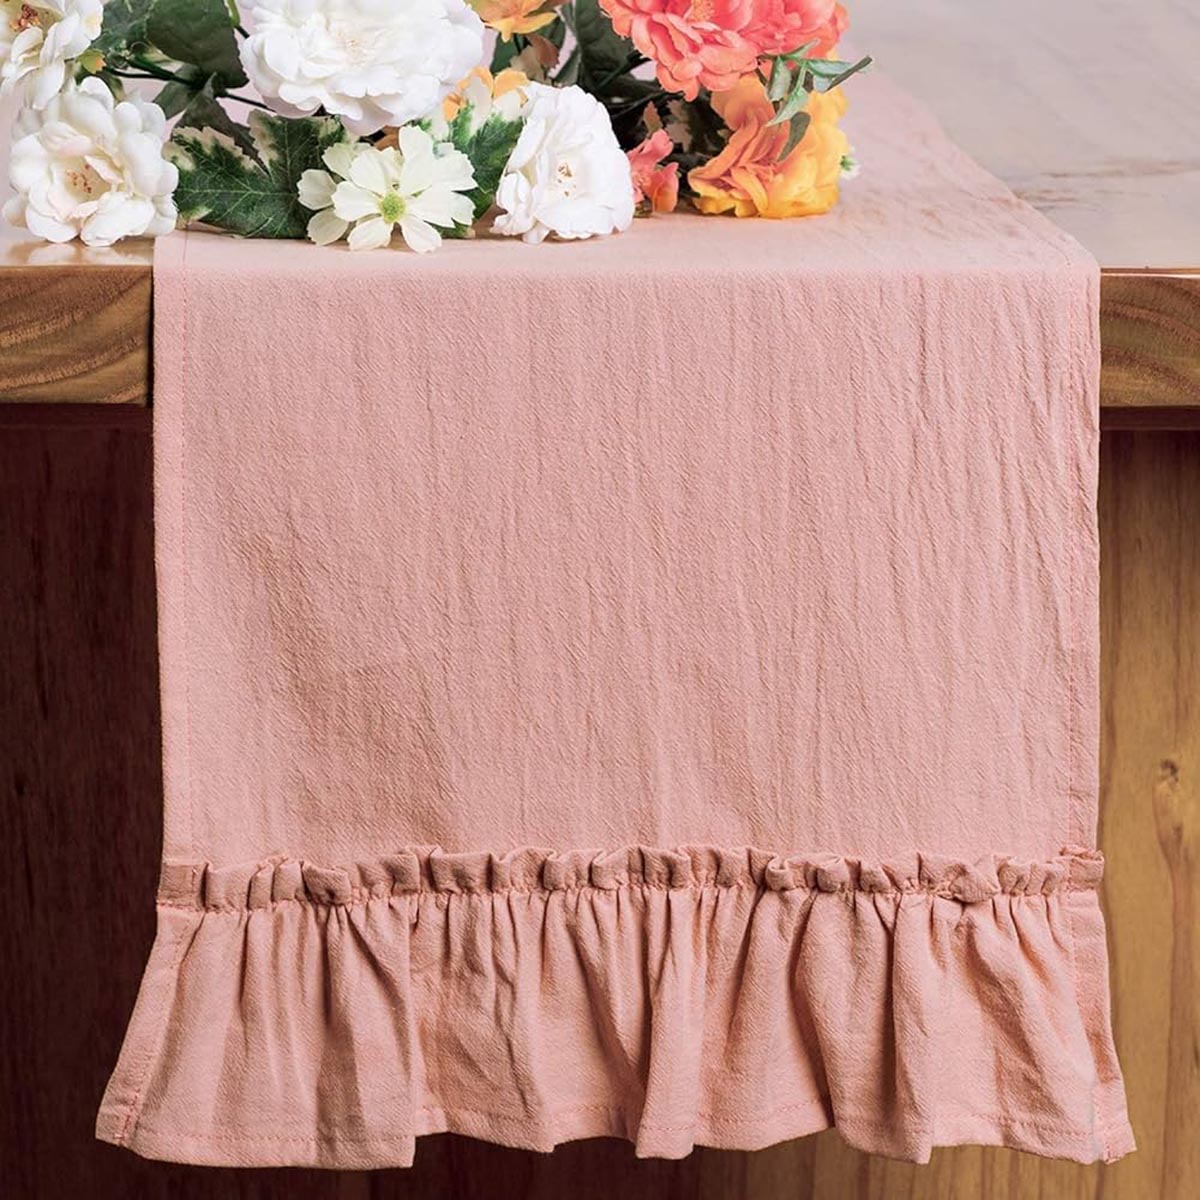
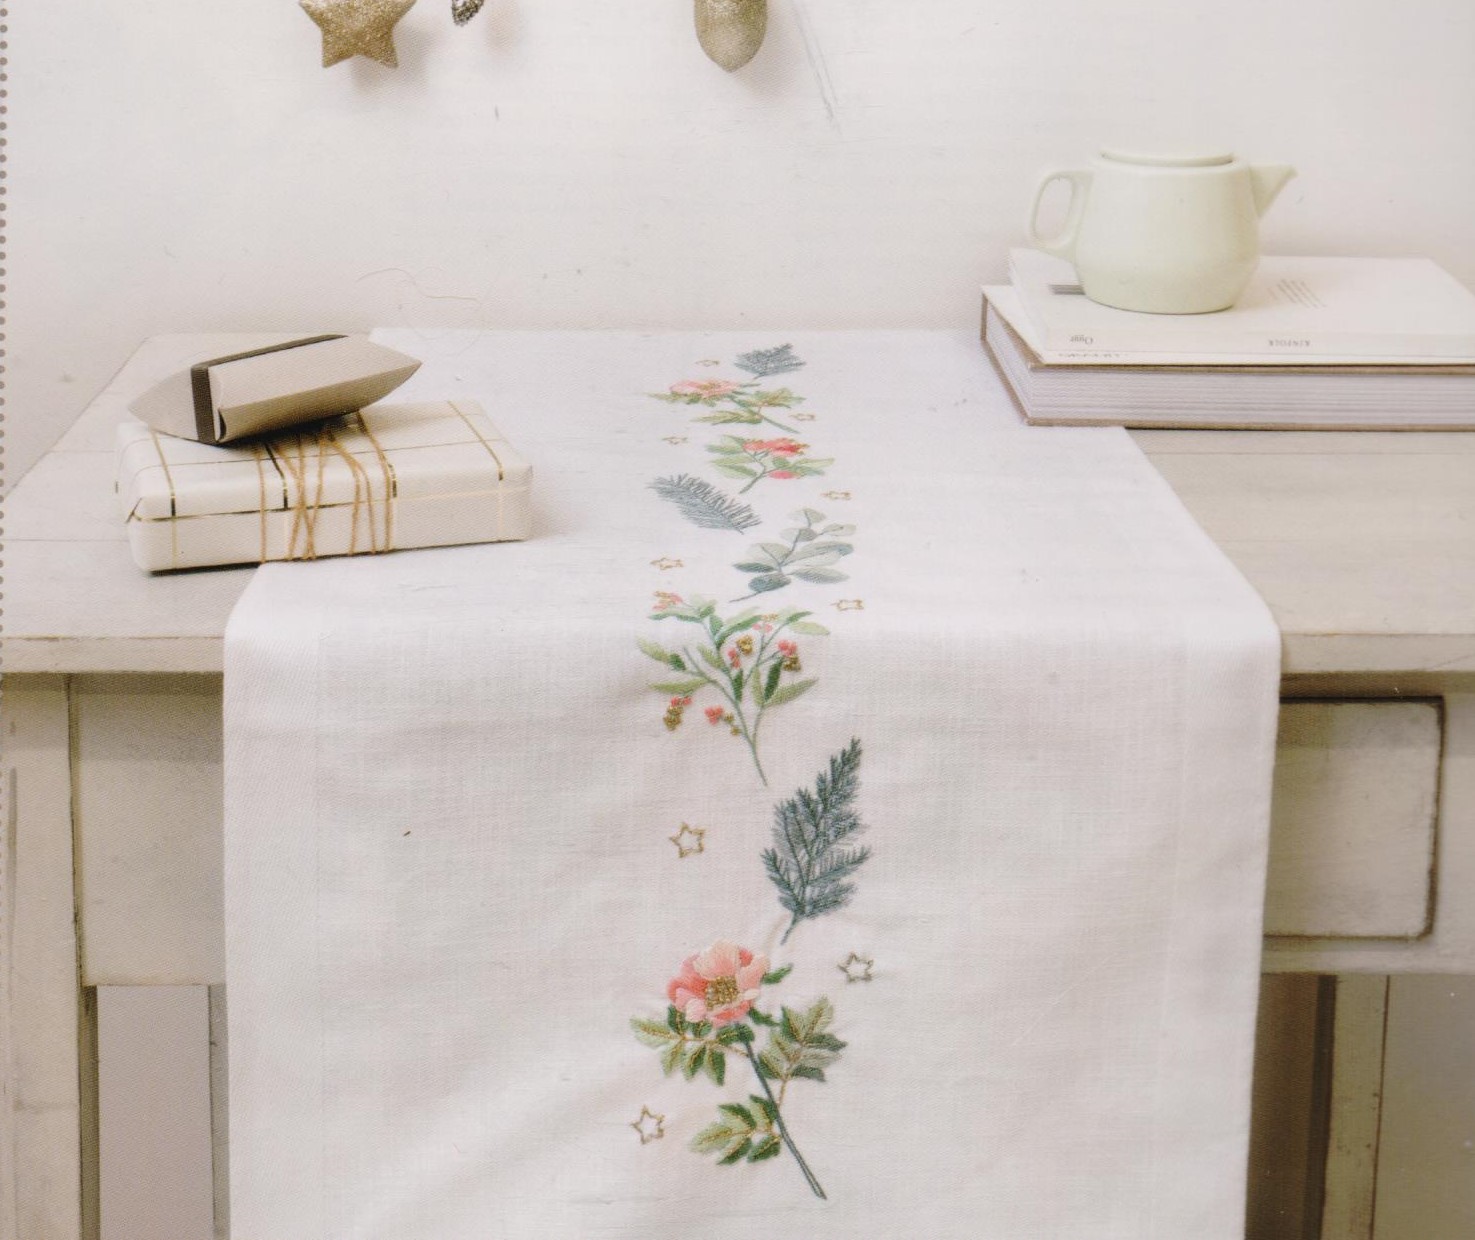
Adding Embellishments
Now that you have a beautifully hemmed table runner, you can take it to the next level by adding embellishments. Embellishments add a personal touch and can elevate the overall look of your table decor. Here are some ideas for adding embellishments to your table runner:
- Lace trim: Adding a delicate lace trim to the edges of your table runner can instantly add a touch of elegance. Sew the lace trim along the hem using a narrow zigzag or straight stitch.
- Ribbon accents: Attach a ribbon or multiple ribbons to the length of the table runner. You can choose a ribbon that complements the fabric or opt for a contrasting color for a pop of visual interest.
- Embroidery: If you enjoy embroidery, consider adding intricate designs or monograms to your table runner. Use embroidery thread and various stitches to create beautiful patterns or personalize it with initials or a special message.
- Appliqués: Appliqués are fabric shapes that are sewn onto the surface of another fabric. You can use fabric scraps or pre-made appliqués to create unique designs on your table runner.
- Beads and sequins: For a more glamorous look, sew beads or sequins onto your table runner. You can create patterns or scatter them randomly for a sparkling effect.
When adding embellishments, it’s important to consider the overall style and aesthetic you want to achieve. Choose embellishments that complement your fabric choice and match the occasion or theme. Take your time to carefully sew the embellishments, ensuring they are securely attached for long-lasting beauty.
With the addition of embellishments, your table runner is now a one-of-a-kind piece that reflects your personal style and creativity. In the next sections, we will discuss sewing the seams, pressing and ironing the runner, and adding the final touches to complete your masterpiece.
Sewing the Seams
Now that you have hemmed the edges and added any desired embellishments to your table runner, it’s time to sew the seams. Sewing the seams will reinforce the structure of the runner and ensure that it lays flat on your table. Follow these steps to sew the seams:
- Fold the table runner in half lengthwise, right sides together. Align the raw edges and pin them in place.
- Using a sewing machine, sew a straight stitch along the pinned edge, leaving a 1/4 inch seam allowance. Backstitch at the beginning and end of the seam to secure the thread.
- Once the first seam is done, press the seam open with an iron to flatten it. This will give your table runner a neat and professional finish.
- Repeat the process for the other side of the table runner, folding it in half lengthwise with right sides together and aligning the raw edges. Pin the edges and sew a straight stitch with a 1/4 inch seam allowance.
- Press the second seam open with the iron, again ensuring a smooth and flat finish.
By sewing the seams, you have created a cohesive and stable structure for your table runner. The seams will keep the fabric in place and prevent it from shifting or wrinkling when in use. Take care to maintain a consistent seam allowance and straight stitches to achieve a professional result.
With the sewing done, we are almost at the finish line. In the next section, we will discuss the importance of pressing and ironing your table runner to give it that final touch of elegance.
Pressing and Ironing
After sewing the seams of your table runner, it’s time to give it a smooth and polished look by pressing and ironing the fabric. Pressing and ironing are essential steps in the sewing process as they help set the stitches and create crisp lines. Follow these steps to achieve a professional finish:
- Set up your ironing station: Find a sturdy ironing board or a flat, heat-resistant surface to work on. Make sure your iron is properly heated according to the fabric type.
- First, press the seams: Start by pressing the seams open on both sides of the table runner. Place the runner on the ironing board with the seam facing up. Gently press the iron along the seam, moving from one end to the other. This will ensure that the seams lie flat and create a neat appearance.
- Press the entire runner: Next, turn the table runner over, so the right side is facing down. Carefully smooth out any wrinkles or creases and lightly press the iron over the fabric. Be sure to cover the entire surface, moving the iron in a circular or back-and-forth motion.
- Flip and press: Flip the table runner over, so the right side is facing up. Repeat the ironing process, focusing on the top layer of fabric. This will help further smooth out any wrinkles and give your runner a polished finish.
- Pay attention to corners and edges: To achieve crisp corners, fold and press them carefully with the iron. Use a pointed object, like a chopstick or the tip of the iron, to make sharp corners. Iron along the edges to ensure they are straight and well-defined.
By pressing and ironing your table runner, you will create a finished product that looks professional and refined. This step is essential to achieve a polished and elegant appearance that will impress your guests.
Now that your table runner is well-pressed and ironed, it’s time for the exciting final touches that will bring your creation to life. Let’s explore these finishing touches in the next section.
Final Touches
Congratulations! You’re in the home stretch of completing your table runner. Now it’s time to add those final touches that will make your creation truly shine. Consider the following ideas to elevate your table runner:
- Trim any loose threads: Take a close look at your table runner and trim any loose threads or excess fabric. This attention to detail will ensure a clean and professional appearance.
- Steam or iron the runner: Before placing your table runner on the table, give it a final steam or iron to remove any remaining wrinkles. This step will help your runner lay flat and look its best.
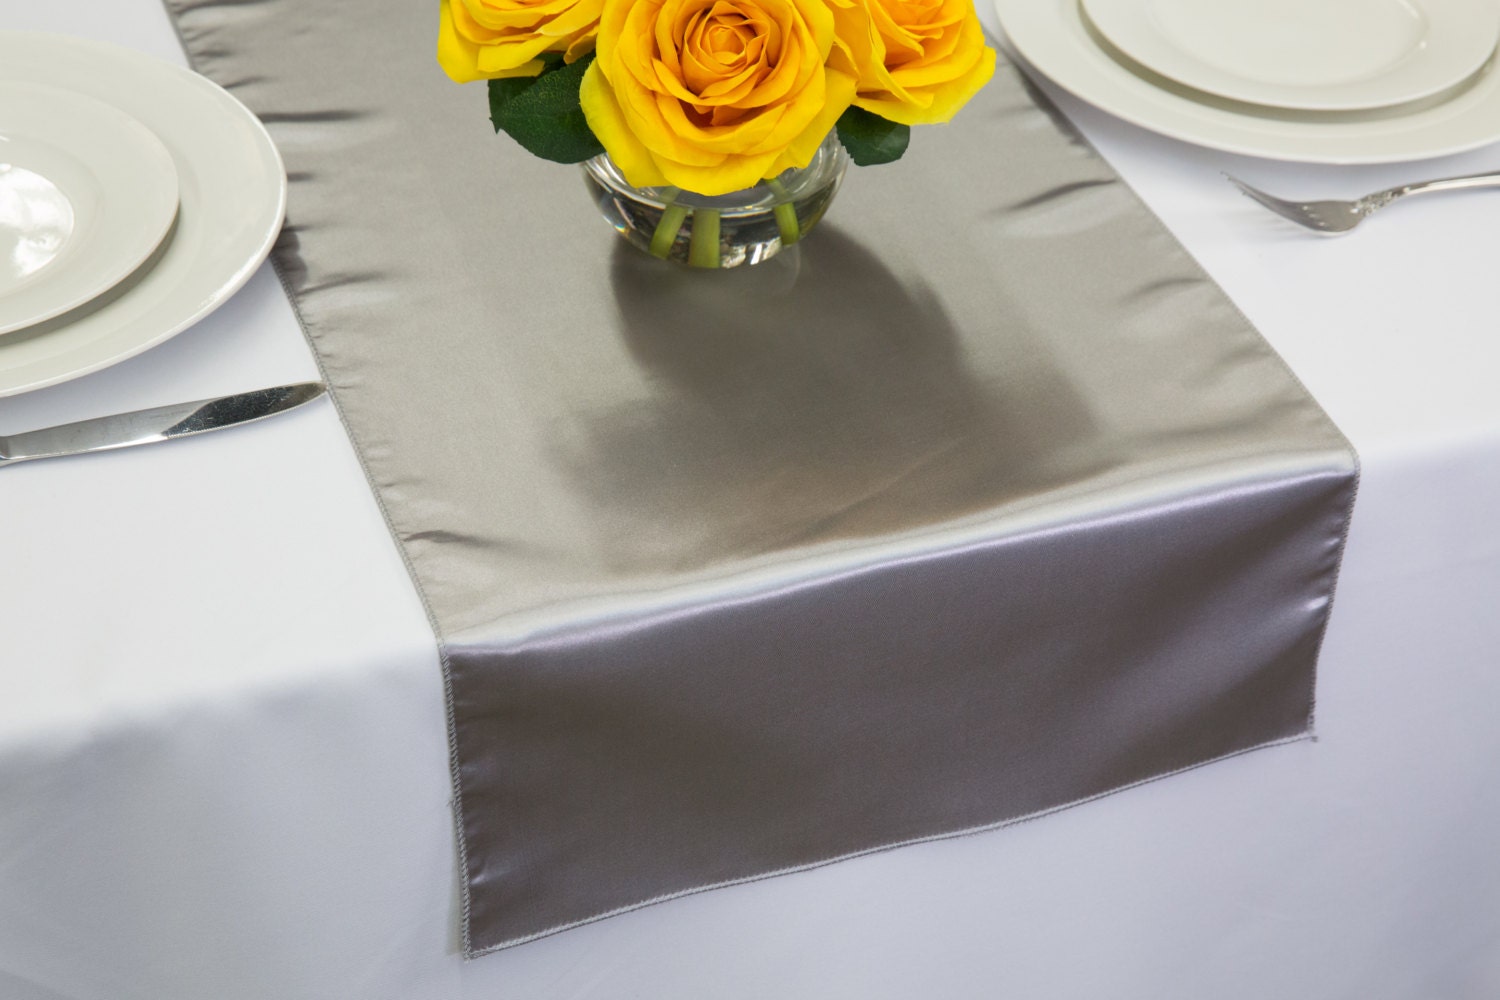
- Pair it with coordinating table decor: Add napkins, placemats, or other table decorations that complement the colors and style of your table runner. This will create a cohesive and well-coordinated look for your table setting.
- Accessorize with centerpieces: Complete your table decor by adding a centerpiece that matches the theme or occasion. This could be a floral arrangement, candles, or other decorative elements that enhance the overall look.
- Experiment with different folds: Depending on the length and width of your table runner, you can try different folding styles to create unique looks. Experiment with simple folds, diagonal folds, or even draping it asymmetrically.
Remember, these final touches are an opportunity to let your creativity shine. Embrace your personal style and make your table runner a true reflection of your taste and vision.
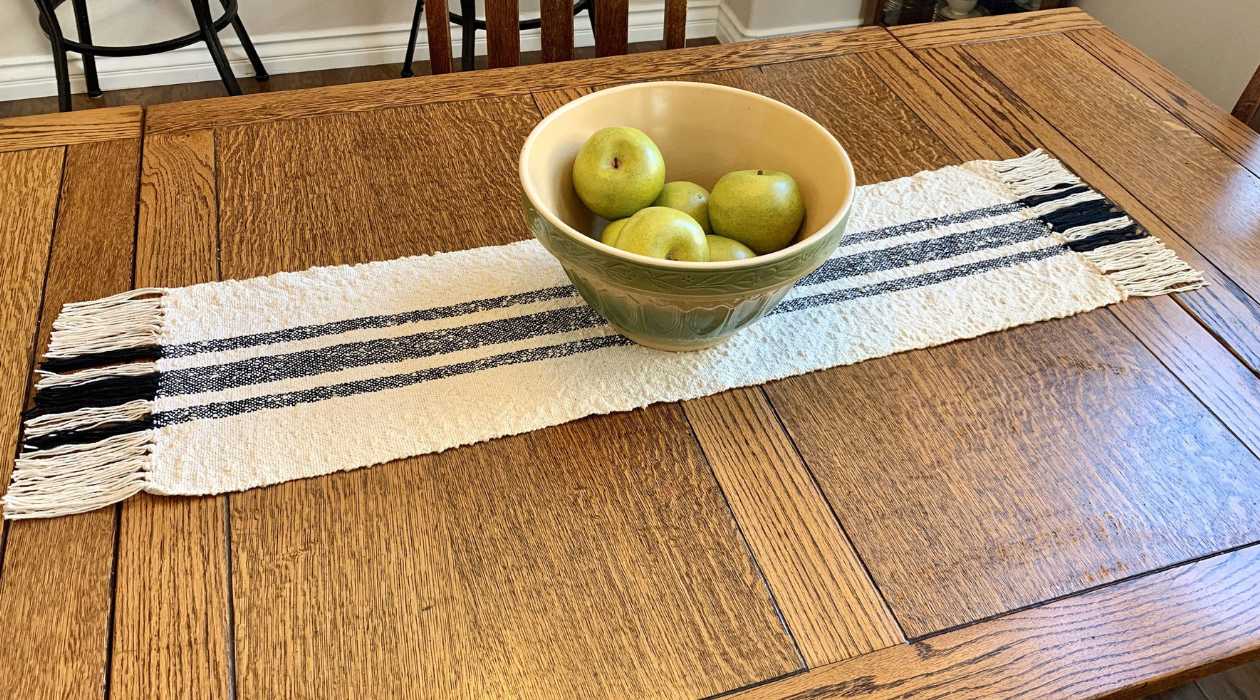
As you put your final touches in place, step back and admire your handiwork. Your table runner is now ready to take center stage and enhance any dining experience. Whether you’re hosting a dinner party or simply enjoying a meal with loved ones, your table runner will add a touch of elegance and style to the occasion.
Congratulations on completing your table runner sewing project! Enjoy the fruits of your labor and the joy it brings to your table decor.
Wrapping Up
In this article, we’ve explored the art of sewing table runners. We discussed the materials needed, the step-by-step process of creating a table runner, and provided tips and ideas for making your design truly unique. From choosing the perfect fabric to adding embellishments and incorporating final touches, creating a table runner is a fulfilling and creative endeavor.
Remember, as you embark on your own table runner sewing journey, don’t be afraid to experiment and let your imagination soar. Tailor your design to suit your personal style and the occasion at hand. With a little creativity and attention to detail, you’ll have a stunning table runner that will impress your guests and make every meal a special experience.
Now it’s time to unleash your creativity and sew your very own table runner. Happy stitching!
Conclusion
Congratulations, you’ve reached the end of this comprehensive guide on sewing table runners! We hope that you found this article helpful and inspiring as you embark on your table decor journey.
Sewing table runners is a fantastic way to add style, elegance, and a personal touch to your dining experience. By carefully selecting your fabric, measuring and cutting with precision, hemming the edges, adding embellishments, sewing the seams, and giving your runner a final touch with pressing and ironing, you’ve created a beautiful and unique piece that will elevate any table setting.
Remember, the key to sewing a stunning table runner is to let your creativity shine. Experiment with different fabrics, patterns, colors, and embellishments that align with your personal style and the occasion. Don’t be afraid to step outside the box and try something new.
Whether you’re hosting a formal dinner party, a casual gathering, or simply want to enhance your everyday dining experience, a table runner can make a world of difference. It serves as a focal point, protecting your table while adding a touch of sophistication and charm.
Now it’s time to put your newfound knowledge into practice. Gather your materials, set up your sewing machine, and let your creativity flow. Sewing table runners is not only a fulfilling hobby but also a way to create lasting memories and impress your guests.
So, what are you waiting for? Grab your fabric, thread, and scissors and start sewing your very own table runner today. Enjoy the process, embrace your creativity, and watch as your dining area transforms into a space that exudes style, elegance, and your unique personality.
Thank you for joining us on this table decor adventure. Happy sewing!
Frequently Asked Questions about How To Sew Table Runners
Was this page helpful?
At Storables.com, we guarantee accurate and reliable information. Our content, validated by Expert Board Contributors, is crafted following stringent Editorial Policies. We're committed to providing you with well-researched, expert-backed insights for all your informational needs.


0 thoughts on “How To Sew Table Runners”