Home>Dining>Table Decor>How To Make Braided Quilted Table Runners
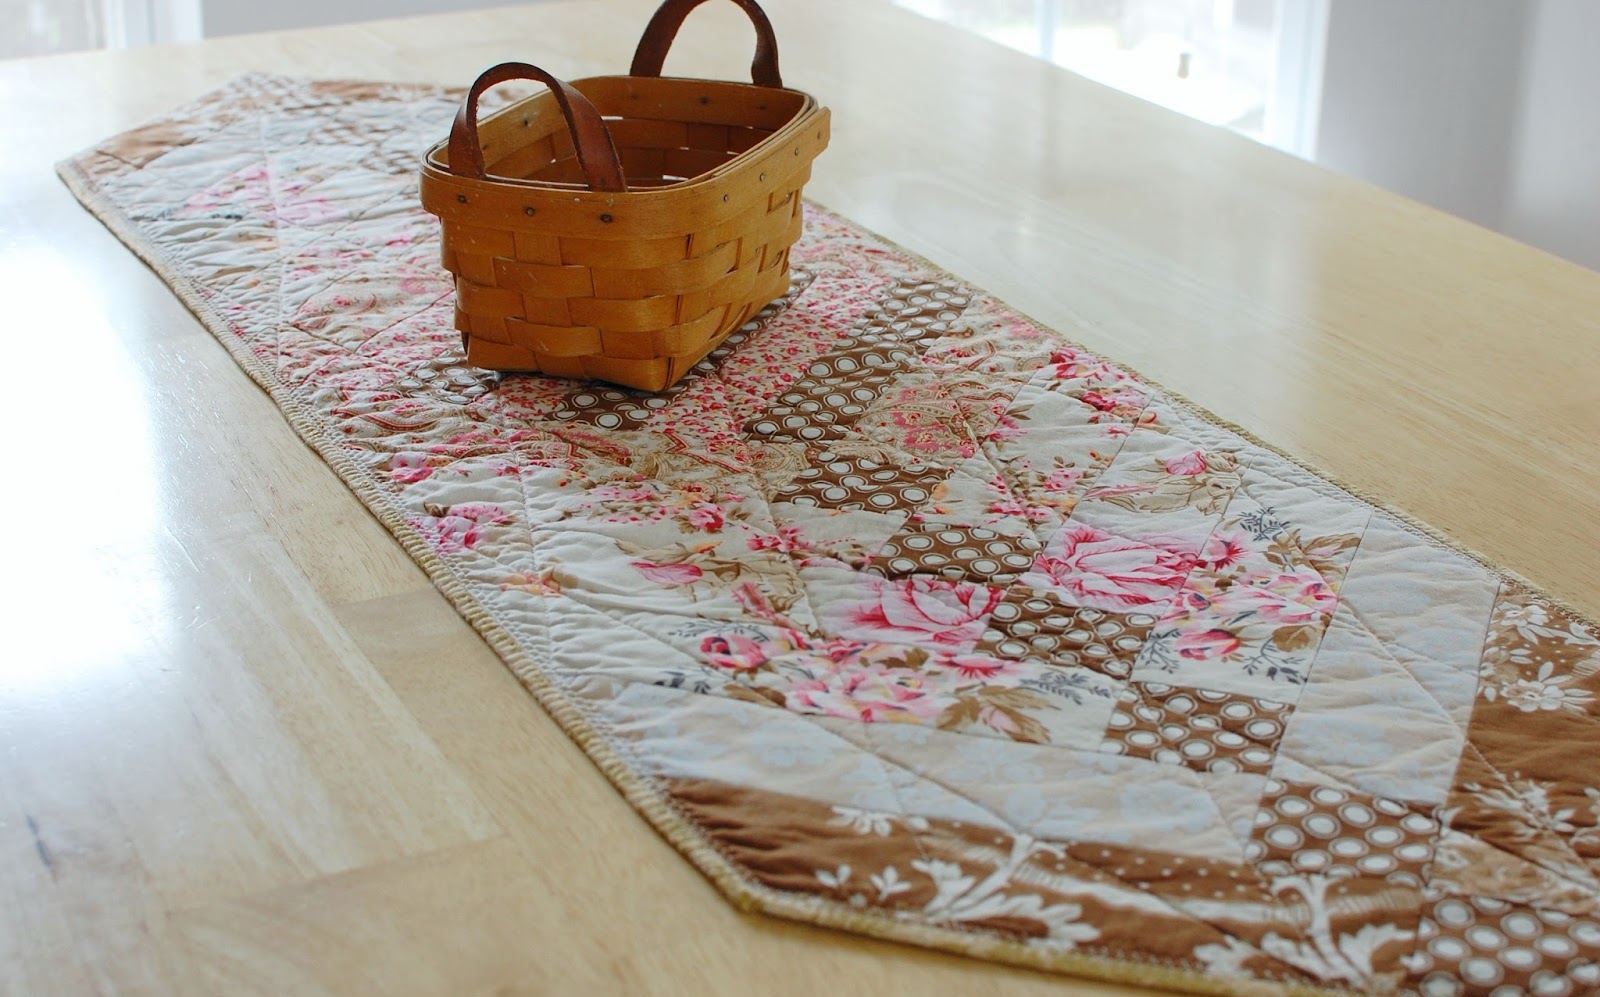
Table Decor
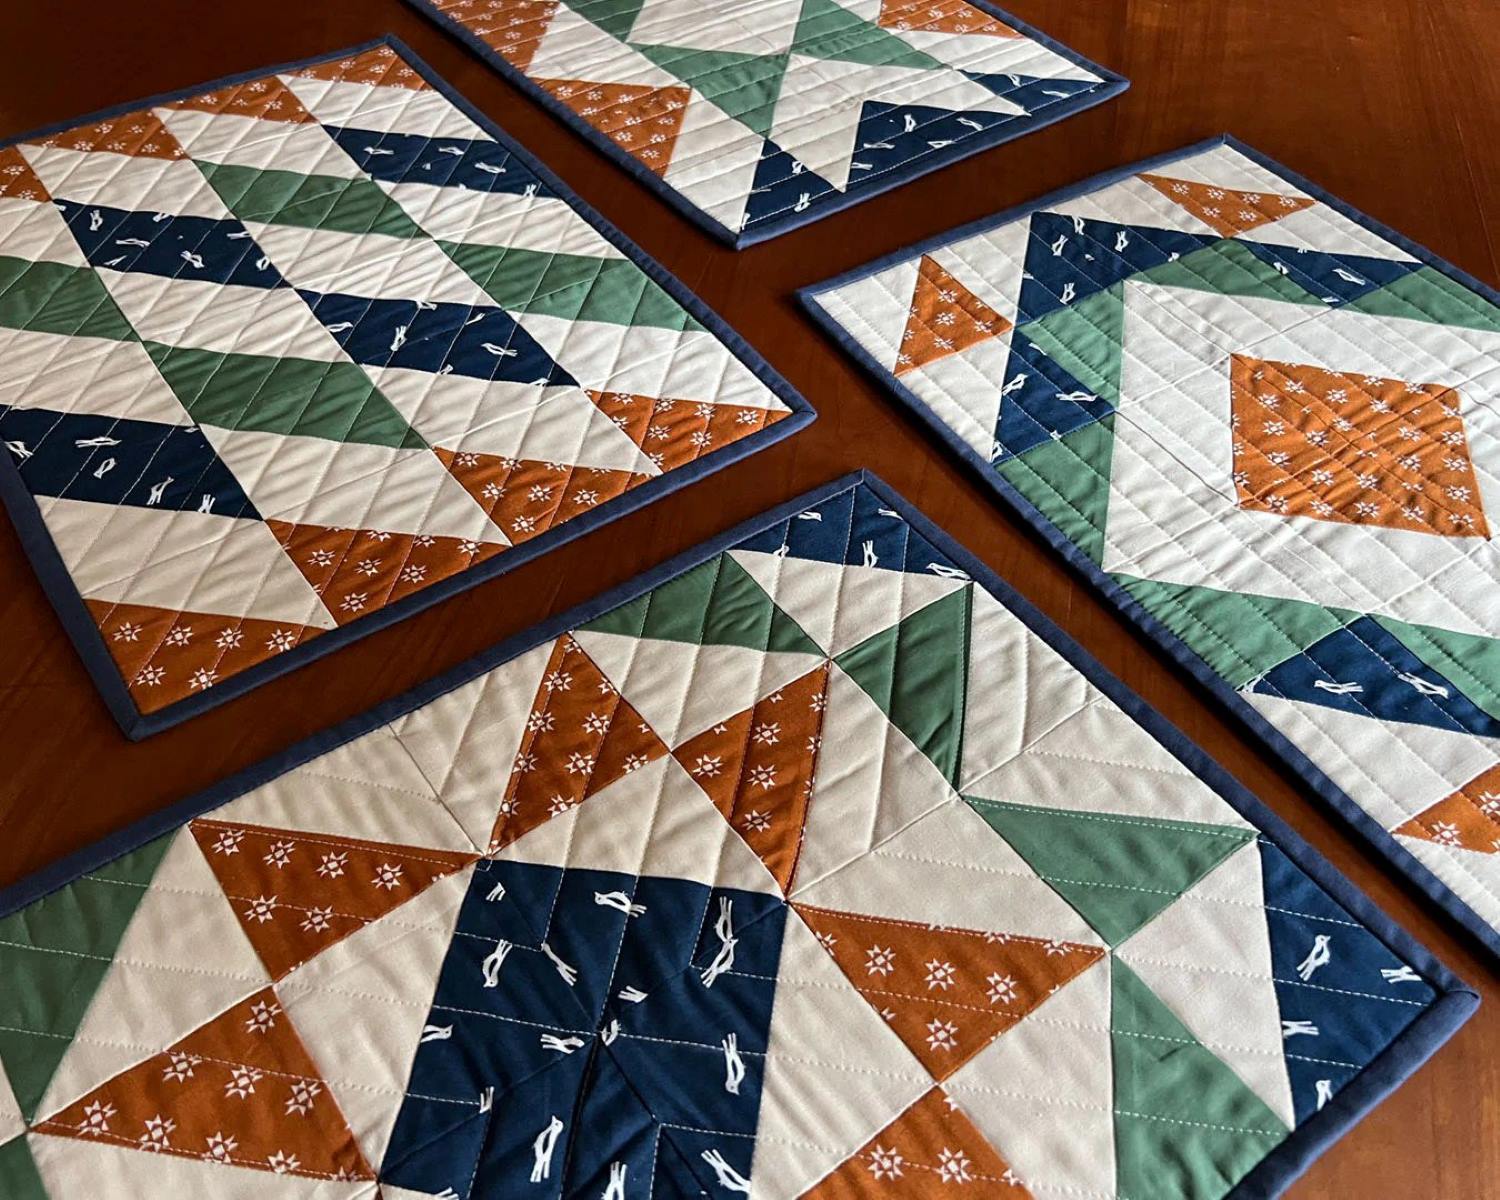
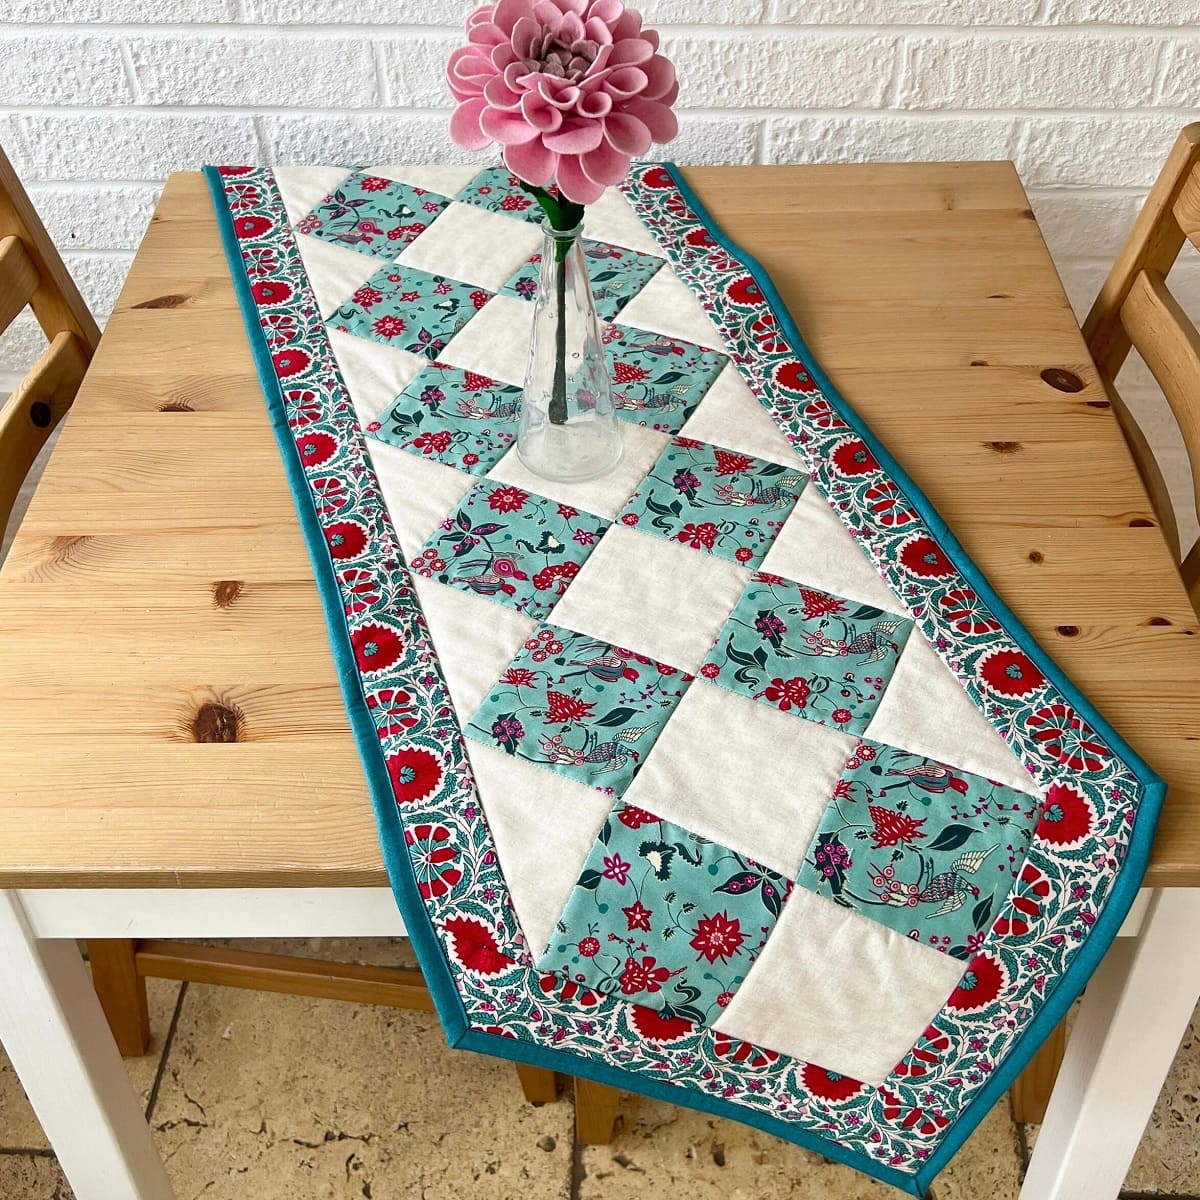
How To Make Braided Quilted Table Runners
Modified: August 22, 2024
Learn how to create stunning braided quilted table runners for your table decor. Discover step-by-step tutorials and tips to make your table setting stand out.
(Many of the links in this article redirect to a specific reviewed product. Your purchase of these products through affiliate links helps to generate commission for Storables.com, at no extra cost. Learn more)
Introduction
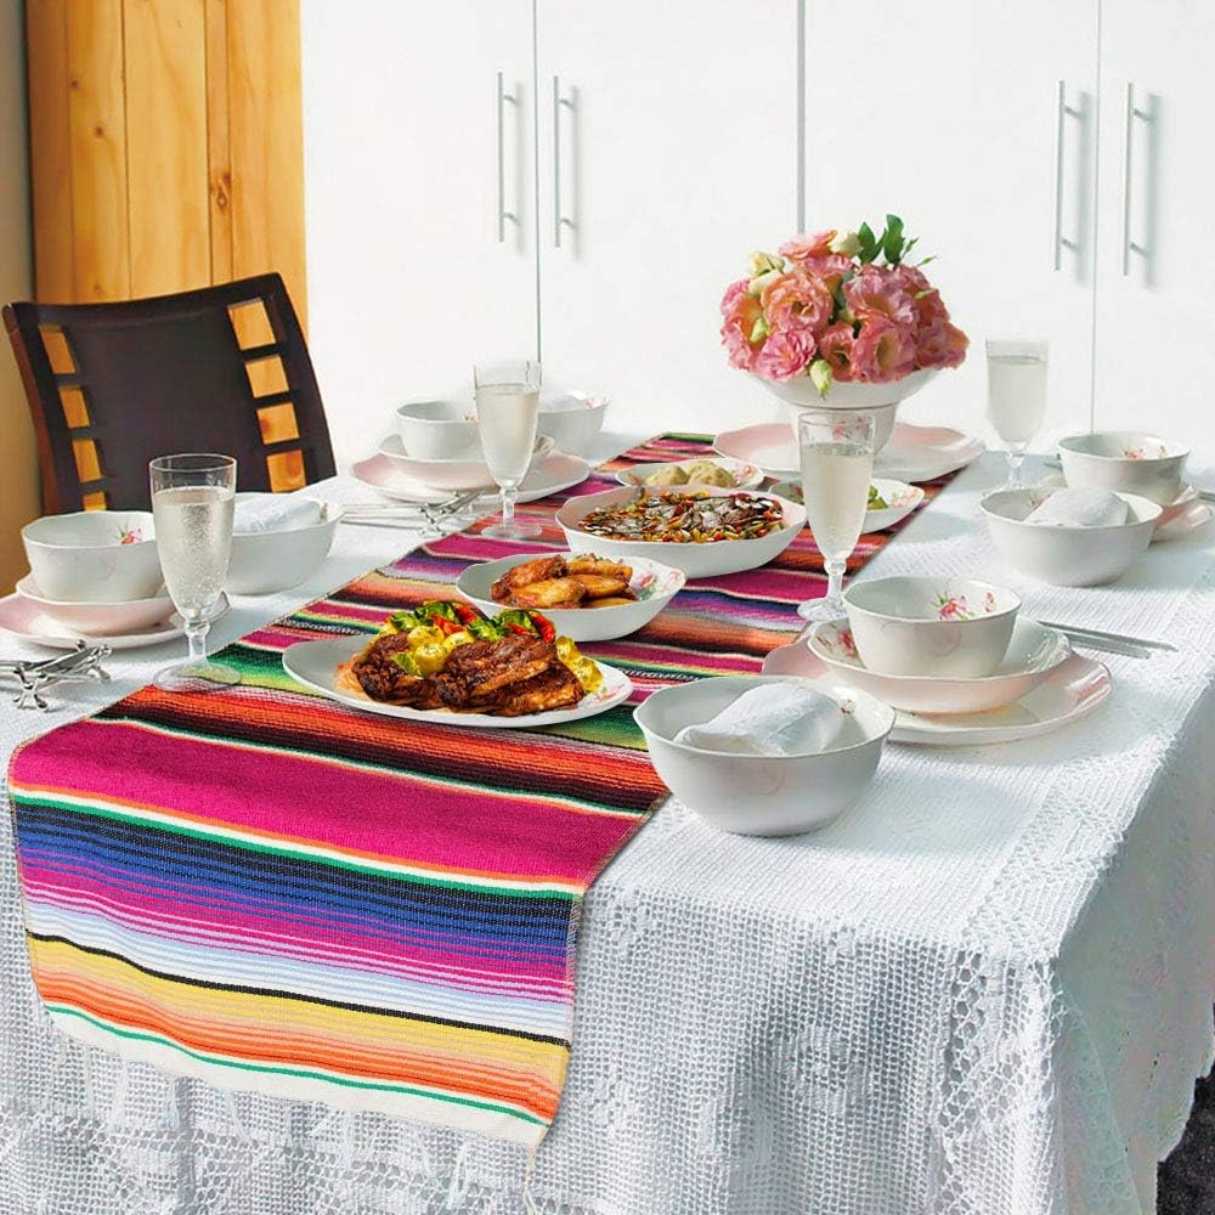
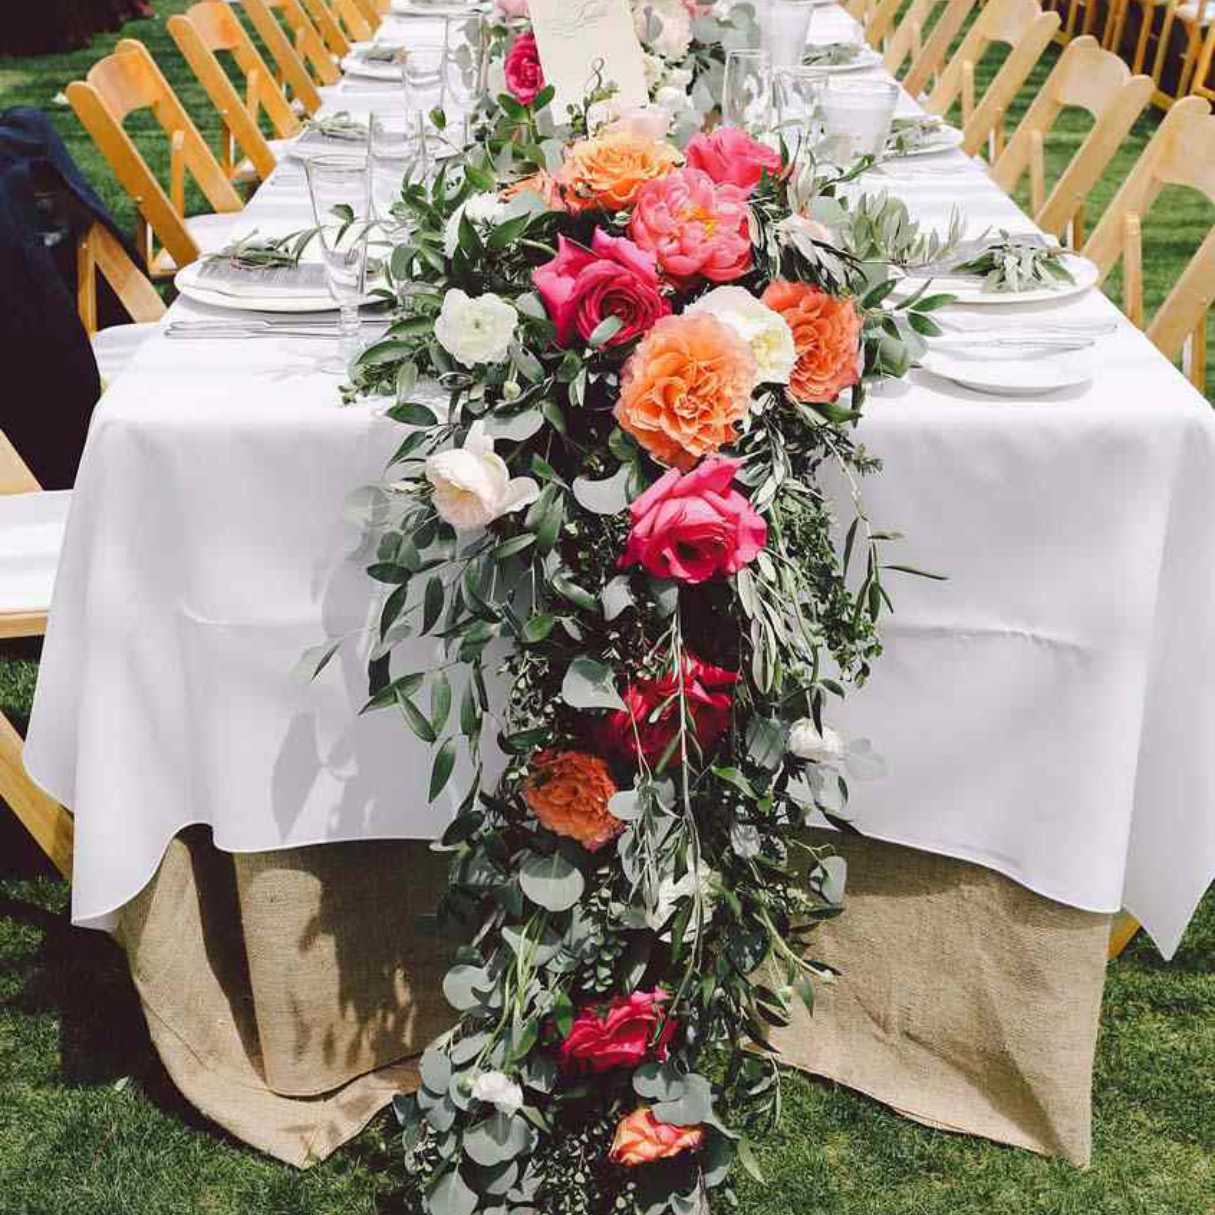
Welcome to the world of table decor! Whether you’re hosting a formal dinner party or simply want to add a touch of elegance to your dining room, table runners can be the perfect accessory. And if you’re looking to take your table decor game to the next level, why not try making your own braided quilted table runners? These handmade beauties not only serve as stylish protection for your table but also showcase your creativity and personal style.
In this article, we’ll guide you through the step-by-step process of creating your own braided quilted table runners. From selecting the fabric to finishing touches, you’ll be able to craft a stunning table runner that will wow your guests and become a centerpiece of your table decor.
Before we dive into the process, let’s go over the materials you’ll need to gather for this project.
Key Takeaways:
- Create a stunning braided quilted table runner to showcase your creativity and style. From fabric selection to finishing touches, this DIY project adds elegance and personal flair to your table decor.
- Enjoy the crafting journey and unleash your creativity by experimenting with different fabrics, colors, and braiding patterns. Embrace the satisfaction of making a unique braided quilted table runner that elevates your home’s ambiance.
Read more: How To Make A Braid Pattern Quilt Block
Materials Needed
Before you begin creating your braided quilted table runners, make sure you have the following materials on hand:
- Fabric: Choose a variety of coordinating fabrics for the braids. You’ll need enough fabric to create the desired length and width of your table runner.
- Rotary cutter: This tool will help you cut precise strips of fabric for the braids.
- Cutting mat: A cutting mat provides a safe and stable surface for cutting your fabric.
- Ruler: Use a ruler to measure and mark the fabric for cutting.
- Sewing machine: A sewing machine with a straight stitch and zigzag stitch will be used for piecing and quilting the table runner.
- Thread: Choose a thread color that complements your fabric and will blend seamlessly with your table runner.
- Batting: Batting is the thick layer that provides insulation and padding between the top and backing layers of the table runner.
- Backing fabric: This fabric will be used to cover the backside of the table runner.
- Pins: Pins will help hold the layers of the table runner together during the quilting process.
- Scissors: Use scissors for trimming excess fabric and thread.
- Iron and ironing board: These are essential for pressing fabric and creating crisp, neat seams.
Once you’ve gathered all the necessary materials, you’re ready to start creating your braided quilted table runners. Let’s move on to the first step: cutting the fabric.
Step 1: Cutting the Fabric
The first step in creating your braided quilted table runners is to cut the fabric into strips for the braids. Here’s how:
- Start by measuring and determining the desired width and length of your table runner. Consider the size of your table and how much overhang you’d like on each side.
- Using a rotary cutter and ruler, cut strips of fabric that are approximately 2.5 inches wide. The length of the strips will depend on your table runner dimensions.
- Repeat this process for each fabric chosen for the braids, ensuring you have enough strips to create a visually appealing design.
- Once you have all your fabric strips, it’s time to start creating the braids. Let’s move on to the next step.
By cutting the fabric into strips, you’ll have the foundation for your braids. The next step will involve weaving these strips together to create the intricate braided design for your table runner.
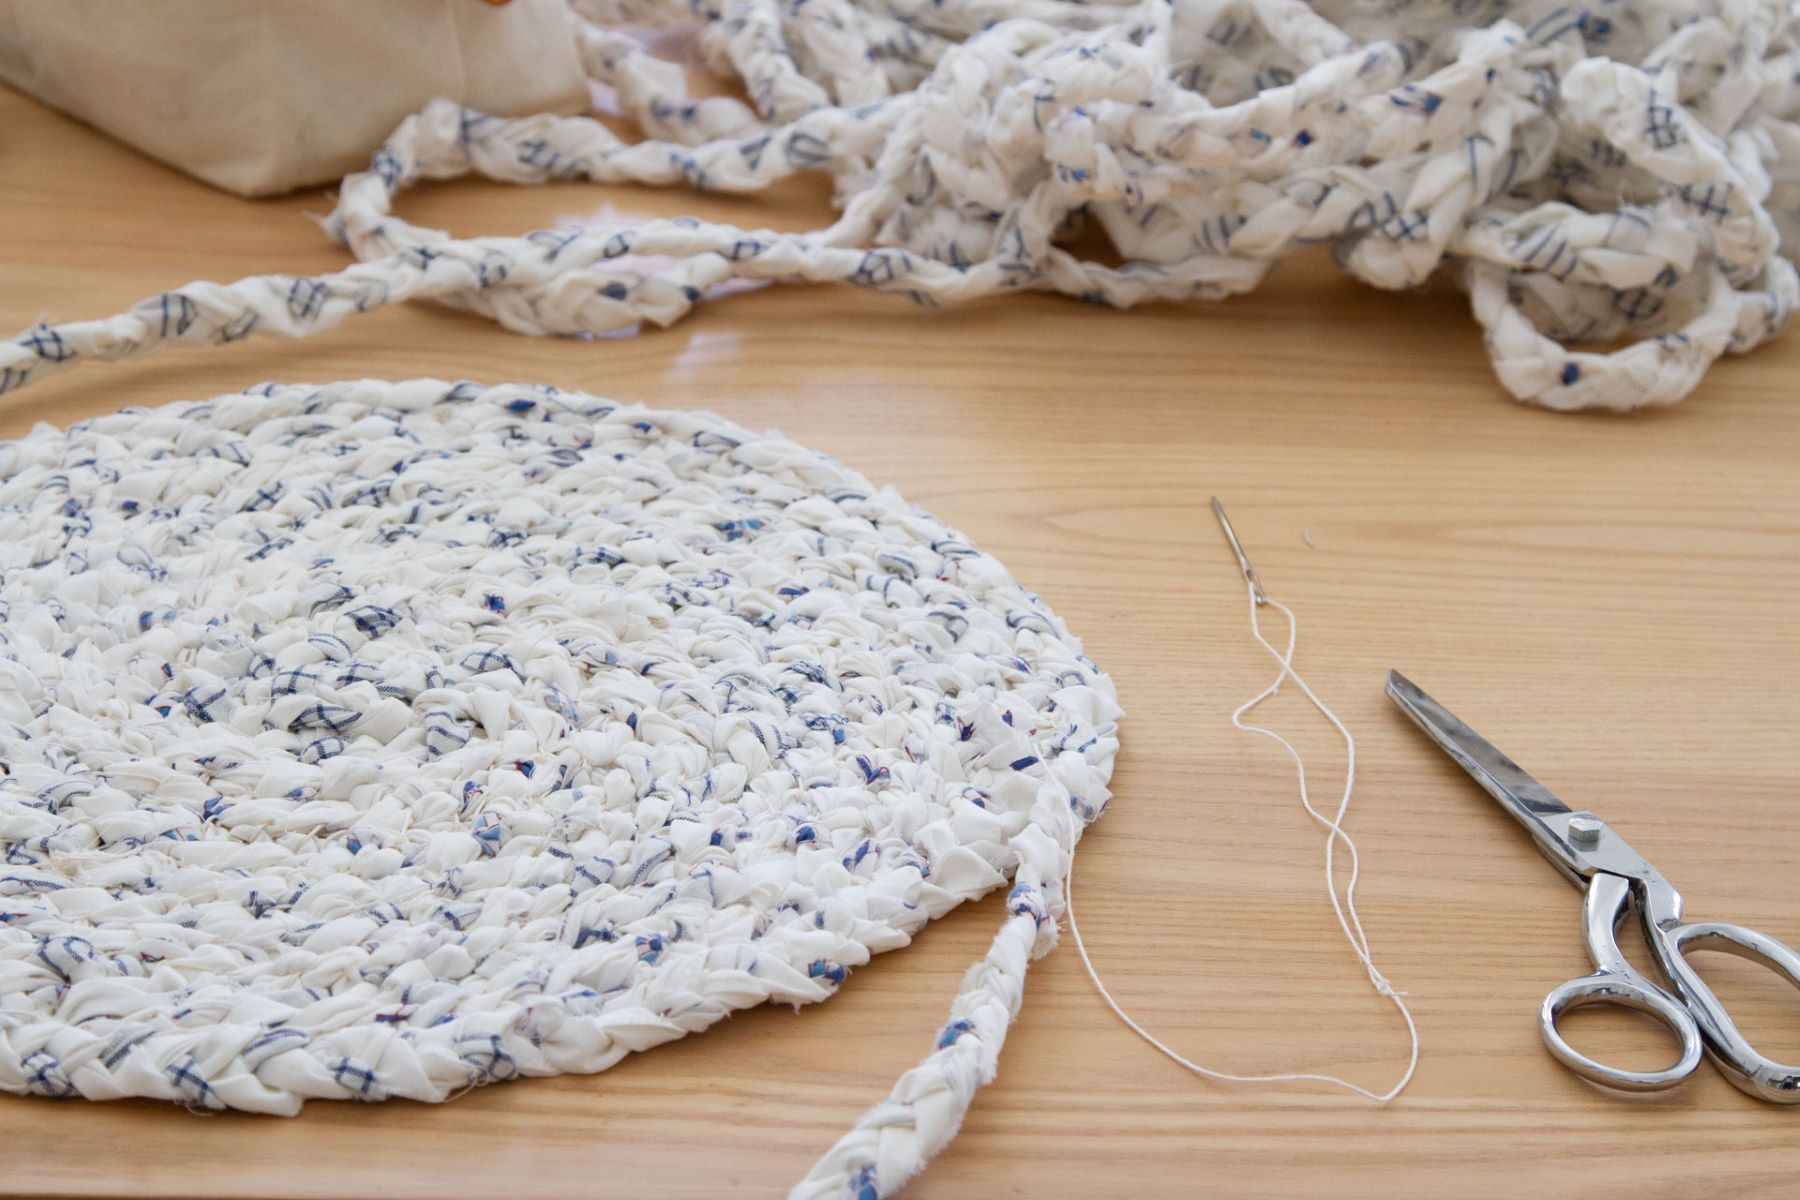
Step 2: Creating the Braids
Now that you have your fabric strips cut, it’s time to start creating the braids for your table runner. Follow these steps to weave the strips together:
- Select three fabric strips of different colors or patterns to create an eye-catching braid.
- Take the three strips and sew the ends together, creating a secure starting point for your braid.
- Hold the sewn end of the strips and separate them, arranging them in a diagonal pattern (left strip over center, right strip over left). This is the starting position for your braid.
- Take the left strip and cross it over the center strip.
- Take the right strip and cross it over the new center strip formed by the left strip.
- Continue this weaving pattern, alternating between crossing the left and right strips over the center.
- As you braid, make sure to keep the strips taut to create a neat and uniform appearance.
- When you reach the desired length for your braid, securely stitch the ends together to hold the braid in place.
- Repeat this braiding process with the remaining fabric strips until you have enough braids to cover the width of your table runner.
Creating the braids is where your creativity can truly shine. You can experiment with different color combinations and patterns to achieve a visually stunning design. Once you have all your braids ready, it’s time to move on to assembling the quilted top of your table runner.
Step 3: Assembling the Quilted Top
With your braids created, it’s time to assemble the quilted top of your table runner. Follow these steps to put it all together:
- Take your braids and arrange them in a design that you find visually pleasing. You can lay them out in a straight line or experiment with different patterns.
- Once you’re satisfied with the layout, carefully pin the braids together to hold them in place.
- Using a sewing machine, stitch the braids together along the long edges. Be sure to use a straight stitch that matches the color of your braids to create a seamless look.
- After sewing all the braids together, iron the seams flat to create a smooth surface.
- Next, trim any excess fabric from the edges of the quilted top to ensure it is even and neat.
- Now that your quilted top is assembled, it’s time to move on to the next step: adding the batting and backing.
Assembling the quilted top is where you bring your braids together to form a cohesive design. Take your time during this step to ensure your braids are lined up properly and securely stitched together. Once complete, your quilted top is ready for the next phase of the table runner creation process.
When making braided quilted table runners, be sure to use a walking foot on your sewing machine to help keep the layers of fabric and batting together and prevent shifting during quilting.
Step 4: Adding the Batting and Backing
Now that you have your quilted top assembled, it’s time to add the batting and backing. These layers will give your table runner structure and a finished look. Follow these steps to complete this step:
- Lay your quilted top flat on your work surface, with the braided side facing up.
- Place the batting on top of the quilted top, ensuring it covers the entire surface.
- Smooth out any wrinkles or creases in the batting, ensuring it lies flat against the quilted top.
- Place your backing fabric on top of the batting, with the right side facing down.
- Pin all three layers together, ensuring the layers stay in place during the quilting process.
- Trim any excess batting or backing fabric that extends beyond the edges of the quilted top.
Adding the batting and backing is an important step to give your table runner structure and durability. The batting provides insulation and cushioning, while the backing fabric adds a polished finish. Once these layers are securely in place, you’re ready to move on to the next step: quilting the table runner.
Step 5: Quilting the Table Runner
With the batting and backing in place, it’s time to quilt your table runner to ensure all layers stay securely together. Follow these steps to quilt your table runner:
- Start by selecting the quilting pattern you’d like to use. You can choose simple straight lines, meandering stitches, or even intricate free-motion designs.
- Thread your sewing machine with a coordinating color of thread.
- Begin quilting by starting at one edge of the table runner and sewing along your chosen pattern. Take your time to ensure the stitches are even and secure.
- Continue quilting across the entire surface of the table runner, maintaining a consistent quilt pattern. Take breaks as needed to readjust the fabric and ensure smooth stitching.
- Once you’ve finished quilting the entire table runner, trim any excess threads and remove any pins that were used to hold the layers together.
Quilting adds both visual interest and stability to your table runner. It holds all layers securely together while also enhancing the overall design. Take your time during this step to achieve the desired quilting pattern and to ensure your stitches are even and neat.
After quilting, your table runner is nearly complete. There’s just one final step to add those finishing touches.
Step 6: Finishing Touches
Now that you have completed the main construction of your braided quilted table runner, it’s time to add those final finishing touches to make it truly shine. Follow these steps to give your table runner a polished look:
- Trim the edges of the table runner to ensure they are straight and even.
- Using a zigzag or decorative stitch, sew along the raw edges of the table runner to prevent fraying.
- Consider adding decorative elements such as tassels, trims, or fabric flowers to the corners or along the edges for added flair.
- Give your table runner a good press with an iron to remove any wrinkles and create crisp lines.
- Once you’re satisfied with the appearance of your table runner, it’s time to proudly display it on your dining table or wherever you desire!
The finishing touches are what truly elevate your table runner from a homemade project to a stunning piece of table decor. Pay attention to small details such as trimming and securing raw edges, as well as adding decorative elements that complement your overall design.
Congratulations! You have successfully created your very own braided quilted table runner. Not only does it add a touch of elegance to your table, but it also showcases your creativity and personal style.
Remember, you can always experiment with different fabrics, colors, and braiding patterns to create unique variations of the braided quilted table runner. Let your imagination and personal style guide you as you continue to explore the wonderful world of table decor.
So go ahead, gather your materials, unleash your creativity, and enjoy the process of making your own braided quilted table runner!
Conclusion
Creating your own braided quilted table runner is not only a fun and rewarding crafting project, but it also allows you to customize your table decor to match your personal style and taste. By following the step-by-step process outlined in this article, you can craft a stunning table runner that will impress your guests and become a focal point of your dining space.
Starting with cutting the fabric into strips for the braids, you can then create beautiful and intricate designs by weaving the strips together. Assembling the quilted top brings all the braids together, creating a visually appealing and cohesive design. Adding the batting and backing provides structure and durability to your table runner, while quilting secures all the layers together and adds a decorative touch.
Finally, the finishing touches such as trimming the edges, securing raw edges, and adding decorative elements give your table runner a polished and professional look. Feel free to get creative with different fabric choices, braiding patterns, and embellishments to create a unique table runner that reflects your personal style.
Now that you have the knowledge and steps to create your own braided quilted table runner, it’s time to get started. Gather your materials, set aside some crafting time, and enjoy the process of making a beautiful and functional addition to your table decor.
Remember, the joy of creating something with your own hands is as valuable as the finished product, so embrace the journey of creativity. With each stitch and braid, you’re adding a unique touch to your table decor that will leave a lasting impression on all who gather around your table.
So roll up your sleeves, let your creativity flow, and enjoy the satisfaction of creating a one-of-a-kind braided quilted table runner that will elevate the style and ambiance of your home.
Frequently Asked Questions about How To Make Braided Quilted Table Runners
Was this page helpful?
At Storables.com, we guarantee accurate and reliable information. Our content, validated by Expert Board Contributors, is crafted following stringent Editorial Policies. We're committed to providing you with well-researched, expert-backed insights for all your informational needs.

0 thoughts on “How To Make Braided Quilted Table Runners”