Home>Dining>Table Decor>How To Ruche Table Runners
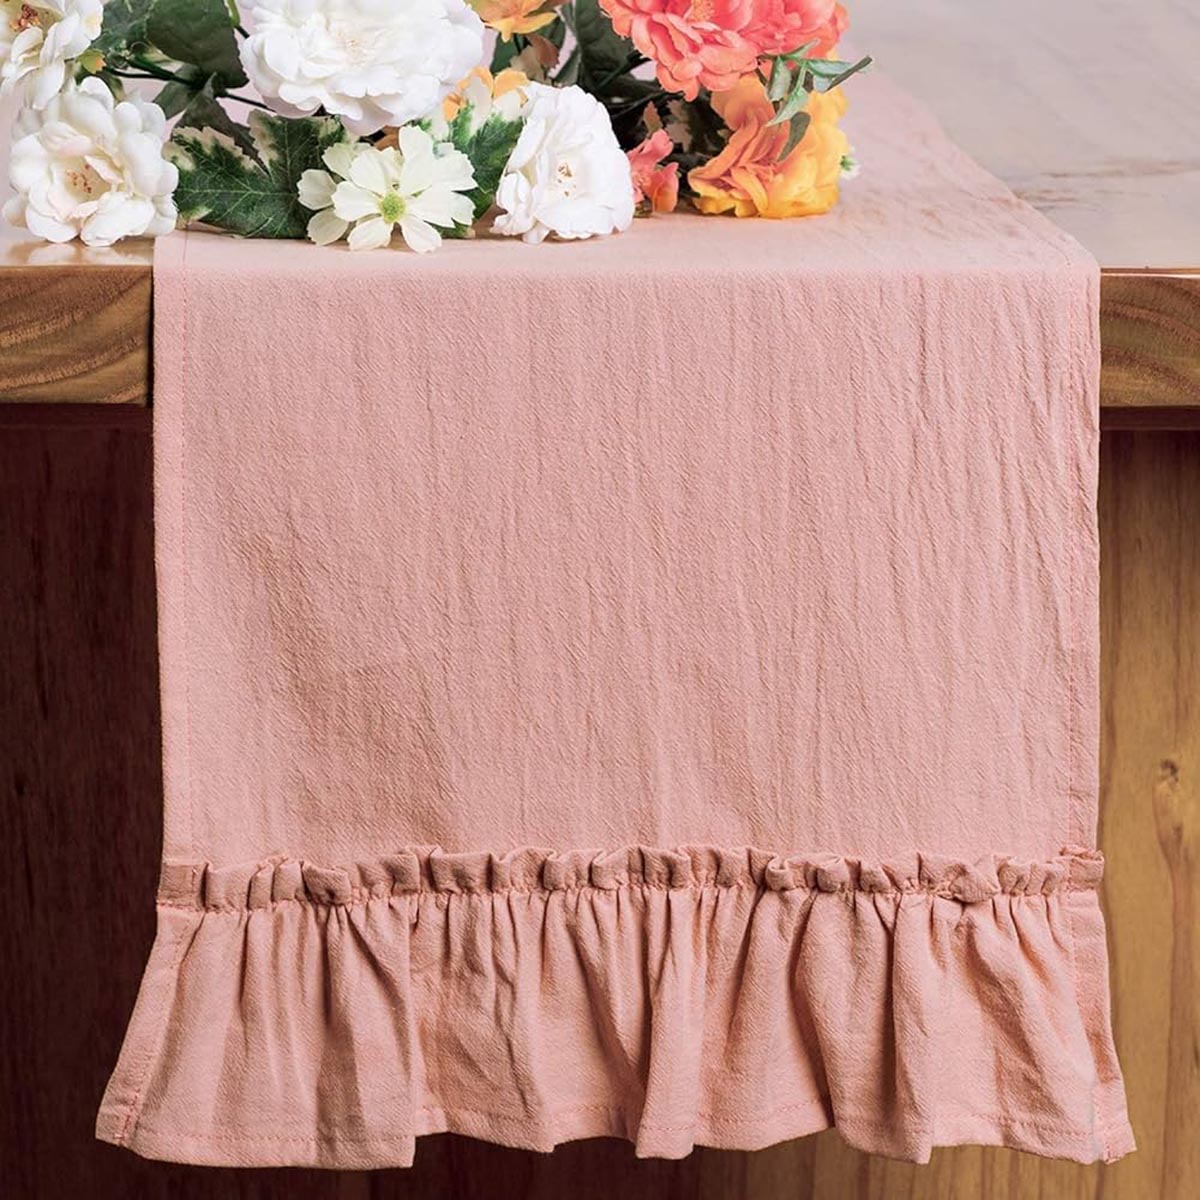
Table Decor
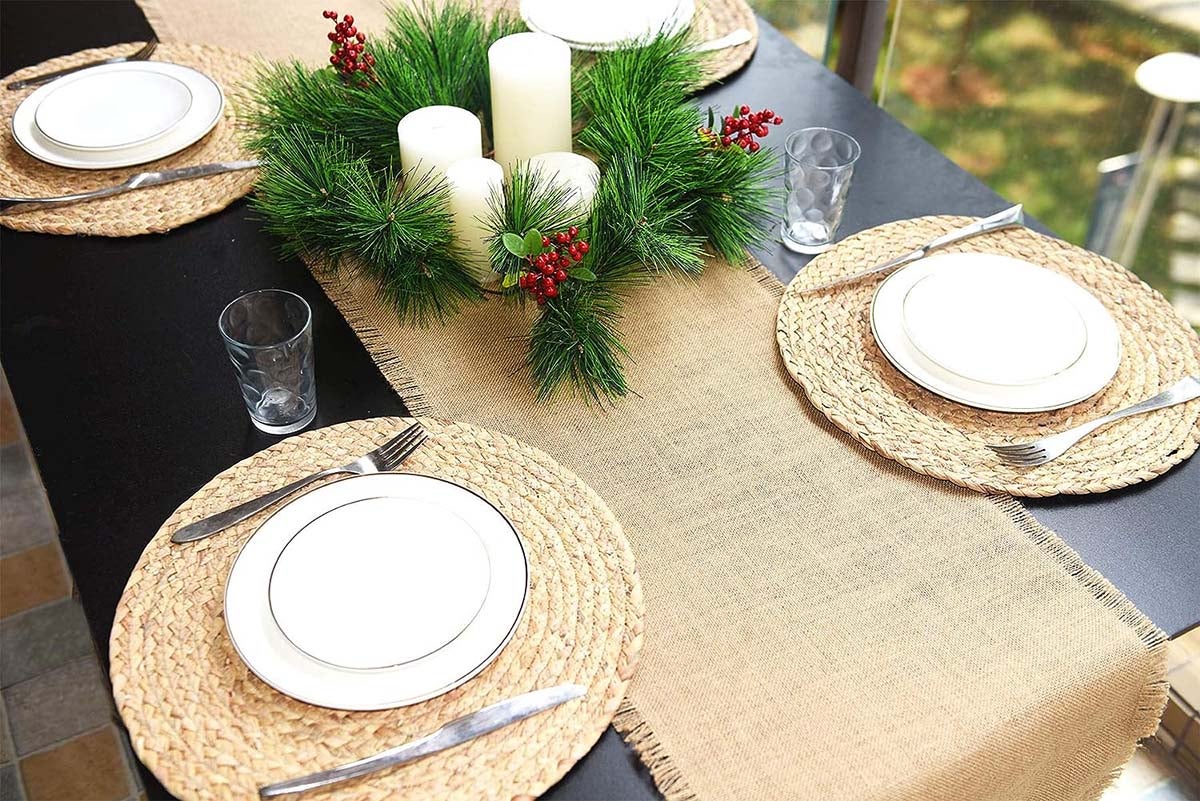
How To Ruche Table Runners
Modified: February 24, 2024
Discover how to ruche table runners and add a touch of elegance to your table decor. Step-by-step guide and inspiration for stunning table arrangements.
(Many of the links in this article redirect to a specific reviewed product. Your purchase of these products through affiliate links helps to generate commission for Storables.com, at no extra cost. Learn more)
Introduction
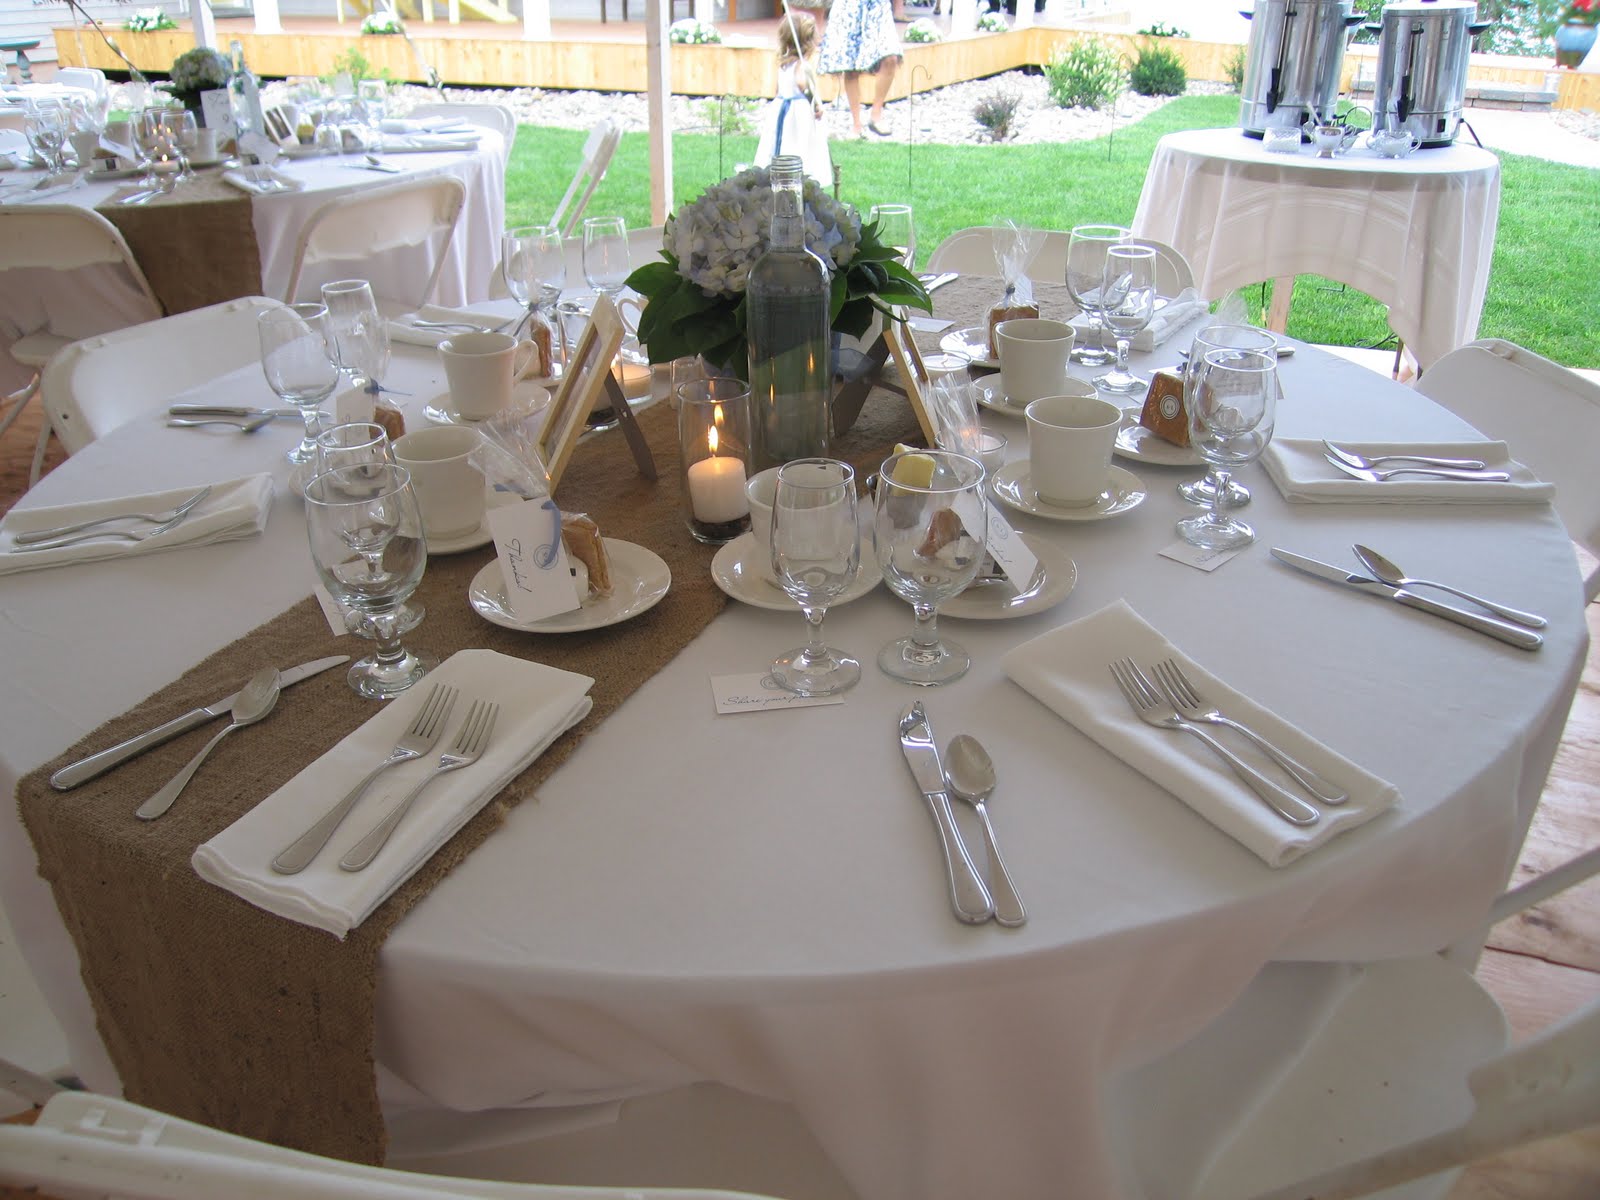
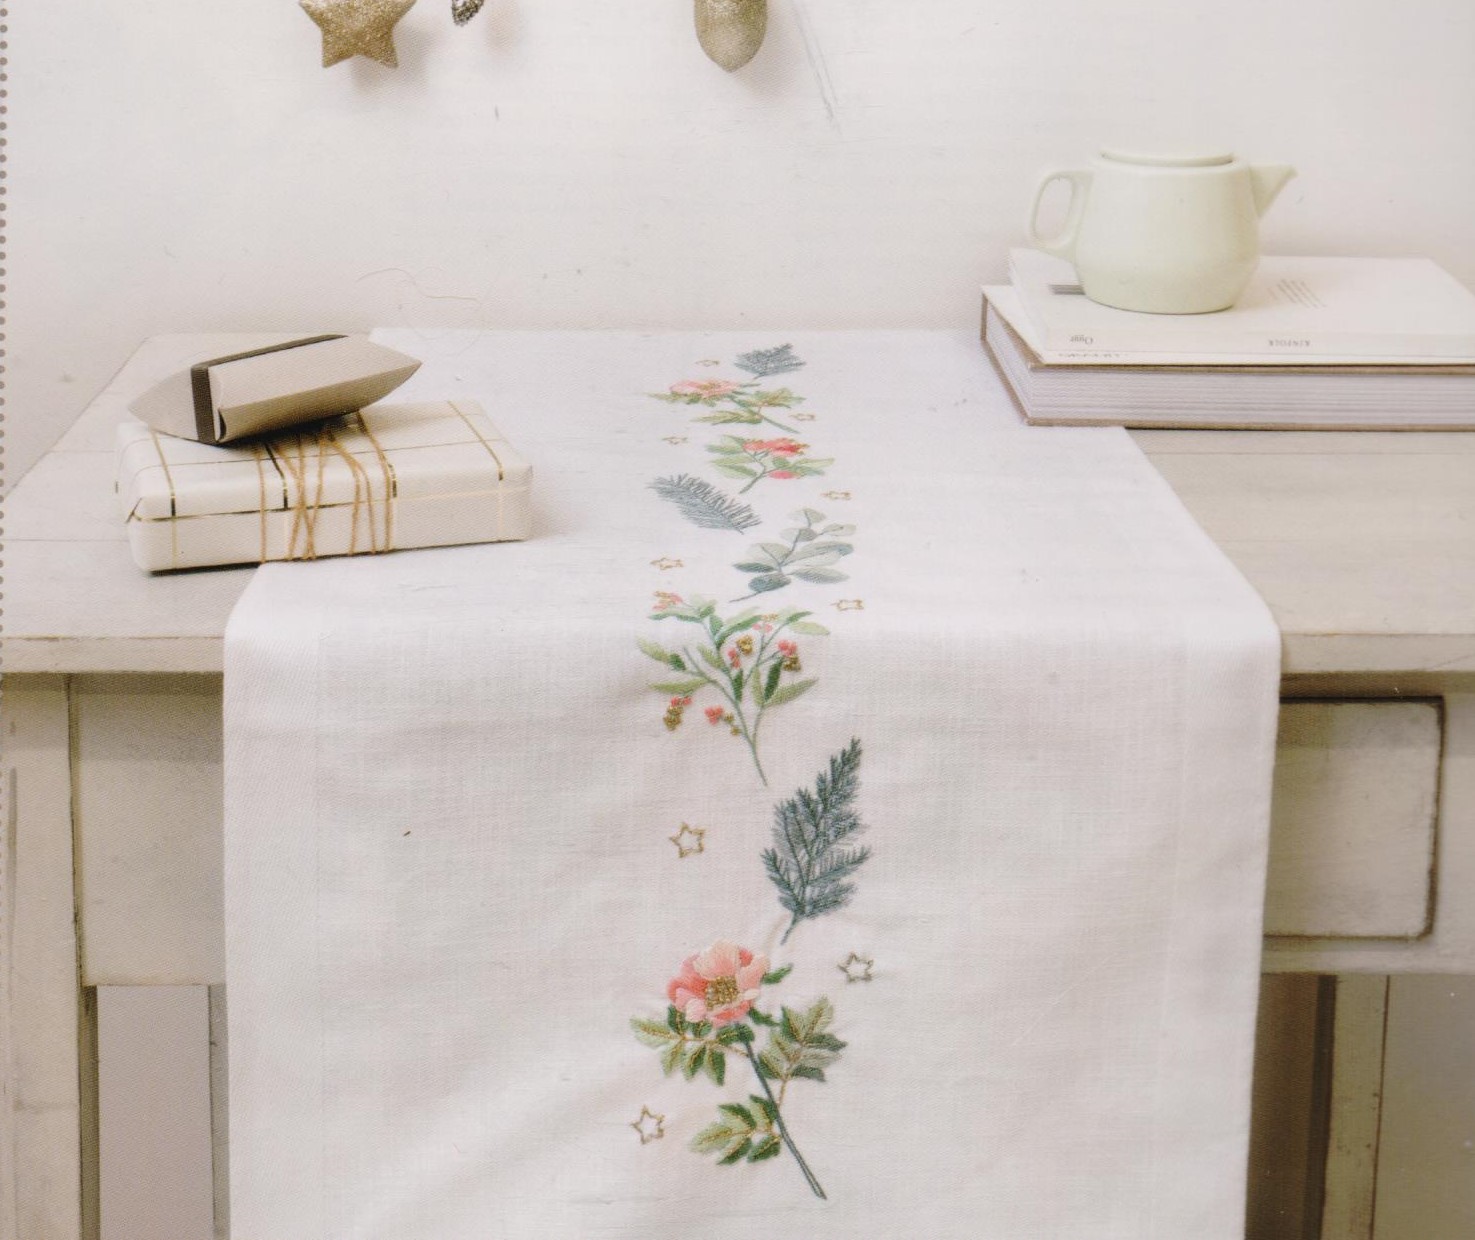
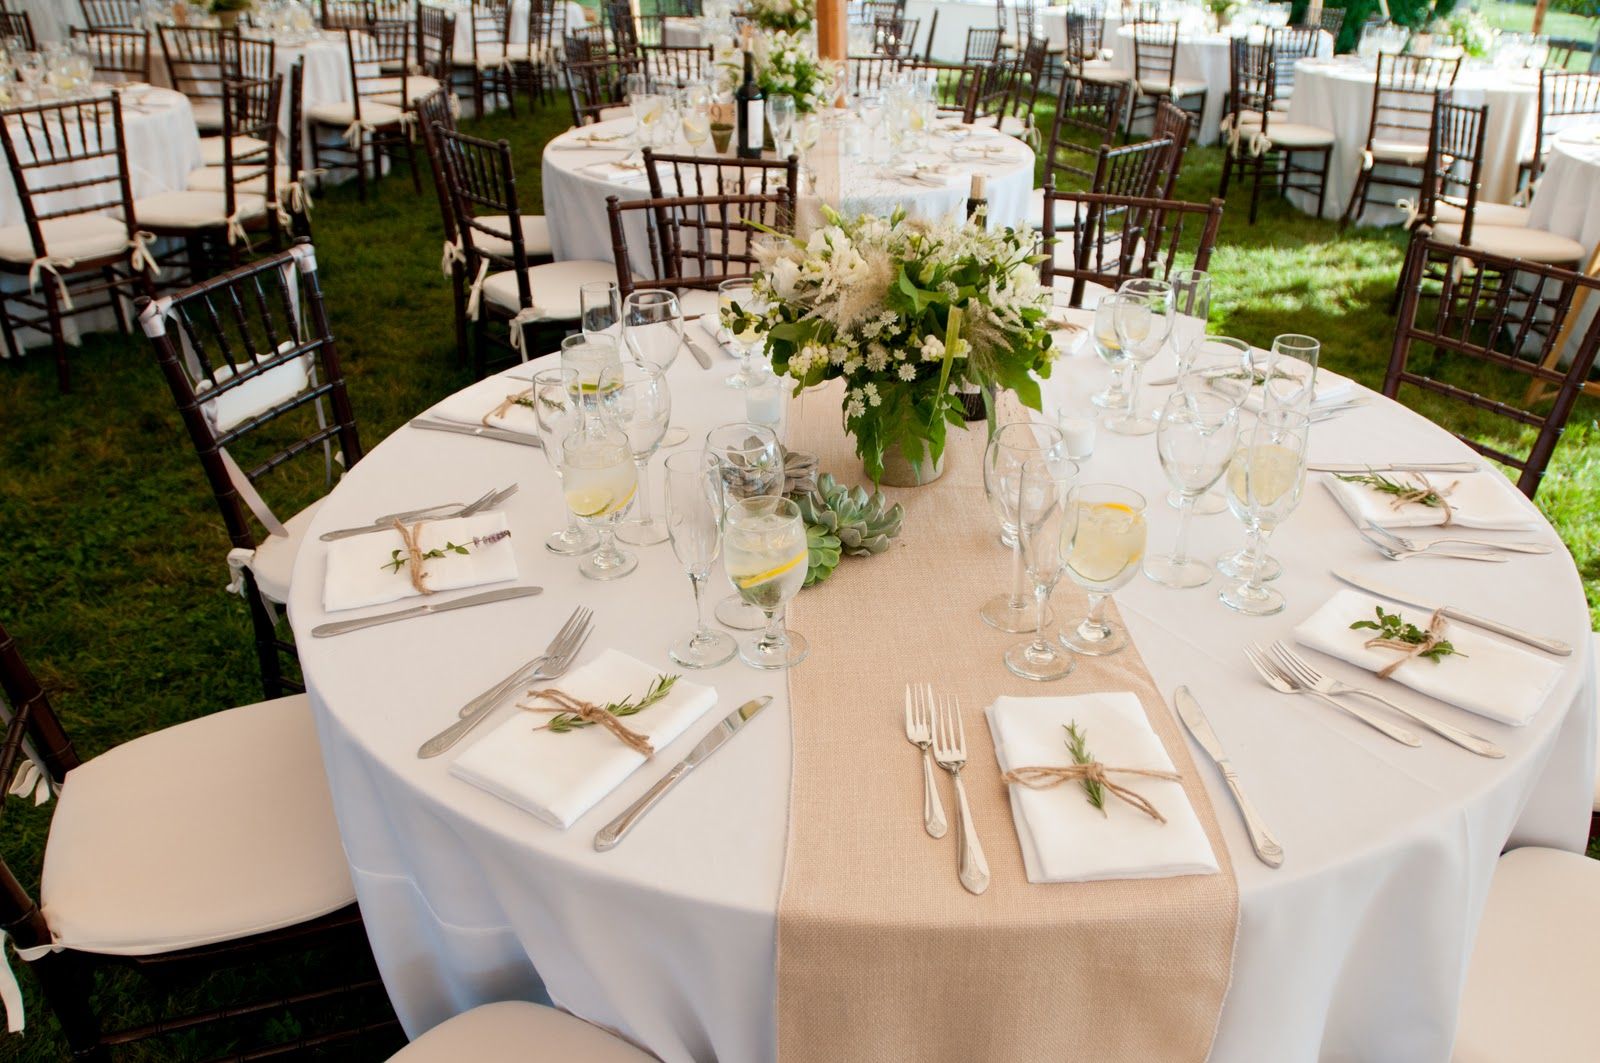
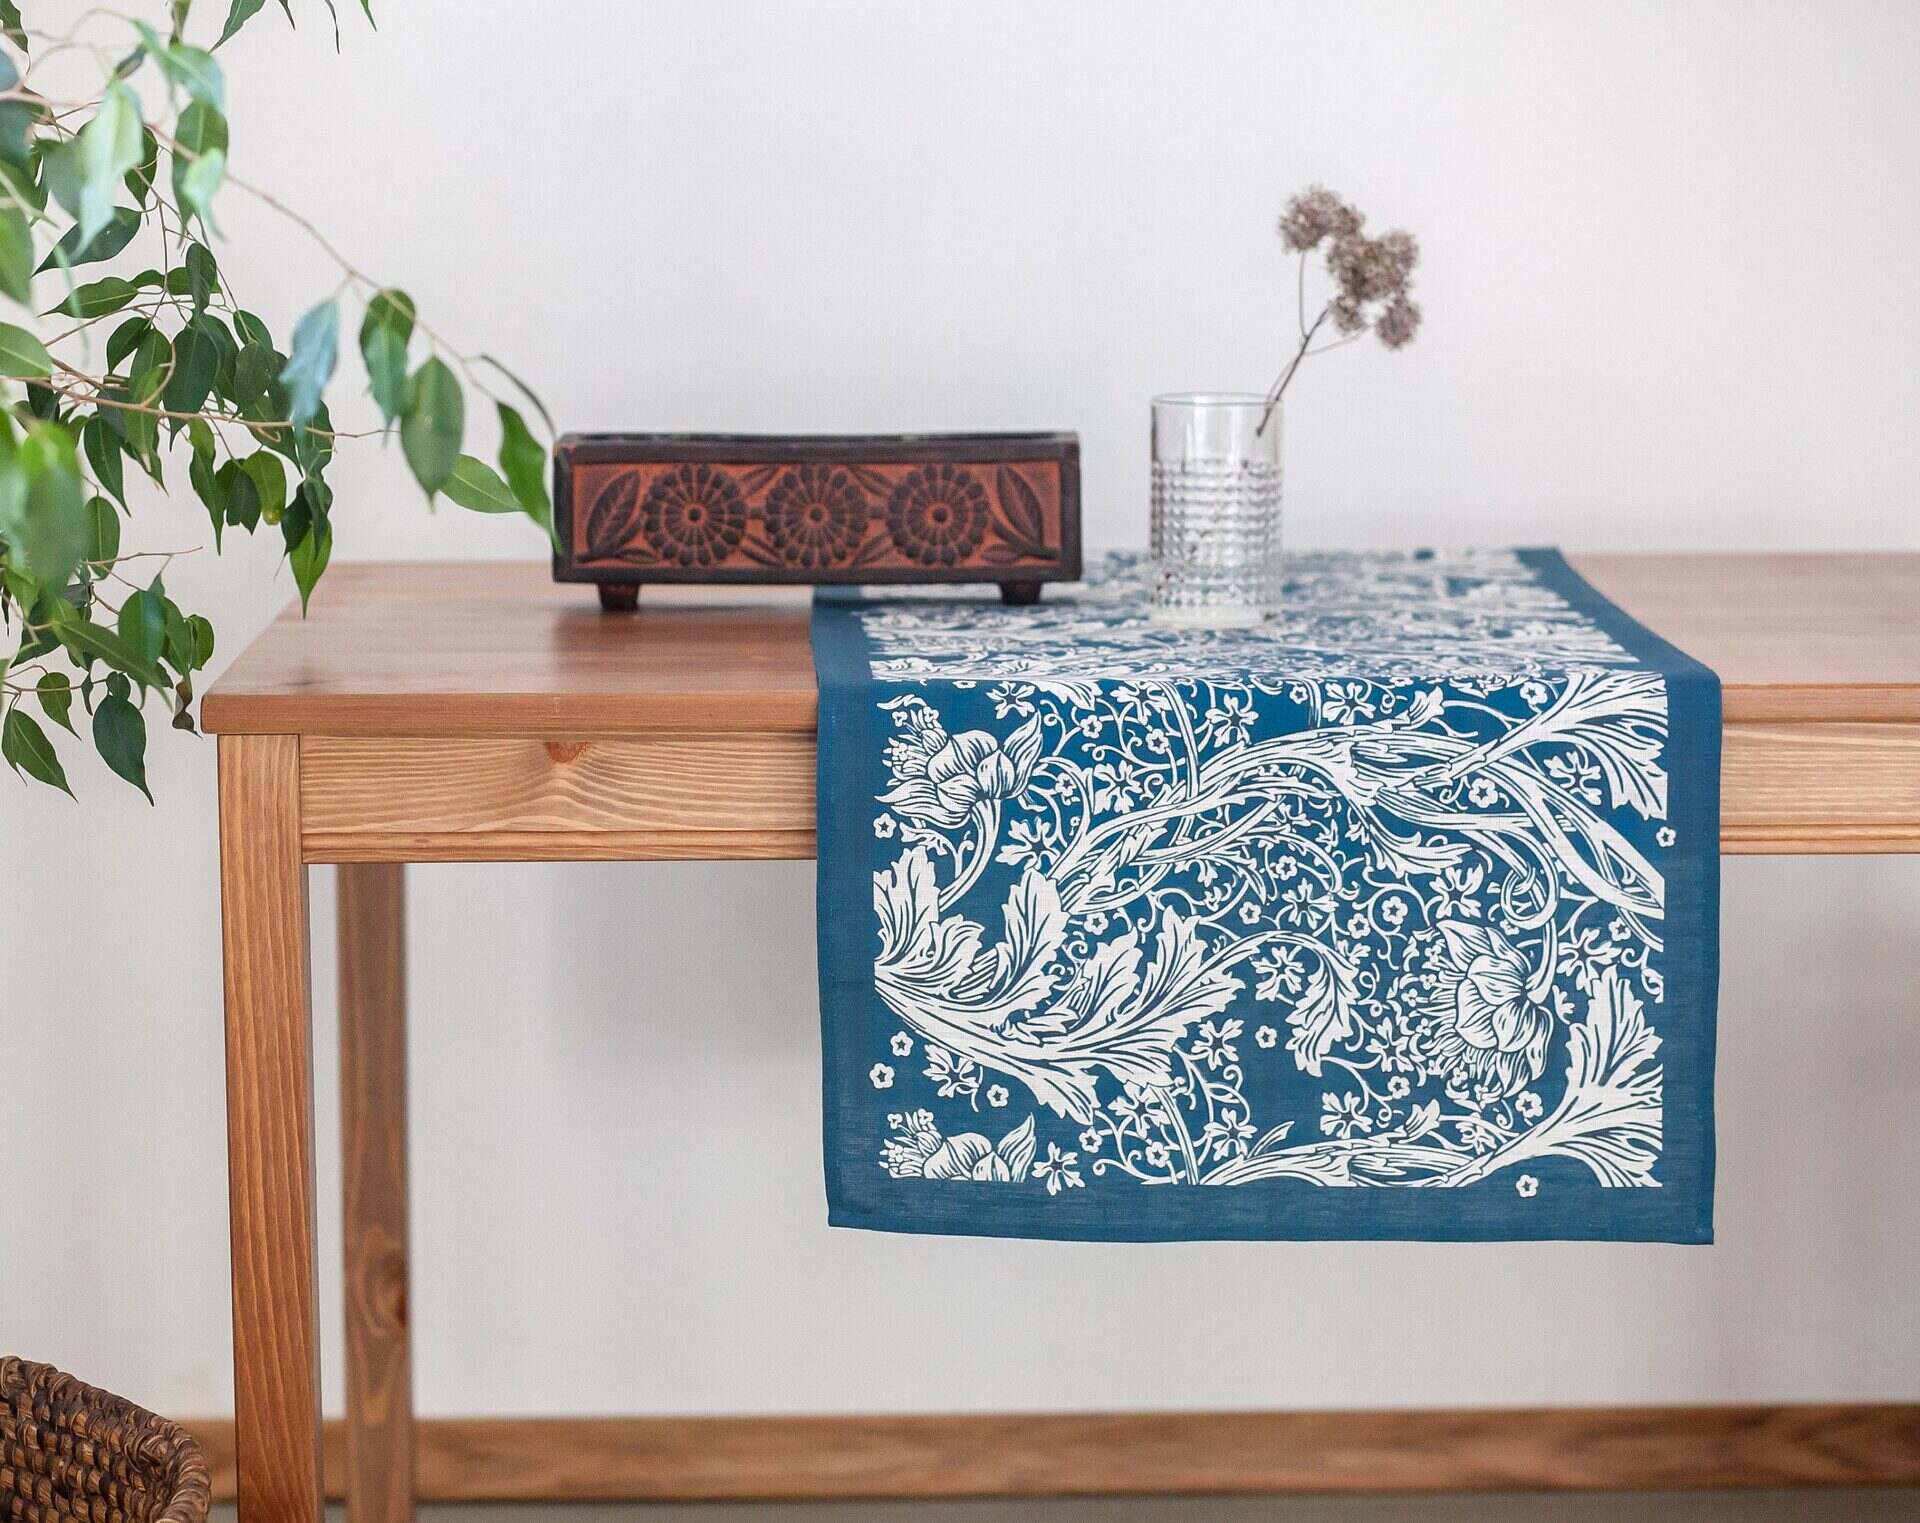
Welcome to the wonderful world of table decor! Whether you’re preparing for a special event, hosting a dinner party, or simply wanting to add a touch of elegance to your dining space, table runners can make all the difference. But why settle for a plain and ordinary table runner when you can create a stunning ruched table runner that will truly steal the show?
Ruching, also known as gathering or pleating, is a technique that adds texture and dimension to fabric. It involves sewing fabric together in a way that creates beautiful, evenly spaced folds. The result is a visually appealing design that adds a unique element to your table decor.
In this article, we will guide you through the process of creating a ruched table runner, step by step. From selecting the right fabric to sewing the ruched sections, we’ll cover everything you need to know to achieve stunning results.
So, gather your materials, put on your creative hat, and let’s get started on this exciting table decor project!
Key Takeaways:
- Elevate your table decor with a stunning ruched table runner, adding texture and dimension to your dining space. Follow the step-by-step guide to create a unique and elegant centerpiece for any occasion.
- Transform a simple piece of fabric into a captivating table decor item with the art of ruching. Add personal flair and sophistication to your dining space, impressing guests and creating a welcoming ambiance.
Materials Needed
Before diving into creating your ruched table runner, let’s gather all the materials you’ll need. Here’s a list of what you’ll want to have on hand:
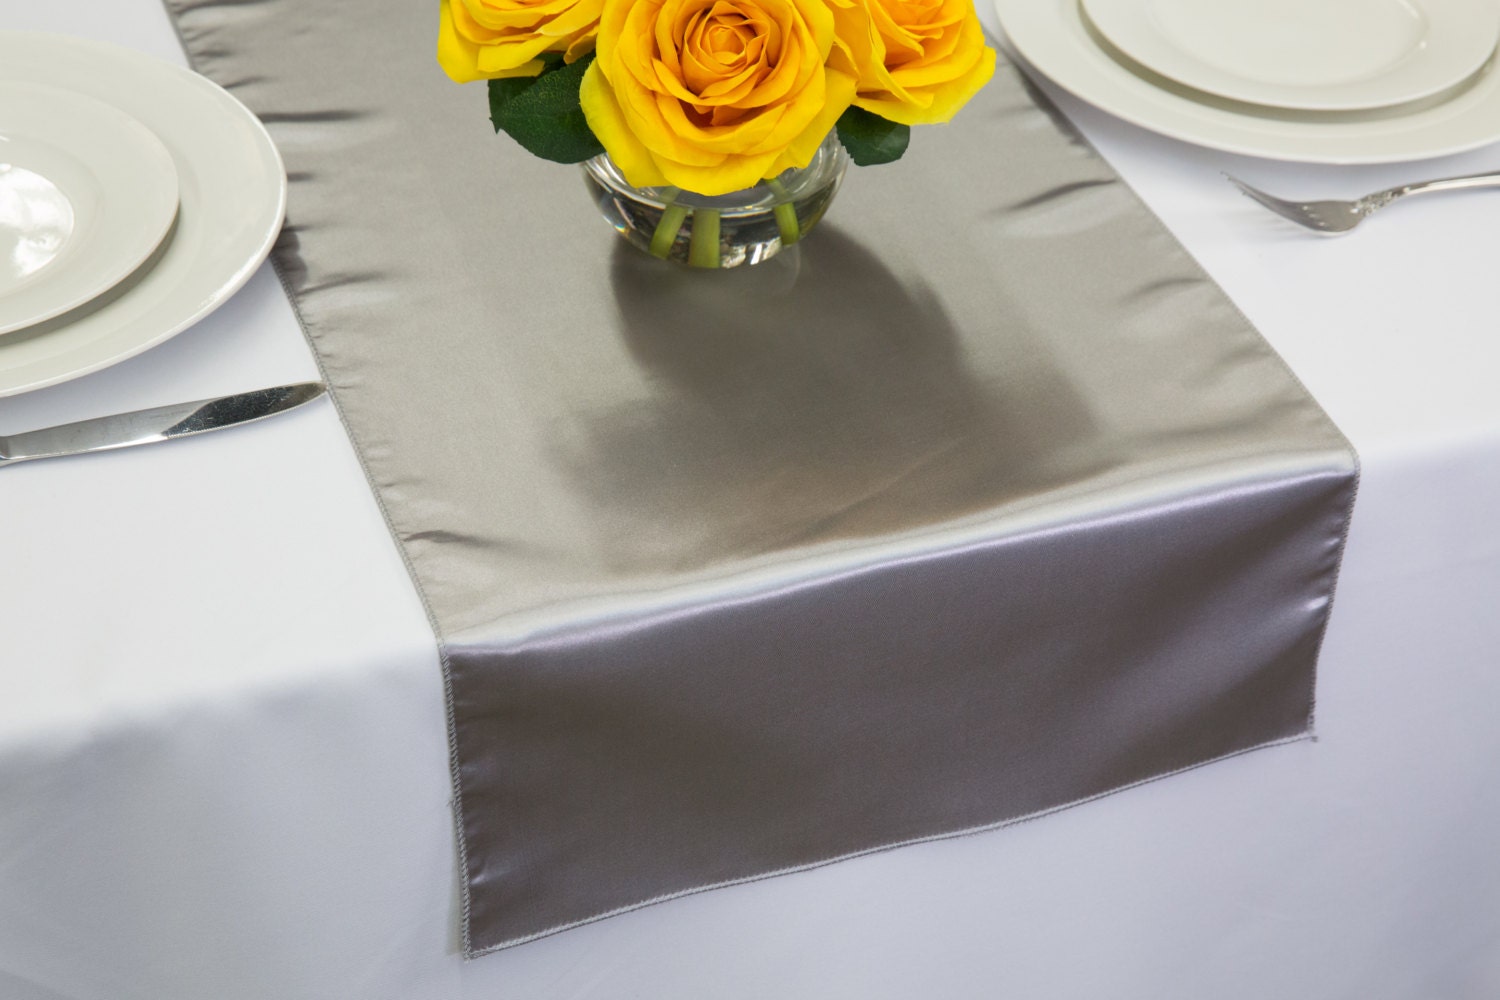
- Fabric: Choose a fabric that is suitable for table decor, such as cotton or linen. Make sure to measure the dimensions of your table and add a few inches to each side for a proper fit.
- Thread: Select a thread color that complements your fabric. A matching or contrasting thread can create different effects, so choose based on your desired aesthetic.
- Sewing Machine: Having a sewing machine will make the process much easier and faster. However, if you’re skilled with hand sewing techniques, you can opt for that as well.
- Pins: These will be used to hold the fabric in place while sewing. Opt for pins with rounded heads to prevent snagging the fabric.
- Scissors: A good pair of fabric scissors is essential for cutting the fabric neatly and precisely.
- Measuring Tape or Ruler: Accurate measurements are crucial for creating a well-fitted and visually appealing table runner.
- Iron: An iron will help you achieve crisp and well-pressed folds in your fabric.
- Optional Embellishments: If you want to add some extra flair to your ruched table runner, consider decorative elements like lace trim, ribbon, or beads.
Before you begin, ensure that you have all these materials readily available. Having everything at hand will make the process smoother and more enjoyable.
Step 1: Preparing the Fabric
Now that you have gathered all the necessary materials, it’s time to prepare your fabric for the ruching process. Follow these steps to ensure that your fabric is ready:
- Wash and Iron: Start by washing and ironing your fabric. This step is important to remove any dirt, wrinkles, or stiffness from the fabric, allowing it to drape nicely when ruched.
- Cut the Fabric: Measure and cut the fabric to your desired dimensions for the table runner. Use a ruler or measuring tape for accuracy. Remember to add a few extra inches to each side for a proper overhang on the table.
- Hem the Edges: To give your table runner a finished look, hem the edges of the fabric. Fold over the edges about half an inch and press with an iron. Then, fold the fabric over again, enclosing the raw edges, and press. Pin the folds in place and sew a straight stitch along the edges to secure the hems.
By washing and ironing your fabric beforehand, you ensure that it is clean and wrinkle-free, creating a polished end result. Hemming the edges adds a professional touch and prevents fraying of the fabric over time.
With these preparation steps complete, your fabric is now ready for the ruching process. Get ready to add some beautiful texture to your table runner!
Step 2: Creating the Ruching Effect
Creating the ruching effect is the key to transforming your table runner into a visually captivating piece of table decor. Follow these steps to achieve the desired effect:
- Mark the Ruching Lines: Determine where you want the ruching lines to be on your table runner. You can have them evenly spaced or create a more organic, asymmetrical pattern. Use a fabric marker or tailor’s chalk to mark these lines lightly on the wrong side of the fabric.
- Gather the Fabric: Start by gently pulling the fabric along one of the marked lines. Create small, even pleats or gathers along the line, folding the fabric back and forth to create folds. Secure the folds in place with pins, periodically checking that the ruched section is aligned with the marked line.
- Adjust and Even Out: Once you’ve gathered one line, move on to the next, repeating the same process. Make adjustments as necessary to ensure uniformity in the ruched sections. Continue this process until all the marked lines are ruched.
Remember to take your time and create even and consistent gathers as you go along. This will ensure that the ruching effect is visually appealing and enhances the overall look of your table runner.
Experiment with different techniques, such as varying the depth of the gathers or creating longer or shorter ruched sections, to achieve different effects and add personality to your table runner.
Once you have completed the ruching process, you’re ready to move on to the next step of sewing the ruched sections together.
When ruching table runners, use a sewing machine to create even and consistent gathers. Adjust the tension and stitch length to achieve the desired ruched effect.
Step 3: Sewing the Ruched Sections
After creating the ruching effect on your table runner, it’s time to secure the ruched sections in place by sewing them. Here’s how you can do it:
- Remove the Pins: Begin by carefully removing the pins that were holding the ruched sections in place. Take your time to avoid any accidental pulling or disruption of the folds.
- Stitching Technique: There are a few different stitching techniques you can use to sew the ruched sections. One option is to use a straight stitch along the edge of the ruched section, securing the folds together. Another option is to use a zigzag stitch, which adds a decorative touch and provides additional strength. Choose the technique that suits your preference.
- Start Sewing: Begin sewing at one end of the ruched section and continue until you reach the other end. Take care not to catch any excess fabric in the stitches, as this can affect the overall appearance.
- Backstitching: To ensure that your stitches are secure, backstitch at the beginning and end of each section. This involves sewing a few stitches forward, then reversing and sewing back over the same area before continuing forward again.
- Repeat for Each Ruched Section: Continue sewing each ruched section individually until the entire length of the table runner is secured. Take your time and pay attention to detail, ensuring that each stitch is neat and even.
Remember to keep the tension of your sewing machine consistent throughout the process. This will help maintain the integrity of the ruched sections and create a polished end result.
Once you have sewn all the ruched sections, take a moment to admire your progress! You’re a step closer to completing your beautiful ruched table runner.
Read more: How To Get Grass Stains Out Of Tennis Shoes
Step 4: Finishing Touches
Now that you have sewn the ruched sections of your table runner, it’s time to add the final touches to make it truly spectacular. Consider these options to enhance the overall look and feel:
- Press the Seams: Take a few minutes to press the seams of your table runner with an iron. This will help smooth out any wrinkles and give the runner a crisp, professional appearance.
- Add Embellishments: If you want to add an extra touch of elegance or personalization, consider adding embellishments. You can sew on lace trim along the edges of the runner or attach a decorative ribbon. Be creative and choose embellishments that match your personal style and the overall aesthetic you’re going for.
- Inspect for Loose Threads: Carefully check your table runner for any loose threads and trim them with a pair of scissors. This final step will ensure a polished and clean finish.
- Show It Off: Your ruched table runner is now ready to be showcased! Place it proudly on your dining table or any other surface you desire. Admire the intricate folds and the beautiful texture it adds to your overall table decor.
Remember, the finishing touches are what elevate your table runner from simply functional to truly captivating. Take your time with these steps to ensure that every detail is just how you envision it.
Now that you’ve completed all the steps, sit back, relax, and enjoy the beauty of your handmade ruched table runner. Prepare to receive compliments from your guests and revel in the satisfaction of a job well done!
Conclusion
Congratulations on successfully creating your own ruched table runner! You’ve taken a simple piece of fabric and transformed it into a stunning and unique table decor item. With the ruching effect and the finishing touches, your table runner will undoubtedly be the focal point of your dining space.
Throughout this journey, you’ve learned how to prepare the fabric, create the ruching effect, sew the ruched sections together, and add those final, special details. The process may have required patience and attention to detail, but the end result is well worth it.
Now, it’s time to put your beautiful ruched table runner to use. Whether you’re hosting a formal dinner party, celebrating a special occasion, or simply wanting to elevate your everyday meals, your table runner will add a touch of elegance and sophistication to any table setting.
Remember, table decor is more than just functional. It sets the ambiance and creates a welcoming atmosphere for your guests. With your ruched table runner, you’ve added a unique and personal touch to your dining space, showcasing your creativity and attention to detail.
Feel free to experiment with different fabrics, colors, and ruching techniques to create even more stunning table runners. Let your imagination run wild and infuse your personal style into each piece.
Thank you for joining us on this table decor adventure! We hope this guide has been helpful in creating your own ruched table runner. Embrace your newfound skills, enjoy the process of creating beautiful table decor, and always remember to cherish the moments shared around your beautifully adorned table.
Happy decorating!
Frequently Asked Questions about How To Ruche Table Runners
Was this page helpful?
At Storables.com, we guarantee accurate and reliable information. Our content, validated by Expert Board Contributors, is crafted following stringent Editorial Policies. We're committed to providing you with well-researched, expert-backed insights for all your informational needs.


0 thoughts on “How To Ruche Table Runners”