Articles
How To Re-Carpet A Cat Tree
Modified: February 25, 2024
Learn how to carpet a cat tree in this informative article. Follow the step-by-step guide and transform your cat's favorite spot into a cozy haven.
(Many of the links in this article redirect to a specific reviewed product. Your purchase of these products through affiliate links helps to generate commission for Storables.com, at no extra cost. Learn more)
Introduction
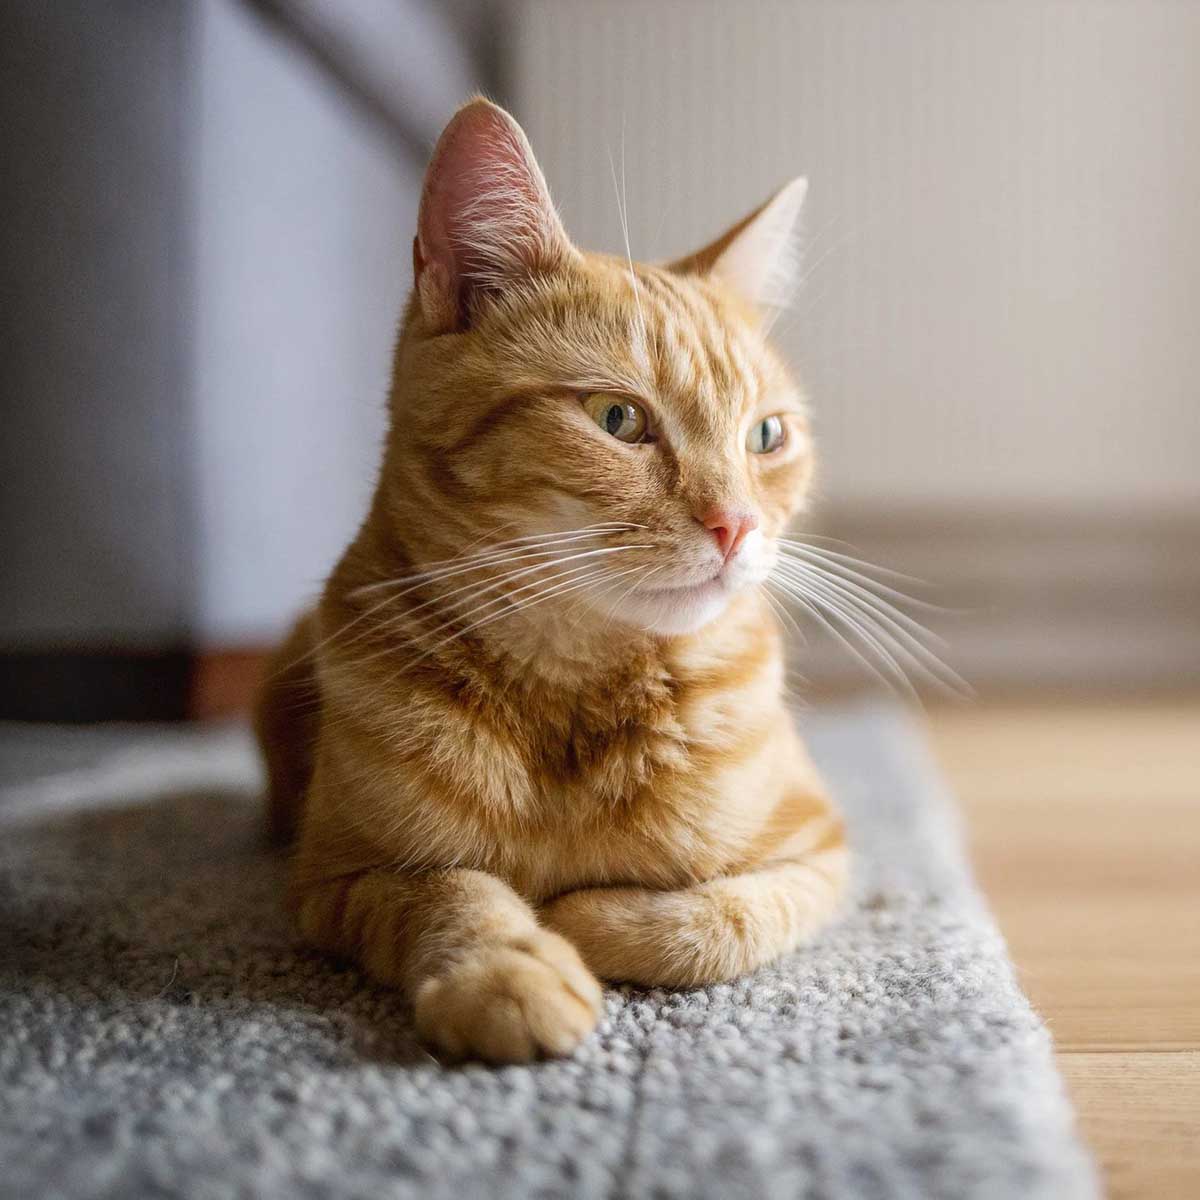
Welcome to our comprehensive guide on how to carpet a cat tree! If you’re a cat owner, you know how much our furry friends love to climb, scratch, and relax on their very own cat tree. However, over time, the carpet on the cat tree can become worn out or damaged. So, why not give your cat tree a fresh new look by carpeting it yourself?
In this article, we will take you through a step-by-step process of carpeting your cat tree, from gathering materials to adding the finishing touches. Whether you’re a DIY enthusiast or just looking to save some money, carpeting your cat tree is a fun and rewarding project that will not only enhance the aesthetic appeal of the tree but also make it more comfortable for your feline friend.
Before we dive into the steps, let’s go over the materials you’ll need:
- Carpet (measured to fit your cat tree)
- Scissors or utility knife
- Staple gun or adhesive
- Measuring tape
- Screwdriver
Now that you have your materials ready, let’s get started on transforming your cat tree into a cozy haven for your beloved kitty!
Key Takeaways:
- Transform your cat tree into a cozy haven by following our step-by-step guide to carpeting. Enhance your cat’s comfort and enjoyment while creating a visually appealing and personalized space for your furry friend.
- Prioritize safety and well-being by using pet-friendly materials and securing the carpet properly. Add finishing touches to create a stimulating and comfortable environment tailored to your cat’s preferences.
Read more: How To Repair A Carpet Damaged By Cats
Step 1: Gathering Materials
Before you can start carpeting your cat tree, make sure you have all the necessary materials and tools at hand. This will ensure a smooth and hassle-free process.
Here’s a list of the materials you’ll need:
- Carpet: Choose a durable and pet-friendly carpet that is suitable for your cat tree. Measure the dimensions of each platform and post on the cat tree to ensure you have enough carpet to cover them.
- Scissors or utility knife: These will be used to cut the carpet to the required size and shape.
- Staple gun or adhesive: You can choose to either staple the carpet onto the cat tree or use a suitable adhesive to secure it in place.
- Measuring tape: This will help you accurately measure the dimensions of the cat tree and determine the size of the carpet pieces needed.
- Screwdriver: You may need a screwdriver to remove any existing carpet or to disassemble certain parts of the cat tree for easier carpeting.
Once you have gathered all the necessary materials, you’re ready to move on to the next step. Make sure to choose a time when your cat is not around or is occupied to avoid any interference during the carpeting process.
Remember, it’s important to prioritize the safety of your cat, so choose materials that are non-toxic and pet-friendly. Avoid using adhesives or staples that may harm your cat if they come into contact with them.
Now that you have everything ready, let’s move on to preparing the cat tree for carpeting in the next step.
Step 2: Preparing the Cat Tree
Before you can start carpeting your cat tree, it’s important to properly prepare it by removing any existing carpet or fabric. This will provide a clean and smooth surface for the new carpet to be applied.
Here are the steps to prepare your cat tree:
- Assess the condition of the cat tree: Inspect the cat tree to check for any loose or damaged parts. Tighten any screws or bolts that may be loose and make any necessary repairs before proceeding.
- Remove the old carpet: If your cat tree already has carpet or fabric, carefully remove it using a screwdriver or utility knife. Take your time to avoid damaging the underlying structure of the cat tree.
- Clean the cat tree: Once the old carpet is removed, clean the surfaces of the cat tree with a damp cloth to remove any dirt, dust, or debris. This will ensure better adhesion of the new carpet.
Preparing the cat tree is an essential step as it creates a suitable base for the new carpet to be applied. It also allows you to identify and fix any underlying issues with the structure of the cat tree, ensuring its stability and safety for your cat.
Once you have prepared the cat tree, you can proceed to the next step, which involves measuring and cutting the carpet to fit the different parts of the tree.
Step 3: Measuring and Cutting the Carpet
Now that you have prepared your cat tree, it’s time to measure and cut the carpet to fit each platform and post of the tree. This step is crucial to ensure a proper fit and a seamless look once the carpet is applied.
Here’s how to measure and cut the carpet:
- Measure the dimensions: Use a measuring tape to measure the length and width of each platform, as well as the circumference of each post. Add a few inches of extra length and width to account for wrapping and securing the carpet.
- Mark and cut the carpet: Using the measurements you took, mark the dimensions on the back of the carpet. You can use a pen or chalk to make the markings. Carefully cut the carpet along the markings using scissors or a utility knife.
- Trim for corners and curves: If your cat tree has corners or curved surfaces, you may need to trim the corners or make small slits along the curved edges of the carpet. This will allow the carpet to lay flat and smoothly wrap around these areas.
Take your time with this step to ensure accurate measurements and clean cuts. Remember, it’s better to cut the carpet slightly larger than needed as you can always trim off any excess later.
Once you have cut the carpet pieces to the appropriate sizes, you’re ready to move on to the next step, which involves applying adhesive or using a staple gun to secure the carpet onto the cat tree.
Step 4: Applying Adhesive
Now that you have measured and cut the carpet to fit your cat tree, it’s time to secure the carpet in place. One option is to use adhesive to adhere the carpet to the surfaces of the cat tree. Adhesive provides a strong bond and helps keep the carpet in place even with active cats scratching and climbing on the tree.
Here’s how to apply adhesive to the carpet:
- Select a pet-safe adhesive: Look for an adhesive that is specifically designed for use with carpet and is safe for pets. It’s important to choose an adhesive that is non-toxic, as your cat may come into contact with it.
- Apply adhesive to the platform or surface: Using a paintbrush or a small roller, evenly apply the adhesive to the surface of the platform or post where the carpet will be placed. Make sure to cover the entire area and reach the edges of the platform.
- Press the carpet onto the adhesive: Carefully place the cut carpet onto the adhesive, starting from one edge and pressing it down firmly. Smooth out any wrinkles or bubbles by gently pressing the carpet with your hands. Make sure the carpet is evenly aligned and covers the entire surface.
- Repeat for each platform and post: Follow the same process for each platform and post on the cat tree, applying adhesive and pressing the carpet onto it. Take your time to ensure a secure and neat application.
Be sure to review and follow the manufacturer’s instructions for the adhesive you are using, as different adhesives may have specific application recommendations.
Once you have applied the adhesive and secured the carpet onto the cat tree, you can proceed to the next step of wrapping the remaining sections of the tree with carpet.
When carpeting a cat tree, make sure to use a non-toxic adhesive to secure the carpet in place. This will ensure the safety of your cat when they use the tree.
Read also: 9 Amazing Cat Tree With Hammock For 2025
Step 5: Wrapping the Cat Tree
With the carpet securely adhered to the platforms and posts, it’s time to wrap the remaining sections of the cat tree. This step will provide a cohesive and finished look to your cat tree while also protecting the underlying structure.
Here’s how to wrap the cat tree with carpet:
- Begin with the base: Start by wrapping the base of the cat tree. Cut a piece of carpet large enough to cover the base completely. Apply adhesive or use a staple gun to secure the carpet onto the base, making sure to smooth out any wrinkles.
- Wrap the posts: Move on to wrapping the posts of the cat tree. Measure and cut pieces of carpet that are long enough to cover the entire length of each post. Apply adhesive or use a staple gun to secure the carpet onto the posts, ensuring a tight and snug fit without any gaps.
- Continue with the platforms: After wrapping the posts, proceed to wrap the platforms of the cat tree. Measure and cut pieces of carpet that are large enough to cover each platform completely. Apply adhesive or use a staple gun to secure the carpet onto the platforms, smoothing it out as you go.
- Overlap and tuck in edges: As you wrap the different sections of the cat tree, overlap the edges of the carpet slightly to create a seamless appearance. Tuck in any excess carpet at the edges or corners of the platforms for a neat finish.
Take your time and ensure that the carpet is securely attached to each section of the cat tree. Smooth out any wrinkles or folds as you go, and make any necessary adjustments to ensure a seamless and professional-looking application.
Once you have wrapped the entire cat tree with carpet, it’s time to move on to the next step, which involves trimming any excess carpet that may be sticking out.
Step 6: Trimming Excess Carpet
After wrapping the cat tree with carpet, there may be some excess carpet sticking out at the edges or corners. Trimming this excess carpet will give your cat tree a clean and polished appearance.
Here’s how to trim the excess carpet:
- Inspect the wrapped areas: Take a close look at each platform and post of the cat tree to identify any areas where the carpet extends beyond the desired coverage.
- Mark the trimming lines: Use a pen or chalk to mark the trimming lines where you want to cut the excess carpet. Take care to ensure that the lines are straight and follow the contours of the cat tree.
- Cut along the marked lines: Use a pair of scissors or a utility knife to carefully cut along the marked trimming lines. Take your time and make precise cuts to achieve a clean and even finish.
- Smooth any rough edges: After trimming the excess carpet, check for any rough or uneven edges. If needed, use sandpaper or a file to smooth out any rough spots and create a seamless transition between the carpet and the cat tree surfaces.
Trimming the excess carpet will not only enhance the aesthetic appeal of your cat tree but also ensure that there are no loose or dangling pieces that could pose a risk to your cat.
Once you have trimmed the excess carpet and smoothed any rough edges, you can move on to the next step, which involves securing the carpet in place to prevent any shifting or unraveling.
Step 7: Securing the Carpet
Now that you have wrapped and trimmed the carpet on your cat tree, it’s important to secure it in place to prevent any shifting or unraveling over time. This will ensure that your cat tree remains sturdy and safe for your furry friend.
Here are some methods to securely fasten the carpet:
- Stapling: If you used a staple gun to attach the carpet, go over each staple to ensure they are fully secured and not sticking out. Make sure the staples are tightly fastened to avoid any potential hazards.
- Adhesive: If you used adhesive, double-check that it has properly dried and formed a strong bond between the carpet and the cat tree. Test the carpet by gently tugging on it to ensure it is securely attached.
- Additional fasteners: For added reinforcement, you can use small screws or nails to further secure the carpet in key areas, such as at the corners of the platforms or posts. Make sure to choose appropriate fasteners that will not pose a risk to your cat.
Take the time to go over the entire cat tree and check for any loose areas or potential hazards. If you notice any loose spots, reapply adhesive or add additional fasteners as needed to ensure a secure and stable carpet covering.
By securing the carpet properly, you’ll have peace of mind knowing that your cat can enjoy their tree without any worries of the carpet coming loose or causing any accidents.
Now that you have secured the carpet in place, it’s time to add the finishing touches to complete your carpeted cat tree.
Step 8: Adding Finishing Touches
With the carpet securely in place on your cat tree, it’s time to add some finishing touches to make it even more appealing and enjoyable for your furry friend.
Here are some ideas for adding those final touches:
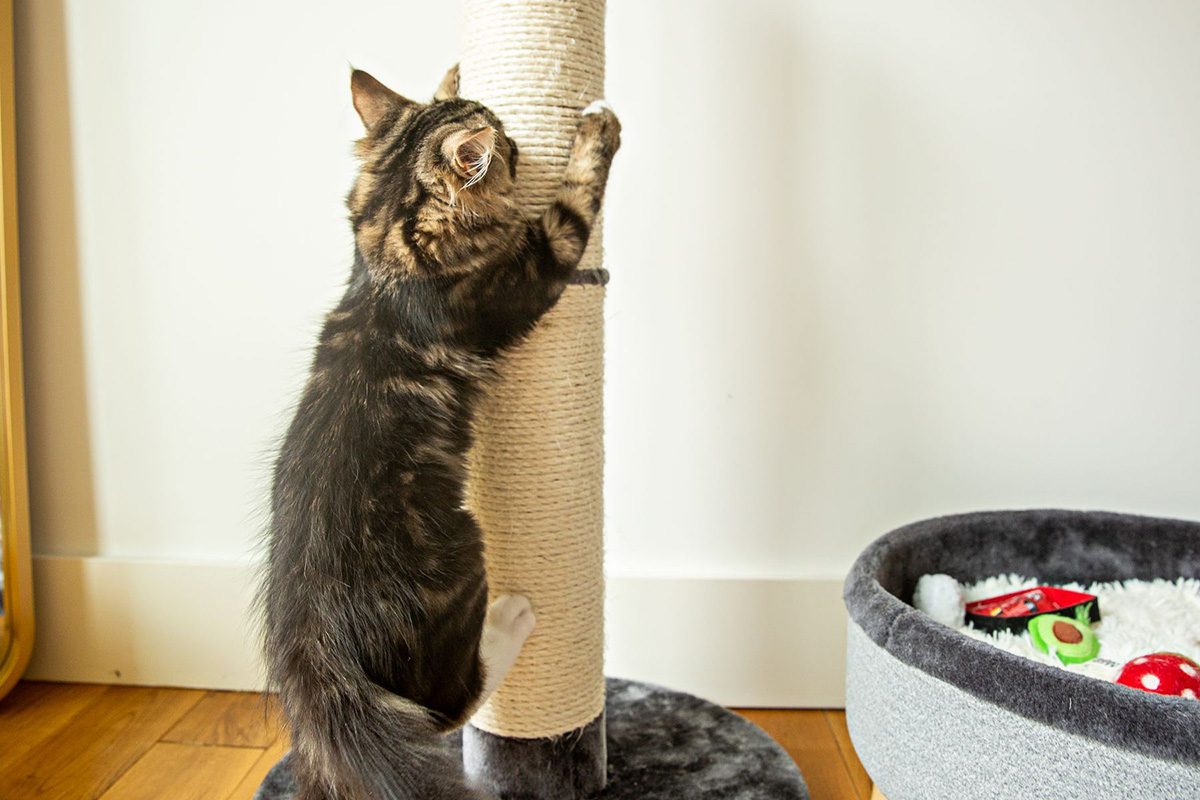
- Add sisal rope or scratching posts: If your cat tree doesn’t already have built-in scratching posts, consider adding sections of sisal rope to provide additional scratching surfaces. Cats love to stretch and scratch, and this will help encourage them to use their cat tree.
- Attach hanging toys or feathers: Hanging toys or feathers can be a great addition to your cat tree, providing entertainment and stimulation for your cat. Hang them at various heights to encourage climbing and play.
- Create cozy spots: Place soft cushions or blankets in certain areas of the cat tree to create cozy and comfortable spots for your cat to relax and nap. Cats love having their special spaces to curl up in and enjoy some quiet time, so make sure to provide those cozy nooks.
- Consider adding platforms or hiding spots: Depending on the size and structure of your cat tree, you may have the option to add extra platforms or hiding spots. This can be done using sturdy materials such as plywood or additional shelves. These additions will provide more variety and opportunities for your cat to explore and climb.
Remember to consider your cat’s preferences and personality when making these additions. Each cat has different preferences for play and relaxation, so customize your cat tree to suit their individual needs.
By adding these finishing touches, you’ll not only create a functional cat tree but also a fun and engaging environment for your feline friend.
With that, your cat tree makeover is complete! Take a moment to admire your handiwork and see how much your cat enjoys their newly carpeted and personalized cat tree.
Congratulations on completing the process of carpeting your cat tree! We hope that this guide has been helpful and that you and your cat will enjoy the newly revamped cat tree for years to come.
Remember to regularly inspect and maintain your cat tree to ensure its safety and longevity. Your cat will thank you for providing them with a comfortable and entertaining space of their own.
Thank you for reading, and happy cat tree carpeting!
Conclusion
Carpeting your cat tree is a rewarding project that not only improves the aesthetic appeal of the tree but also enhances your cat’s comfort and enjoyment. By following the step-by-step process outlined in this guide, you can easily transform your cat tree into a cozy haven for your feline friend.
From gathering the materials to adding finishing touches, each step plays a crucial role in ensuring a successful cat tree carpeting project. Taking the time to prepare the cat tree, measure and cut the carpet precisely, and secure it properly will result in a durable and visually appealing finished product.
Remember to prioritize the safety and well-being of your cat throughout the process. Use pet-safe materials, avoid toxic adhesives, and take precautions to prevent any potential hazards. Regularly inspect and maintain the cat tree to ensure its stability and longevity.
By adding sisal rope for scratching, attaching hanging toys, and creating cozy spots, you can personalize the cat tree and provide your cat with a stimulating and comfortable environment. Consider your cat’s preferences and personality when making these additions to make the cat tree truly their own.
We hope this guide has been helpful in guiding you through the process of carpeting your cat tree. Now, it’s time for you and your cat to enjoy the fruits of your labor. Watch as your cat climbs, scratches, and lounges on their revamped and cozy cat tree.
Thank you for taking the time to read our comprehensive guide. We hope it has inspired you and provided you with valuable insights. Happy cat tree carpeting!
Frequently Asked Questions about How To Re-Carpet A Cat Tree
Was this page helpful?
At Storables.com, we guarantee accurate and reliable information. Our content, validated by Expert Board Contributors, is crafted following stringent Editorial Policies. We're committed to providing you with well-researched, expert-backed insights for all your informational needs.