Articles
How To Cut A Carpet
Modified: October 20, 2024
Learn how to cut a carpet with our informative articles. Find step-by-step instructions and expert tips to easily achieve a professional-looking result.
(Many of the links in this article redirect to a specific reviewed product. Your purchase of these products through affiliate links helps to generate commission for Storables.com, at no extra cost. Learn more)
Introduction
Welcome to this comprehensive guide on how to cut a carpet. Whether you’re looking to replace old carpeting or resizing a new carpet to fit a specific area, knowing how to cut a carpet properly is essential to achieve a professional-looking result. While it may seem like a daunting task, with the right tools and techniques, you can successfully cut a carpet with ease.
In this article, we’ll walk you through the step-by-step process of cutting a carpet, from measuring and marking to trimming and finishing the edges. We’ll also discuss the tools and materials you’ll need to get the job done. So, let’s get started on transforming your carpet into the perfect fit for your space!
Key Takeaways:
- Master the art of cutting a carpet by following precise measurements, securing the edges, and using the right tools. Achieve a professional look with patience and attention to detail.
- Transform your space with a perfectly fitted carpet by mastering the cutting and finishing process. Embrace the satisfaction of a polished result and enjoy the process!
Read more: How To Cut Up A Carpet For Disposal
Tools and Materials Required
Before you begin cutting your carpet, gather the following tools and materials:
- Measuring tape or ruler
- Chalk or marking pencil
- Straightedge or ruler
- Carpet knife or utility knife
- Carpet shears or strong scissors
- Duct tape or carpet seam tape
- Sturdy work surface
- Cutting board or plywood
- Pliers or needle-nose pliers
- Vacuum cleaner
- Protective gloves and goggles
Having these tools and materials on hand will ensure that you have everything you need to cut your carpet accurately and efficiently.
Step 1: Measure and Mark
The first step in cutting a carpet is to measure and mark the area you want to cut. This requires precision, as accurate measurements will ensure that your carpet fits perfectly in the designated space.
Start by determining the dimensions of the area where the carpet needs to be cut. Use a measuring tape or ruler to measure the length and width, taking into account any nooks or corners that require special attention.
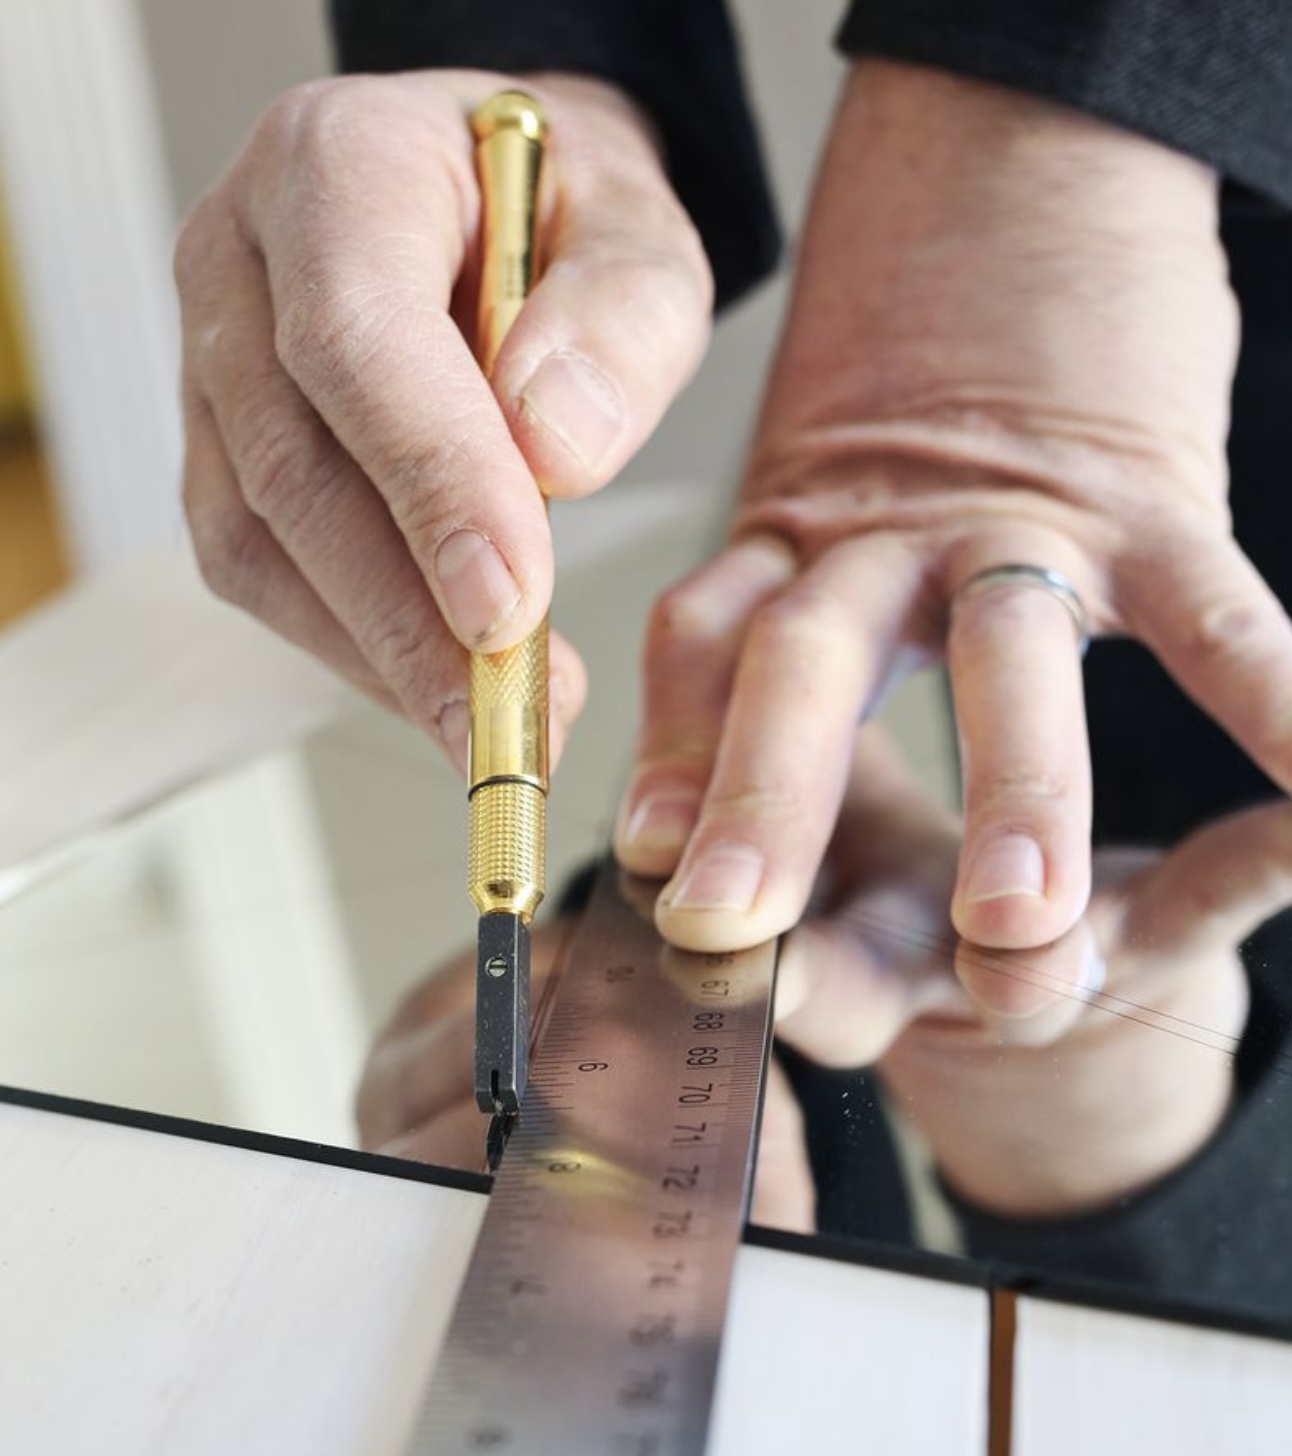
Once you have determined the dimensions, transfer them onto the carpet using chalk or a marking pencil. A straightedge or ruler can help you create straight and precise lines. Make sure to double-check your measurements before proceeding to the next step.
If you are cutting the carpet for a specific shape, such as around furniture or architectural features, use a template or cardboard to trace the outline onto the carpet.
It’s important to note that when measuring and marking the carpet, it’s always better to leave some extra material to trim later rather than cutting it too short. You can always trim off the excess fabric in the later steps.
Once you have marked the area to be cut, ensure that your markings are clearly visible and won’t easily rub off during the cutting process. This will help maintain accuracy and minimize errors.
With Step 1 complete, you’re ready to move on to preparing the carpet for cutting.
Step 2: Prepare the Carpet for Cutting
After measuring and marking the area to be cut, it’s important to prepare the carpet before you begin cutting. This step will ensure that the carpet remains secure and stable during the cutting process.
Start by clearing the area where you’ll be working. Remove any furniture or obstacles that could get in the way and make the process more difficult. This will provide you with a clear and unobstructed workspace.
Next, lay the carpet on a sturdy work surface, such as a cutting board or a piece of plywood. Ensure that the carpet is laid out flat and smooth, free from any wrinkles or ripples. Smooth out the carpet if necessary, using your hands or a straightedge.
Before making any cuts, it’s important to secure the edges of the carpet to prevent fraying or unraveling. You can achieve this by using duct tape or carpet seam tape along the edges. Apply the tape firmly, ensuring that it adheres to the carpet’s edge securely.
If your carpet has a backing, flip it over so that the backing side is facing up. This will make the cutting process easier and more precise, as you’ll be able to see the markings more clearly.
Additionally, it’s a good idea to wear protective gloves and goggles during this step to protect your hands and eyes from any potential debris or sharp objects.
With Step 2 complete, you’re now ready to move on to the actual cutting of the carpet in Step 3.
When cutting a carpet, always measure twice and cut once to ensure you have the correct dimensions. Use a sharp utility knife and a straight edge for a clean, precise cut.
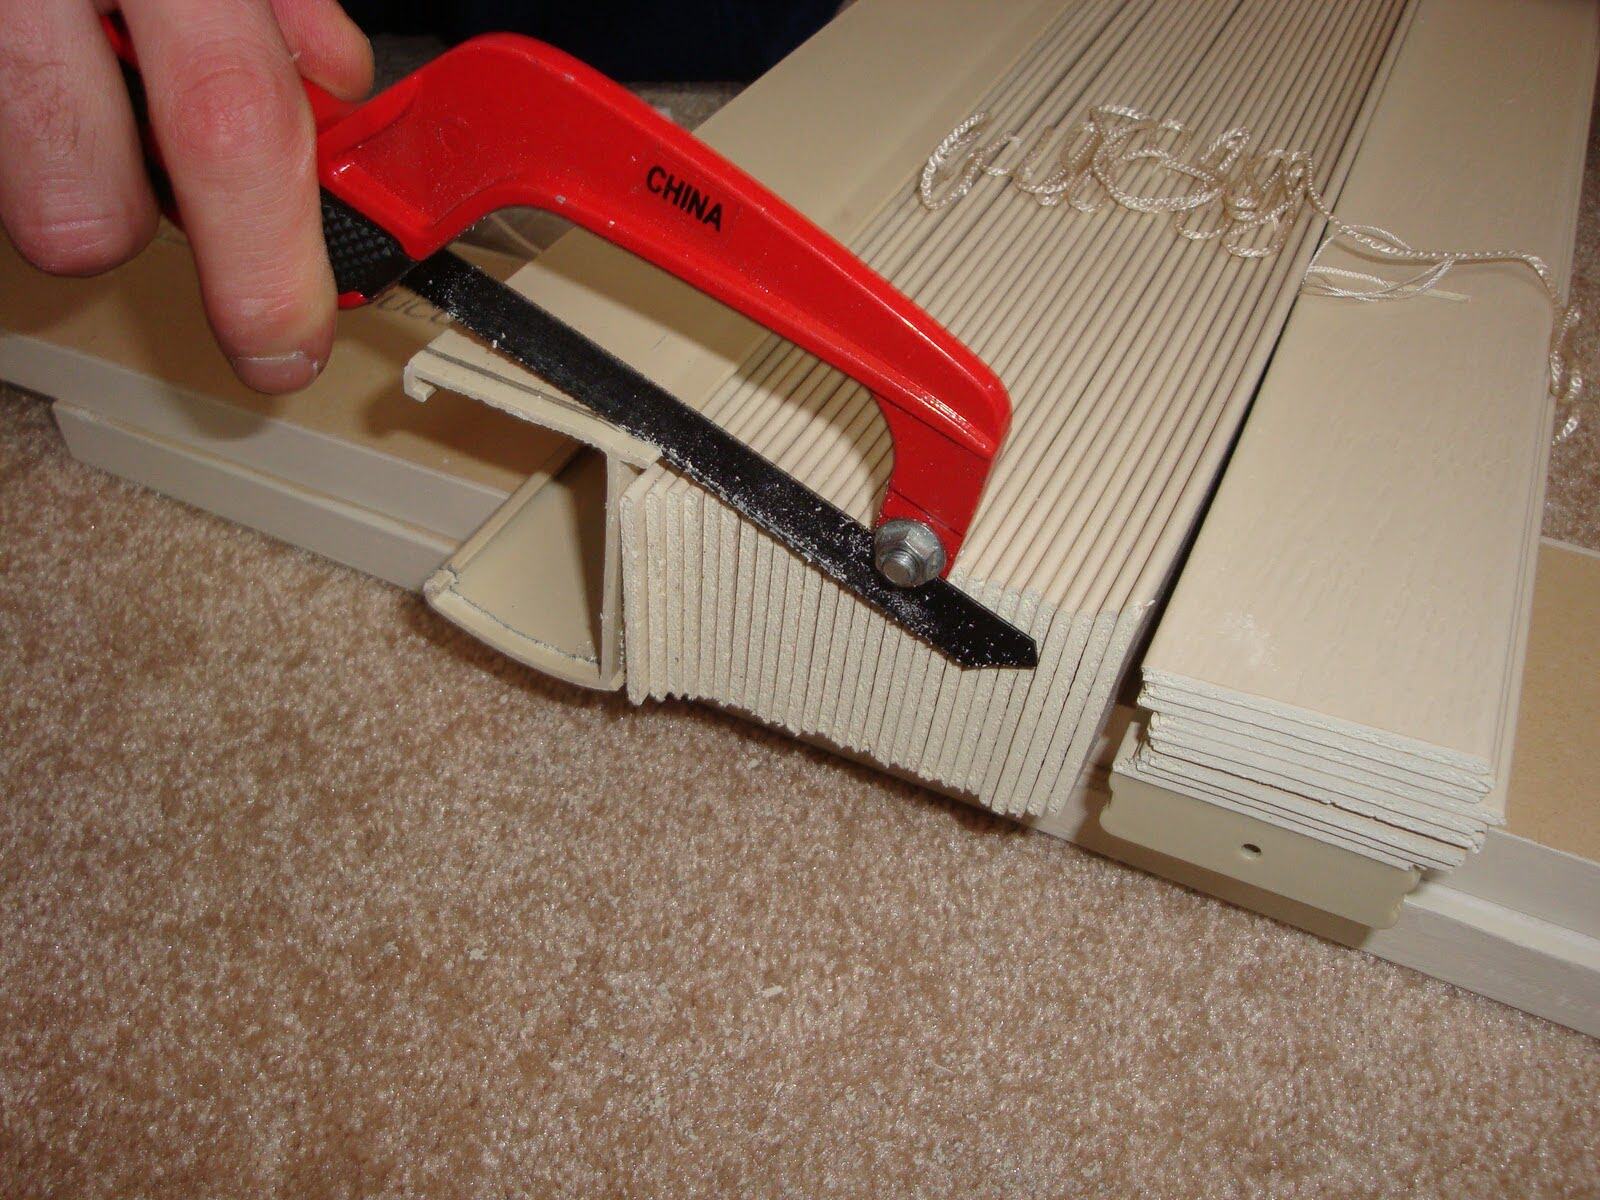
Step 3: Cutting the Carpet
Now that you have measured, marked, and prepared the carpet, it’s time to cut it to the desired size and shape. Take your time and proceed with caution to ensure clean and precise cuts.
Start by aligning the blade of your carpet knife or utility knife along the marked line. Hold the knife at a slight angle, with the blade pointing towards the waste side of the carpet to prevent any damage to the area you want to keep.
Apply gentle pressure and make a shallow initial cut along the marked line. Avoid cutting too deeply in the first pass, as this can lead to jagged or uneven edges. Instead, make multiple light passes, gradually deepening the cut.
If you are cutting a straight line, use a ruler or straightedge as a guide to ensure a clean and precise cut. Hold the straightedge firmly in place and cut along its edge to maintain a straight line.
If you are cutting a curved or irregular shape, use small, controlled movements to follow the marked line. Make sure to keep your fingers clear of the blade and work slowly to maintain accuracy.
After making the initial cuts, go back and deepen the cut, gradually working your way through the carpet. Take care to avoid cutting into the underlying surface, such as a subfloor or padding.
If you encounter any obstacles, such as seams or corners, use pliers or needle-nose pliers to firmly grip the carpet and carefully cut around them. This will help you achieve precise cuts and maintain the integrity of the carpet.
Throughout the cutting process, periodically lift the cut sections of the carpet to check the progress and ensure that you are cutting along the intended lines. This will help you make any necessary adjustments and avoid any mistakes.
With Step 3 complete, you’re halfway through the carpet cutting process. The next step will focus on trimming and finishing the edges for a polished look.
Step 4: Trim and Finish Edges
After cutting the carpet to the desired size and shape, it’s time to trim and finish the edges for a neat and professional appearance. This step will give your carpet a polished look and prevent any fraying or unraveling.
Start by assessing the edges of the cut carpet. If there are any uneven or jagged areas, use carpet shears or strong scissors to carefully trim them. Make small, precise cuts while following the contour of the edge to achieve a smooth and even finish.
If the edges of the carpet are raw and prone to fraying, you can use carpet seam tape to reinforce and seal them. Apply the tape along the cut edges, following the manufacturer’s instructions. Press the tape firmly to ensure a secure bond.
If you don’t have carpet seam tape, another option is to use a hot glue gun to seal the edges of the carpet. Apply a thin line of hot glue along the cut edge, working in small sections at a time. Use a clean, damp cloth to press down the glued edge and smooth out any excess glue.
For a more decorative finish, you can also consider adding a carpet binding or edging tape. These are available in various colors and styles, allowing you to enhance the aesthetic appeal of the carpet while providing additional durability.
Once you have trimmed and finished the edges, take a moment to inspect the entire carpet for any imperfections or loose threads. Trim any loose threads or fibers using scissors to ensure a clean and cohesive appearance.
With Step 4 complete, your carpet is now properly trimmed and finished. The last step in the process is to clean up the work area and make any final adjustments.
Step 5: Clean Up
Now that you’ve successfully cut and finished your carpet, it’s time to clean up the work area and make sure everything is tidy and ready for use.
Start by removing any debris or leftover carpet scraps from the work surface. Dispose of them properly, following local waste disposal guidelines. Use a broom or vacuum cleaner to sweep or suction any loose dirt or dust that may have accumulated during the cutting process.
Next, inspect the newly cut carpet for any stray fibers or loose threads. Use a pair of scissors to trim them, ensuring a neat and uniform look.
If you used adhesive carpet seam tape or hot glue to finish the edges, double-check that they are securely adhered and in place. Press down on the edges to confirm their stability.
Take a moment to stand back and admire your freshly cut carpet. Make any final adjustments if necessary, such as straightening any crooked edges or corners.
Finally, if you moved any furniture or objects out of the way earlier in the process, carefully return them to their original positions. Be cautious not to drag or scuff the newly cut carpet.
Congratulations! You have successfully cut a carpet and completed all the necessary steps to achieve a professional-looking result.
By following this comprehensive guide and using the right tools and techniques, you are now equipped to confidently cut and customize carpets to fit any space. Whether you’re replacing worn-out carpeting or resizing a new carpet, you can now efficiently and effectively achieve the perfect fit.
Remember to take your time, exercise caution, and have fun in the process. Enjoy your newly cut carpet and the transformed look it brings to your space!
Conclusion
Cutting a carpet may initially seem like a daunting task, but with the right tools, techniques, and a little bit of patience, you can achieve a professional-looking result. By following the step-by-step process outlined in this article, you can confidently measure, mark, and cut a carpet to the desired size and shape.
Remember, accurate measurements are crucial to ensure a perfect fit, so take your time during the measuring and marking stage. Preparing the carpet properly by securing the edges will prevent fraying and make the cutting process smoother.
When it comes to cutting, use a sharp carpet knife or utility knife and make multiple light passes to achieve clean cuts. Take extra care when cutting around obstacles or making curved shapes.
Trimming and finishing the edges of the carpet will give it a polished look and prevent any fraying. Choose the appropriate method, whether it be using carpet seam tape, hot glue, or adding a decorative binding or edging tape.
Once the cutting and finishing are complete, clean up the work area and make any necessary final adjustments. A clean and tidy work area will ensure a professional finish.
Now armed with the knowledge and skills to cut a carpet, you can confidently tackle any carpet resizing or replacement project. Enjoy the satisfaction of a perfectly fitting carpet that enhances the aesthetics of your space.
Remember, practice makes perfect, so don’t be discouraged if your first attempt isn’t flawless. With each practice, your skills will improve, and you’ll become more confident in your abilities.
Thank you for reading this comprehensive guide on how to cut a carpet. We hope it has provided you with valuable insights and that you can now tackle any carpet cutting project with confidence!
Frequently Asked Questions about How To Cut A Carpet
Was this page helpful?
At Storables.com, we guarantee accurate and reliable information. Our content, validated by Expert Board Contributors, is crafted following stringent Editorial Policies. We're committed to providing you with well-researched, expert-backed insights for all your informational needs.