
Articles
How To Re-Engage A Garage Door
Modified: August 28, 2024
Looking for articles on how to re-engage a garage door? Explore our expert tips and advice to get your garage door back on track.
(Many of the links in this article redirect to a specific reviewed product. Your purchase of these products through affiliate links helps to generate commission for Storables.com, at no extra cost. Learn more)
Introduction
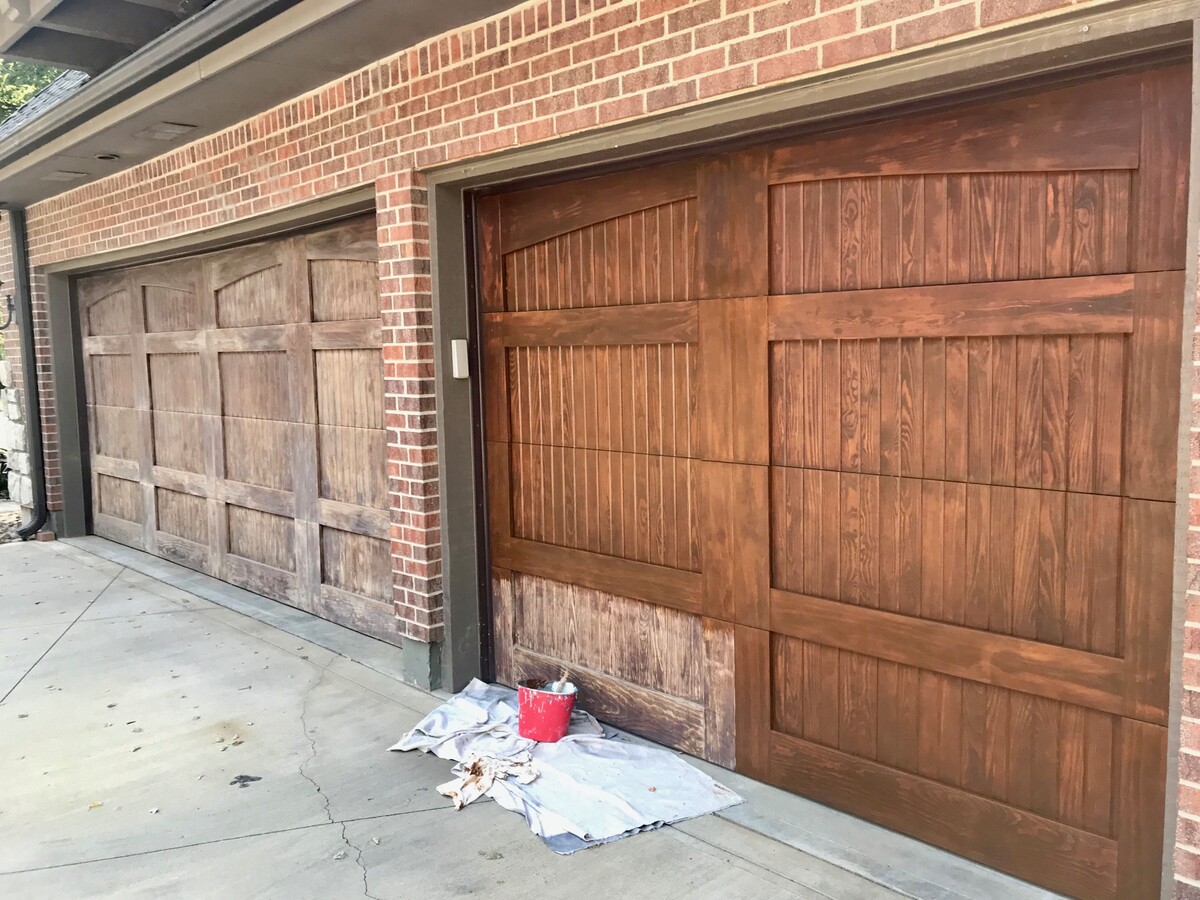
Having a properly functioning garage door is essential for the security and convenience of your home. However, there may come a time when you encounter issues with your garage door, such as it not responding to commands or failing to open or close properly. These problems can be frustrating and inconvenient, but the good news is that there are steps you can take to re-engage your garage door and get it back in working order.
In this article, we will guide you through the process of re-engaging your garage door, from assessing the issue to troubleshooting and finding a solution. Whether you’re dealing with a garage door that won’t open, won’t close, or is simply unresponsive, we’ve got you covered.
Before we dive into the troubleshooting steps, it’s important to note that safety should always be your top priority when working with garage doors. Garage doors are heavy and operate under tension, so proceed with caution and consider seeking professional help if you are unsure or uncomfortable with any of the steps. With that said, let’s get started!
Key Takeaways:
- Keep your garage door functioning smoothly by regularly checking the power source, remote control, and opener. Simple maintenance tasks like lubrication and sensor adjustment can prevent common issues and extend the door’s lifespan.
- When in doubt, seek professional help for complex mechanical or electrical issues, persistent problems, or safety concerns. Expert technicians can diagnose, repair, and maintain your garage door system for optimal performance and longevity.
Read more: How To Maintain Garage Door
Assessing the Issue
When your garage door is not functioning properly, the first step is to assess the issue and determine the cause of the problem. This will help you identify the specific troubleshooting steps needed to re-engage your garage door. Here are a few common issues and how to assess them:
- No response from the garage door: If you press the remote or wall switch and there is no response from the garage door, the first thing to check is the power source. Ensure that the garage door opener is plugged in and the circuit breaker is not tripped. If the power source is not the issue, move on to the next step.
- Garage door not opening or closing: If your garage door is unresponsive and not opening or closing, check the remote control batteries. If they are low or dead, replace them and try again. If the batteries are not the issue, move on to the next step.
- Partial opening or closing: If your garage door only opens or closes partially, there may be a problem with the garage door opener or the door itself. Inspect the garage door opener for any visible signs of damage or misalignment. Additionally, check the garage door tracks and rollers for any obstructions or debris that may be hindering smooth operation.
By assessing the issue and identifying the specific problem with your garage door, you can move on to the next steps in re-engaging your garage door and finding a solution to get it back in working order. Remember, if you are unsure or uncomfortable with any of the assessment steps, it is always best to seek professional help to avoid any potential accidents or further damage.
Check the Power Source
One of the most common reasons why a garage door may not be responding is due to a power issue. Before diving into more complex troubleshooting steps, it’s essential to check the power source and ensure that the garage door opener is receiving power. Here’s what you can do:
- Inspect the outlet: Start by checking the power outlet where the garage door opener is plugged in. Make sure the outlet is functioning correctly by plugging in another device and verifying that it works. If the outlet is not working, try plugging the opener into a different outlet.
- Check the circuit breaker: If the outlet is working, move on to the circuit breaker. Locate the circuit breaker for the garage door opener in your electrical panel and check if it has tripped. If the circuit breaker has tripped, reset it and try operating the garage door again.
- Inspect the power cord: Examine the power cord of the garage door opener for any visible signs of damage or fraying. If you notice any issues, it’s crucial to replace the power cord entirely to avoid any safety hazards or further damage to the opener.
- Test the outlet with a different device: If you suspect that the outlet may still be causing the problem, try plugging a different device into the outlet to see if it works. If the alternative device also doesn’t work, you may need to contact a professional electrician to resolve the electrical issue.
By checking the power source and ensuring that the garage door opener is receiving a steady supply of electricity, you can eliminate power-related issues as the cause of the problem. If the garage door still doesn’t respond after checking the power source, it’s time to move on to the next troubleshooting step.
Test the Remote Control
If your garage door is not responding to commands from the remote control, the issue may lie with the remote itself. Here’s how you can test the remote control to determine if it is causing the problem:
- Check the batteries: The most common reason for a non-responsive remote control is depleted batteries. Open the remote control and replace the batteries with fresh ones, ensuring that they are inserted correctly.
- Test the remote range: Stand close to the garage door opener and aim the remote towards it. Press the buttons on the remote to see if the garage door responds. If it does, but not from a further distance, the issue may be with the remote’s range. In this case, you may need to replace the remote or consider installing a range extender.
- Inspect the remote buttons: Examine the buttons on the remote control for any visible signs of damage or sticking. If you notice any issues, clean the buttons and ensure they are functioning properly. If the problem persists, you may need to replace the remote control.
- Test the remote with another opener: If you have access to another working garage door opener, try using the remote control with it. This will help determine if the issue is with the remote control or the garage door opener itself. If the remote works with another opener, the problem likely lies with your garage door opener.
If testing the remote control reveals that it is not the cause of the problem, it’s time to move on to the next troubleshooting step to further investigate the issue with your garage door.
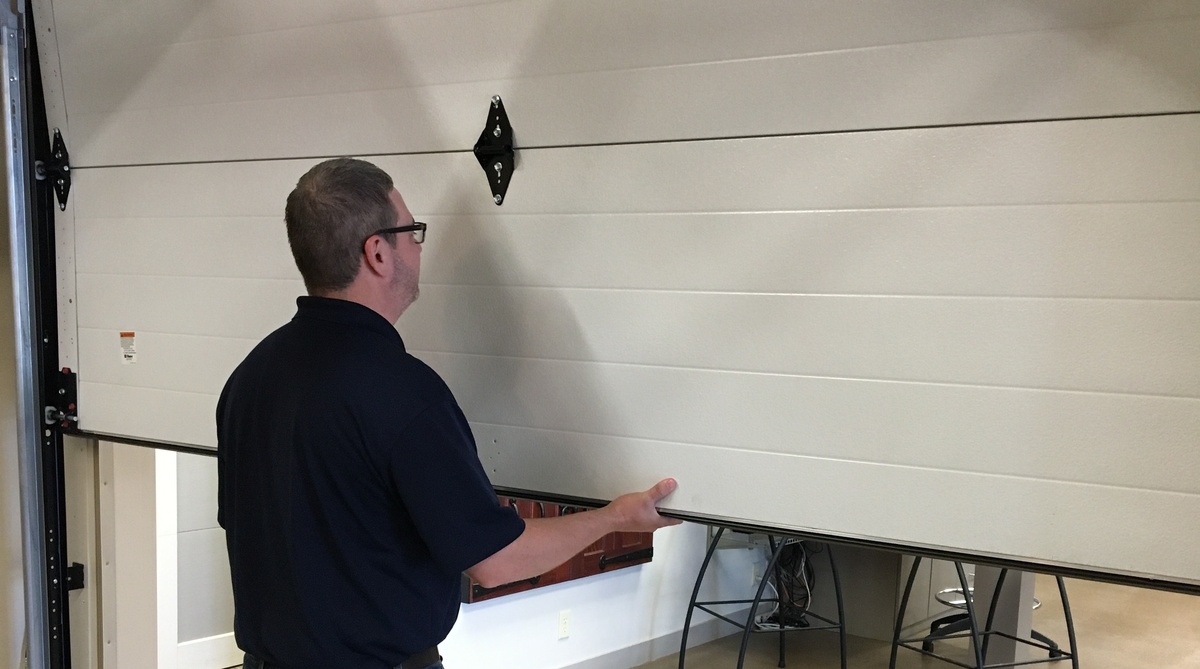
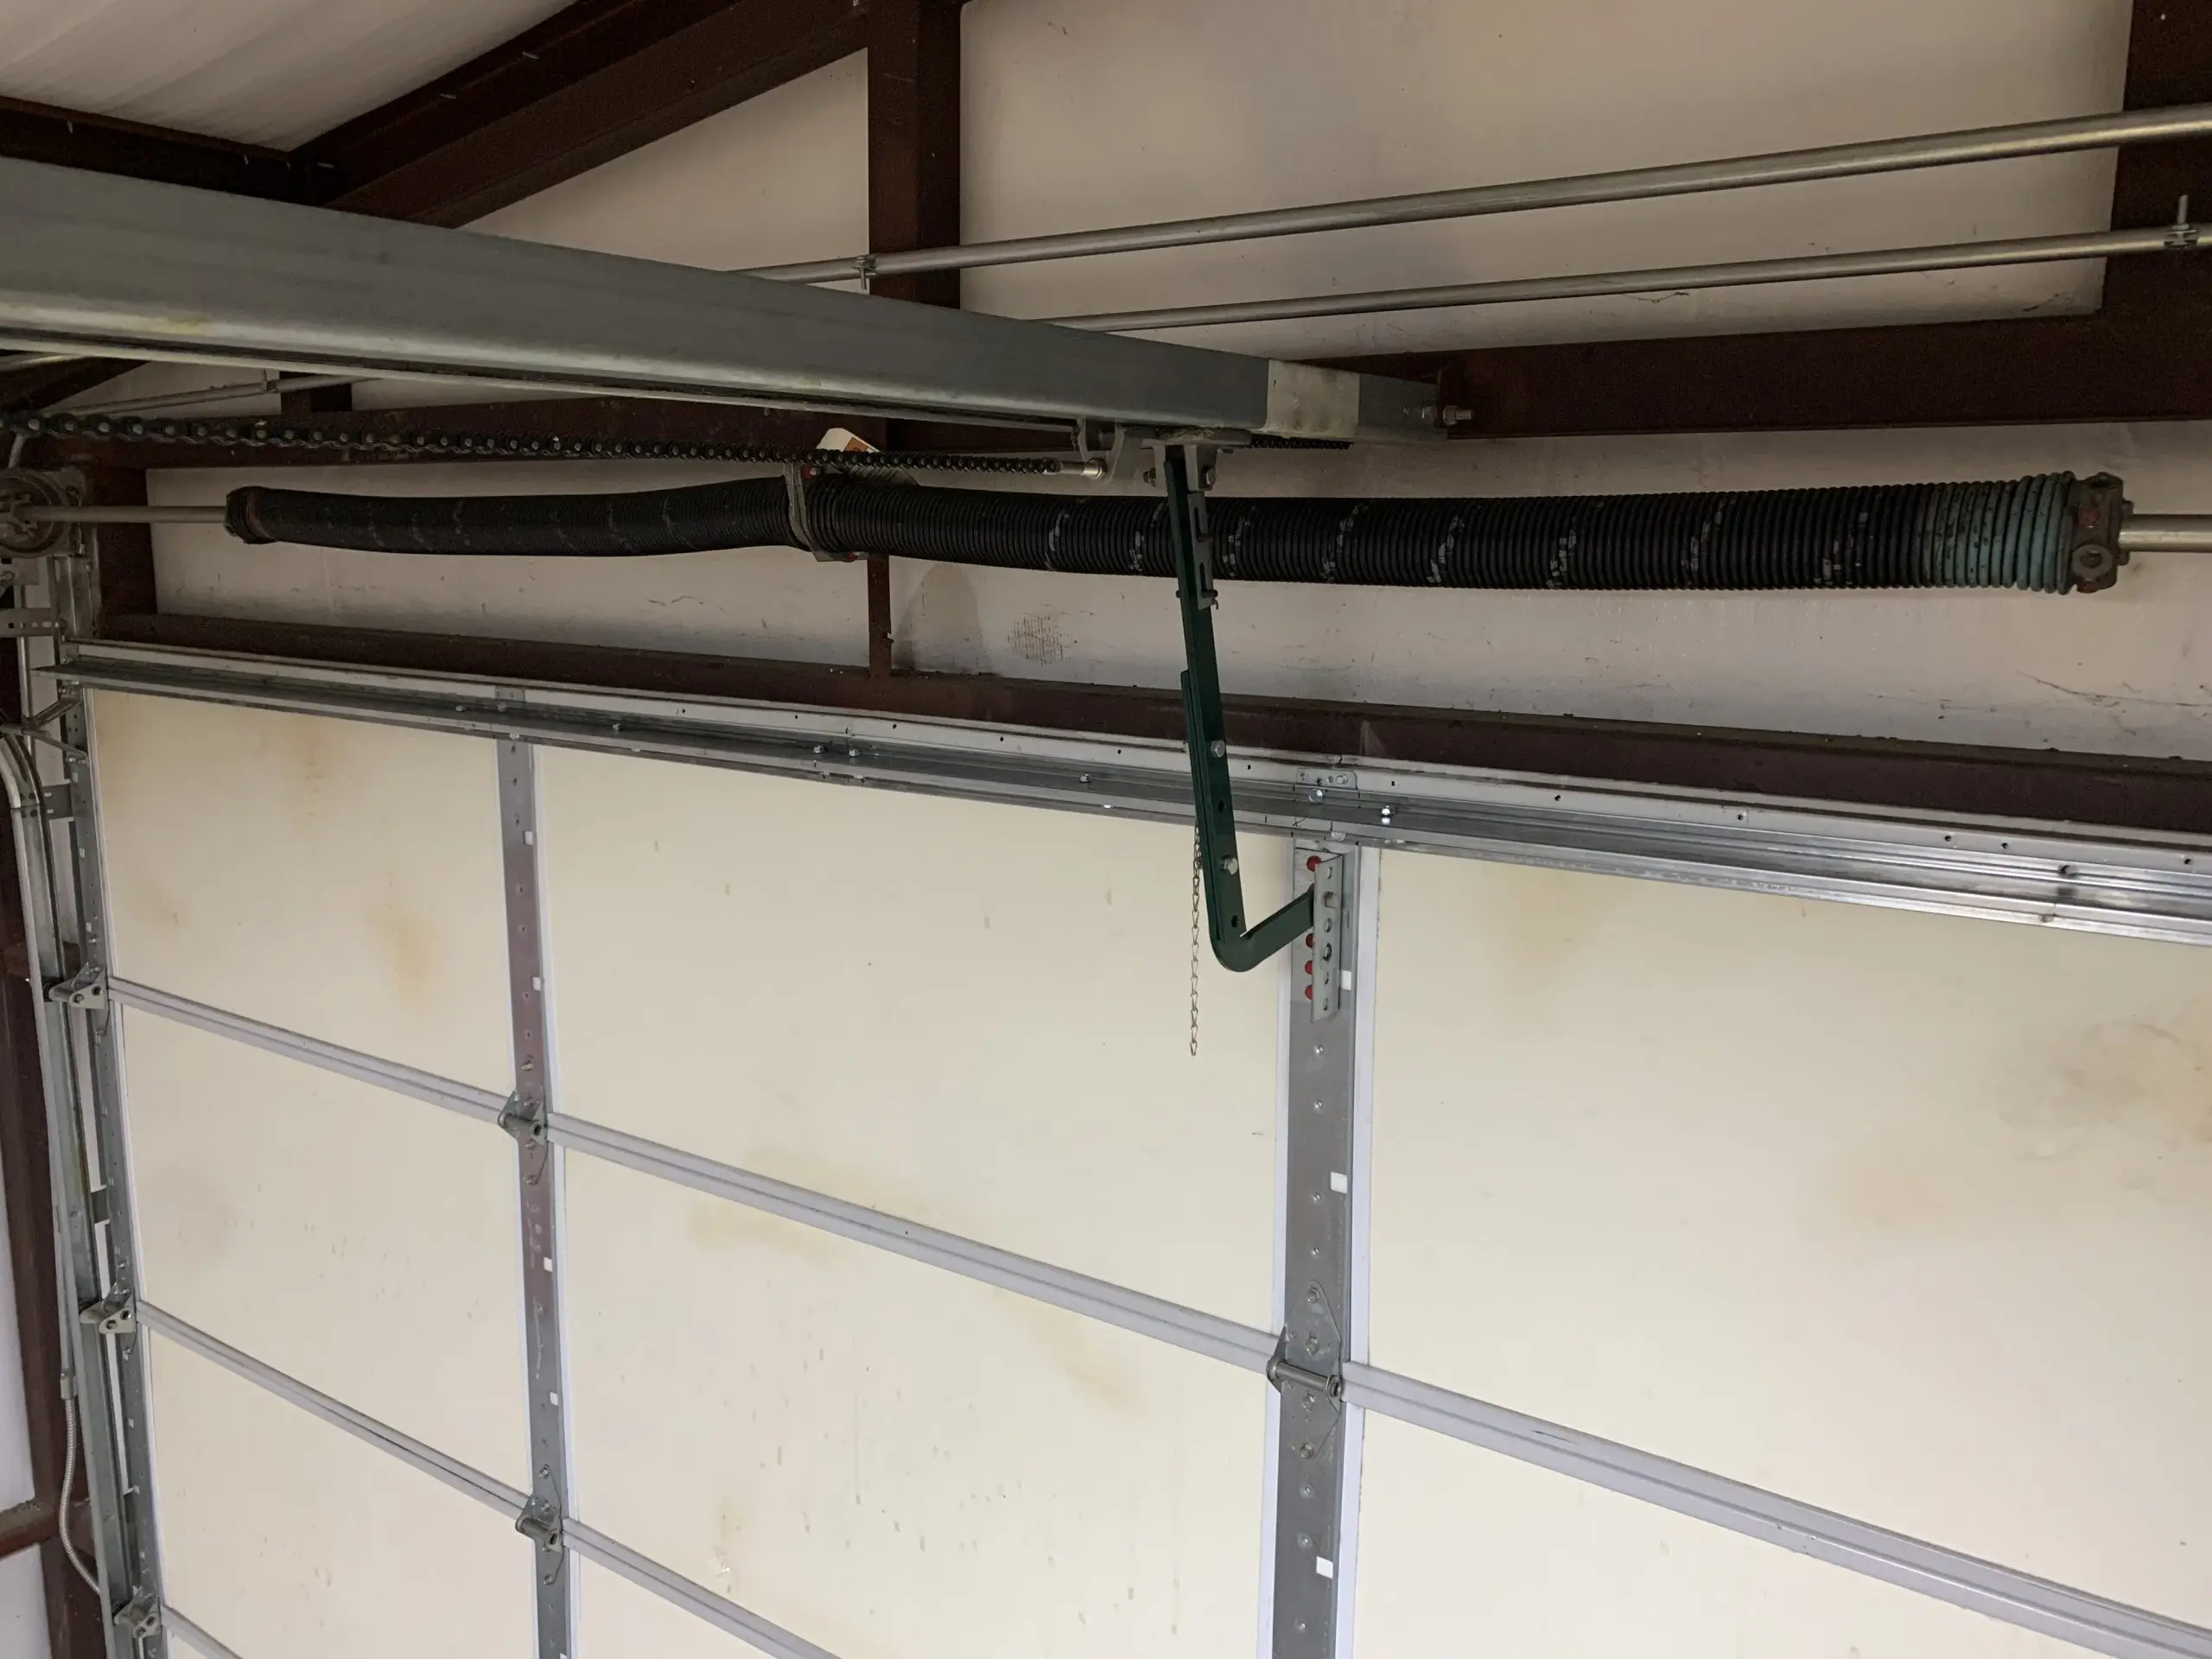
Inspect the Garage Door Opener
If your garage door is still not responding to commands after checking the power source and testing the remote control, the next step is to inspect the garage door opener itself. Here’s what you should do:
- Verify the connections: Ensure that all the cables and wires connected to the garage door opener are securely plugged in. Sometimes, loose or disconnected cables can prevent the opener from functioning correctly.
- Look for visible damage: Inspect the garage door opener for any signs of physical damage, such as frayed wires, broken parts, or loose screws. If you notice any issues, it might be necessary to repair or replace the damaged components.
- Check the motor: The motor is the main driving force behind the garage door opener. Listen carefully for any unusual sounds coming from the motor when you attempt to operate the door. Grinding, buzzing, or clicking noises could indicate a problem with the motor that requires professional attention.
- Reset the opener: Sometimes, simply resetting the garage door opener can resolve minor issues. Refer to the manufacturer’s instructions to learn how to reset your specific model of garage door opener. Usually, this involves either pressing a reset button on the opener or turning off the power supply for a few minutes and then turning it back on.
If, after inspecting the garage door opener, you still can’t identify the cause of the problem, it may be time to consult a professional. Garage door opener mechanisms can be complex, and it’s best to leave intricate repairs or replacements in the hands of experienced technicians who can ensure safety and optimal functionality.
Read more: How To Remove A Garage Door
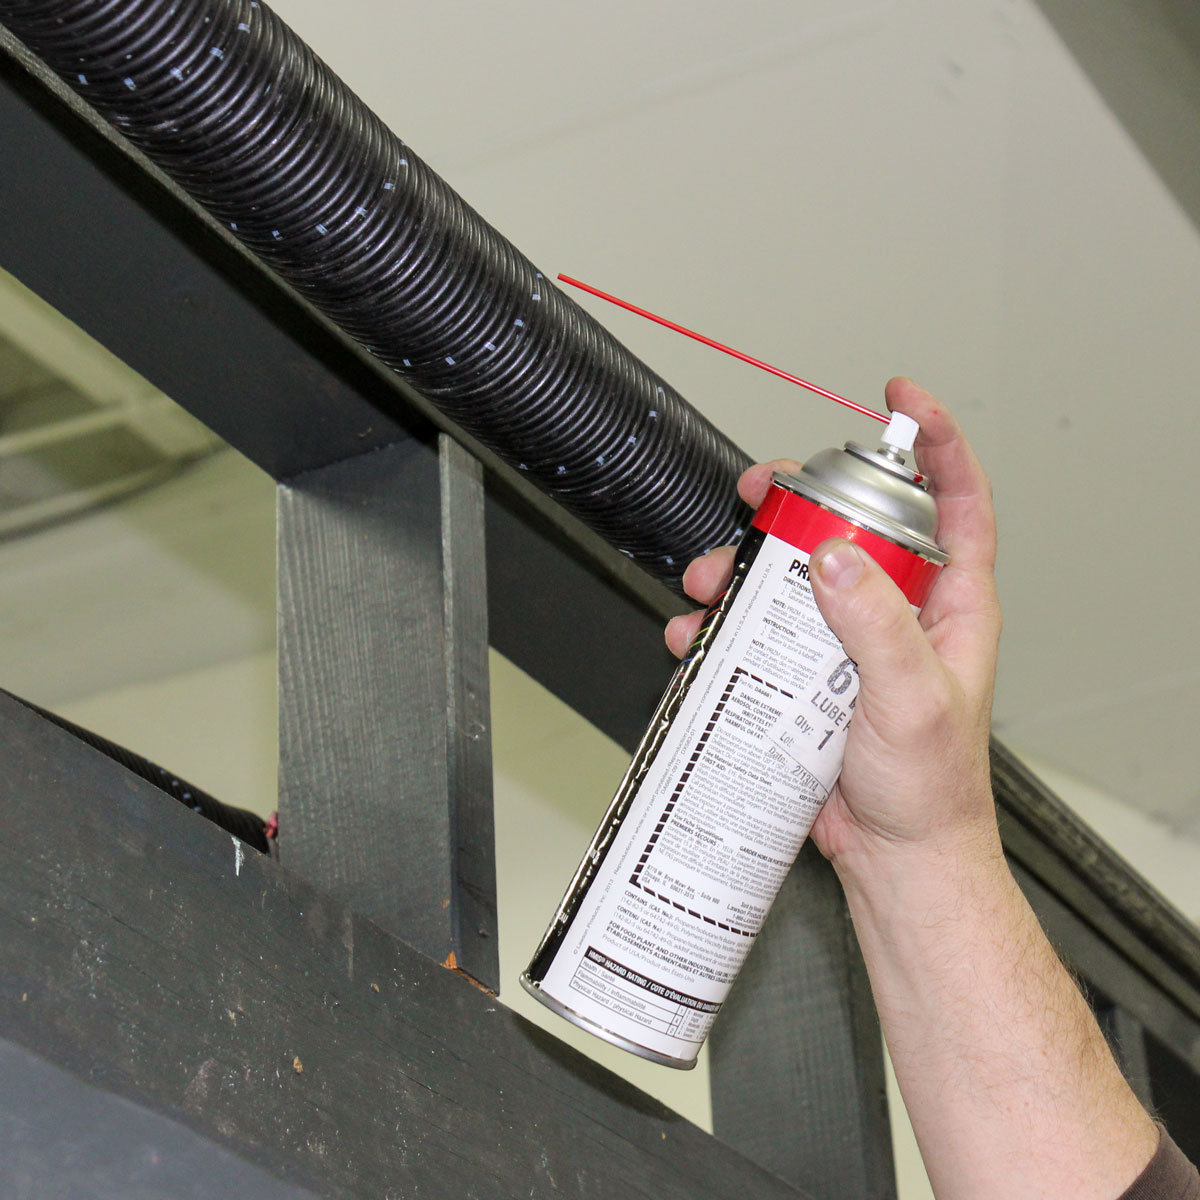
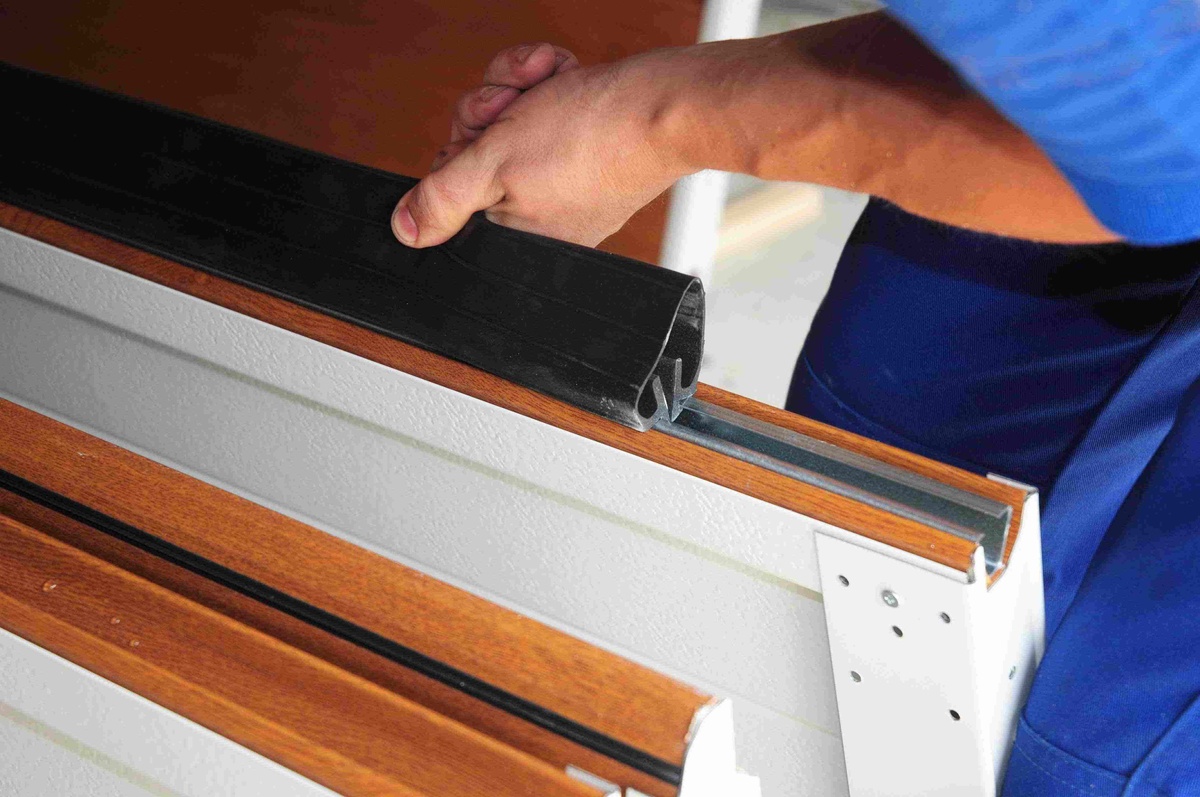
Lubricating and Cleaning the Door Components
Proper lubrication and maintenance of the garage door components are crucial for their smooth operation. Over time, dirt, debris, and lack of lubrication can cause the door to become sluggish or even get stuck. Here’s how you can lubricate and clean the door components:
- Clean the tracks: Use a soft cloth or brush to remove any dirt, dust, or debris from the garage door tracks. Make sure the tracks are free from obstructions that could hinder the smooth movement of the door.
- Lubricate the moving parts: Apply a silicone-based lubricant to the moving parts of the garage door, including hinges, rollers, and springs. Avoid using oil-based lubricants as they can attract dirt and grime, leading to further issues. Be sure to lubricate all the relevant parts as outlined in the manufacturer’s guidelines.
- Clean the sensors: If your garage door has safety sensors, make sure they are clean and aligned properly. Use a soft, lint-free cloth to wipe away any dirt or debris that may be obstructing the sensors. Check the alignment by ensuring that the sensors are facing each other and that the LED lights are lit up or flashing.
- Examine the weatherstripping: Inspect the weatherstripping along the bottom of the garage door to ensure it is intact and in good condition. If you notice any tears or wear, consider replacing it to prevent drafts, pests, and water from entering the garage.
Regularly performing these maintenance tasks will not only help keep your garage door in optimal condition but also prolong its lifespan. Lubricating and cleaning the door components is a relatively simple and cost-effective way to prevent potential issues and ensure smooth and efficient operation.
Regularly lubricate the moving parts of the garage door, such as the rollers, hinges, and tracks, to ensure smooth operation and prevent wear and tear.
Adjusting the Garage Door Sensors
Garage door sensors play a crucial role in ensuring the safety and proper functioning of your garage door. These sensors are designed to detect objects or obstructions in the path of the door and prevent it from closing if there is a potential risk. If your garage door is not closing properly or is reversing after hitting the ground, it may be due to misaligned sensors. Here’s how you can adjust the garage door sensors:
- Check the sensor alignment: Start by inspecting the alignment of the sensors. Each sensor should have a small LED light indicating whether it is properly aligned or not. If one or both of the sensor lights are off or blinking, they may need to be realigned.
- Clear any obstructions: Make sure there are no objects or debris blocking the sensors’ line of sight. Even a small item in front of the sensors can prevent them from working correctly. Remove any obstructions and clean any dirt or dust on the sensors using a soft cloth.
- Adjust the sensors: Gently adjust the position of the misaligned sensor by loosening the mounting bracket screws and moving the sensor until the LED lights indicate proper alignment. Once aligned, tighten the mounting bracket screws to secure the sensor in place.
- Test the garage door: After adjusting the sensor alignment, test the garage door to see if it closes and opens without any issues. Stand clear of the door’s path and press the button to close the door. If the sensors are properly aligned, the door should close smoothly without reversing or pausing unnecessarily.
It’s important to note that garage door sensors are a safety feature, and it’s crucial to ensure their proper functioning to prevent accidents or damage. If you are unable to adjust the sensors yourself or if the issue persists after adjustments, it is recommended to seek professional assistance to ensure the sensors are working correctly.
Resetting the Garage Door Opener
If your garage door is not functioning properly, resetting the garage door opener can often resolve minor issues and restore its normal operation. Here is how you can reset the garage door opener:
- Locate the reset button: Check the garage door opener unit for a reset button. The location of this button can vary depending on the manufacturer and model of the opener. It’s typically found on the back or side of the opener near the power supply.
- Prepare for the reset: Before pressing the reset button, make sure the garage door is closed, and there are no obstructions in its path. Also, ensure that you have a ladder or step stool to reach the opener unit safely.
- Press and hold the reset button: Once you have taken the necessary precautions, press and hold the reset button on the opener unit. Hold the button down for about 15 seconds or until you see the lights on the opener flash or hear a beep sound.
- Release the reset button: After holding the reset button, release it and wait for a few seconds. This allows the garage door opener to reset and recalibrate its settings.
- Test the garage door: Once the reset process is complete, test the garage door by pressing the remote or wall switch to open or close it. If the garage door operates smoothly without any issues, the reset was successful.
Resetting the garage door opener is a simple troubleshooting step that can often resolve minor glitches. However, if the problem persists even after resetting the opener, it may be necessary to seek professional assistance to diagnose and address any underlying issues with the opener or other components of the garage door system.
Replacing the Batteries
If your garage door remote control is not working or the signal strength seems weak, the issue may be as simple as depleted batteries. Replacing the batteries in your remote control is a quick and easy solution. Here’s how you can do it:
- Locate the battery compartment: Look for the battery compartment on the back of your remote control. It is usually a small panel that can be opened using a screwdriver or by sliding it open.
- Remove the old batteries: Take out the old batteries from the battery compartment. Pay attention to the battery polarity and make a note of how the batteries are inserted before removing them.
- Choose the right replacement batteries: Check the type of batteries required for your remote control. It is typically indicated inside the battery compartment or in the user manual. Purchase new batteries of the same type and voltage for optimal performance.
- Insert the new batteries: Insert the new batteries into the battery compartment, ensuring that they are correctly aligned with the polarity markings. Follow the instructions on the remote control or the battery compartment for proper alignment.
- Close the battery compartment: Once the new batteries are inserted, close the battery compartment securely. Ensure that it is sealed tightly to prevent the batteries from falling out or losing contact.
- Test the remote control: After replacing the batteries, test the remote control by pressing the buttons and checking if the signal is being transmitted to the garage door opener. If the door responds appropriately, your remote control is now ready to use.
Regularly checking and replacing the batteries in your garage door remote control will ensure that it continues to operate reliably. If replacing the batteries does not solve the problem or if you continue to experience issues with the remote control, consider troubleshooting other possible causes or contacting a professional for assistance.
Read more: How To Make A Garage Door
Seeking Professional Help
While there are several troubleshooting steps you can take to re-engage your garage door, there may come a point where the issue requires professional assistance. Here are a few instances where seeking professional help is recommended:
- Complex mechanical issues: If you notice significant damage to the garage door mechanisms, such as broken springs or cables, it’s best to leave the repairs to professionals. These complex mechanical issues require specialized knowledge and tools to ensure safe and effective repairs.
- Electrical problems: If you suspect an electrical issue with your garage door opener or wiring, it’s important to consult a professional electrician or technician. Working with electricity can be dangerous, and it’s best to have an expert diagnose and address any electrical problems.
- Garage door installation or replacement: If you’re looking to install a new garage door or replace an existing one, it’s advisable to seek professional assistance. Garage door installation involves precise measurements, proper alignment, and structural considerations that require the expertise of experienced technicians.
- Persistent issues: If you’ve tried all the troubleshooting steps and the garage door continues to malfunction or exhibit the same problem, it’s time to call in professionals. They have the knowledge and experience to identify and address underlying issues that may not be apparent to the average homeowner.
- Safety concerns: If you have concerns about the safety or stability of your garage door, it’s essential to consult professionals. They can perform a comprehensive inspection, identify any potential hazards, and recommend appropriate actions to ensure the safety of your garage door system.
Professional garage door technicians have the expertise, experience, and specialized tools necessary to handle a wide range of garage door issues safely and effectively. They can provide proper diagnosis, repairs, and maintenance services to ensure the longevity and optimal performance of your garage door.
Remember, it’s better to seek professional help and ensure the job is done correctly than to risk further damage to your garage door or compromise your safety by attempting repairs beyond your skill level.
Conclusion
When faced with a garage door that is unresponsive, not opening or closing properly, or exhibiting any other issues, it can be frustrating and inconvenient. However, by following the troubleshooting steps outlined in this article, you can re-engage your garage door and restore its functionality.
Start by assessing the issue and checking the power source, remote control, and garage door opener. These initial steps can often uncover common problems and provide simple solutions. Lubricating and cleaning the door components, adjusting the garage door sensors, and resetting the opener are additional troubleshooting techniques that can address specific issues.
Replacing the batteries in the remote control ensures a strong and consistent signal transmission. However, if the problem persists or if you encounter complex mechanical or electrical issues, seeking professional help is recommended. Professional technicians have the expertise and tools to handle these situations safely and effectively.
Remember, safety should always be a priority when working with garage doors. If you are unsure or uncomfortable with any of the troubleshooting steps, it’s best to seek professional assistance to avoid accidents or further damage.
By following the suggested steps and seeking professional help when needed, you can overcome common garage door issues and keep your garage secure and convenient for years to come.
Frequently Asked Questions about How To Re-Engage A Garage Door
Was this page helpful?
At Storables.com, we guarantee accurate and reliable information. Our content, validated by Expert Board Contributors, is crafted following stringent Editorial Policies. We're committed to providing you with well-researched, expert-backed insights for all your informational needs.


0 thoughts on “How To Re-Engage A Garage Door”