Home>Articles>How To Remove A Carpet From Concrete That Is Glued Down
Articles
How To Remove A Carpet From Concrete That Is Glued Down
Modified: August 23, 2024
Looking for articles on how to remove a glued-down carpet from concrete? Discover effective methods and expert tips to easily tackle this task.
(Many of the links in this article redirect to a specific reviewed product. Your purchase of these products through affiliate links helps to generate commission for Storables.com, at no extra cost. Learn more)
Introduction
Removing a carpet that is glued down to concrete can be a challenging task, requiring time, patience, and the right tools. Whether you’re renovating a room or simply looking to change the flooring, knowing how to properly remove a glued-down carpet from concrete is essential.
While many people resort to hiring professionals for this job, it is definitely possible to do it yourself with a thorough understanding of the process and the necessary precautions. This article will guide you through the step-by-step process of removing a carpet from concrete that is glued down, ensuring you achieve clean and smooth results.
Before diving into the removal process, it’s important to note that safety should always be your top priority. Handling chemicals, sharp tools, and potentially dusty areas can pose risks, so make sure to wear appropriate safety equipment such as gloves, goggles, and a mask, and work in a well-ventilated area.
Now, let’s delve into the detailed steps you need to follow to successfully remove a glued-down carpet from concrete.
Key Takeaways:
- Safety is paramount when removing a glued-down carpet from concrete. Prioritize protective gear, ventilation, and proper lifting techniques to minimize risks and ensure a safe removal process.
- Thorough preparation, testing, and the right tools are essential for successful carpet removal. From applying adhesive remover to cleaning the concrete, a systematic approach yields clean and smooth results.
Safety Precautions
Before starting the process of removing a carpet that is glued down to concrete, it’s important to take proper safety precautions. Here are some key measures to keep in mind:
- Protective Gear: Wear protective gloves, safety goggles, and a face mask to protect yourself from any potential hazards. This will help to prevent injuries and minimize the risk of inhaling dust or chemical fumes.
- Ventilation: Work in a well-ventilated area to ensure proper air circulation. Open windows and doors or use fans to maintain a fresh airflow, especially when working with adhesives or using tools that create dust.
- Chemical Safety: If you plan to use any chemical solutions, read and follow the manufacturer’s instructions carefully. Only use chemicals in a well-ventilated area, and avoid direct contact with the skin or eyes. In case of any discomfort or allergic reactions, seek medical attention immediately.
- Tool Safety: Handle tools such as carpet scrapers, putty knives, and power tools with care. Keep them away from children and use them in a controlled manner to minimize the risk of accidents or injuries.
- Electricity Safety: If you need to use power tools or machinery, ensure that all electrical connections and cords are in good condition. Avoid using damaged or frayed cords and keep them away from water or other liquids to prevent electrical shocks.
- Proper Lifting Techniques: When moving heavy furniture or equipment, use proper lifting techniques to avoid strain or injury. Get help from others or consider using equipment like dollies to make the process safer and easier.
- Clean-up: Properly dispose of any debris, scraps, or chemical waste generated from the removal process. Follow local regulations and guidelines to ensure environmentally responsible disposal.
By taking these safety precautions, you can minimize the risk of accidents, injuries, or health hazards during the removal process. Remember to prioritize your safety and well-being throughout the entire process.
Preparing the Area
Before you embark on removing the glued-down carpet from concrete, it’s important to properly prepare the area. This will help streamline the process and minimize any potential damage to the surroundings. Here’s what you need to do:
- Clear the Space: Remove all furniture, area rugs, and any other objects from the room. Clearing the space will give you ample room to work and prevent any obstructions during the removal process.
- Protect Adjacent Surfaces: Use plastic drop cloths or old sheets to cover any nearby walls, furniture, or fixtures that may get in contact with debris, dust, or any potential spills of chemicals or adhesive remover. This will help protect these surfaces from damage or staining.
- Remove Baseboards: If your carpet is installed with baseboards or trim along the edges, it’s a good idea to remove them before starting the removal process. Use a pry bar or putty knife to gently lift and remove the baseboards, taking care not to damage them.
- Tape Electrical Outlets: To prevent any accidental damage or exposure to dust, tape over electrical outlets and switches with painter’s tape or electrical tape. This will provide a protective barrier and ensure no debris enters the outlets.
- Ventilation: Open windows and doors to allow proper ventilation during the removal process. This will help disperse any fumes from chemicals or dust created during the process.
By meticulously preparing the area before starting the removal process, you can work efficiently, protect the surrounding surfaces, and minimize any potential damage or inconvenience.
Gathering the Necessary Materials
Before you begin the process of removing a glued-down carpet from concrete, it’s essential to gather all the necessary materials. Having the right tools and supplies on hand will make the task easier and more efficient. Here’s a list of the materials you’ll need:
- Protective Gear: As mentioned earlier, wear safety goggles, gloves, and a face mask to protect yourself from any potential hazards such as dust, debris, or chemical fumes.
- Carpet Scraper or Putty Knife: A carpet scraper or a putty knife with a wide blade will help you loosen and lift the carpet from the concrete surface.
- Chemical Carpet Adhesive Remover: Depending on the type of adhesive used to secure the carpet, you may need a carpet adhesive remover. Look for a product specifically designed to dissolve carpet adhesive without causing damage to the concrete surface.
- Spray Bottle: A spray bottle filled with warm water can help moisten the carpet and make it easier to lift and remove.
- Scrub Brush: A stiff-bristled scrub brush can be used to agitate the carpet fibers or to scrub off any residual adhesive on the concrete surface.
- Bucket and Sponge: A bucket filled with warm, soapy water and a sponge will come in handy for cleaning the concrete after the carpet removal is complete.
- Rags or Paper Towels: These will be used to blot and wipe up any excess moisture or spills during the removal process.
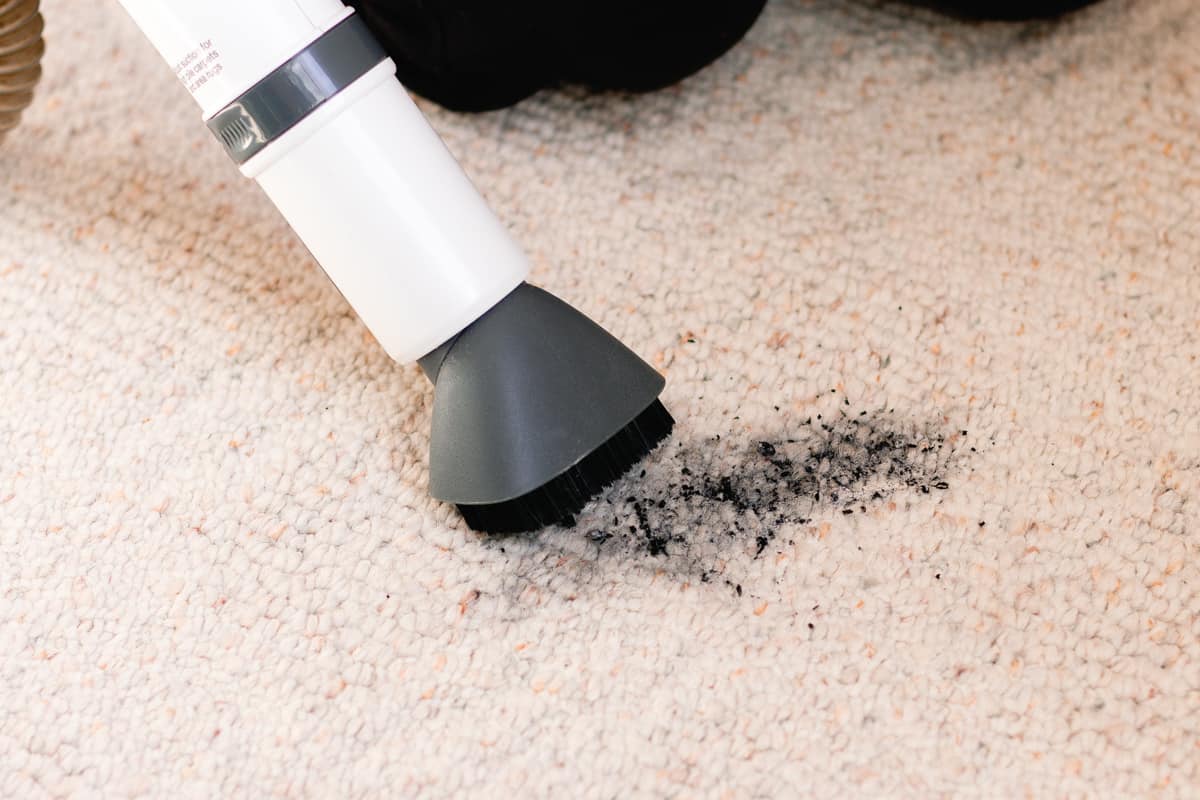
- Vacuum Cleaner: A vacuum cleaner with a brush attachment will help remove loose dirt, debris, or small carpet fragments after the carpet has been lifted.
- Sandpaper or Grinder (if necessary): If there is residual adhesive or rough patches on the concrete, sandpaper or a grinder can be used to smooth the surface.
- Concrete Patching Material (if necessary): In the event of any cracks or damage to the concrete, you may need concrete patching material to repair and level the surface.
By gathering these essential materials upfront, you’ll be fully equipped with everything you need to tackle the carpet removal process smoothly and efficiently.
Testing a Small Area
Before proceeding with the full carpet removal, it’s important to test a small area to determine the type of adhesive used and how well it will respond to the removal process. Testing a small area will give you an idea of what to expect and help prevent any unwanted damage to the concrete. Here’s how to do it:
- Select a Test Area: Choose a small, inconspicuous area of the carpet, preferably near a corner or along the edges.
- Moisten the Carpet: Using a spray bottle filled with warm water, moisten the selected test area. This will help loosen the adhesive and make it easier to lift the carpet.
- Wait and Observe: Give the water some time to soak into the carpet and work its way down to the adhesive. Observe how the carpet responds and if it starts to lift or loosen.
- Attempt Removal: Using a carpet scraper or putty knife, gently try to lift the carpet from the concrete surface. Take note of how easily or difficultly the carpet comes off and if there is any damage or residue left behind.
- Check the Adhesive: Examine the adhesive left on the concrete surface after removing the carpet. Determine whether it is a thin layer that can be easily scraped off or a harder, stubborn residue that may require the use of a carpet adhesive remover.
- Assess the Results: Evaluate the test area to see if the removal process will work effectively and if any additional steps or precautions need to be taken.
By testing a small area first, you can gain valuable insights into the type of adhesive used and the best approach for removing the glued-down carpet. This will help you refine your strategy and avoid any damage or complications during the full removal process.
Applying a Carpet Adhesive Remover
Once you have tested a small area and determined that a carpet adhesive remover is necessary, you can proceed with applying the product to the glued-down carpet. The carpet adhesive remover will help dissolve the adhesive and make it easier to lift and remove the carpet from the concrete surface. Here’s how to apply the carpet adhesive remover:
- Choose a Suitable Carpet Adhesive Remover: Select a carpet adhesive remover that is specifically designed for the type of adhesive used and safe for use on concrete surfaces. Read the product label carefully to ensure compatibility and follow the manufacturer’s instructions.
- Prepare the Work Area: Ensure the area is well-ventilated and free from any obstructions. Open windows or use fans to improve airflow and minimize exposure to any fumes released by the adhesive remover.
- Apply the Carpet Adhesive Remover: Follow the instructions on the product label for application. Typically, this involves applying the adhesive remover directly onto the glued-down carpet, ensuring even coverage. Use a brush or sponge to spread the remover if needed.
- Allow Time for the Adhesive Remover to Work: Give the adhesive remover sufficient time to penetrate the adhesive and break it down. The amount of time required will depend on the product and the type of adhesive used. Follow the instructions on the product label for recommended wait times.
- Check for Adequate Adhesive Dissolution: After the recommended wait time, check the area where the adhesive remover was applied. The adhesive should be visibly softened or dissolved. If necessary, use a scraper or putty knife to test the adhesive’s consistency. It should be easier to scrape away.
- Lift and Remove the Carpet: Starting from the edge of the carpet, use a carpet scraper or putty knife to carefully lift and peel the carpet away from the concrete surface. Work slowly and methodically to avoid tearing the carpet or leaving behind any residue.
- Continue Removing the Carpet: As you lift the carpet, continue applying the carpet adhesive remover as needed to any areas where the adhesive is still intact. This will help loosen the adhesive and make it easier to remove the remaining carpet.
By applying a carpet adhesive remover, you can effectively break down the adhesive and simplify the process of removing the glued-down carpet from the concrete surface. Take your time, follow the instructions, and ensure proper ventilation for a safe and efficient removal process.
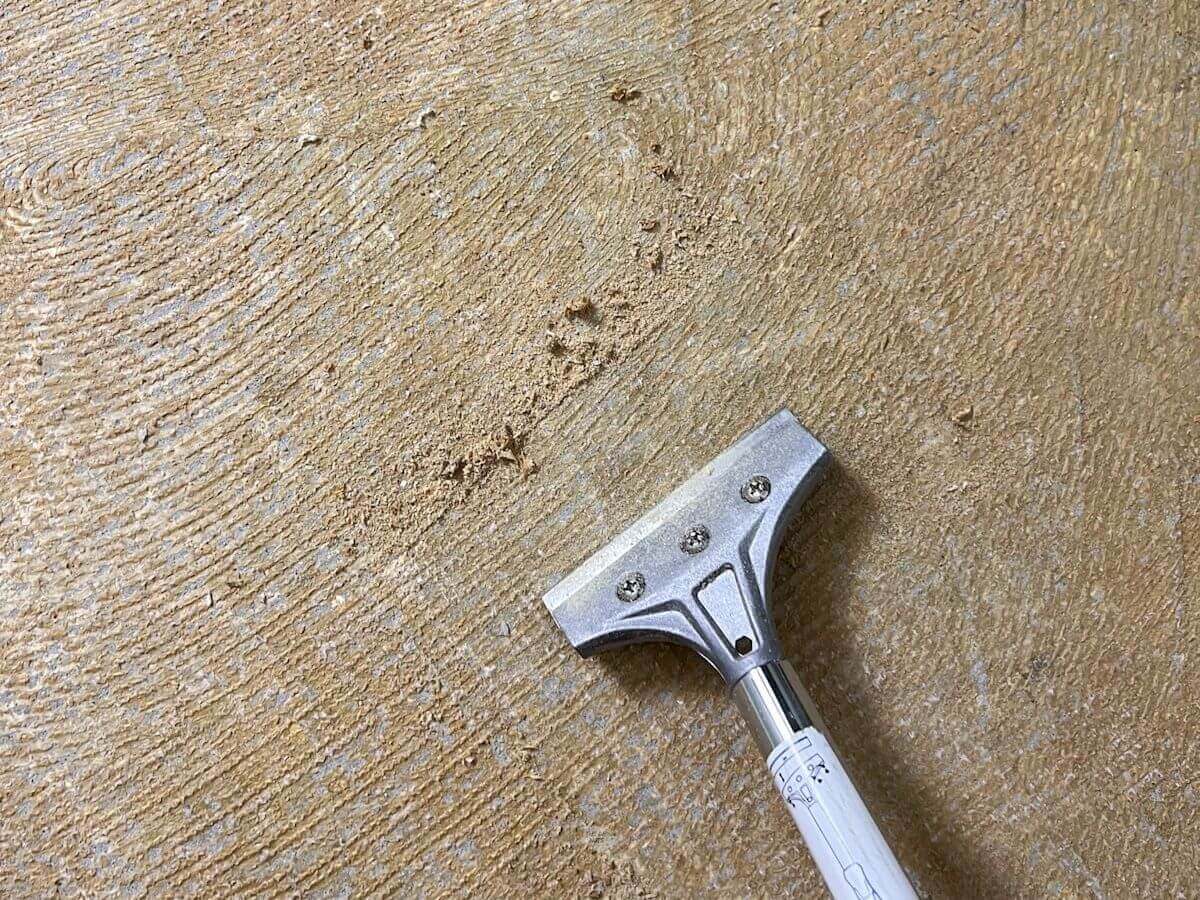
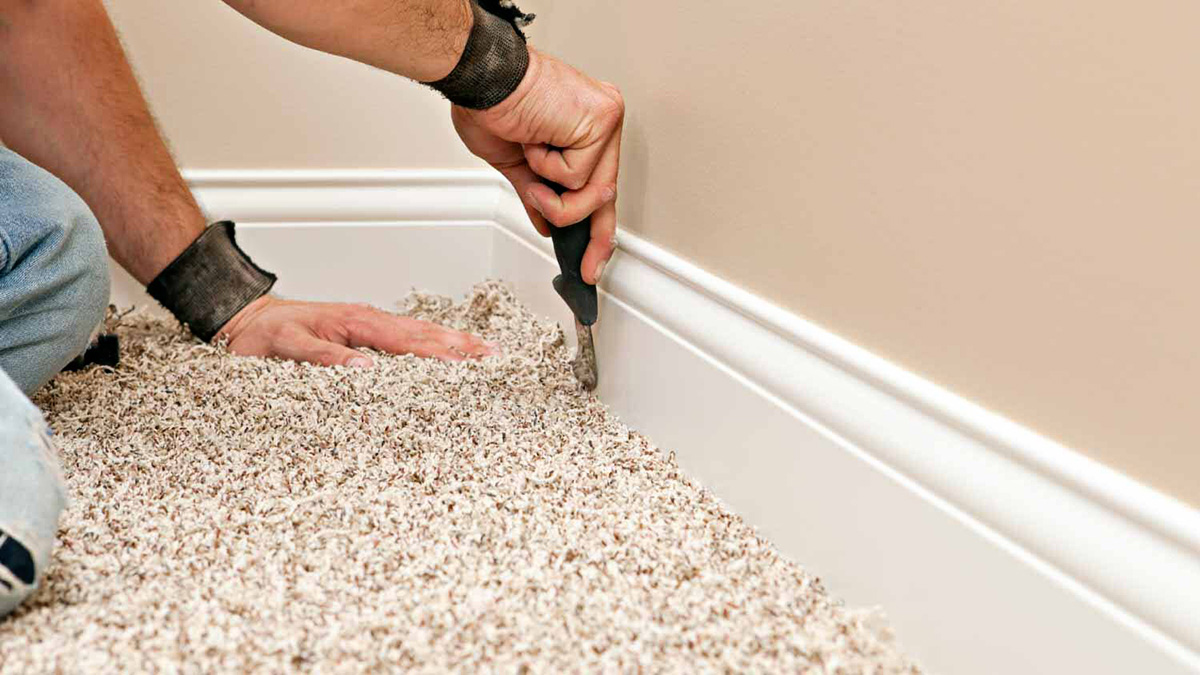
Use a floor scraper to loosen the edges of the carpet and then pull it up. Apply a solvent to the adhesive and let it sit before scraping it off. Open windows for ventilation.
Using a Carpet Scraper or Putty Knife
After applying a carpet adhesive remover and allowing it to work its magic, it’s time to use a carpet scraper or putty knife to lift and remove the carpet from the concrete surface. These tools are essential for loosening the carpet and separating it from the adhesive. Here’s how to use them effectively:
- Choose the Right Tool: Select a carpet scraper or putty knife that has a wide, flat blade. This will allow you to apply pressure evenly and effectively lift the carpet.
- Start at the Corner: Begin by identifying a corner or an edge of the carpet. Insert the scraper or putty knife underneath the carpet and gently push it forward, cutting through the adhesive and loosening the carpet from the concrete.
- Work in Sections: Once you have lifted the corner or edge of the carpet, work in sections, gradually moving along the length or width of the room. Keep pushing the carpet scraper or putty knife underneath the carpet, lifting and separating it from the adhesive as you go.
- Apply Steady Pressure: While using the carpet scraper or putty knife, apply steady pressure to push through the adhesive and encourage the carpet to lift. Be careful not to apply too much force, as it can damage the concrete or tear the carpet.
- Watch for Obstacles: As you work, be mindful of any obstacles such as staples, nails, or tack strips that may be present in the carpet. Use pliers or a flat-head screwdriver to remove them safely before continuing the removal process.
- Remove the Carpet in Sections: As you lift the carpet with the scraper or putty knife, roll it up or fold it over on itself to make it more manageable. This will prevent tripping hazards and allow for easier disposal or storage.
- Be Patient and Thorough: Take your time and be thorough in removing the carpet. Ensure that all sections are lifted and that no areas remain attached to the adhesive. Inspect the surface periodically to check for any remaining carpet fragments or adhesive residue.
By using a carpet scraper or putty knife, you can effectively and efficiently lift and remove the carpet from the glued-down adhesive. Work methodically and patiently to ensure a clean and successful removal process.
Removing Residual Adhesive
After you have successfully removed the carpet, there may still be residual adhesive left on the concrete surface. It’s important to remove this adhesive to ensure a smooth and clean finish. Here are the steps to follow for removing residual adhesive:
- Assess the Residual Adhesive: Inspect the concrete surface to determine the type and condition of the residual adhesive. It may be a thin layer, hardened patches, or a sticky residue.
- Scrape Off the Adhesive: Use a carpet scraper, putty knife, or a specialized adhesive scraper tool to scrape off as much of the residual adhesive as possible. Apply firm but gentle pressure, being careful not to damage the concrete.
- Apply Heat: If the adhesive is stubborn and doesn’t easily scrape off, you can try applying heat to soften it. Use a heat gun or a hairdryer on a high setting to warm the adhesive, making it more pliable and easier to remove.
- Use Adhesive Remover: If scraping and heat don’t fully remove the adhesive, you can apply a small amount of carpet adhesive remover to help dissolve the remaining residue. Follow the product instructions, applying the remover using a sponge or a clean cloth, and then gently scrub the area to loosen the adhesive.
- Scrub with a Stiff Brush: For stubborn adhesive, use a stiff-bristled scrub brush to agitate and break up the residue. Scrub in circular motions or back and forth to help remove the adhesive from the concrete surface.
- Wipe Clean: After using adhesive remover and scrubbing, wipe away any excess residue with a clean cloth or paper towels. Repeat the process if necessary until the surface is free from adhesive.
- Dispose of Waste Properly: Properly dispose of any adhesive scraps, residue, or cleaning materials according to local regulations and guidelines. Follow eco-friendly practices to minimize environmental impact.
Removing residual adhesive can be a meticulous process, requiring patience and attention to detail. It’s important to fully remove the adhesive to ensure a clean and smooth surface for further flooring installation or finishing.
Cleaning the Concrete Surface
Once you have removed the carpet and residual adhesive, it’s important to thoroughly clean the concrete surface. This will ensure that it is free from any debris, dust, or remaining cleaning residue. Here are the steps to follow for cleaning the concrete surface:
- Remove Loose Debris: Using a broom or a vacuum cleaner with a brush attachment, remove any loose dirt, dust, or small carpet fragments from the concrete surface. Pay close attention to corners, edges, and cracks.
- Prepare a Cleaning Solution: Fill a bucket with warm water and add a mild detergent or concrete cleaner. Follow the manufacturer’s instructions regarding the dilution ratio and mixing instructions. Stir the solution gently to ensure proper mixing.
- Apply the Cleaning Solution: Dip a scrub brush or a mop into the cleaning solution and apply it to the concrete surface. Work in small sections, scrubbing the surface gently to remove any stains, residue, or remaining dirt.
- Pay Attention to Stubborn Stains: If there are any stubborn stains on the concrete, you may need to use a stronger cleaning solution or a specialized concrete stain remover. Follow the product instructions carefully and scrub the stains until they are fully removed.
- Rinse with Clean Water: Once you have scrubbed the entire concrete surface, rinse it thoroughly with clean water. This will help remove any soap residue or cleaning solution. Use a hose or a bucket of clean water to rinse the surface, and use a squeegee or a mop to remove excess water.
- Dry the Surface: Allow the concrete surface to air dry completely. Depending on the weather conditions and humidity level, this may take a few hours to a full day. Ensure that the surface is completely dry before proceeding with any further steps.
- Inspect for Remaining Debris: After the surface has dried, inspect it closely for any remaining debris, stains, or spots. If necessary, repeat the cleaning process in specific areas until the surface is clean and free from any blemishes.
Properly cleaning the concrete surface after carpet removal is crucial for ensuring a clean and smooth foundation for any new flooring or surface treatments. By following these steps, you can achieve a pristine concrete surface ready for the next phase of your flooring project.
Read more: How To Remove Glued Carpet From Wood
Sanding or Grinding the Concrete (if necessary)
After removing the carpet, adhesive, and thoroughly cleaning the concrete surface, you may find that there are still rough patches, uneven areas, or stubborn remnants of adhesive. In such cases, sanding or grinding the concrete can help smoothen the surface and prepare it for further treatments. Here’s how to sand or grind the concrete if necessary:
- Assess the Surface: Inspect the concrete surface carefully to identify any areas that require sanding or grinding. Look for raised edges, rough spots, uneven surfaces, or stubborn adhesive residue that couldn’t be removed through previous steps.
- Select the Right Tools: Choose between sanding or grinding tools based on the specific requirements of the surface. For small, localized areas, handheld sanders or sanding blocks with coarse-grit sandpaper can be used. For larger or more challenging areas, consider renting a concrete grinder with diamond grinding pads for better results.
- Prepare the Area: Cover any surrounding surfaces, furniture, and nearby objects with plastic sheets or protective covers. This will prevent dust and debris from spreading, and protect surfaces from damage caused by the sanding or grinding process.
- Put on Safety Gear: Wear appropriate safety gear, including safety goggles, a face mask or respirator, and ear protection. This will protect you from any dust, debris, or noise generated during the sanding or grinding process.
- Sanding: If small areas require smoothing, use a handheld sander with coarse-grit sandpaper to sand down the rough spots or raised edges. Move the sander in circular motions or back and forth to achieve an even, smooth surface. Continue sanding until the desired texture is achieved.
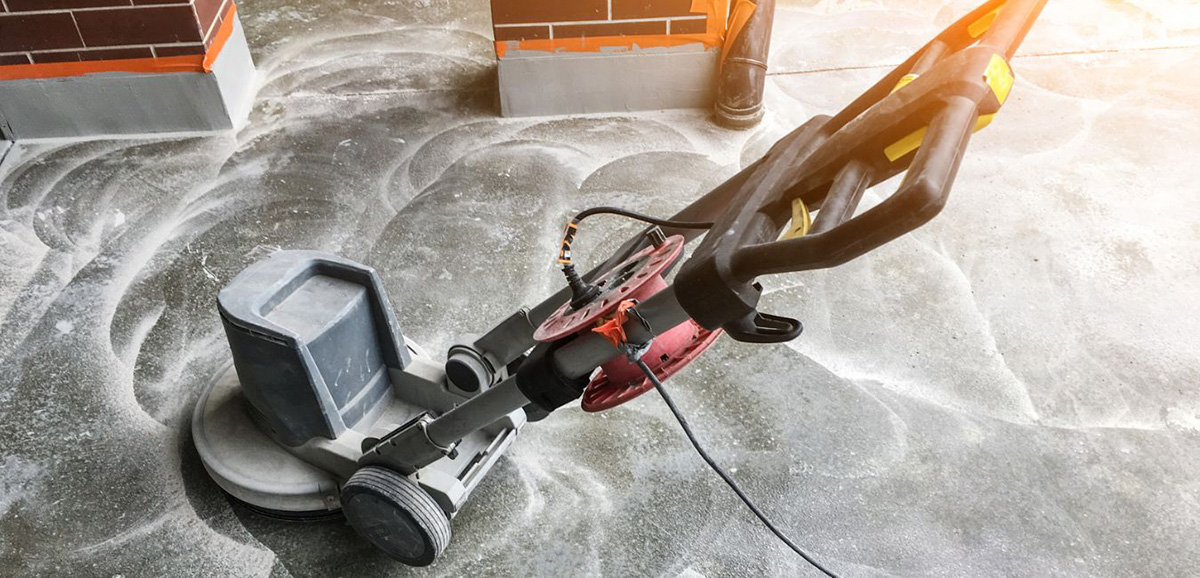
- Grinding: For larger areas or more significant surface imperfections, a concrete grinder with a diamond grinding pad can be used. Follow the manufacturer’s instructions for operating the grinder, and work in a steady and consistent manner. Move the grinder back and forth or in small circles to grind down the rough areas. Be mindful of the depth of grinding to avoid excessive removal of concrete.
- Remove Dust and Debris: After sanding or grinding, use a broom or a vacuum cleaner with a brush attachment to remove any dust, debris, or fine particles generated during the process. Clear the area completely before proceeding with any further treatments.
- Inspect and Touch-Up: After sanding or grinding, inspect the surface to ensure that it is smooth and any imperfections have been addressed. Touch up any remaining rough spots or uneven areas as needed, using the appropriate tools and techniques.
Sanding or grinding the concrete surface, if necessary, will help achieve a smooth and even foundation for any further flooring or surface treatments. It’s important to take your time, follow safety precautions, and ensure that the surface is properly prepared before moving on to the next steps of your project.
Patching or Repairing the Concrete (if necessary)
During the process of removing a glued-down carpet from a concrete surface, you may discover cracks, holes, or other forms of damage in the concrete. It’s important to address these issues by patching or repairing the concrete before moving forward with any further treatments or installations. Here’s how to patch or repair the concrete if necessary:
- Inspect the Concrete: Carefully examine the concrete surface for any cracks, holes, or damaged areas. Take note of the size, depth, and extent of the damage.
- Clean the Damaged Area: Use a brush or a vacuum cleaner with a brush attachment to remove any loose debris, dust, or dirt from the damaged area. Ensure that the area is clean and free from any loose particles.
- Prepare the Patching Material: Depending on the extent of the damage, you may need either a concrete patching compound or a mortar mix. Follow the instructions on the packaging to properly prepare the patching material.
- Apply the Patching Material: Using a trowel or a putty knife, apply the patching material to the damaged area, filling it in and leveling it with the surrounding concrete. Work in thin layers, pressing the material firmly into the damaged area and smoothing the surface as you go.
- Smooth and Shape the Patch: After applying the initial layer of patching material, use a trowel or a putty knife to smooth and shape the patch to match the contour of the surrounding concrete. This will help create a seamless finish.
- Cure the Patched Area: Follow the instructions on the patching material packaging for proper curing time. It may be necessary to cover the patched area with plastic sheeting or a curing compound to promote proper curing and prevent moisture loss.
- Finish and Blend: Once the patched area has fully cured, use sandpaper or a concrete grinder to blend the edges of the patch with the surrounding concrete surface. This will help achieve a smooth and cohesive appearance.
- Inspect and Touch-Up: After patching and blending, inspect the repaired area to ensure that it is properly filled and blended with the surrounding concrete. If necessary, apply additional patching material and repeat the smoothing and blending process until the repaired area is seamless.
Patching or repairing the concrete surface is important for creating a stable and even foundation for further flooring or surface treatments. Taking the time to address any damage will help ensure the longevity and aesthetics of the concrete surface.
Conclusion
Removing a carpet that is glued down to a concrete surface can be a challenging task, but with the right knowledge and tools, it is definitely achievable. By following the step-by-step process outlined in this article, you can successfully remove the carpet while ensuring the safety of yourself and the surrounding area.
Before starting the removal process, remember to prioritize safety by wearing appropriate protective gear and working in a well-ventilated area. Preparing the space by clearing furniture, protecting adjacent surfaces, and removing baseboards will make the removal process smoother.
Gathering the necessary materials, such as a carpet scraper or putty knife, carpet adhesive remover, and cleaning supplies, will ensure that you have everything you need for the task at hand. Testing a small area will help you assess the type of adhesive used and determine the best approach for removal.
Applying a carpet adhesive remover and using a carpet scraper or putty knife will loosen and lift the carpet from the concrete surface. Removing any residual adhesive and cleaning the concrete thoroughly will provide a clean and smooth foundation for further treatments or flooring installations.
If necessary, sanding or grinding the concrete can help smoothen rough patches or uneven areas. Similarly, patching or repairing the concrete will address any cracks or damage, ensuring a stable and level surface.
In conclusion, removing a carpet that is glued down to concrete requires careful preparation, the right tools, and a systematic approach. By following the steps outlined in this article, you can successfully remove the carpet and restore the concrete surface to a clean and usable state. Whether you’re renovating a room or wanting to change the flooring, with patience and perseverance, you can achieve excellent results.
Frequently Asked Questions about How To Remove A Carpet From Concrete That Is Glued Down
Was this page helpful?
At Storables.com, we guarantee accurate and reliable information. Our content, validated by Expert Board Contributors, is crafted following stringent Editorial Policies. We're committed to providing you with well-researched, expert-backed insights for all your informational needs.