Home>Articles>How To Remove Carpet Padding That Is Glued Down
Articles
How To Remove Carpet Padding That Is Glued Down
Modified: August 23, 2024
Learn the best method to remove stubbornly glued down carpet padding with our informative articles. Say goodbye to sticky and annoying residue effortlessly!
(Many of the links in this article redirect to a specific reviewed product. Your purchase of these products through affiliate links helps to generate commission for Storables.com, at no extra cost. Learn more)
Introduction
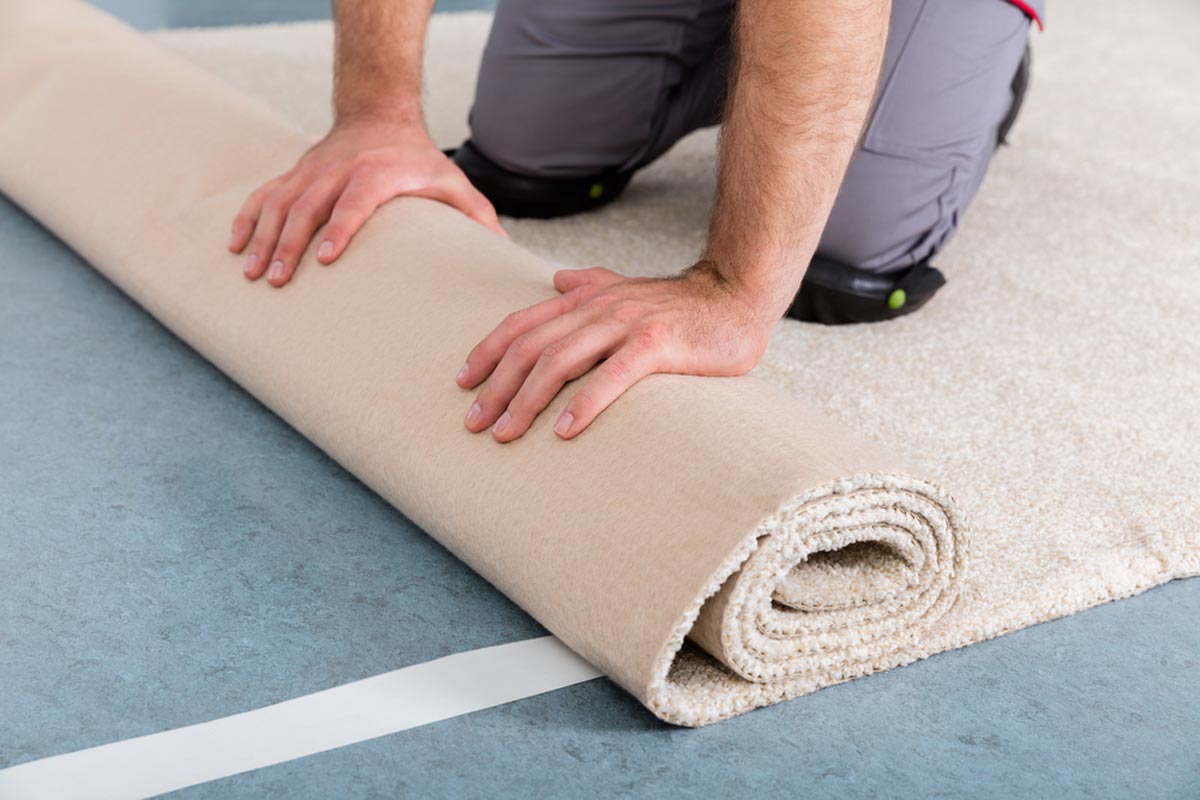
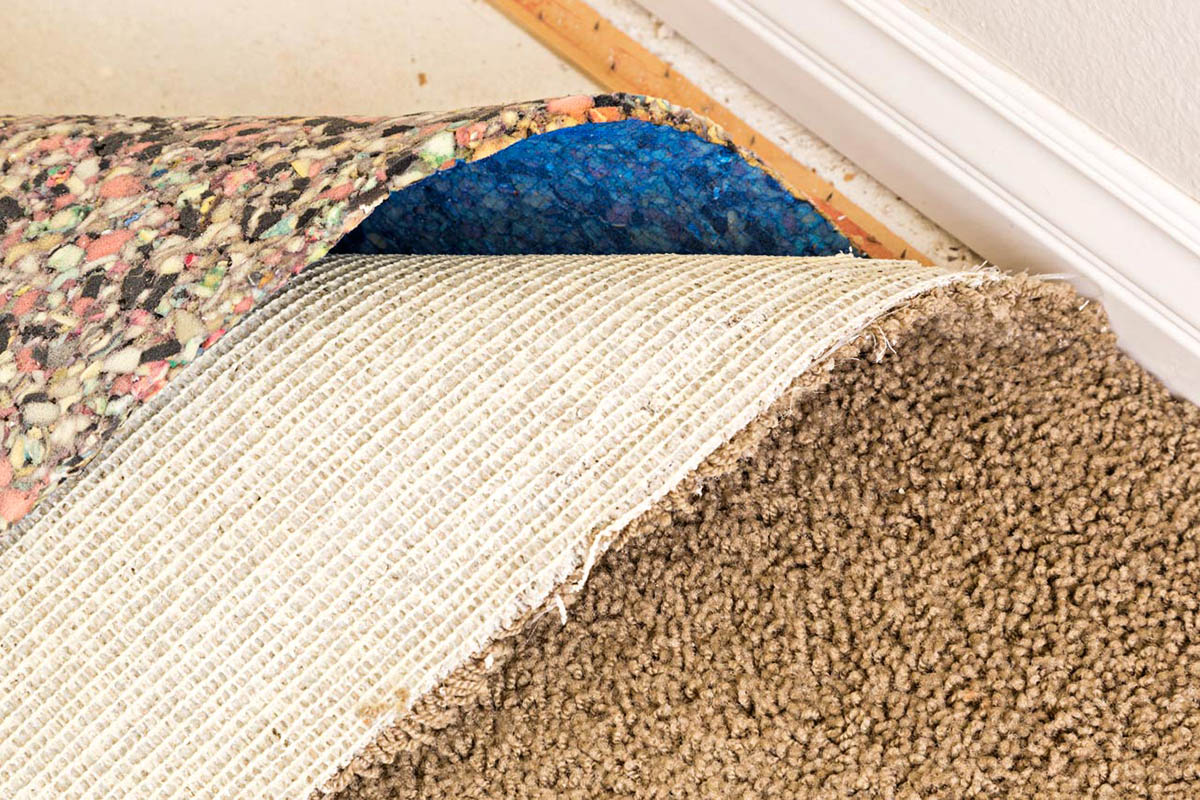
Removing carpet padding that is glued down can be a daunting task, but it is a necessary step if you want to replace your carpet or install a different type of flooring. Whether you are renovating your home or simply looking to freshen up the space, knowing how to remove glued-down carpet padding is essential.
Carpet padding serves as a cushion between your carpet and the subfloor, providing insulation and support. Over time, the padding can become worn, stained, or develop an unpleasant odor. In such cases, it’s best to remove the old padding before installing new carpet or switching to a different type of flooring, such as hardwood or vinyl.
Before diving into the process of removing glued-down carpet padding, it’s important to understand the different types of padding that are commonly used. This knowledge will help you choose the most appropriate method for removal, as different padding materials may require slightly different approaches.
Key Takeaways:
- Removing glued-down carpet padding requires proper preparation, tools, and techniques. Identifying the type of padding and testing a small section are crucial for efficient removal.
- Thoroughly cleaning and preparing the subfloor after removal is essential for a successful and long-lasting flooring installation. Take time and follow proper safety precautions throughout the process.
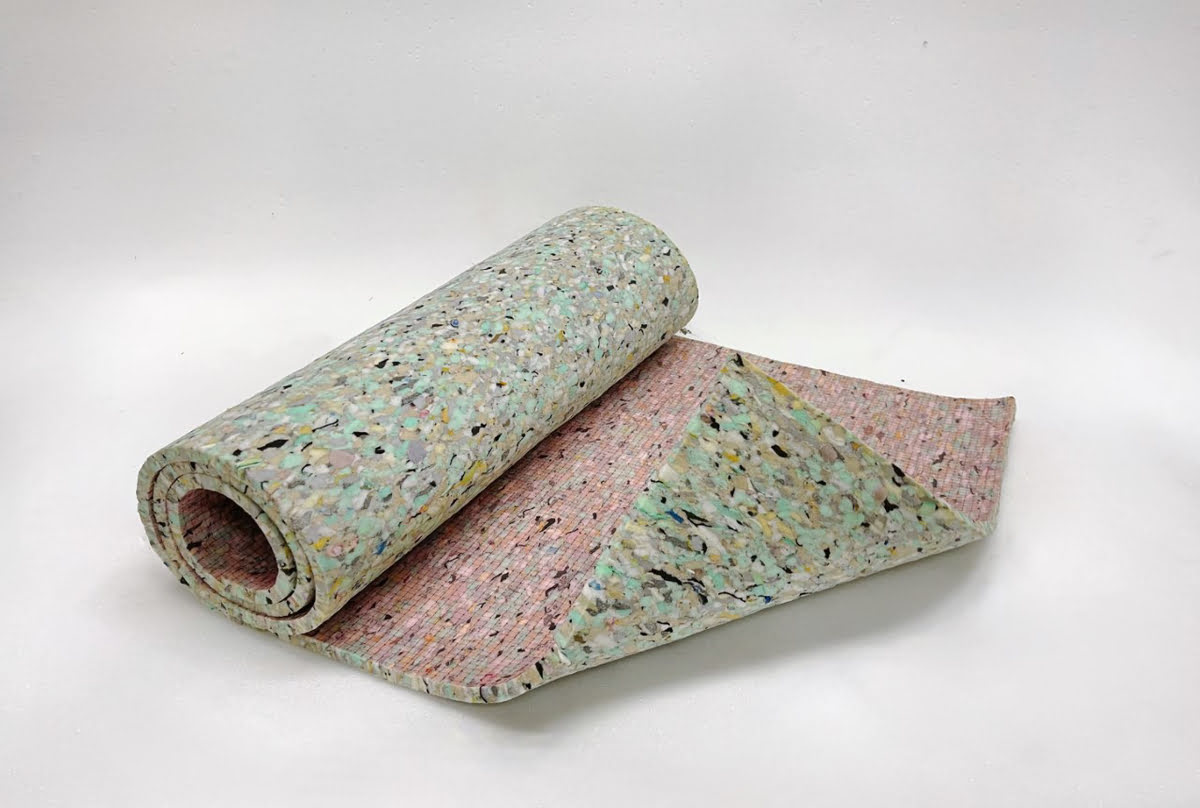
Types of Carpet Padding
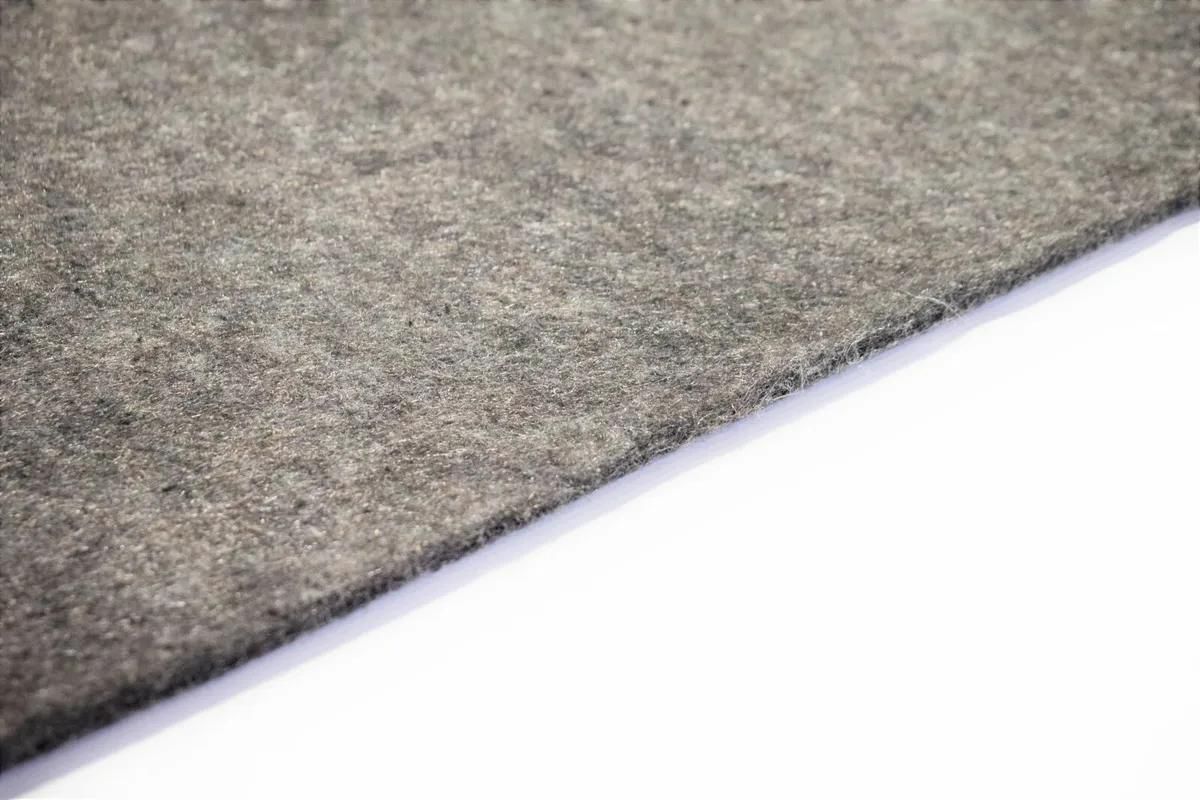
Not all carpet padding is created equal. There are several different types of carpet padding available in the market, each with its own set of characteristics and advantages. Here are some of the most common types of carpet padding:
- Foam Padding: Foam padding is the most commonly used type of carpet padding. It is made from polyurethane and is available in various thicknesses and densities. Foam padding provides good insulation and cushioning, making it suitable for both residential and commercial applications.
- Rubber Padding: Rubber padding is known for its durability and resilience. It is made from recycled materials and is environmentally friendly. Rubber padding provides excellent support and helps extend the life of your carpet.
- Fiber Padding: Fiber padding is made from natural or synthetic fibers. It is a popular choice for those looking for eco-friendly options, as it is made from sustainable materials. Fiber padding is less dense compared to foam or rubber padding but still offers decent insulation and comfort.
- Memory Foam Padding: Memory foam padding is a premium option that provides exceptional comfort and support. It is known for its ability to mold to the shape of your feet, reducing pressure points and fatigue. Memory foam padding is often used in high-end residential or commercial settings.
Knowing the type of carpet padding you have will help you determine the best approach for removal. While the overall process may be similar, there may be slight variations depending on the material used.
Tools and Materials Needed
Before you start the process of removing glued-down carpet padding, it’s important to gather all the necessary tools and materials. Having everything prepared in advance will save you time and ensure a smooth removal process. Here are the tools and materials you will need:
- Utility Knife: A utility knife will be your best friend during this project. It will help you cut through the carpet padding and remove it efficiently.
- Pry Bar: A pry bar or a large flathead screwdriver will come in handy when prying up the edges of the carpet padding.
- Scraping Tool: A scraping tool, such as a paint scraper or a putty knife, will be useful for scraping off any remaining adhesive or stubborn padding.
- Protective Gear: It’s essential to protect yourself during the removal process. Wear safety goggles to shield your eyes from debris, and use gloves to protect your hands.
- Adhesive Remover: Depending on the type of adhesive used, you may need an adhesive remover to help loosen and dissolve the glue.
- Dust Mask or Respirator: To avoid inhaling dust and debris, wear a dust mask or respirator.
- Plastic Bags or Tarps: To contain the removed carpet padding and prevent it from spreading throughout the area, have plastic bags or tarps ready for disposal.
- Cleaning Materials: After removing the carpet padding, it’s important to clean and prepare the subfloor for the next flooring installation. Have cleaning materials such as a broom, vacuum cleaner, and mop on hand.
By gathering these tools and materials before you begin, you’ll be well-equipped to tackle the task of removing glued-down carpet padding efficiently and effectively.
Preparing the Area
Before you start removing the glued-down carpet padding, it’s important to prepare the area to ensure a smoother and more efficient process. Here are the steps to follow:
- Clear the Room: Remove all furniture, rugs, and any other items from the room. This will give you more space to work and prevent any potential damage to your belongings.
- Protect the Walls and Baseboards: Use painter’s tape or adhesive tape to protect the walls and baseboards from accidental scratches or damage during the removal process.
- Open Windows or Use Ventilation: To improve air circulation and prevent the accumulation of dust and fumes, open windows or use a fan for ventilation. This is especially important if you will be using adhesive remover or scraping off stubborn padding.
- Wear Protective Gear: Put on safety goggles, gloves, and a dust mask or respirator to protect yourself from debris, adhesive fumes, and potential allergens.
- Disconnect Electronics: If there are any electronics or electrical outlets in the room, turn off the power and disconnect them. This will prevent any accidents or damage during the removal process.
By taking these preparatory steps, you’ll create a safe and organized environment for removing the glued-down carpet padding. It will also make the cleaning process more manageable and prevent any unnecessary damage to your surroundings.
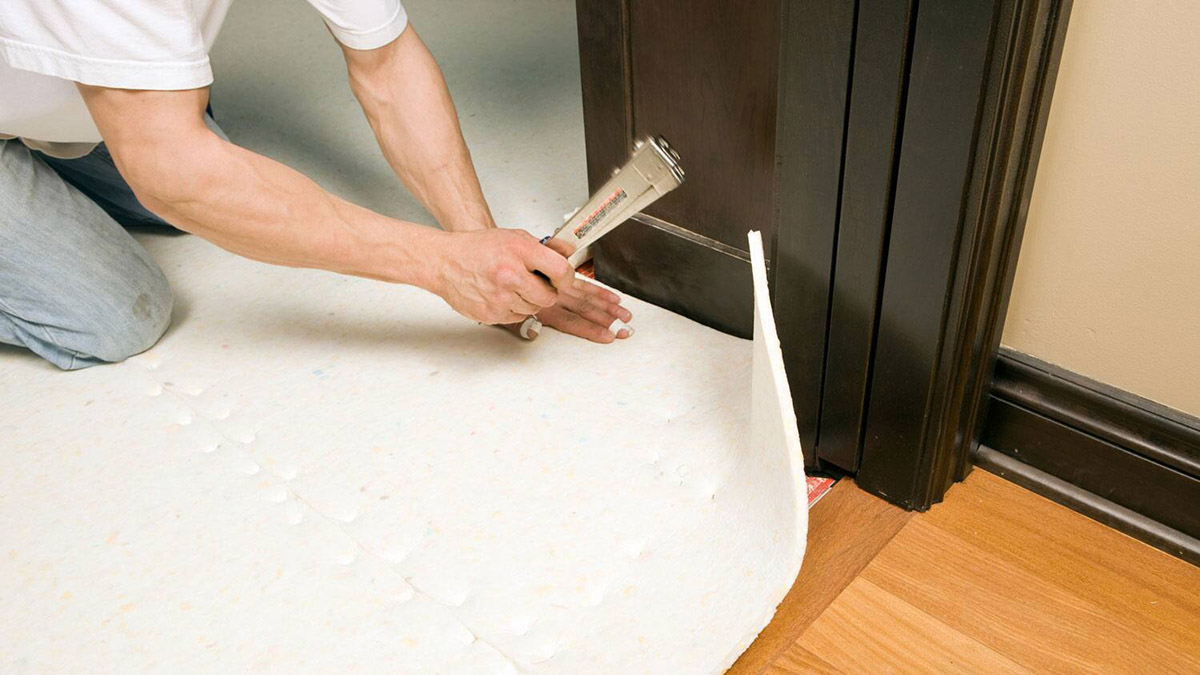
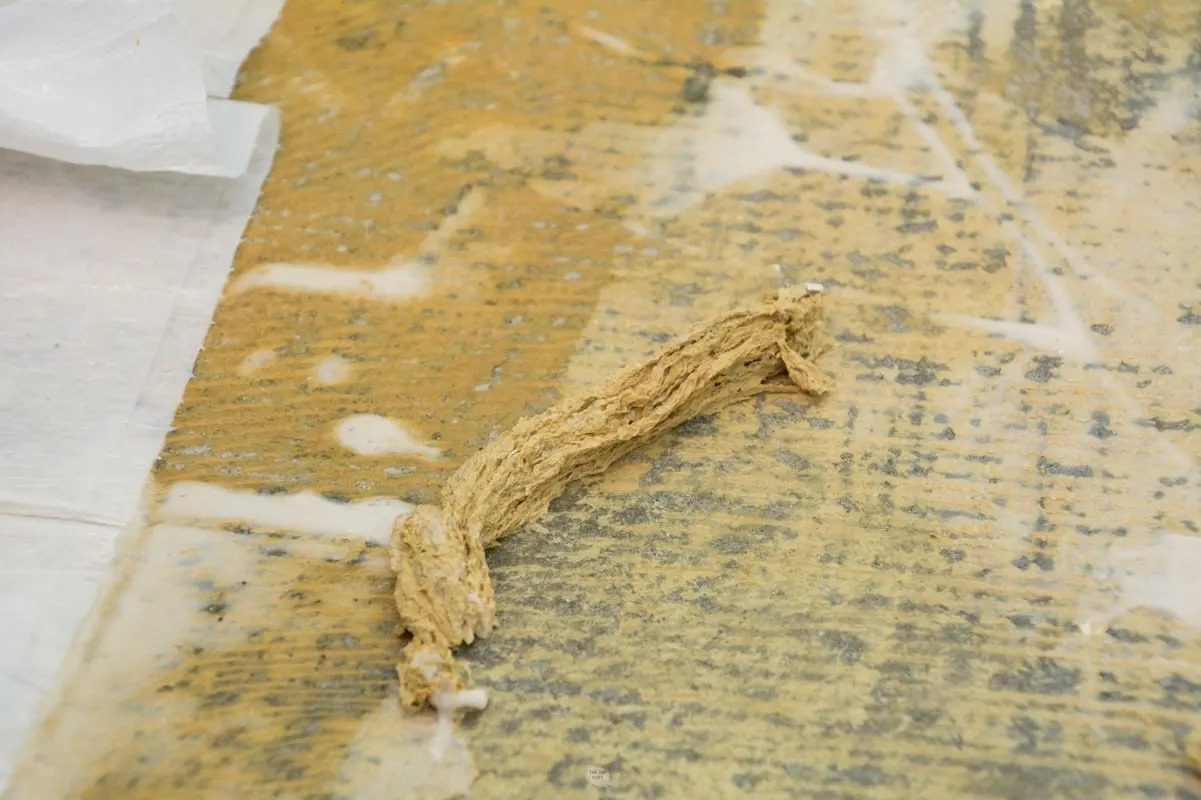
Use a floor scraper or putty knife to carefully pry up the edges of the carpet padding. Apply a solvent or adhesive remover to loosen the glue, then scrape it off with a putty knife. Clean the area with a damp cloth to remove any residue.
Testing a Small Section
Before diving into the full-scale removal of the glued-down carpet padding, it’s important to test a small section to determine the best approach and assess how easily the padding can be removed. Follow these steps to conduct a test in a small area:
- Select a small, inconspicuous area: Choose a spot that is not easily visible, such as a corner or under a piece of furniture.
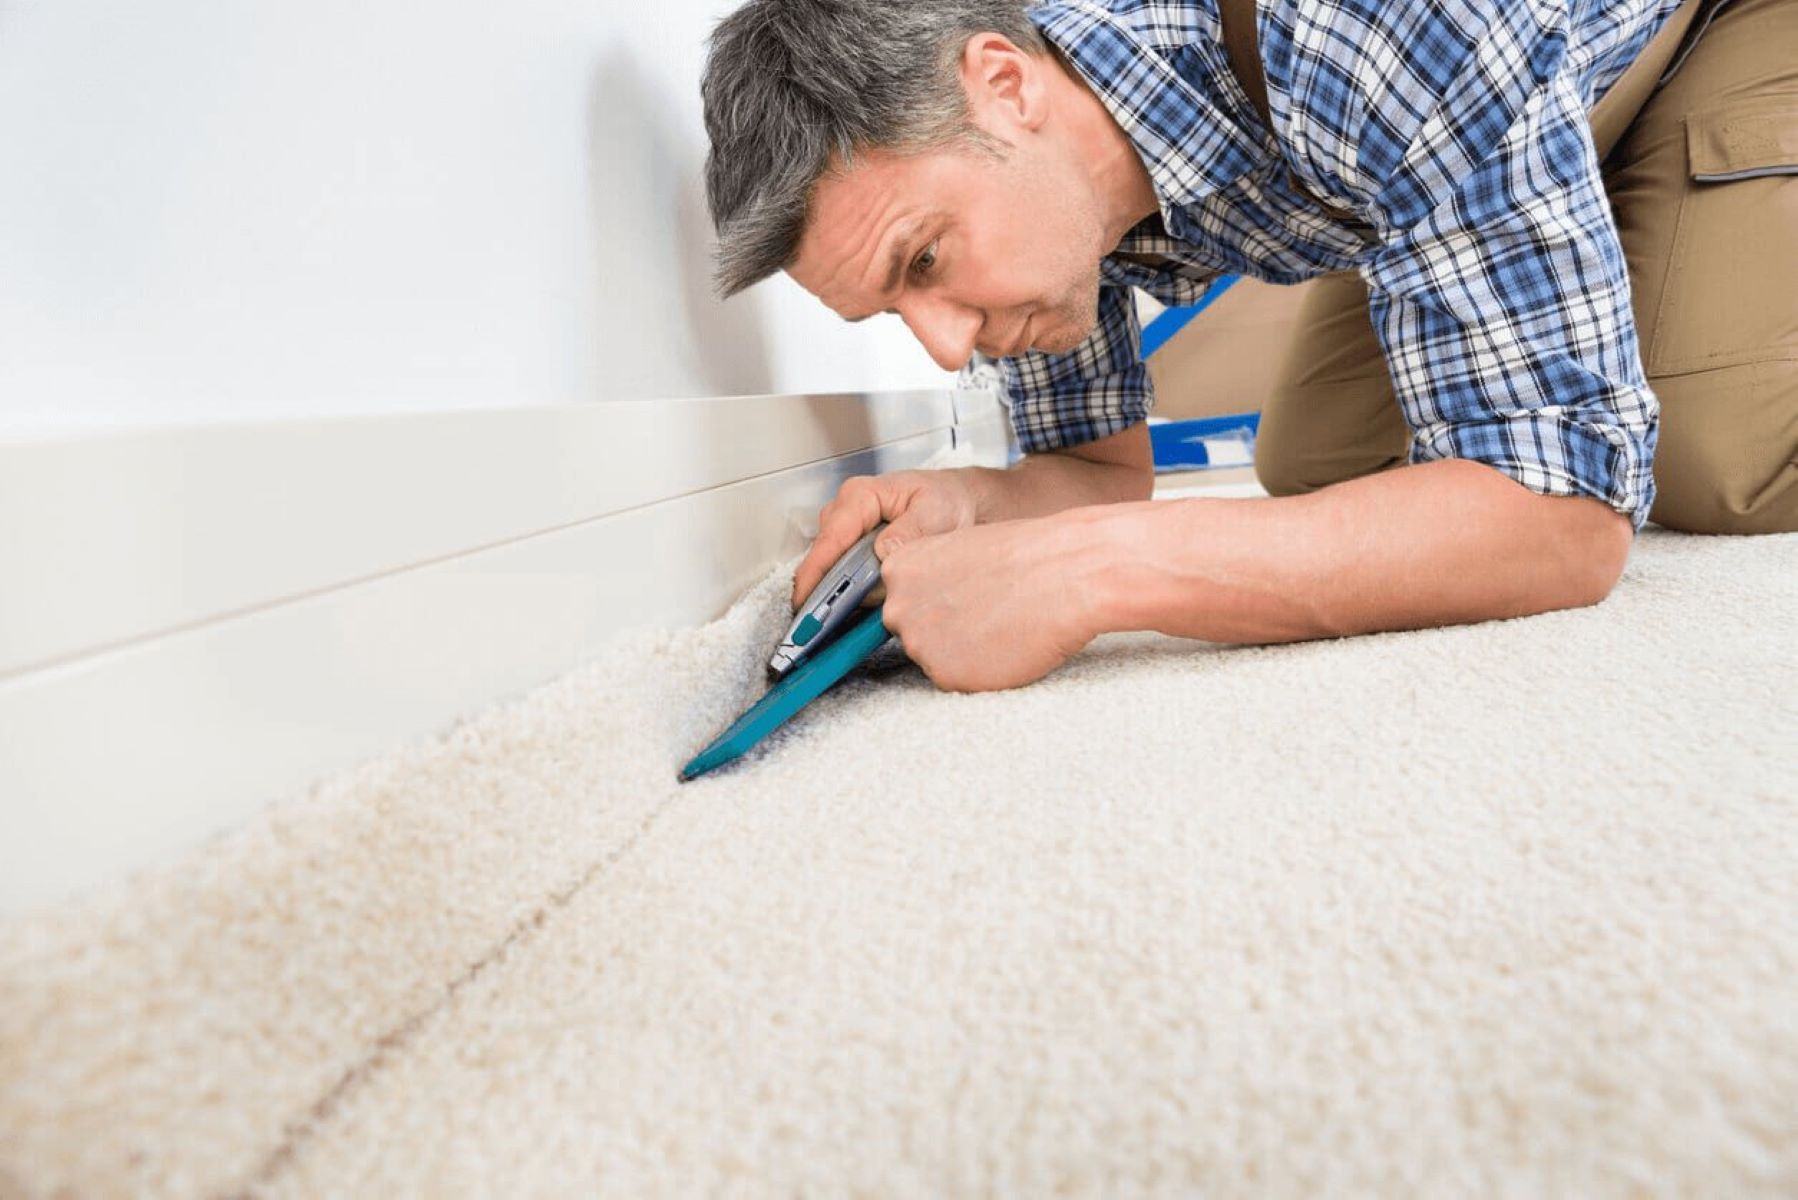
- Cut into the carpet padding: Use a utility knife to make a small incision in the carpet padding. Be careful not to cut into the subfloor.
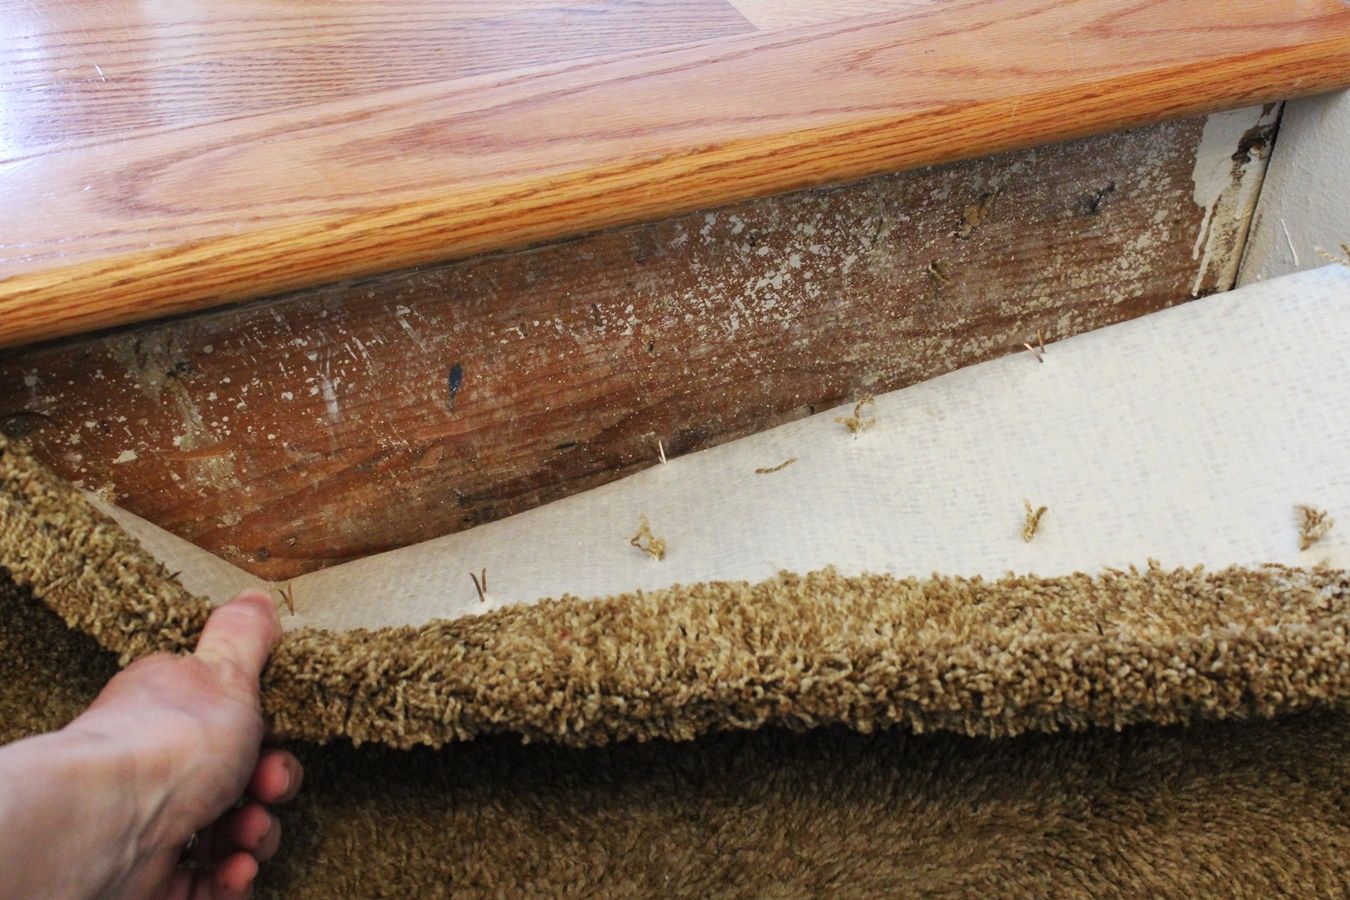
- Lift the padding gently: Using a pry bar or screwdriver, lift the edge of the carpet padding to see if it easily separates from the floor. Pay attention to how much force is required and whether the adhesive residue is left behind.
- Assess the condition of the subfloor: Once the padding is lifted, check the condition of the subfloor. Look for any damage, remaining adhesive, or other issues that may need to be addressed before proceeding.
- Evaluate the ease of removal: Based on the test section, evaluate how easily the carpet padding can be removed. Consider the time, effort, and potential challenges you may encounter during the complete removal.
Testing a small section will give you valuable insights on the best techniques to use and any potential obstacles you may face during the removal process. It will also help you plan and prepare for the necessary steps to efficiently remove the glued-down carpet padding.
Read more: How To Remove Glued Carpet From Wood
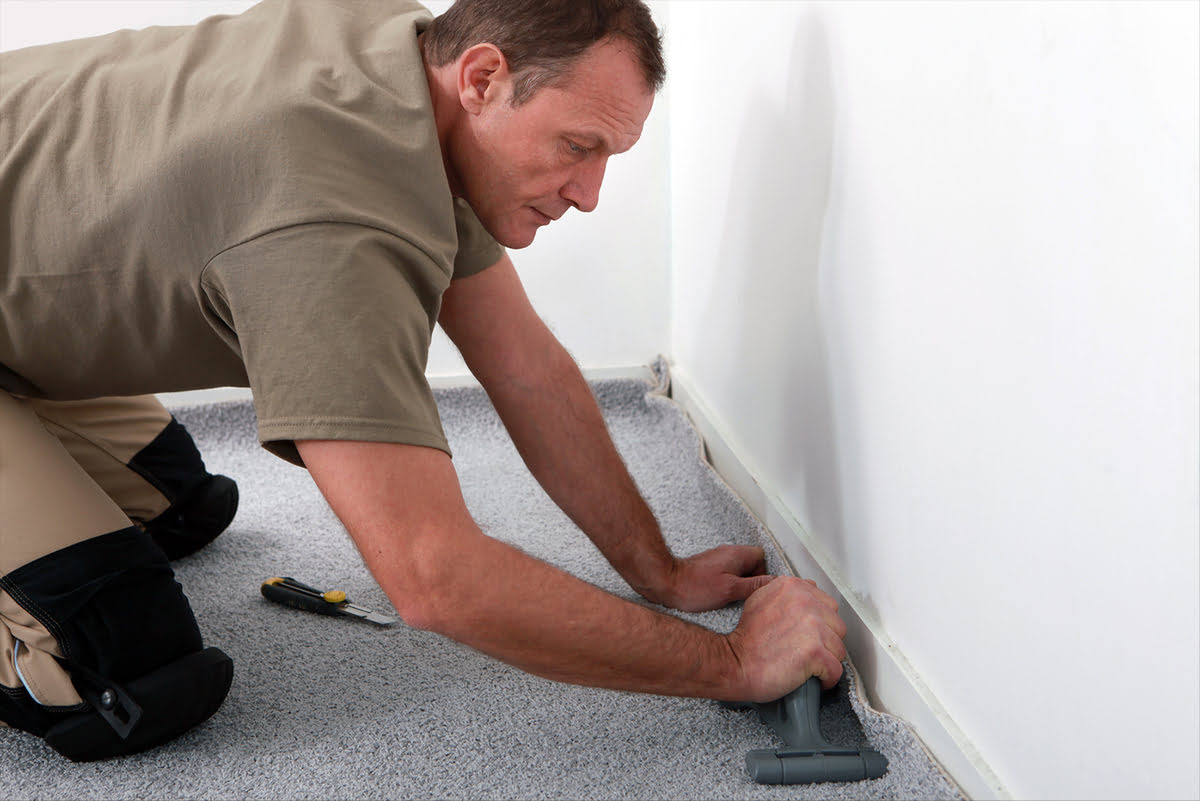
Removing the Glued Carpet Padding
Once you have completed the necessary preparations and tested a small section, you can proceed with the actual removal of the glued carpet padding. Follow these steps to effectively remove the padding:
- Start at a corner: Begin at one corner of the room and use a utility knife to cut into the carpet padding. Cut it into manageable sections to make the removal easier.
- Lift the padding: Use a pry bar or screwdriver to gently lift the edge of the padding. Be careful not to damage the subfloor or tear the carpet.
- Work systematically: Work your way across the room, gradually lifting and removing the carpet padding. Take breaks if needed, especially for larger rooms, to prevent exhaustion.
- Remove any leftover adhesive: After removing all the padding, you may encounter adhesive residue on the subfloor. Use a scraping tool, such as a putty knife or a paint scraper, to scrape off the remaining adhesive. Be cautious not to damage the subfloor in the process.
- Dispose of the padding: Collect the removed carpet padding and dispose of it using plastic bags or tarps. Check local regulations for proper disposal or recycling options.
Remember to work carefully and take your time during the removal process. If you encounter any particularly stubborn areas, you may need to use an adhesive remover. Follow the instructions on the adhesive remover product and use it as needed for those difficult spots.
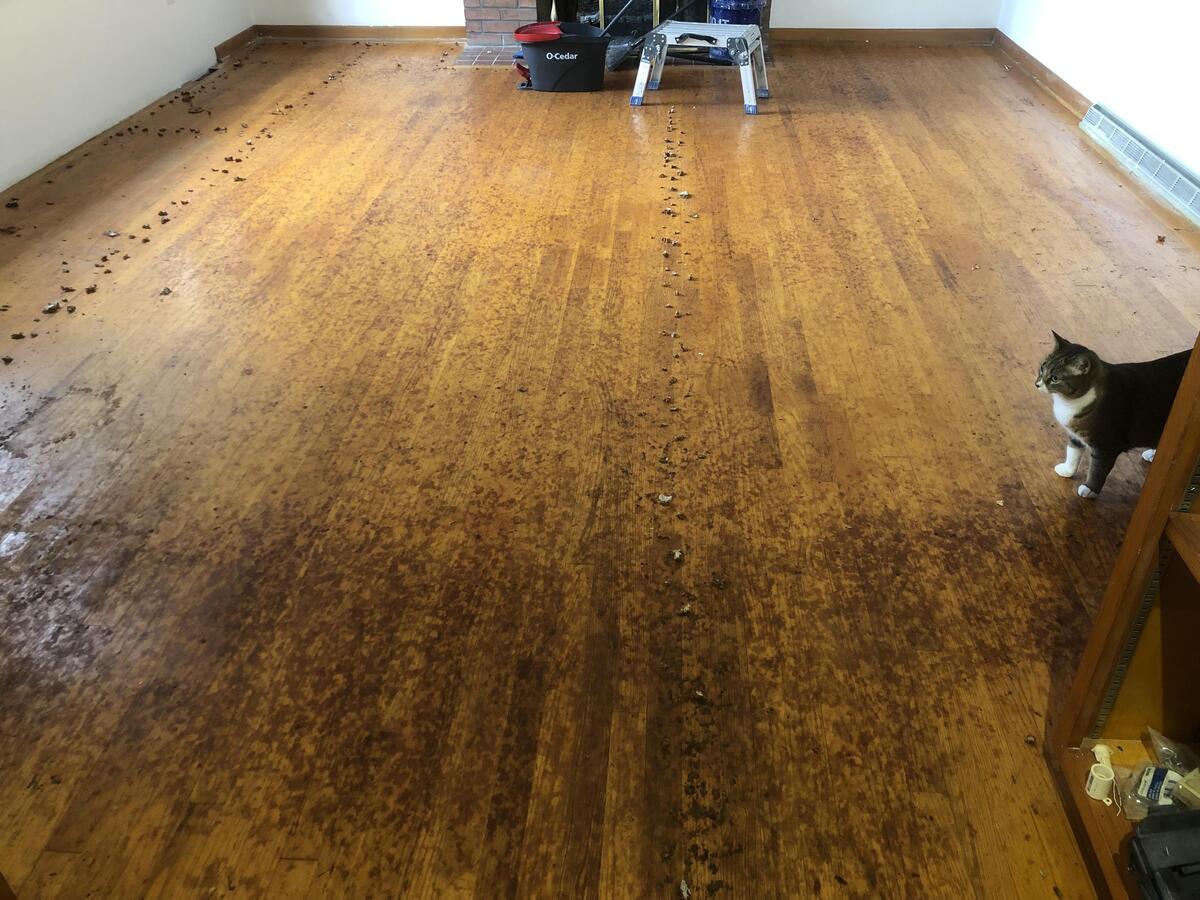
Once you have successfully removed the glued carpet padding, inspect the subfloor to ensure it is clean and free from any remaining debris or adhesive residue. This will provide a clean and smooth surface for the next steps in your flooring installation or renovation project.
Cleaning and Finishing Touches
After removing the glued carpet padding, it’s important to thoroughly clean the subfloor and make any necessary finishing touches before proceeding with the next steps of your flooring installation or renovation. Follow these steps to ensure a clean and well-prepared surface:
- Sweep or vacuum the subfloor: Use a broom or vacuum cleaner to remove any loose debris, dust, or remnants of the carpet padding. Make sure to clean the entire area, including corners and edges.
- Mop the subfloor: Fill a bucket with warm water and a mild cleaning solution suitable for your subfloor material. Mop the subfloor surface to remove any remaining dirt or residue.
- Allow the subfloor to dry: Give the subfloor sufficient time to dry completely before proceeding with any further installations. This will ensure proper adhesion and prevent moisture-related issues in the future.
- Inspect the subfloor: Take a close look at the subfloor to check for any damage, uneven patches, or protrusions. Address any issues that may affect the performance or appearance of your new flooring.
- Make necessary repairs: If there are any damaged areas or uneven spots on the subfloor, repair them using appropriate materials. Fill in holes or gaps with a suitable filler and level any uneven areas to create a smooth and stable surface.
- Apply a primer or sealant (if needed): Depending on the type of subfloor material and the flooring you plan to install, you may need to apply a primer or sealant. Follow the manufacturer’s instructions for proper application and drying time.
By thoroughly cleaning and preparing the subfloor, you create an optimal foundation for your new flooring. This will help ensure a successful and long-lasting installation, and provide a clean and aesthetically pleasing finish to your space.
Conclusion
Removing glued-down carpet padding may seem like a challenging task, but with the right tools, preparation, and techniques, it can be accomplished effectively and efficiently. By following the steps outlined in this guide, you can remove the old padding and prepare your space for a fresh new flooring installation.
It is important to identify the type of carpet padding you have as it may affect the approach you take. Foam padding, rubber padding, fiber padding, and memory foam padding all require slightly different methods of removal.
Before beginning the removal process, gather all the necessary tools and materials, including a utility knife, pry bar, scraping tool, protective gear, adhesive remover (if needed), dust mask or respirator, plastic bags or tarps for disposal, and cleaning materials. These items will help make the process easier and safer.
Properly preparing the area, testing a small section, and systematically removing the glued carpet padding are crucial steps in the process. Take care to avoid damaging the subfloor and be mindful of any stubborn adhesive residue that may need to be addressed separately.
Once the carpet padding has been removed, thoroughly clean the subfloor and make any necessary repairs or adjustments. This will ensure a clean and stable foundation for your next flooring installation or renovation project.
Remember, the process of removing glued-down carpet padding requires patience and attention to detail. Take your time, follow proper safety precautions, and consult professionals if you encounter any challenges.
By following the steps outlined in this guide, you will be equipped with the knowledge and tools to remove glued-down carpet padding and prepare your space for a fresh and updated look.
Frequently Asked Questions about How To Remove Carpet Padding That Is Glued Down
Was this page helpful?
At Storables.com, we guarantee accurate and reliable information. Our content, validated by Expert Board Contributors, is crafted following stringent Editorial Policies. We're committed to providing you with well-researched, expert-backed insights for all your informational needs.