Articles
How To Remove Fence Post From Concrete
Modified: February 23, 2024
Learn how to remove a fence post from concrete easily with our informative articles. Find step-by-step guides, tips, and tools for a hassle-free process.
(Many of the links in this article redirect to a specific reviewed product. Your purchase of these products through affiliate links helps to generate commission for Storables.com, at no extra cost. Learn more)
Introduction
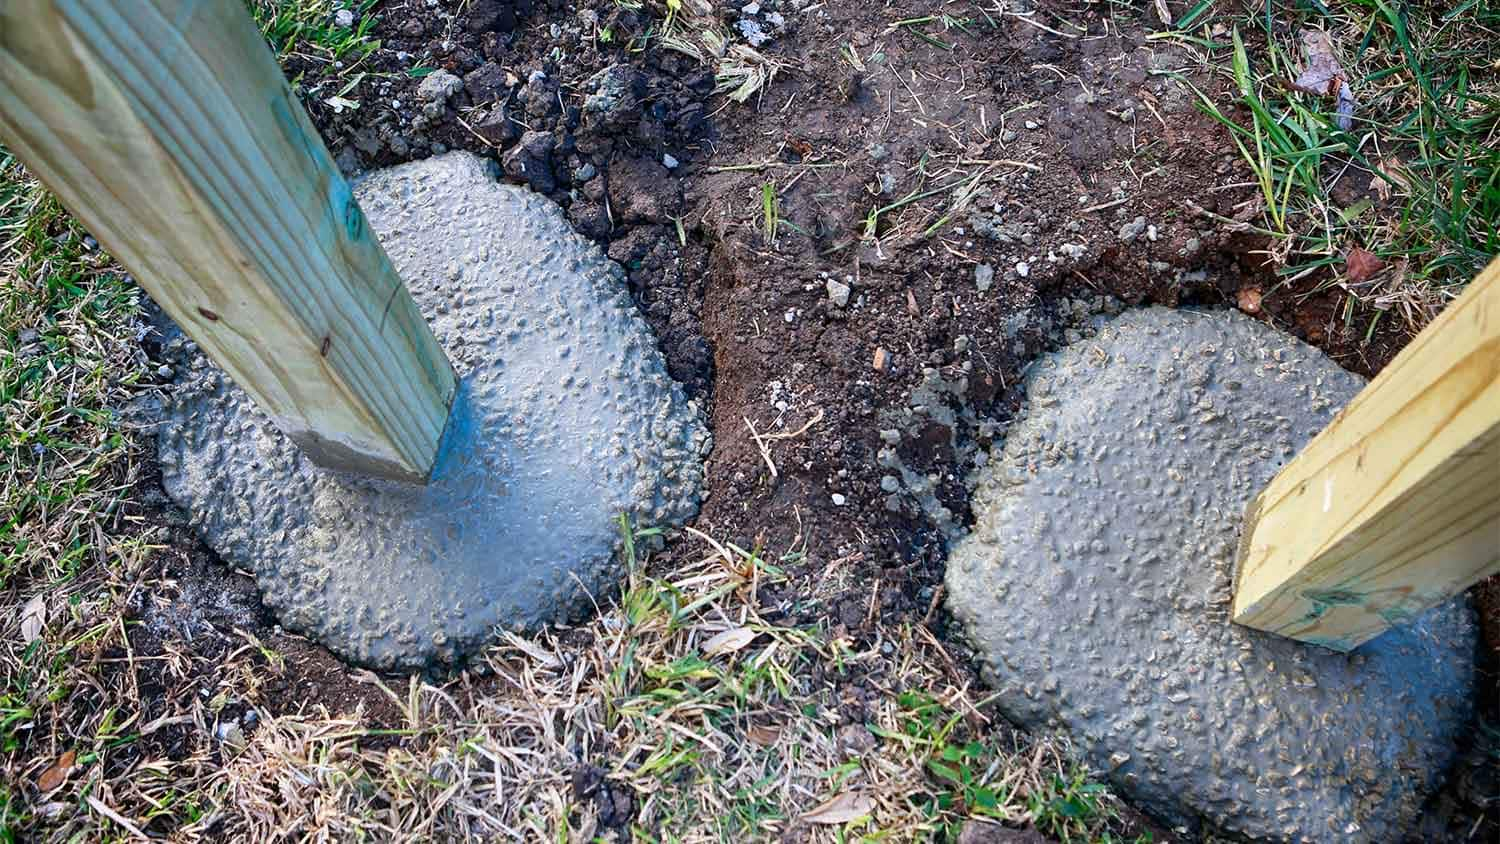
Removing a fence post that is firmly stuck in concrete can be a challenging task. Whether you are renovating your backyard, replacing an old fence, or making repairs, knowing how to remove a fence post from concrete is essential. While it may seem like an intimidating job, with the right tools and techniques, you can successfully accomplish this task.
In this article, we will guide you through the step-by-step process of removing a fence post from concrete. By following these instructions, you can ensure a smooth and efficient removal while minimizing potential damage to the surrounding area. So, put on your work gloves and let’s get started!
Key Takeaways:
- Removing a fence post from concrete requires assessing the post, loosening it with the right tools, and applying gradual pressure for successful extraction. Remember to inspect for damage and clean the area post-removal.
- Safety, caution, and the right tools are crucial for a smooth fence post removal process. If unsure, seek professional guidance to ensure a safe and effective removal. Enjoy the satisfaction of a job well done!
Read more: How To Set Fence Post On Concrete
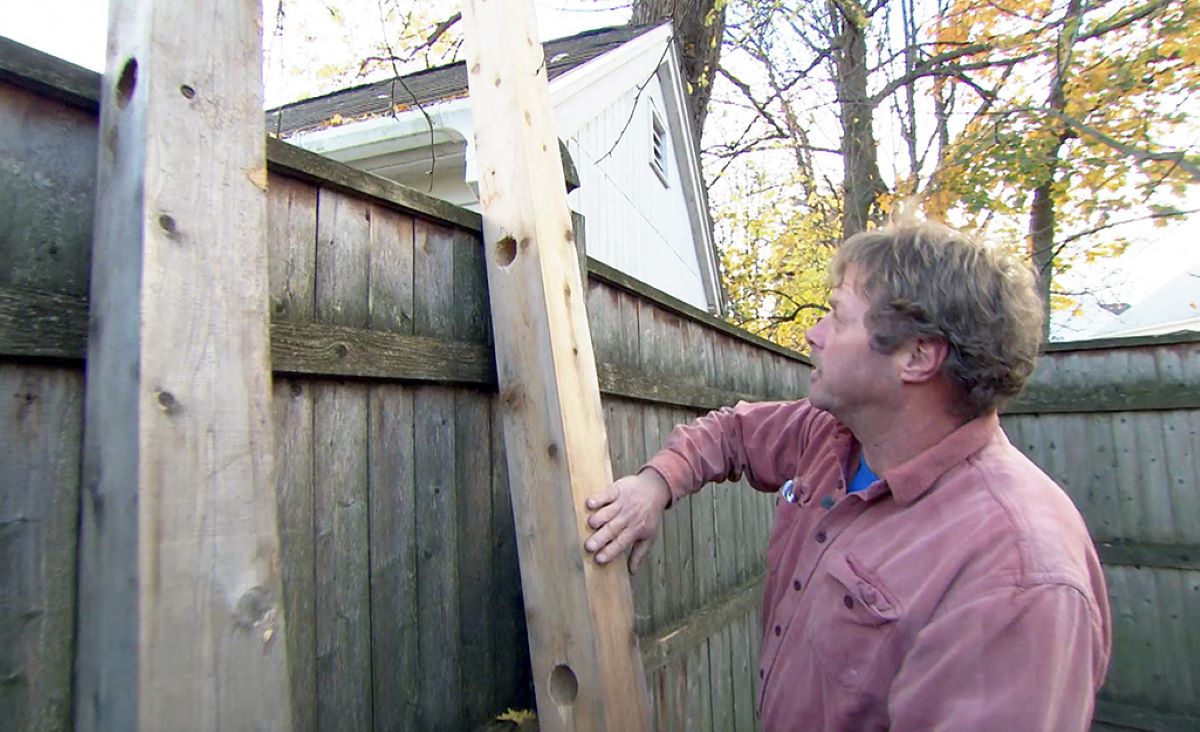
Step 1: Assess the post and prepare necessary materials
The first step in removing a fence post from concrete is to assess the post and gather the necessary tools and materials. Here’s what you’ll need:
- Work gloves: Protect your hands from splinters, sharp edges, and other potential hazards.
- Safety goggles: Keep your eyes protected from flying debris or particles.
- Adjustable wrench or socket set: Use this tool to remove any bolts or screws securing the post to the concrete.
- Fence post puller: This specialized tool is designed to securely grip the fence post, providing leverage for removal.
- Shovel: Use a shovel to dig around the base of the post, exposing the concrete and providing access for removal.
- Concrete breaker or sledgehammer: If the post is particularly stubborn, you may need a tool with more force to break up the concrete around it.
- Protective covering or tarp: Lay a tarp or protective covering underneath the work area to catch any debris and prevent damage to the surrounding surface.
Once you have gathered all the necessary tools and materials, it’s time to assess the condition of the post and the concrete. Check if the post is rotted, damaged, or still structurally sound. Evaluate if any additional support, such as brace wire or concrete footing, is connected to the post. These factors will help you determine the best approach for removing the post from the concrete.
Inspect the concrete around the post for any cracks, chips, or uneven surfaces. These irregularities may affect the removal process and could potentially cause damage. It’s important to take note of any nearby structures or objects that may be at risk during the removal process. Once you have assessed the post and the concrete, you’re ready to move on to the next step.
Step 2: Loosen the post
Now that you’ve gathered all the necessary tools and assessed the condition of the post and concrete, it’s time to start loosening the post from its position.
1. Begin by removing any bolts or screws that may be securing the post to the concrete. Use an adjustable wrench or socket set to loosen and remove them. Set them aside safely for later use or disposal.
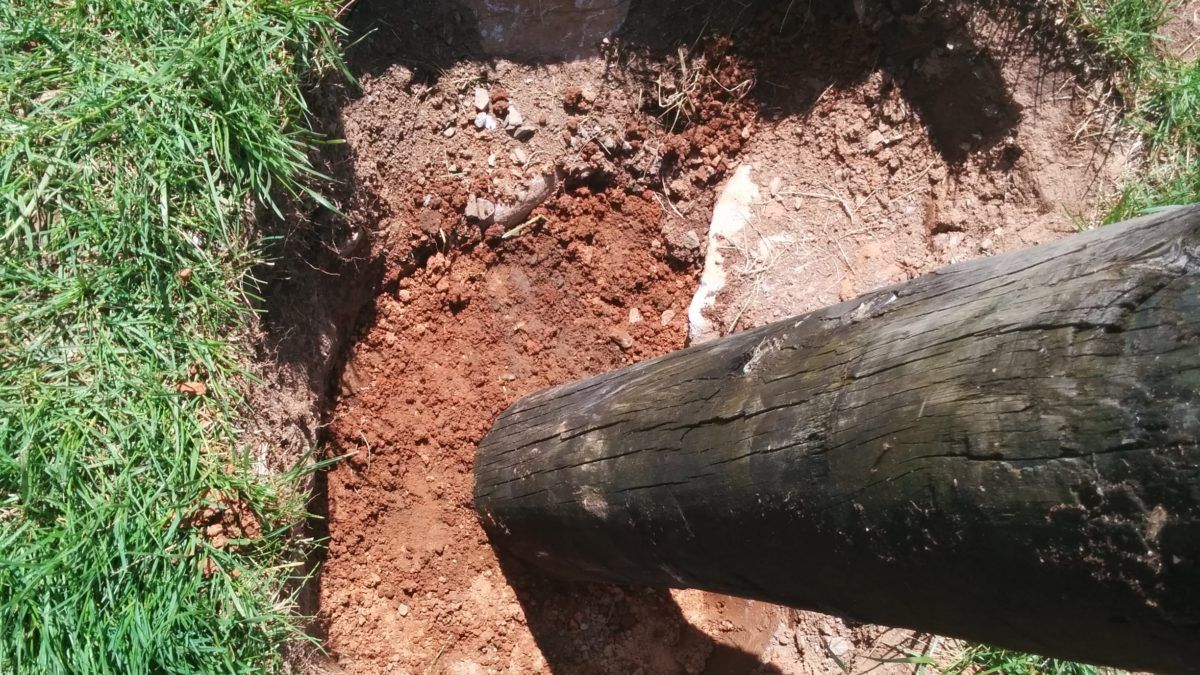
2. If the post is held in place by concrete, start by digging around the base of the post with a shovel. Dig deep enough to expose the concrete footing and provide access for removal.
3. Once you’ve exposed the concrete, assess if it is fully surrounding the post or if there are any gaps or areas where it is loose. This will help determine the best approach for loosening the post.
4. If the concrete is intact and fully surrounding the post, use a fence post puller to apply pressure and twist the post back and forth. This motion will help break the bond between the post and the concrete. Gradually increase the pressure until you feel the post starting to loosen.
5. If the concrete is loose or cracked around the post, you may need to use a concrete breaker or sledgehammer to break up the concrete and create space for removal. Carefully strike the concrete around the post, focusing on areas where it is weaker or already showing signs of damage. Be cautious not to hit the post directly to avoid causing damage to it.
6. As you begin to loosen the post, periodically check for any signs of movement. If the post seems to be resisting or not loosening, reassess the situation and consider applying additional force or seeking assistance from a professional.
Remember to proceed with caution and avoid using excessive force that may cause injury or further damage. Take breaks when needed and stay hydrated throughout the process. Once the post is sufficiently loosened, it’s time to move on to the next step of its removal.
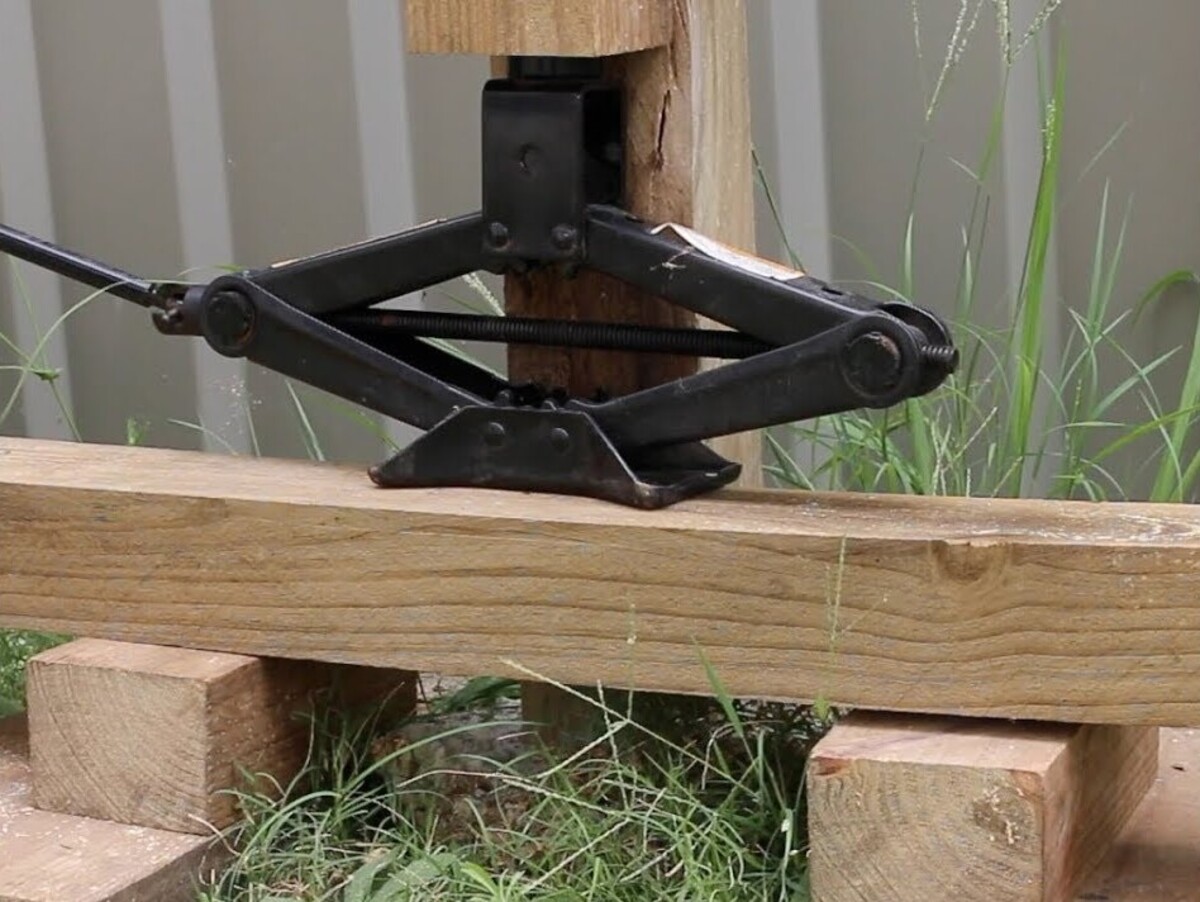
Use a jack or lever to lift the post out of the concrete. If it’s stubborn, try using a concrete saw to cut around the post and then pull it out.
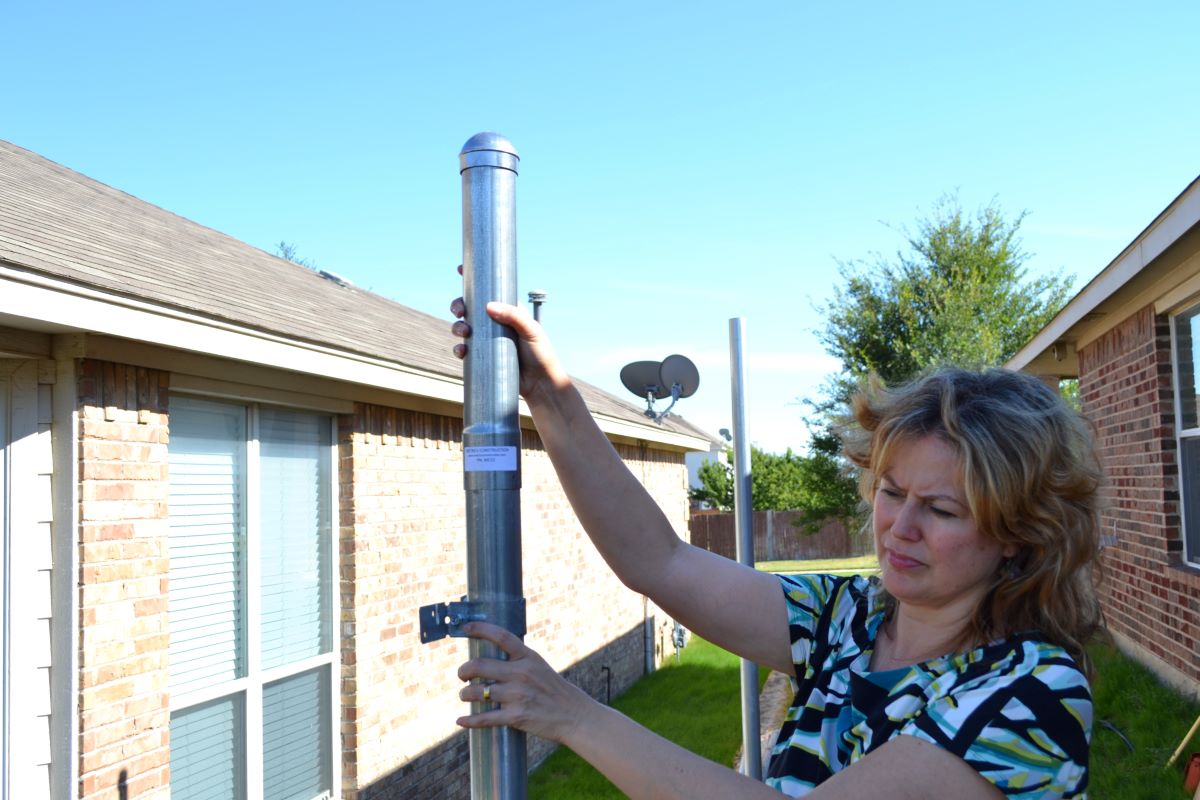
Step 3: Apply pressure to remove the post
With the post loosened from the concrete, it’s time to apply pressure to remove it completely. Follow these steps to ensure a successful extraction:
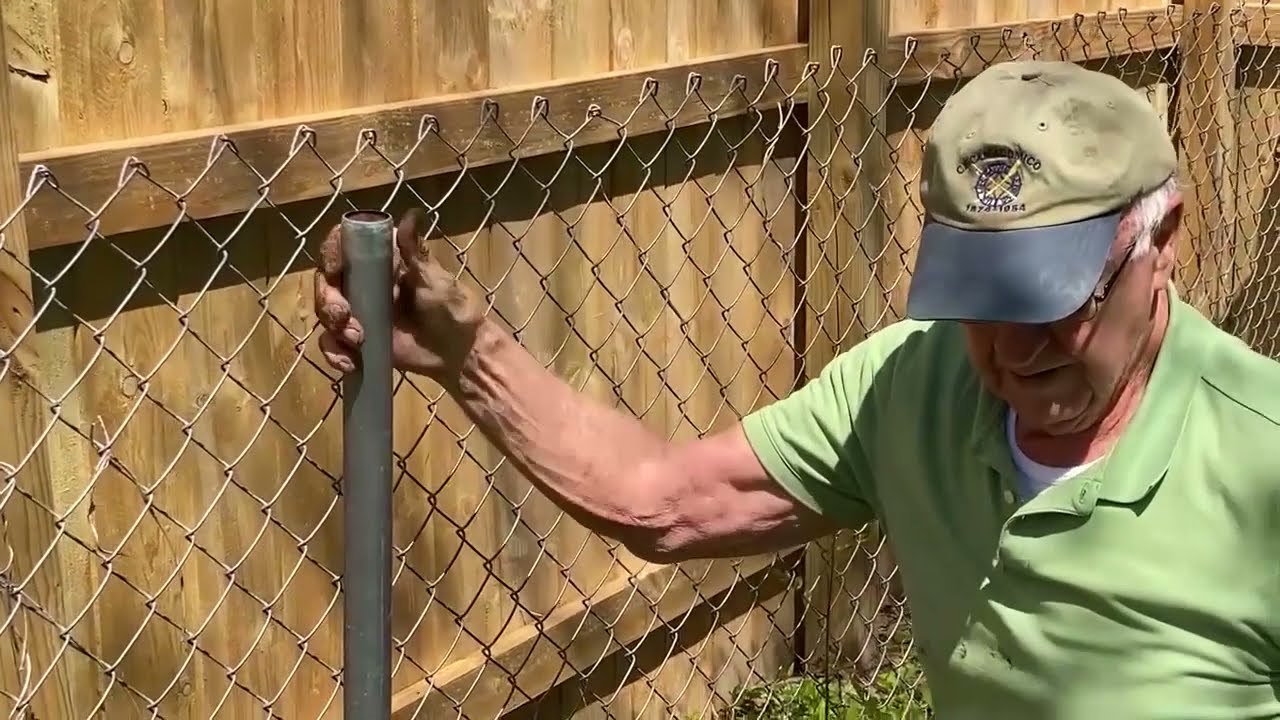
1. Position the fence post puller securely around the post. Ensure that it is gripping the post firmly without damaging it. If necessary, adjust the position or tighten the grip of the puller to achieve a secure hold.
2. Apply steady and gradual pressure to the fence post puller. Use your body weight or a long lever for added leverage. Slowly pull or push in the direction that will release the post from the concrete.
3. As you apply pressure, keep an eye on the post and its connection to the concrete. Be cautious of any signs of resistance or unexpected movement. If the post seems to be getting stuck or not budging, double-check if any remaining fasteners are holding it in place or if it is still connected to any supporting structures.
4. If the post is still stubborn and not budging, you may need to use additional tools or techniques. Consider using a jack or mechanical assistance to exert more force. Alternatively, you can use a circular saw to cut the post above the concrete level, making it easier to remove.
5. With continued pressure, the post should eventually come free from the concrete. Slowly and carefully remove it from the hole, ensuring that it does not snag on any surrounding objects or cause damage to the immediate area.
6. Once the post is removed, inspect the surrounding concrete for any damage. Fill in any holes or gaps in the concrete with a suitable filler, such as epoxy or concrete patching compound, to ensure a smooth and level surface.
By applying pressure and using the appropriate techniques, you can successfully remove a fence post from concrete. However, it’s important to be prepared for unexpected challenges or circumstances. If you encounter any difficulties or feel unsure about the process, it’s always best to seek guidance from a professional.
Step 4: Clean the area and inspect for damage
After successfully removing the fence post from the concrete, it’s important to clean the area and inspect for any potential damage. Follow these steps to ensure a thorough inspection:
1. Begin by clearing away any debris or loose materials from the hole where the post was removed. Use a shovel or broom to sweep away dirt, dust, and small pieces of concrete.
2. Inspect the surrounding concrete for any signs of damage. Look for cracks, chips, or uneven surfaces that may have occurred during the removal process. If you notice any significant damage, consult a professional for repair or replacement.
3. Check the post itself for any signs of damage or wear. Look for rot, cracks, or other issues that may have affected its structural integrity. If the post is damaged beyond repair, consider replacing it with a new one.
4. If the post was connected to any supporting structures, such as brace wire or concrete footing, inspect those areas as well. Check for any damage or looseness that may require repair or reinforcement.
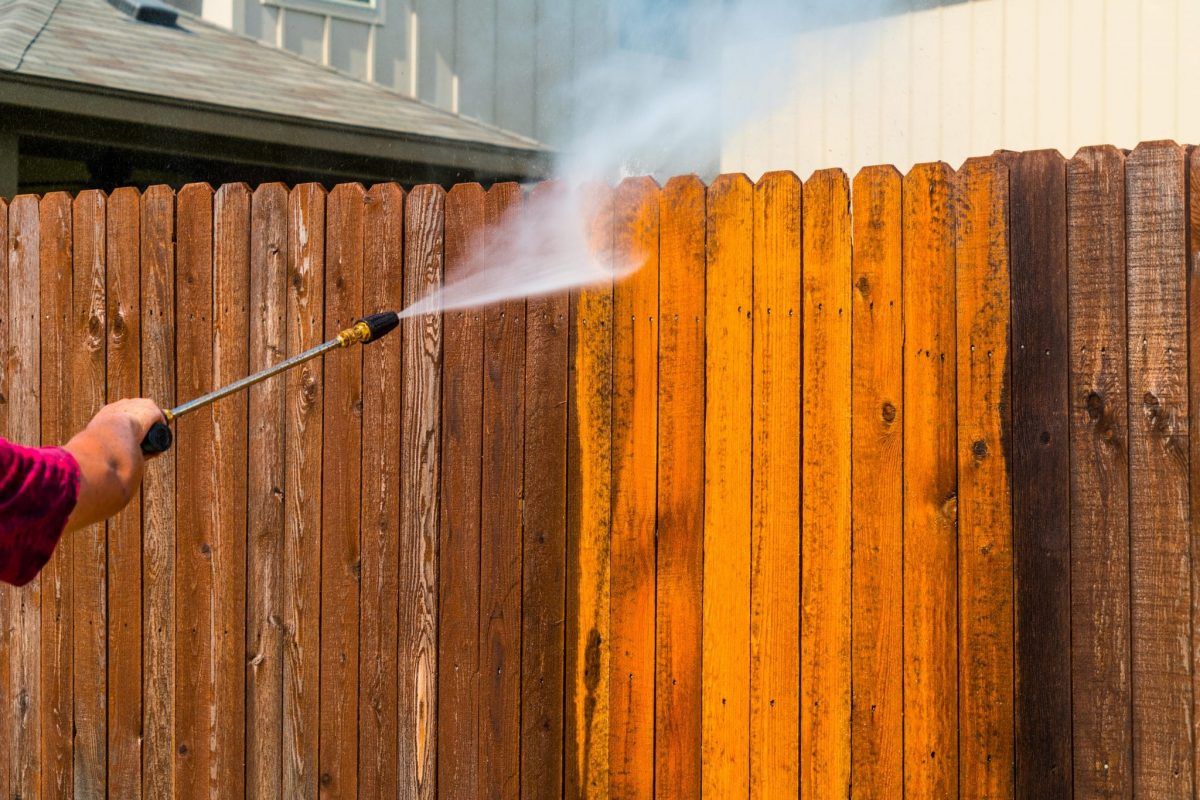
5. Once the area is cleaned and inspected, consider applying a protective coating or sealant to the surrounding concrete. This will help prevent future damage from weathering, moisture, or UV exposure.
6. If you plan to install a new fence post in the same location, make any necessary preparations to ensure a stable and secure installation. This may include repairing the concrete footing or adding additional support, such as gravel or cement mix, to enhance stability.
By cleaning the area and inspecting for damage, you can maintain the integrity of your fence and ensure a safe and durable installation. Regular maintenance and inspections will help prolong the lifespan of your fence and prevent costly repairs down the line.
Take pride in your accomplishment and enjoy the knowledge that you have successfully removed a fence post from concrete. With proper care and attention, your fence will continue to serve its purpose and enhance the beauty of your property.
Read more: How To Remove Fence Post
Conclusion
Removing a fence post from concrete may seem like a daunting task, but with the right tools and techniques, it can be accomplished successfully. By following the step-by-step process outlined in this article, you can confidently tackle this job and achieve the desired results.
Remember to assess the post and concrete, prepare the necessary materials, and loosen the post before applying pressure to remove it. Take your time, be cautious, and use the appropriate tools to ensure a smooth removal process.
After the post is removed, take the time to clean the area and inspect for any potential damage. Repair any cracks or chips in the concrete and inspect the post for any signs of wear or damage. By maintaining the integrity of the surrounding area and the post itself, you can prolong the lifespan of your fence system.
It’s important to note that if you encounter any difficulties or feel uncertain about the process, it’s always best to seek advice from a professional. They can provide guidance and ensure the removal is done safely and effectively.
By following these steps and taking the necessary precautions, you can successfully remove a fence post from concrete and embark on your next fencing project. Take pride in your accomplishment and enjoy the results of your hard work!
Remember, safety should be a top priority throughout the process. Make sure to wear appropriate protective gear and use tools responsibly. Now, go ahead and take on that fence post removal with confidence!
Frequently Asked Questions about How To Remove Fence Post From Concrete
Was this page helpful?
At Storables.com, we guarantee accurate and reliable information. Our content, validated by Expert Board Contributors, is crafted following stringent Editorial Policies. We're committed to providing you with well-researched, expert-backed insights for all your informational needs.


0 thoughts on “How To Remove Fence Post From Concrete”