Articles
How To Remove Glued Countertops
Modified: December 7, 2023
Learn how to easily remove glued countertops with our informative articles. Find step-by-step guides and expert tips to make the process hassle-free.
(Many of the links in this article redirect to a specific reviewed product. Your purchase of these products through affiliate links helps to generate commission for Storables.com, at no extra cost. Learn more)
Introduction
Removing glued countertops can be a challenging task, but with the right tools and techniques, you can accomplish it effectively and safely. Whether you’re renovating your kitchen or bathroom, or simply replacing your old countertops, properly removing the glued surfaces is crucial to ensure a smooth and successful installation of new countertops.
When it comes to removing glued countertops, it’s important to proceed with caution and follow proper safety precautions. This article will guide you through the step-by-step process of removing glued countertops, from assessing the countertop to cleaning the surface afterwards. So, let’s dive in and get started!
Key Takeaways:
- Safety first! Prioritize your well-being by wearing protective gear, ensuring proper ventilation, and using caution with tools. Following safety precautions is crucial for a successful and accident-free countertop removal process.
- Thorough preparation, assessment, and understanding of the adhesive type are key to a smooth removal process. Take your time, follow the step-by-step guide, and enjoy the satisfaction of a freshly updated kitchen or bathroom space.
Read more: How To Remove Glued Carpet From Wood
Safety Precautions
Before you begin the process of removing glued countertops, it’s essential to prioritize your safety. Here are some key safety precautions to keep in mind:
1. Wear protective gear: Put on safety goggles, gloves, and a dust mask to protect your eyes, hands, and respiratory system from any potential hazards.
2. Ventilation: Make sure the work area is well-ventilated by opening windows or using fans to prevent the buildup of fumes from any chemicals or adhesives you may be using during the removal process.
3. Work with caution: Use caution when using sharp tools to prevent any injuries. Take your time and proceed carefully to minimize the risk of accidents.
Tools and Materials Needed
To successfully remove glued countertops, you’ll need the following tools and materials:
1. Putty knife or scraper: A sturdy putty knife or scraper will be essential for loosening and removing the adhesive from the countertop surface.
2. Heat gun or hairdryer: A heat gun or hairdryer can help soften the adhesive, making it easier to remove.
3. Adhesive remover: Depending on the type of adhesive used, you may need an adhesive remover to dissolve and remove any residual adhesive.
4. Rubbing alcohol: Rubbing alcohol can be used to remove any leftover adhesive residue and help clean the surface.
5. Clean rags or paper towels: You’ll need these to wipe down the surface and remove any debris or adhesive residue.
6. Plastic drop cloth or old sheets: Use a plastic drop cloth or old sheets to protect the surrounding area from any debris or damage during the removal process.
Now that you have your safety precautions in mind and the necessary tools and materials gathered, let’s move on to the step-by-step process of removing glued countertops.
Key Takeaways:
- Safety first! Prioritize your well-being by wearing protective gear, ensuring proper ventilation, and using caution with tools. Following safety precautions is crucial for a successful and accident-free countertop removal process.
- Thorough preparation, assessment, and understanding of the adhesive type are key to a smooth removal process. Take your time, follow the step-by-step guide, and enjoy the satisfaction of a freshly updated kitchen or bathroom space.
Read more: How To Remove Glued Carpet From Wood
Safety Precautions
Before you begin the process of removing glued countertops, it’s essential to prioritize your safety. Taking proper safety precautions will help prevent accidents and ensure a smooth removal process. Here are some key safety guidelines to keep in mind:
1. Wear protective gear: Put on safety goggles, gloves, and a dust mask before you start. Safety goggles will protect your eyes from any debris or flying particles, gloves will protect your hands from sharp tools and chemicals, and a dust mask will prevent you from inhaling any dust or fumes.
2. Ensure proper ventilation: Work in a well-ventilated area to prevent the accumulation of fumes or vapors. Open windows and doors or use fans to circulate fresh air. Proper ventilation will minimize any potential health risks from chemicals or adhesives used during the removal process.
3. Use caution with sharp tools: Be careful when using sharp tools like a putty knife or scraper. Keep them away from children and use them with caution to avoid any injuries. Always cut away from your body and keep your fingers away from the blade.
4. Turn off power sources: If you’re removing a countertop near electrical outlets or appliances, ensure that the power is turned off before you start. This will prevent any electrical accidents or potential damage to appliances.
5. Use appropriate tools and equipment: Ensure that you have the right tools and equipment for the job. Using the wrong tools can make the removal process more difficult and increase the risk of accidents. Follow the manufacturer’s instructions and recommendations when choosing the tools and equipment you’ll need.
6. Protect surrounding surfaces: Cover surrounding surfaces and objects with plastic drop cloths or old sheets to protect them from any debris, dust, or damage. This will make the cleanup process easier and prevent any accidental damage to nearby objects.
7. Work at a comfortable height: If possible, set up your work area at a comfortable height to avoid strain or injuries. Use a worktable or support the countertop on sawhorses to ensure a comfortable working position.
8. Follow product instructions: If you’re using any chemical adhesive removers or cleaners, carefully read and follow the instructions provided by the manufacturer. Use them in a well-ventilated area and avoid contact with your skin or eyes.
9. Keep a fire extinguisher nearby: Although rare, it’s always a good idea to have a fire extinguisher within reach in case of any accidents or emergencies.
By following these safety precautions, you can minimize the risk of accidents or injuries during the removal process. Remember to work carefully, take breaks if needed, and ask for assistance if the countertop is heavy or difficult to handle. Now that you’re aware of the safety guidelines, you’re ready to proceed with the removal of the glued countertops.
Tools and Materials Needed
To successfully remove glued countertops, you’ll need the right tools and materials to make the process efficient and effective. Here is a list of the essential equipment you’ll need:
1. Putty knife or scraper: A sturdy putty knife or scraper is essential for loosening and removing the adhesive from the countertop surface. Look for a tool with a sharp edge and a comfortable handle grip.
2. Heat gun or hairdryer: A heat gun or hairdryer can be used to soften the adhesive, making it easier to remove. The heat will help to break down the bond between the adhesive and the countertop surface.
3. Adhesive remover: Depending on the type of adhesive used, you may need a specific adhesive remover to dissolve and remove any residual adhesive. Choose an adhesive remover that is suitable for the type of adhesive you’re dealing with.
4. Rubbing alcohol: Rubbing alcohol can be useful for removing any leftover adhesive residue and for cleaning the surface. It helps to dissolve the adhesive and leaves a clean, residue-free surface.
5. Clean rags or paper towels: Have some clean rags or paper towels on hand to wipe down the surface and remove any debris or adhesive residue. Make sure these are lint-free to avoid leaving behind any fibers.
6. Plastic drop cloth or old sheets: Use a plastic drop cloth or old sheets to protect the surrounding area from any debris or damage during the removal process. This will make the cleanup easier and prevent any accidental damage to nearby objects.
7. Safety goggles, gloves, and dust mask: Protect yourself by wearing safety goggles to shield your eyes from any debris, gloves to protect your hands, and a dust mask to prevent inhaling any dust or fumes. Ensure you use the appropriate safety gear throughout the entire removal process.
8. Power tools (if necessary): Depending on the size and type of countertop, you may need power tools such as a reciprocating saw or circular saw to help with cutting and removing the countertop more efficiently. Ensure you are familiar with how to use these tools safely.
9. Scraping or sanding tools (if needed): In some cases, you may need additional scraping or sanding tools to remove stubborn adhesive residue. These tools can help to smooth out the surface after removing the countertop.
10. Cleaning supplies: Have some general cleaning supplies on hand, such as all-purpose cleaner or vinegar, to thoroughly clean the surface after the removal process. This will ensure a clean and ready surface for the installation of new countertops.
Before starting the removal process, make sure you have gathered all the necessary tools and materials. Having them readily available will make the process smoother and more efficient. Remember to use caution when handling sharp tools and to follow the manufacturer’s instructions for any adhesive removers or cleaning products. With the right tools and materials, you’ll be well-prepared to remove the glued countertops successfully.
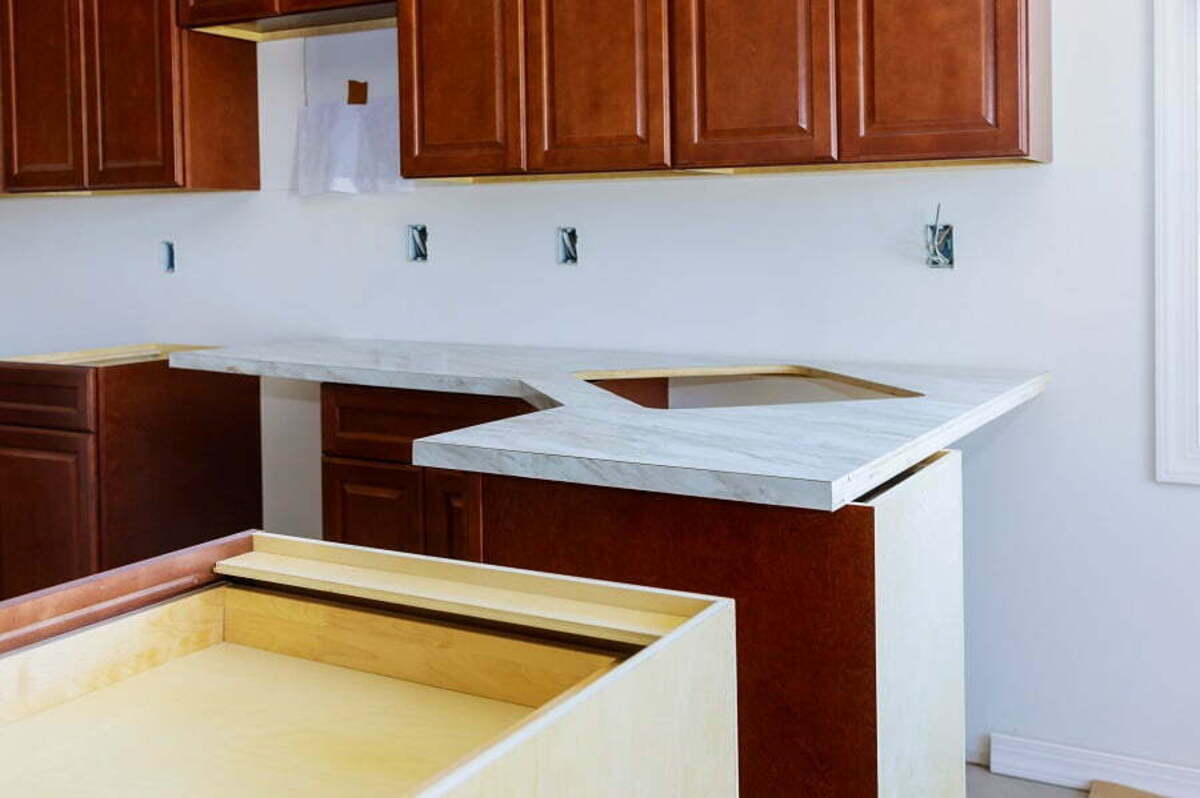
Step 1: Assess the Countertop
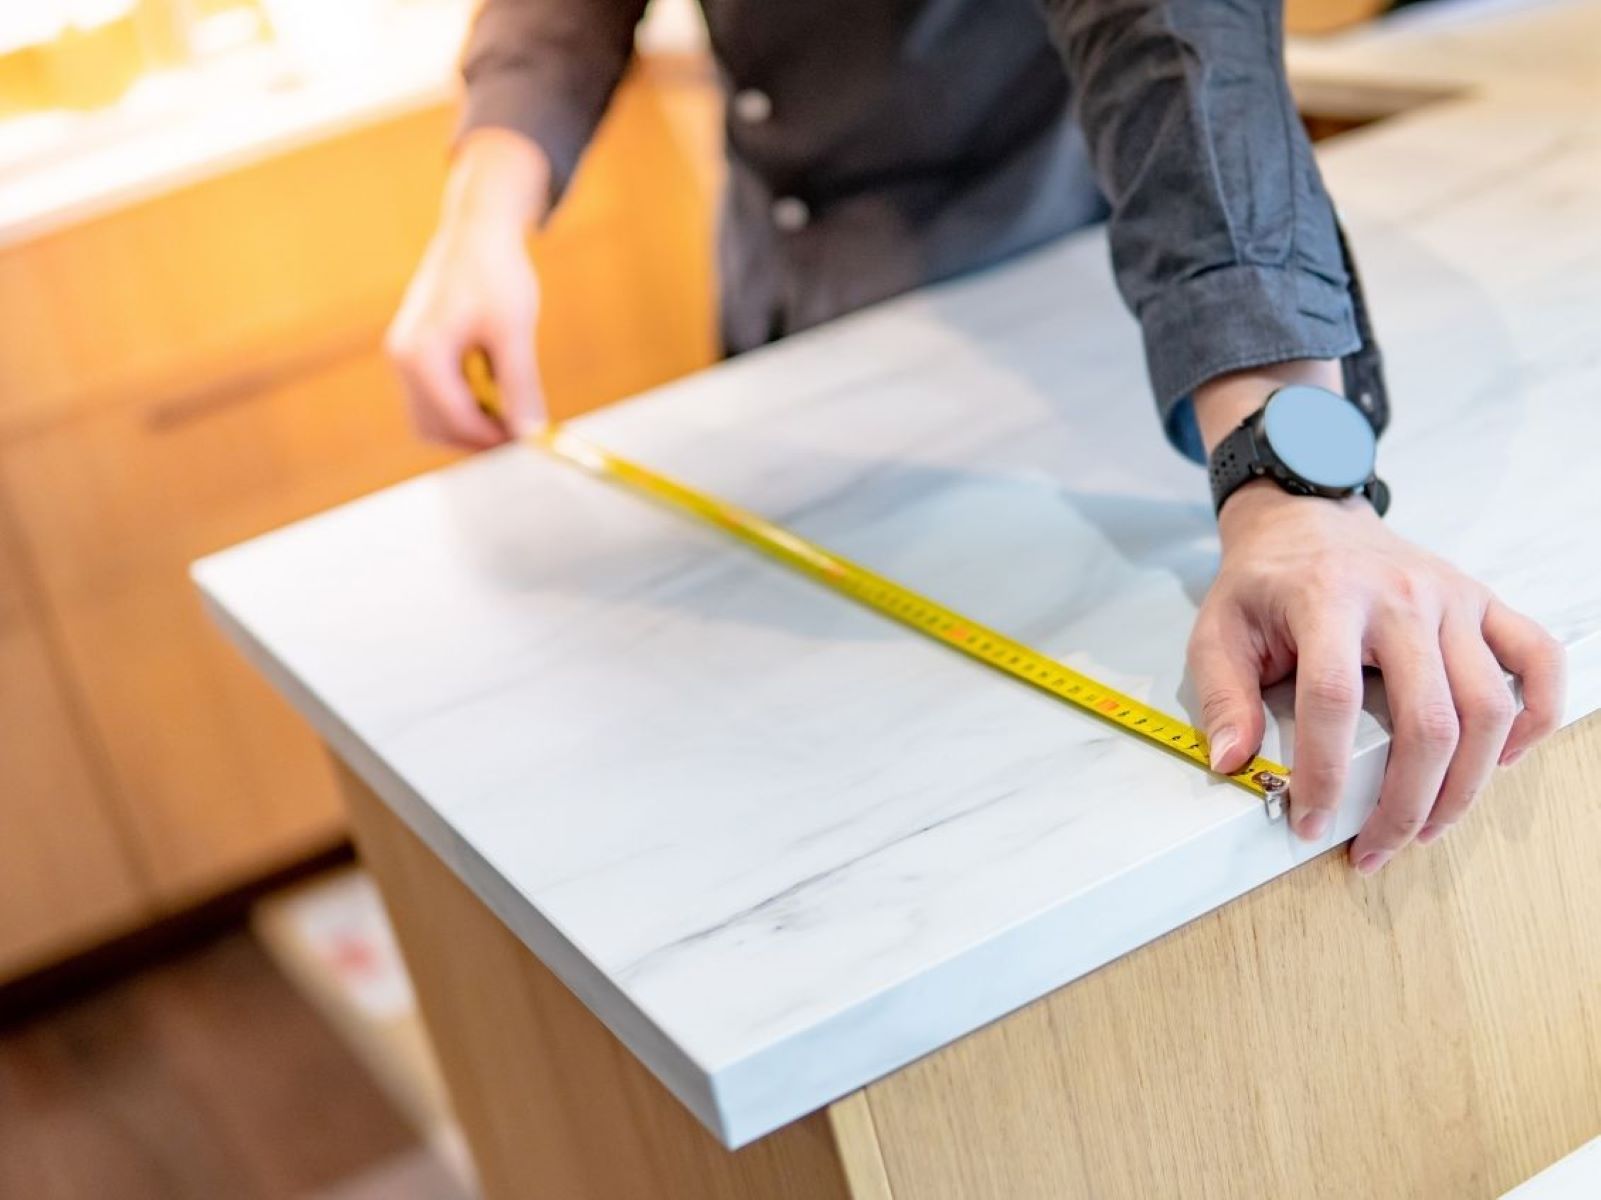
Before diving into the removal process, it’s essential to assess the countertop you’ll be working on. Understanding the type of countertop material and the adhesive used will help you determine the best approach for removing it. Here are the key factors to consider during the assessment:
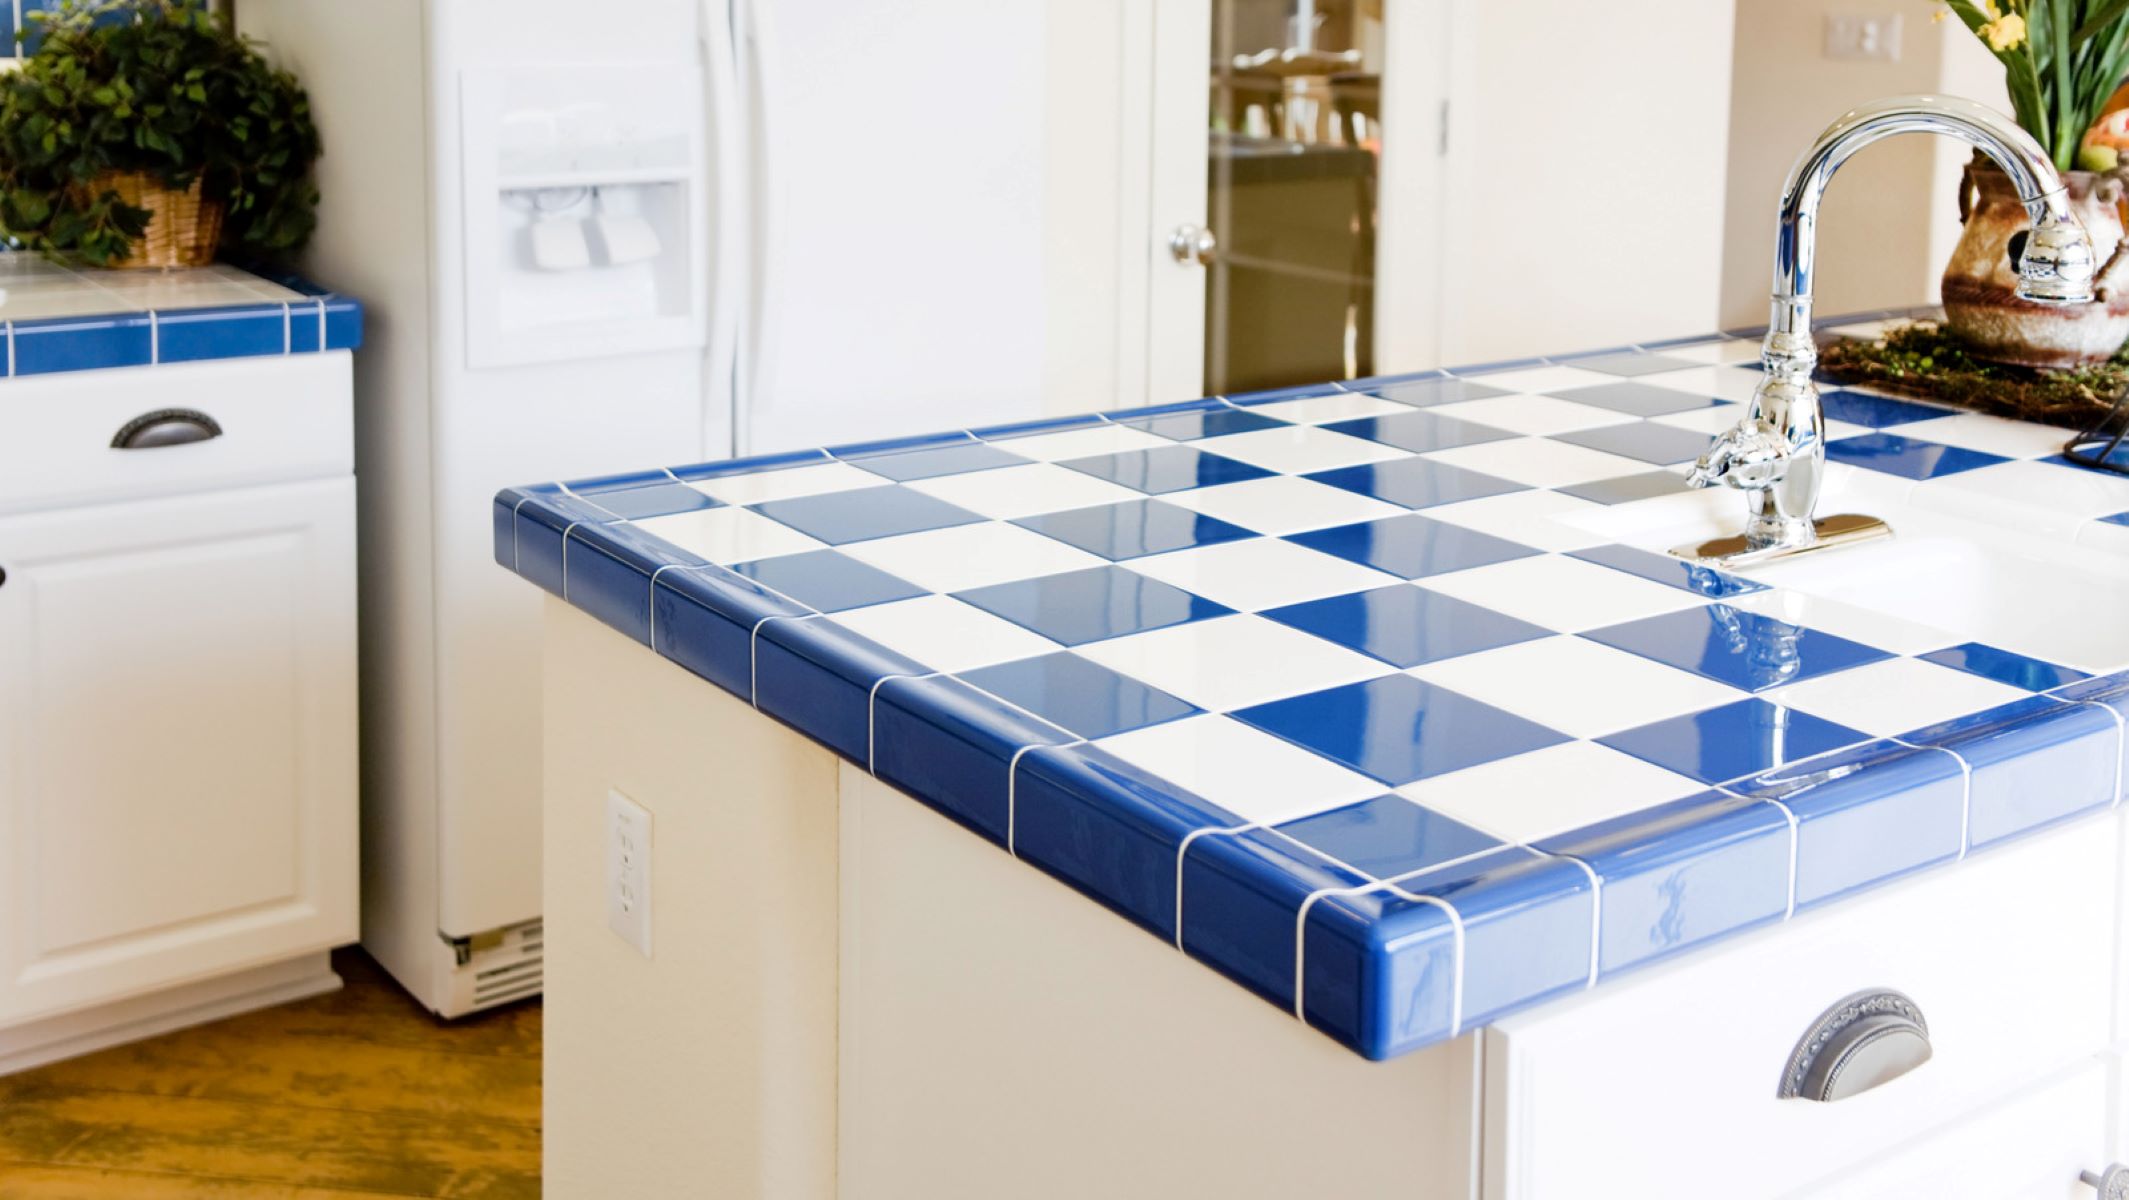
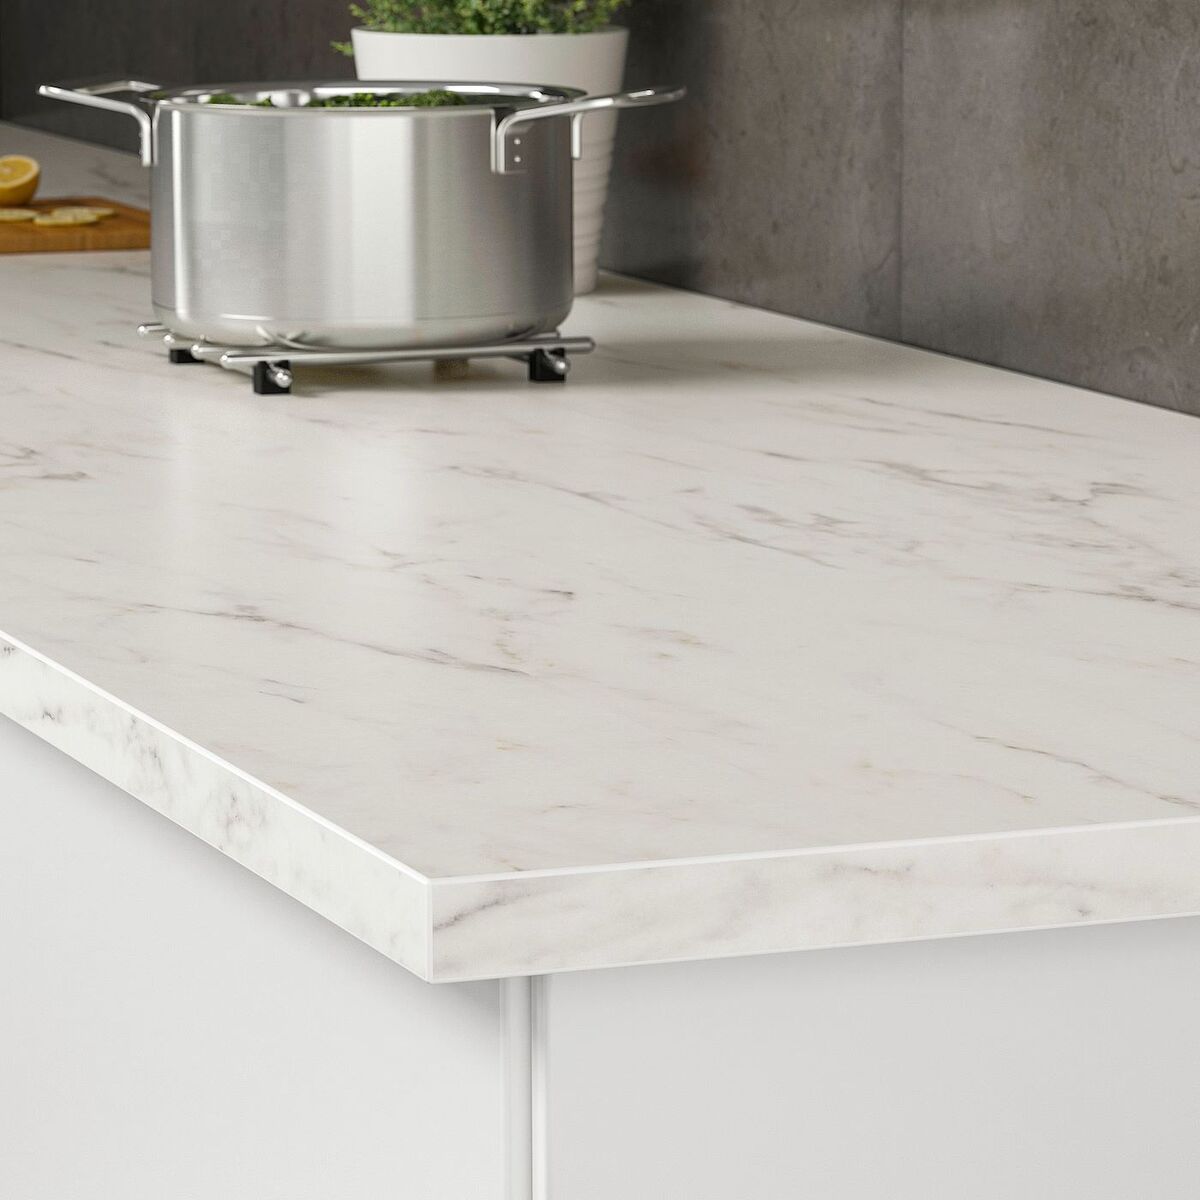
1. Countertop material: Identify the material of the countertop. Is it laminate, granite, quartz, or another type? Different materials may require different removal techniques and tools. For example, laminate countertops are typically easier to remove than stone countertops.
2. Adhesive type: Determine the type of adhesive used to secure the countertop. Common adhesive types include construction adhesive, epoxy, or silicone. Knowing the adhesive type is crucial as it will guide you in selecting the appropriate removal methods and products.
3. Assess the condition: Inspect the overall condition of the countertop. Are there any cracks, chips, or damages? Note these down as they may affect the removal process or require additional repair work.
4. Accessibility: Assess how the countertop is installed and connected to the cabinets or base. Are there any screws, brackets, or additional supports holding it in place? Understanding the installation method will help you plan the removal process accordingly.
5. Size and weight: Consider the size and weight of the countertop. Larger and heavier countertops may require additional assistance or specialized lifting equipment to ensure safe removal. Make sure you have the necessary manpower and equipment available if needed.
6. Time and budget: Evaluate the time and budget you have allocated for the removal process. Some removal methods may be more time-consuming or require additional tools or professional assistance. Consider these factors when deciding on the best approach.
By thoroughly assessing the countertop, you’ll have a clearer understanding of its composition, condition, and specific requirements for removal. This knowledge will guide your strategy and help prevent any unexpected complications during the removal process. Once you have assessed the countertop, you can move on to the next step: preparing the work area.
Use a heat gun or hairdryer to soften the glue, then carefully pry the countertop away using a putty knife. Be patient and work slowly to avoid damaging the surface.
Step 2: Prepare the Work Area
Properly preparing the work area is essential before you start removing the glued countertop. Taking the time to prepare will ensure a smoother process and protect the surrounding surfaces and objects from any damage. Follow these steps to prepare the work area effectively:
1. Clear the workspace: Remove any items from the countertop and the surrounding area. This includes appliances, cookware, utensils, and decorative items. Clearing the workspace will give you ample room to work and reduce the risk of items getting in your way or being damaged during the removal process.
2. Protect surrounding surfaces: Cover nearby surfaces with a plastic drop cloth or old sheets to protect them from debris, dust, or any accidental damage. This is especially important if you’re using power tools or applying adhesive removers that may splatter or drip.
3. Shut off utilities: If you’re working in the kitchen, turn off the water supply to the sink and disconnect any plumbing connections to ensure no water damage occurs during the removal process. If you’re working in the bathroom, shut off the water supply to the faucets and disconnect any plumbing connections as well.
4. Use a drop cloth for flooring: Lay down a drop cloth or thick plastic sheeting on the floor beneath the countertop to catch any debris or adhesive residue that may fall during removal. This will make cleanup easier and protect your flooring from any potential damage.
5. Secure cabinets and drawers: If the countertop is attached to cabinets or drawers, make sure they are securely closed or locked to prevent accidents or damage during the removal process. Secure any loose or unstable cabinets to provide stability while removing the countertop.
6. Consider ventilation: Ensure that the work area is well-ventilated by opening windows, using fans, or using an exhaust system. Adequate ventilation will help dissipate any fumes or odors from adhesive removers or cleaning products, ensuring a safe and comfortable working environment.
7. Gather tools and materials: Ensure all the necessary tools and materials needed for the removal process are readily available. This includes your putty knife or scraper, heat gun or hairdryer, adhesive remover, rubbing alcohol, clean rags or paper towels, and any other items specific to your countertop’s removal requirements.
Taking the time to properly prepare the work area will make the removal process more efficient, protect your belongings and surfaces, and minimize the risk of accidents. Once the work area is prepared, you can move on to the next step: loosening the countertop.
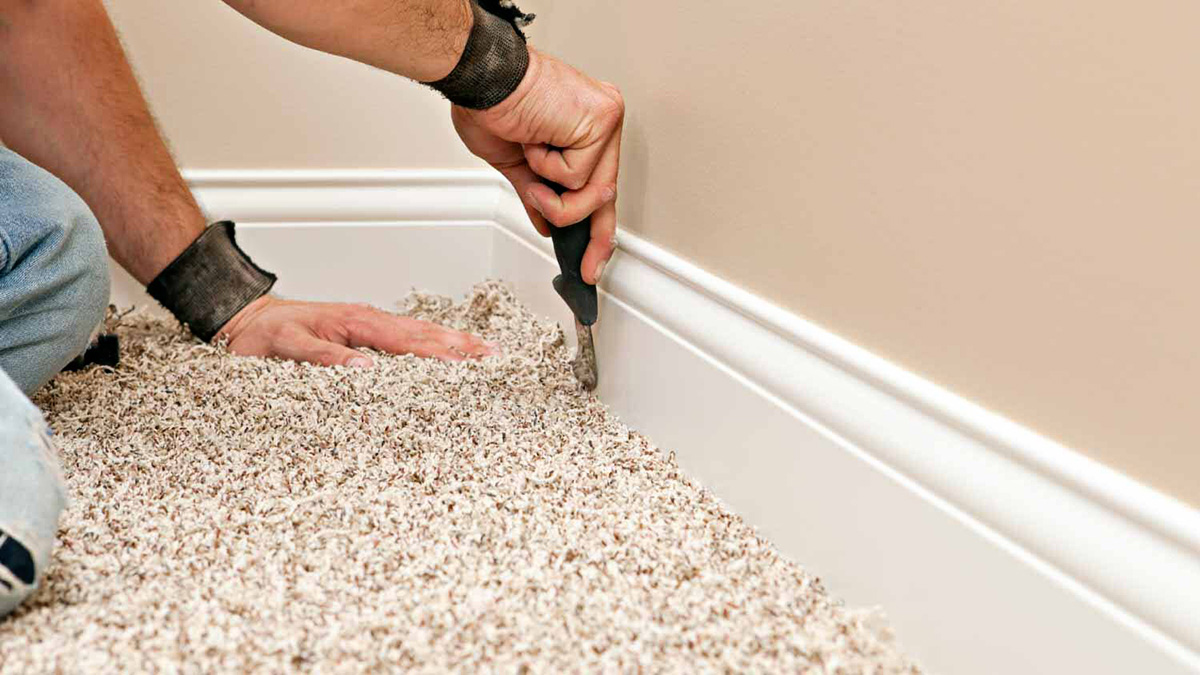
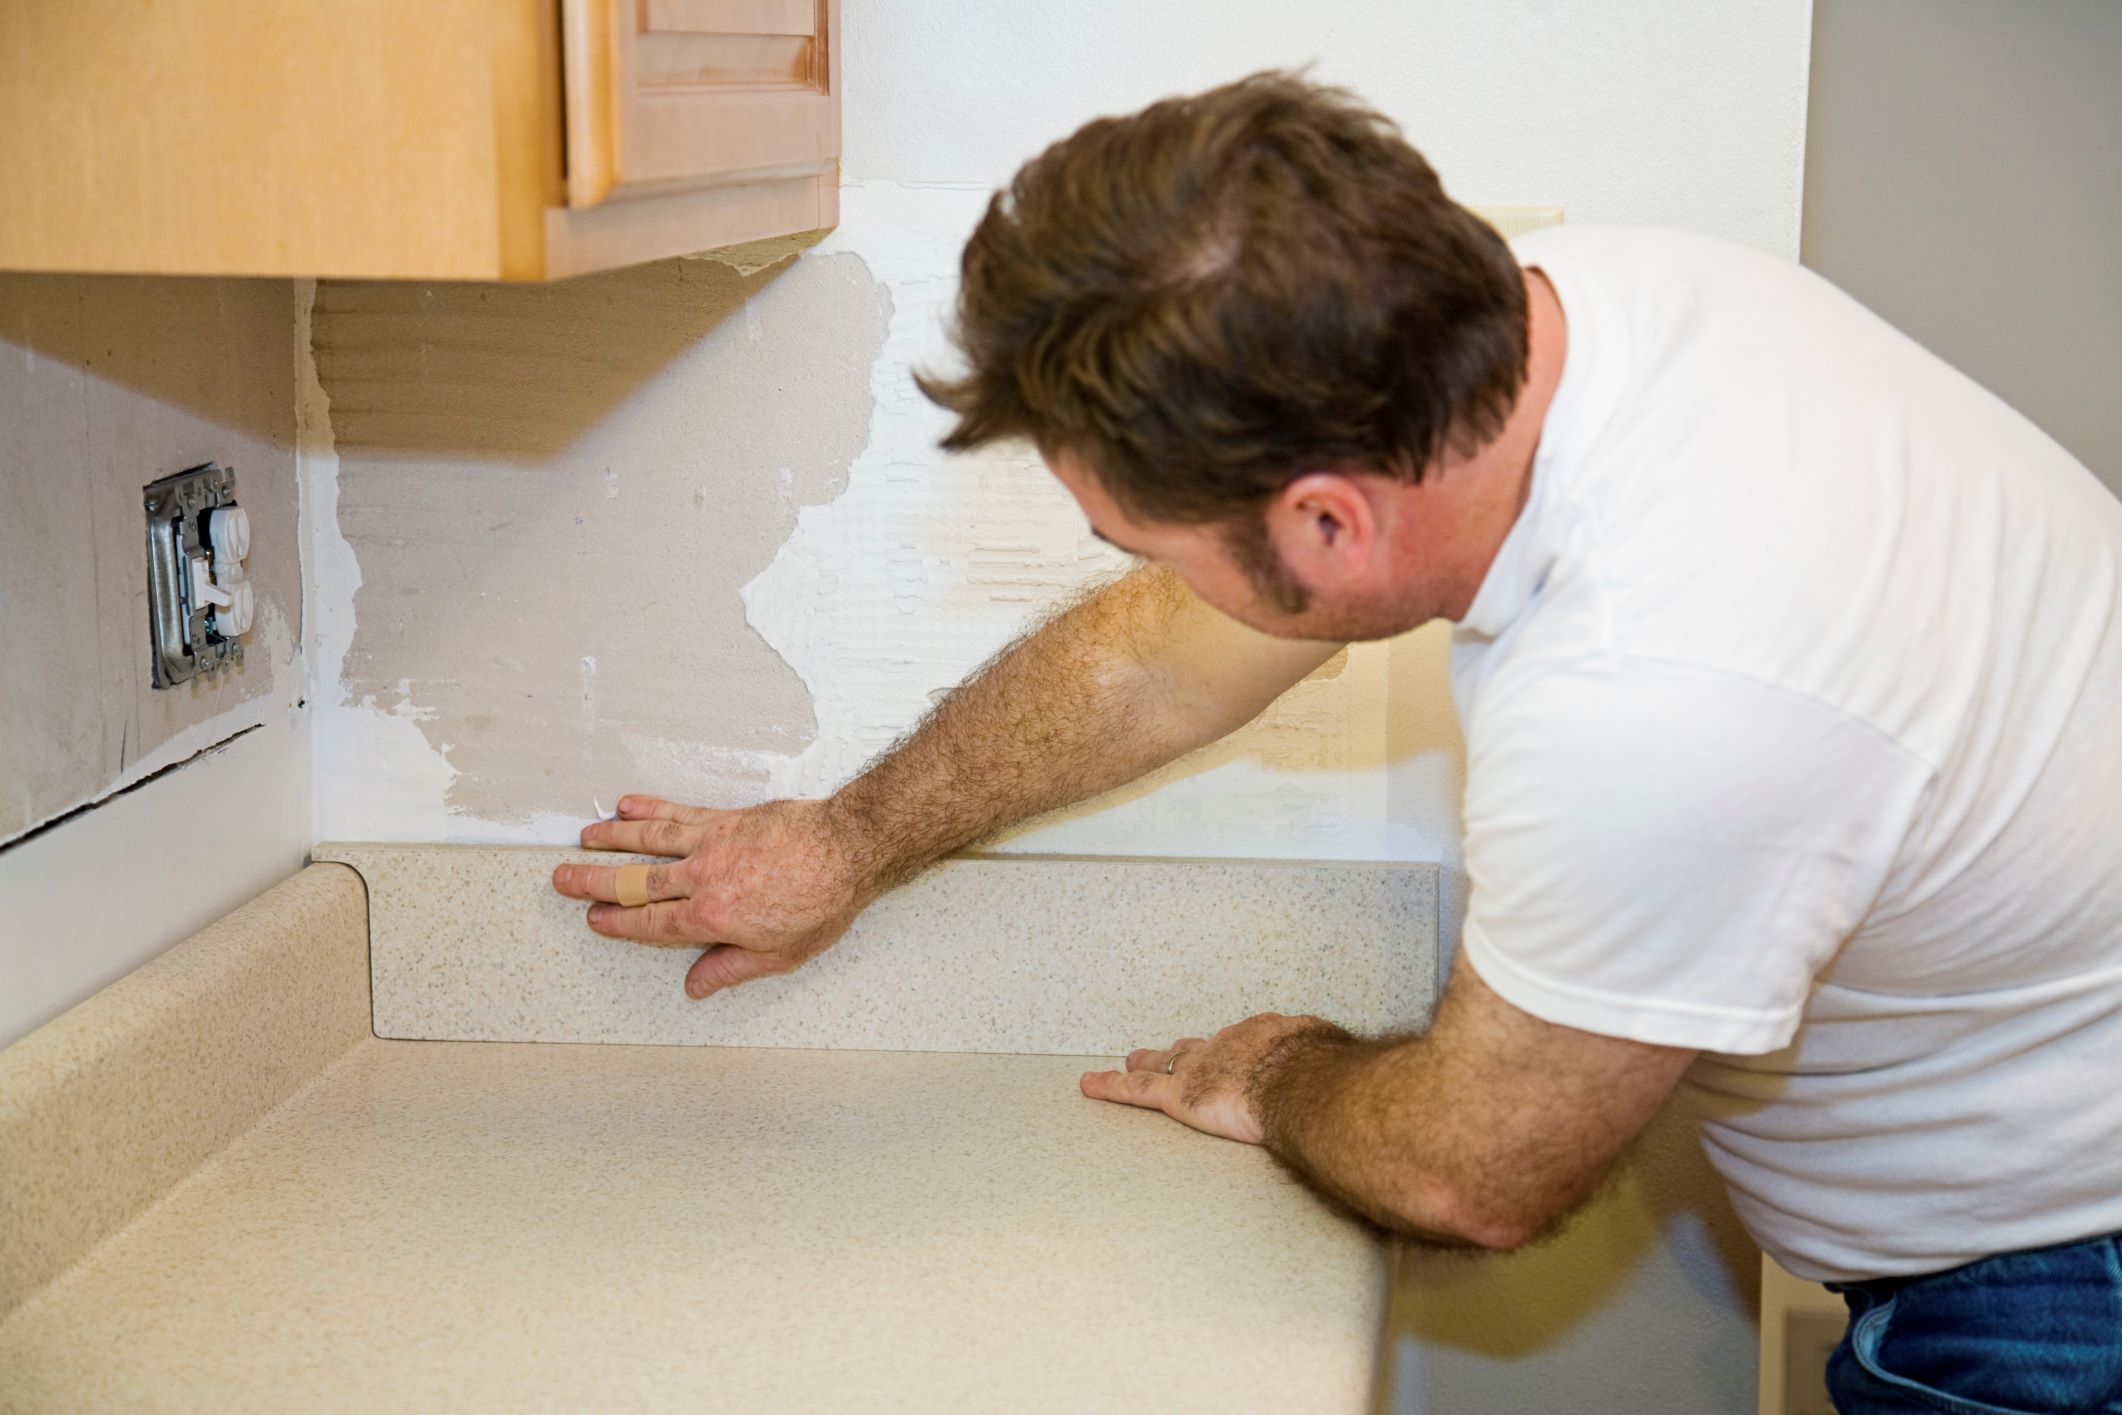
Step 3: Loosen the Countertop
Now that you have assessed the countertop and prepared the work area, it’s time to loosen the countertop from its adhesive bond. This step requires patience and careful handling to avoid any damages. Follow these steps to effectively loosen the countertop:
1. Start at the seams: Identify the seams or joints where the different sections of the countertop meet. This is usually where the adhesive bond is weaker. Begin by focusing your efforts on these areas to loosen the countertop from the adhesive.
2. Apply heat: Use a heat gun or hairdryer on a low setting to warm up the adhesive. Direct the heat towards the seams, edges, and any areas where the adhesive is visible. The heat helps soften the adhesive, making it easier to loosen.
– Caution: Be careful not to apply too much heat or hold the heat source too close to the countertop, as it can damage the surface or surrounding materials.
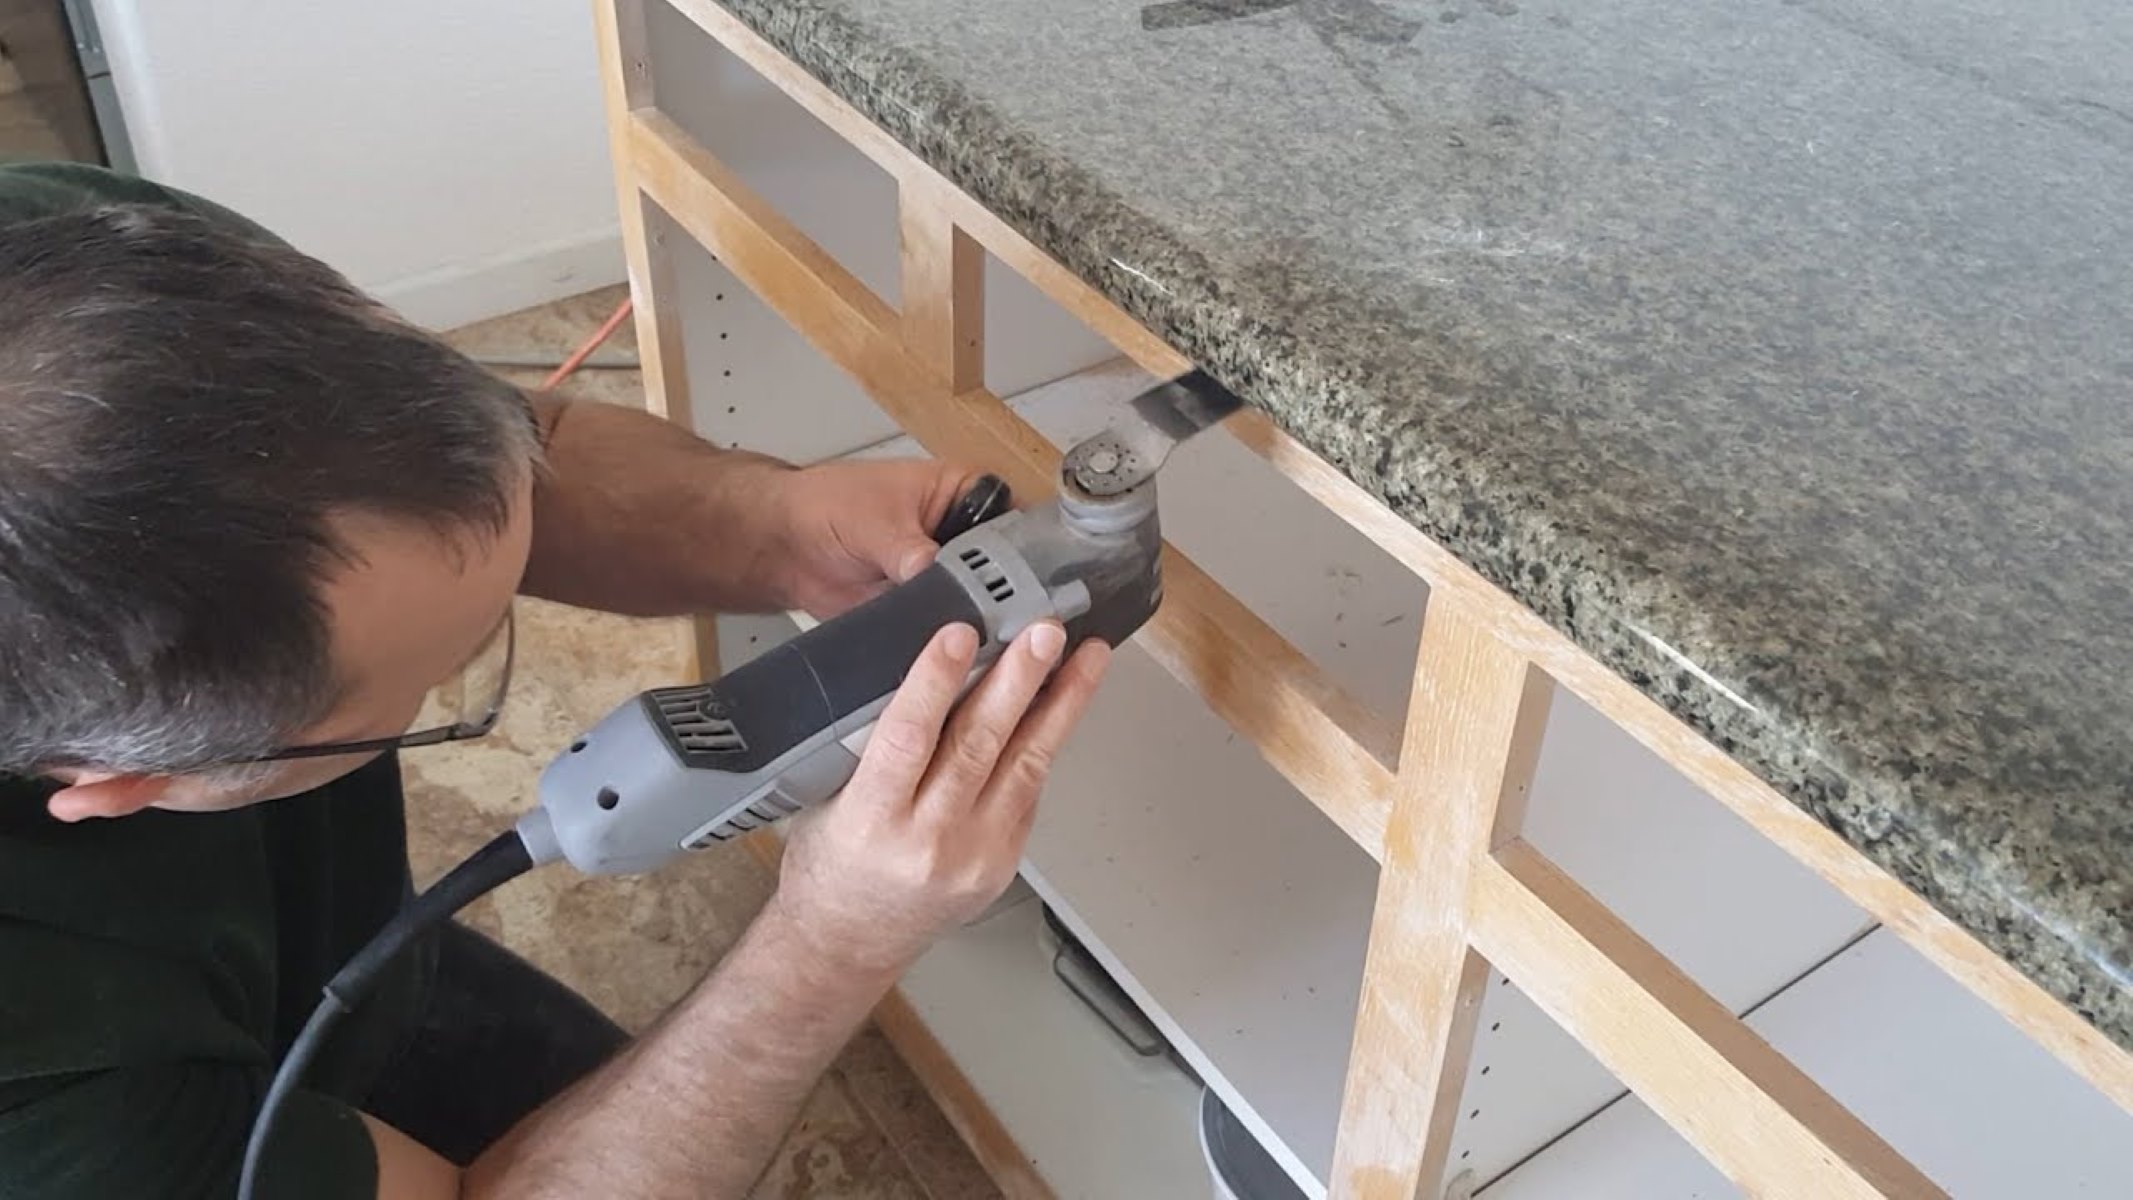
3. Insert a putty knife or scraper: Once the adhesive has been warmed up, gently insert a putty knife or scraper into the seam or joint. Use a back-and-forth motion to slowly pry the countertop away from the adhesive. Work your way along the seams, gradually loosening the entire surface.
– Tip: If the countertop is larger or heavier, it may be helpful to have an extra set of hands to assist you in supporting and lifting as you loosen the adhesive.
4. Use leverage: If the countertop is stubborn and resistant to prying, use leverage to your advantage. Insert the putty knife or scraper at an angle and apply gentle pressure while pushing down and away from the surface. This technique helps leverage the adhesive bond and loosens the countertop gradually.
5. Repeat the process: Continue applying heat, inserting the putty knife or scraper, and using leverage until the entire countertop is loosened from the adhesive. Take your time in this step to ensure the countertop is adequately separated without causing any damages.
6. Lift and remove the countertop: Once the countertop is loosened, carefully lift it up and away from the cabinets or base. Enlist the help of additional people if needed, especially if the countertop is large or heavy. Ensure a safe and controlled lift to avoid any injuries or damages.
– Tip: If there are any wiring or plumbing connections attached to the countertop, disconnect them carefully before lifting to avoid snagging or causing damage.
By following these steps, you can effectively loosen the countertop from the adhesive bond. Remember to work slowly and be patient, ensuring that you maintain a steady and controlled effort. Once the countertop is successfully loosened, you can move on to the next step: removing adhesive residue.
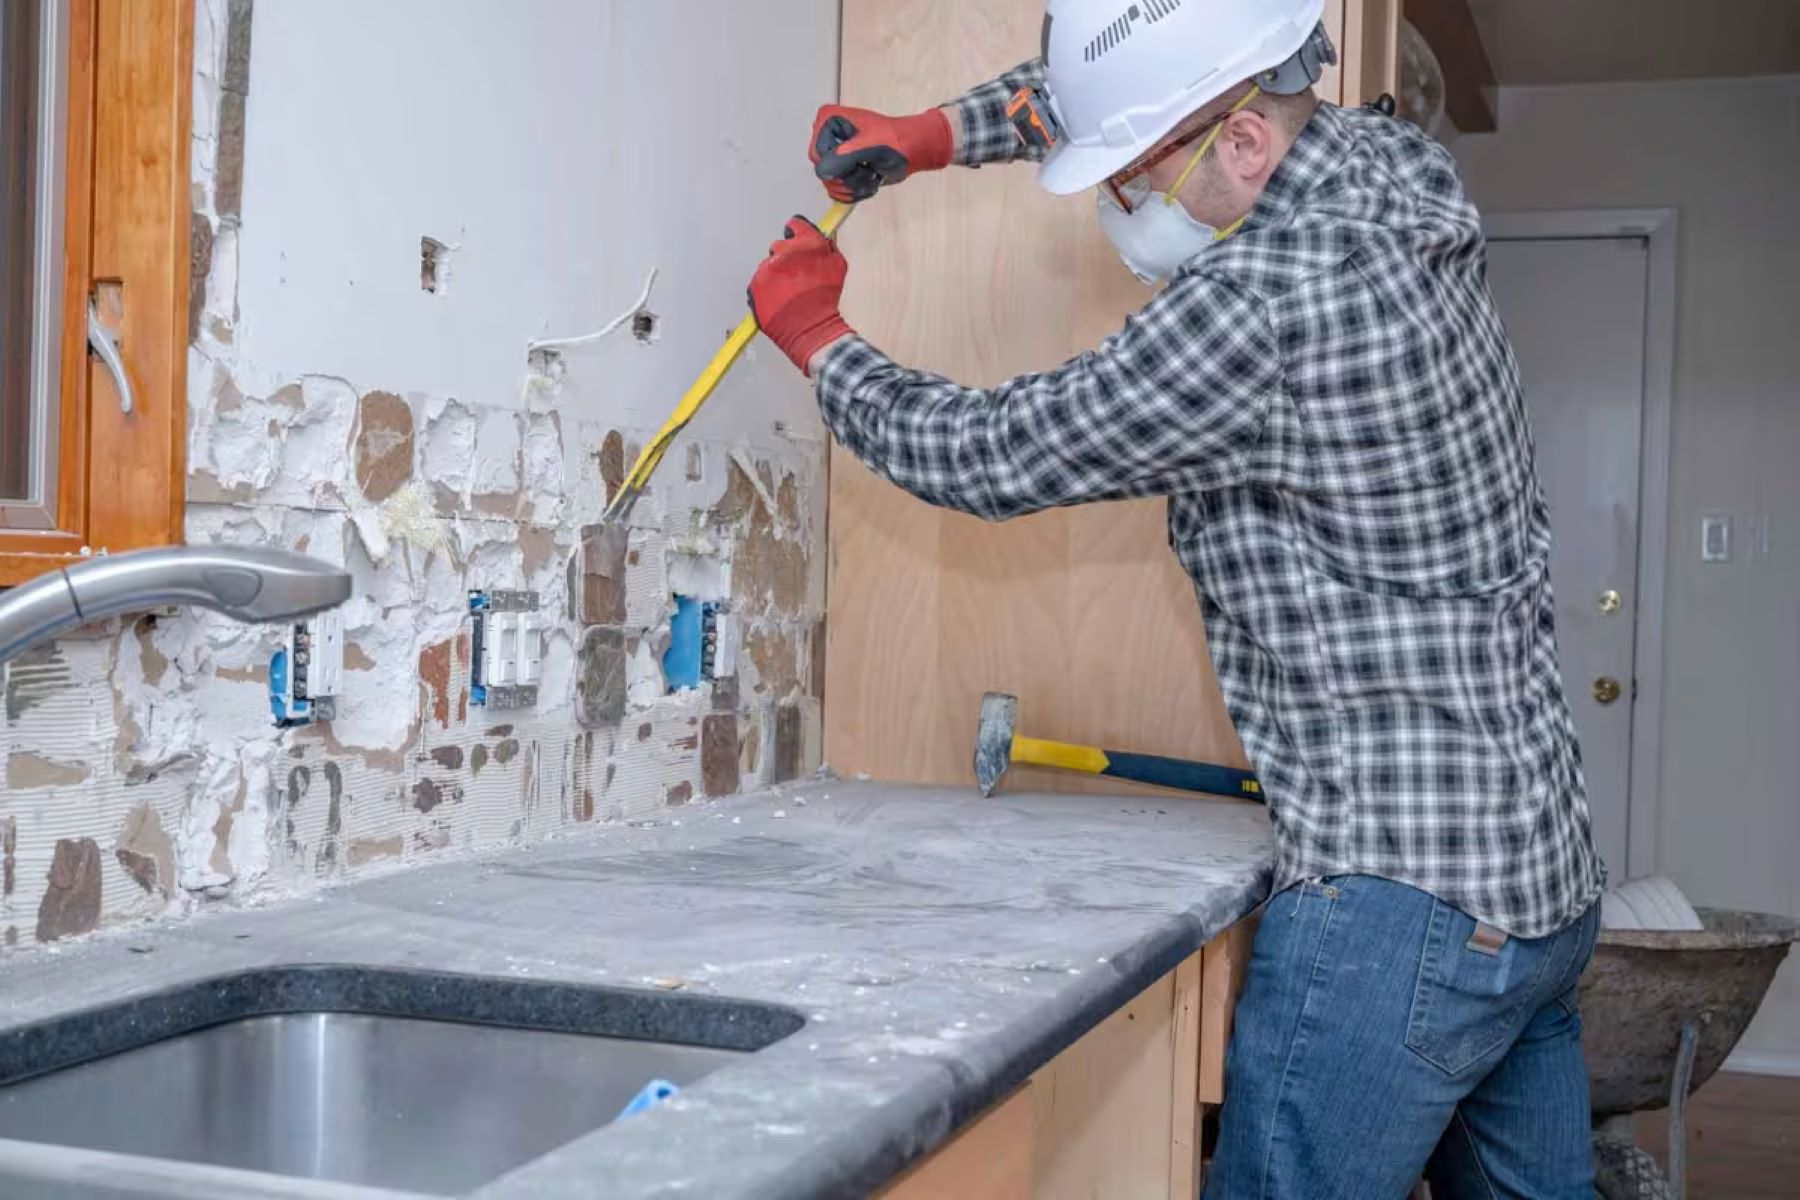
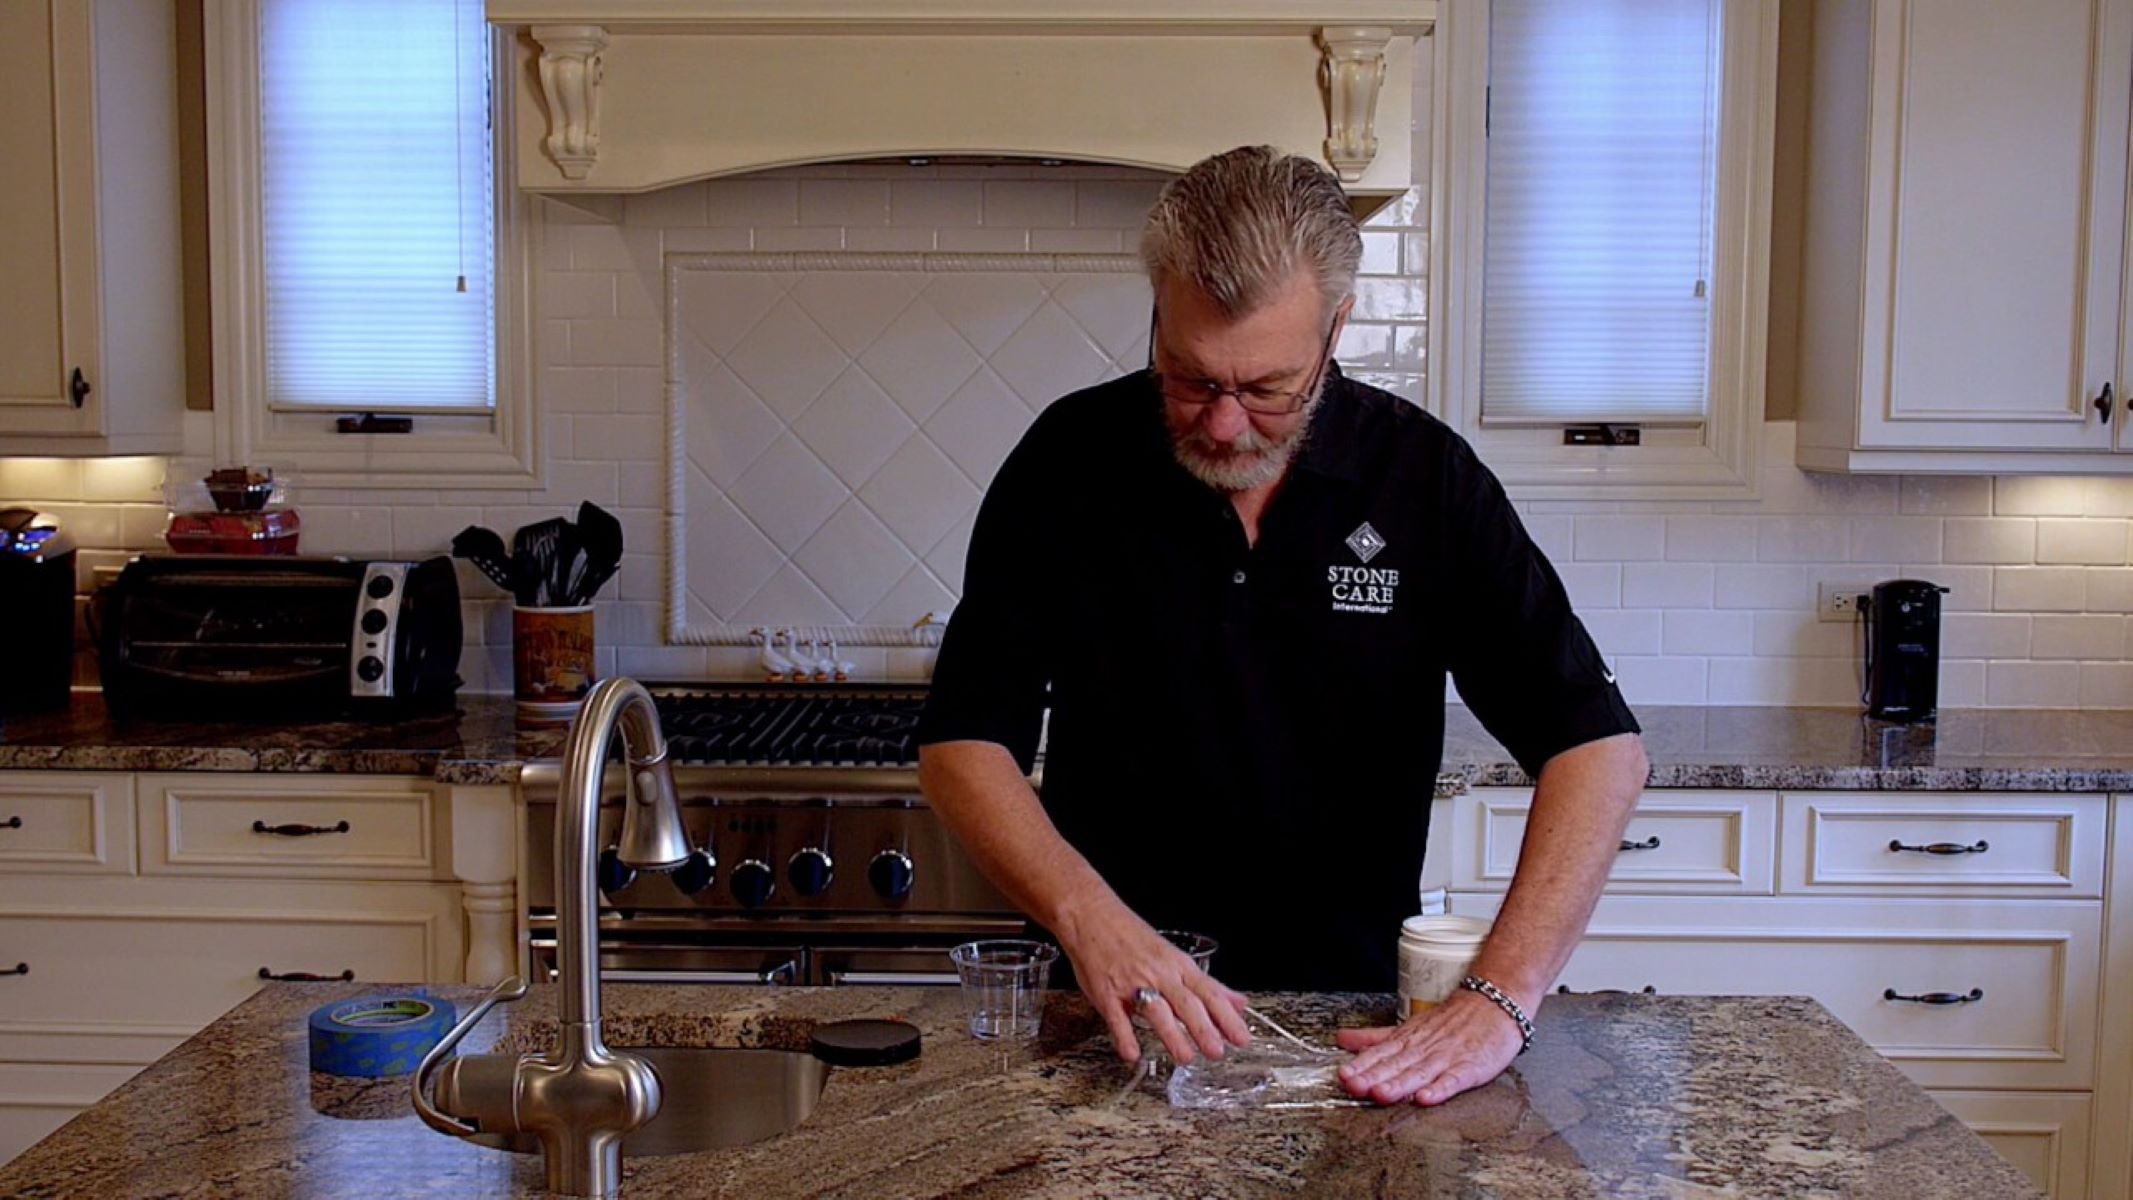
Step 4: Remove Adhesive Residue
After you have successfully loosened and removed the countertop, it’s time to address any adhesive residue left behind on the surface. Removing the adhesive residue is crucial to ensure a clean and smooth surface for your new countertop installation. Here’s how you can effectively remove adhesive residue:
1. Scrape off excess adhesive: Use a putty knife or scraper to gently scrape off any visible excess adhesive from the countertop surface. Be careful not to apply too much pressure or scratch the surface, especially if you’re working with a delicate material like granite or quartz.
– Tip: If the adhesive is particularly stubborn, you can soften it by applying heat using a heat gun or hairdryer on a low setting. This will make it easier to scrape off the residue.
2. Apply an adhesive remover: Depending on the type of adhesive used, apply an appropriate adhesive remover to dissolve the residue. Follow the manufacturer’s instructions for the specific adhesive remover you’re using. Apply the remover directly on the residue and let it sit for the recommended amount of time.
– Caution: Ensure that the room is well-ventilated while using adhesive removers, as they may emit strong fumes. Wear gloves and follow safety precautions mentioned on the product label.
3. Gently scrub the residue: Once the adhesive remover has had time to work, use a clean rag or a soft-bristle brush to gently scrub the residue. Work in small circular motions and apply moderate pressure to avoid damaging the countertop surface.
– Tip: If the residue is particularly stubborn, you can use a plastic scraper or a nylon scouring pad. Be gentle and avoid using abrasive materials that may scratch the surface.
4. Repeat the process if necessary: In some cases, a single application of adhesive remover may not completely remove all the residue. If there are still traces of adhesive remaining, repeat the process of applying the adhesive remover and scrubbing gently until the residue is fully removed.
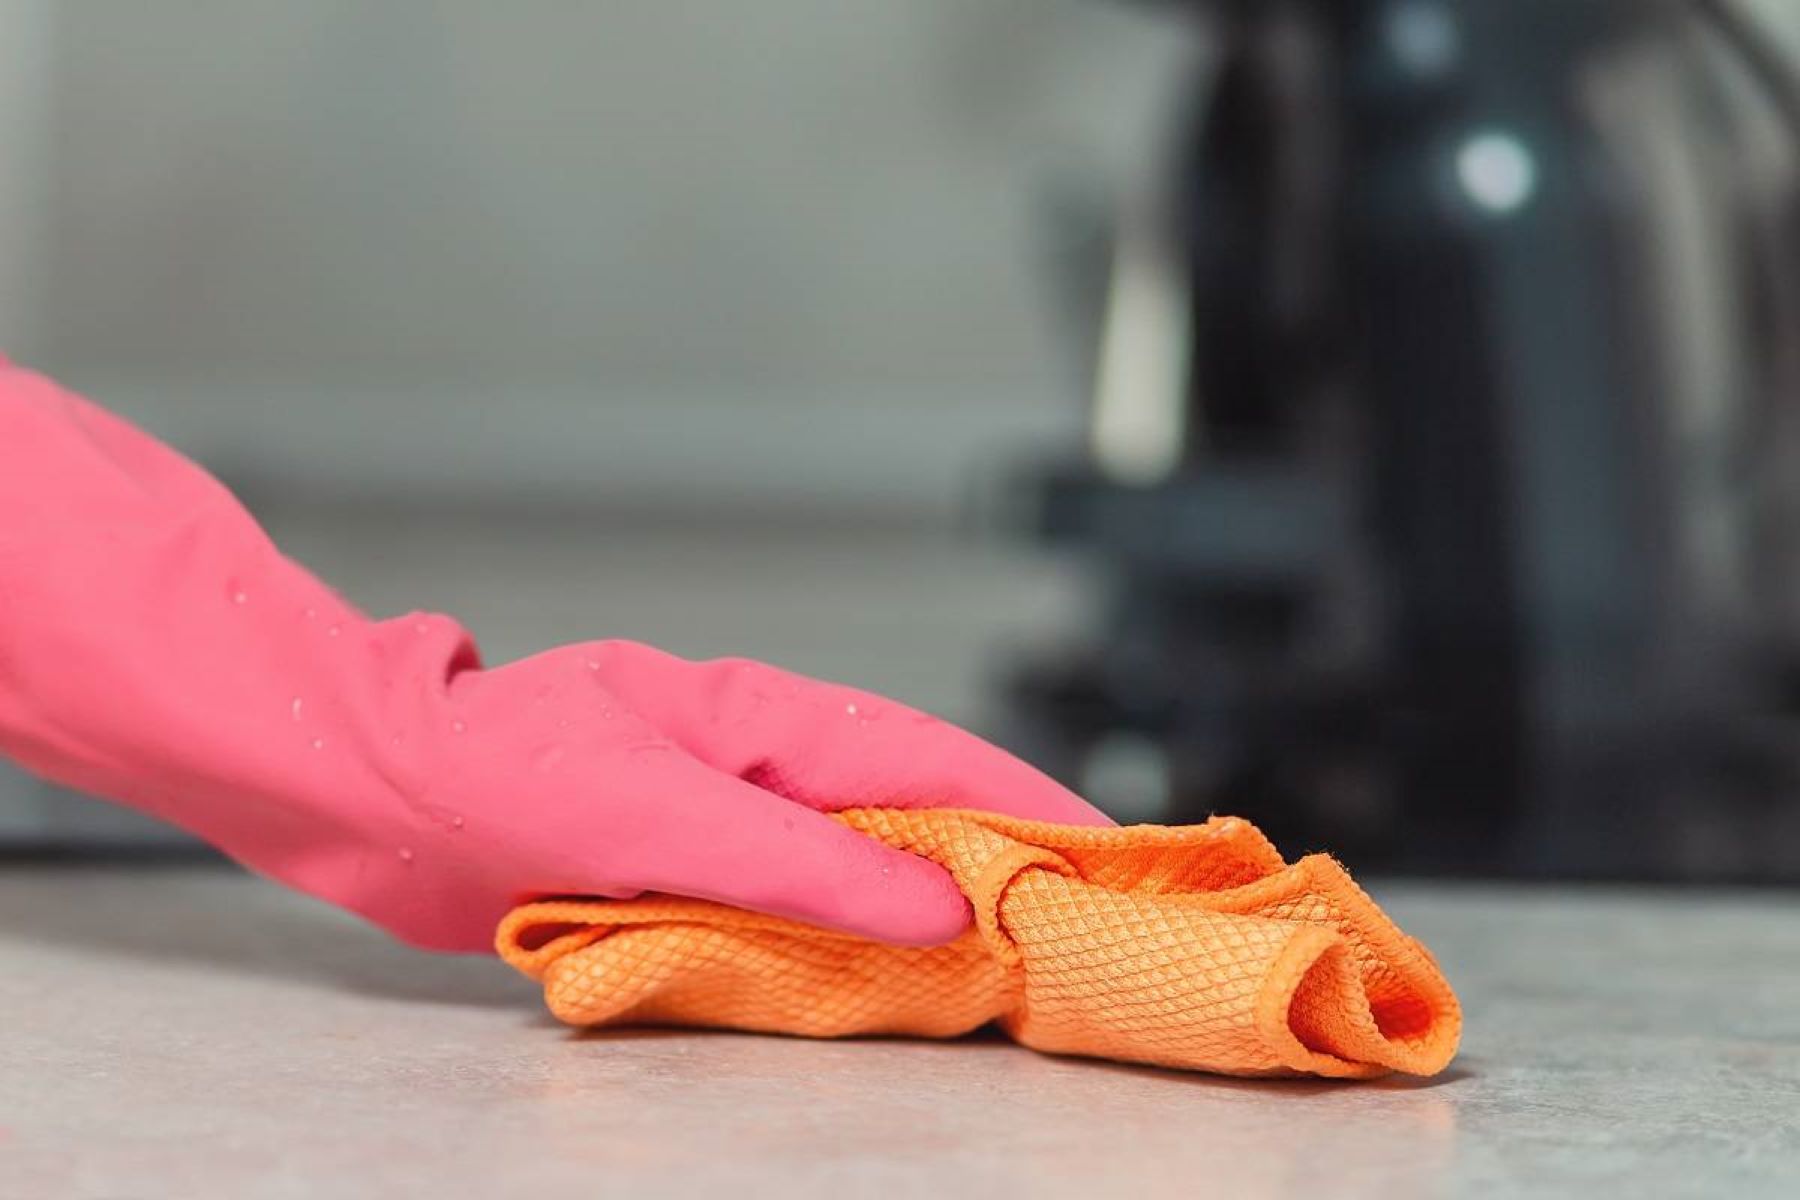
5. Clean the surface: Once the residue is removed, thoroughly clean the countertop surface. Use a mixture of warm water and mild dish soap to clean the area. Wipe down the surface with a clean cloth or sponge, rinsing it regularly to remove any soap residue.
6. Wipe with rubbing alcohol: For a final touch, dampen a clean cloth with rubbing alcohol and wipe down the surface to ensure any remaining residue or film is removed. This will leave behind a clean and adhesive-free surface.
By following these steps, you can effectively remove adhesive residue from the countertop surface. Take your time and be gentle to avoid any damage. Once the surface is clean and adhesive-free, you’re ready to move on to the next step: cleaning the entire area.
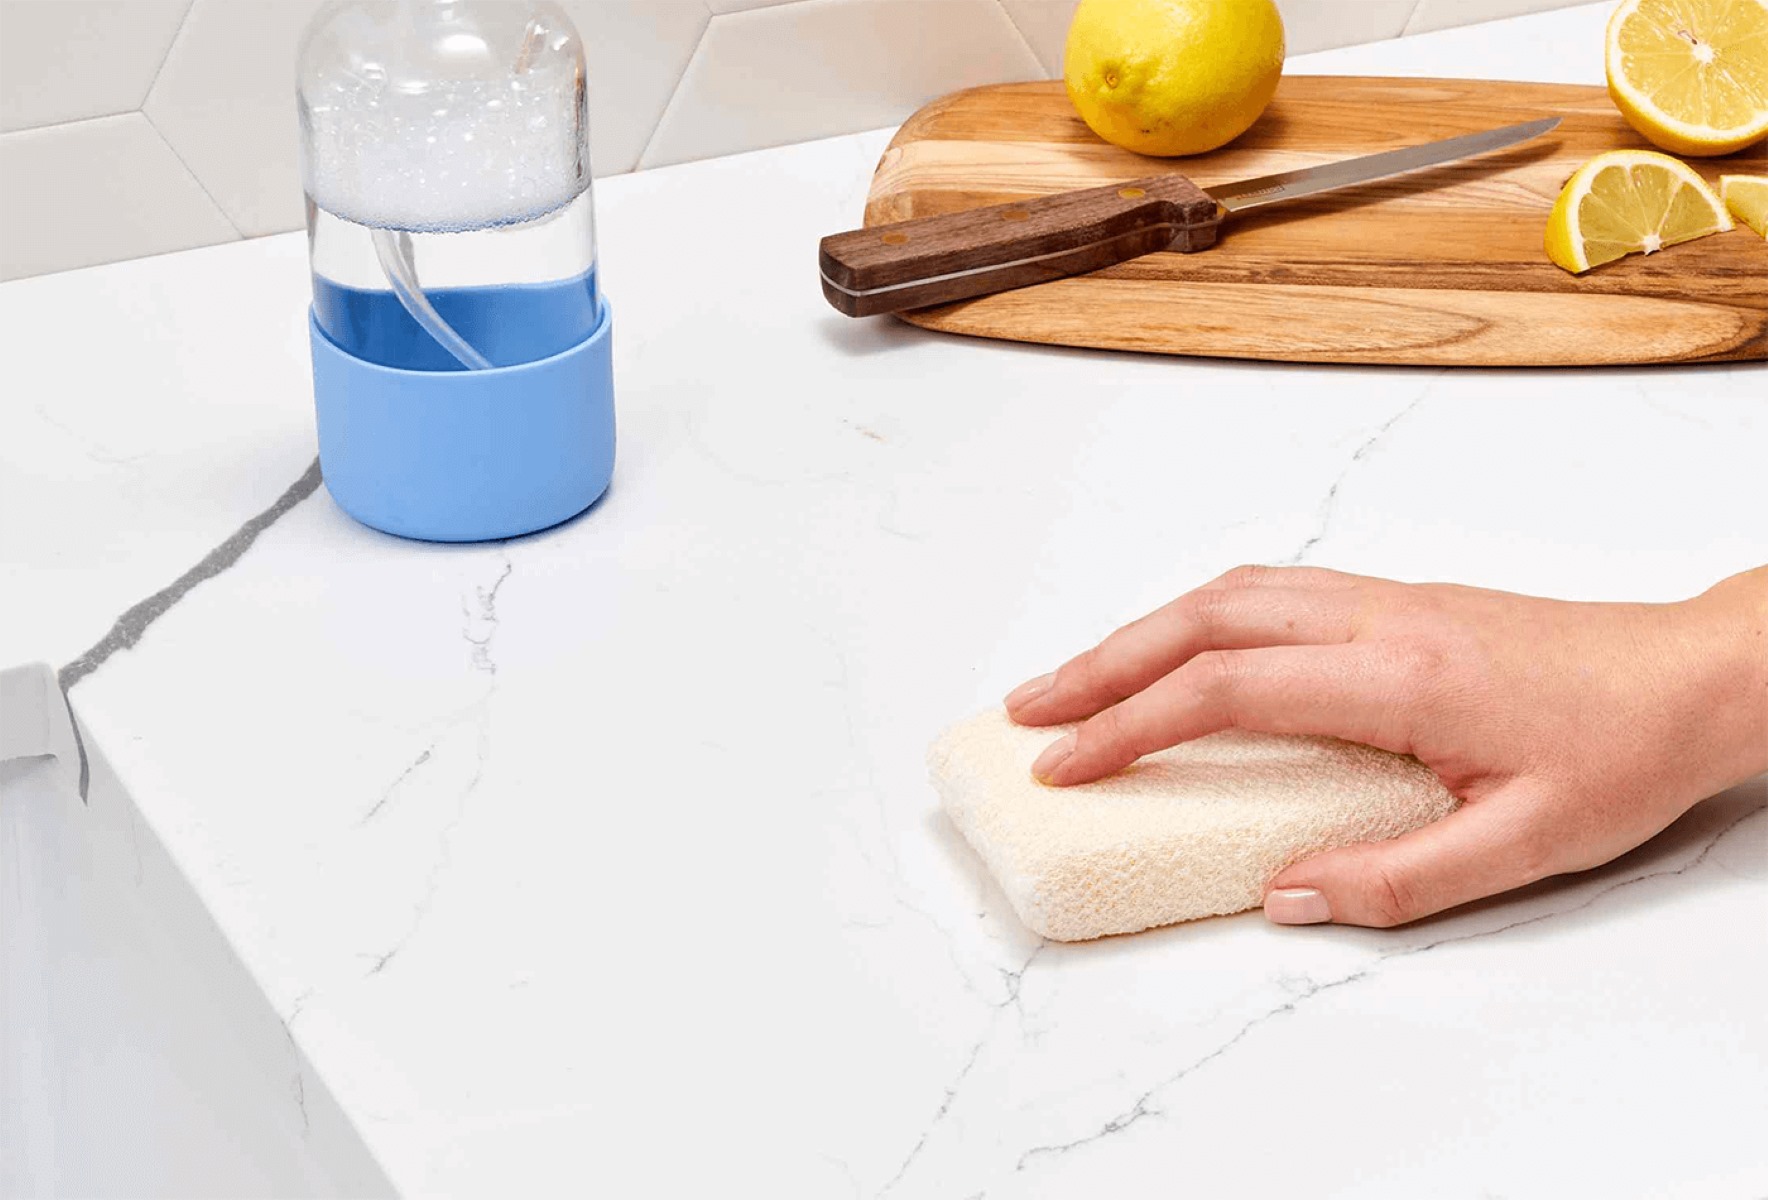
Step 5: Clean the Surface
After removing the adhesive residue from the countertop, it’s important to thoroughly clean the surface to ensure it is ready for the installation of your new countertop. Cleaning the surface will remove any remaining debris, dust, or cleaning products, leaving you with a fresh and pristine space. Follow these steps to effectively clean the countertop surface:
1. Remove any loose debris: Start by using a soft brush or a damp cloth to remove any loose debris or dust from the countertop surface. This will prevent any particles from interfering with the cleaning process.
2. Prepare a cleaning solution: Depending on the material of your countertop, prepare a suitable cleaning solution. For most countertops, a mixture of warm water and mild dish soap will suffice. Avoid using abrasive cleaners or harsh chemicals that may damage the surface.
3. Clean the surface: Dip a clean cloth or sponge into the cleaning solution and gently wipe down the entire countertop surface. Work in small sections, applying moderate pressure to remove any stains, grease, or grime. Rinse the cloth or sponge regularly to avoid spreading dirt or residue.
4. Pay attention to seams and edges: Use a soft-bristle brush or an old toothbrush to clean hard-to-reach areas such as seams, edges, or corners. These areas can accumulate dirt and debris, so take your time to ensure they are thoroughly cleaned.
5. Rinse the surface: Once you have cleaned the entire countertop, rinse it thoroughly with clean water. Use a clean cloth or sponge to wipe away any remaining soap residue.
6. Dry the surface: After rinsing, use a clean, dry cloth or paper towels to dry the countertop surface. This will help prevent water spots or streaks from forming and ensure a clean, polished finish.
7. Inspect the surface: Take a moment to inspect the cleaned surface for any remaining stains, residue, or areas that may require additional cleaning. If needed, repeat the cleaning process in those specific areas until you are satisfied with the cleanliness of the surface.
By following these steps, you can effectively clean the countertop surface and ensure it is ready for the installation of your new countertop. Remember to use gentle cleaning techniques and avoid using abrasive materials or harsh chemicals that may damage the surface. Once the surface is completely clean and dry, you’re ready to move on to the final step: finishing touches.
Step 6: Finishing Touches
After removing the glued countertop, removing adhesive residue, and cleaning the surface, it’s time to add the finishing touches to complete the process effectively. These final steps ensure that your newly installed countertop will have a polished and professional appearance. Follow these steps to add the finishing touches:
1. Smooth out any imperfections: Inspect the countertop surface for any remaining imperfections, such as scratches or uneven areas. If you notice any rough spots or minor damages, use a fine-grit sandpaper or scouring pad to gently smooth them out. Be careful not to apply too much pressure or sand too aggressively to avoid further damage.
2. Repair any damage: If there are more significant damages, such as chips or cracks on the surface, consider repairing them before proceeding. Depending on the countertop material, there may be specific repair kits or methods available. Follow the manufacturer’s instructions to effectively repair any damages.
3. Apply a sealant (if required): Depending on the type of countertop material you have installed, it may require a sealant to protect it from moisture, stains, or other potential damage. Follow the manufacturer’s instructions for the specific sealant, and apply it evenly to the countertop surface. Allow the sealant to dry or cure as recommended before using the countertop.
4. Reinstall any fixtures or appliances: If you had to remove any fixtures or appliances during the removal process, now is the time to reinstall them. Carefully reconnect any electrical or plumbing connections, ensuring they are securely fastened. Follow the manufacturer’s instructions or consult a professional if needed.
5. Touch up the surrounding area: After reinstalling fixtures or appliances, inspect the surrounding area for any marks or damages that may have occurred during the removal process. Touch up any paint, caulk, or other finishes to maintain a clean and uniform appearance.
6. Dispose of materials responsibly: Properly dispose of any waste materials, debris, or old countertops in accordance with local regulations. Some materials may be recyclable or require specialized disposal methods. Be mindful of the environment and dispose of materials responsibly.
7. Clean up the work area: Finally, take the time to clean up and organize your work area. Remove any leftover debris, clean your tools, and store them properly. Dispose of any used rags or protective coverings in the appropriate manner.
By completing these finishing touches, you ensure that your newly installed countertop looks its best and is ready for use. Taking the extra time to smooth out imperfections, repair damages, and tidy up the surrounding area will result in a professionally finished installation that you can be proud of.
Congratulations! You have successfully removed the glued countertop and completed the entire process. You’ve now set the stage for a fresh and updated look in your kitchen or bathroom. Enjoy your newly renovated space!
Conclusion
Removing glued countertops may seem like a daunting task, but with the right tools, techniques, and a little patience, it can be accomplished effectively and safely. By following the step-by-step process outlined in this article, you can successfully remove the glued countertops and prepare the surface for the installation of new countertops.
Safety should always be a priority throughout the removal process. Remember to wear protective gear, ensure proper ventilation, and work with caution when using tools and chemicals. Taking these precautions will help prevent accidents and ensure a smooth and safe removal process.
The tools and materials mentioned in this article are essential in successfully removing the glued countertops. Having them readily available will make the process more efficient and effective. Additionally, proper preparation of the work area, assessing the countertop, and understanding the type of adhesive used are crucial steps that ensure a successful removal.
The step-by-step process provided in this article guides you through each stage of the removal, from assessing the countertop to the finishing touches. Following these steps will help you remove adhesive residue, clean the surface, and complete the process with a polished result.
As with any home improvement project, it’s important to exercise caution and prioritize your safety. If you are unsure about any aspect of the countertop removal or if you encounter any difficulties during the process, consider seeking professional assistance or advice.
By successfully removing glued countertops, you open the door to endless possibilities in upgrading your kitchen or bathroom. Whether you are replacing the countertops or embarking on a full renovation, this process sets the foundation for a fresh and updated space.
Remember to dispose of any waste materials responsibly and to clean up your work area to leave it tidy and organized. By doing so, you can take pride in your work, knowing that you have not only achieved a new look but also maintained a clean and safe environment.
With the knowledge and understanding gained from this article, you are now equipped to tackle the task of removing glued countertops with confidence. Best of luck in your project, and may your newly installed countertops bring beauty and functionality to your space for years to come!
Frequently Asked Questions about How To Remove Glued Countertops
Was this page helpful?
At Storables.com, we guarantee accurate and reliable information. Our content, validated by Expert Board Contributors, is crafted following stringent Editorial Policies. We're committed to providing you with well-researched, expert-backed insights for all your informational needs.


0 thoughts on “How To Remove Glued Countertops”