Home>Articles>How To Remove Paint From Concrete Basement Floor
Articles
How To Remove Paint From Concrete Basement Floor
Modified: August 17, 2024
Learn effective techniques and tips for removing paint from your concrete basement floor. Our articles provide step-by-step guidance to ensure a successful paint removal process.
(Many of the links in this article redirect to a specific reviewed product. Your purchase of these products through affiliate links helps to generate commission for Storables.com, at no extra cost. Learn more)
Introduction
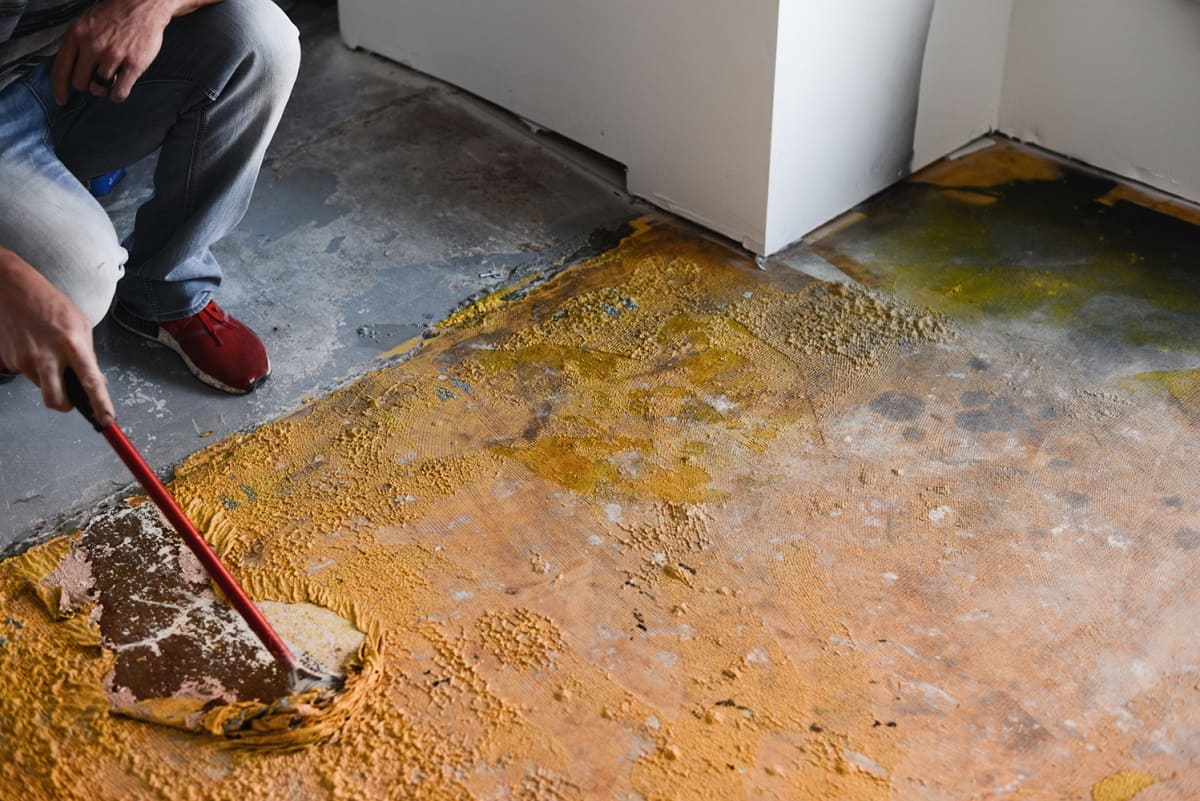
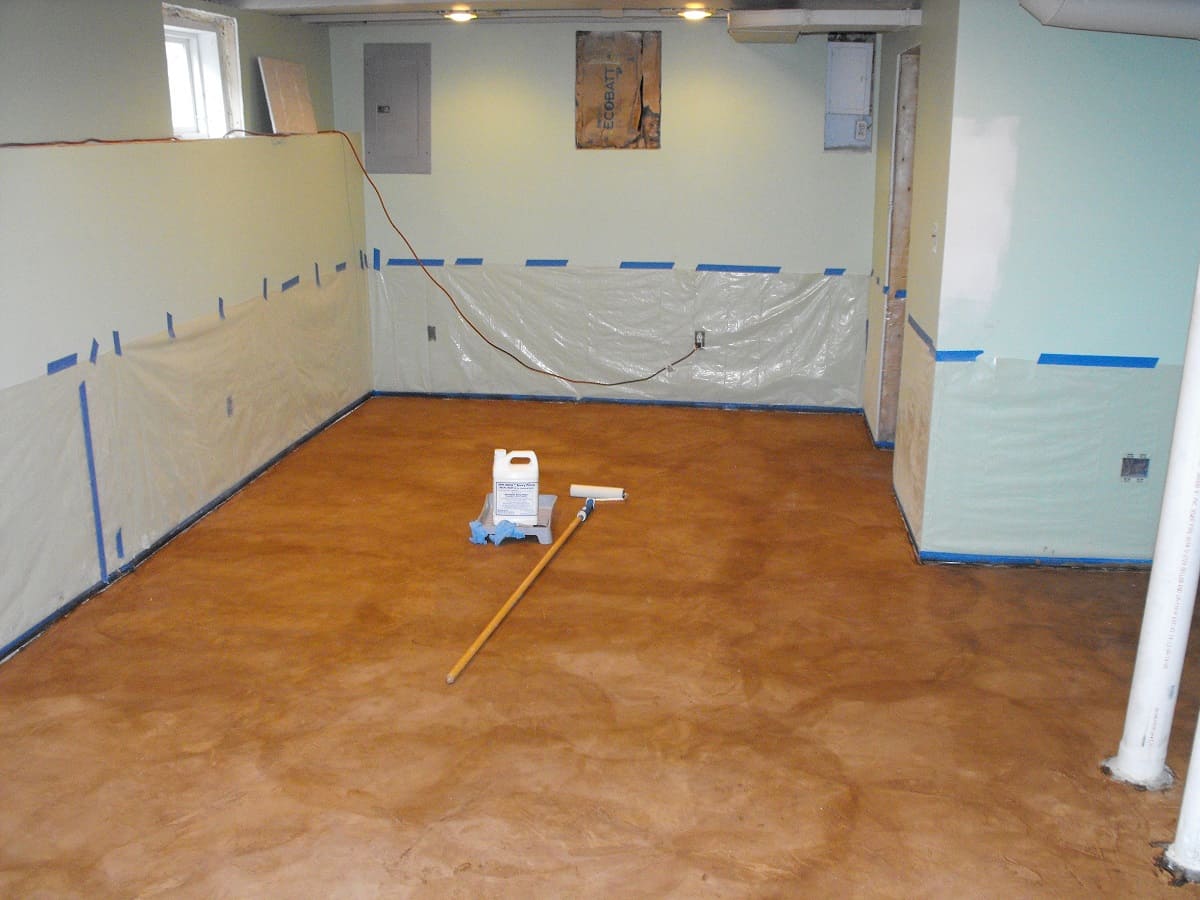
Removing paint from a concrete basement floor can be a challenging task, but it is not impossible with the right techniques and materials. Over time, paint can begin to chip and peel, leaving your basement floor looking worn and unsightly. Whether you want to restore the natural beauty of the concrete or prepare it for a fresh coat of paint, there are several methods you can use to remove the old paint.
In this article, we will outline eight effective methods for removing paint from a concrete basement floor. Each method has its own advantages and considerations, so you can choose the one that best suits your needs and preferences. With the proper tools and techniques, you can effectively strip away the old paint and rejuvenate your basement floor.
Before we dive into the methods, it’s important to gather the necessary materials to ensure a smooth paint removal process. Here are the materials you will need:
Key Takeaways:
- When removing paint from a concrete basement floor, consider using a chemical paint stripper, pressure washer, or floor grinder for effective results. Prioritize safety, ventilation, and proper tools to ensure a successful paint removal process.
- Eco-friendly options such as vinegar or citric acid solutions offer a non-toxic approach to removing paint, while muriatic acid should be used as a last resort with extreme caution. Always test in a small area and seek professional help if unsure.
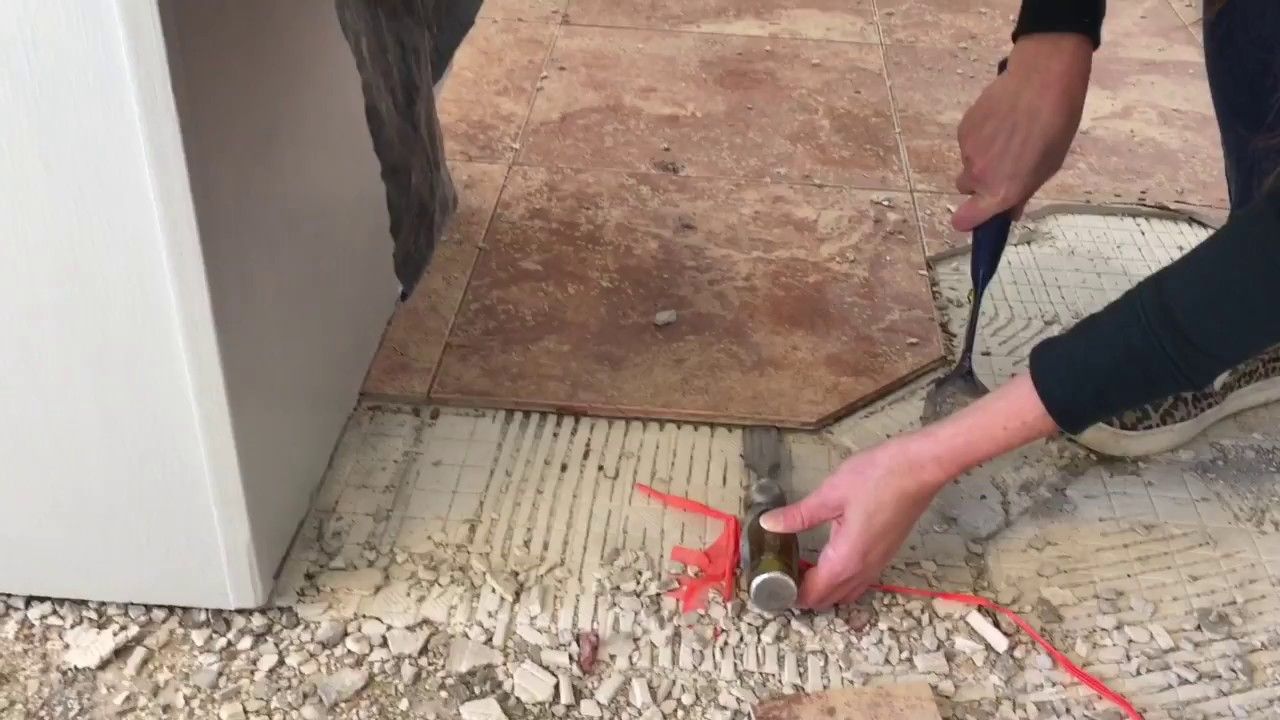
Read more: How To Remove Tile From Concrete Floor
Materials Needed
- Chemical paint stripper
- Pressure washer
- Floor grinder or sander
- Paint scraper or wire brush
- Heat gun
- Vinegar or citric acid solution
- Concrete cleaner
- Stiff bristle brush
- Muriatic acid solution (if necessary)
- Protective gear (gloves, safety goggles, mask)
Now that you have gathered all the necessary materials, let’s explore each method in detail:
Key Takeaways:
- When removing paint from a concrete basement floor, consider using a chemical paint stripper, pressure washer, or floor grinder for effective results. Prioritize safety, ventilation, and proper tools to ensure a successful paint removal process.
- Eco-friendly options such as vinegar or citric acid solutions offer a non-toxic approach to removing paint, while muriatic acid should be used as a last resort with extreme caution. Always test in a small area and seek professional help if unsure.
Read more: How To Remove Tile From Concrete Floor
Materials Needed
Before you start the process of removing paint from your concrete basement floor, it’s important to gather all the necessary materials. Having the right tools and supplies will make the job easier and more effective. Here are the materials you will need:
- Chemical paint stripper: Look for a paint stripper specifically designed for use on concrete surfaces. Make sure to choose a product that is safe and effective for removing paint.
- Pressure washer: A pressure washer can be used to blast away the loosened paint and debris from the concrete surface. Opt for a pressure washer with a high psi to ensure thorough cleaning.
- Floor grinder or sander: If the paint is thick or stubborn, you may need a floor grinder or sander to mechanically remove it. These tools can help to strip away multiple layers of paint effectively.
- Paint scraper or wire brush: A paint scraper or wire brush can be used to manually scrape off the paint from the concrete surface. These tools are especially useful for removing smaller patches or areas with loose paint.
- Heat gun: A heat gun can be used to soften and loosen the paint, making it easier to scrape off. This method is effective for smaller areas or spots with stubborn paint.
- Vinegar or citric acid solution: For eco-friendly paint removal, you can use a solution of vinegar or citric acid mixed with water. These natural acids help break down the paint and make it easier to remove.
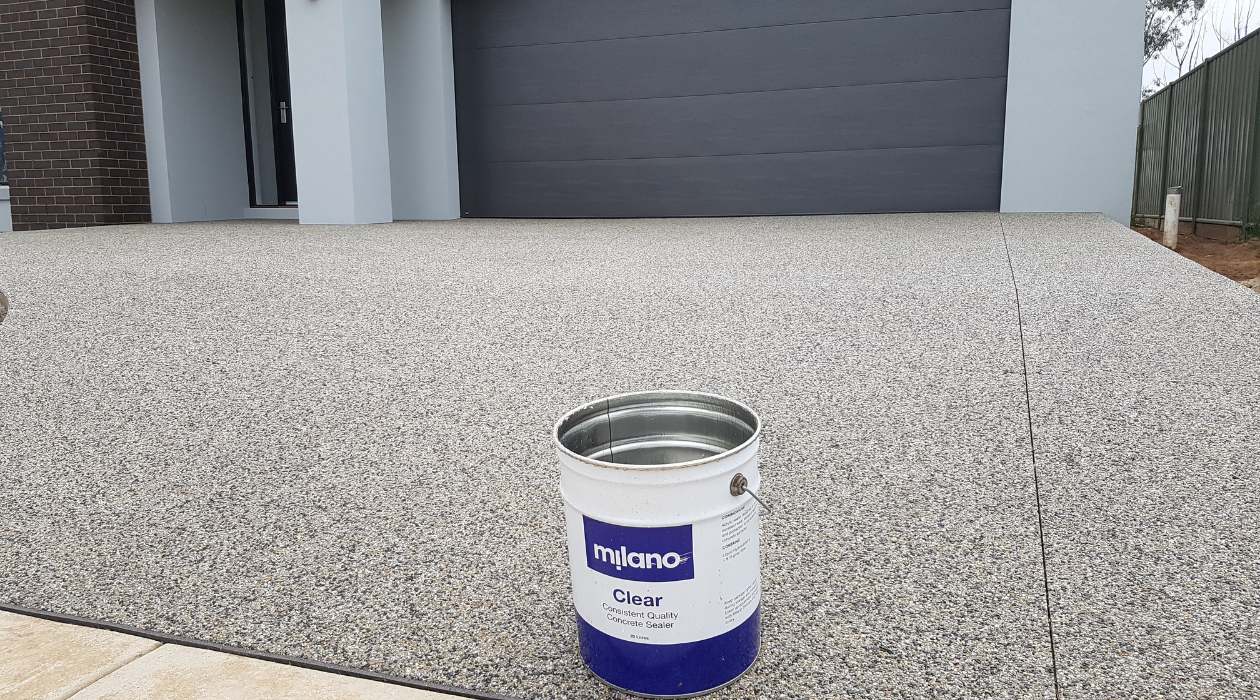
- Concrete cleaner: After removing the paint, you will need a concrete cleaner to thoroughly clean the surface. Choose a cleaner specifically designed for use on concrete.
- Stiff bristle brush: A stiff bristle brush is essential for scrubbing and removing any remaining paint or residue from the concrete surface.
- Muriatic acid solution: In certain cases where the paint is extremely stubborn, a muriatic acid solution may be necessary. This solution should be used with caution and following the manufacturer’s instructions.
- Protective gear: It’s important to prioritize safety while working with paint removal chemicals and tools. Make sure to wear gloves, safety goggles, and a mask to protect yourself from any potential hazards.
Having these materials on hand will ensure that you’re well-prepared to tackle the paint removal process effectively and safely. Now that you have gathered all the necessary materials, let’s move on to the different methods you can use to remove paint from your concrete basement floor.
Method 1: Using a Chemical Paint Stripper
One of the most common and effective methods for removing paint from a concrete basement floor is by using a chemical paint stripper. Chemical strippers work by softening the paint, making it easy to scrape off the surface.
Here’s a step-by-step guide on how to use a chemical paint stripper:
- Start by preparing the area. Remove any furniture or belongings from the basement floor and open windows or doors to ensure proper ventilation.
- Read and follow the instructions on the paint stripper product carefully. Wear appropriate safety gear, including gloves, safety goggles, and a mask, to protect yourself from the chemicals.
- Apply the paint stripper evenly over the painted areas using a brush or roller. Make sure to apply a thick coat to ensure maximum effectiveness.
- Allow the paint stripper to sit on the surface according to the instructions provided. This typically takes around 15 to 30 minutes, but the time may vary depending on the specific product.
- Once the paint has loosened, use a paint scraper or wire brush to gently scrape away the softened paint. Work in small sections and apply firm but gentle pressure to avoid damaging the concrete surface.
- Continue scraping off the paint until all the desired areas have been cleared. Repeat the process if necessary for stubborn or multiple layers of paint.
- After removing the paint, thoroughly clean the surface with water and a concrete cleaner to remove any residue or remnants of the paint stripper.
- Allow the floor to dry completely before applying any new paint or finish.
Using a chemical paint stripper can be an effective and relatively easy method for removing paint from a concrete basement floor. However, it’s important to note that chemical strippers contain strong ingredients and should be used with caution. Always follow the manufacturer’s instructions and take necessary safety precautions.
Now that you are familiar with the chemical paint stripper method, let’s explore another method for removing paint from a concrete basement floor.
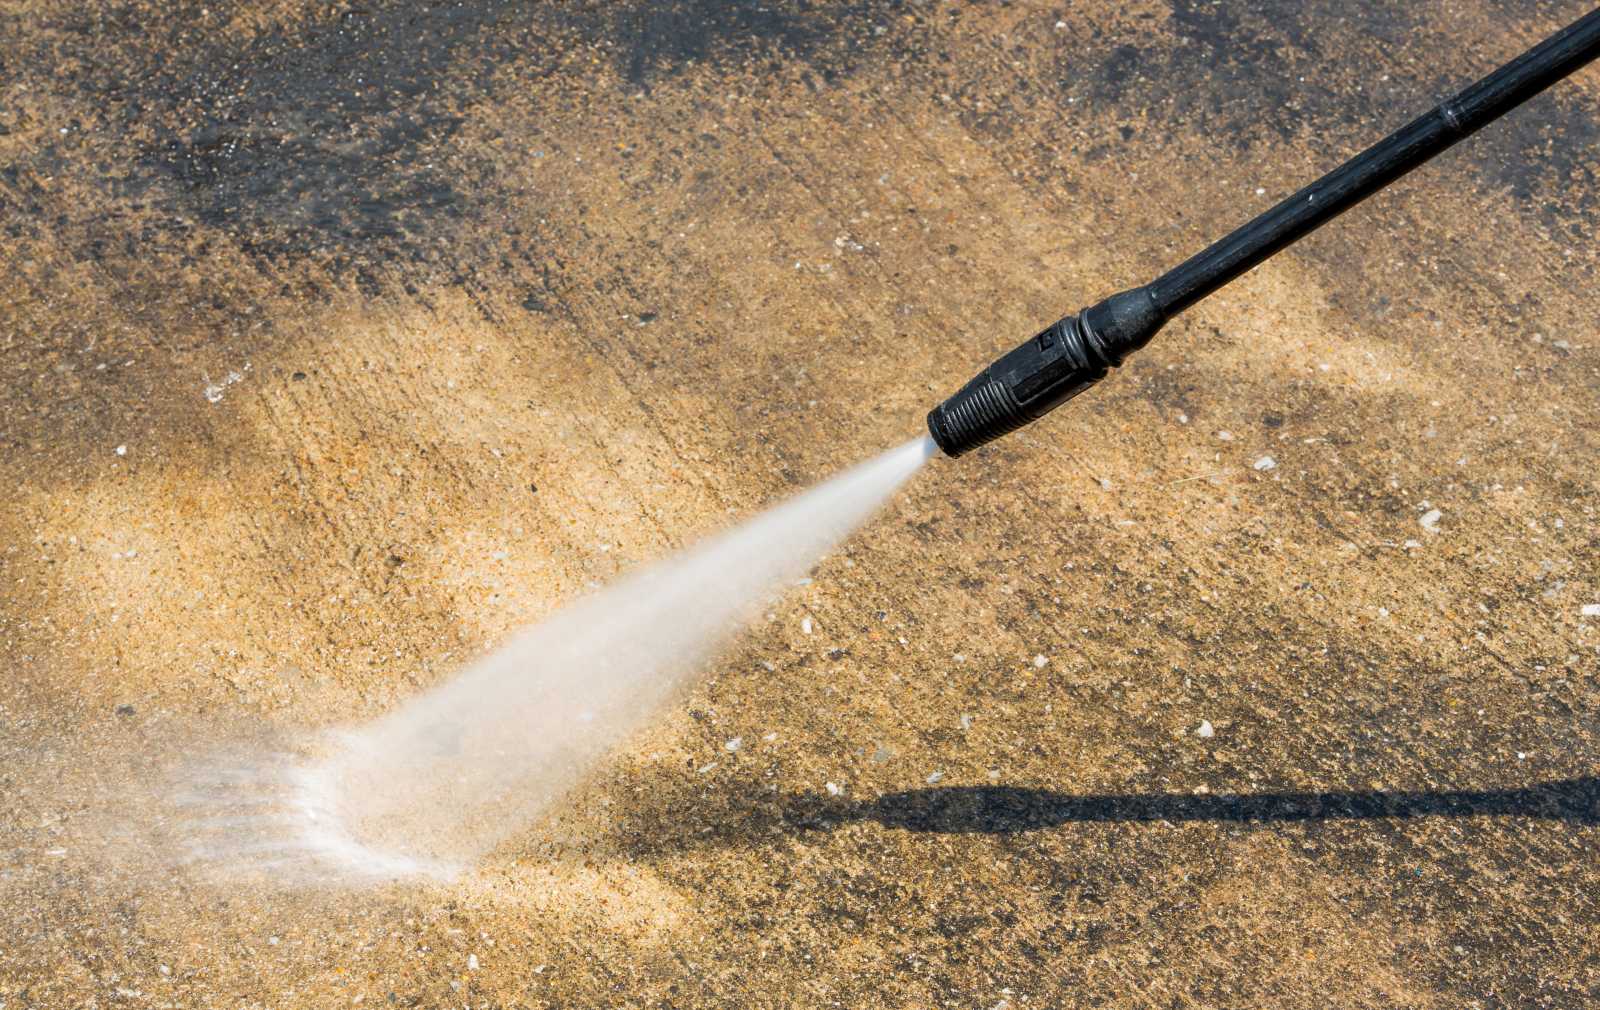
Method 2: Using a Pressure Washer
If you want to remove paint from your concrete basement floor quickly and efficiently, using a pressure washer is a great option. A pressure washer can blast away the paint, leaving your floor clean and ready for a new coating.
Here’s a step-by-step guide on how to use a pressure washer to remove paint from a concrete basement floor:
- Before starting, make sure to remove any furniture or objects from the basement floor and protect the surrounding areas with plastic sheets or drop cloths.
- Begin by selecting a pressure washer with a high psi (pounds per square inch), which will provide enough power to remove the paint effectively.
- Attach the appropriate nozzle or tip to the pressure washer, such as a 15- or 25-degree tip for general use or a rotating turbo nozzle for tougher paint removal.
- Connect the pressure washer to a water source and turn it on. Adjust the pressure according to the specific requirements of your floor and the paint you are removing.
- Hold the pressure washer wand at a distance of 6 to 12 inches from the surface of the floor. Start spraying water onto the painted areas, working in small sections at a time.
- Move the pressure washer wand back and forth over the painted areas, applying consistent pressure, until the paint begins to loosen and peel off. Be careful not to stay in one spot for too long, as it may damage the concrete surface.
- Continue spraying the entire floor until all the paint has been removed.
- After removing the paint, clean the surface with water and a concrete cleaner to remove any remaining paint residue. You can use a stiff bristle brush or a scrubbing attachment on the pressure washer to assist with the cleaning.
- Allow the floor to dry completely before applying any new paint or finish.
Using a pressure washer is a fast and effective method for removing paint from a concrete basement floor. However, keep in mind that pressure washers are powerful tools that require caution. Always wear safety goggles and avoid spraying the water directly at yourself or others.
Now that you are familiar with the pressure washer method, let’s move on to another technique for removing paint from a concrete basement floor.
Read more: How Thick Is Basement Concrete Floor
Method 3: Using a Floor Grinder or Sander
If the paint on your concrete basement floor is thick or stubborn, using a floor grinder or sander can be an effective method to remove it. These power tools are designed to mechanically remove layers of paint, leaving a clean and smooth surface.
Here’s a step-by-step guide on how to use a floor grinder or sander to remove paint from a concrete basement floor:
- Prepare the area by removing any furniture or objects from the basement floor and covering nearby items with plastic sheets or drop cloths to protect them from debris.
- Wear appropriate safety gear, including safety goggles, a dust mask, and ear protection.
- Choose the appropriate grinding or sanding attachment for your floor grinder or sander. Different attachments are available for different types and levels of paint removal.
- Before starting, make sure the machine is properly set up and the grinding or sanding attachment is securely attached.
- Start the machine and begin slowly moving it across the painted area in a back-and-forth motion. Apply even pressure and let the machine do the work. Avoid pushing down too hard, as it may damage the concrete surface.
- Continue grinding or sanding until all the paint has been removed. Depending on the thickness of the paint and the condition of the concrete, you may need to make multiple passes.
- Once the paint has been removed, use a broom or vacuum to clean up the dust and debris created during the grinding or sanding process.
- Inspect the floor to ensure all the paint has been removed. If there are any remaining areas with paint, repeat the process until the entire surface is clean.
- After removing the paint, clean the floor with water and a concrete cleaner to remove any residue. Allow the floor to dry completely.
Using a floor grinder or sander requires some skill and experience to operate effectively. If you are not comfortable using these power tools, it is recommended to hire a professional to complete the job safely and efficiently.
Now that you are familiar with the floor grinder or sander method, let’s explore another technique for removing paint from a concrete basement floor.
Method 4: Using a Paint Scraper or Wire Brush
If you’re dealing with smaller patches of paint or areas with loose paint on your concrete basement floor, using a paint scraper or wire brush can be an effective method. These handheld tools allow for manual scraping and brushing, making it easier to remove the paint.
Here’s a step-by-step guide on how to use a paint scraper or wire brush to remove paint from a concrete basement floor:
- Begin by preparing the area. Remove any furniture or objects from the basement floor and clean the surface to remove any loose debris or dirt.
- Put on safety gloves and goggles to protect your hands and eyes from any potential hazards.
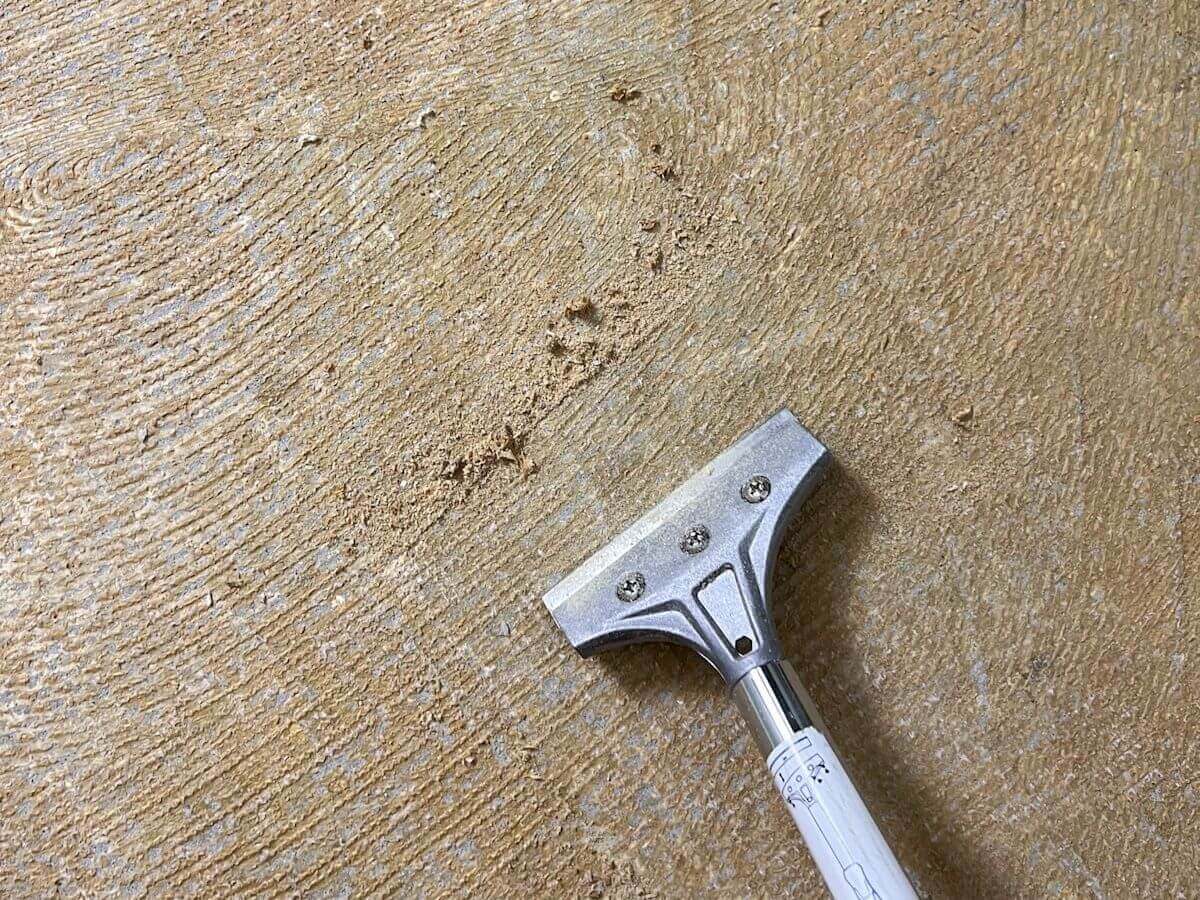
- Start by using a paint scraper to gently scrape off the loose or peeling paint. Hold the scraper at a slight angle and apply light pressure to avoid damaging the concrete surface.
- Work in small sections, scraping off the paint in a back-and-forth motion. If the paint is resistant, you can use a wire brush to scrub the surface and remove the remaining paint.
- Continue scraping and brushing until all the desired areas have been cleared of paint. Be sure to remove any loose paint chips or debris from the floor as you go.
- After removing the paint, clean the surface with water and a concrete cleaner to remove any residue or remnants of the paint.
- Allow the floor to dry completely before applying any new paint or finish.
Using a paint scraper or wire brush is a cost-effective and relatively simple method for removing paint from a concrete basement floor. However, keep in mind that this method is best suited for smaller areas or patches of paint and may require more manual effort compared to other methods.
Now that you are familiar with the paint scraper or wire brush method, let’s move on to another technique for removing paint from a concrete basement floor.
Use a chemical paint stripper specifically designed for concrete surfaces. Apply a thick layer, let it sit for the recommended time, then scrape off the softened paint with a putty knife. Always follow the manufacturer’s instructions and wear protective gear.
Method 5: Using a Heat Gun
If you’re dealing with small areas or spots with stubborn paint on your concrete basement floor, using a heat gun can be an effective method to soften and loosen the paint, making it easier to scrape off. This method is especially useful when dealing with older or oil-based paints.
Here’s a step-by-step guide on how to use a heat gun to remove paint from a concrete basement floor:
- Start by preparing the area. Remove any furniture or objects from the basement floor and ensure proper ventilation by opening windows or doors.
- Put on safety gloves and goggles to protect your hands and eyes from heat and paint chips.
- Plug in the heat gun and turn it on to the appropriate heat setting. Check the manufacturer’s instructions for recommended settings.
- Hold the heat gun about 2 to 3 inches away from the painted area and move it back and forth in a sweeping motion. The heat will soften the paint, causing it to bubble or lift from the concrete surface.
- Once the paint is softened, use a paint scraper or wire brush to gently scrape off the loosened paint. Be careful not to apply too much pressure to avoid damaging the concrete surface.
- Continue heating and scraping small sections of the floor until all the desired areas have been cleared of paint. Work in manageable sections to prevent the paint from re-hardening.
- After removing the paint, clean the surface with water and a concrete cleaner to remove any residue or remnants of the paint.
- Allow the floor to dry completely before applying any new paint or finish.
Using a heat gun can be an effective and precise method for removing paint from a concrete basement floor. However, it’s important to exercise caution while using the heat gun, as it can reach high temperatures. Always follow the manufacturer’s instructions and be mindful of the surrounding areas to avoid accidental damage.
Now that you are familiar with the heat gun method, let’s explore another technique for removing paint from a concrete basement floor.
Method 6: Using Vinegar or Citric Acid Solution
If you prefer an eco-friendly and non-toxic approach to remove paint from your concrete basement floor, using a vinegar or citric acid solution can be a great option. These natural acids are effective at breaking down the paint, making it easier to remove.
Here’s a step-by-step guide on how to use a vinegar or citric acid solution to remove paint from a concrete basement floor:
- Start by preparing the area. Remove any furniture or objects from the basement floor and ensure proper ventilation.
- Mix equal parts vinegar or citric acid and water in a bucket or spray bottle. You can also add a small amount of dish soap for extra effectiveness.
- Apply the solution to the painted areas, ensuring they are thoroughly saturated. You can use a brush, sponge, or a spray bottle for application.
- Let the solution sit on the paint for approximately 30 minutes to an hour, allowing the natural acids to break down the paint.
- Once the paint has softened, use a paint scraper, wire brush, or scrub brush to gently scrape off the loosened paint. Work in small sections and apply firm but gentle pressure to avoid damaging the concrete surface.
- Continue scraping off the paint until all the desired areas have been cleared. If needed, reapply the solution and repeat the process for stubborn or multiple layers of paint.
- After removing the paint, clean the surface with water and a concrete cleaner to remove any residue or remnants of the solution.
- Allow the floor to dry completely before applying any new paint or finish.
Using a vinegar or citric acid solution is a safe and environmentally friendly method for removing paint from a concrete basement floor. However, it may require more time and multiple applications to completely remove the paint, especially if it is thick or stubborn.
Now that you are familiar with the vinegar or citric acid solution method, let’s move on to another technique for removing paint from a concrete basement floor.
Read more: How To Remove Paint From Laminate Floor
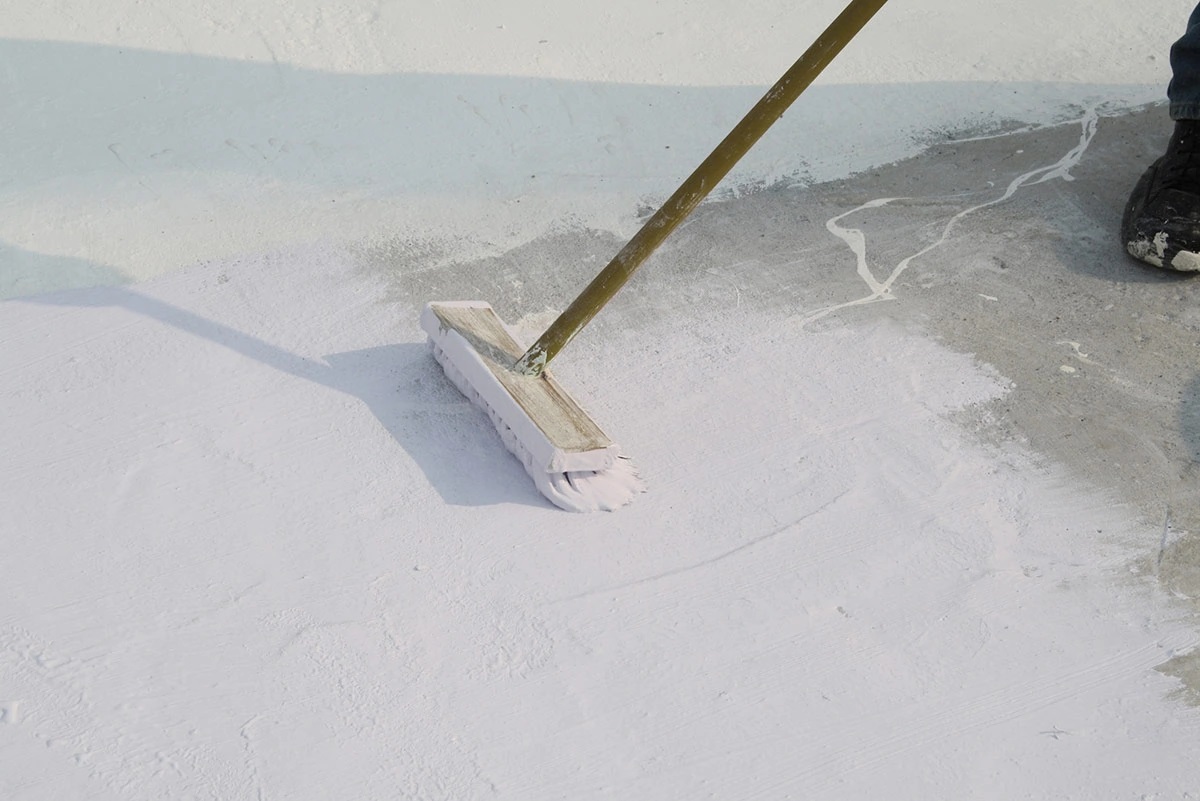
Method 7: Using a Concrete Cleaner and Stiff Bristle Brush
If you’re dealing with a relatively small amount of paint or areas with light paint residue on your concrete basement floor, using a concrete cleaner and a stiff bristle brush can be an effective method. This method helps to break down and remove the paint, leaving your floor clean and ready for the next steps.
Here’s a step-by-step guide on how to use a concrete cleaner and stiff bristle brush to remove paint from a concrete basement floor:
- Prepare the area by removing any furniture or objects from the basement floor.
- Mix the concrete cleaner with water according to the manufacturer’s instructions in a bucket.
- Using a stiff bristle brush, apply the concrete cleaner to the painted areas and scrub vigorously in a circular motion. Focus on one small section at a time.
- Continue scrubbing until you see the paint starting to lift or dissolve. Add more cleaner or water if necessary to keep the surface wet.
- Once the paint has been loosened, use the stiff bristle brush to scrub away the remnants of the paint, working in the same circular motion.
- Rinse the floor with clean water to remove any residue or remaining paint.
- Inspect the floor to ensure all the paint has been removed. If there are still areas with paint, repeat the process until the entire surface is clean.
- Allow the floor to dry completely before applying any new paint or finish.
Using a concrete cleaner and stiff bristle brush is a simple and effective method for removing light paint residue from a concrete basement floor. This method is ideal for smaller areas or when dealing with light paint stains.
Now that you are familiar with the concrete cleaner and stiff bristle brush method, let’s move on to another technique for removing paint from a concrete basement floor.
Method 8: Using a Muriatic Acid Solution
If you’re dealing with stubborn or heavy layers of paint on your concrete basement floor, using a muriatic acid solution can be an effective method to remove it. However, this method should be used as a last resort due to the strong nature of muriatic acid.
Here’s a step-by-step guide on how to use a muriatic acid solution to remove paint from a concrete basement floor:
- Start by preparing the area. Remove any furniture or objects from the basement floor and ensure proper ventilation by opening windows or doors.
- Put on safety gloves, safety goggles, and a mask to protect yourself from the corrosive nature of muriatic acid.
- Mix muriatic acid with water in a ratio of 1 part acid to 4 parts water in a plastic container. Always add the acid to the water, never the other way around, to prevent splashing.
- Apply the muriatic acid solution to a small, inconspicuous area of the painted floor using a brush or sprayer. Observe the reaction to ensure it does not cause any damage or discoloration.
- If the test area shows no adverse effects, apply the muriatic acid solution to the painted areas using a brush or sprayer, making sure to completely saturate the surface.
- Allow the solution to sit on the paint for a few minutes to break it down.
- Using a stiff bristle brush or a scraper, gently scrub or scrape off the loosened paint. Be cautious and avoid scratching the concrete surface.
- Rinse the floor thoroughly with clean water to remove any remaining acid solution.
- After removing the paint, neutralize the surface by applying a baking soda and water mixture. This will help neutralize any residual acid.
- Finally, clean the floor with water and a concrete cleaner to remove any residue or remnants of the paint and acid solution.
- Allow the floor to dry completely before applying any new paint or finish.
Using a muriatic acid solution should be approached with caution due to its corrosive nature. It is crucial to follow safety guidelines and carefully handle and dispose of the acid according to local regulations.
Now that you are familiar with the muriatic acid solution method, let’s move on to the precautions and safety measures to keep in mind during the paint removal process.
Precautions and Safety Measures
When removing paint from a concrete basement floor, it is important to prioritize safety and take necessary precautions to protect yourself and the surrounding environment. Here are some precautions and safety measures to keep in mind:
- Wear protective gear: Always wear safety gloves, safety goggles, and a mask to protect your hands, eyes, and respiratory system from any potential hazards, including chemical fumes or flying debris.
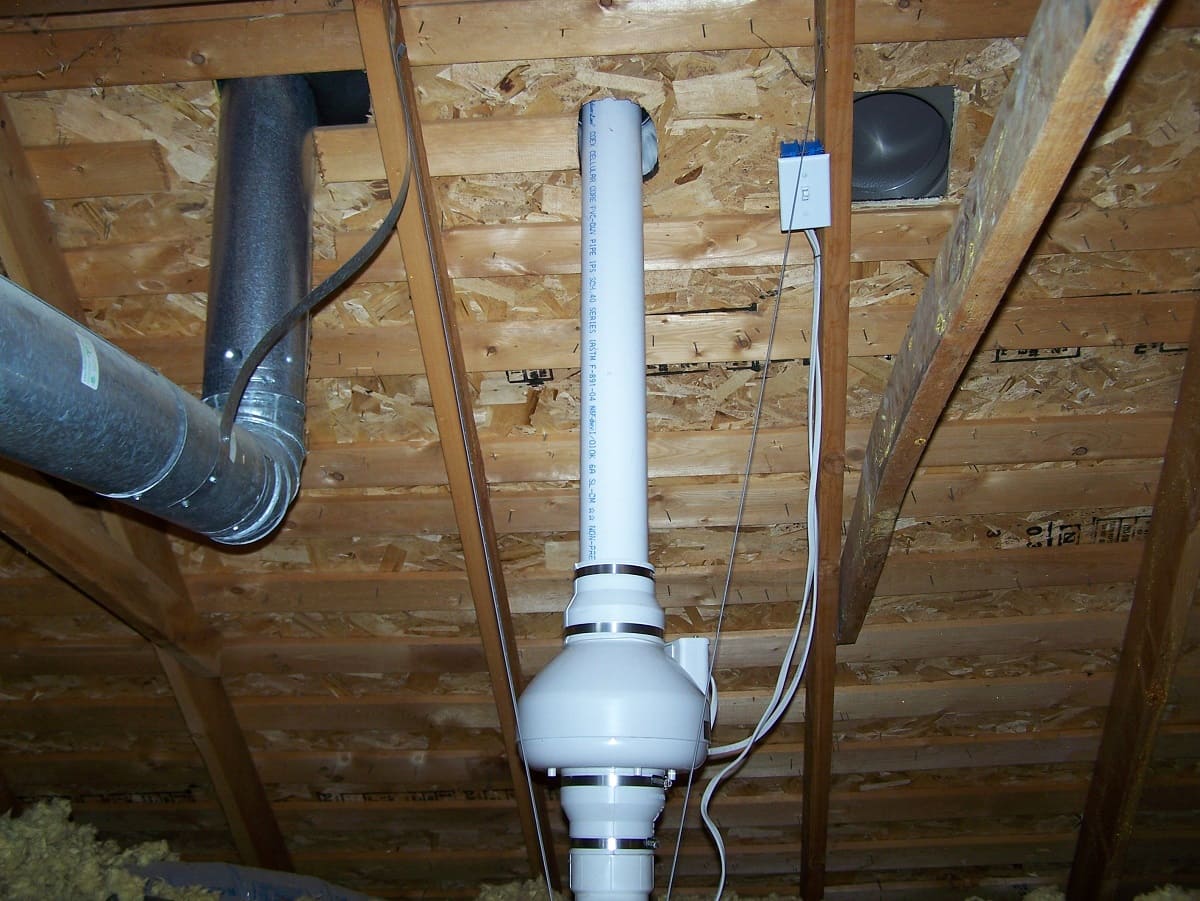
- Ensure proper ventilation: Open windows and doors to ensure proper airflow and ventilation in the basement. This helps to minimize the inhalation of fumes and prevent the buildup of potentially hazardous chemicals.
- Follow manufacturer’s instructions: Whether using chemical paint strippers, muriatic acid, or any other products, carefully read and follow the manufacturer’s instructions for safe and effective use.
- Work in well-lit areas: Adequate lighting is essential to see clearly and avoid accidents or injuries during the paint removal process. Use additional lighting if necessary.
- Protect the surrounding areas: Cover nearby items, furniture, or surfaces with plastic sheets or drop cloths to prevent damage or staining from paint chips or chemical solutions.
- Handle chemicals with care: When working with chemicals such as paint strippers or muriatic acid, handle them carefully and follow proper storage and disposal guidelines. Store them in a secure place, away from children and pets.
- Avoid mixing chemicals: Never mix different chemicals unless specified by the manufacturer. Mixing chemicals can create toxic fumes or dangerous reactions.
- Properly dispose of waste: Dispose of paint chips, chemical solutions, and other waste according to local regulations. Do not dump them into drains or the environment.
- Test in a small area: Before applying any product or method to the entire floor, conduct a test in a small, inconspicuous area to check for any adverse effects or damage.
- Seek professional help if needed: If you are unsure about the paint removal process or if you are dealing with extensive layers of paint, it is advisable to seek the assistance of a professional who can handle the job safely and efficiently.
By following these precautions and safety measures, you can ensure a safer paint removal process and protect yourself, the environment, and your property.
Now that we have covered the precautions and safety measures, let’s conclude the article with some final tips and a summary of the paint removal methods.
Conclusion and Final Tips
Removing paint from a concrete basement floor can be a challenging task, but with the right methods and precautions, you can achieve a clean and paint-free surface. Here is a summary of the methods discussed in this article:
- Using a Chemical Paint Stripper: An effective method for removing paint from concrete, but handle the chemicals with caution and follow the instructions carefully.
- Using a Pressure Washer: Ideal for blasting away loose paint and debris, but make sure to use appropriate pressure and protect yourself from water splashes.
- Using a Floor Grinder or Sander: Effective for removing thick or stubborn layers of paint, but proper care and experience are necessary to operate these power tools.
- Using a Paint Scraper or Wire Brush: Suitable for smaller patches or areas with loose paint, but it may require more manual effort.
- Using a Heat Gun: Helpful for softening and loosening paint on small areas, but use caution to avoid overheating the surface.
- Using Vinegar or Citric Acid Solution: Eco-friendly option for removing paint, but may require more time and multiple applications for stubborn paint.
- Using a Concrete Cleaner and Stiff Bristle Brush: Effective for light paint residue, but may not be suitable for heavy layers of paint.
- Using a Muriatic Acid Solution: A last resort for stubborn paint, but extreme caution and proper safety measures are essential when working with muriatic acid.
When undertaking the paint removal process, it is crucial to prioritize safety. Wear protective gear, ensure proper ventilation, and carefully follow the manufacturer’s instructions for any products or methods you use.
If you are unsure or uncomfortable with the paint removal process, it is recommended to seek the help of a professional who can safely handle the job. They have the expertise and experience to efficiently remove the paint without causing damage to your concrete floor.
Remember that each paint removal project may have its own unique challenges, so adapt the methods based on the specific requirements of your concrete basement floor.
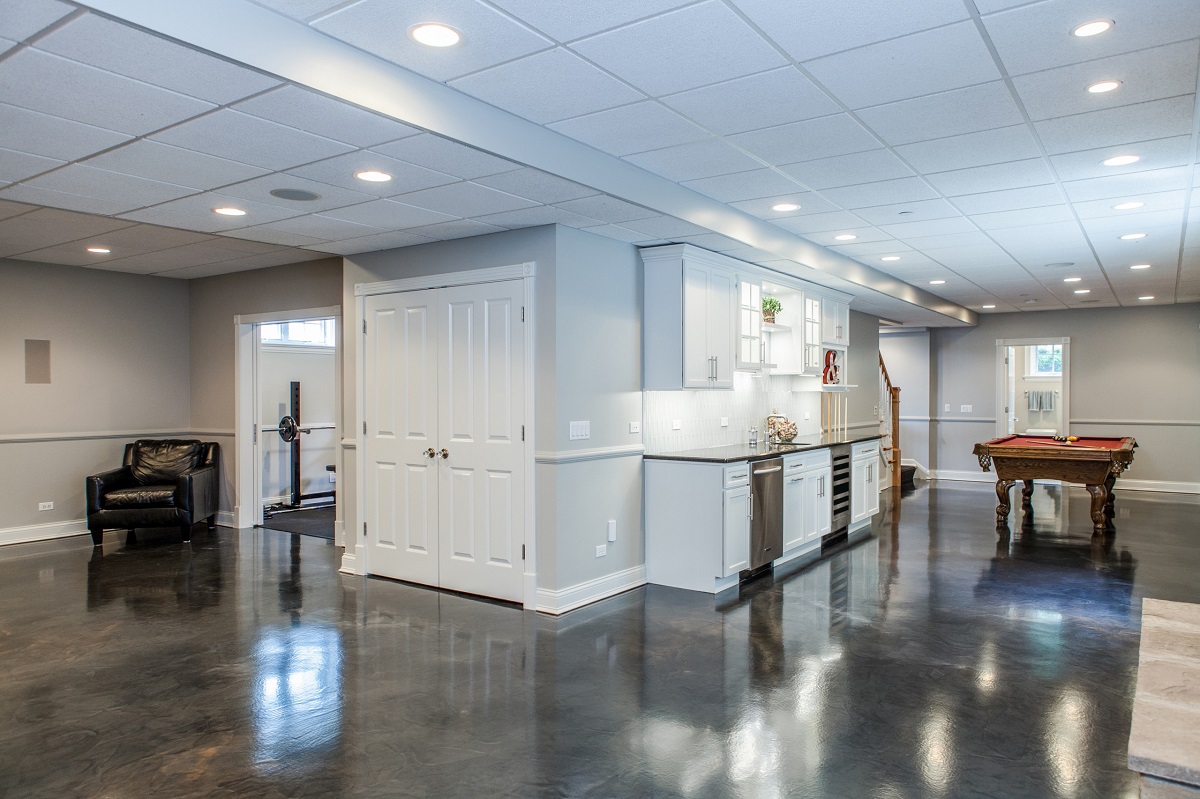
In conclusion, with the right tools, materials, and methods, you can successfully remove paint from your concrete basement floor and restore its natural beauty. Stay safe, be patient, and enjoy the satisfaction of a clean and refreshed floor!
Frequently Asked Questions about How To Remove Paint From Concrete Basement Floor
Was this page helpful?
At Storables.com, we guarantee accurate and reliable information. Our content, validated by Expert Board Contributors, is crafted following stringent Editorial Policies. We're committed to providing you with well-researched, expert-backed insights for all your informational needs.


0 thoughts on “How To Remove Paint From Concrete Basement Floor”