
Articles
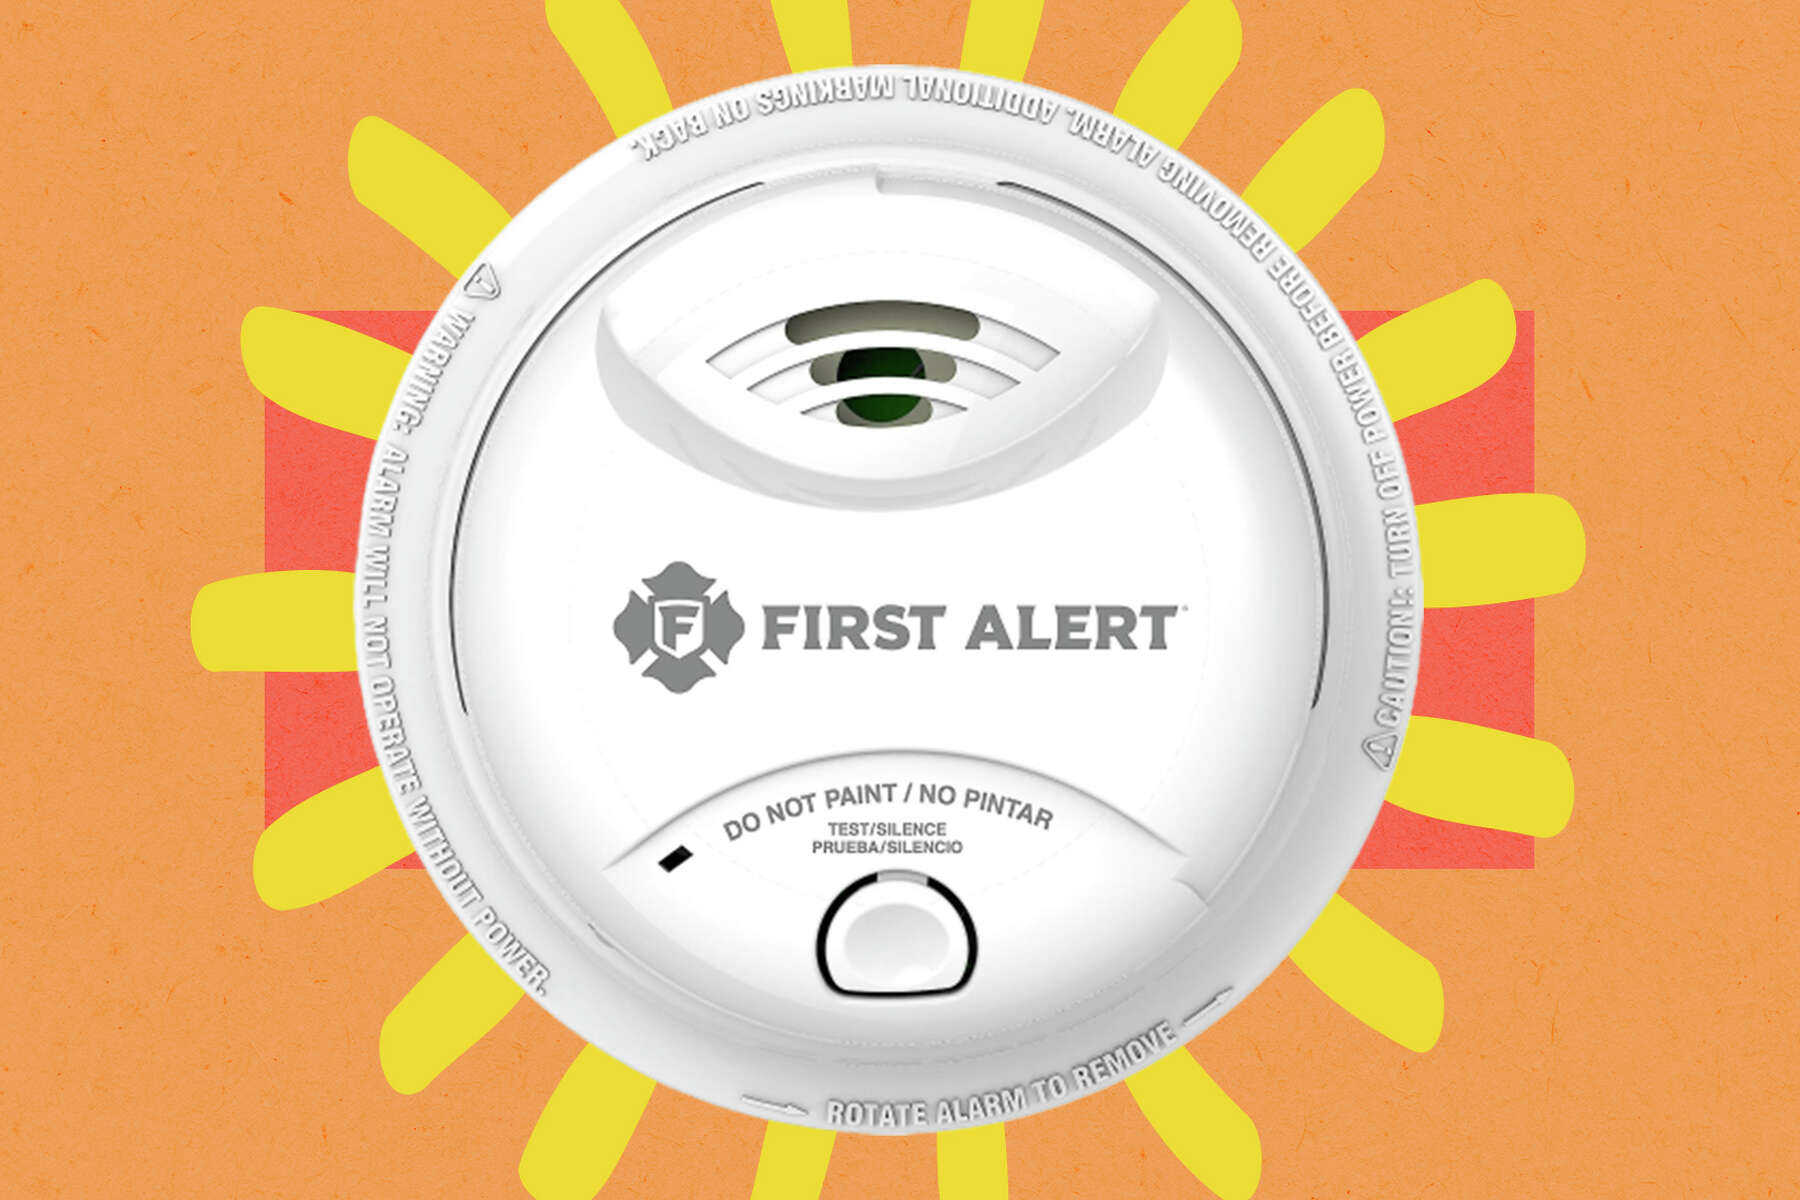
How To Remove A First Alert Smoke Detector
Modified: August 27, 2024
Learn how to remove a First Alert smoke detector safely and efficiently with our step-by-step guide. Browse our articles to find helpful tips and tricks!
(Many of the links in this article redirect to a specific reviewed product. Your purchase of these products through affiliate links helps to generate commission for Storables.com, at no extra cost. Learn more)
Introduction
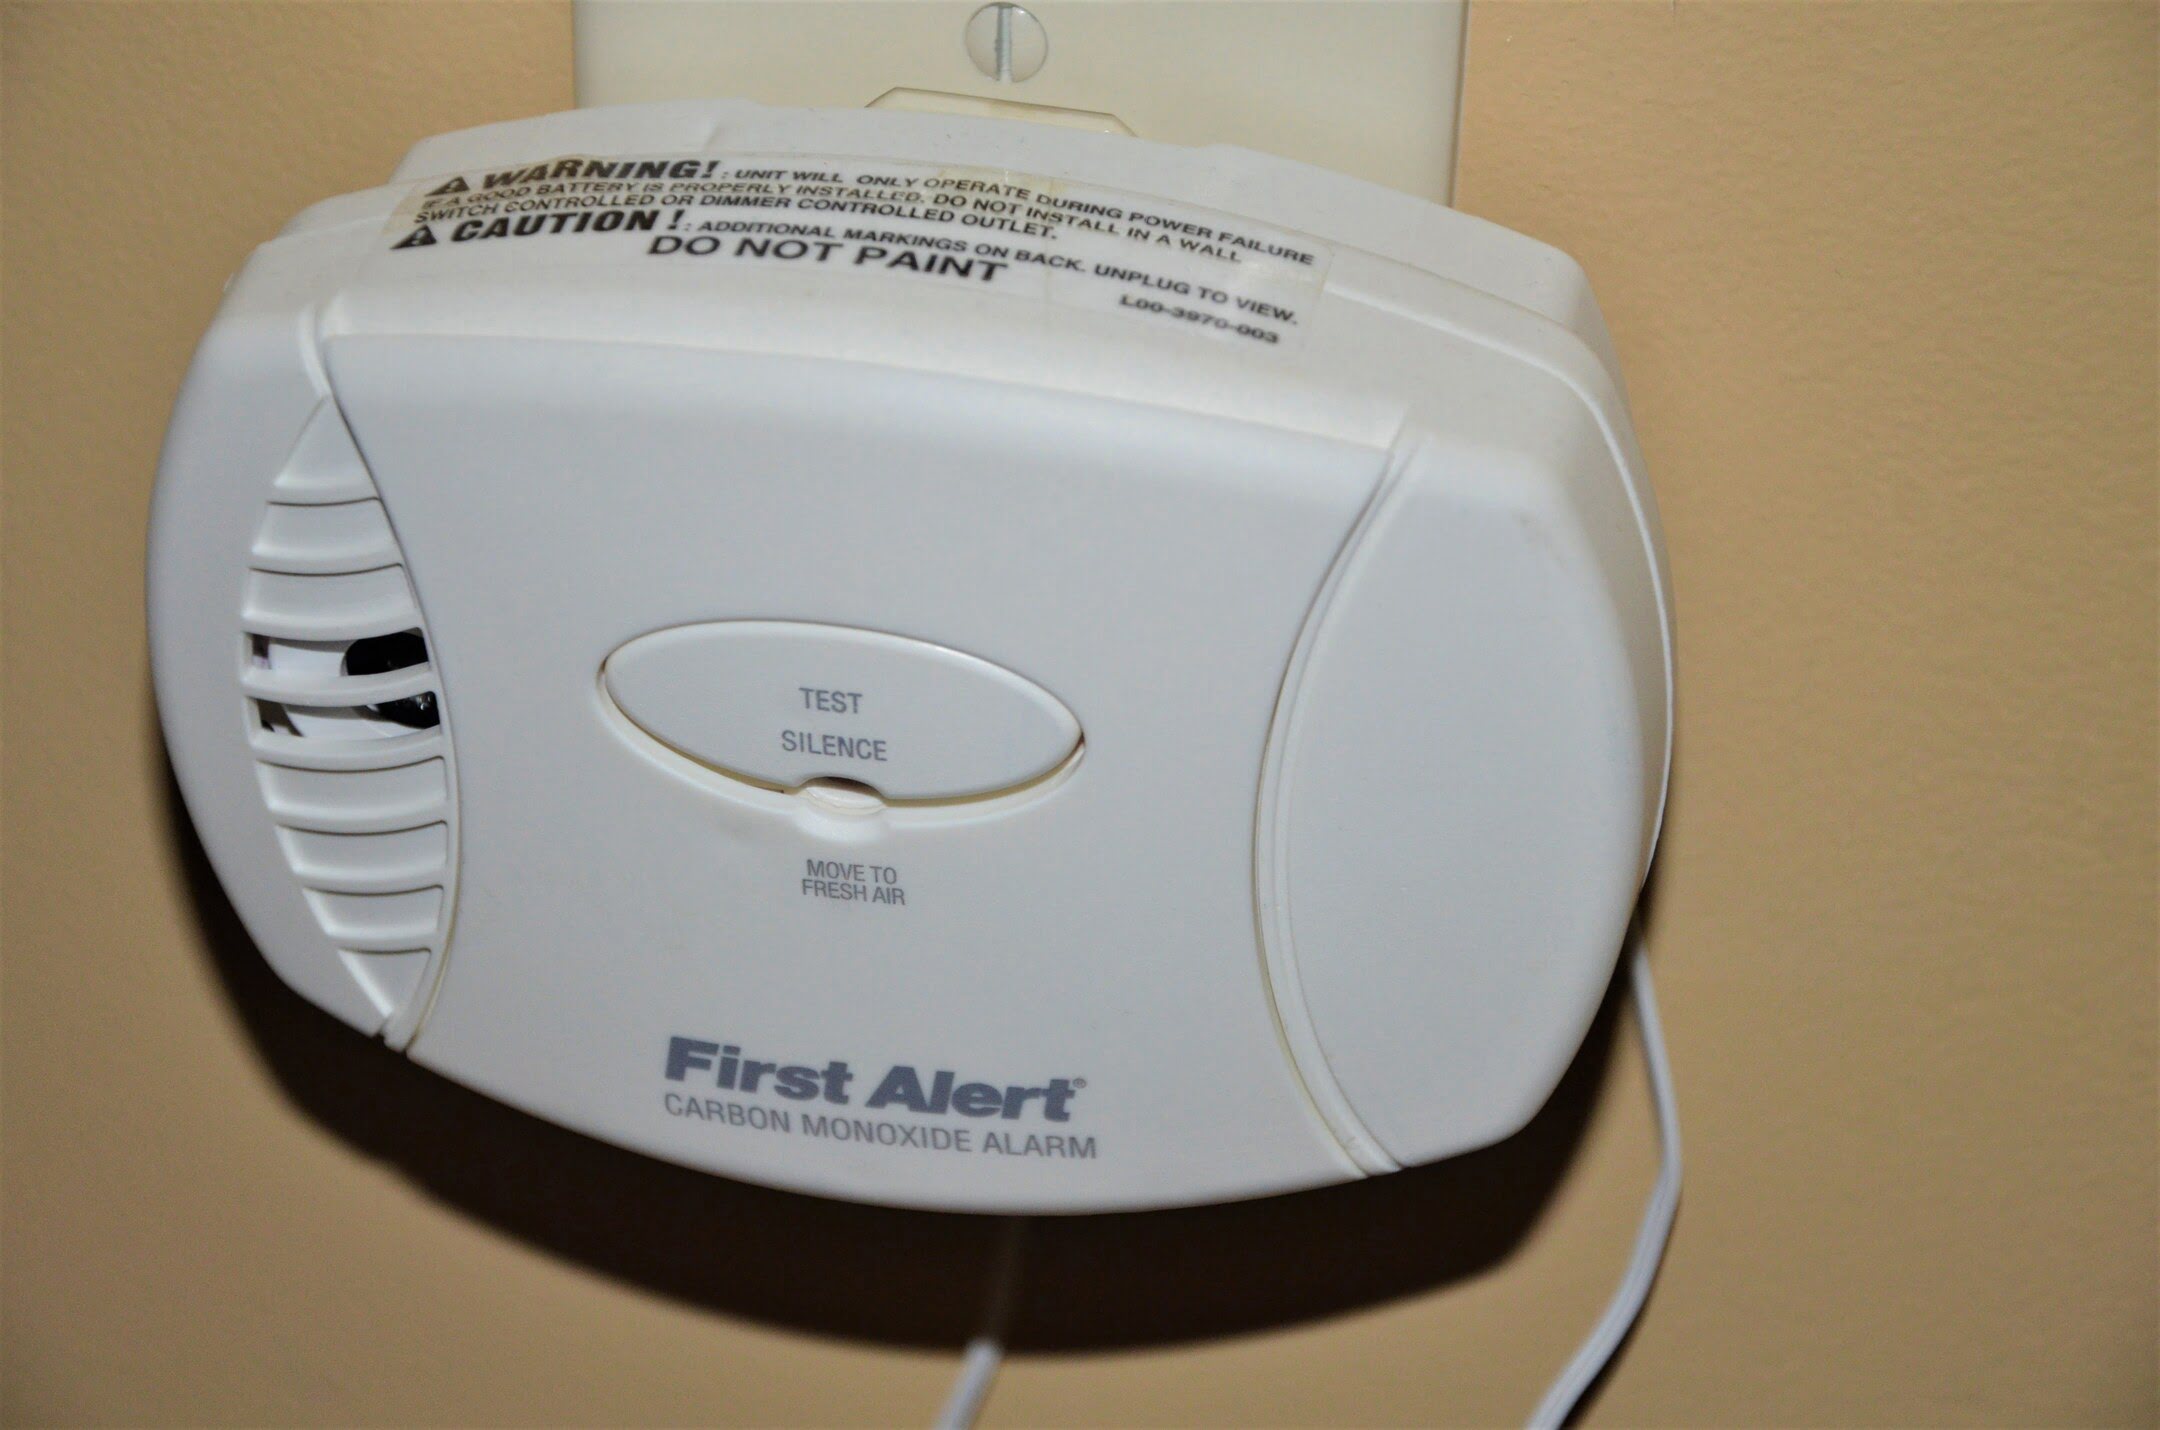
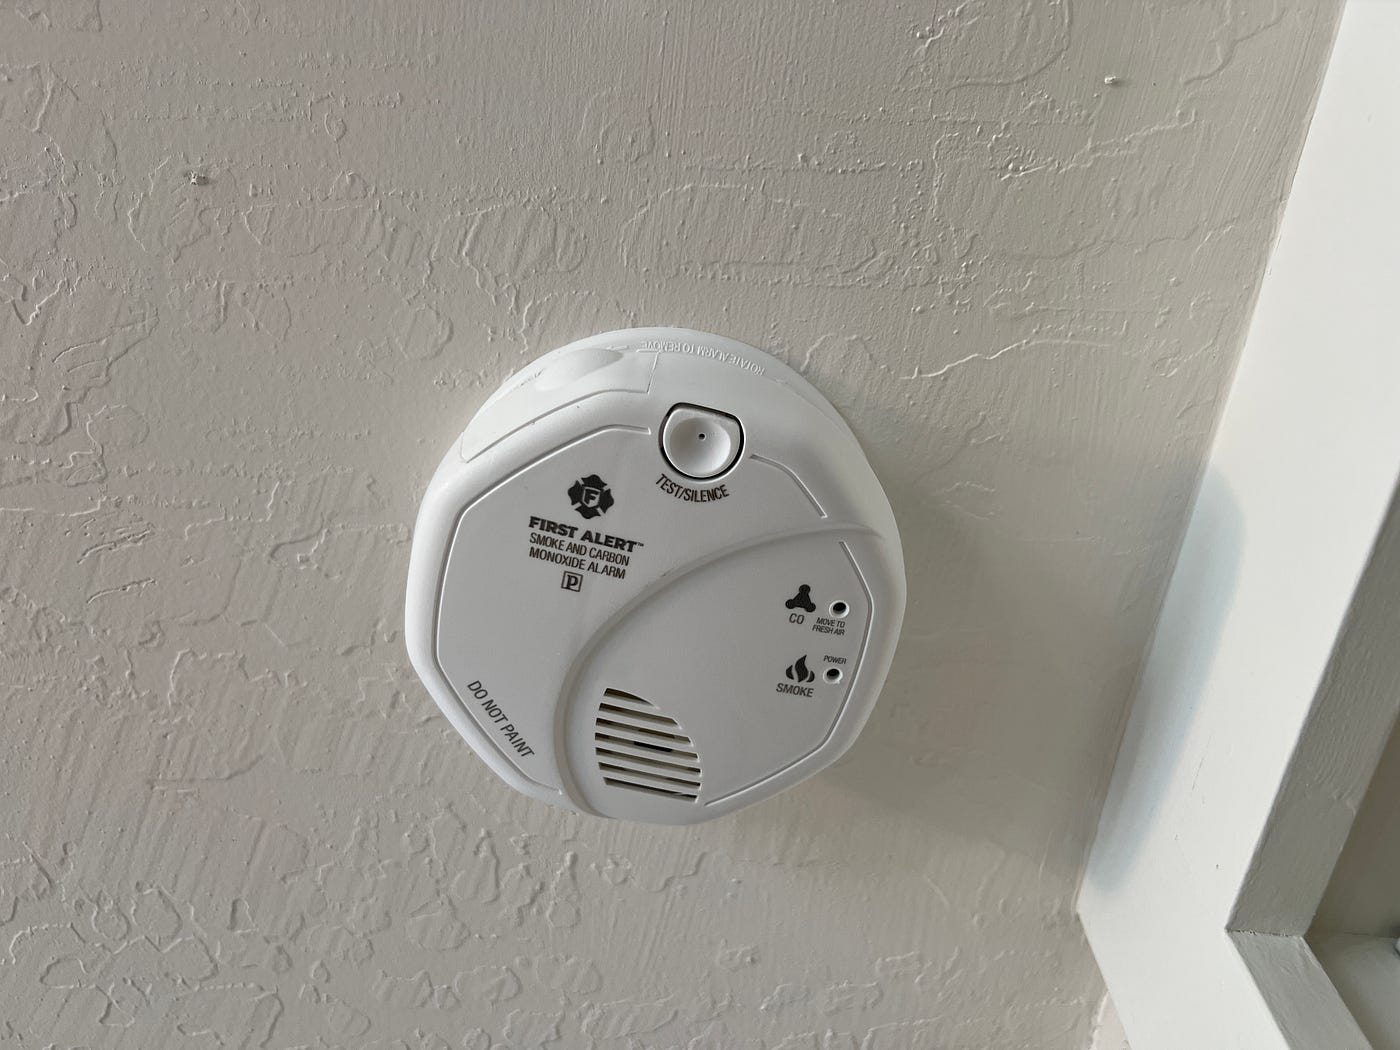
First Alert smoke detectors are an essential safety feature in any home or building. These devices are designed to detect smoke and alert occupants to the presence of a potential fire. However, there may come a time when you need to remove a First Alert smoke detector, whether it’s due to maintenance, replacement, or simply relocating the detector to a different area.
In this article, we will provide you with a step-by-step guide on how to remove a First Alert smoke detector safely and effectively. By following these instructions, you can ensure that the process is conducted correctly and avoid any potential damage to your property or electrical system.
Before we dive into the steps, it’s important to note that handling electrical components should be done with caution. If you don’t have sufficient knowledge or experience in dealing with electrical systems, it’s always best to consult a professional or an electrician to assist you.
Now, let’s get started with the first step.
Key Takeaways:
- Safely remove a First Alert smoke detector by turning off the power, twisting the detector counterclockwise, disconnecting the wires, and removing the mounting plate. Patching holes left behind is optional but enhances the aesthetics of your space.
- Prioritize safety when removing a First Alert smoke detector. If unsure, consult a professional electrician. Properly dispose of old smoke detectors and regularly inspect and test your detectors to ensure the safety of your home and loved ones.
Read more: How To Pair A First Alert Smoke Detector
Step 1: Turn off the Power
The first and most crucial step before removing a First Alert smoke detector is to turn off the power supply to ensure your safety. In most cases, smoke detectors are connected to the electrical wiring of your home, so shutting off the power is essential to avoid any potential electrical shock.
To turn off the power, you’ll need to locate the circuit breaker panel in your home. This panel is usually found in the basement, utility room, or garage. It’s important to note that the circuit breaker may be labeled differently in your home, so look for a label that indicates the area where the smoke detector is connected.
Once you’ve located the correct circuit breaker, switch it to the “off” position. This will cut off the power supply to the smoke detector. To ensure that the power is indeed off, you can test the smoke detector by pressing the test button. If it doesn’t make any sound or light up, then you have successfully turned off the power.
It’s worth mentioning that some smoke detectors may also have backup batteries. Even when the power is turned off, they may still be operational. To be on the safe side, it’s a good idea to remove the batteries as well. This will eliminate any potential power source while you’re working on removing the detector.
With the power turned off and the batteries removed, you’re now ready to move on to the next step.
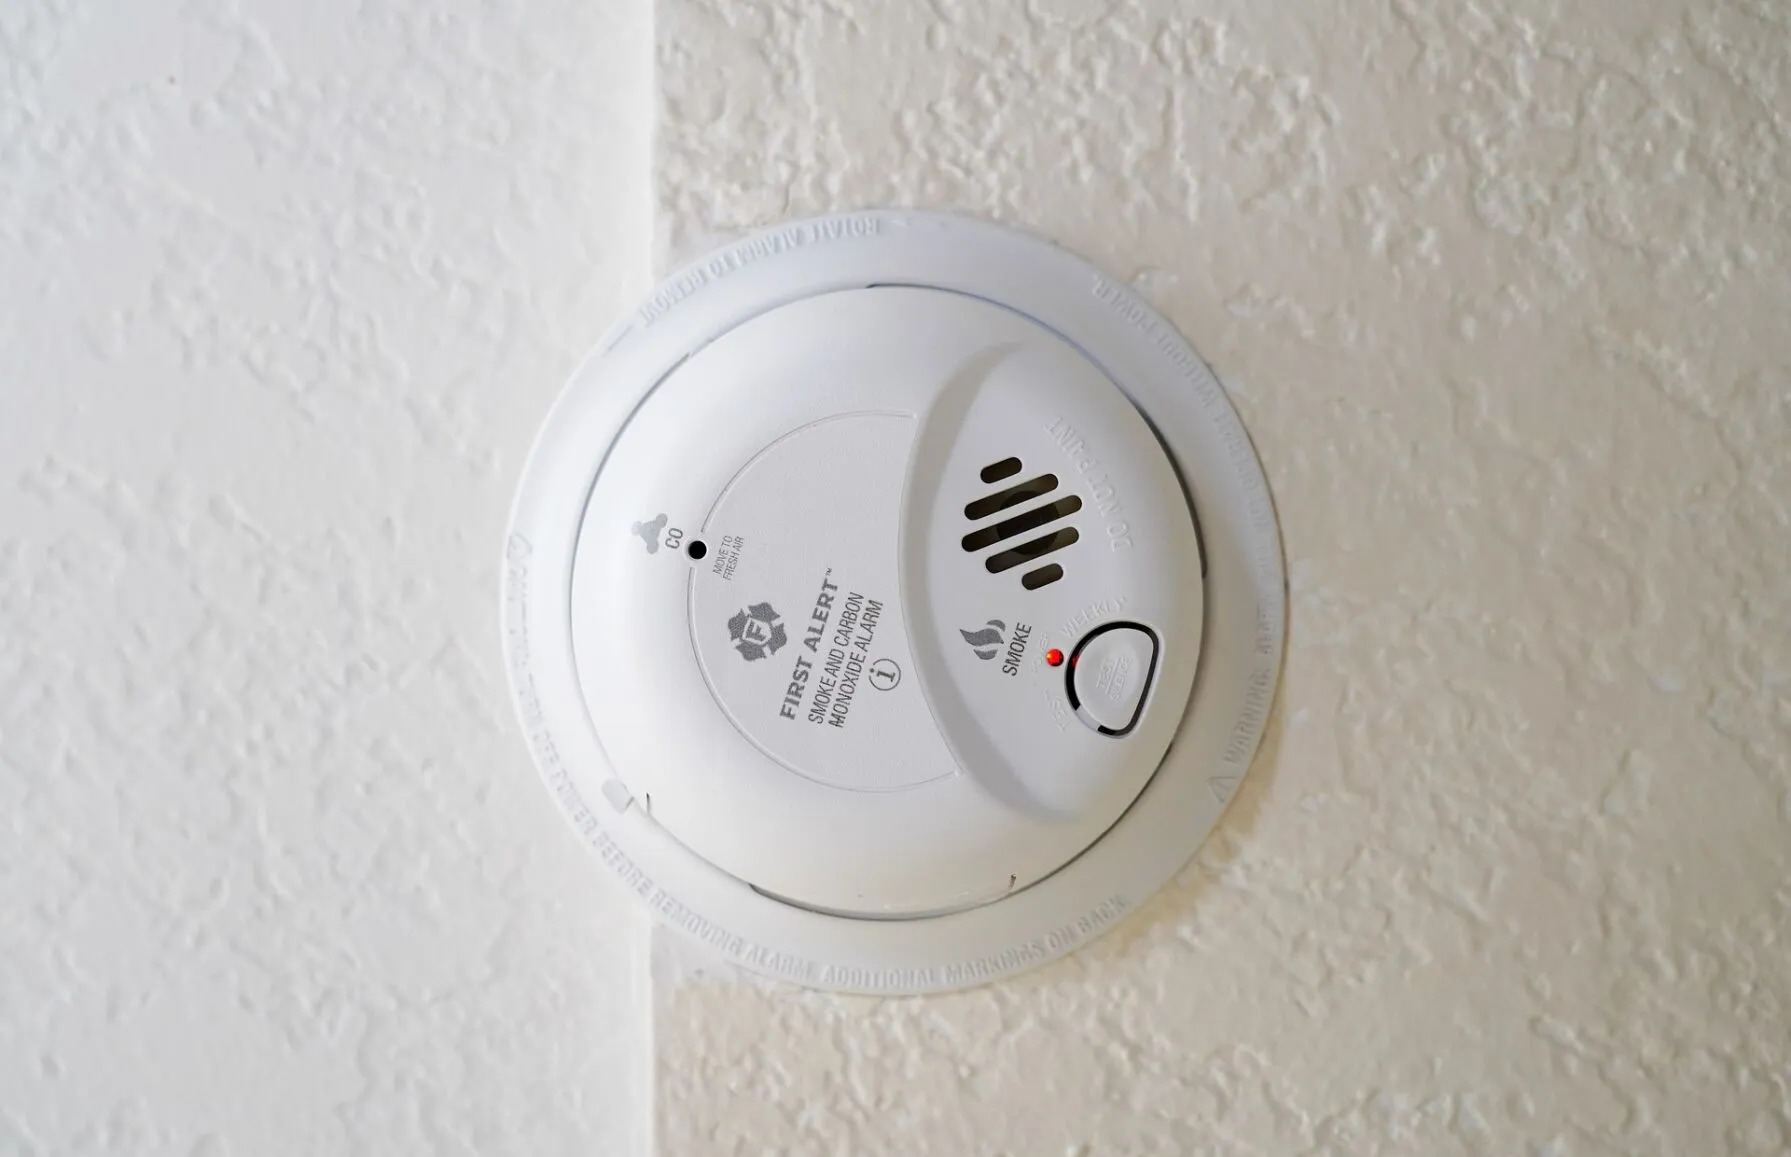
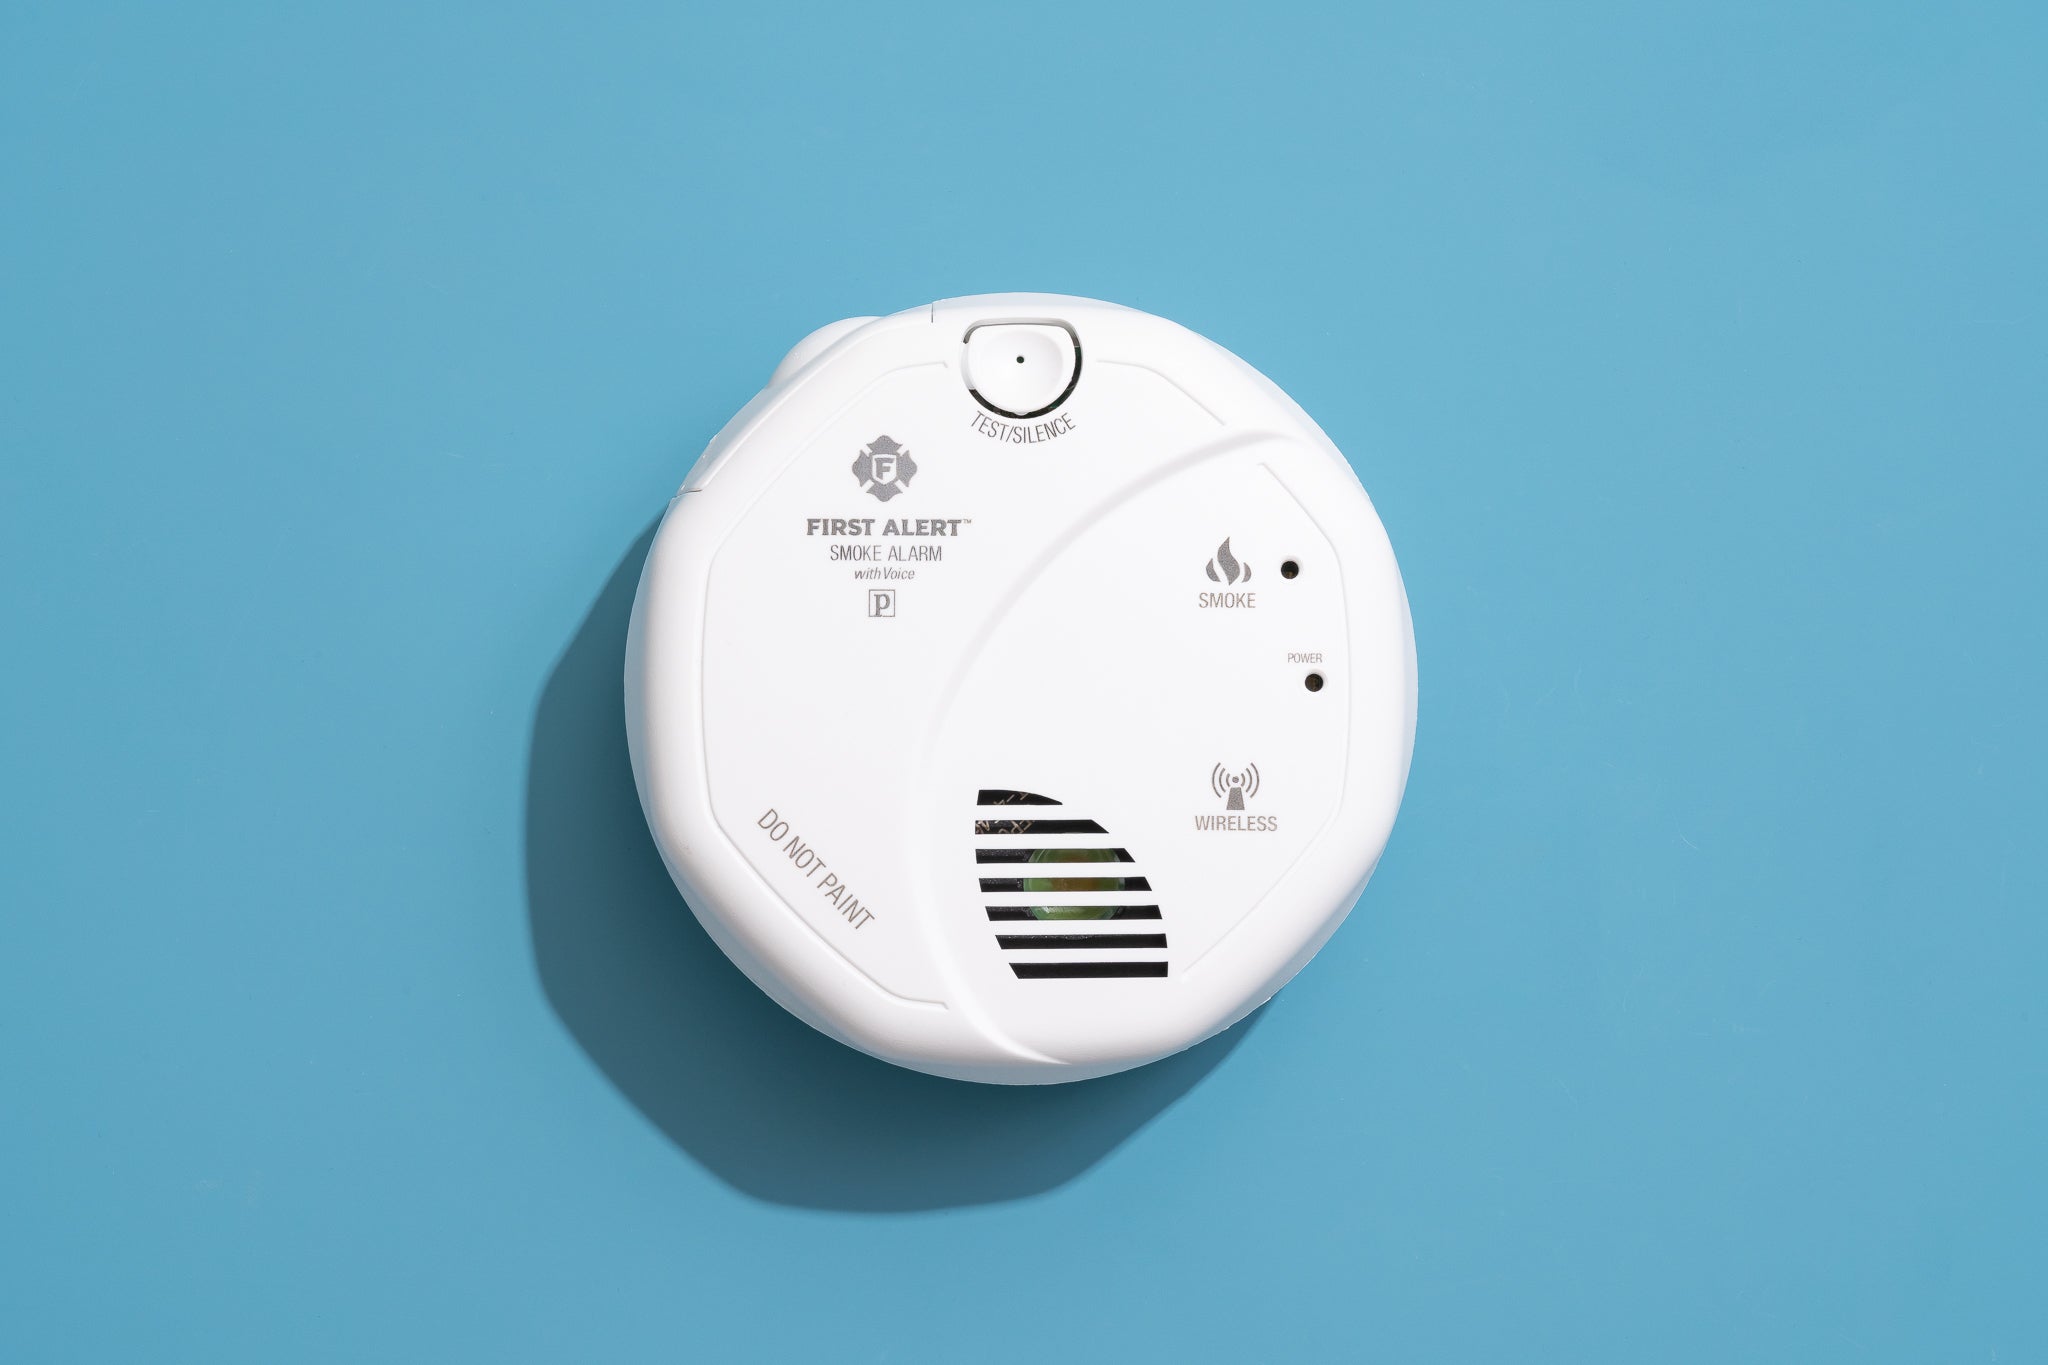
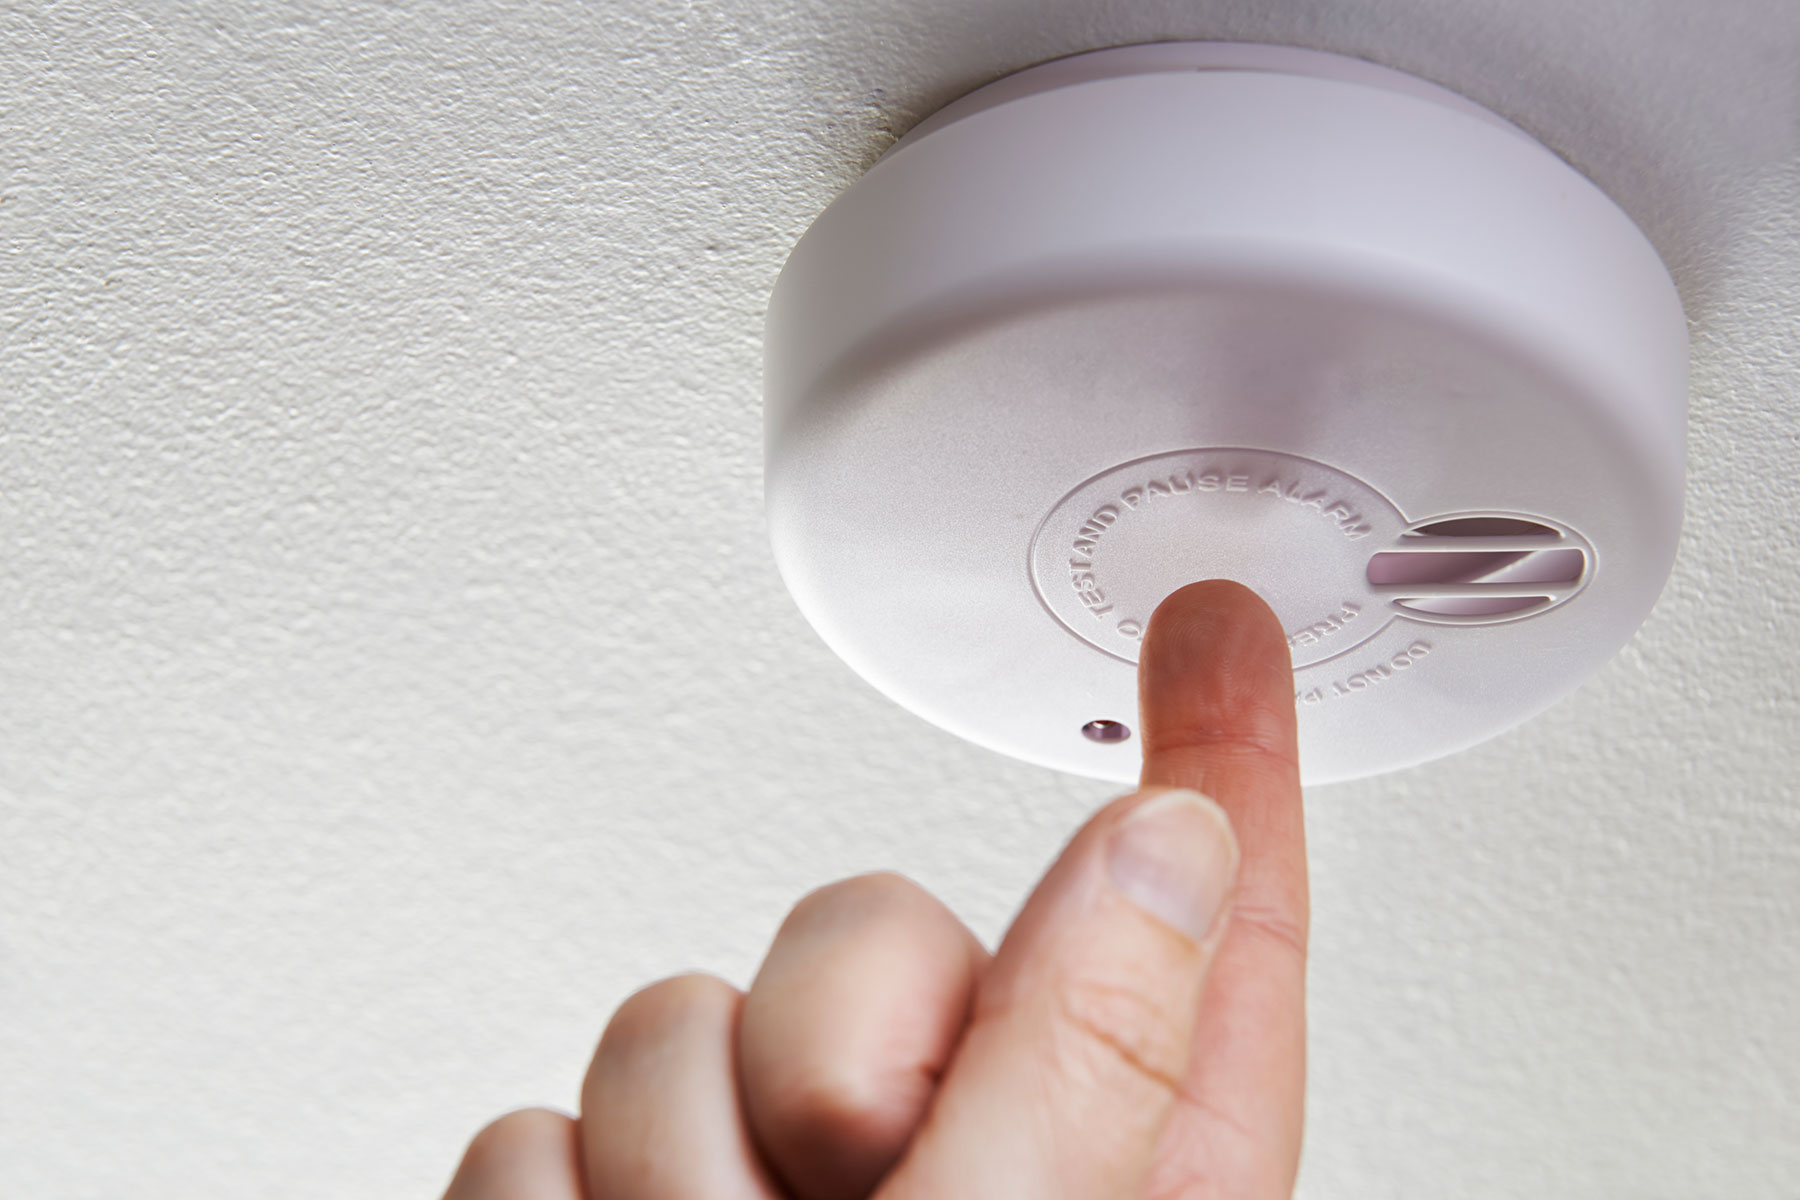
Step 2: Twist the Detector
Once the power supply has been turned off and the batteries have been removed, you can proceed to remove the First Alert smoke detector from its mounting bracket. The most common method for detaching the detector is by twisting it counterclockwise.
To begin, locate the smoke detector on the ceiling or wall. Most detectors are attached to a mounting bracket, which is secured to the surface with screws. Look for a small slot or groove on the side of the detector that aligns with a corresponding tab on the mounting bracket.
Using a firm grip, rotate the smoke detector counterclockwise. Apply gentle pressure and twist until you feel the detector start to loosen. Continue spinning the detector until it unlocks from the mounting bracket. Depending on the model, you may need to rotate it a quarter turn or until it is completely free from the bracket.
While twisting the detector, be cautious not to force it or use excessive force, as this can damage the detector or the mounting bracket. If you encounter any resistance, double-check that the power supply is turned off and try again. If you’re still having trouble, it may be helpful to refer to the manufacturer’s instructions or consult a professional.
Once you have successfully twisted the detector and unlocked it from the mounting bracket, you can move on to the next step of disconnecting the wires.
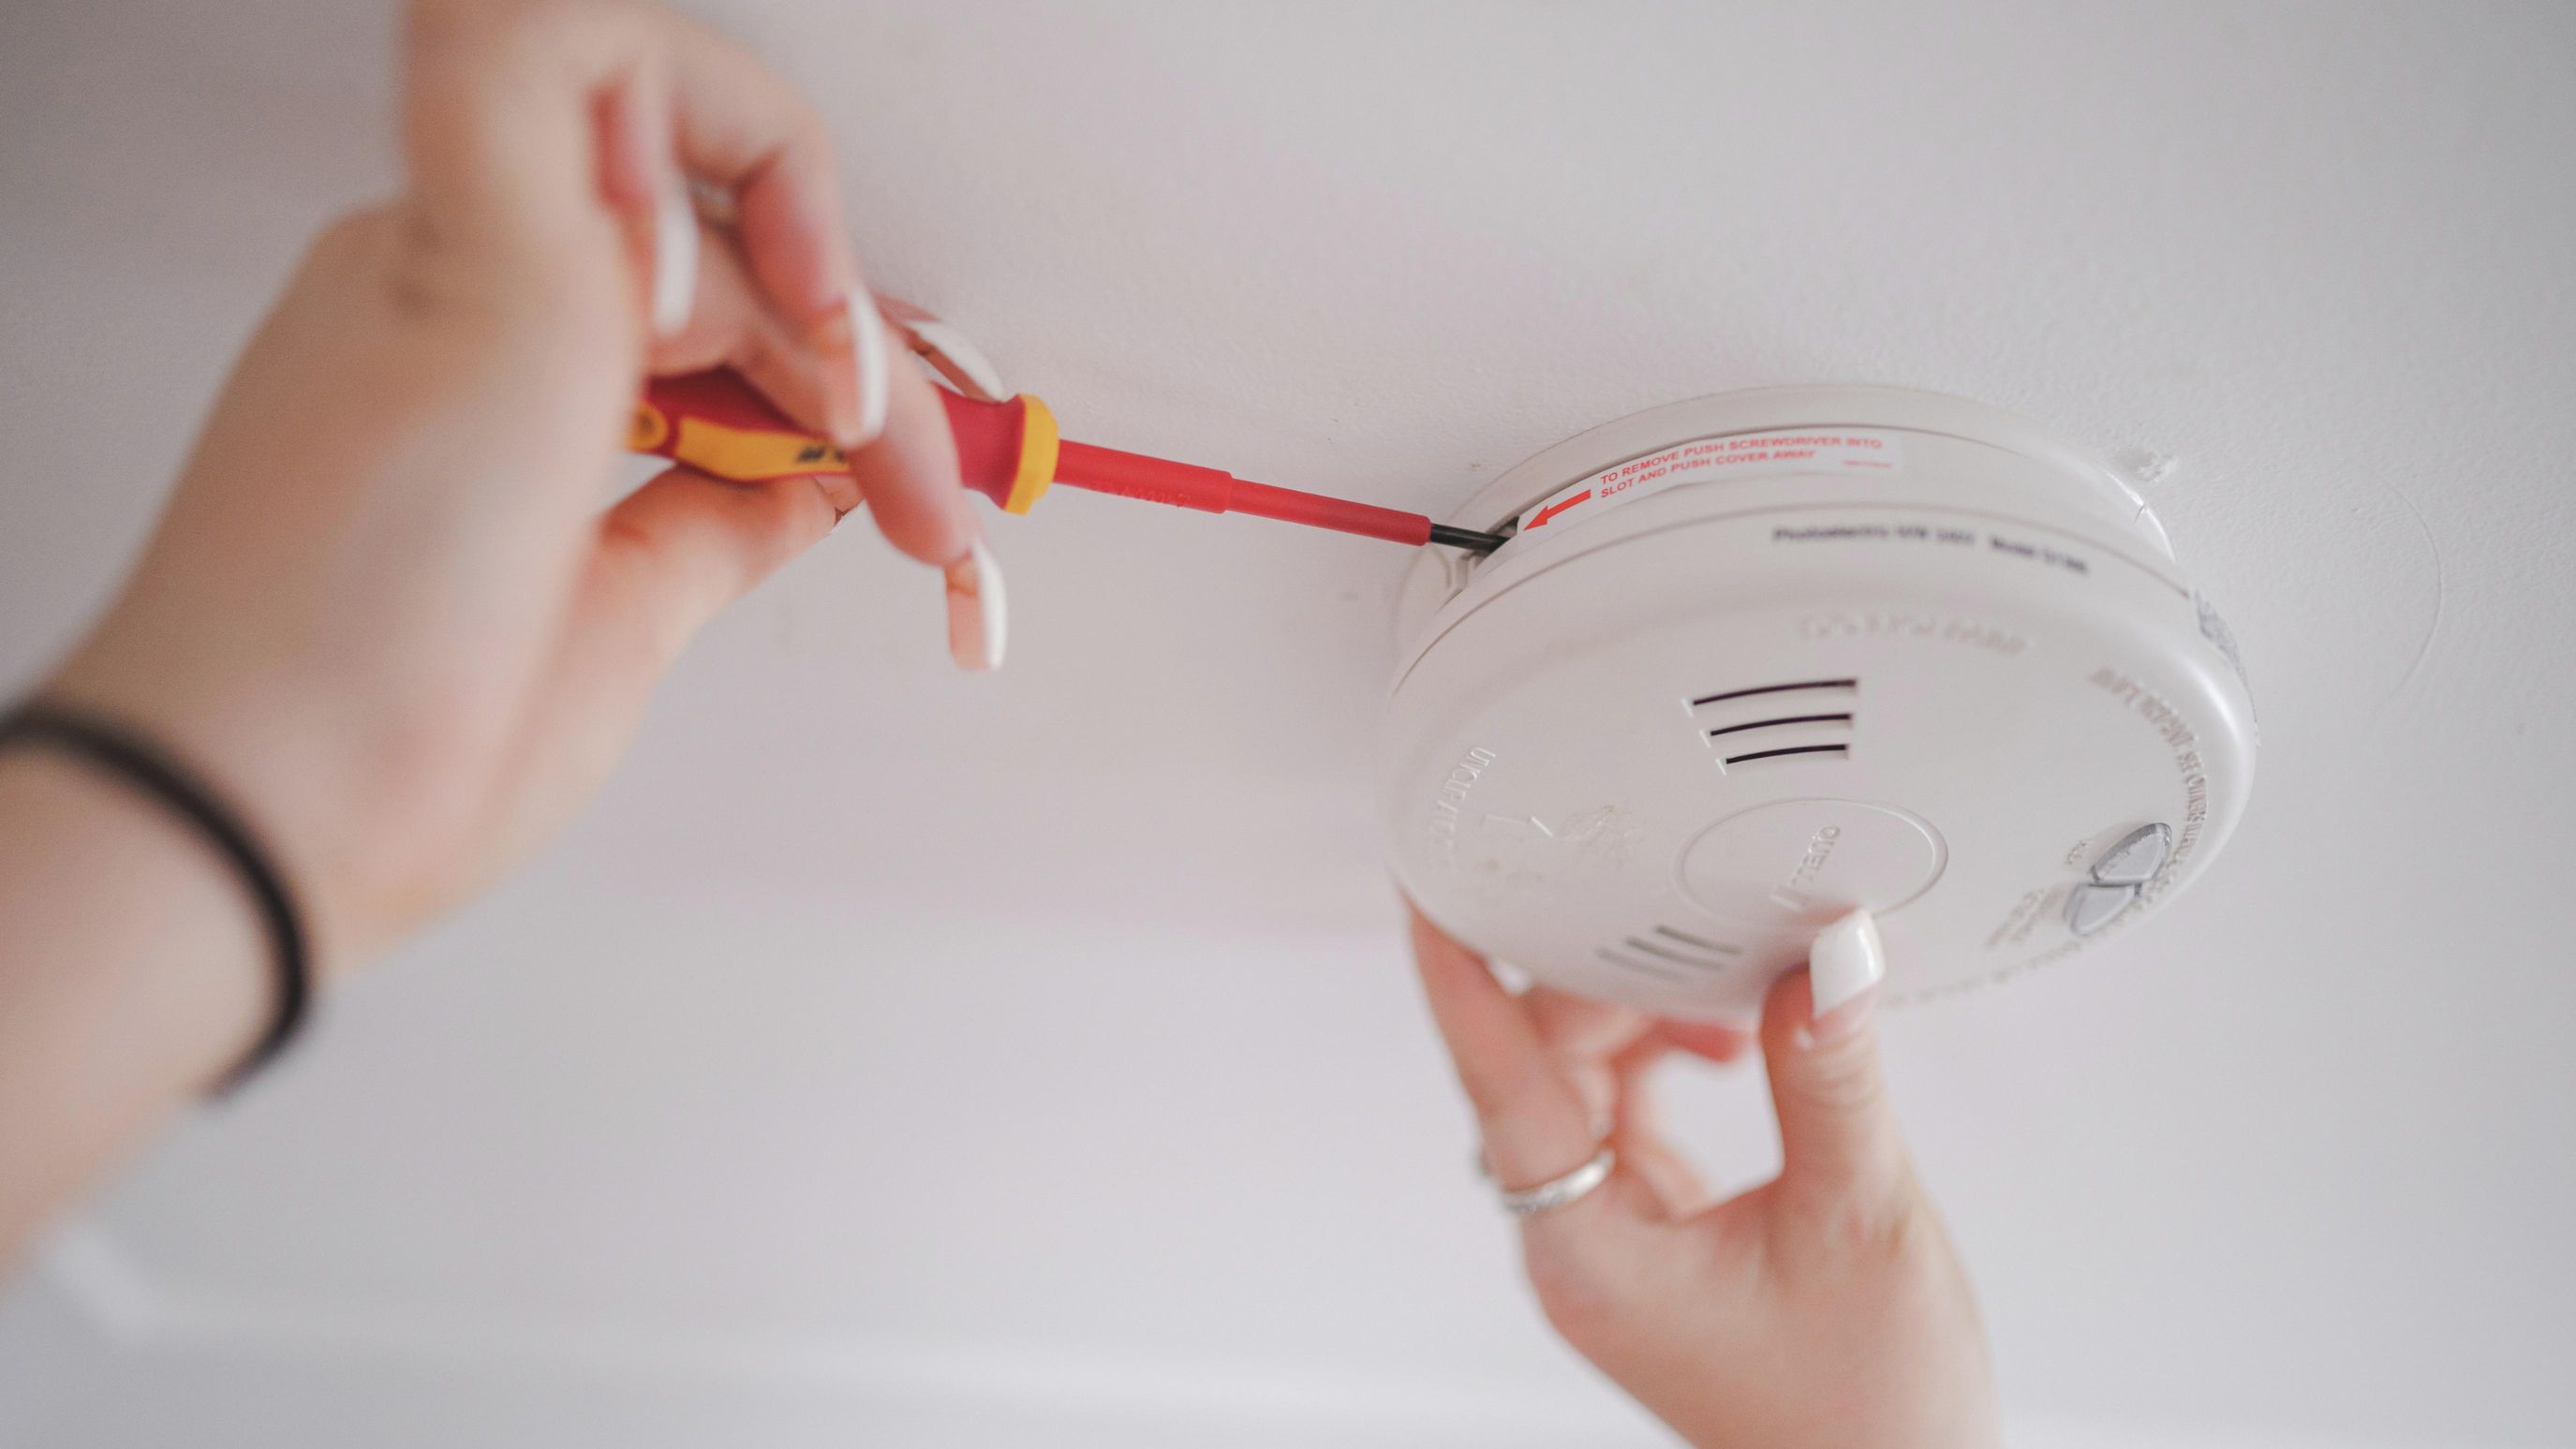
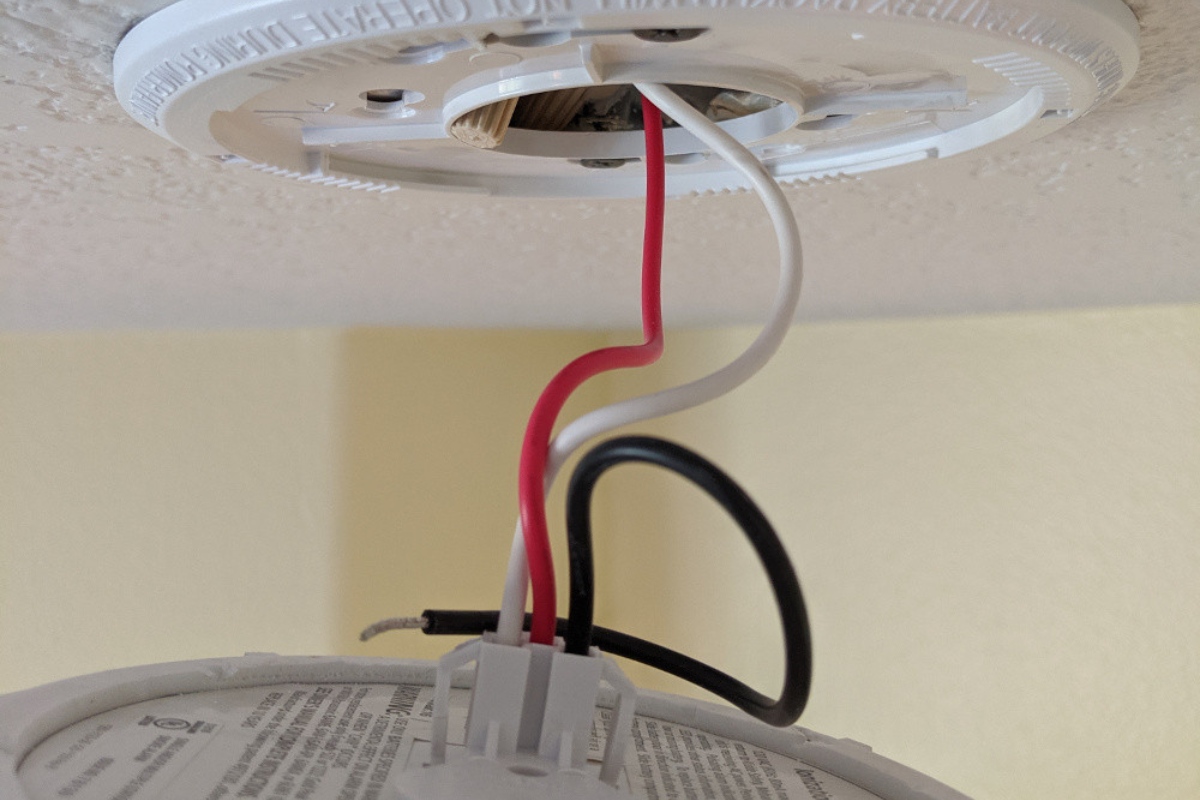
Step 3: Disconnect the Wires
After you have removed the First Alert smoke detector from its mounting bracket, the next step is to disconnect the wires connecting it to the electrical system. This step is crucial to ensure the safe removal of the detector.
Before proceeding, it’s important to verify that the power supply is still turned off. Double-check the circuit breaker to ensure it hasn’t been accidentally switched back on. You can also use a voltage tester to confirm that there is no electrical current running through the wires.
Next, carefully examine the wires connected to the back of the smoke detector. Most detectors have a set of wires consisting of black (hot), white (neutral), and sometimes green or bare copper (ground) wires. These wires are typically held in place by screw terminals or wire connectors.
Using a screwdriver or pliers, loosen the screws or tabs that secure the wires to the smoke detector. Once they are loose, gently pull the wires out of the terminals. You may need to wriggle them slightly back and forth to release them completely.
It’s essential to exercise caution when handling the wires to avoid any accidental contact or damage. If you’re unsure about disconnecting the wires or encounter any difficulties, it’s best to seek the assistance of a qualified professional.
With the wires safely disconnected, you can move on to the next step of removing the mounting plate.
When removing a First Alert smoke detector, make sure to turn off the power to the unit first. Then, twist the detector counterclockwise to release it from the mounting bracket and disconnect the power source.
Step 4: Remove the Mounting Plate
With the First Alert smoke detector disconnected from the electrical wires, it’s time to remove the mounting plate from the wall or ceiling. The mounting plate is the piece that attaches to the surface and holds the detector in place.
Start by inspecting the mounting plate for any screws or fasteners that are securing it to the surface. Using a screwdriver, remove these screws by turning them counterclockwise. Set the screws aside in a safe place to avoid losing them.
Once the screws have been removed, gently pull the mounting plate away from the surface. Take care not to damage the wall or ceiling during this process. If the mounting plate feels stuck, you can use a putty knife or similar tool to pry it away from the surface.
Some mounting plates may have adhesive backing that holds them in place. If this is the case, carefully peel the plate off the surface, applying even pressure to avoid any damage or residue left on the wall or ceiling.
After removing the mounting plate, inspect the area for any remaining screws, adhesive residue, or damage. If necessary, clean the surface and patch any holes or imperfections using appropriate materials, such as spackle or drywall compound.
At this point, the First Alert smoke detector has been fully removed, and you have successfully completed the removal process. However, if you plan to install a new smoke detector in the same location, you can leave the mounting plate intact for easy installation.
Now that the detector has been safely removed, you can proceed to the optional step of patching the holes if needed.
Step 5: Patch the Holes (Optional)
After removing the mounting plate of the First Alert smoke detector, you may notice small holes in the wall or ceiling where the screws were previously attached. Patching these holes is an optional step, but it can help improve the appearance of the area and prepare it for future installations or repairs.
To patch the holes, you will need a few simple tools and materials:
- Spackle or drywall compound
- Putty knife or a scraper
- Sandpaper
- Paint or primer (if needed)
Here’s a step-by-step guide to patching the holes:
- Start by cleaning the area around the holes. Remove any loose debris or dust with a cloth or brush.
- Using a putty knife or scraper, apply a small amount of spackle or drywall compound to the hole, filling it completely. Smooth out the surface with the putty knife, removing any excess material.
- Allow the spackle or compound to dry according to the manufacturer’s instructions. This usually takes a few hours, but it may vary depending on the product.
- Once the patch is dry, sand it lightly with sandpaper to ensure a smooth and seamless finish. Wipe away any dust or residue with a clean cloth.
- If necessary, apply a coat of paint or primer to the patched area to match the surrounding wall or ceiling. Allow it to dry completely.
- Inspect the area to ensure the patch is properly blended and concealed. Make any necessary touch-ups or adjustments as needed.
By following these steps, you can effectively patch the holes left behind after removing the First Alert smoke detector. This will help maintain the aesthetics of your space and provide a clean surface for future installations or repairs.
Now that you’ve completed all the steps, you can consider the project finished. However, remember to dispose of the old smoke detector responsibly or recycle it if possible.
With these instructions in mind, you can confidently remove a First Alert smoke detector and handle any necessary repairs or installations with ease.
Conclusion
Removing a First Alert smoke detector may seem like a daunting task, but by following the steps outlined in this guide, you can safely and effectively complete the process. Remember to always prioritize your safety and take necessary precautions when working with electrical components.
Starting with turning off the power at the circuit breaker, you can then twist and detach the smoke detector from its mounting bracket. Disconnect the electrical wires carefully, ensuring that there is no power running through them. Remove the mounting plate, and if desired, patch any holes left behind.
By following these steps, you can successfully remove a First Alert smoke detector without causing any damage to your property or compromising your safety.
Remember, if you are unsure or uncomfortable with the removal process, it is always best to seek the assistance of a professional electrician. They have the knowledge and experience to handle electrical systems safely and efficiently.
Once you have removed the smoke detector, you can now proceed with any necessary maintenance, replacement, or relocation. And always remember to properly dispose of any old smoke detectors or recycle them according to your local regulations.
Keeping your home safe from fire hazards is essential, and maintaining your smoke detectors plays a vital role in ensuring the safety of you and your loved ones. Regularly inspect and test your smoke detectors to ensure they are functioning properly.
We hope this guide has provided you with the necessary information and guidance to remove a First Alert smoke detector. Stay safe, and take the necessary steps to protect yourself and your home from fire risks.
Frequently Asked Questions about How To Remove A First Alert Smoke Detector
Was this page helpful?
At Storables.com, we guarantee accurate and reliable information. Our content, validated by Expert Board Contributors, is crafted following stringent Editorial Policies. We're committed to providing you with well-researched, expert-backed insights for all your informational needs.


0 thoughts on “How To Remove A First Alert Smoke Detector”