Home>Articles>How To Change The Battery In A First Alert Smoke Detector
Articles
How To Change The Battery In A First Alert Smoke Detector
Modified: August 22, 2024
Learn how to change the battery in a First Alert smoke detector with our helpful articles. Keep your home safe and secure with our step-by-step guide!
(Many of the links in this article redirect to a specific reviewed product. Your purchase of these products through affiliate links helps to generate commission for Storables.com, at no extra cost. Learn more)
Introduction
Welcome to our comprehensive guide on how to change the battery in a First Alert smoke detector. Smoke detectors are an essential safety feature in every home, serving as a critical early warning system to protect you and your loved ones from the dangers of smoke and fire. Regularly maintaining your smoke detector by replacing the battery is crucial to ensure its proper functioning.
In this article, we will walk you through a step-by-step process to change the battery in your First Alert smoke detector. Whether you are a homeowner, a tenant, or simply someone who wants to be prepared, this guide will equip you with the knowledge and confidence to perform this important task.
Before we dive into the details, it’s important to note that different models of First Alert smoke detectors may have slightly different mechanisms. Therefore, it’s essential to consult your specific model’s user manual for precise instructions. However, the overall process described in this article is applicable to most First Alert smoke detectors.
Now, let’s get started on ensuring the continued functionality of your First Alert smoke detector by learning how to change its battery. Remember, taking the time to perform this simple maintenance task can make all the difference in keeping your home and family safe.
Key Takeaways:
- Regularly replacing the battery in your First Alert smoke detector is crucial for maintaining its functionality and ensuring the safety of your home and loved ones. Follow the step-by-step guide to stay prepared and empowered.
- Prioritize safety by gathering necessary materials, following user manual instructions, and testing the smoke detector after battery replacement. Simple maintenance tasks can make a significant difference in home safety.
Read more: How To Remove A First Alert Smoke Detector
Step 1: Gathering the necessary materials
Before you begin the process of changing the battery in your First Alert smoke detector, it’s essential to gather all the necessary materials. Having everything in one place will make the process smoother and more efficient. Here are the materials you’ll need:
- New Battery: First, ensure you have a compatible replacement battery for your smoke detector. Check the user manual or the existing battery for the correct battery type and size.
- Step Stool or Ladder: Depending on the placement of your smoke detector, you may need a step stool or ladder to reach it safely. Ensure the stool or ladder is stable and secure before climbing.
- Flashlight: A flashlight will come in handy if the area surrounding the smoke detector is poorly lit.
- Safety Gear: It’s always a good idea to prioritize your safety. Consider wearing gloves and safety glasses to protect against any potential hazards.
Once you have gathered these materials, find a well-lit area to work in and ensure there are no distractions that could interfere with the process. It’s also a good idea to notify anyone in the house that you’ll be temporarily disabling the smoke detector during the battery replacement.
Now that you have gathered all the necessary materials, let’s move on to preparing for the battery replacement in the next step.
Step 2: Preparing for battery replacement
Before we start replacing the battery in your First Alert smoke detector, it’s important to take a few steps to ensure a safe and smooth process. Follow these preparations:
- Read the user manual: Familiarize yourself with the specific instructions provided in the user manual for your First Alert smoke detector. Different models may have slight variations in the battery replacement process.
- Alert family members: Inform everyone in your household that you will be temporarily disabling the smoke detector while replacing the battery. This prevents any confusion or concern when they hear the alarm sound during the process.
- Choose the right time: Select a time when the likelihood of smoke or fire incidents is low. This way, you can perform the battery replacement without any disruptions.
- Turn off the power: Some smoke detectors may be hardwired into the electrical system of your home. In such cases, it’s crucial to turn off the power to the smoke detector before proceeding with the battery replacement. This can usually be done by flipping the corresponding circuit breaker in your electrical panel.
- Mark the date: To keep track of the last time you changed the battery, mark the date on a calendar or create a reminder on your phone. This way, you’ll know when it’s time for the next battery replacement.
Once you have completed these preparations, you are ready to move on to accessing the battery compartment in the next step. Remember to always prioritize your safety and follow the manufacturer’s instructions throughout the process. Let’s continue with the next step.
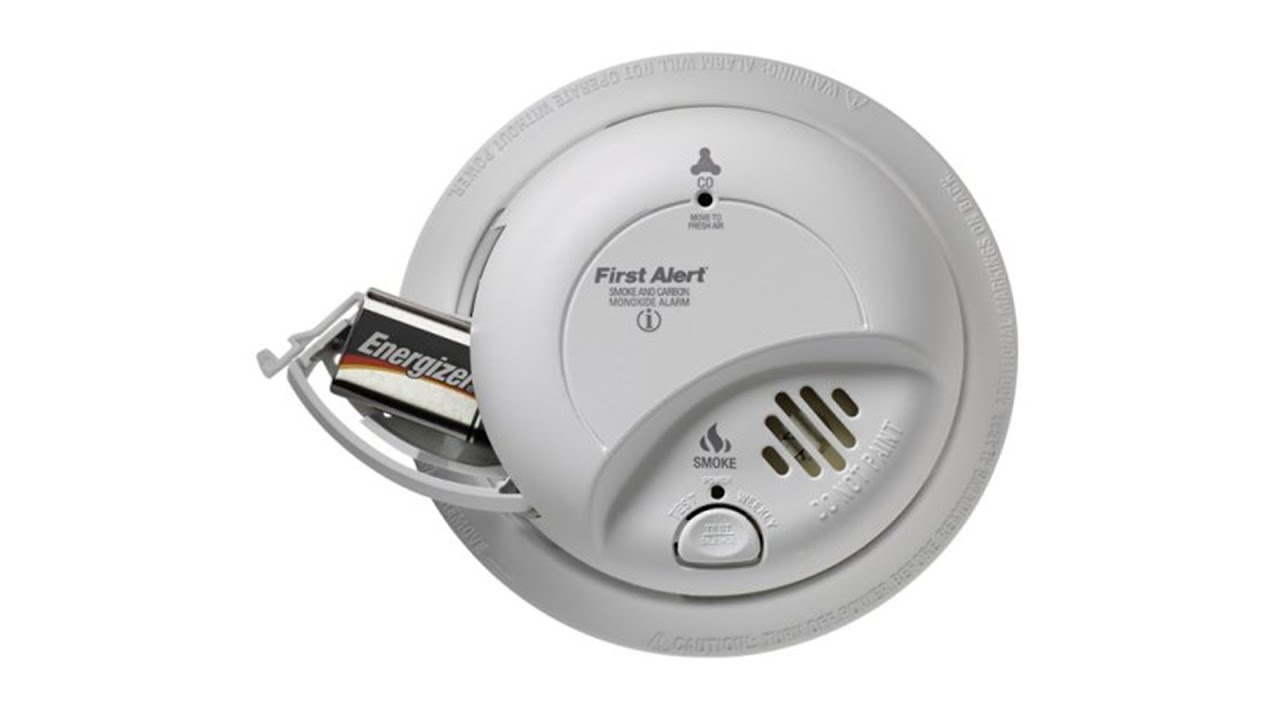
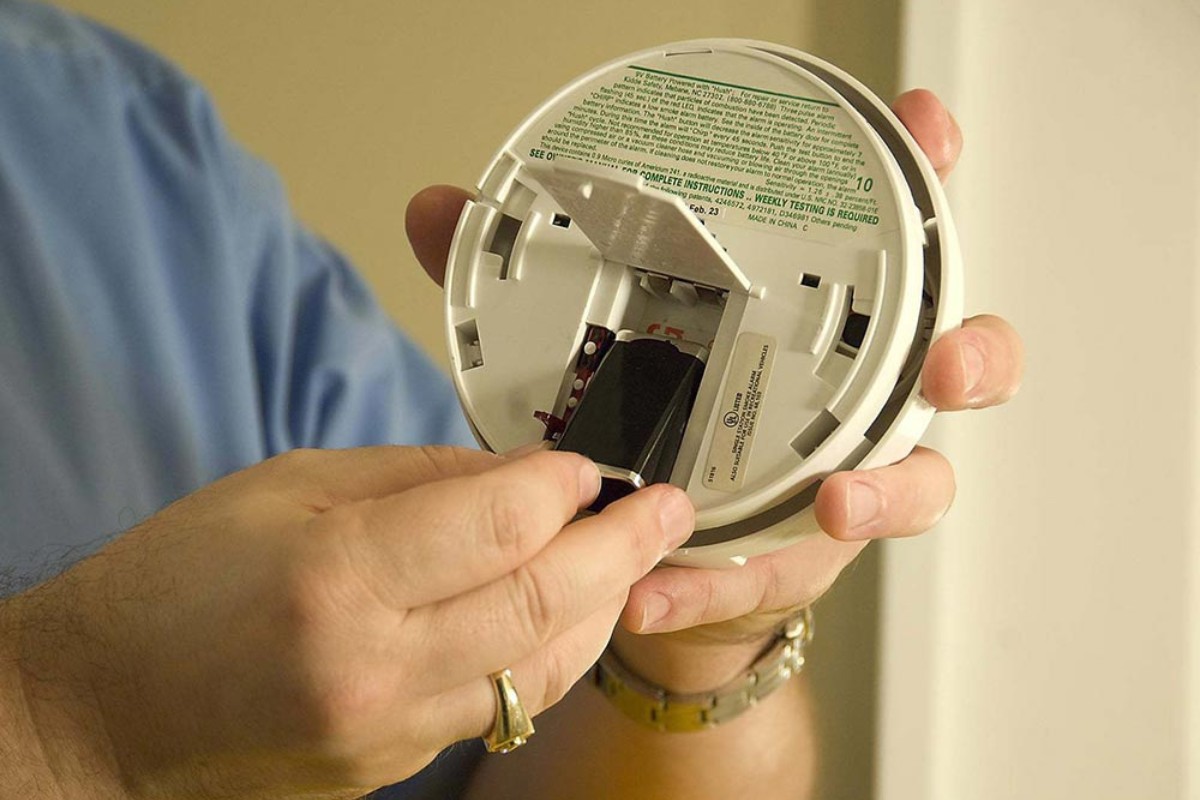
Step 3: Accessing the battery compartment
Now that you’ve prepared for the battery replacement, it’s time to access the battery compartment in your First Alert smoke detector. Follow these steps:
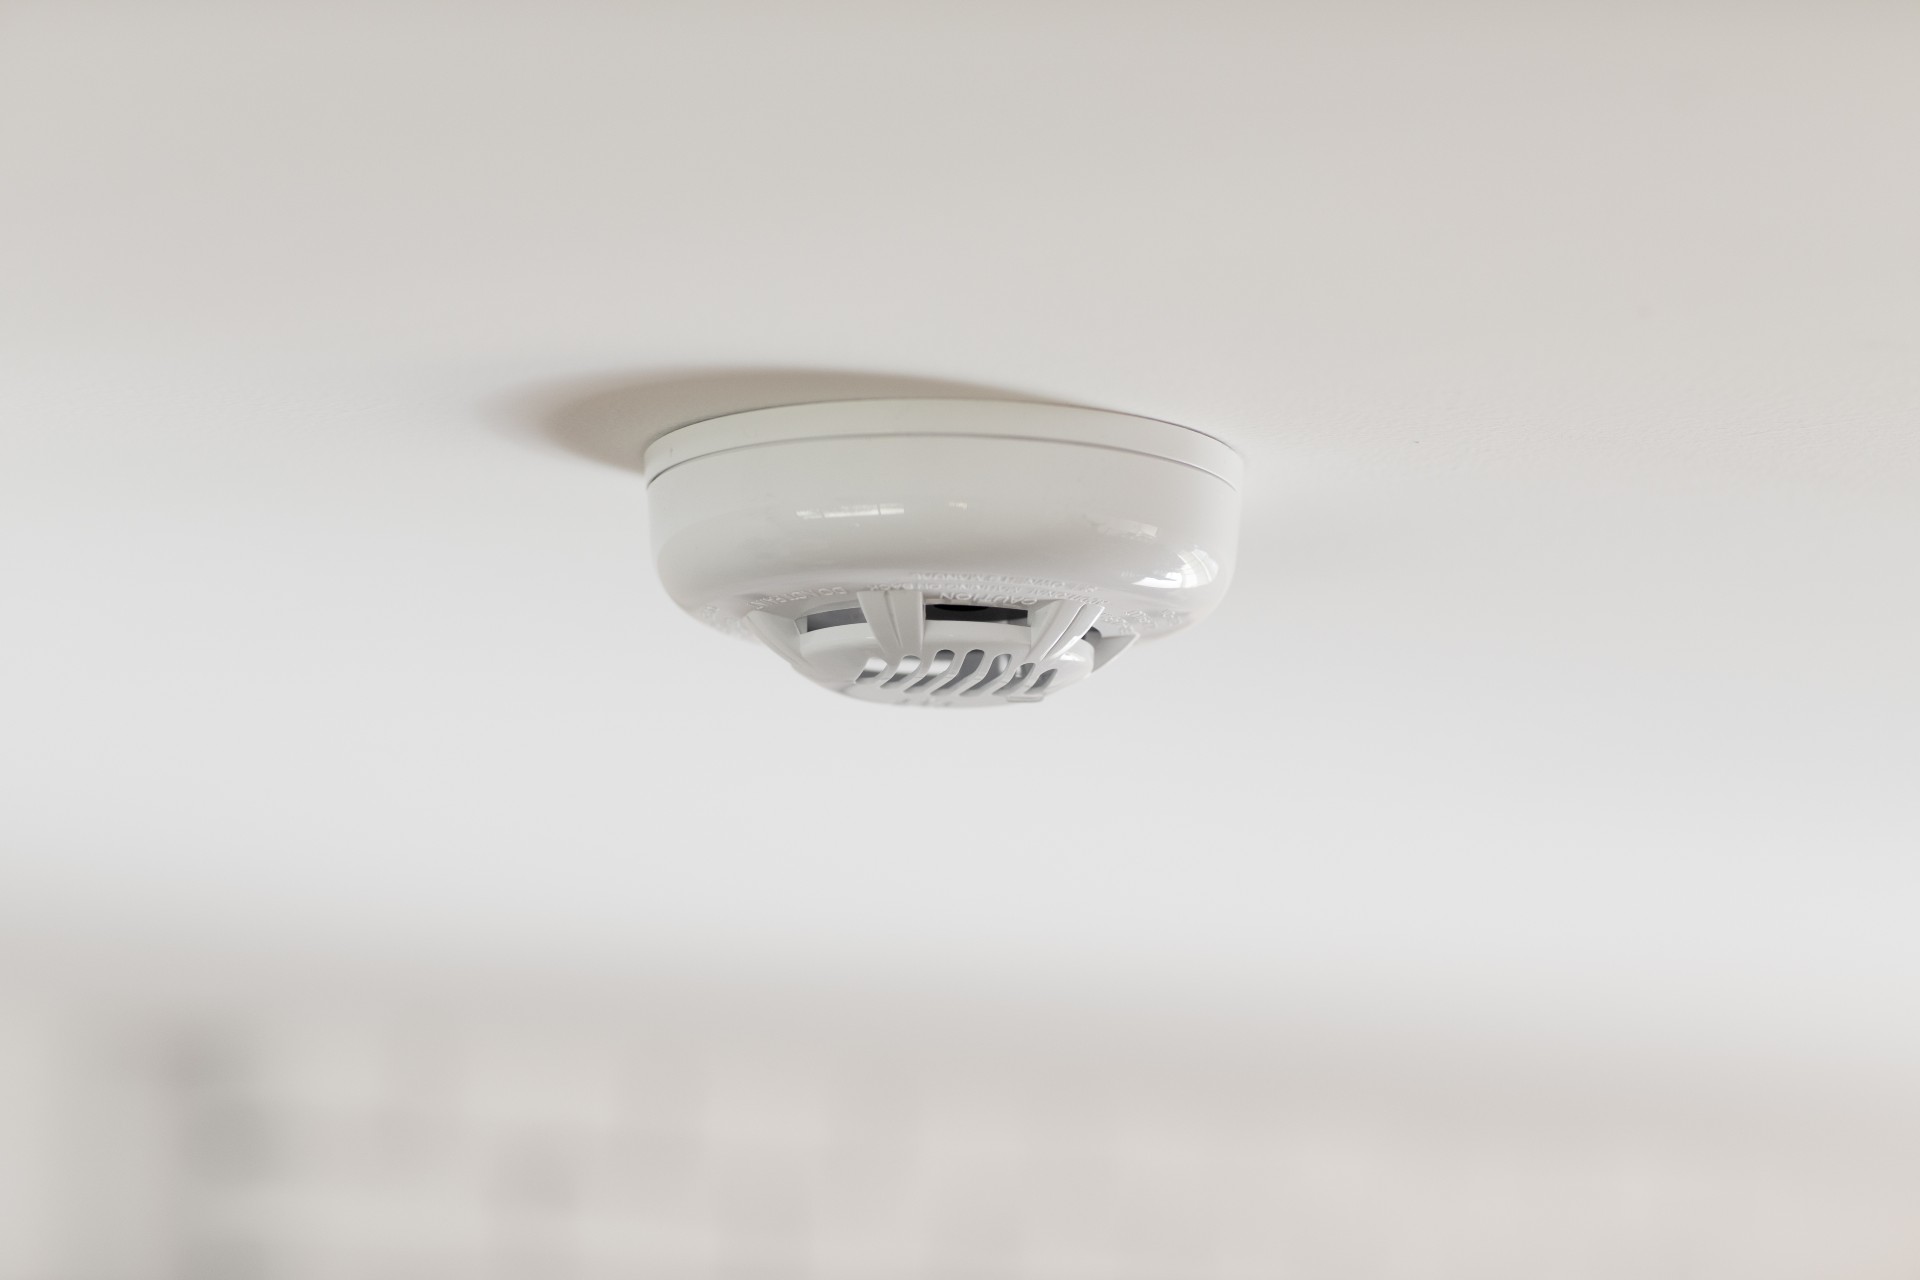
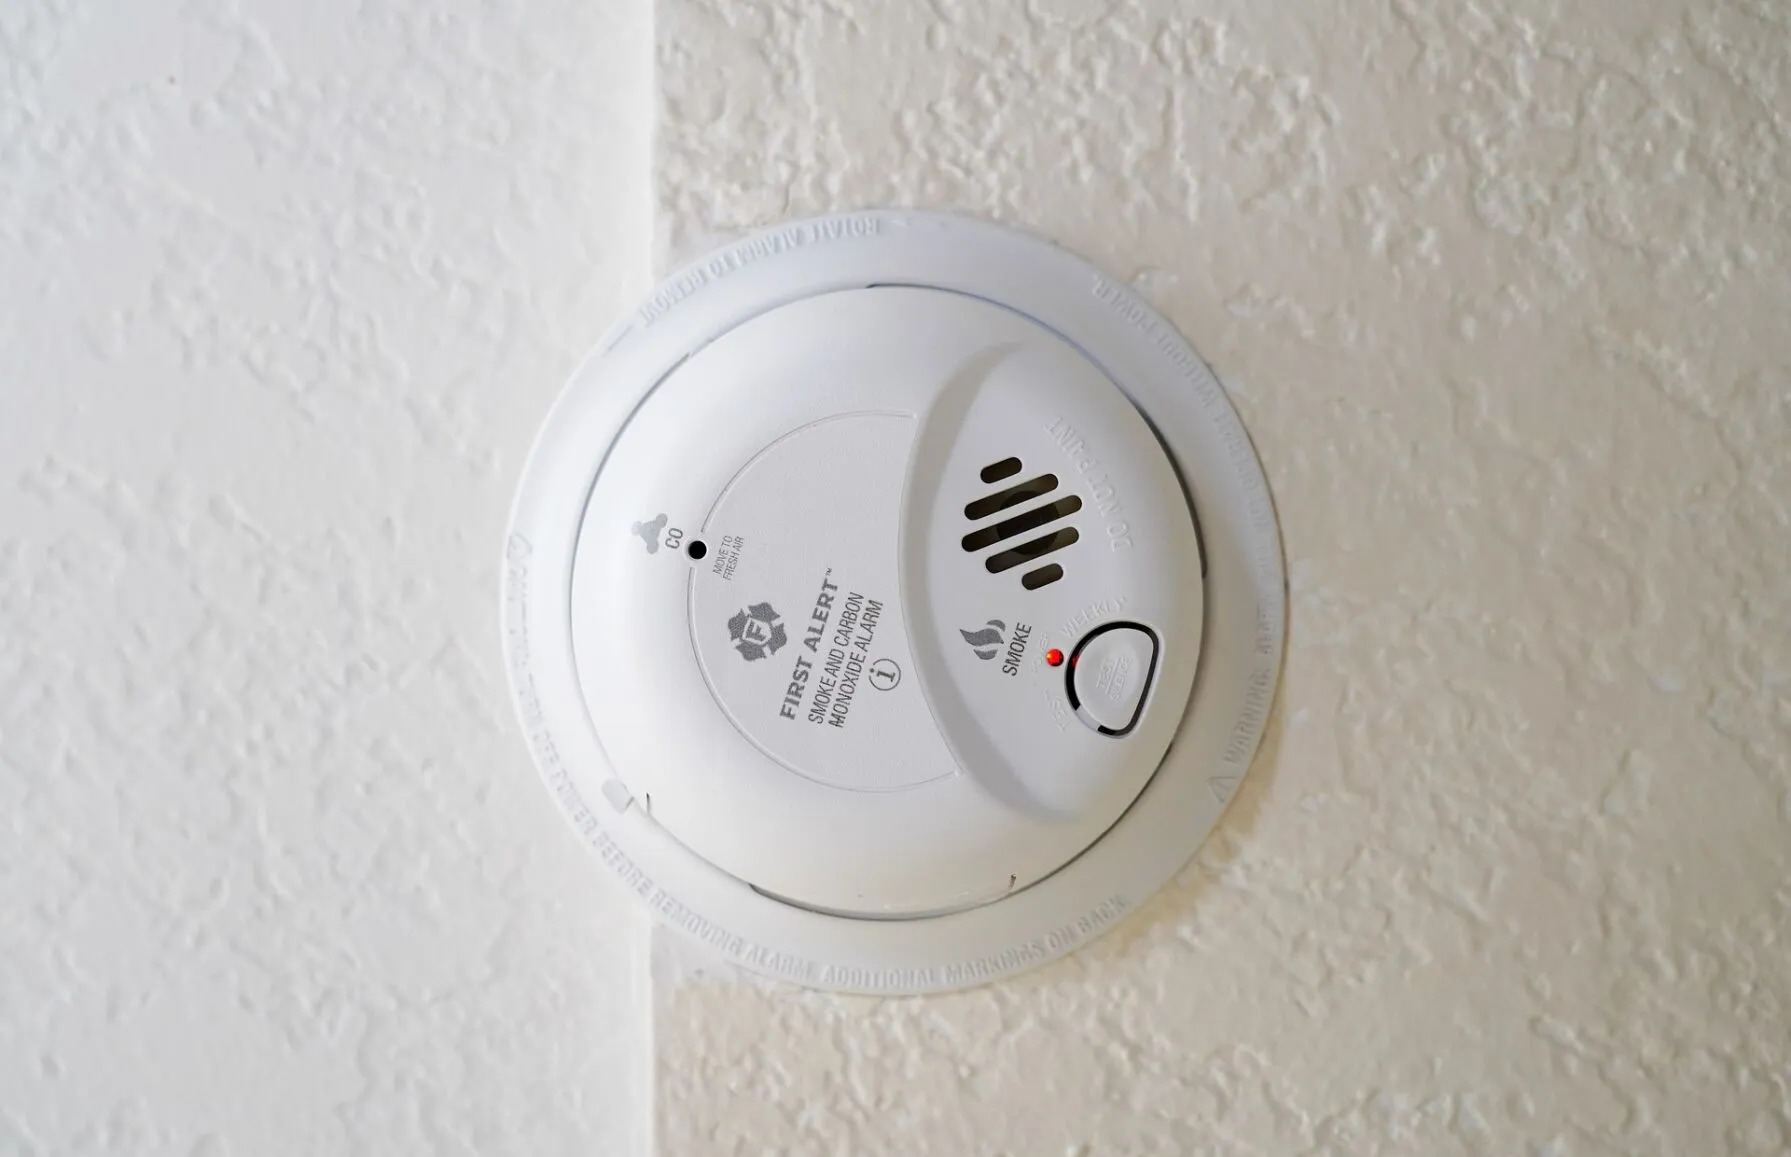
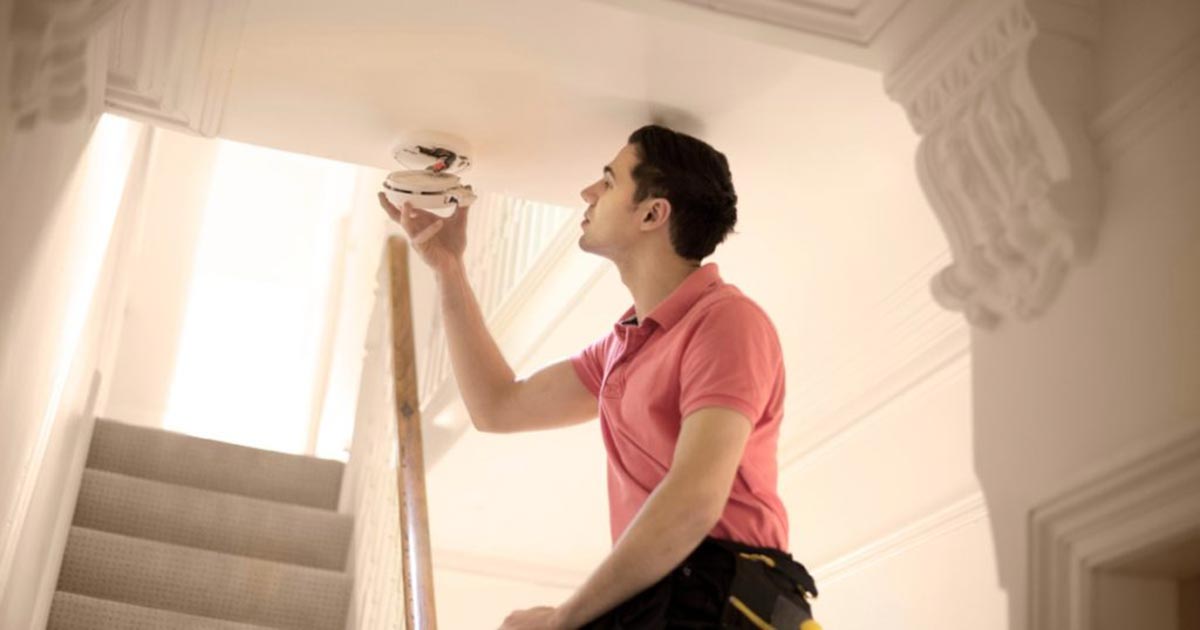
- Locate the smoke detector: Identify the location of your smoke detector. It is typically mounted on the ceiling or high on the wall. Use your step stool or ladder to reach the detector safely.
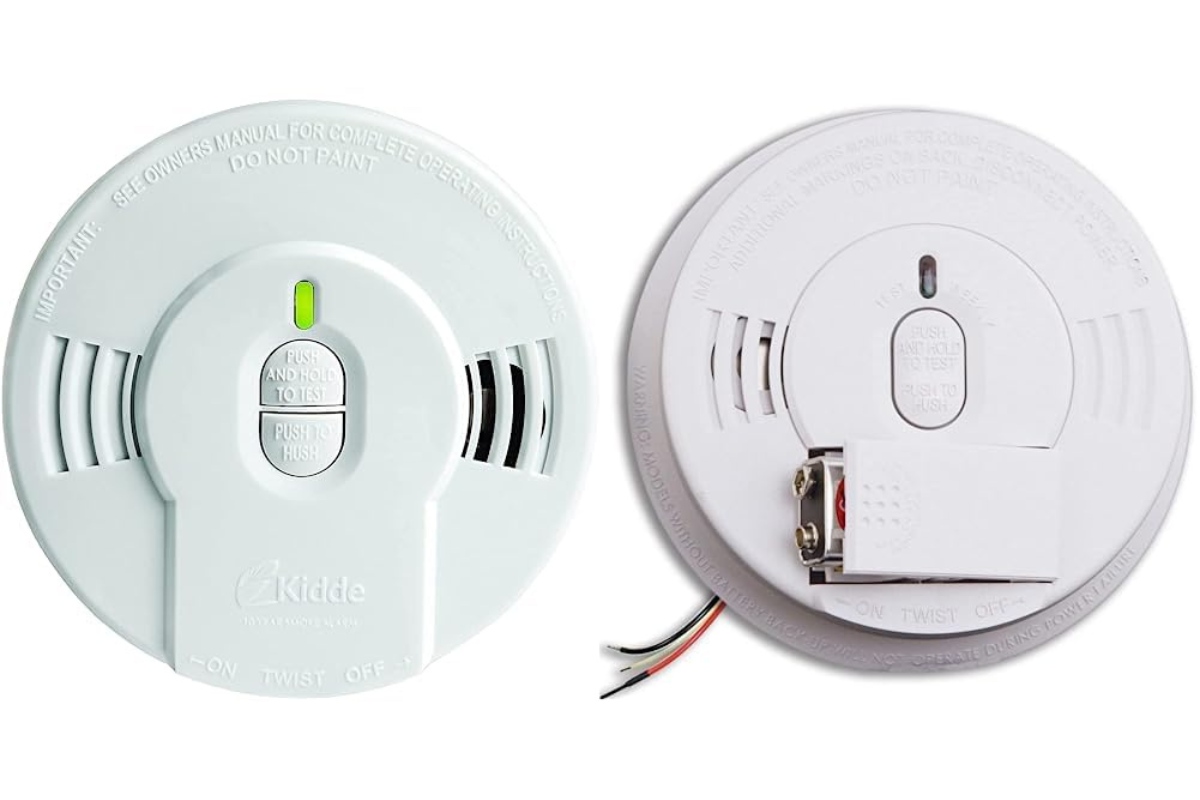
- Determine the type of smoke detector: Some smoke detectors have a slide or twist cover, while others might require you to remove the entire unit from its mounting plate. Refer to the user manual to determine the specific method for accessing the battery compartment of your First Alert smoke detector.
- Remove the cover: If your smoke detector has a removable cover, carefully slide or twist it to open the battery compartment. Be cautious as you handle the cover to avoid any damage.
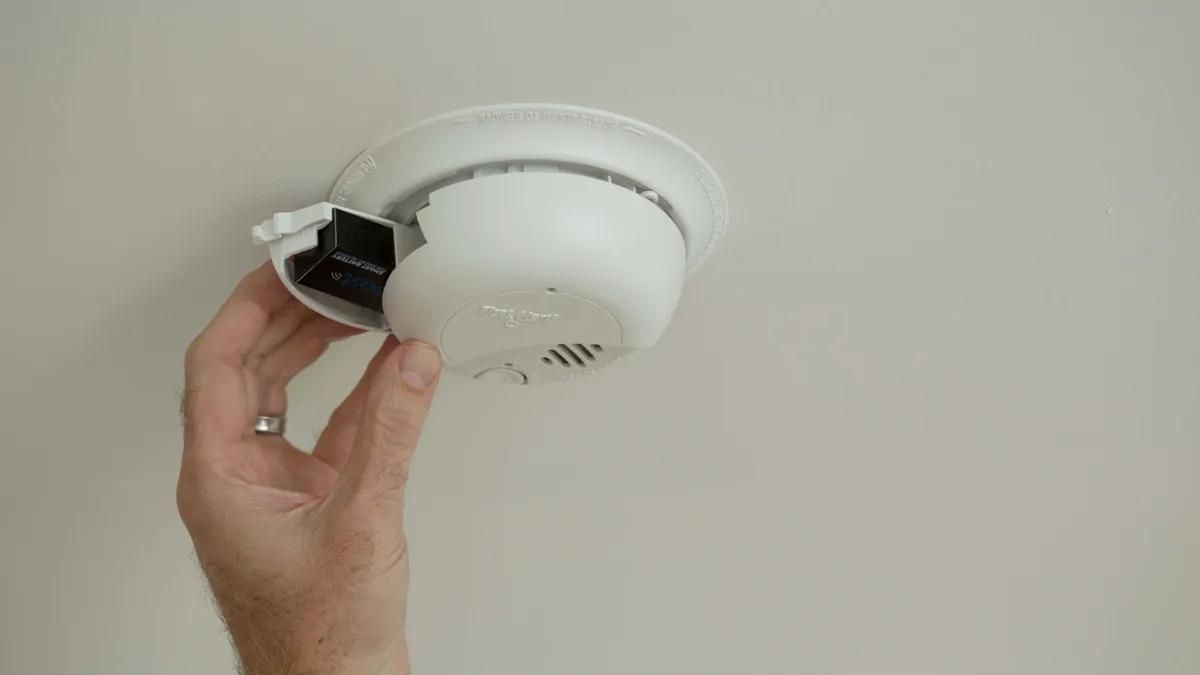
- Detach the smoke detector: If your smoke detector does not have a removable cover, you may need to detach the entire unit from its mounting plate. This is usually done by rotating or sliding the detector in a specific direction. Again, refer to the user manual for detailed instructions.
- Inspect for any debris: Once the battery compartment is exposed, check for any debris or dust that may have accumulated over time. Use a soft brush or cloth to clean the area if necessary. Ensure that the battery contacts are clean and free from corrosion.
By following these steps, you should now have easy access to the battery compartment of your First Alert smoke detector. In the next step, we’ll guide you through the process of removing the old battery safely.
When changing the battery in a First Alert smoke detector, always use a high-quality alkaline battery and test the detector after installation to ensure it is functioning properly.
Step 4: Removing the old battery
With access to the battery compartment of your First Alert smoke detector, it’s time to remove the old battery. Follow these steps:
- Identify the battery type: Take a moment to identify the type and size of the old battery. This information is usually indicated on the battery itself or in the user manual.
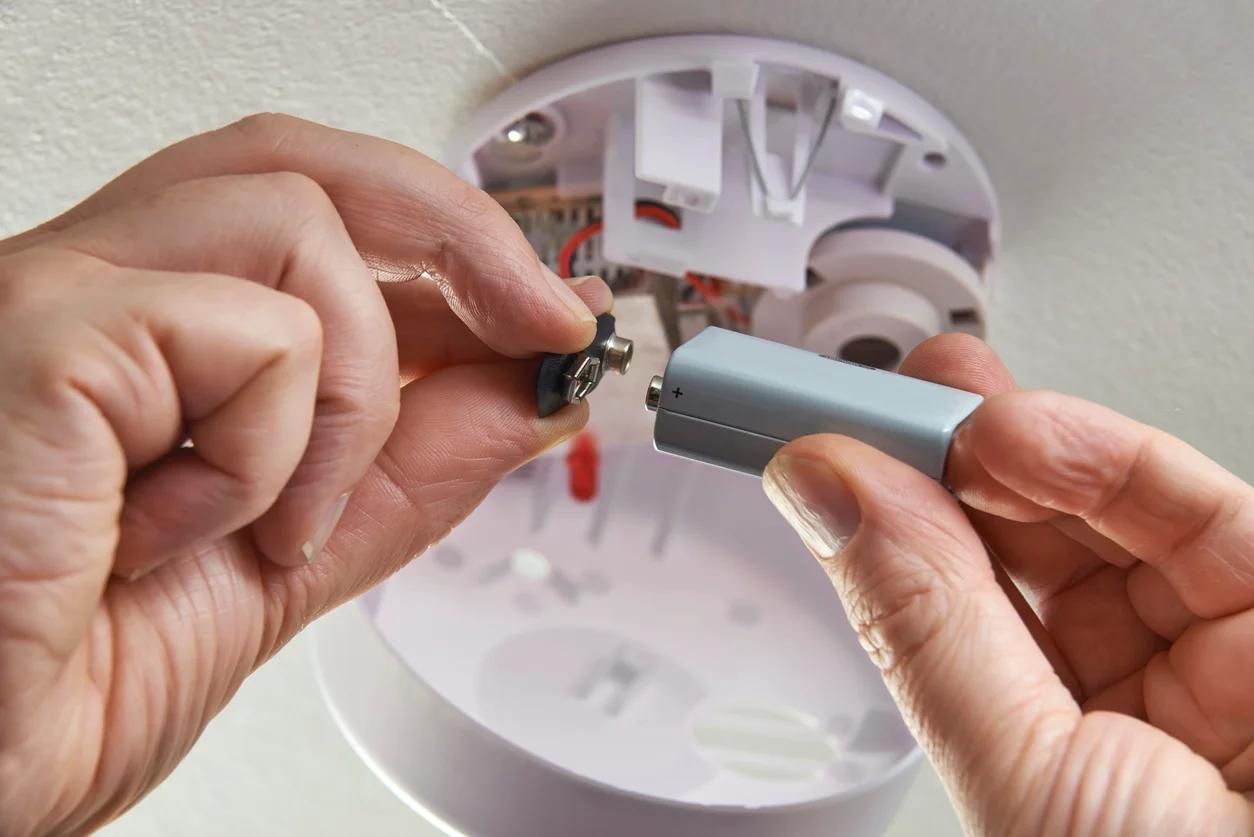
- Remove the battery: Depending on the design of your smoke detector, you may need to press a release button or gently pull the battery with your fingers. Ensure a firm grip on the battery as you remove it.
- Dispose of the old battery properly: It’s important to dispose of the old battery in accordance with your local regulations and guidelines. Many communities have specific procedures for battery recycling. Recycling centers and local hardware stores often accept used batteries for proper disposal.
- Inspect the battery compartment: While the old battery is removed, take a moment to inspect the battery compartment for any signs of corrosion or damage. If you notice any issues, clean the compartment with a soft cloth or brush before proceeding.
By following these steps, you have successfully removed the old battery from your First Alert smoke detector. Now, it’s time to proceed with installing the new battery, which we will cover in the next step.
Read more: How To Pair A First Alert Smoke Detector
Step 5: Installing the new battery
Now that you have removed the old battery from your First Alert smoke detector, it’s time to install the new battery. Follow these steps:
- Confirm the battery type and size: Ensure that the new battery you have is the correct type and size for your smoke detector. Refer to the user manual or the old battery for this information.
- Insert the new battery: Take the new battery and carefully insert it into the battery compartment. Make sure that the positive (+) and negative (-) terminals are aligned correctly with the corresponding markings in the compartment.
- Secure the battery: Once the new battery is inserted, ensure it is securely in place. Some smoke detectors have a locking mechanism or a cover that needs to be closed to keep the battery in position. Follow the instructions in your user manual to secure the battery properly.
- Test the battery: After installing the new battery, perform a quick test to ensure it is functioning correctly. Press the test button on the smoke detector, and you should hear a beep or see a LED light indicating that the detector is working properly.
By following these steps, you have successfully installed the new battery in your First Alert smoke detector. In the next step, we’ll guide you through testing the smoke detector to ensure its proper functionality.
Step 6: Testing the smoke detector
Now that you have installed the new battery in your First Alert smoke detector, it’s crucial to test its functionality to ensure it is working correctly. Follow these steps to perform a test:
- Clear the area: Ensure there is no smoke or any other potential sources of interference near the smoke detector before testing.
- Press the test button: Locate the test button on your smoke detector. It is usually a small button located on the front or side of the device. Press and hold the button for a few seconds until you hear a loud, distinct sound or see the LED light flashing.
- Listen for the alarm: As you press the test button, listen for the alarm sound to confirm that it is loud and clear. This indicates that the smoke detector is functioning properly.
- Check for visual indicators: Some smoke detectors have visual indicators such as LED lights that illuminate when the alarm is triggered. Verify that these visual indicators are working as expected.
- Reset the smoke detector: After testing, reset the smoke detector by either releasing the test button or following the instructions in the user manual. This ensures that the smoke detector is ready for future use.
If the smoke detector does not sound the alarm or show any signs of functioning, double-check the battery installation and make sure it is securely connected. If the issue persists, consult the user manual for troubleshooting tips or consider contacting First Alert customer support for further assistance.
By following these steps and performing a successful test, you can have peace of mind knowing that your smoke detector is operational and ready to provide early warning in the event of smoke or fire.
Conclusion
Congratulations! You’ve successfully learned how to change the battery in a First Alert smoke detector. By following the step-by-step process outlined in this guide, you have taken an important step towards ensuring the safety of your home and loved ones.
Regularly replacing the battery in your smoke detector is crucial to maintain its proper functionality. A well-functioning smoke detector can provide early warning, giving you and your family valuable time to evacuate in the event of a fire. It is recommended to change the battery in your smoke detector at least once a year or as per the manufacturer’s guidelines.
Remember, safety should always be your top priority. Before you begin, gather the necessary materials, familiarize yourself with the specific instructions for your First Alert smoke detector, and take the necessary precautions to prevent accidents.
Through each step, you have learned how to prepare for the battery replacement, access the battery compartment, remove the old battery, install the new battery, and test the smoke detector to ensure proper functionality. These maintenance tasks are simple yet crucial in keeping your smoke detector in optimal working condition.
Regularly checking and replacing the battery in your smoke detector is just one aspect of maintaining a safe home. It’s important to regularly test your smoke detectors, keep them free of dust or debris, and replace them as recommended by the manufacturer. These small actions can make a significant difference when it comes to protecting your home and loved ones.
We hope this guide has been informative and helpful in guiding you through the process of changing the battery in a First Alert smoke detector. Stay safe, stay prepared, and empower yourself with the knowledge to safeguard your home.
Ready to tackle more home projects? If you've mastered changing batteries in your smoke detector, why not delve into some exciting DIY home improvement endeavors? Our next feature walks you through various enhancements you can make around your house, empowering you to transform spaces with your own hands. From simple repairs to creative overhauls, get ready to elevate your living environment in ways you never imagined.
Frequently Asked Questions about How To Change The Battery In A First Alert Smoke Detector
Was this page helpful?
At Storables.com, we guarantee accurate and reliable information. Our content, validated by Expert Board Contributors, is crafted following stringent Editorial Policies. We're committed to providing you with well-researched, expert-backed insights for all your informational needs.

0 thoughts on “How To Change The Battery In A First Alert Smoke Detector”