Articles
How To Remove A Hard-Wired Smoke Detector
Modified: August 27, 2024
Learn how to safely and effectively remove a hard-wired smoke detector with our informative articles. Ensure your home is protected with expert tips and advice.
(Many of the links in this article redirect to a specific reviewed product. Your purchase of these products through affiliate links helps to generate commission for Storables.com, at no extra cost. Learn more)
Introduction
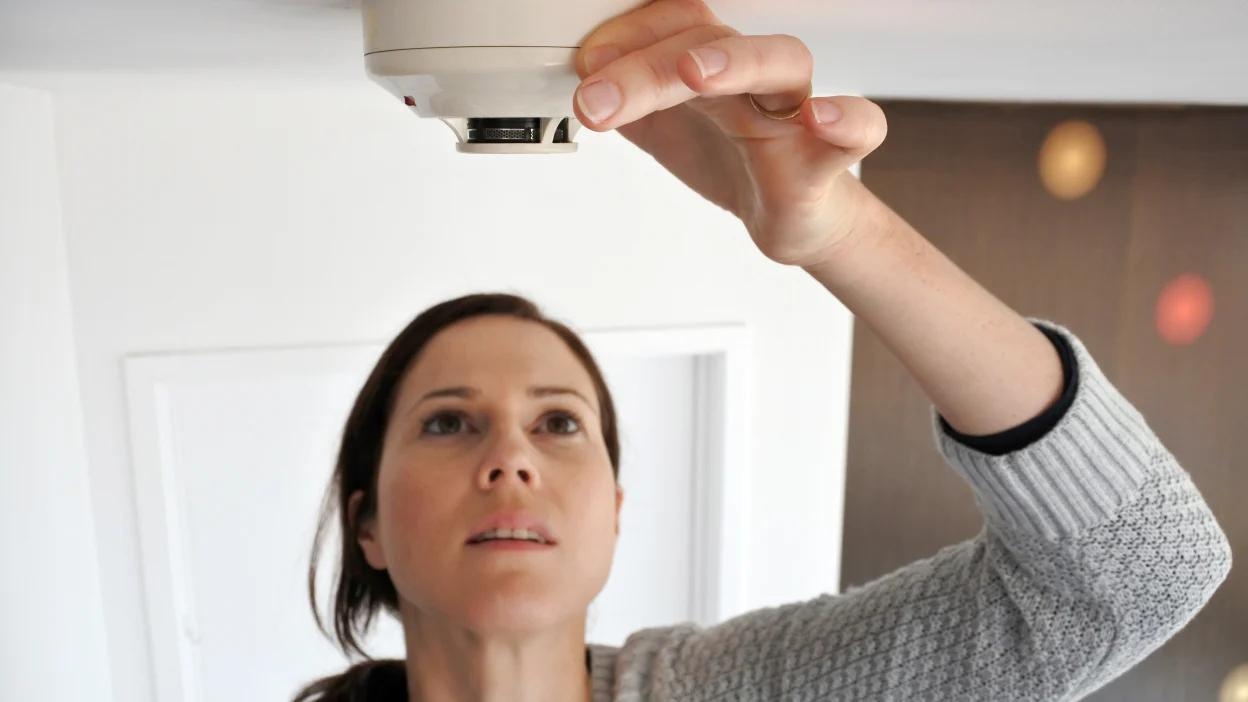
Smoke detectors are an essential safety feature in any home or building. They provide early warning of potential fires, giving occupants valuable time to evacuate and summon help. However, there may come a time when you need to remove a hard-wired smoke detector, whether it’s due to a malfunction, replacement, or relocation.
In this article, we will guide you through the steps to safely remove a hard-wired smoke detector. But before we delve into the process, it’s crucial to emphasize the importance of taking proper precautions. Always ensure that electrical power to the smoke detector is turned off before attempting any removal or installation.
To successfully remove a hard-wired smoke detector, you’ll need a few tools and materials. These include a flathead screwdriver, a wire cutter or stripper, and a voltage tester. Additionally, it’s wise to have a new smoke detector on hand if you plan to replace the old one.
Now that we’ve covered the basics, let’s move on to the step-by-step process of removing a hard-wired smoke detector.
Key Takeaways:
- Safely removing a hard-wired smoke detector involves turning off the power, disconnecting the wiring, and installing a new detector. Prioritize safety, use the right tools, and test the new detector for optimal protection.
- Regularly testing and maintaining smoke detectors is crucial for ensuring their functionality. Follow manufacturer guidelines, restore power after installation, and stay proactive in fire prevention for enhanced safety.
Read more: How To Replace A Hard-Wired Smoke Detector
Tools and Materials Needed
Before you begin the process of removing a hard-wired smoke detector, it’s important to gather the necessary tools and materials. Here’s a list of what you’ll need:
- Flathead screwdriver: This tool will be used to remove screws and detach the smoke detector cover.
- Wire cutter or stripper: You’ll need this tool to safely disconnect the wiring from the smoke detector.
- Voltage tester: A voltage tester is essential to ensure that the power is turned off before you start working on the smoke detector.
- New smoke detector: If you plan to replace the old one, make sure you have a new smoke detector ready to be installed.
These tools and materials will make the removal process smoother, safer, and more efficient. It’s always better to be prepared and have everything you need at hand before you begin.
Once you have gathered all the necessary tools and materials, you’re ready to move on to the next step: turning off the power.
Step 1: Turn off the Power
The first and most crucial step in removing a hard-wired smoke detector is to turn off the power to the detector and the surrounding circuit. This ensures your safety and prevents any electrical accidents from occurring during the removal process.
To turn off the power, locate the circuit breaker or fuse box in your home. Look for the circuit that controls the smoke detector you want to remove and switch it off. If you’re uncertain which circuit controls the smoke detector, you can temporarily turn off the main power supply to be on the safe side.
After turning off the power, it’s essential to test the smoke detector to confirm that it is no longer receiving any electrical current. Use a voltage tester to check the wires connected to the smoke detector. Place the voltage tester against the wires and ensure that there is no power detected. This step is crucial for your safety and the success of the removal process.
Once you have confirmed that the power has been turned off and the smoke detector is not receiving any electricity, you can proceed to the next step of removing the smoke detector cover.
Note: If you’re uncomfortable working with electrical circuits or unsure of how to turn off the power safely, it’s always best to consult a professional electrician to assist you.
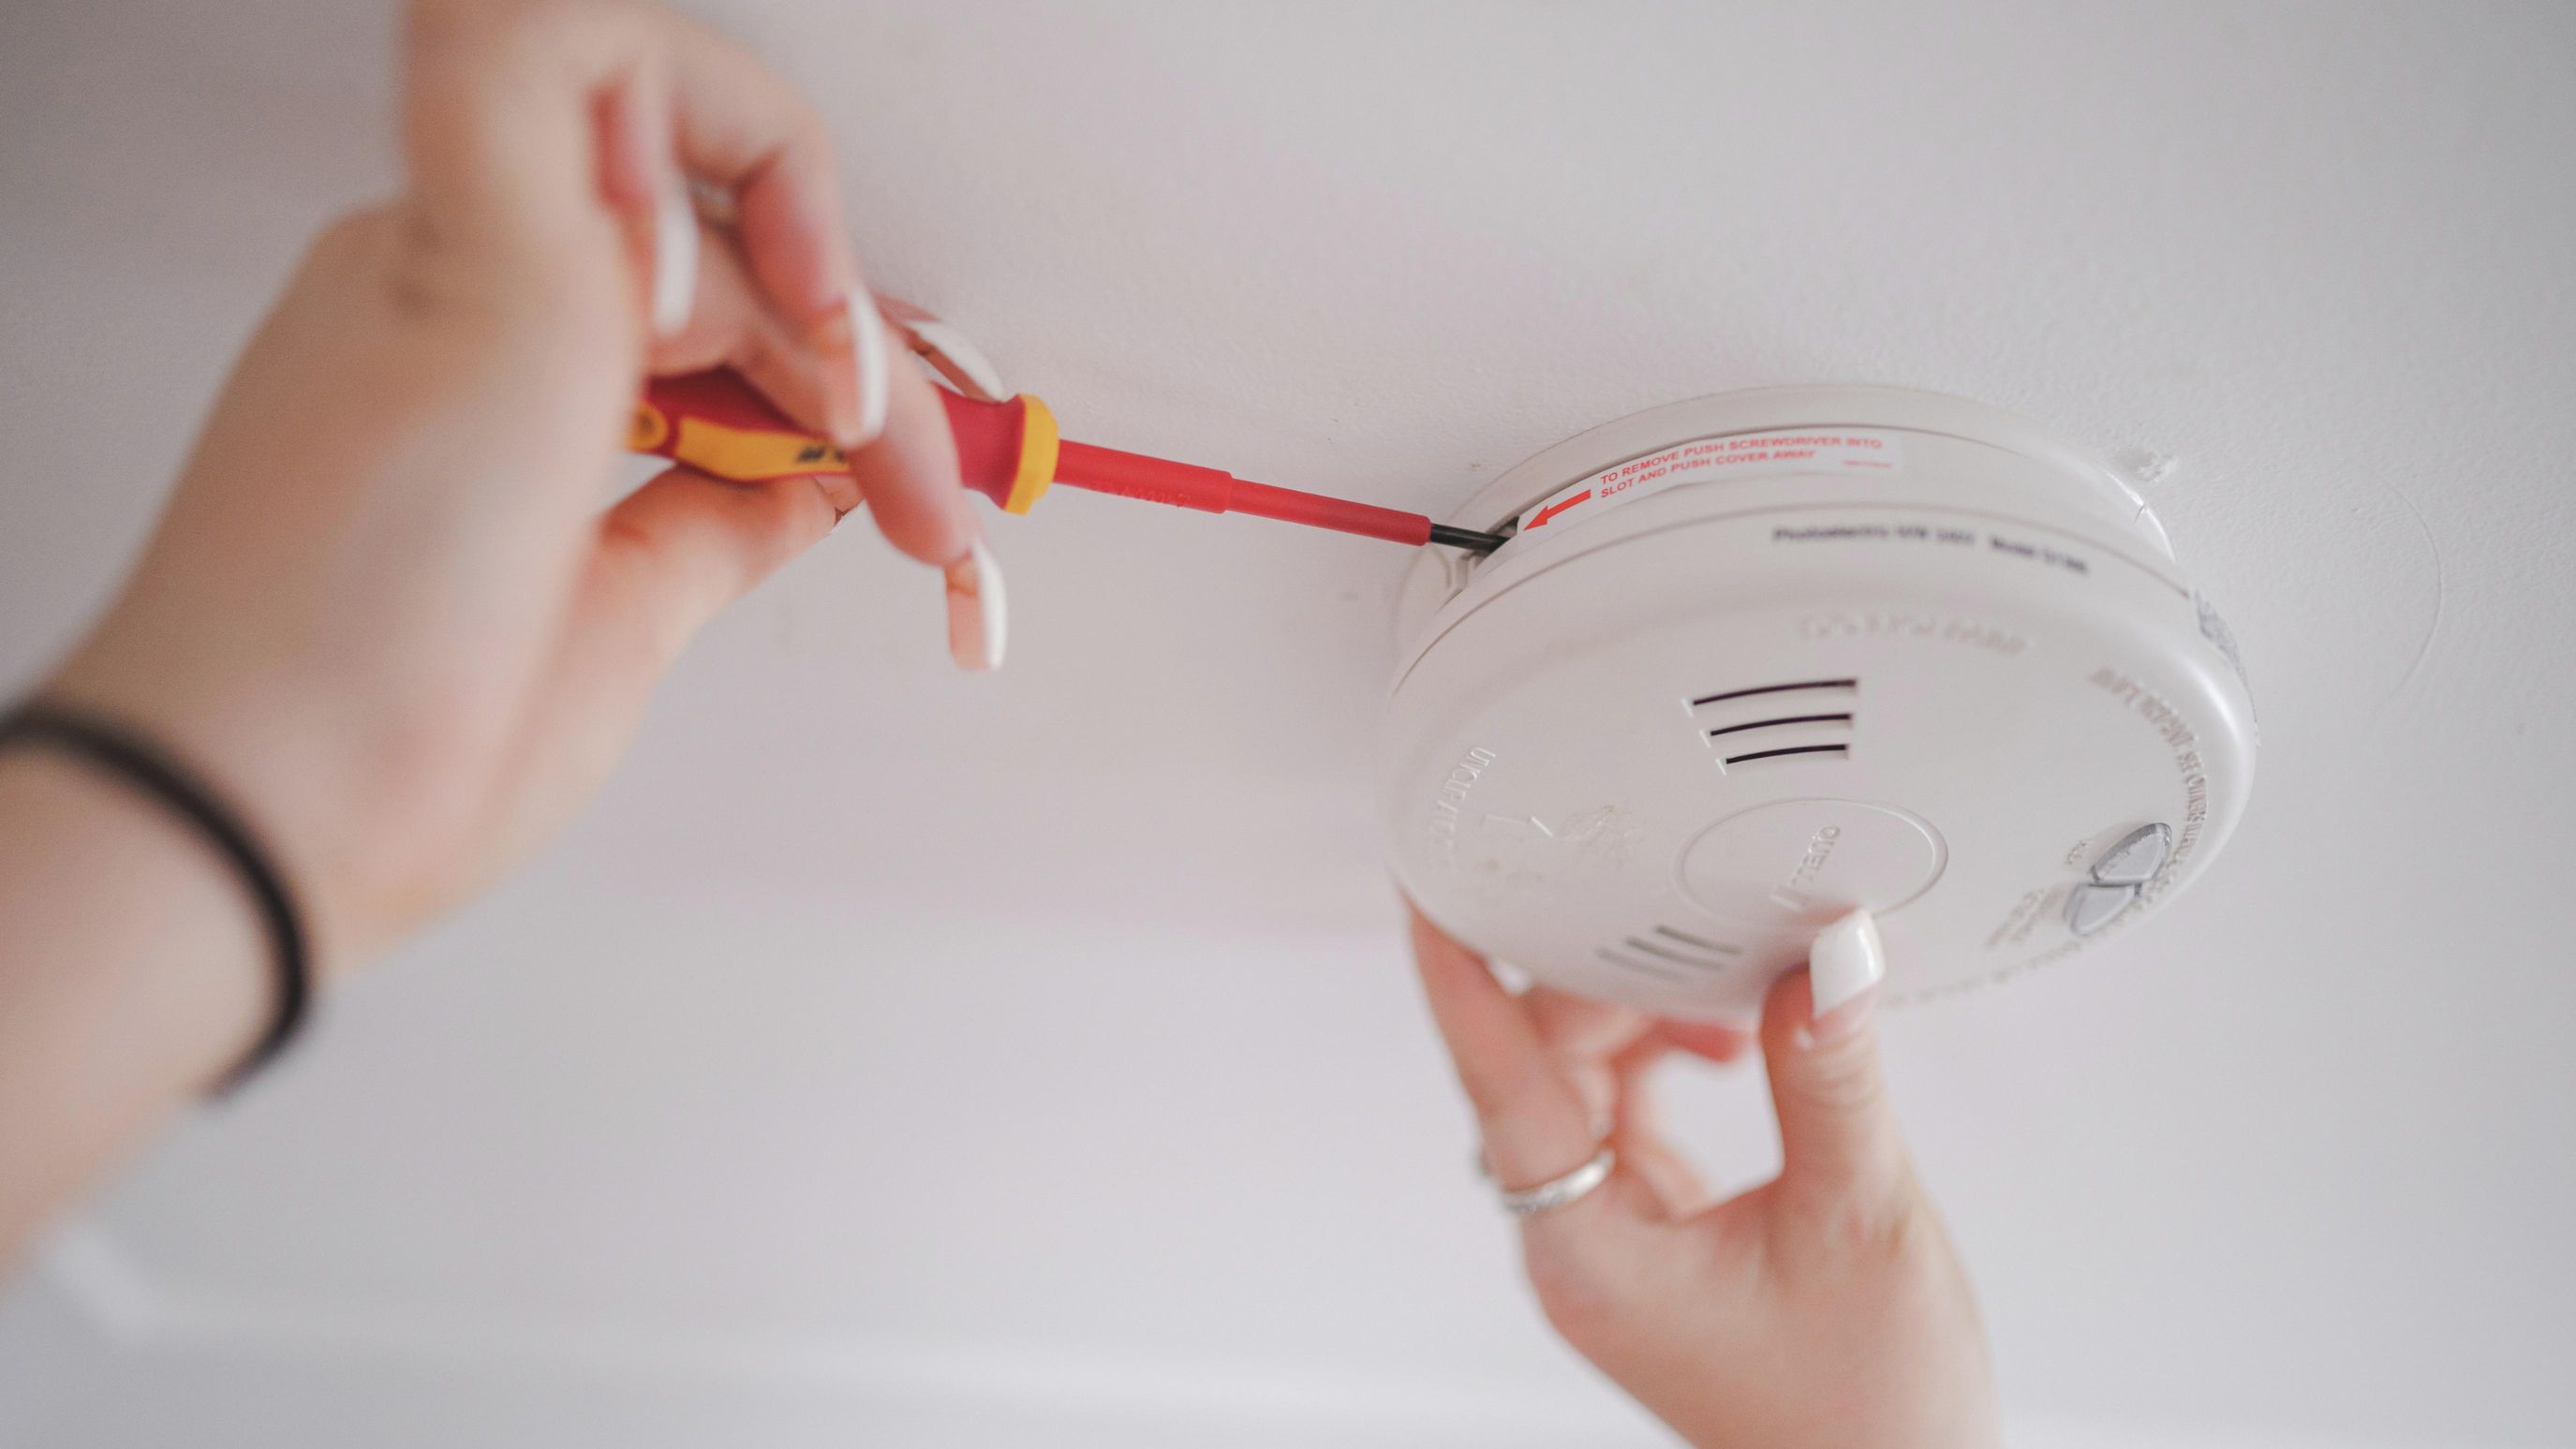
Step 2: Remove the Smoke Detector Cover
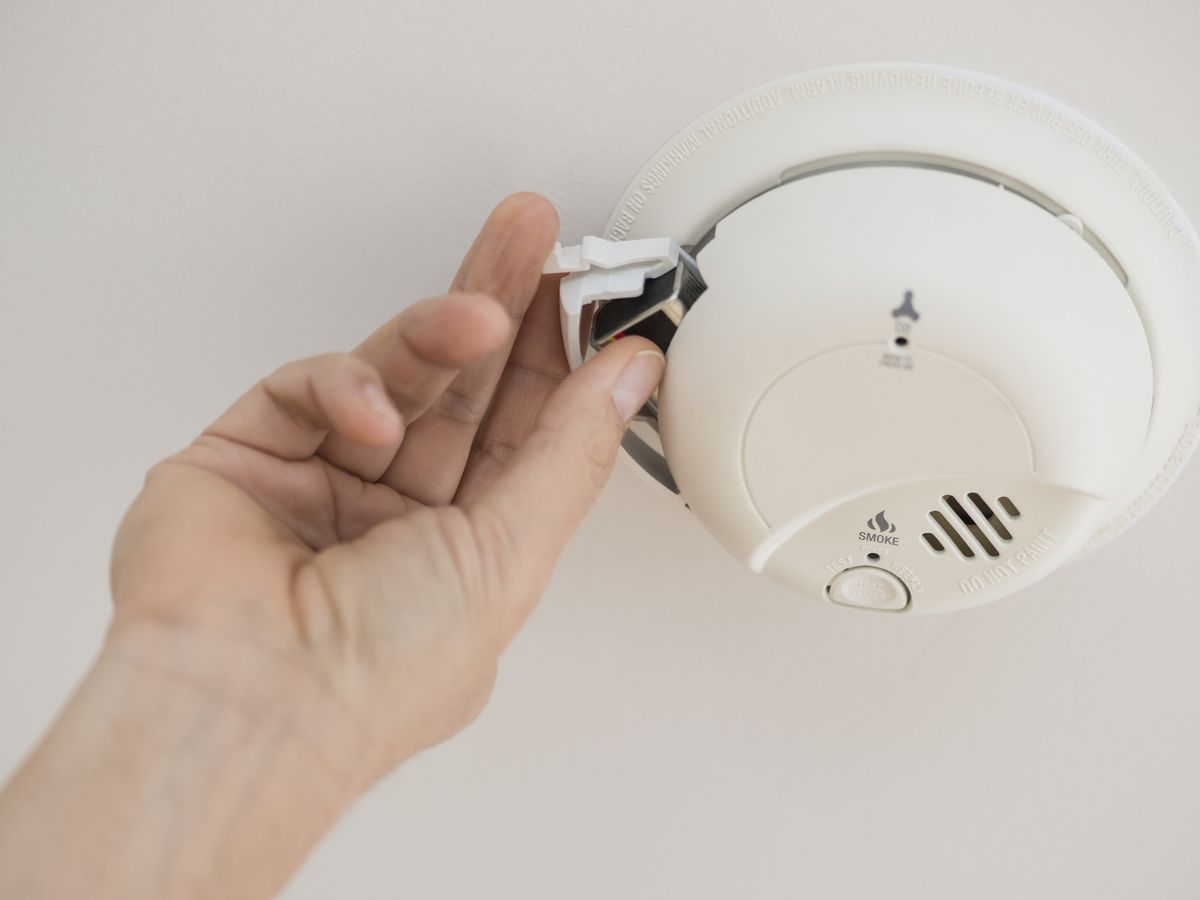
With the power to the smoke detector turned off, you can now proceed to remove the smoke detector cover. The cover is typically held in place by screws or plastic tabs.
Using a flathead screwdriver, carefully remove any screws securing the smoke detector cover. Place the screws in a safe location to avoid misplacing them. If the smoke detector cover is held in place by plastic tabs, gently pry the cover off using the screwdriver.
Once you have successfully removed the screws or released the tabs, gently pull the smoke detector cover away from the baseplate. Be cautious not to damage any wires connected to the smoke detector during this step.
If the smoke detector cover does not come off easily, double-check that you have turned off the power and that there are no hidden screws or additional tabs holding it in place.
Set the smoke detector cover aside in a safe location where it won’t get damaged. The baseplate of the smoke detector should now be visible.
Removing the smoke detector cover is an important step in gaining access to the wiring and baseplate. Now that the cover is off, you can proceed to the next step of disconnecting the wiring.
Step 3: Disconnect the Wiring
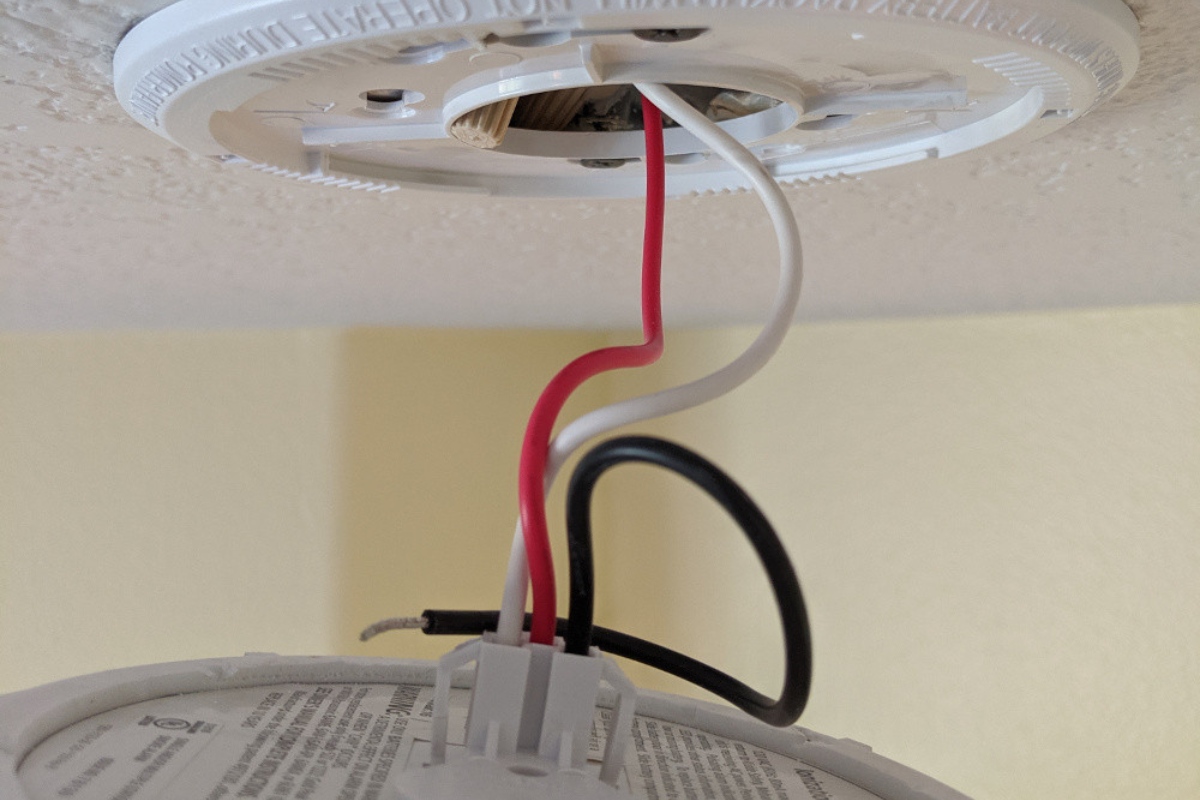
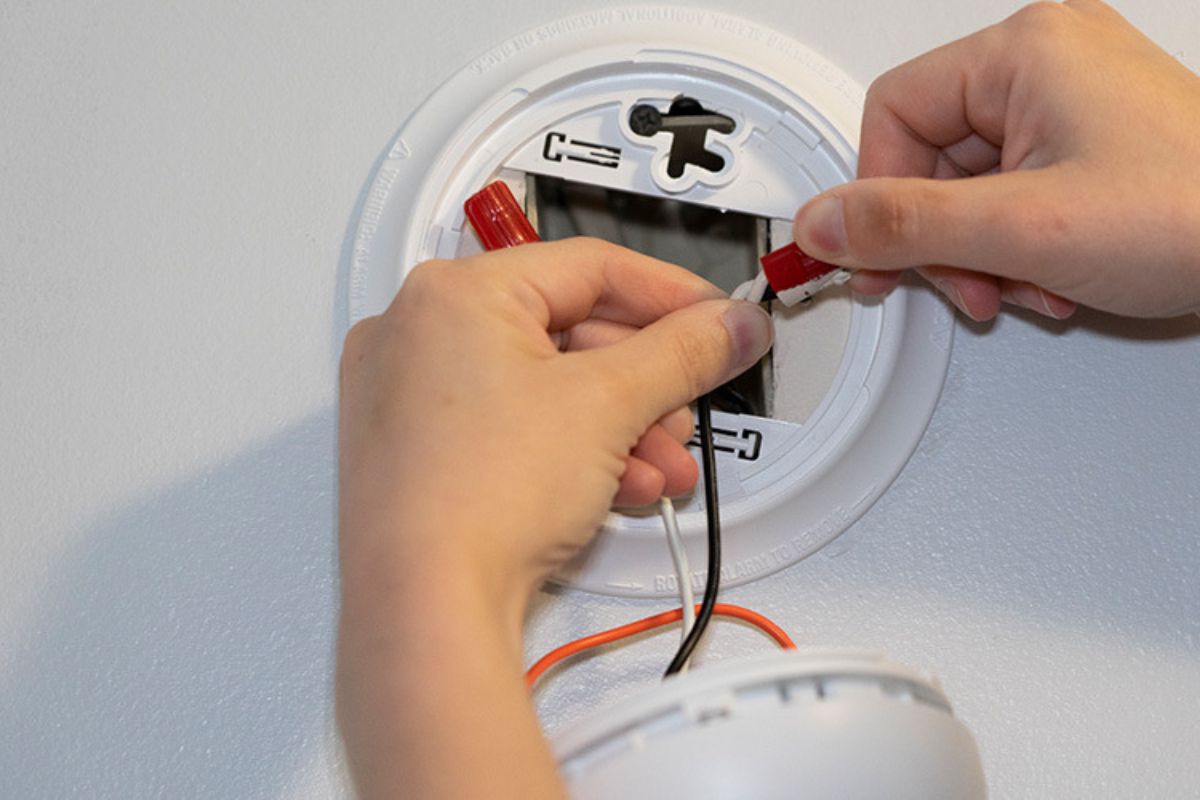
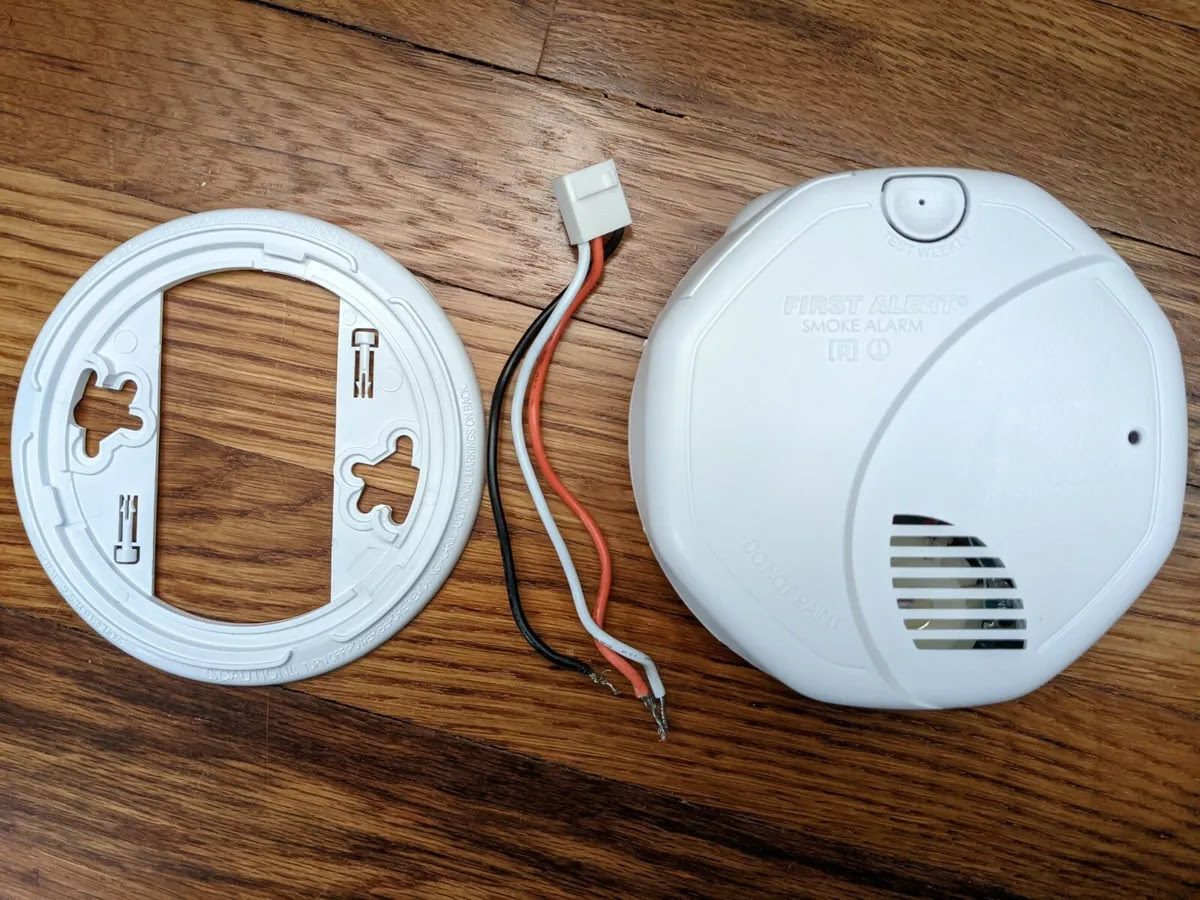
With the smoke detector cover removed, you can now proceed to disconnect the wiring. The wiring is typically connected to the baseplate of the smoke detector through terminals or wire connectors.
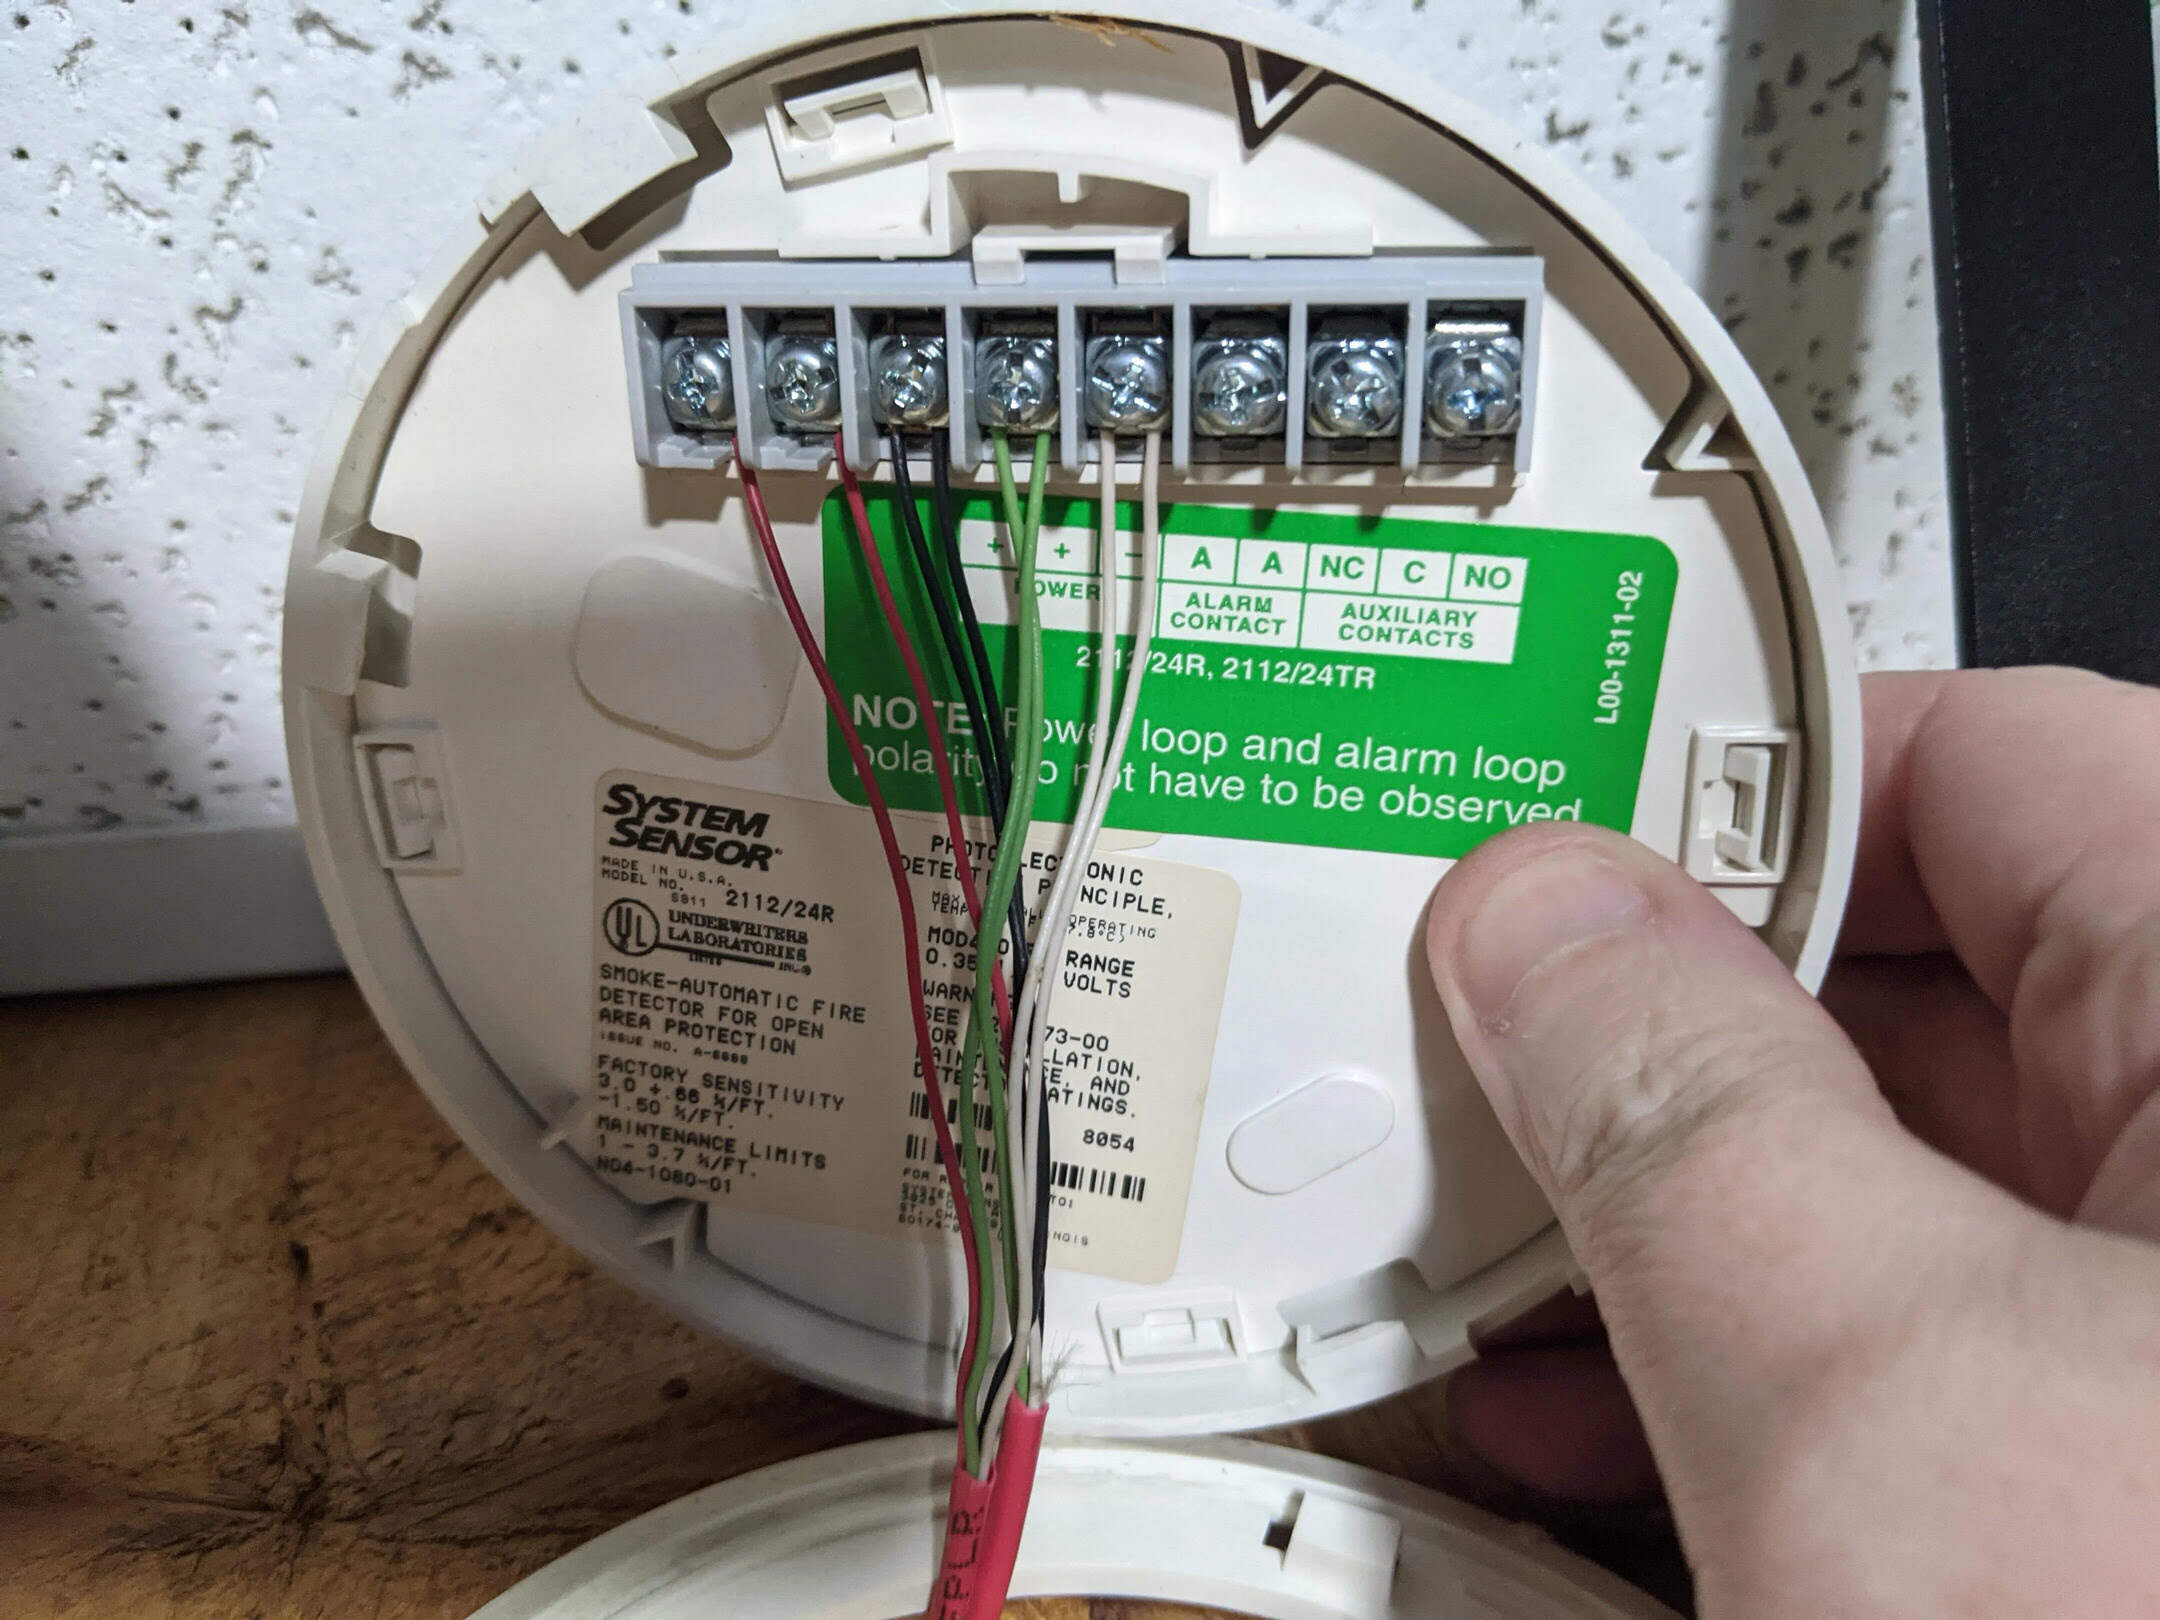
Start by carefully examining the wiring. You should see a set of wires connected to the terminals on the baseplate. Each wire will be color-coded, typically with black, white, and red wires.
Using a wire cutter or stripper, carefully remove the wires from the terminals. Begin by gently loosening the screws or releasing the wire connectors. Pay close attention to the order in which the wires are connected as you will need to reconnect them later.
As you disconnect each wire, take note of its color and the corresponding terminal it was connected to. This will ensure that you can properly reconnect the wires when installing a new smoke detector.
Once all the wires are disconnected, carefully guide them away from the baseplate to avoid any damage or tangling. It’s important to handle the wires with care to prevent any unintentional electrical currents or short circuits.
With the wiring disconnected, you can now move on to the next step of removing the baseplate from the wall or ceiling.
Note: If you’re unsure about disconnecting the wiring or identifying the proper color-coding, it’s recommended to consult a professional electrician for assistance.
Before removing a hard-wired smoke detector, turn off the power at the circuit breaker to avoid any electrical hazards. Then, carefully remove the detector from the mounting bracket and disconnect the wires. Be sure to properly dispose of the old detector according to local regulations.
Read more: How To Clean A Hard Wired Smoke Detector
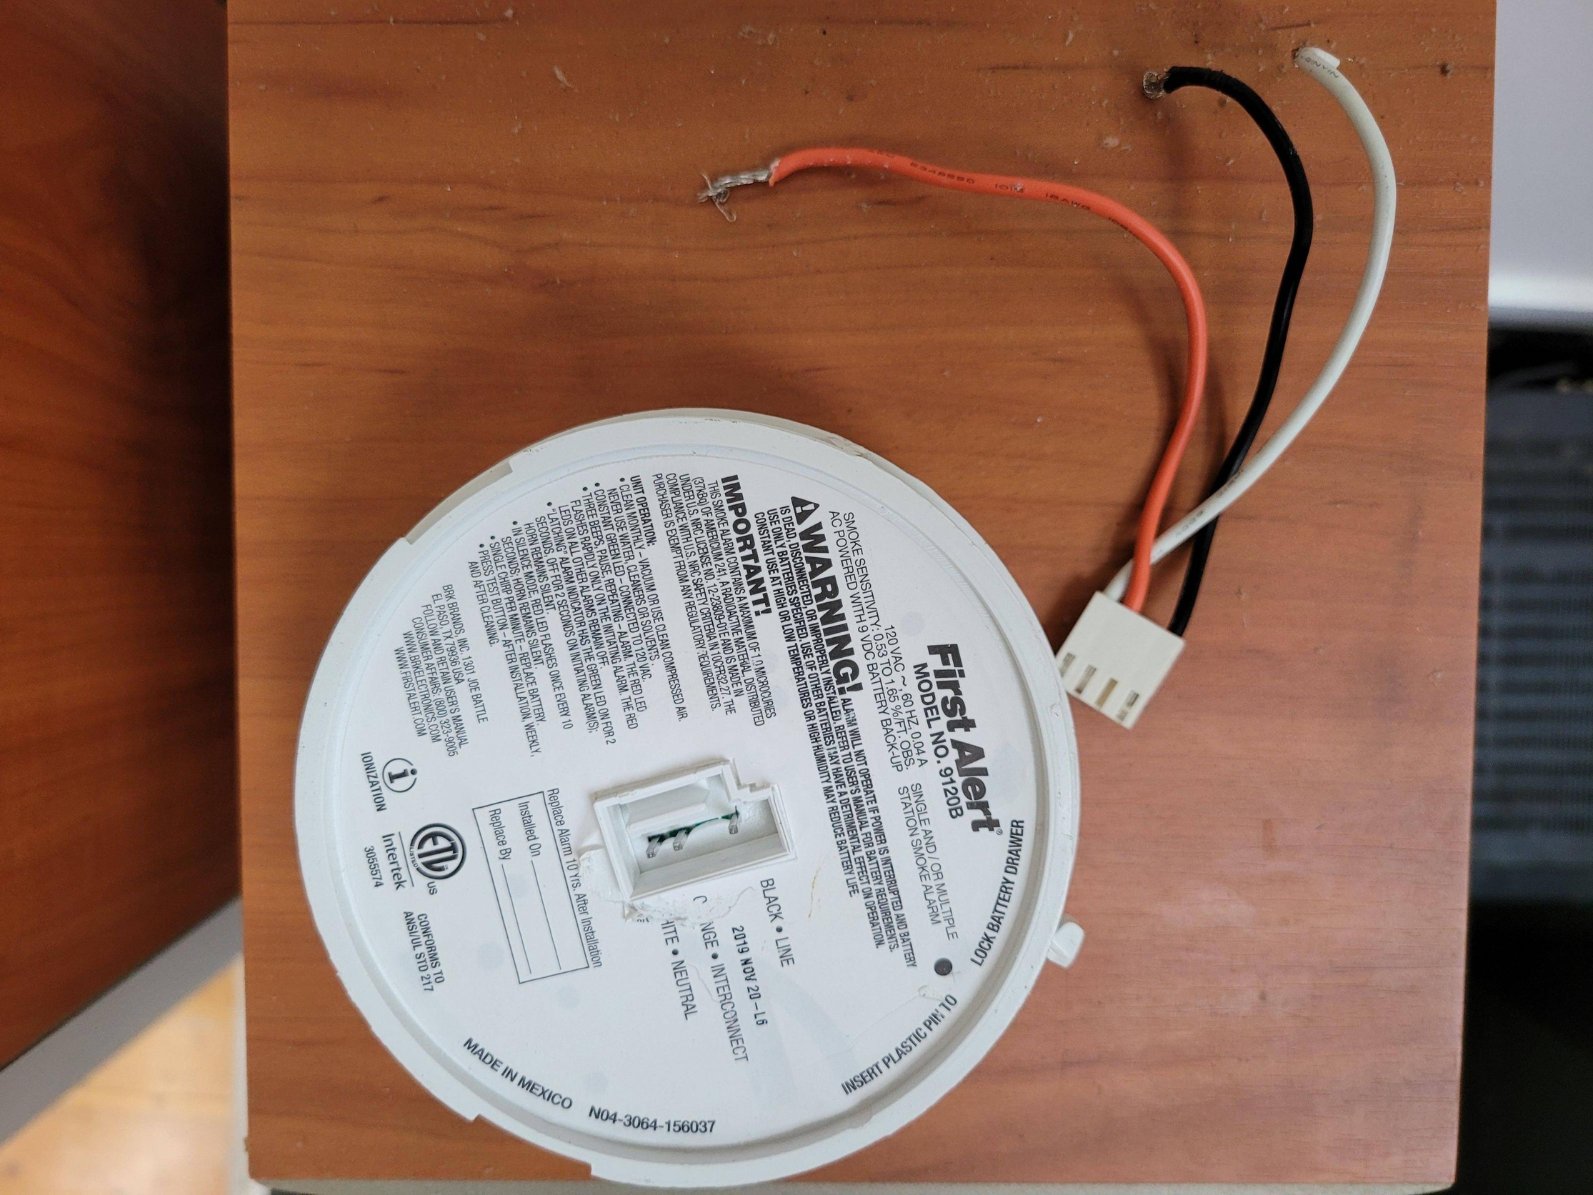
Step 4: Remove the Base Plate
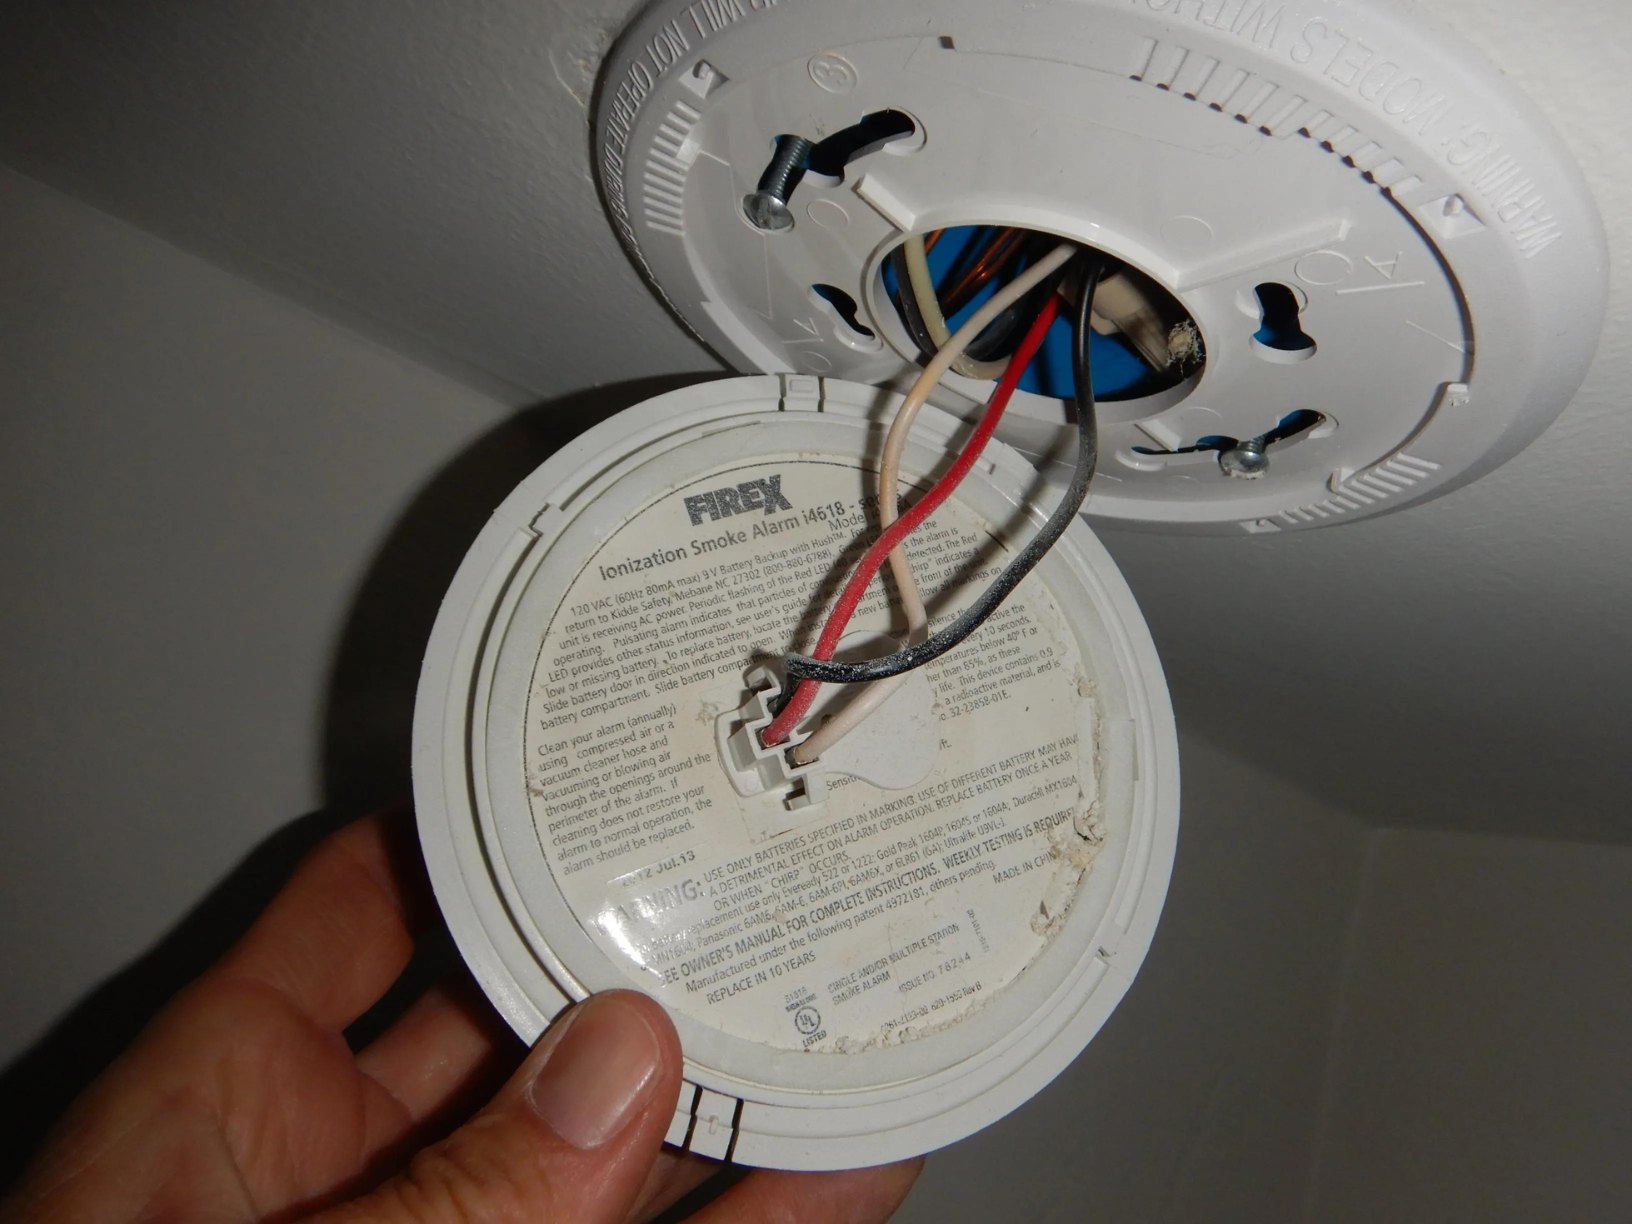
Now that the wiring is disconnected, you can proceed to remove the baseplate of the smoke detector. The baseplate is the part of the smoke detector that is attached to the wall or ceiling.
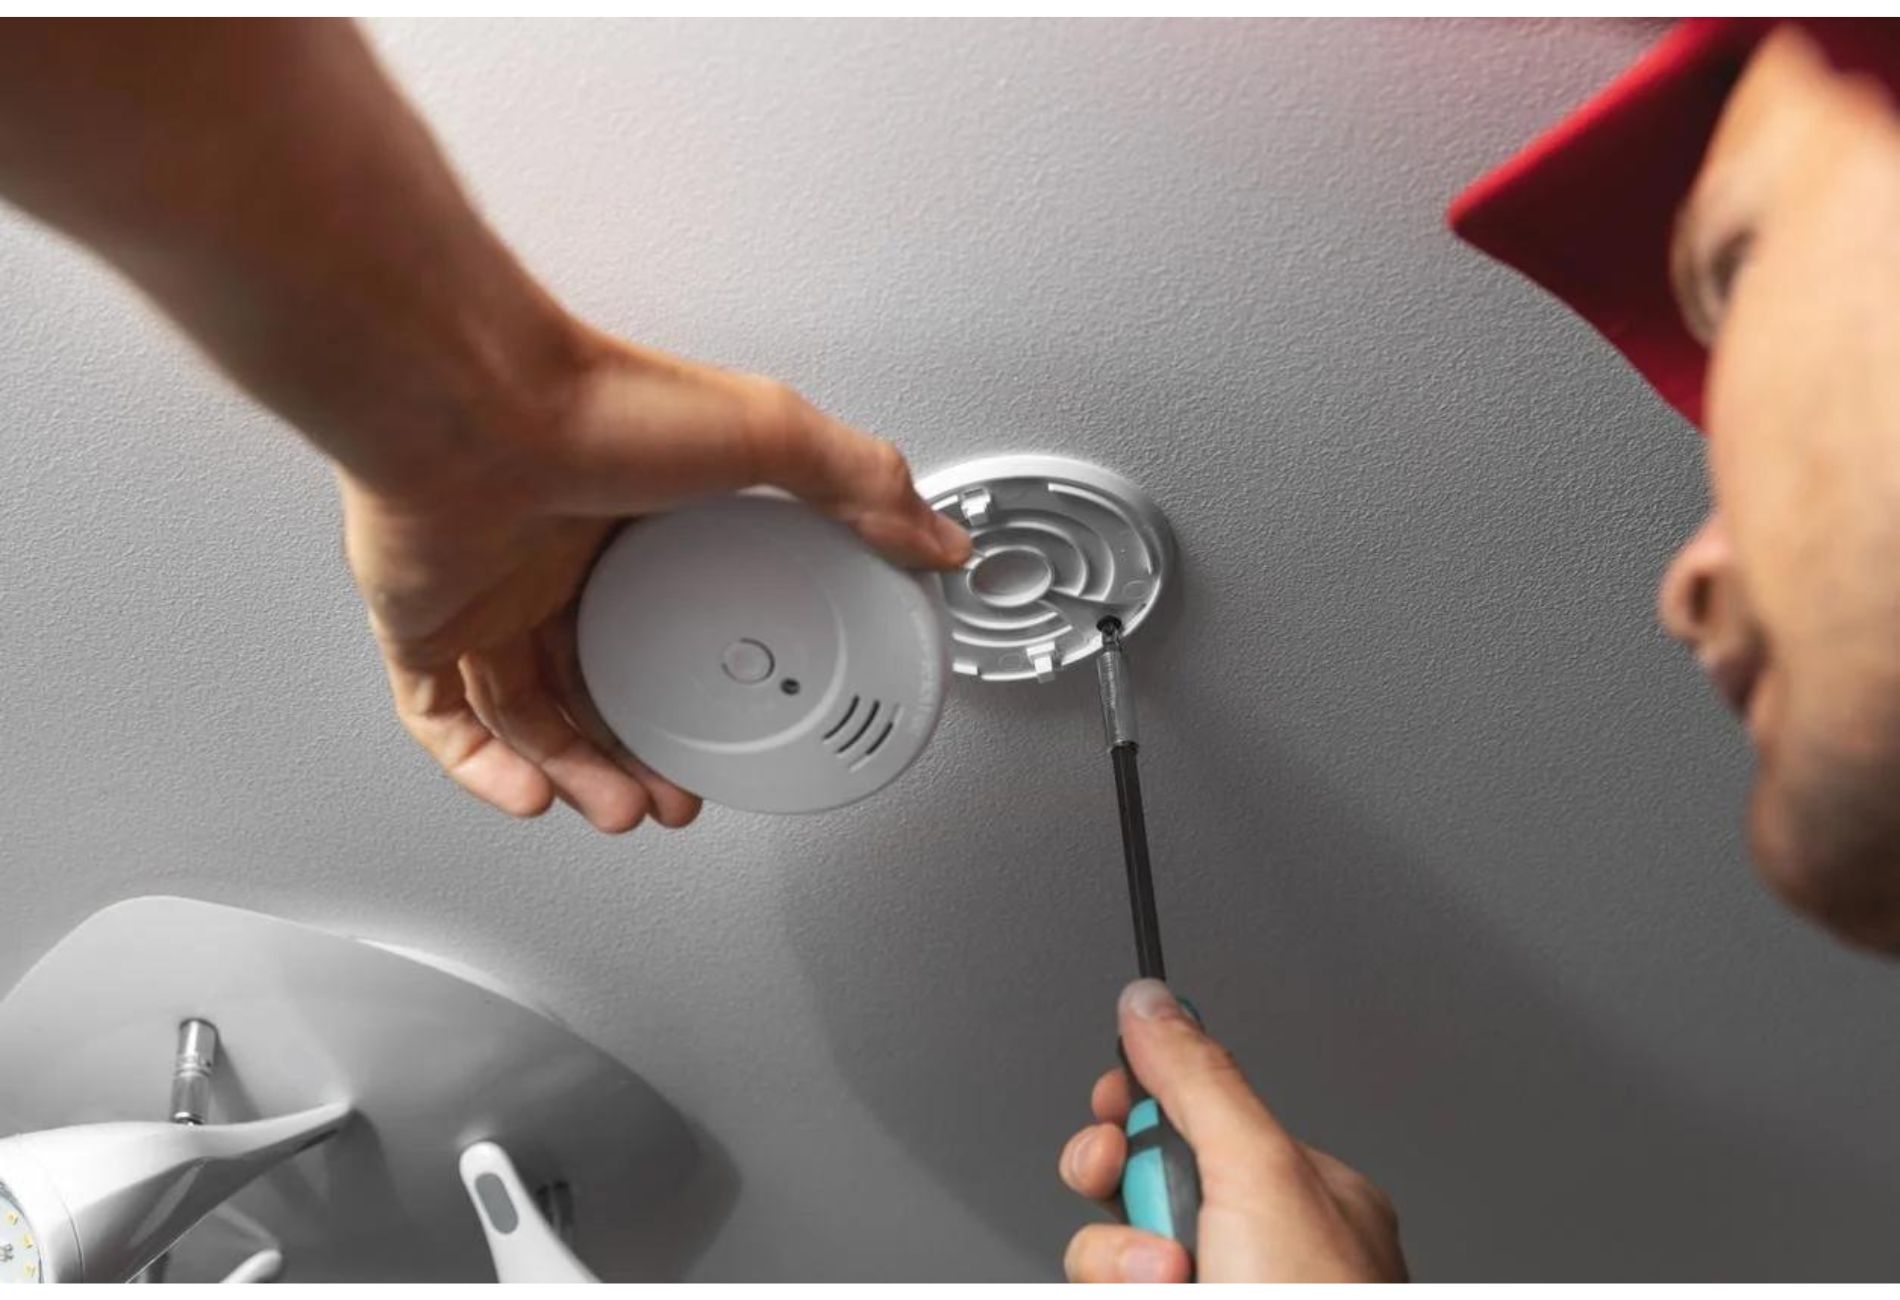
Start by examining how the baseplate is attached. It may be held in place by screws, clips, or adhesive. Use a screwdriver to remove any screws securing the baseplate to the wall or ceiling. If the baseplate is attached with clips or adhesive, gently pry it away from the surface.
As you remove the baseplate, be careful to handle it with care, as it may still have wires connected to it. Ensure that the wires are completely disconnected and free from any attachments to the baseplate before fully removing it.
Once the baseplate is detached, set it aside in a safe location where it won’t get damaged. Take note of any mounting holes or marks left on the wall or ceiling, as these will be useful when installing a new smoke detector.
Removing the baseplate completes the process of removing the old smoke detector. You have now cleared the way to install a new smoke detector and enhance the safety of your space.
Before proceeding, it’s a good idea to clean the area where the old smoke detector was mounted. This will ensure a clean surface for the installation of the new smoke detector and help maintain its performance.
Now that you have successfully removed the old smoke detector and baseplate, you can move on to the next step of installing a new smoke detector, if needed.
Step 5: Install a New Smoke Detector
Now that you have removed the old smoke detector, it’s time to install a new one. Installing a new smoke detector ensures the continued safety and protection of your home or building.
Start by positioning the new smoke detector in the desired location. If you are replacing an old smoke detector, align the new one with the existing mounting holes or marks on the wall or ceiling. Ensure that the detector is mounted securely and level.
Next, if your new smoke detector has a baseplate, align the screw holes on the baseplate with the mounting holes or marks on the wall or ceiling. Use a screwdriver to secure the baseplate in place. If the new smoke detector doesn’t have a baseplate, follow the manufacturer’s instructions for installation.
Once the baseplate is secure, carefully connect the wires to the corresponding terminals. Refer to the notes you made earlier regarding the wire color-coding and where they were connected on the old smoke detector. Follow the manufacturer’s instructions to properly connect the wires to the terminals on the new smoke detector. Double-check that the wires are securely attached to prevent any issues with the functionality of the new smoke detector.
After connecting the wires, gently push the smoke detector onto the baseplate to ensure it is securely attached. If there are any locking mechanisms or tabs on the new smoke detector, engage them to lock the detector in place.
Finally, give the smoke detector a gentle tug to ensure it is properly installed and won’t come loose easily. Check that it is level and aligned with the surrounding area.
Now that you have successfully installed the new smoke detector, it’s time to test its functionality.
Proceed to the next step to learn how to test the new smoke detector properly.
Step 6: Test the New Smoke Detector
After installing a new smoke detector, it’s essential to test its functionality to ensure it will properly alert you in the event of a fire. Testing the new smoke detector is a crucial step in maintaining a safe environment.
Before testing, ensure that the power to the smoke detector is turned on. If you had turned off the power during the removal process, switch it back on at the circuit breaker or fuse box.
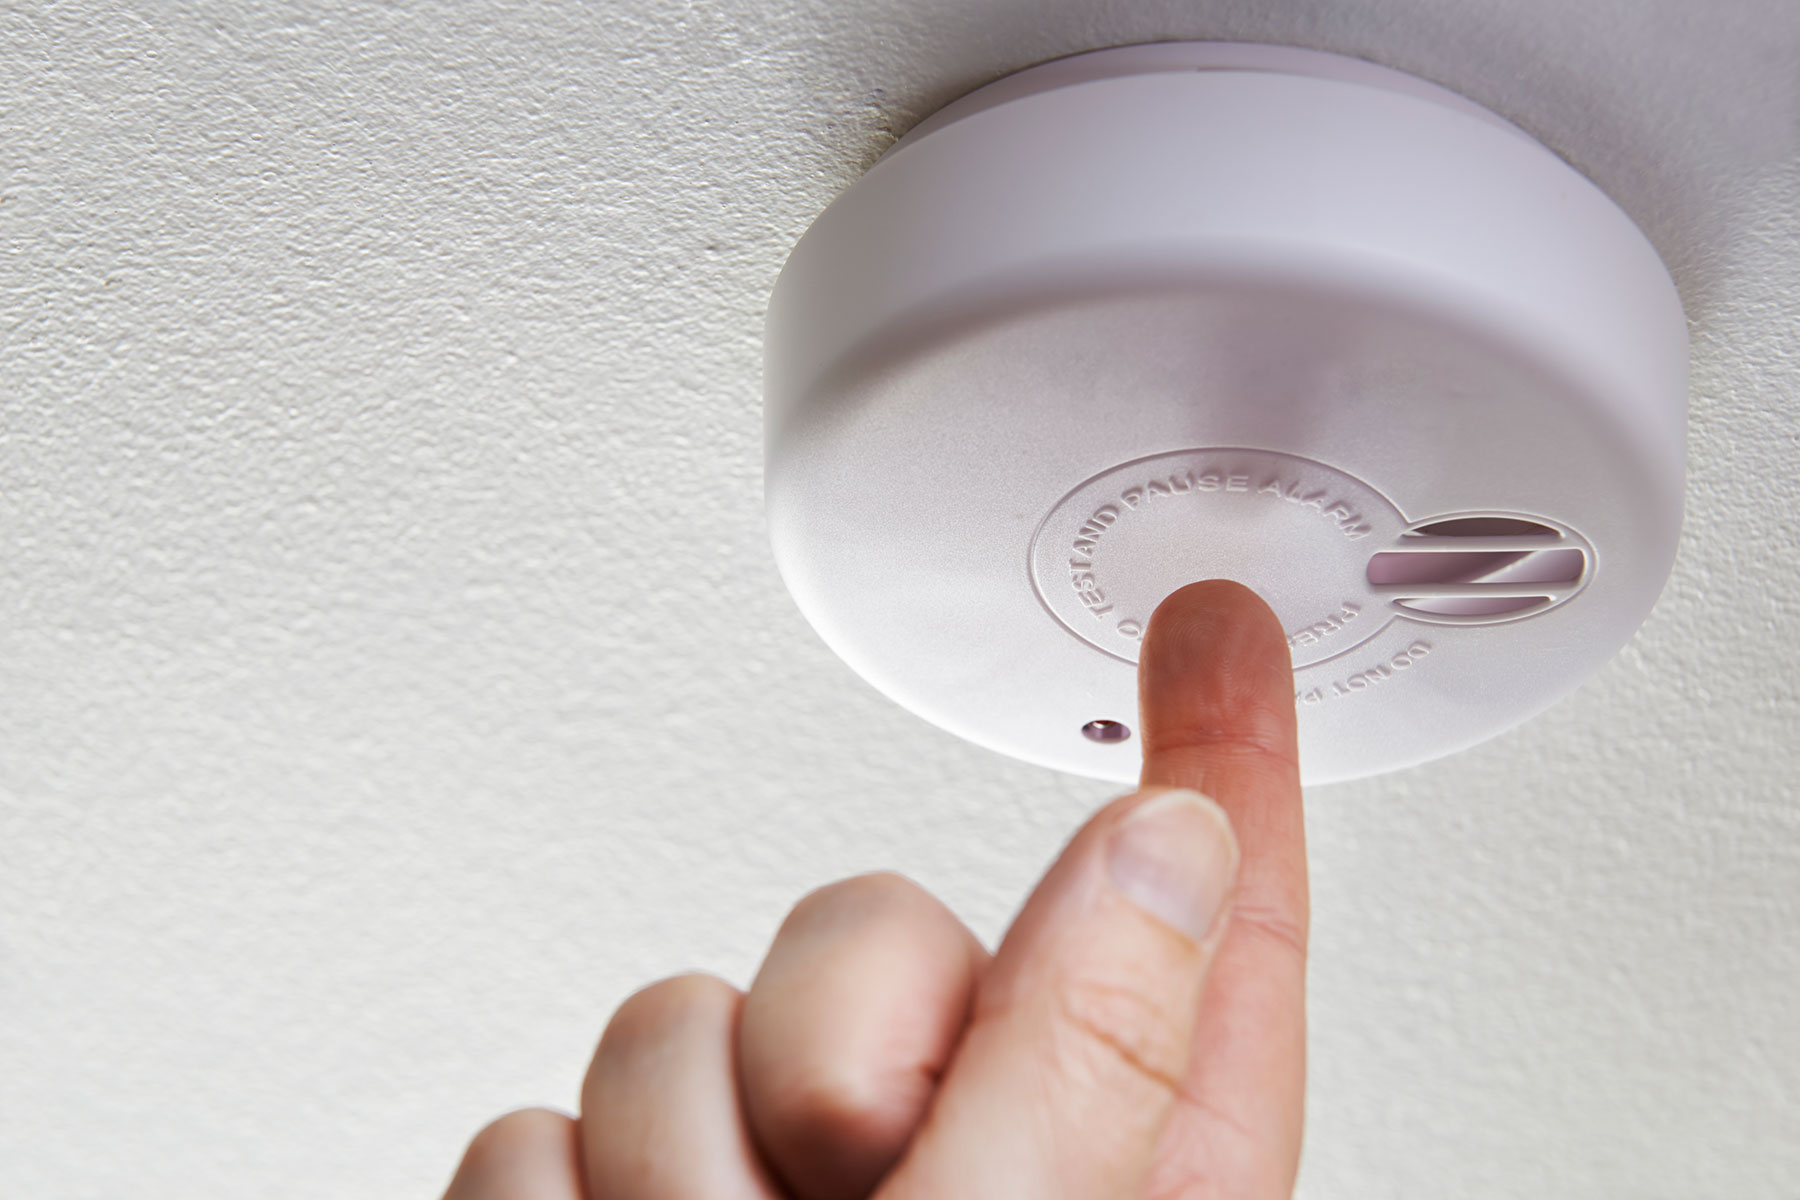
Locate the test button on the smoke detector. This button is usually labeled and may be located on the front or side of the detector. Press and hold the test button for a few seconds until you hear a loud, audible alarm. If the alarm doesn’t sound, check the power connection and ensure the batteries, if applicable, are installed correctly.
While testing, take the opportunity to inspect the alarm’s sound and volume. It should be loud enough to be heard throughout the area it is intended to serve. If the sound is faint or unclear, consult the manufacturer’s instructions to adjust the volume settings.
Additionally, check the smoke detector’s LED indicator lights. These lights can provide valuable information about the detector’s status, such as power status or the presence of any faults. Refer to the manufacturer’s instructions to understand the meaning of the different LED indicator combinations.
If the smoke detector passes the test and sounds the alarm, congratulations! Your new smoke detector is functioning properly. If, however, the alarm does not sound or there are any issues, consult the manufacturer’s troubleshooting guide or contact their customer support for assistance.
Remember to regularly test your smoke detectors as part of your routine maintenance to ensure they are always functioning correctly and providing the necessary protection for your home or building.
Now that you have tested the new smoke detector, it’s time to restore power and complete the installation process.
Step 7: Restore Power
After successfully installing and testing the new smoke detector, the final step is to restore the power to the smoke detector and ensure it is ready to provide optimal protection.
Return to the circuit breaker or fuse box and locate the circuit that controls the smoke detector. Flip the switch back to the “on” position to restore power to the detector. If you had turned off the main power supply, switch it back on as well.
Once the power is restored, listen for any audible sounds or beeps coming from the smoke detector. This indicates that it has powered on and is ready to detect and alert in case of any smoke or fire.
Take note of the manufacturer’s recommendations for regular maintenance and testing of the smoke detector. This may include periodic battery replacements, cleaning, and further testing to ensure continuous functionality.
With the power restored and the smoke detector ready to operate, take a moment to appreciate the enhanced safety and peace of mind provided by this important device. Regularly check and test the smoke detector to ensure it remains in good working condition and can promptly detect any potential fire hazards.
By following these steps and taking the necessary precautions, you have successfully removed and replaced a hard-wired smoke detector, ensuring the safety and well-being of your home or building.
Remember, it’s always recommended to consult the manufacturer’s instructions for your specific smoke detector model and follow any additional guidance they provide.
Stay safe, and be proactive in maintaining a secure environment for yourself and others.
For more information or any further assistance, don’t hesitate to reach out to a professional electrician or the manufacturer of your smoke detector.
Stay vigilant, and protect what matters most!
Conclusion
Removing a hard-wired smoke detector may be necessary for various reasons, such as malfunction, replacement, or relocation. By following the step-by-step process outlined in this article, you can safely and effectively remove a hard-wired smoke detector and replace it with a new one, ensuring the continued safety of your home or building.
Throughout the process, it is crucial to prioritize safety by turning off the power and using the appropriate tools and materials. Always exercise caution when handling electrical connections and be mindful of any potential hazards.
Remember to carefully disconnect the wiring, remove the smoke detector cover, and detach the baseplate. Properly install the new smoke detector, testing its functionality to ensure it will effectively detect and alert in the event of a fire.
Regularly testing and maintaining your smoke detectors is critical to ensure optimal performance. Follow the manufacturer’s guidelines for routine maintenance, such as battery replacements and cleaning, to keep your smoke detectors in excellent working condition.
By taking the necessary steps to remove and replace a hard-wired smoke detector, you are prioritizing the safety and well-being of yourself, your loved ones, and your property. A properly functioning smoke detector can be a lifesaver, providing early warning in the event of a fire and allowing for prompt evacuation and intervention.
If you are uncertain or uncomfortable with the removal and installation process, it is recommended to seek the assistance of a professional electrician. They have the expertise to ensure a safe and accurate installation.
Stay vigilant, regularly test your smoke detectors, and keep up with routine maintenance. By doing so, you can have peace of mind knowing that your home or building is protected against the risks of fire.
Remember, fire safety is everyone’s responsibility. Take the necessary steps to protect yourself and those around you, and help create a safer community.
Stay safe and be proactive in fire prevention. Your actions can make a significant difference in protecting lives and property.
Now that you've mastered removing and installing a smoke detector, why not keep the momentum going with your home upkeep? Dive into our guide on essential routines every homeowner should follow to ensure their living space stays in tip-top shape year-round. We break down simple yet effective strategies to keep your house not just running smoothly but also looking its best. Don't miss out on these crucial insights!
Frequently Asked Questions about How To Remove A Hard-Wired Smoke Detector
Was this page helpful?
At Storables.com, we guarantee accurate and reliable information. Our content, validated by Expert Board Contributors, is crafted following stringent Editorial Policies. We're committed to providing you with well-researched, expert-backed insights for all your informational needs.


0 thoughts on “How To Remove A Hard-Wired Smoke Detector”