
Articles
How To Remove Flush Mount Ceiling Light
Modified: August 26, 2024
Learn how to remove a flush mount ceiling light with these detailed step-by-step articles. Say goodbye to outdated fixtures and update your home's lighting effortlessly.
(Many of the links in this article redirect to a specific reviewed product. Your purchase of these products through affiliate links helps to generate commission for Storables.com, at no extra cost. Learn more)
Introduction
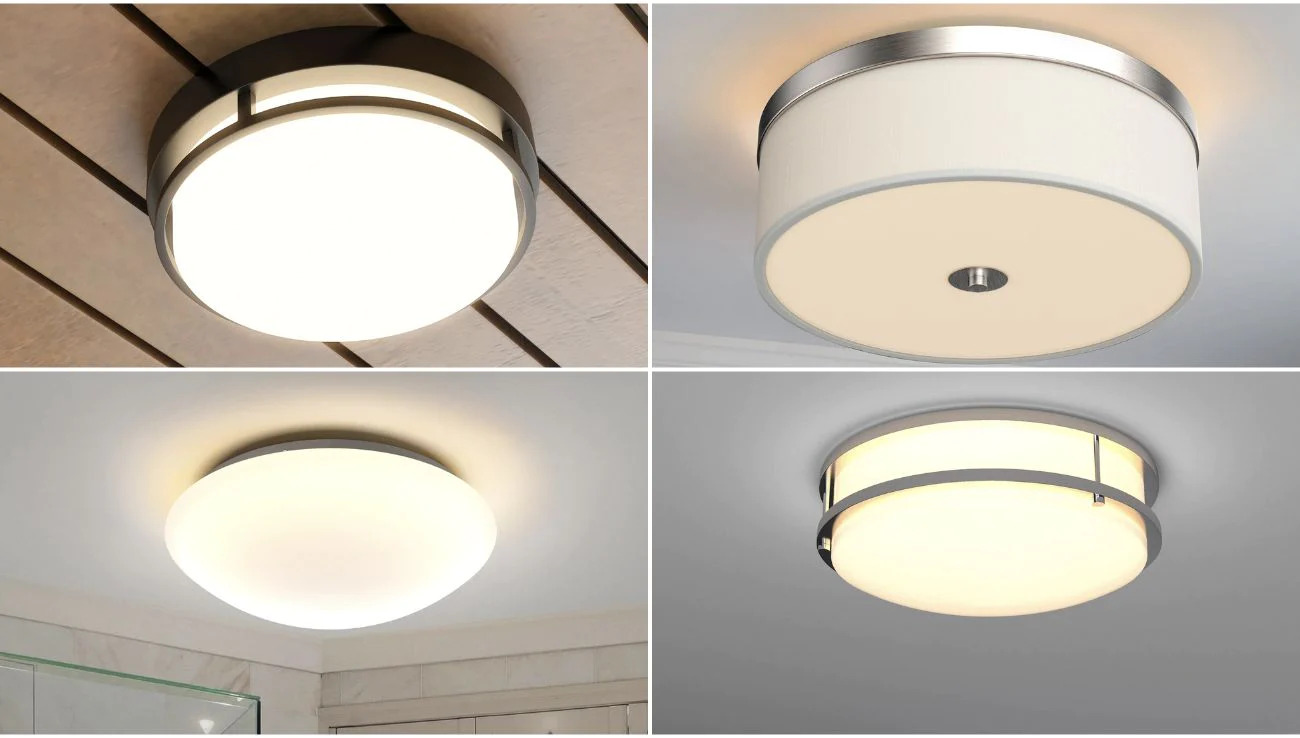
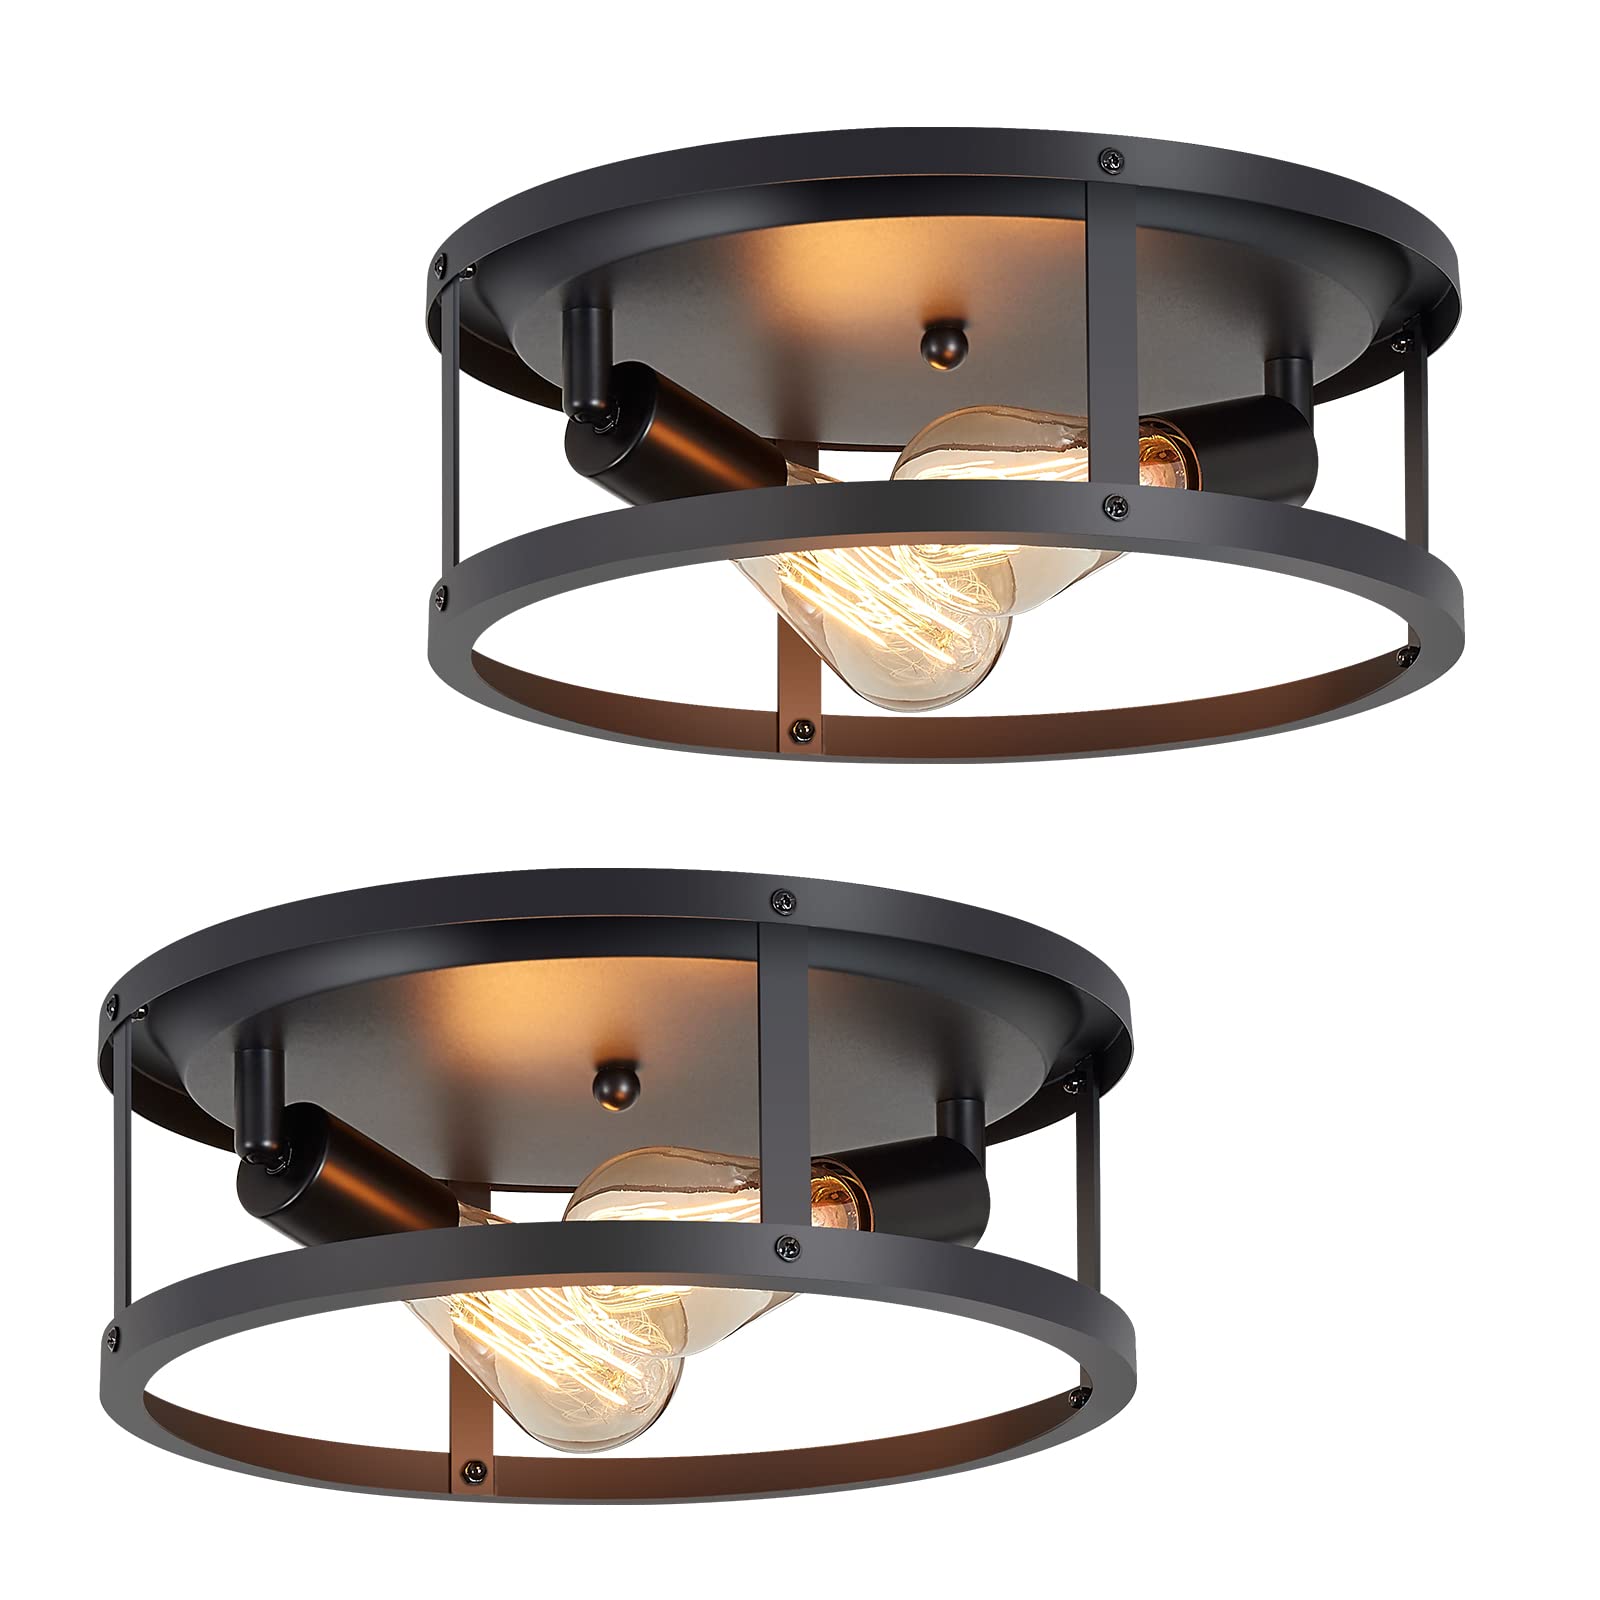
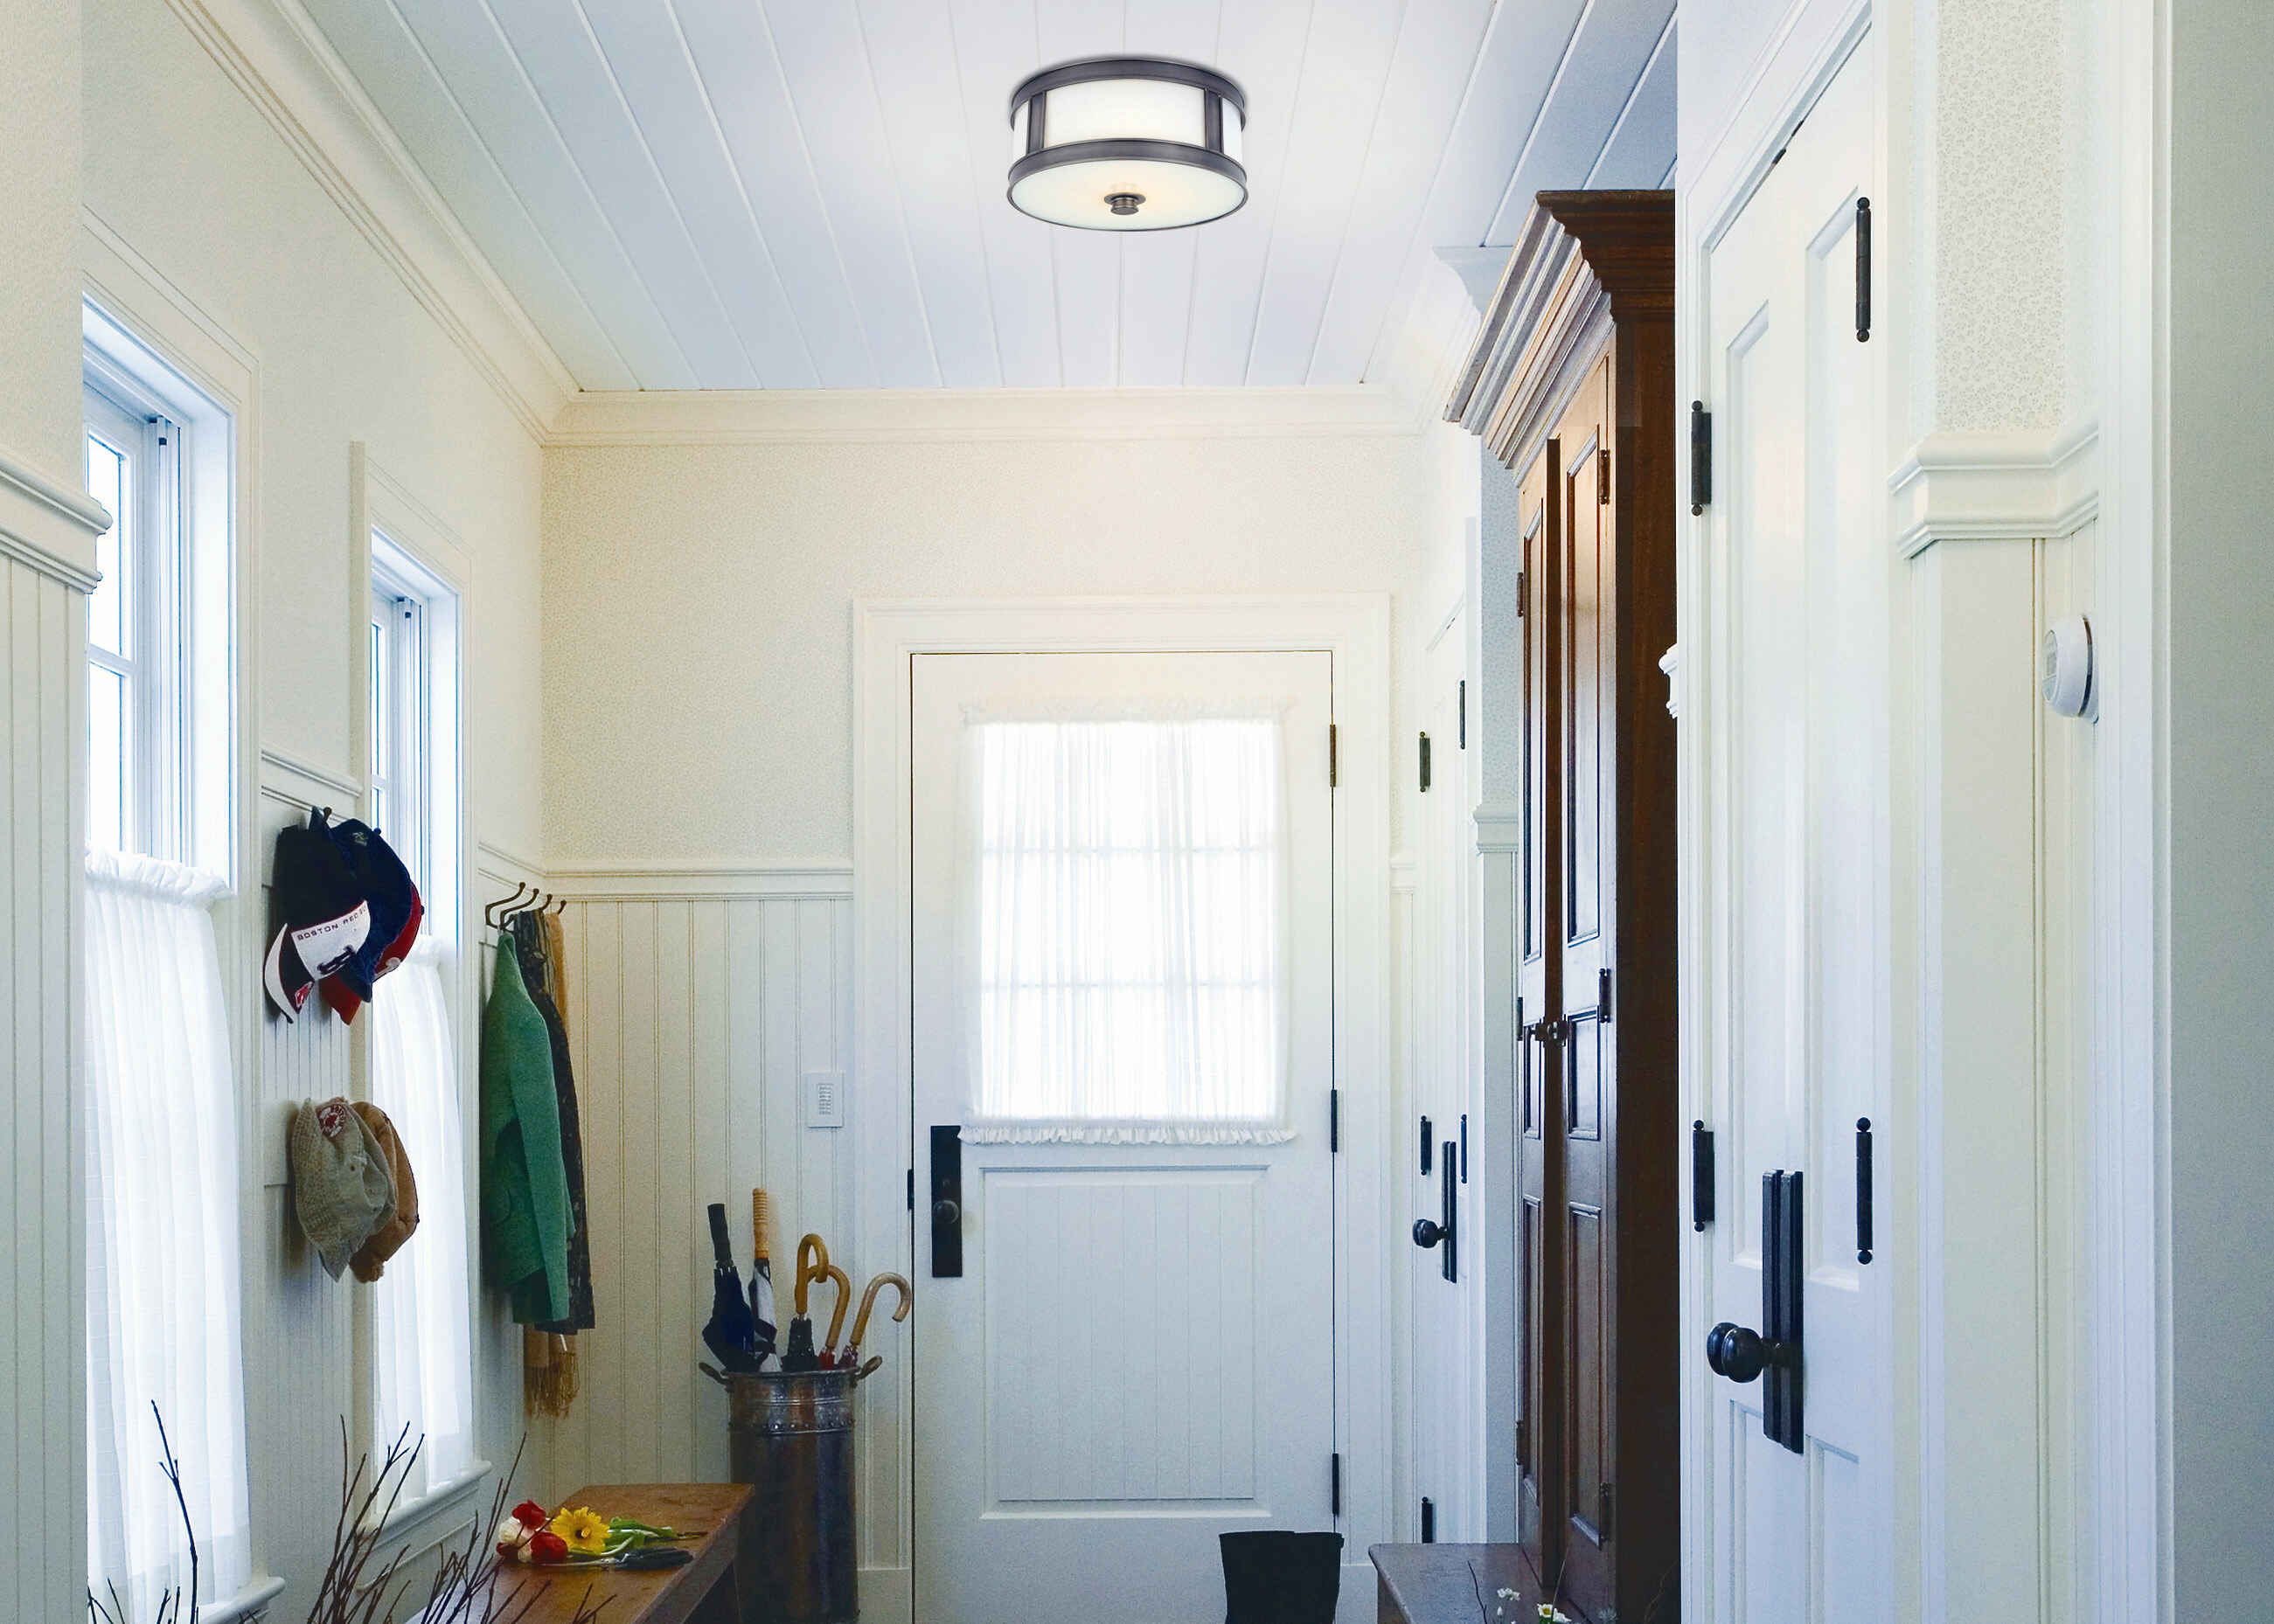
Flush mount ceiling lights are a popular choice for homeowners looking for a sleek and modern lighting option. These fixtures are installed directly onto the ceiling, providing a seamless and streamlined look. However, there may come a time when you need to remove a flush mount ceiling light, whether to replace it with a new fixture or to perform maintenance or repairs. In this guide, we will provide step-by-step instructions on how to safely and effectively remove a flush mount ceiling light.
Before we dive into the details, it’s important to note that working with electricity can be dangerous. If you are not comfortable with electrical work, it is always best to hire a licensed electrician to perform the task for you. Safety should always be the top priority.
With that said, if you are confident in your abilities and want to tackle this project yourself, here’s everything you need to know:
Key Takeaways:
- Prioritize safety by turning off the power at the circuit breaker and using a non-contact voltage tester before removing or installing a flush mount ceiling light. If unsure, seek the assistance of a licensed electrician.
- Gather the necessary tools and materials, follow the manufacturer’s instructions, and take your time to ensure a smooth removal and installation process for a new flush mount ceiling light.
Read more: What Is A Flush Mount Ceiling Light
Tools and Materials Needed
Before you begin removing a flush mount ceiling light, gather the necessary tools and materials to ensure a smooth and efficient process. Here’s a list of items you’ll likely need:
- Screwdriver (flathead or Phillips, depending on the screws used to secure the fixture)
- Wire cutters/strippers
- Wire nuts
- Electrical tape
- Ladder or step stool
- Optional: Patching materials (if you plan to patch the ceiling after removing the fixture)
- New flush mount ceiling light (if you are replacing the existing fixture)
It’s essential to have the right tools to ensure a safe and efficient removal process. Specific tools may vary depending on the type of fixture and your specific circumstances, so be sure to assess the situation beforehand and gather any additional tools or materials that may be required.
Once you have all the necessary tools and materials, you’re ready to proceed with removing the flush mount ceiling light. Remember to exercise caution and follow the steps carefully to avoid any mishaps or accidents.
Step 1: Turn off the Power
Before you begin any work on the flush mount ceiling light, you must ensure that the power to the fixture is turned off. This is crucial to prevent the risk of electrocution or injury. Follow these steps to turn off the power:
- Locate the circuit breaker panel in your home. This is usually found in the basement, garage, or utility room.
- Open the circuit breaker panel cover to access the breakers.
- Identify the breaker that controls the power supply to the ceiling light fixture. You may need to refer to the circuit diagram provided with your electrical panel or refer to any labeling.
- Switch off the breaker by flipping it to the “Off” position.
- Double-check that the power is indeed off by testing the light switch. If the light switch does not turn the fixture on, then you have successfully turned off the power.
It’s essential to take the extra precaution of turning off the power at the circuit breaker rather than relying solely on the light switch. Sometimes, there may be multiple switches controlling the same light fixture, and turning off just the switch may not completely cut off the power. By turning off the breaker, you can be sure that the electricity to the fixture is completely shut off.
Keep in mind that even after turning off the breaker, it’s a good practice to use a non-contact voltage tester to confirm that there is no live electrical current flowing to the fixture. This handheld device allows you to detect the presence of electricity without direct contact. Hold the tester near the wires or connections to verify that there is no voltage present.
Once you’ve confirmed that the power is off, you can move on to the next steps of the removal process with peace of mind.
Step 2: Remove the Light Bulbs
With the power turned off, it’s time to remove the light bulbs from the flush mount ceiling light fixture. Follow these steps:
- Allow the bulbs to cool down if they have been recently in use. Hot bulbs can cause burns or shatter if handled improperly.
- If the light fixture has a glass or plastic cover, gently remove it by unscrewing or unclipping it from the base. Be cautious as some covers may be fragile or heavy.
- Set the cover aside in a safe location to prevent any accidental damage.
- Identify the light bulbs and turn them counterclockwise to loosen and remove them from the fixture. Some bulbs may require a gentle push and twist motion to detach.
- Once all the bulbs have been removed, safely stow them away or dispose of them properly, depending on their condition.
It’s important to handle the light bulbs with care to avoid breakage or injury. If a bulb is broken or damaged, be sure to follow proper disposal procedures and protect yourself by wearing gloves or using a bulb recycling container.
Removing the light bulbs not only makes the fixture lighter and easier to handle but also eliminates the risk of accidentally breaking them as you continue to work on the flush mount ceiling light.
Next, you’ll proceed to remove the light fixture cover or base to access the wiring and disconnect the fixture from the ceiling.
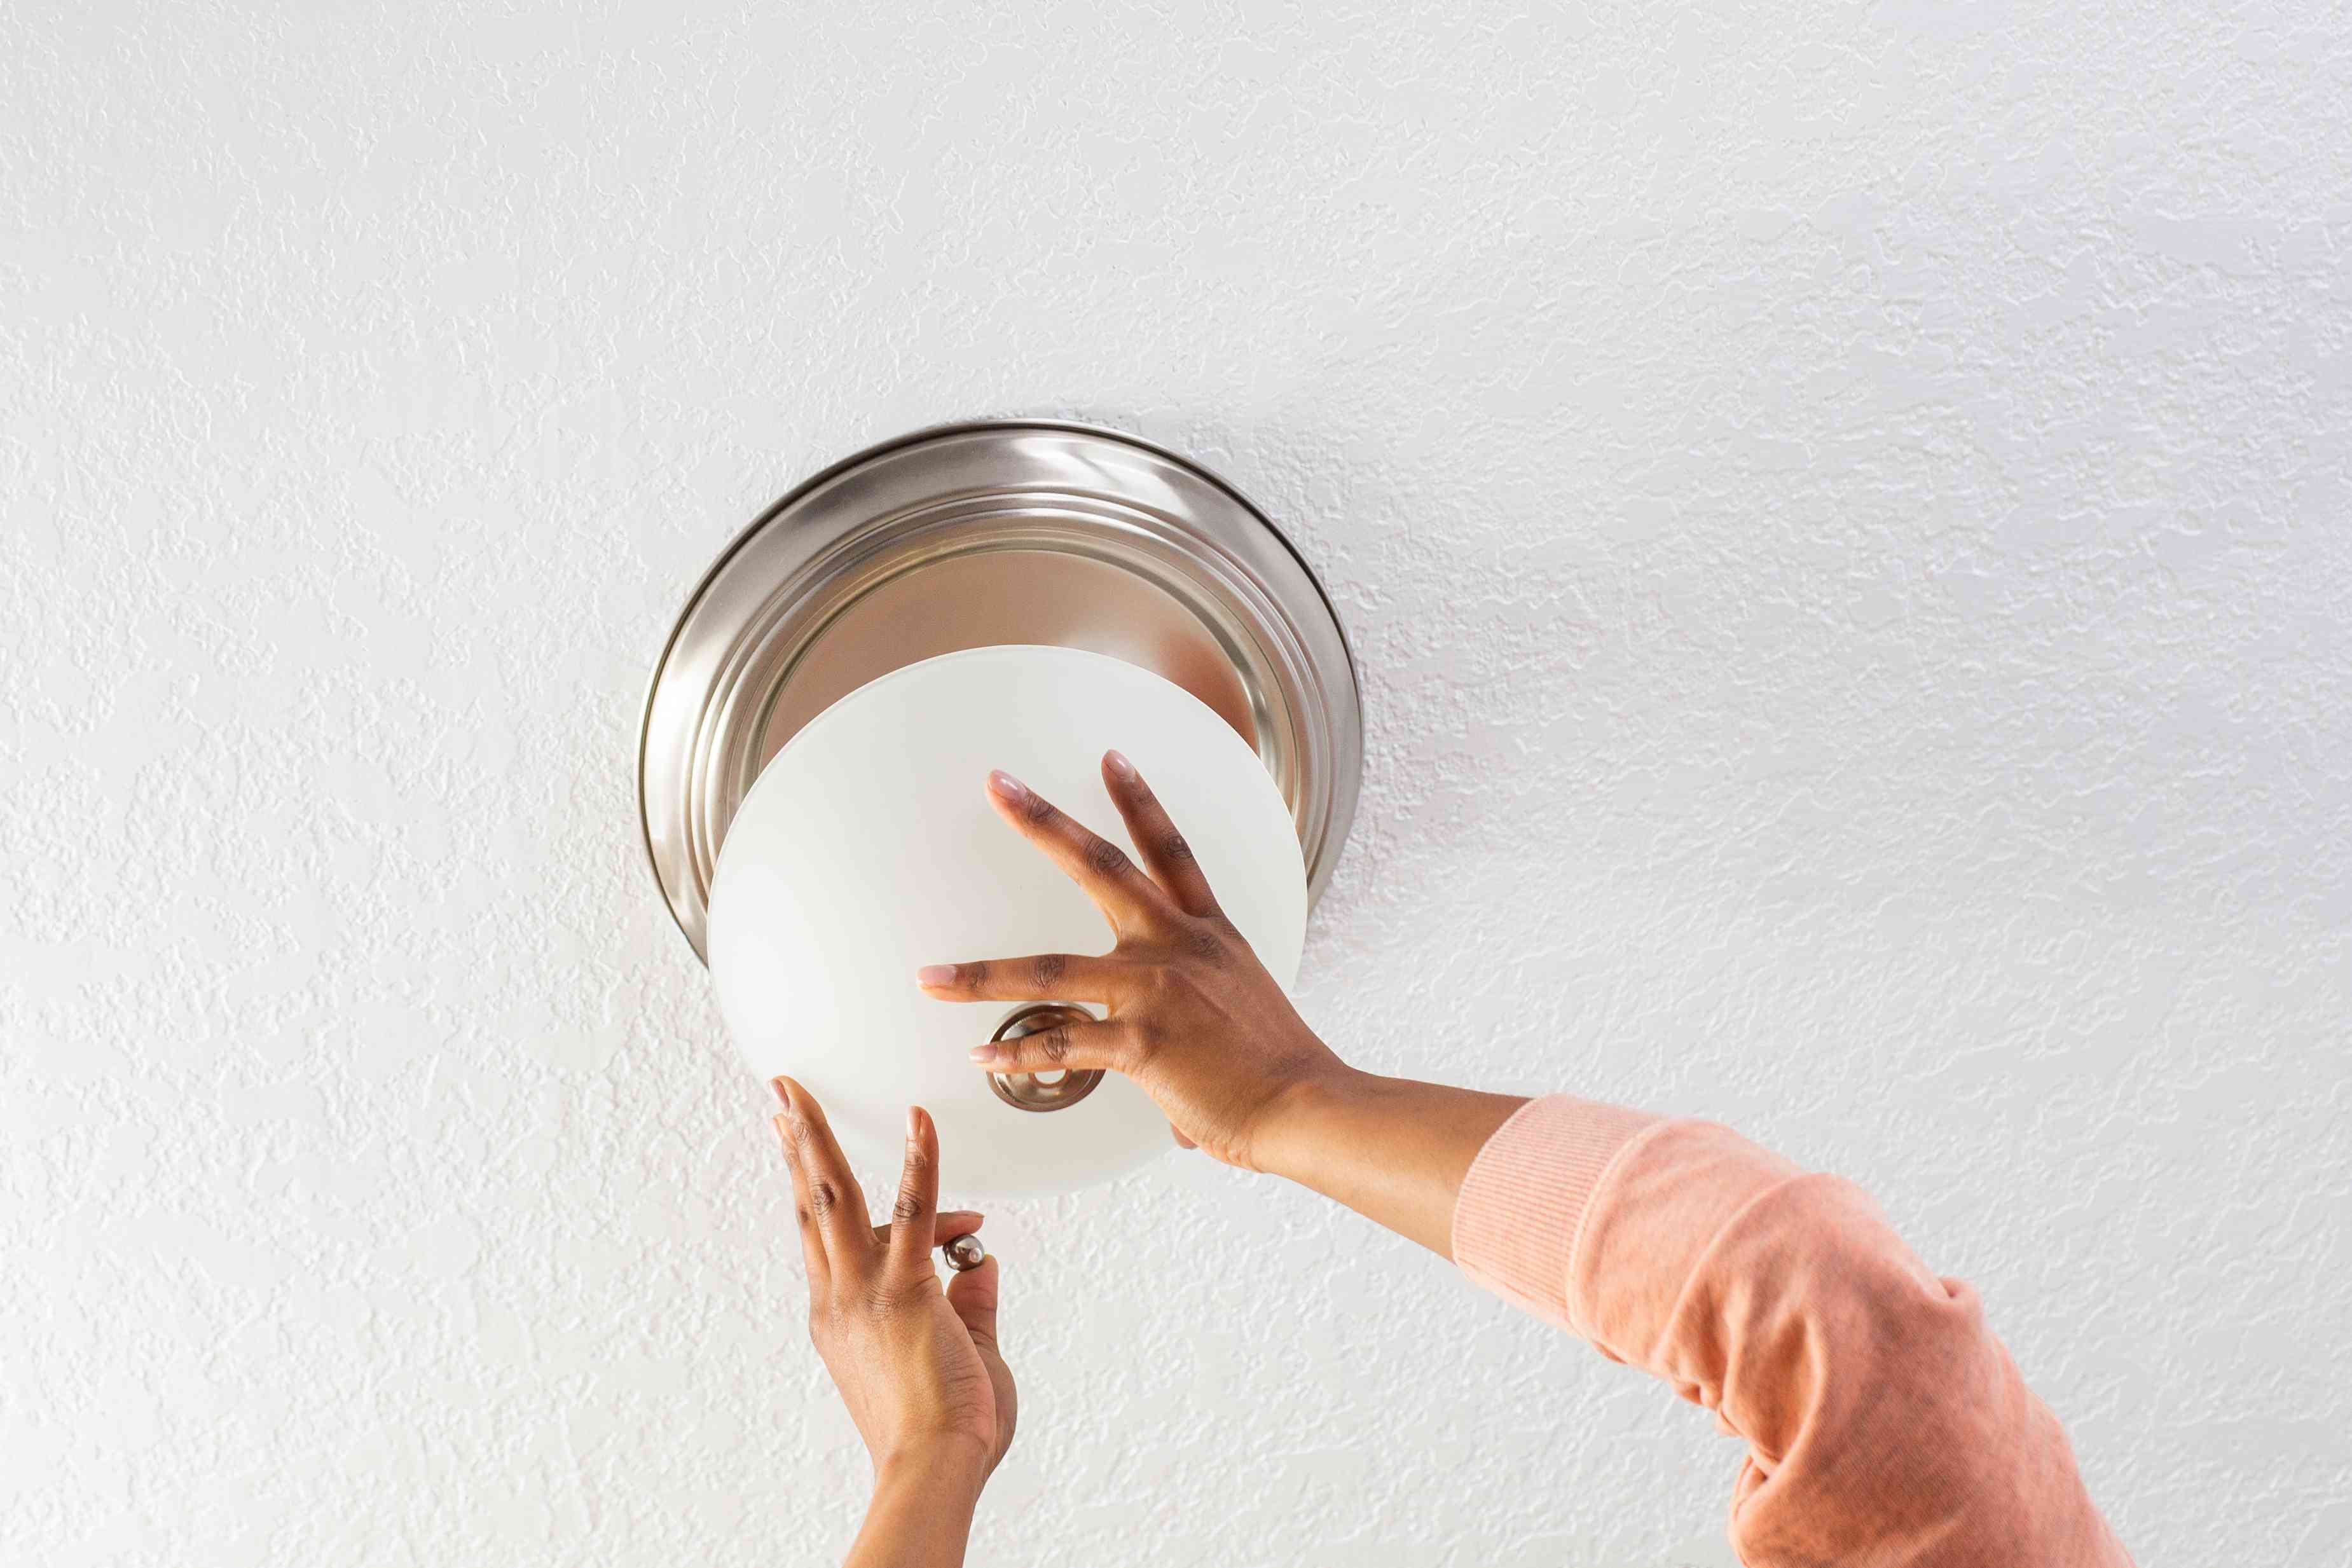
Step 3: Remove the Light Fixture Cover
Now that the light bulbs have been removed, it’s time to remove the light fixture cover or base. The process may vary depending on the design of your flush mount ceiling light, but here are some general steps to follow:
- Inspect the fixture cover to identify how it is attached to the base. Look for screws, clips, or other fasteners.
- Using a screwdriver or your fingers, carefully loosen and remove any screws holding the fixture cover in place. Set the screws aside in a secure location so that they don’t get lost.
- If your fixture has clips, gently press or pull the clips to release the cover from the base. Be cautious as some clips may be stiff or delicate.
- Slowly lower the cover to detach it from the base. Support the cover with your hand to prevent it from falling and causing any damage.
- Set the removed cover aside in a safe place to avoid any accidental damage or breakage.
It’s important to handle the fixture cover with care, especially if it is made of glass or delicate materials. Avoid applying excessive force or dropping it as it may shatter or crack.
By removing the fixture cover, you will have easier access to the wiring connections and mounting bracket, which are necessary for disconnecting the flush mount ceiling light from the electrical supply.
Next, we’ll move on to disconnecting the wires to safely remove the fixture.
Step 4: Disconnect the Wires
With the light fixture cover removed, you can now proceed to disconnect the wires that supply power to the flush mount ceiling light. Follow these steps:
- Always double-check that the power is turned off at the circuit breaker. Use a non-contact voltage tester to ensure there is no electrical current flowing to the fixture.
- Locate the wire connections between the fixture and the electrical supply in the ceiling. These connections are typically housed within a junction box.
- Identify the wire nuts or connectors that secure the individual wires together.
- Using wire cutters or wire strippers, carefully remove the wire nuts or connectors by twisting them counterclockwise. This will loosen and detach the wires.
- Once the wires are disconnected, separate them and ensure that they are not touching each other or any metal parts of the fixture or junction box.
- If necessary, label the wires with tape or use a digital camera to take photos as a reference for later reconnection. This is especially important if the wires are of different colors.
When disconnecting the wires, it’s crucial to handle them with care and avoid any excessive pulling or twisting. Be mindful of the wire insulation to prevent damaging the conductors. If the wires are tightly twisted or difficult to separate, you may need to trim a small portion of the insulation to expose fresh wire strands for easier disconnection.
Remember, each wire may consist of a hot (black), neutral (white), and ground (green or bare copper) wire. If you are unsure about the wiring configuration, consider taking additional precautions or consulting a licensed electrician.
With the wires disconnected, you can now proceed to remove the mounting bracket that secures the flush mount ceiling light to the ceiling.
Step 5: Unscrew and Remove the Mounting Bracket
Once the wires are safely disconnected, the next step is to remove the mounting bracket that holds the flush mount ceiling light in place. Follow these steps:
- Inspect the mounting bracket to identify how it is attached to the ceiling.
- Using a screwdriver or the appropriate tool, carefully unscrew the screws or fasteners that secure the mounting bracket to the ceiling.
- Hold onto the flush mount light fixture as you remove the last screw to prevent it from falling.
- Gently lower the fixture and set it aside in a safe location.
- Once the fixture is removed, examine the mounting bracket to ensure it is in good condition. If the bracket shows signs of damage or wear, it may need to be replaced.
During this step, it’s essential to be cautious when removing the mounting bracket to prevent any damage to the ceiling or the fixture itself. Take your time and ensure that all screws or fasteners are fully removed before attempting to lower the fixture.
If the mounting bracket is tightly secured or difficult to remove, try wiggling it gently or using a flathead screwdriver to pry it loose. Be careful not to apply excessive force, which could cause damage to the ceiling or cause the bracket to break.
With the mounting bracket removed, you have successfully detached the flush mount ceiling light fixture from the ceiling. If you intend to install a new fixture, you can proceed to the next step. However, if you plan to patch the ceiling, continue reading to learn how to do so.
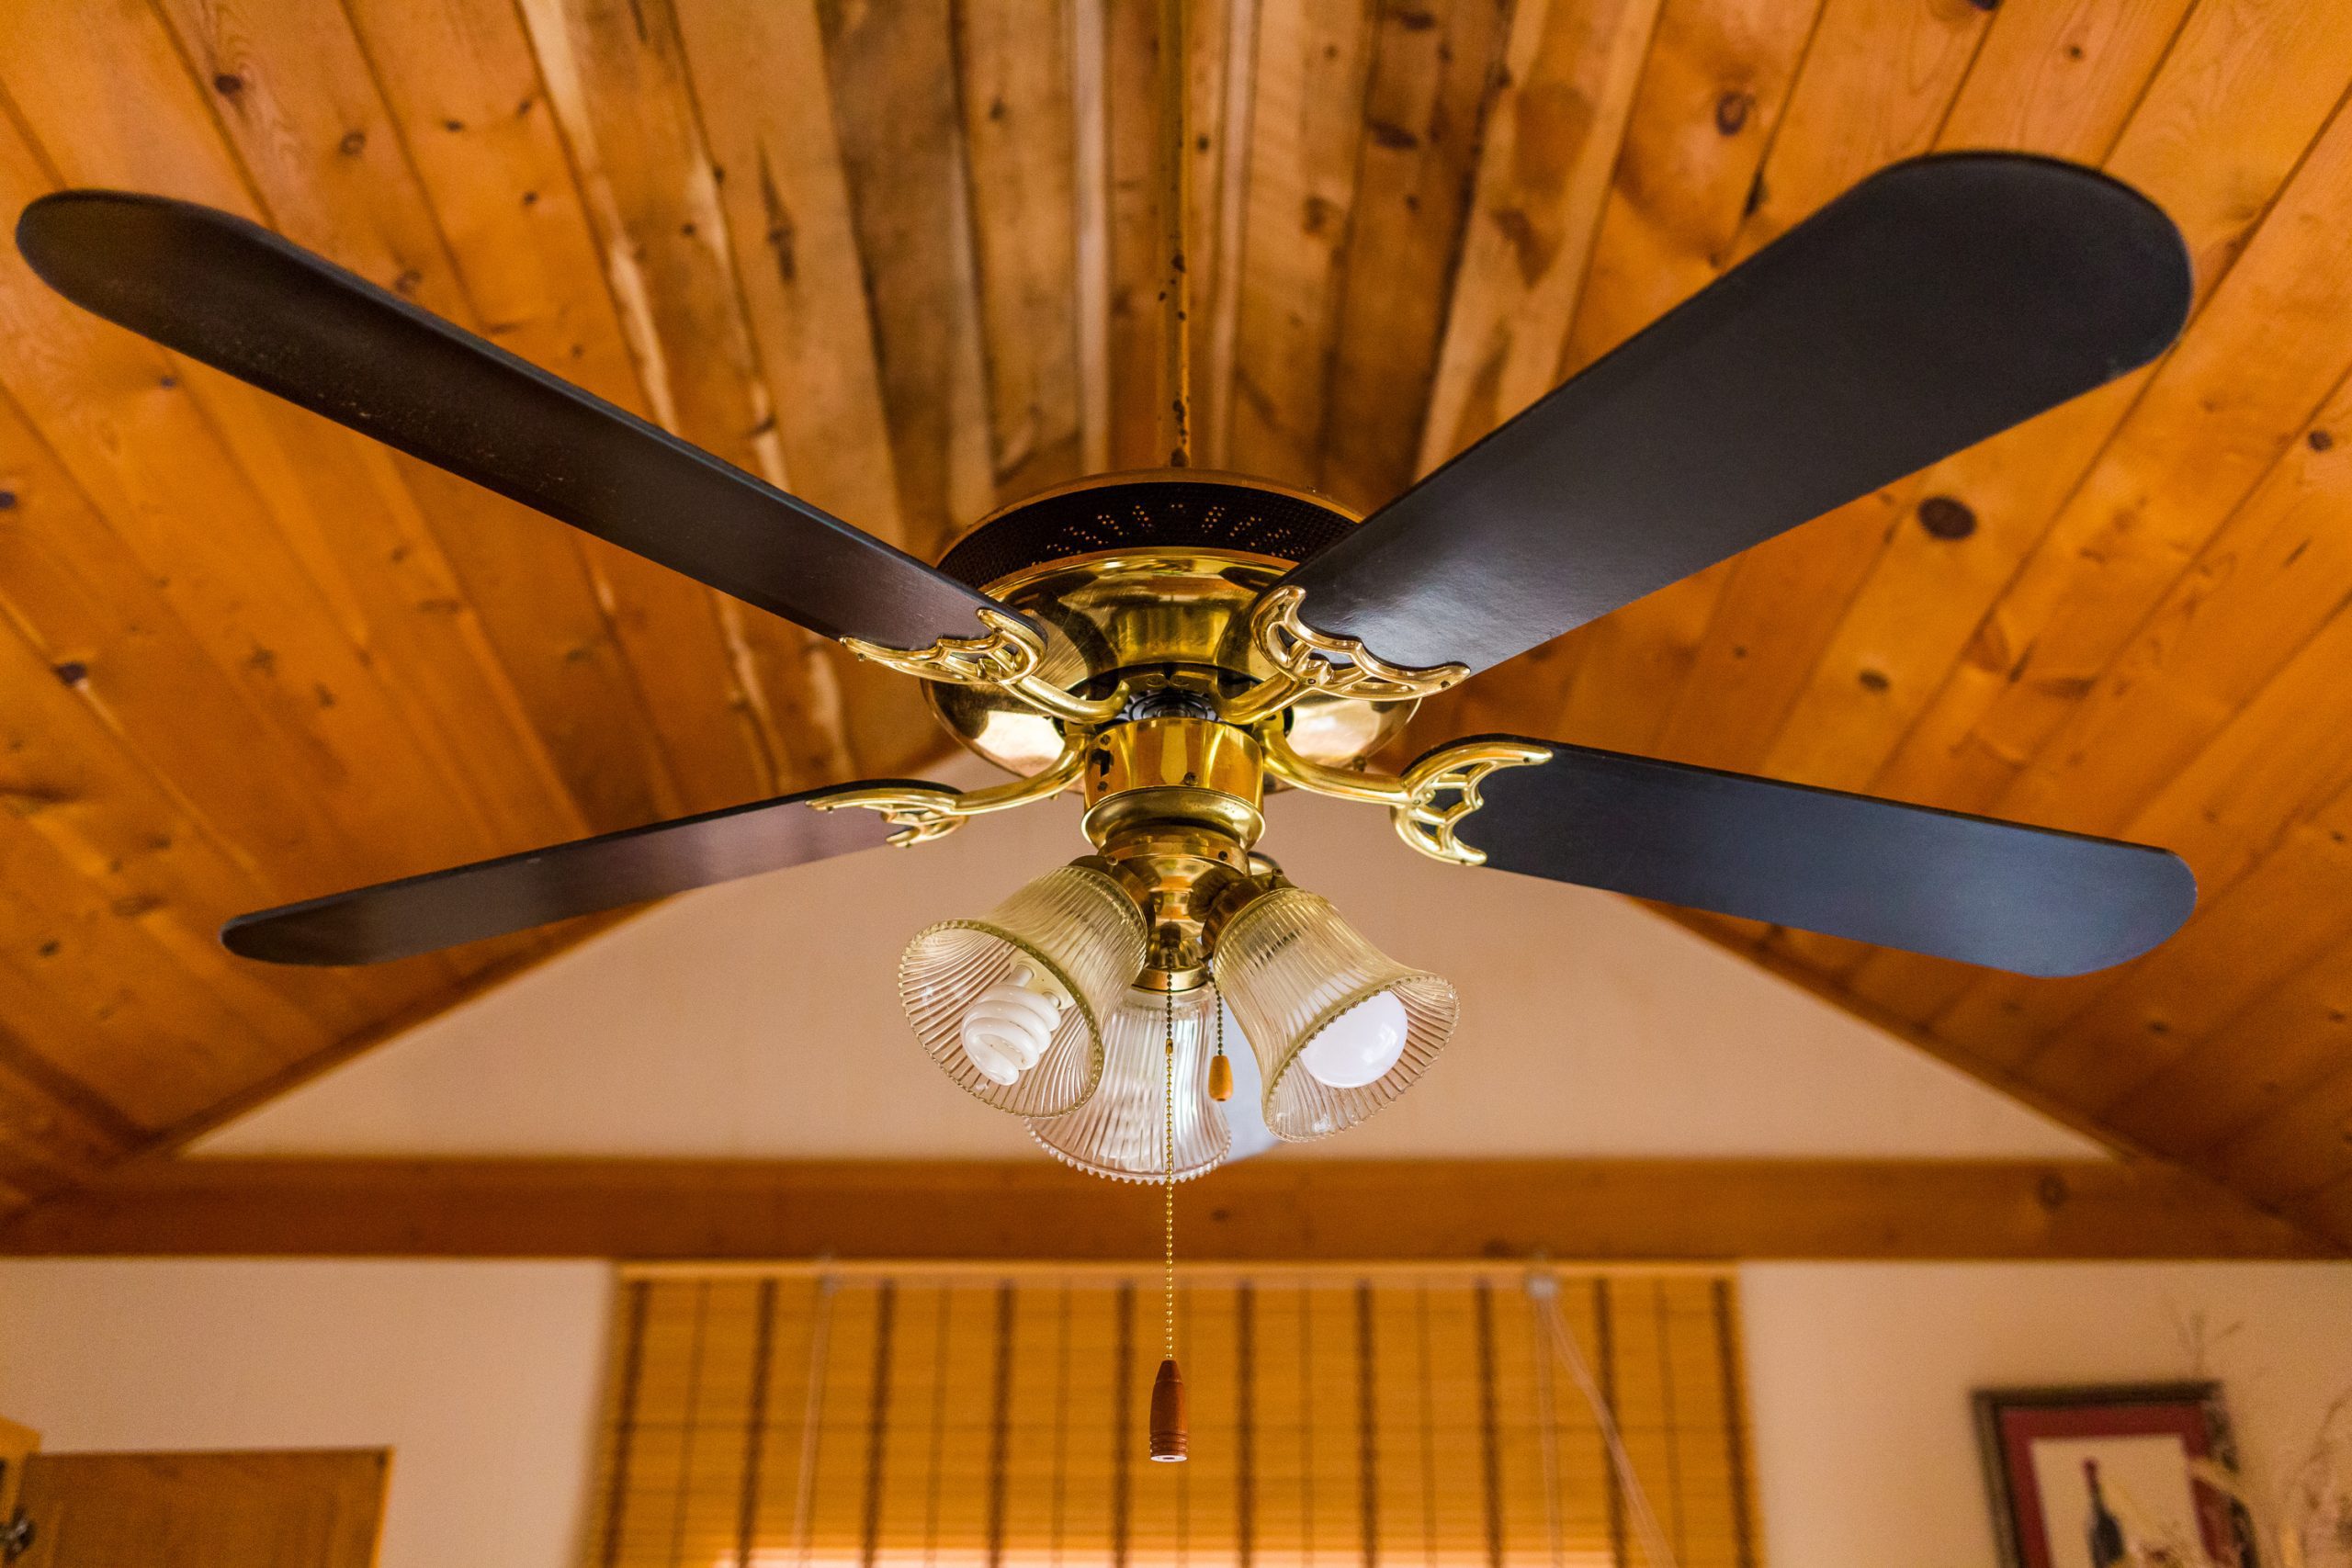
Before removing a flush mount ceiling light, turn off the power at the circuit breaker to ensure safety. Use a ladder to reach the light, then carefully unscrew and lower the fixture. Disconnect the wires and remove the mounting bracket to fully remove the light.
Step 6: Patching the Ceiling (Optional)
If you’re planning to replace the flush mount ceiling light fixture with a new one and the new fixture requires a different mounting bracket or wiring configuration, you may need to patch the ceiling to cover any holes or damage left behind. Follow these steps to patch the ceiling:
- Gather the necessary patching materials, such as spackle, a putty knife, sandpaper, and paint that matches your ceiling.
- Clean the area around the previous mounting bracket to remove any dust or debris. Use a soft cloth or vacuum to ensure a smooth surface for patching.
- Apply spackle or a patching compound to the hole left by the mounting bracket. Use the putty knife to spread a thin layer of spackle over the hole, making sure to blend it with the surrounding ceiling surface.
- Allow the patching compound to dry according to the manufacturer’s instructions. This typically takes several hours, but it’s best to wait overnight for optimal drying and hardening.
- Once the patch is completely dry, carefully sand the patched area with fine-grit sandpaper. This will help smooth out the surface and create an even finish.
- Wipe away any dust or debris from sanding with a clean, damp cloth.
- If the patched area is noticeably different in texture or color from the rest of the ceiling, you may need to apply a coat of paint to blend it in. Use a brush or roller to apply a matching paint color, feathering the edges for a seamless look.
- Allow the paint to dry completely before installing the new flush mount ceiling light fixture.
Patching the ceiling is an optional step but can greatly improve the aesthetics of the room and provide a clean surface for the new fixture installation. Take your time during the patching process and ensure that the surface is smooth and free from any imperfections.
Now that the ceiling is patched (if applicable), you can proceed to install your new flush mount ceiling light fixture. Continue reading to learn how to connect the wires and mount the new fixture securely.
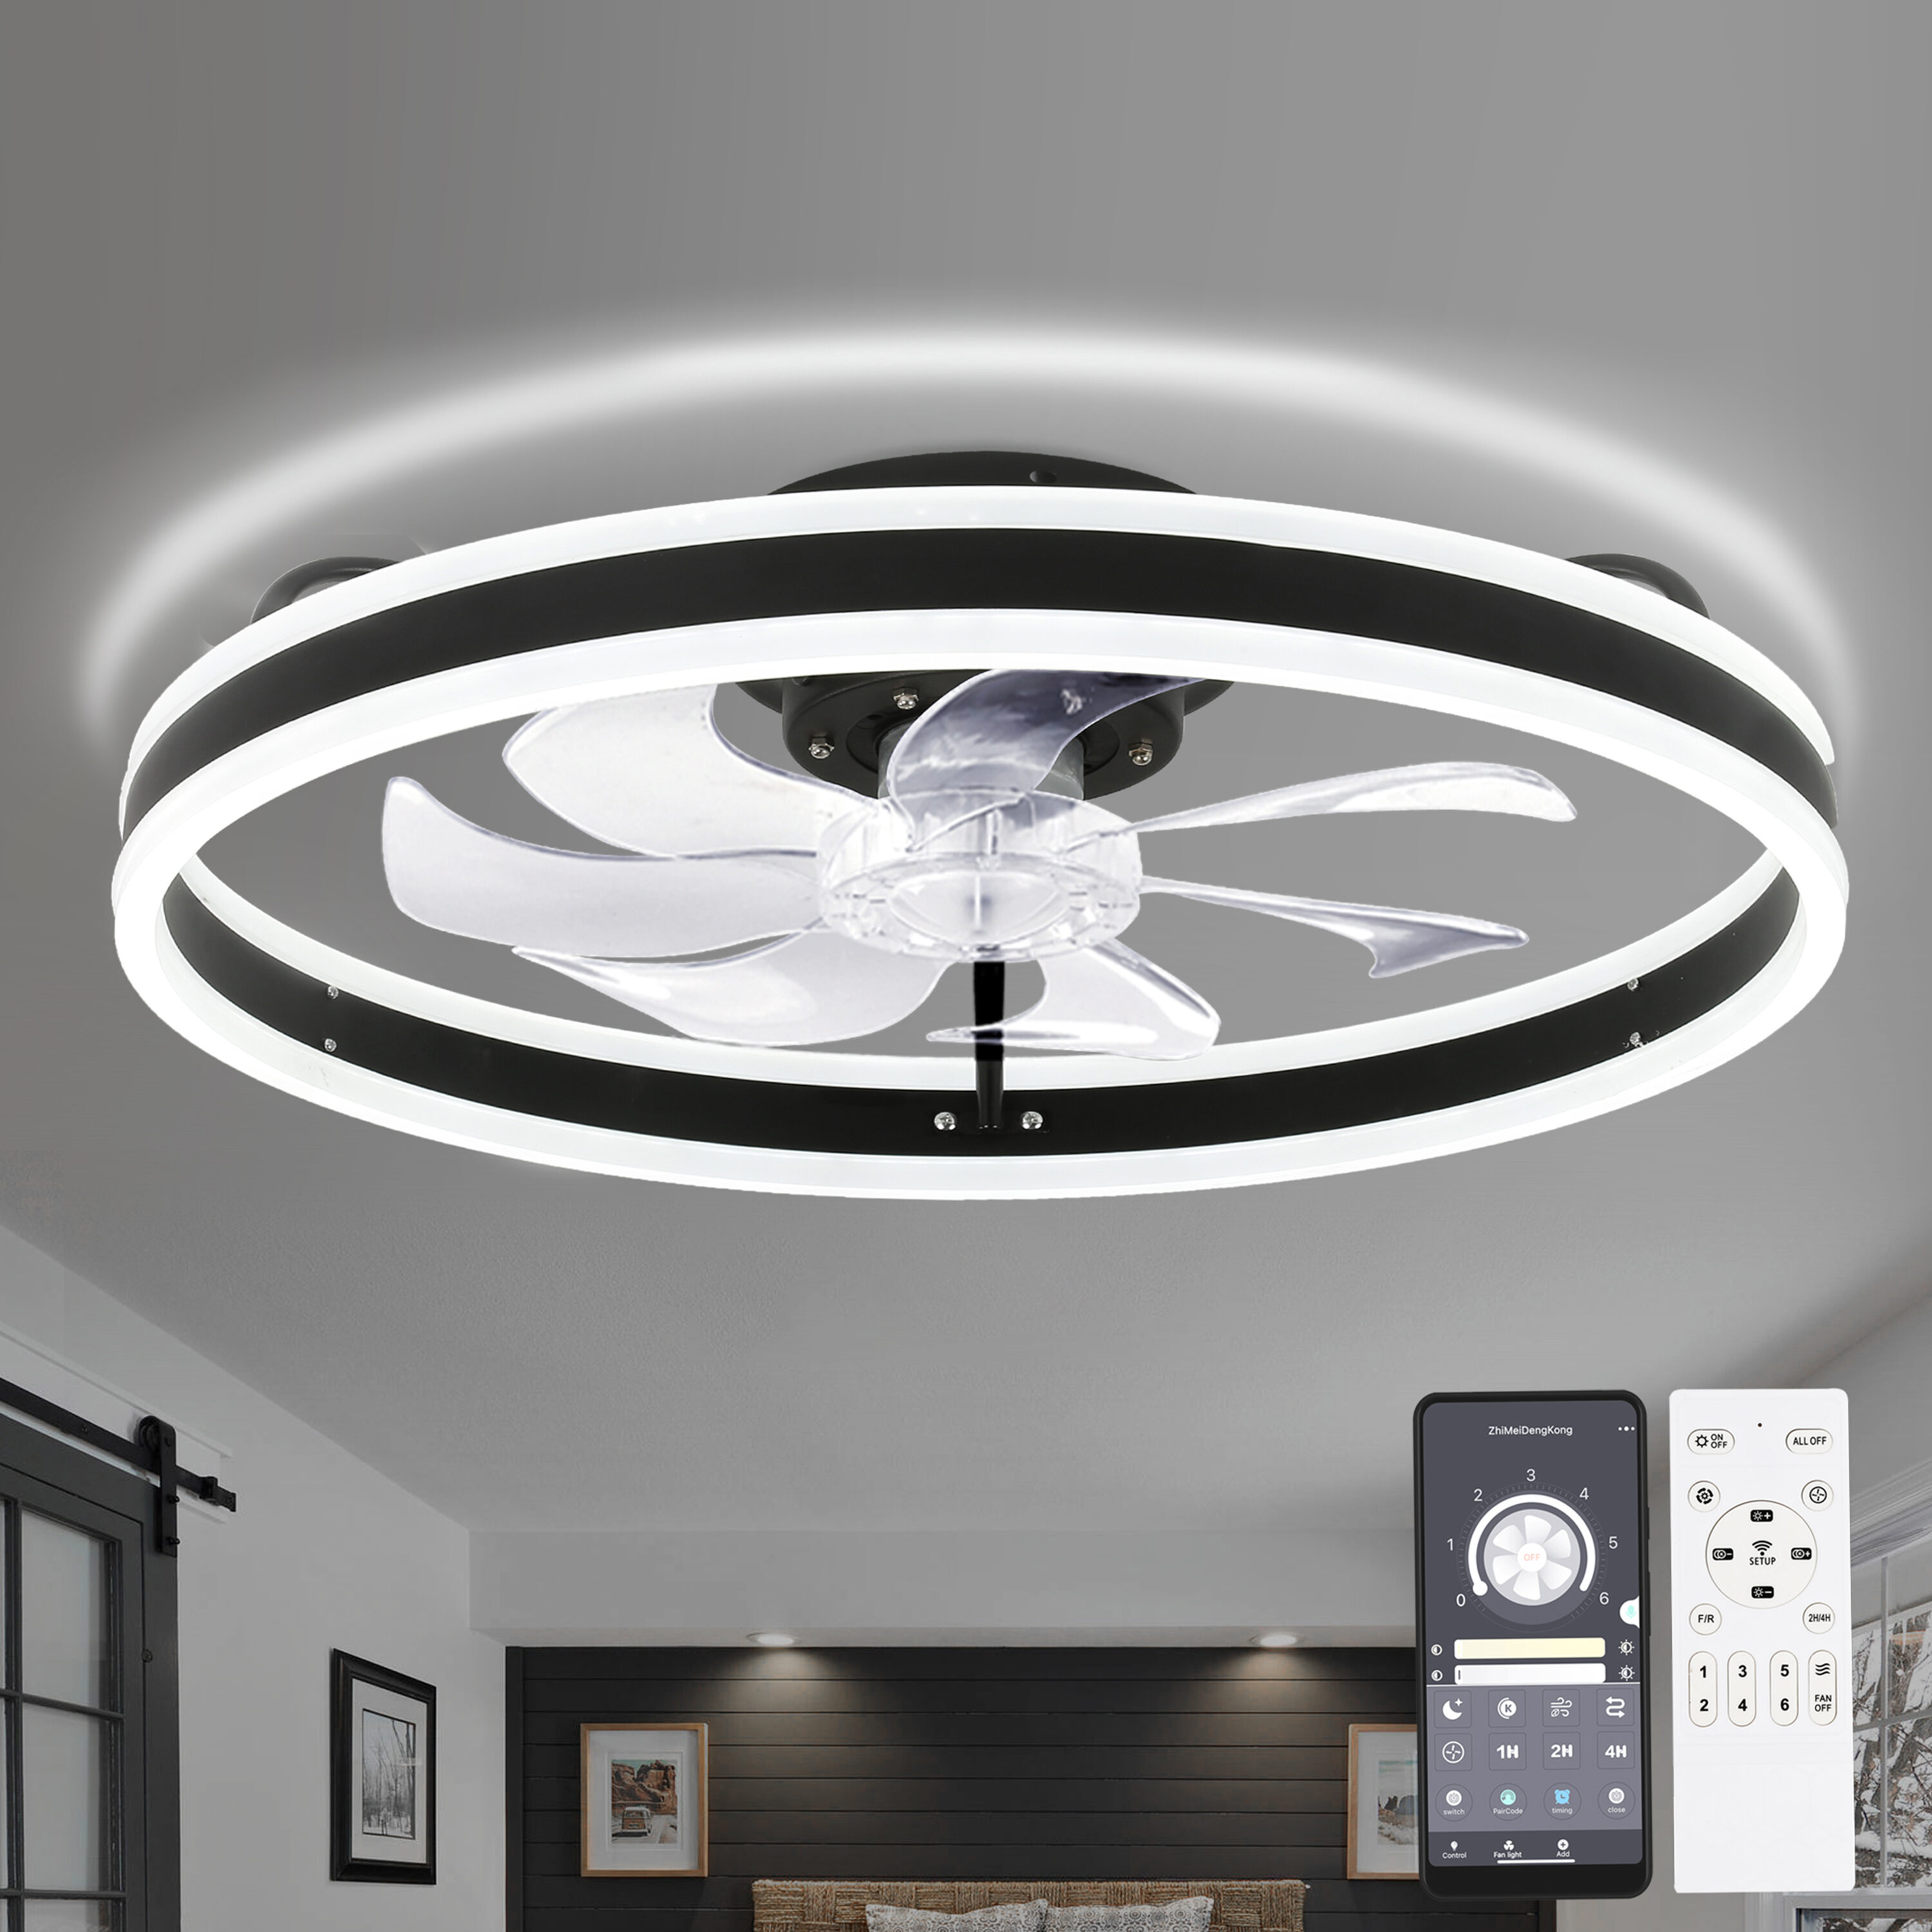
Step 7: Install a New Flush Mount Ceiling Light
Now that you have removed the old flush mount ceiling light and completed any necessary patching, it’s time to install your new fixture. Follow these steps to ensure a successful installation:
- Read the manufacturer’s instructions that came with your new flush mount ceiling light. Familiarize yourself with the specific installation requirements and any special considerations.
- Ensure that the power to the circuit is still turned off at the breaker box. Use a non-contact voltage tester to confirm that there is no electricity flowing to the wires.
- Hold the new flush mount ceiling light fixture up to the electrical box in the ceiling. Align the mounting holes on the fixture with the screw holes in the electrical box.
- Insert and tighten the screws or fasteners provided with the fixture to secure it to the electrical box. Make sure the fixture is level and firmly attached.
- If your new fixture includes mounting brackets or additional support, follow the manufacturer’s instructions to install them properly.
- If your fixture requires wiring connections, consult the manufacturer’s instructions or refer to the wiring diagram provided with the fixture.
- Connect the wires from the fixture to the corresponding wires in the electrical box. Twist the matching wire ends together and secure them with wire nuts. Typically, black wires connect to black wires (hot), white wires connect to white wires (neutral), and bare or green wires connect to copper or green grounding wires.
- Double-check that all connections are secure and tightly fastened. Give each wire a gentle tug to ensure it’s secure.
- Tuck the connected wires neatly into the electrical box, ensuring they are not pinched or touching any metal parts of the fixture.
It’s crucial to follow the manufacturer’s instructions and any applicable electrical codes when connecting the wires and installing the new flush mount ceiling light. If you are unsure about any aspect of the installation process, it’s recommended to consult a licensed electrician for assistance.
Once you have completed the wiring and secured the fixture to the electrical box, you can proceed to the next step of attaching the light fixture cover.
Step 8: Connect the Wires and Mount the New Fixture
With the new flush mount ceiling light fixture securely installed, it’s time to connect the wires and complete the mounting process. Follow these steps:
- If the new fixture includes a separate mounting bracket, follow the manufacturer’s instructions to attach it to the fixture.
- Hold the light fixture cover up to the base of the fixture and align any screw holes or clips.
- Secure the light fixture cover to the base by inserting and tightening the screws or engaging the clips according to the manufacturer’s instructions.
- Ensure that the light fixture cover is firmly in place and fully secured.
- If the new fixture requires additional adjustments or alignment, adjust the position of the fixture as needed.
- Double-check all wiring connections to ensure they are secure and properly insulated. Verify that the black wires are connected to black wires (hot), white wires connected to white wires (neutral), and bare or green wires connected to grounding wires.
- If your fixture includes a grounding wire, make sure it is attached to the grounding wire in the electrical box.
- Carefully tuck any excess wire into the electrical box, ensuring that it does not interfere with the fixture or cover.
- Once everything is securely connected and in place, turn the power back on at the circuit breaker panel.
- Test the new flush mount ceiling light by turning on the light switch. If the light does not turn on, double-check the connections and troubleshooting steps to ensure everything is correctly installed.
It’s crucial to pay attention to the specific instructions provided by the manufacturer of the new flush mount ceiling light fixture. Following their guidelines will ensure a proper connection and secure installation for optimal safety and performance.
Once the fixture is fully installed and the light is functioning correctly, your new flush mount ceiling light is ready to illuminate your space. Enjoy the enhanced lighting and aesthetic appeal of your new fixture!
Step 9: Attach the Light Fixture Cover
After successfully connecting the wires and mounting the new flush mount ceiling light, the next step is to attach the light fixture cover. Follow these steps:
- If the light fixture cover is not already attached to the fixture, align it with the base of the fixture.
- Depending on the design of the fixture, secure the light fixture cover using the designated screws, clips, or other fasteners provided by the manufacturer.
- Tighten the screws or engage the clips, making sure to firmly attach the cover to the base of the fixture.
- Gently test the cover to ensure it is securely in place and does not shift or wobble.
- If applicable, ensure any decorative elements, such as decorative rods or finials, are securely attached to the light fixture cover according to the manufacturer’s instructions.
Properly attaching the light fixture cover is essential for the overall appearance and safety of the flush mount ceiling light. It ensures that the electrical components and wiring are fully protected and concealed while maintaining a clean and finished look.
Always refer to the manufacturer’s instructions for your specific light fixture model, as different designs may have unique methods for attaching the cover. Following their guidelines will help ensure a proper installation and maintain the integrity of the fixture.
With the light fixture cover securely attached, you’re one step closer to completing the installation process. The final step is to insert and test the light bulbs before enjoying the fully functional flush mount ceiling light in your space.
Step 10: Insert and Test Light Bulbs
Now that the new flush mount ceiling light fixture is fully installed and the cover is attached, it’s time to insert and test the light bulbs. Follow these steps:
- Ensure that the power to the circuit is turned off before inserting the light bulbs. Double-check the breaker at the electrical panel to make sure it’s switched off.
- Refer to the manufacturer’s instructions or the label on the fixture to determine the appropriate type and wattage of light bulbs to use.
- Remove any packaging or protective coverings from the light bulbs.
- Hold the light bulb by the base and carefully insert it into the socket of the fixture. Give the bulb a gentle twist clockwise until it is firmly in place.
- Repeat the process for any additional light bulb sockets in the fixture.
- Once all the light bulbs are inserted, turn on the power to the circuit at the electrical panel.
- Test the light bulbs by turning on the light switch connected to the fixture.
- Check to ensure that all the light bulbs illuminate properly and provide the desired brightness.
It’s important to use caution when inserting light bulbs to avoid breakage or damage. Avoid applying excessive force or twisting the bulbs too tightly, as this can cause them to break or become difficult to remove in the future.
If you notice any flickering, dimness, or issues with the light bulbs, double-check the connections, and make sure they are secure. If problems persist, try replacing the light bulbs with new ones of the appropriate type and wattage.
With the light bulbs properly inserted and tested, your new flush mount ceiling light fixture is now fully installed and ready to provide bright and beautiful illumination to your space!
Congratulations on successfully removing the old flush mount ceiling light and completing the installation of your new fixture. Enjoy the improved lighting and the aesthetic enhancement it brings to your room!
Conclusion
Removing a flush mount ceiling light may seem like a daunting task, but with the right tools and knowledge, it can be a straightforward process. By following the step-by-step instructions outlined in this guide, you can safely and effectively remove the old fixture and install a new one to enhance the lighting and aesthetics of your space.
Throughout the process, it is essential to prioritize safety. Always remember to turn off the power at the circuit breaker before starting any work, and use a non-contact voltage tester to verify that there is no electrical current flowing to the fixture. If you are not comfortable with electrical work, it’s best to seek the assistance of a licensed electrician.
Gathering the necessary tools and materials, such as a screwdriver, wire cutters, and wire nuts, will ensure that you have everything you need for a smooth removal and installation process. Following the manufacturer’s instructions for your specific light fixture model is also crucial, as different designs may have unique requirements.
By taking the time to remove the light bulbs, detach the fixture cover, disconnect the wires, remove the mounting bracket, and, if necessary, patch the ceiling, you can ensure a clean and professional removal of the old fixture. Installing a new flush mount ceiling light involves connecting the wires, mounting the fixture, attaching the cover, inserting the light bulbs, and testing their functionality.
Whether you’re replacing an outdated fixture or performing maintenance or repairs, the process of removing a flush mount ceiling light is within your reach. It allows you to have better control over the lighting in your space, adding a touch of style and functionality to your home.
Remember, if you ever feel uncertain or encounter any difficulties during the process, it’s always best to consult a professional electrician who can offer guidance and ensure the work is done safely and correctly.
With the knowledge and guidance provided in this guide, you are well-equipped to tackle the task of removing a flush mount ceiling light and enjoy the satisfaction of a job well done.
Now that you've mastered removing your old ceiling light, why not brighten up your space with the latest in style and efficiency? Check out our guide on stylish LED mirrors that not only light up your reflections but also transform any room’s ambiance. Whether upgrading your bathroom or adding a touch of class to your vanity, these mirrors offer both elegance and practical lighting solutions. Don't miss out on finding the perfect mirror to complement your newly updated lighting setup!
Frequently Asked Questions about How To Remove Flush Mount Ceiling Light
Was this page helpful?
At Storables.com, we guarantee accurate and reliable information. Our content, validated by Expert Board Contributors, is crafted following stringent Editorial Policies. We're committed to providing you with well-researched, expert-backed insights for all your informational needs.


0 thoughts on “How To Remove Flush Mount Ceiling Light”