Home>Articles>How To Change Bulb In A Flush Mount Ceiling Light
Articles
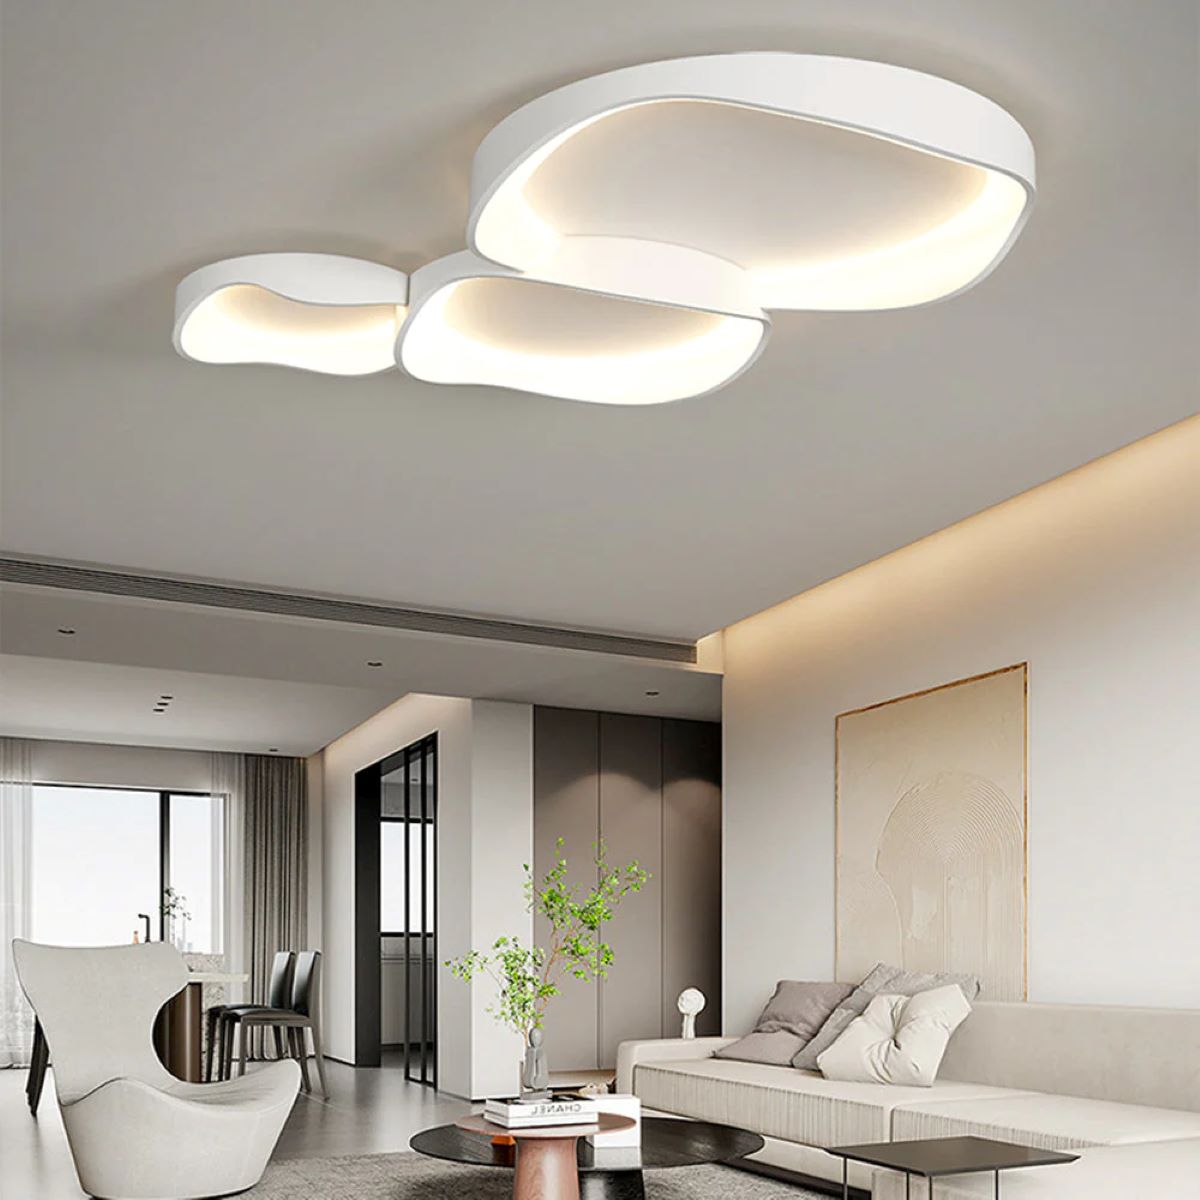
How To Change Bulb In A Flush Mount Ceiling Light
Modified: September 2, 2024
Learn how to change the bulb in a flush mount ceiling light with these informative articles. Upgrade your lighting with step-by-step instructions and tips for a brighter home.
(Many of the links in this article redirect to a specific reviewed product. Your purchase of these products through affiliate links helps to generate commission for Storables.com, at no extra cost. Learn more)
Introduction
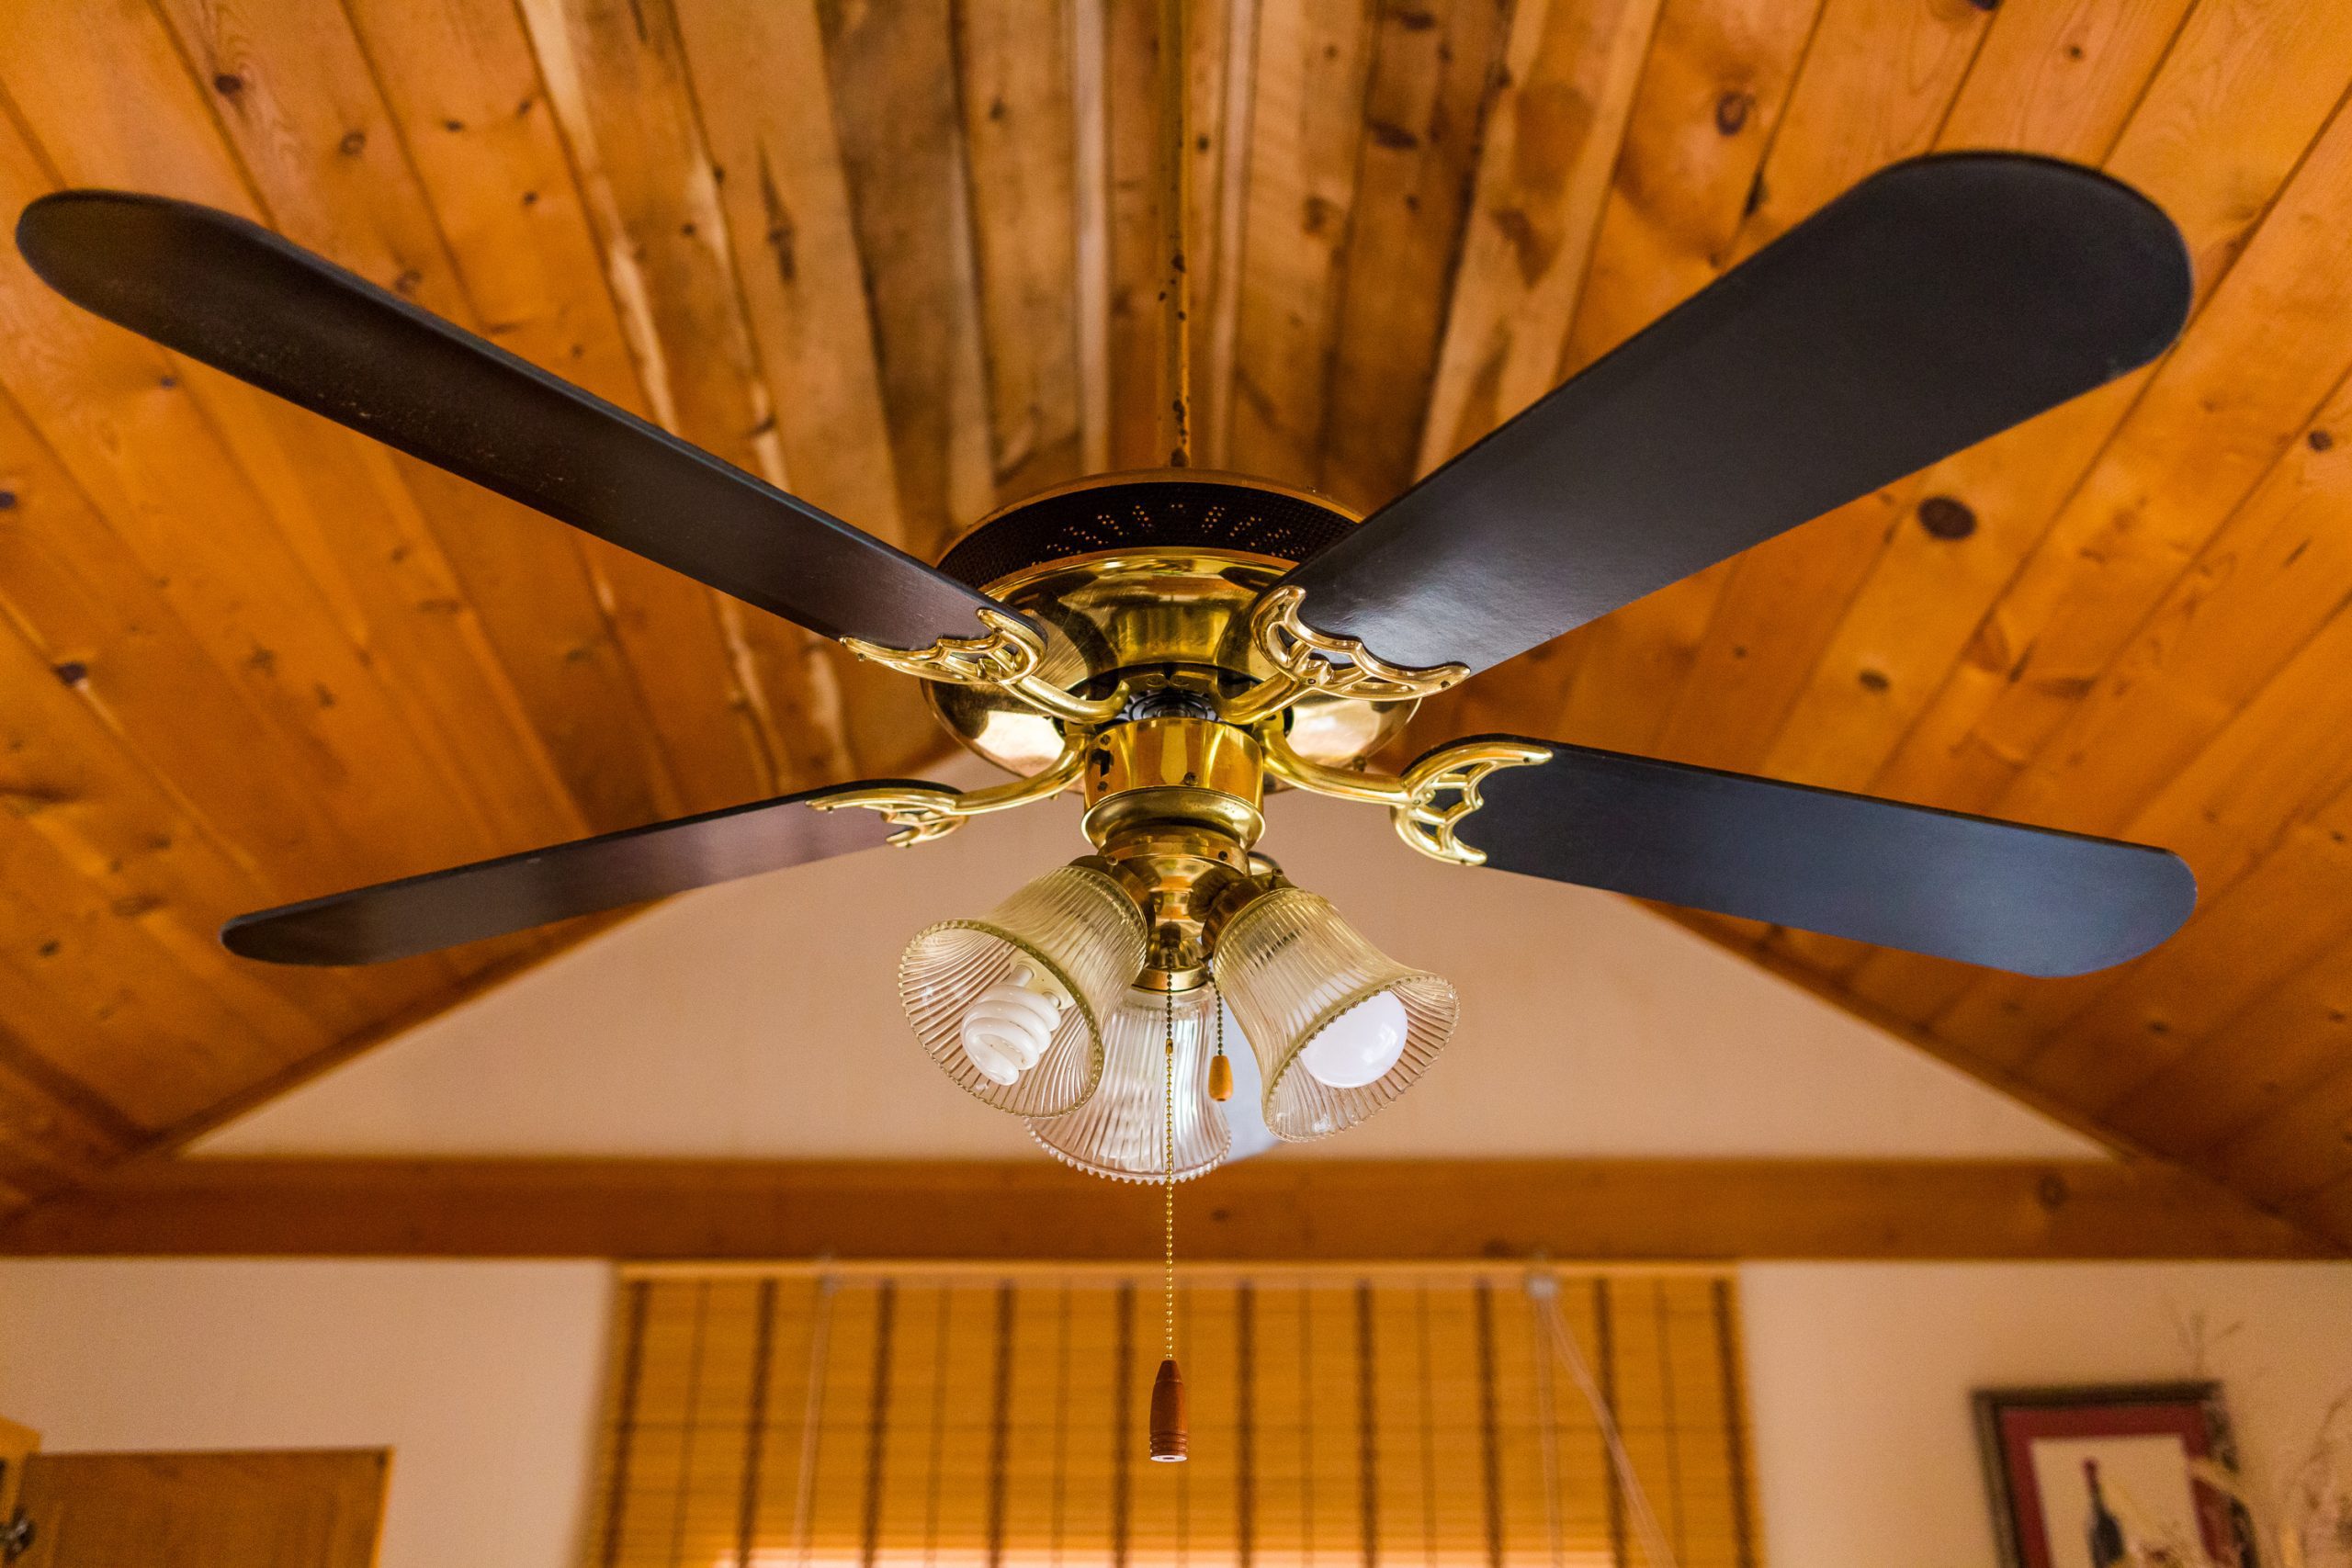
Changing a bulb in a flush mount ceiling light may seem like a daunting task, but it’s actually quite simple. Whether your old bulb has burned out or you simply want to update the lighting in your space, knowing how to change the bulb in a flush mount ceiling light can save you time and money.
In this article, we will guide you through the step-by-step process of changing the bulb in a flush mount ceiling light. We’ll cover everything from gathering the necessary tools and supplies to safely installing the new bulb. So grab your toolbox and let’s get started!
Before we dive into the details, it’s important to remember that safety should always be your top priority when working with electricity. Always turn off the power supply and follow any specific instructions provided by the manufacturer of your ceiling light. If you have any doubts or concerns, it’s best to consult a professional electrician.
Now, let’s begin our journey to a brighter and well-lit space by learning how to change the bulb in a flush mount ceiling light.
Key Takeaways:
- Changing a bulb in a flush mount ceiling light is a simple process that requires basic tools and safety precautions. By following the step-by-step guide, you can confidently update the lighting in your space and enjoy a well-lit environment.
- Prioritize safety by turning off the power supply and gathering necessary tools before changing the bulb. Testing the new bulb ensures proper functionality, and proper disposal of the old bulb contributes to environmental responsibility.
Read more: How To Change Light Bulb Flush Mount
Step 1: Gather the necessary tools and supplies
Before you begin the process of changing the bulb in a flush mount ceiling light, it’s important to gather all the necessary tools and supplies. Having everything you need on hand will make the process smoother and more efficient. Here’s a list of items you’ll need:
- A ladder or step stool: Since flush mount ceiling lights are typically installed on the ceiling, you’ll likely need a ladder or step stool to reach the light fixture safely. Make sure the ladder is sturdy and positioned on a stable surface.
- A replacement bulb: Determine the type and wattage of the bulb that needs to be replaced. Check the packaging of the old bulb or the user manual of your ceiling light for this information. Purchase a new bulb that matches the specifications.
- Gloves: It’s always a good idea to wear gloves when handling light bulbs to prevent any dirt, oil, or debris from coming into contact with the bulb. This can help prolong the life of the bulb and prevent premature burning out.
- A cloth or tissue: Keep a soft cloth or tissue nearby to wipe away any fingerprints, dirt, or dust that may accumulate on the bulb or the light fixture during the process.
Once you have gathered all the necessary tools and supplies, you’re ready to move on to the next step.
Step 2: Turn off the power supply
Before working on any electrical fixture, it’s crucial to ensure your safety by turning off the power supply. This step will minimize the risk of electrical shocks or accidents while you change the bulb in your flush mount ceiling light. Here’s how to turn off the power supply:
- Locate the circuit breaker: The circuit breaker panel is usually located in the basement, utility room, or garage. It contains a series of switches or fuses that control the electrical flow to different areas of your home.
- Identify the correct circuit: Look for the circuit that controls the specific room or area where the flush mount ceiling light is located. If you’re unsure, you can flip the switch on and off while someone else stays near the light fixture to observe which one it is.
- Turn off the circuit: Once you’ve identified the correct circuit, flip the corresponding switch to the “off” position. This will cut off the power supply to the ceiling light and eliminate the risk of electric shock while you work.
- Double-check the power supply: After turning off the circuit, double-check to ensure that no power is flowing to the light fixture. You can do this by using a non-contact voltage tester or a multimeter to verify that there is no electrical current.
Remember, safety is paramount when working with electricity. If you’re unsure or uncomfortable with turning off the power supply yourself, it’s always best to seek the assistance of a qualified electrician. Once you’re confident that the power supply to the flush mount ceiling light is switched off, you can proceed to the next step.
Step 3: Remove the old bulb
With the power supply turned off, it’s time to remove the old bulb from your flush mount ceiling light. Follow these steps to safely remove the old bulb:
- Allow the bulb to cool: Before you can safely handle the old bulb, ensure that it has had enough time to cool down. If the bulb was recently in use, it may still be hot to the touch. Wait for a few minutes to let it cool completely.
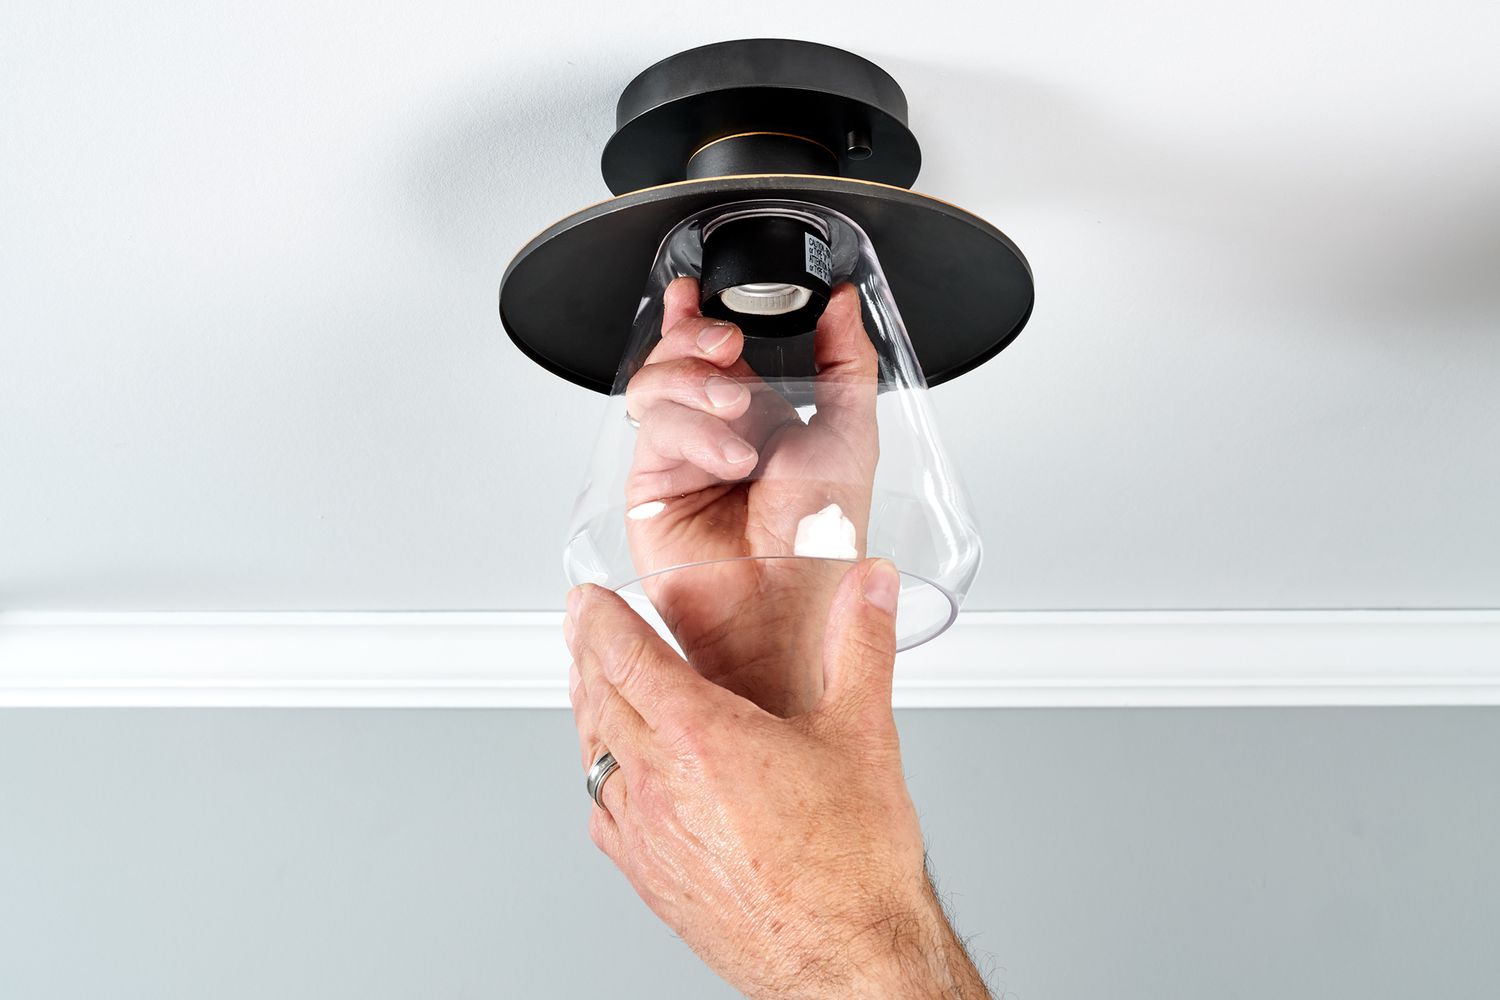
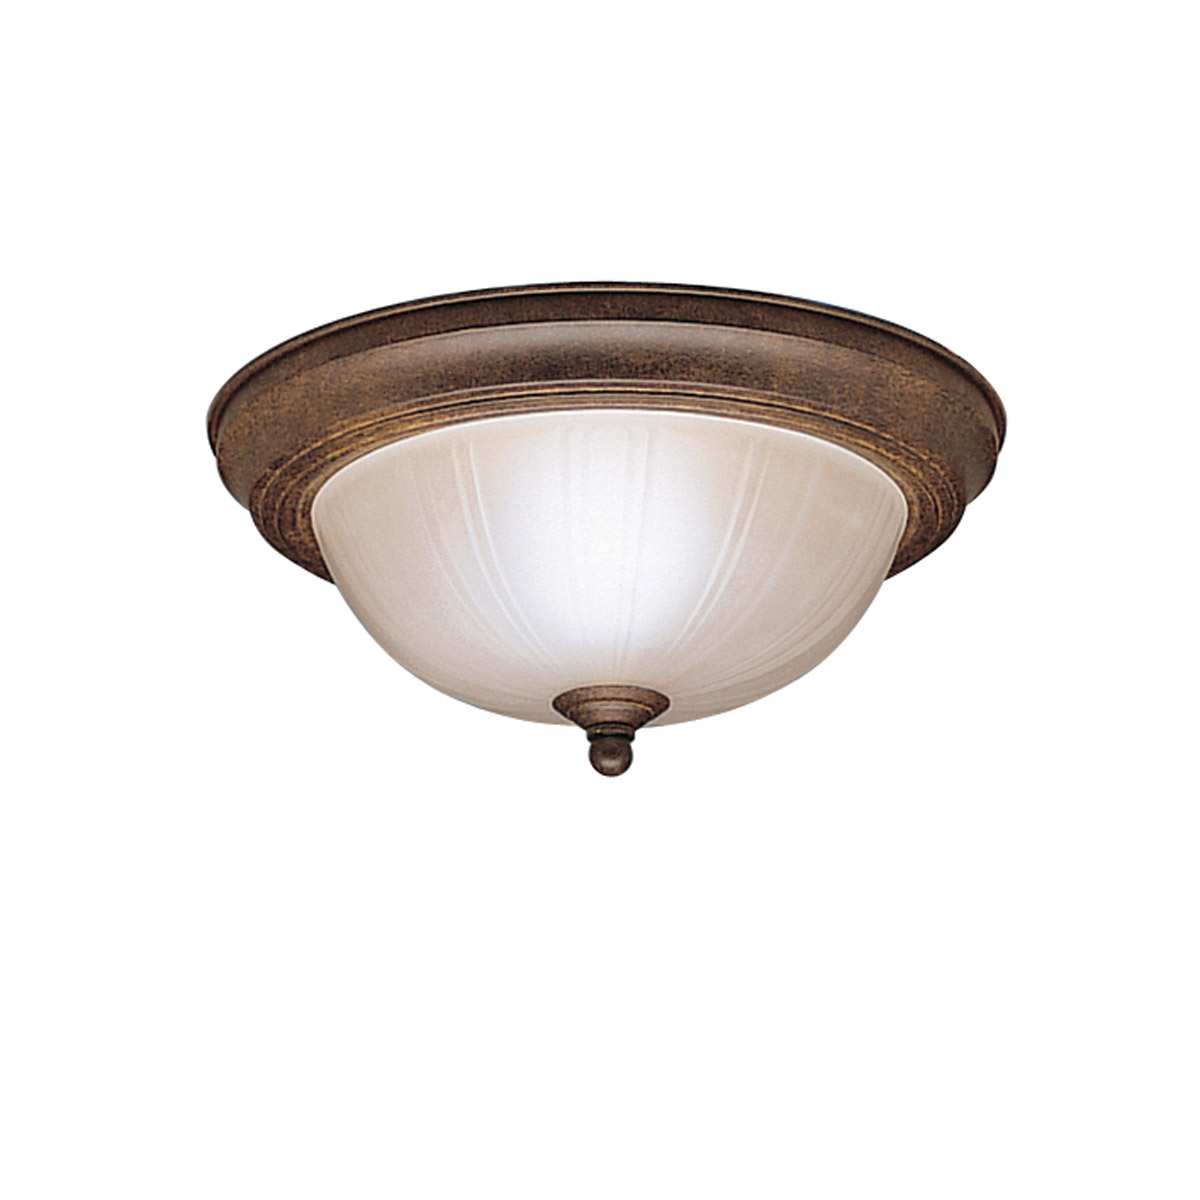
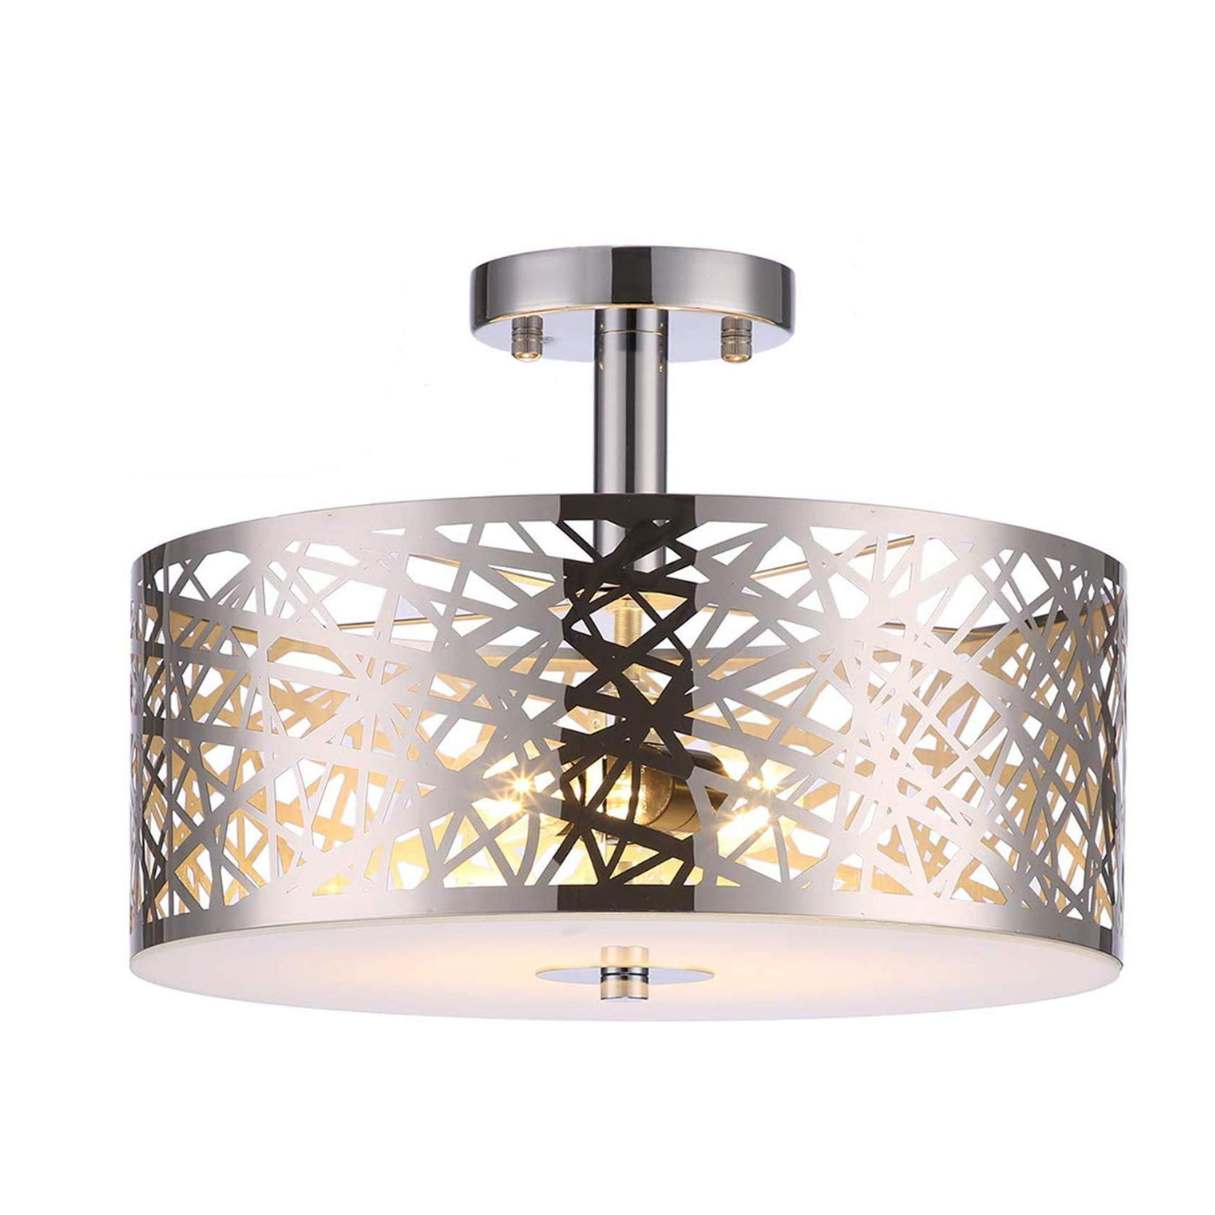
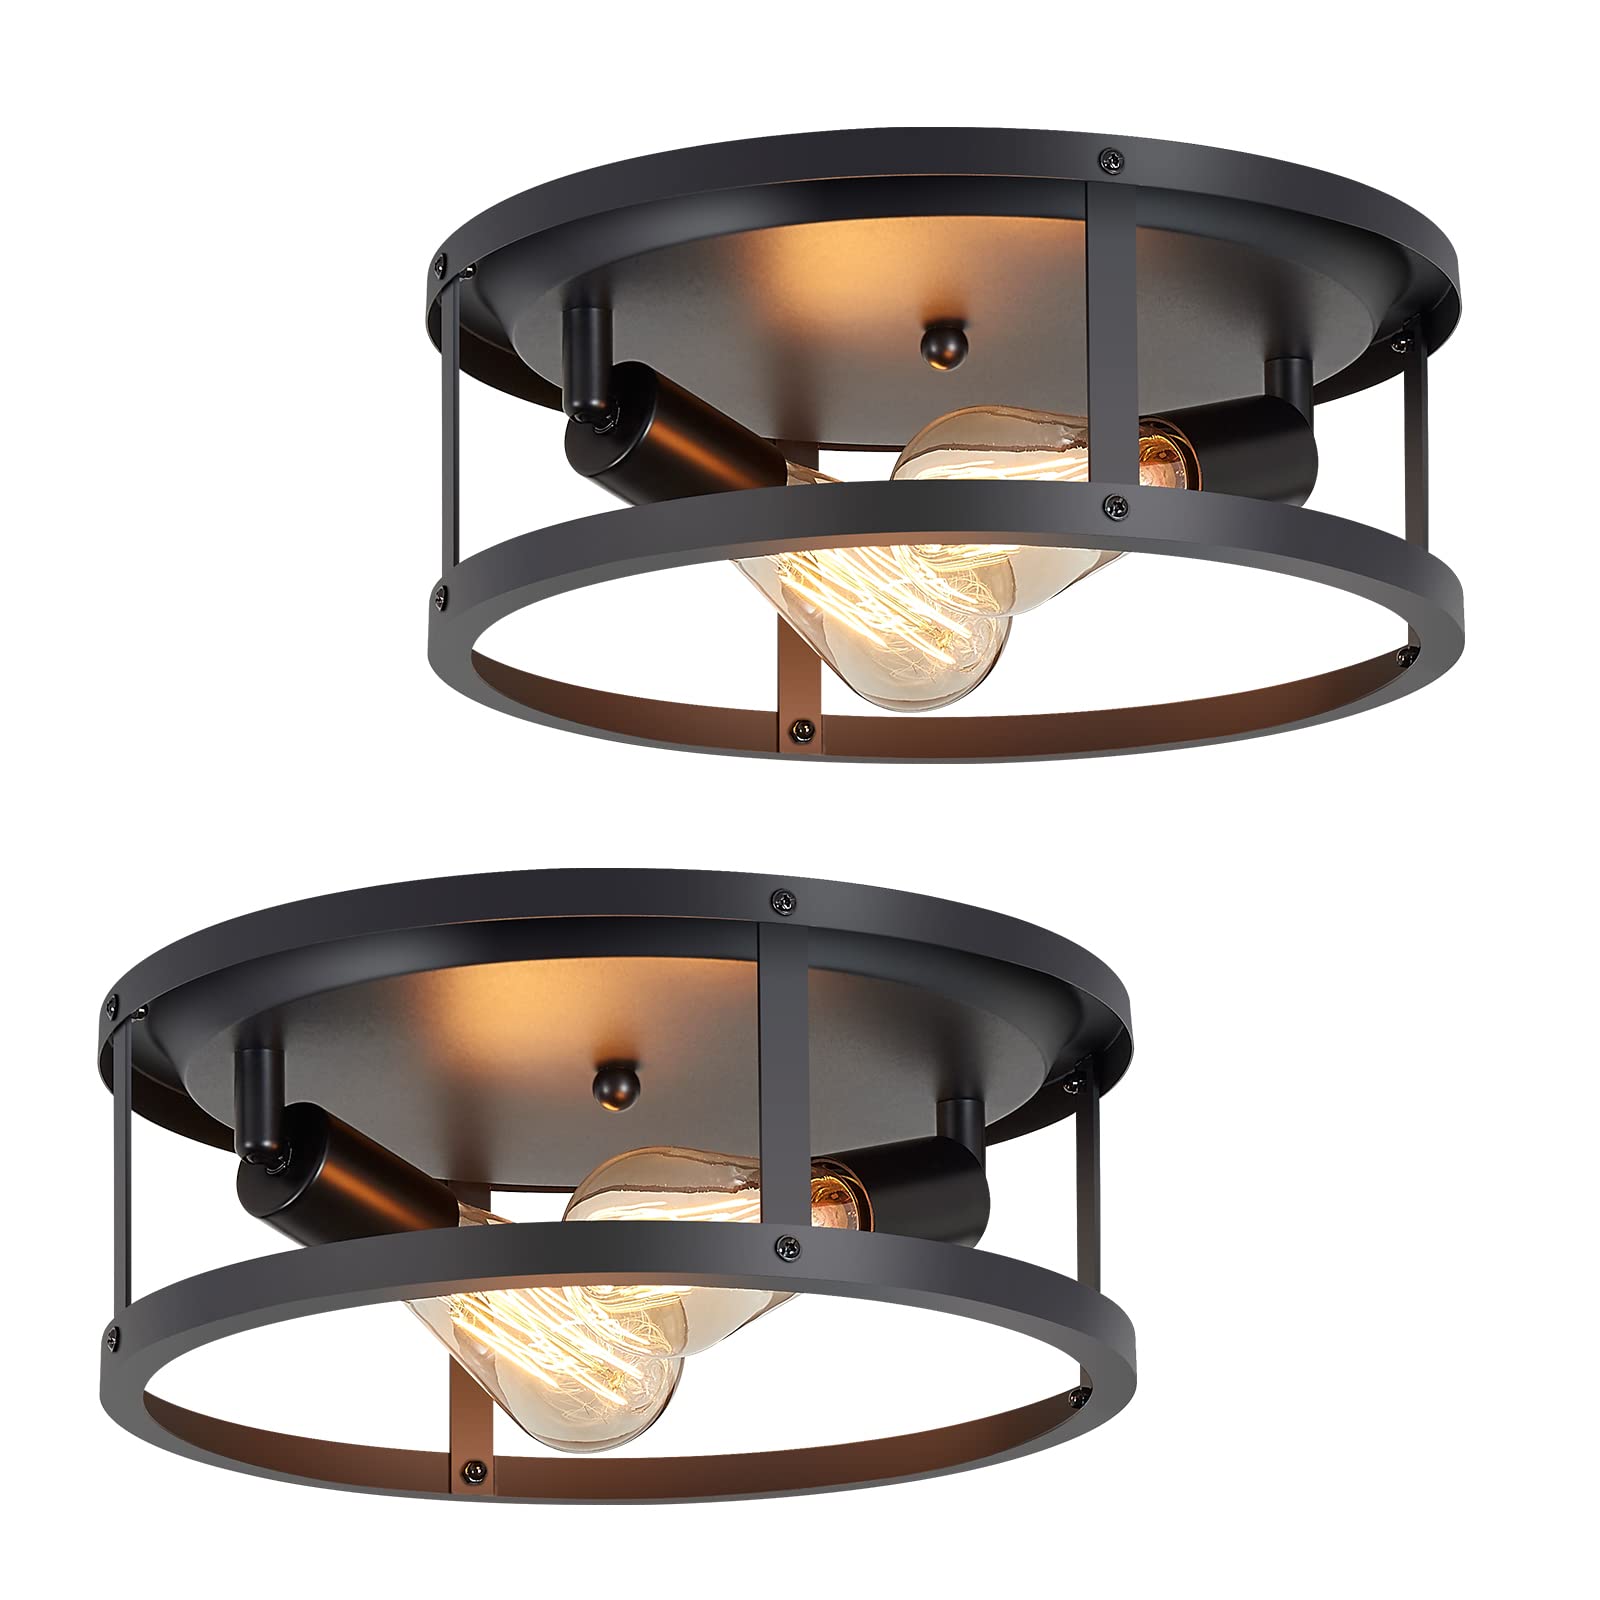
- Locate the bulb cover: Most flush mount ceiling lights have a bulb cover or a decorative globe that covers the bulb. Gently remove the cover by twisting it counterclockwise or by releasing any clips or screws that hold it in place.
- Remove the old bulb: Once the bulb cover is off, you’ll have clear access to the old bulb. Carefully grip the base of the bulb and gently twist it counterclockwise to unscrew it from the socket. Be cautious not to apply too much force or to handle the bulb too roughly, as it may break.
- Dispose of the old bulb properly: After removing the old bulb, it’s important to dispose of it properly. Wrap the old bulb in a cloth or tissue to ensure that no shards or glass fragments pose a hazard. Check with your local recycling center or waste disposal facility for guidelines on how to properly dispose of old light bulbs.
Once you have successfully removed the old bulb and disposed of it, you’re ready to move on to the next step of installing the new bulb.
Make sure to turn off the power to the light fixture before attempting to change the bulb. Use a ladder if necessary and carefully twist the old bulb out and replace it with a new one of the same wattage.
Step 4: Install the new bulb
Now that you have removed the old bulb from your flush mount ceiling light, it’s time to install the new one. Follow these steps to safely install the new bulb:
- Prepare the new bulb: Take the new bulb out of its packaging and inspect it for any damage. Make sure it matches the wattage and type of the old bulb. If necessary, wipe the bulb gently with a cloth or tissue to remove any fingerprints or dirt.
- Position the new bulb: Align the base of the new bulb with the socket in the flush mount ceiling light. Insert the bulb into the socket and carefully twist it clockwise until it is securely in place. Be careful not to overtighten or force the bulb, as this could damage the socket.
- Replace the bulb cover: If your flush mount ceiling light has a bulb cover or decorative globe, carefully position it back over the new bulb. Twist it clockwise or secure it with any clips or screws to ensure it is properly attached and secure.
Double-check to ensure that the new bulb is installed correctly and securely. Make sure it is aligned properly and fully inserted into the socket. Once you are satisfied with the installation, you can proceed to the next step to test the new bulb.
Read more: How To Change Flush Mount Light
Step 5: Test the new bulb
After installing the new bulb in your flush mount ceiling light, it’s essential to test it to ensure it is functioning properly. Follow these steps to test the new bulb:
- Turn on the power supply: Return to the circuit breaker panel and flip the switch corresponding to the flush mount ceiling light back to the “on” position. This will restore power to the light fixture.
- Switch on the light: Locate the light switch that controls the flush mount ceiling light and turn it on. If you have a wall switch, flip it on. If you have a pull chain or a separate switch on the light fixture itself, use that to turn on the light.
- Observe the new bulb: Watch carefully to see if the new bulb illuminates. Check that the lighting is consistent and there are no flickering or dimming issues. If the new bulb does not light up or there are any problems, double-check the installation to ensure the bulb is properly secured in the socket.
If the new bulb functions as expected and provides adequate lighting, congratulations! You have successfully changed the bulb in your flush mount ceiling light. However, if you encounter any issues with the new bulb, double-check the installation, and consult the manufacturer’s instructions or seek the assistance of a professional if needed.
Remember to turn off the light and the power supply before continuing to the final step of restoring power and cleaning up.
Step 6: Restore power and clean up
Once you have tested the new bulb and ensured it is working correctly, it’s time to restore the power supply and tidy up the area. Follow these final steps to complete the process:
- Turn off the light: Switch off the light by using the light switch or the pull chain on the flush mount ceiling light. This will ensure the light is off before proceeding.
- Return to the circuit breaker panel: Go back to the circuit breaker panel and flip the switch corresponding to the flush mount ceiling light back to the “off” position. This will cut off the power supply to the light fixture.
- Replace the bulb cover (if applicable): If your flush mount ceiling light has a bulb cover or decorative globe, ensure it is properly aligned and securely attached. Twist it clockwise or use any clips or screws to securely position the cover back in place.
- Clean up the area: Use a soft cloth or tissue to clean any fingerprints, dirt, or dust that may have accumulated on the bulb, the socket, or the light fixture during the process. This will help maintain the cleanliness and appearance of your flush mount ceiling light.
- Restore power: Return to the circuit breaker panel and flip the switch corresponding to the flush mount ceiling light back to the “on” position. This will restore power to the light fixture.
With the power restored and the area cleaned up, take a moment to admire your newly installed bulb and the improved lighting it provides. You have now successfully changed the bulb in your flush mount ceiling light!
Remember to properly dispose of the old bulb as mentioned in step 3. It’s always a good practice to recycle or dispose of old light bulbs responsibly to minimize harm to the environment.
Thank you for following this step-by-step guide. We hope it has been helpful in assisting you with changing the bulb in your flush mount ceiling light.
Conclusion
Changing the bulb in a flush mount ceiling light is a straightforward process that can be easily accomplished with the right tools and knowledge. By following the steps outlined in this guide, you can successfully install a new bulb and bring renewed brightness to your space.
Throughout this article, we have discussed the importance of safety, starting with turning off the power supply before beginning any work. We have also emphasized the significance of gathering the necessary tools and supplies, such as a ladder, replacement bulb, gloves, and a cloth or tissue for cleaning.
We have walked through the step-by-step process, including removing the old bulb and installing the new one. We have also highlighted the importance of testing the new bulb to ensure it is functioning properly and provided guidance on restoring power and cleaning up the area.
Remember, safety should always be a top priority when working with electricity. If you have any doubts or concerns, it’s best to consult a professional electrician. Taking the time to properly change a bulb in a flush mount ceiling light ensures not only your safety but also the longevity and efficiency of your lighting fixture.
We hope that this comprehensive guide has been helpful in empowering you to confidently change the bulb in your flush mount ceiling light. With this newfound knowledge, you can easily maintain and enhance the lighting in your home or workspace.
Thank you for reading, and may your new bulb bring a radiant glow to your environment!
Frequently Asked Questions about How To Change Bulb In A Flush Mount Ceiling Light
Was this page helpful?
At Storables.com, we guarantee accurate and reliable information. Our content, validated by Expert Board Contributors, is crafted following stringent Editorial Policies. We're committed to providing you with well-researched, expert-backed insights for all your informational needs.


0 thoughts on “How To Change Bulb In A Flush Mount Ceiling Light”