
Articles
How To Build Wall Vases
Modified: January 22, 2024
Learn how to build beautiful wall vases with these informative articles. Discover step-by-step instructions and helpful tips for creating stunning floral displays in your home.
(Many of the links in this article redirect to a specific reviewed product. Your purchase of these products through affiliate links helps to generate commission for Storables.com, at no extra cost. Learn more)
Introduction
Welcome to our step-by-step guide on how to build wall vases! If you’re looking to add a touch of nature and elegance to your home décor, wall vases are the perfect choice. They not only provide a beautiful display for your favorite flowers or plants but also add a unique and personalized touch to any room. In this article, we will walk you through the process of building your own wall vases, from preparing the materials to decorating and displaying the finished product.
Building wall vases is a fun and rewarding DIY project that allows you to unleash your creativity and make something truly unique. Whether you’re a seasoned DIY enthusiast or a beginner looking for a new hobby, this guide is designed to be accessible and easy to follow. With a few basic tools and materials, you’ll be able to create stunning wall vases that will wow your friends and family.
The process of building wall vases involves a few key steps, including preparing the wood, cutting and assembling the vase holders, sanding and finishing, attaching them to the wall, and finally, decorating and displaying your vases. Each step will be thoroughly explained and accompanied by detailed instructions and tips to ensure a successful project.
By building your own wall vases, you have the freedom to customize them to match your personal style and home décor. Whether you prefer a rustic, modern, or bohemian look, you can choose the type of wood, finish, and embellishments that suit your taste. Plus, by handcrafting these vases, you’ll have the satisfaction of creating something with your own hands that will be admired by everyone who sees it.
So, without further ado, let’s gather our materials and get started on this exciting DIY project. Get ready to bring a touch of beauty and nature to your walls and create stunning wall vases that will be the envy of all your friends.
Key Takeaways:
- Unleash your creativity and personalize your home decor by building stunning wall vases using basic tools and materials. Enjoy the satisfaction of creating something unique that adds natural elegance to your living space.
- Transform basic wooden boards into custom-made vase holders that perfectly match your personal style and home decor. Showcase your creativity by decorating and displaying these charming additions to your living space.
Read more: How To Build Shed Walls
Materials Needed
Before we dive into the step-by-step process of building wall vases, let’s gather all the materials you’ll need for this project. Don’t worry, you won’t need anything too fancy or expensive. Here’s what you’ll need:
- Wooden boards: Choose a type of wood that suits your style and budget. Common options include pine, oak, or reclaimed wood.
- Saw: A hand saw or a power saw will be necessary for cutting the wooden boards to size.
- Sandpaper or sanding block: This will be used to smooth out the rough edges and surfaces of the wooden boards.
- Wood glue: A strong wood glue is essential for securely attaching the different pieces of wood together.
- Clamps: Clamps will help to hold the pieces together while the wood glue dries.
- Paint or stain: If you wish to add color or a different finish to your wall vases, you’ll need paint or wood stain in your desired shade.
- Paintbrushes: Use brushes that are suitable for the type of paint or stain you’re using.
- Clear varnish (optional): Applying a clear varnish will protect the wood and give it a glossy finish.
- Nails or screws: Depending on how you plan to attach the vase holders to the wall, you’ll need either nails or screws.
- Drill or hammer: If you’re using screws, you’ll need a drill to make pilot holes. A hammer will come in handy for nails.
- Wall anchors (if needed): If your walls are not strong enough to support the weight of the vases, you may need wall anchors to ensure stability.
- Vases or jars: Finally, you’ll need vases or jars to insert into the holders. Choose ones that fit your desired look and are suitable for holding plants or flowers.
Make sure to gather all these materials before starting the project, as it will make the process smoother and more efficient. Once you have everything ready, we can move on to the next step: preparing the wood.
Step 1: Preparing the Wood
The first step in building your wall vases is to prepare the wooden boards that will serve as the base for your vase holders. Follow these instructions to ensure that your wood is ready for the next steps:
- Measure and mark: Begin by measuring and marking the desired dimensions for your vase holders on the wooden boards. It’s best to measure twice and double-check your marks to ensure accuracy.
- Cut the boards: Use a saw to cut the boards according to the measurements you’ve marked. Take your time and use steady, even strokes to achieve clean and precise cuts.
- Sand the edges: Once the boards are cut, use sandpaper or a sanding block to smooth out any rough edges or splinters. This will make handling the wood safer and give it a more polished appearance.
- Sand the surfaces: Next, sand the surfaces of the wooden boards to create a smooth and even texture. This will provide a better foundation for painting or staining later on.
Remember to wear appropriate safety gear, such as goggles and gloves, when handling tools and working with wood. Take your time and work carefully to avoid any accidents or injuries.
By preparing the wood properly in this step, you’ll ensure that your vase holders are sturdy and visually appealing. Once the wood is prepared, we can move on to the next step: cutting and assembling the vase holders.
Step 2: Cutting and Assembling the Vase Holders
In this step, we will cut the wooden boards into the necessary pieces and assemble them to create the vase holders. Follow these instructions to successfully complete this step:
- Measure and mark: Measure and mark the dimensions for the sides and bottom of the vase holder on the cut wooden boards. The dimensions will depend on the size of the vases you plan to use.
- Cut the sides and bottom: Use a saw to carefully cut the wooden boards according to the measurements you marked. Make sure to cut straight and accurately to ensure a proper fit when assembling the pieces.
- Dry fit the pieces: Before gluing the pieces together, do a dry fit by assembling the sides and bottom without glue. This will allow you to make any necessary adjustments to ensure a tight and secure fit.
- Apply wood glue: Once you’re satisfied with the fit, apply wood glue to the edges of the pieces that will be joined together. Use enough glue to create a strong bond, but be careful not to apply too much to avoid excess glue squeezing out.
- Assemble the vase holder: Carefully fit the pieces together, aligning the edges and corners. Apply gentle pressure to ensure a tight bond. Use clamps to hold the pieces together while the glue dries, following the manufacturer’s instructions for drying time.
Remember to wipe away any excess glue that may have squeezed out using a damp cloth. This will prevent it from drying and marring the appearance of your vase holder.
By following these steps, you will have successfully cut and assembled the vase holders. In the next step, we will focus on sanding and finishing the surfaces of the vase holders to create a smooth and polished look.
When building wall vases, make sure to use sturdy materials such as wood or metal for the base to support the weight of the vases and water. This will ensure that your wall vases are secure and long-lasting.
Step 3: Sanding and Finishing
Now that the vase holders are assembled, it’s time to focus on sanding and finishing the surfaces. This step will give your wall vases a smooth and polished appearance. Follow these instructions to complete this step:
- Sand the surfaces: Use sandpaper or a sanding block to sand the surfaces of the vase holders. Start with a coarse-grit sandpaper to remove any roughness or imperfections, then switch to a finer-grit sandpaper for a smoother finish. Sand in the direction of the wood grain for the best results.
- Sand the edges: Pay attention to the edges of the vase holders and sand them to smooth out any sharp or uneven edges. This will not only enhance the look of the vase holders but also make them safer to handle.
- Clean the surfaces: After sanding, use a clean cloth or tack cloth to remove any dust or debris from the surfaces of the vase holders. This will ensure a clean and pristine surface for the next step.
- Apply paint or stain: Depending on your desired look, you can choose to paint or stain the vase holders. If painting, apply a primer first, then paint them with your chosen color using a paintbrush. If staining, apply the stain with a brush or cloth, following the manufacturer’s instructions for drying time and additional coats, if necessary.
- Apply a clear varnish: For added protection and a glossy finish, you can apply a clear varnish to the vase holders. This step is optional but recommended, especially if the vases will be exposed to moisture or sunlight.
Allow sufficient drying time between each step, as indicated by the product instructions, to ensure optimal results. Remember to work in a well-ventilated area and wear appropriate protective gear, such as gloves and a mask, when handling paint, stain, or varnish.
Once the sanding and finishing process is complete, your vase holders will have a smooth and polished appearance. In the next step, we will move on to attaching the vase holders to the wall.
Read more: How To Build Interior Walls
Step 4: Attaching the Vase Holders to the Wall
Now that your vase holders are sanded and finished, it’s time to attach them to the wall. Follow these instructions to securely mount the holders:
- Choose the placement: Determine where you want to hang your wall vases. Consider the height, available wall space, and the overall aesthetic of the room. Use a pencil to mark the desired positions on the wall.
- Locate studs: Use a stud finder to locate the studs in the wall. Mounting the vase holders on the studs will provide extra stability and ensure that they can support the weight of the vases. Alternatively, if you cannot find studs in the desired positions, you can use wall anchors for added support.
- Prepare the holders: Before attaching them to the wall, ensure that the vase holders are clean and free from any dust or debris. If desired, you can also add additional hooks or hardware for hanging purposes.
- Attach the holders: Starting with the first holder, align it with the marked position on the wall. Use a level to ensure it is straight. If you are attaching to a stud, use screws to secure it in place. If using wall anchors, follow the manufacturer’s instructions to properly install them and then attach the holder.
- Repeat the process: Repeat the previous step with the remaining holders, making sure to maintain the desired spacing between them.
- Double-check stability: Give each holder a gentle tug to ensure it is securely attached to the wall. If any feel loose, reinforce them with additional screws or wall anchors.
By following these steps, you will securely attach the vase holders to the wall, ensuring that they can safely hold the weight of the vases. Once they are firmly in place, you can move on to the final step: decorating and displaying your wall vases.
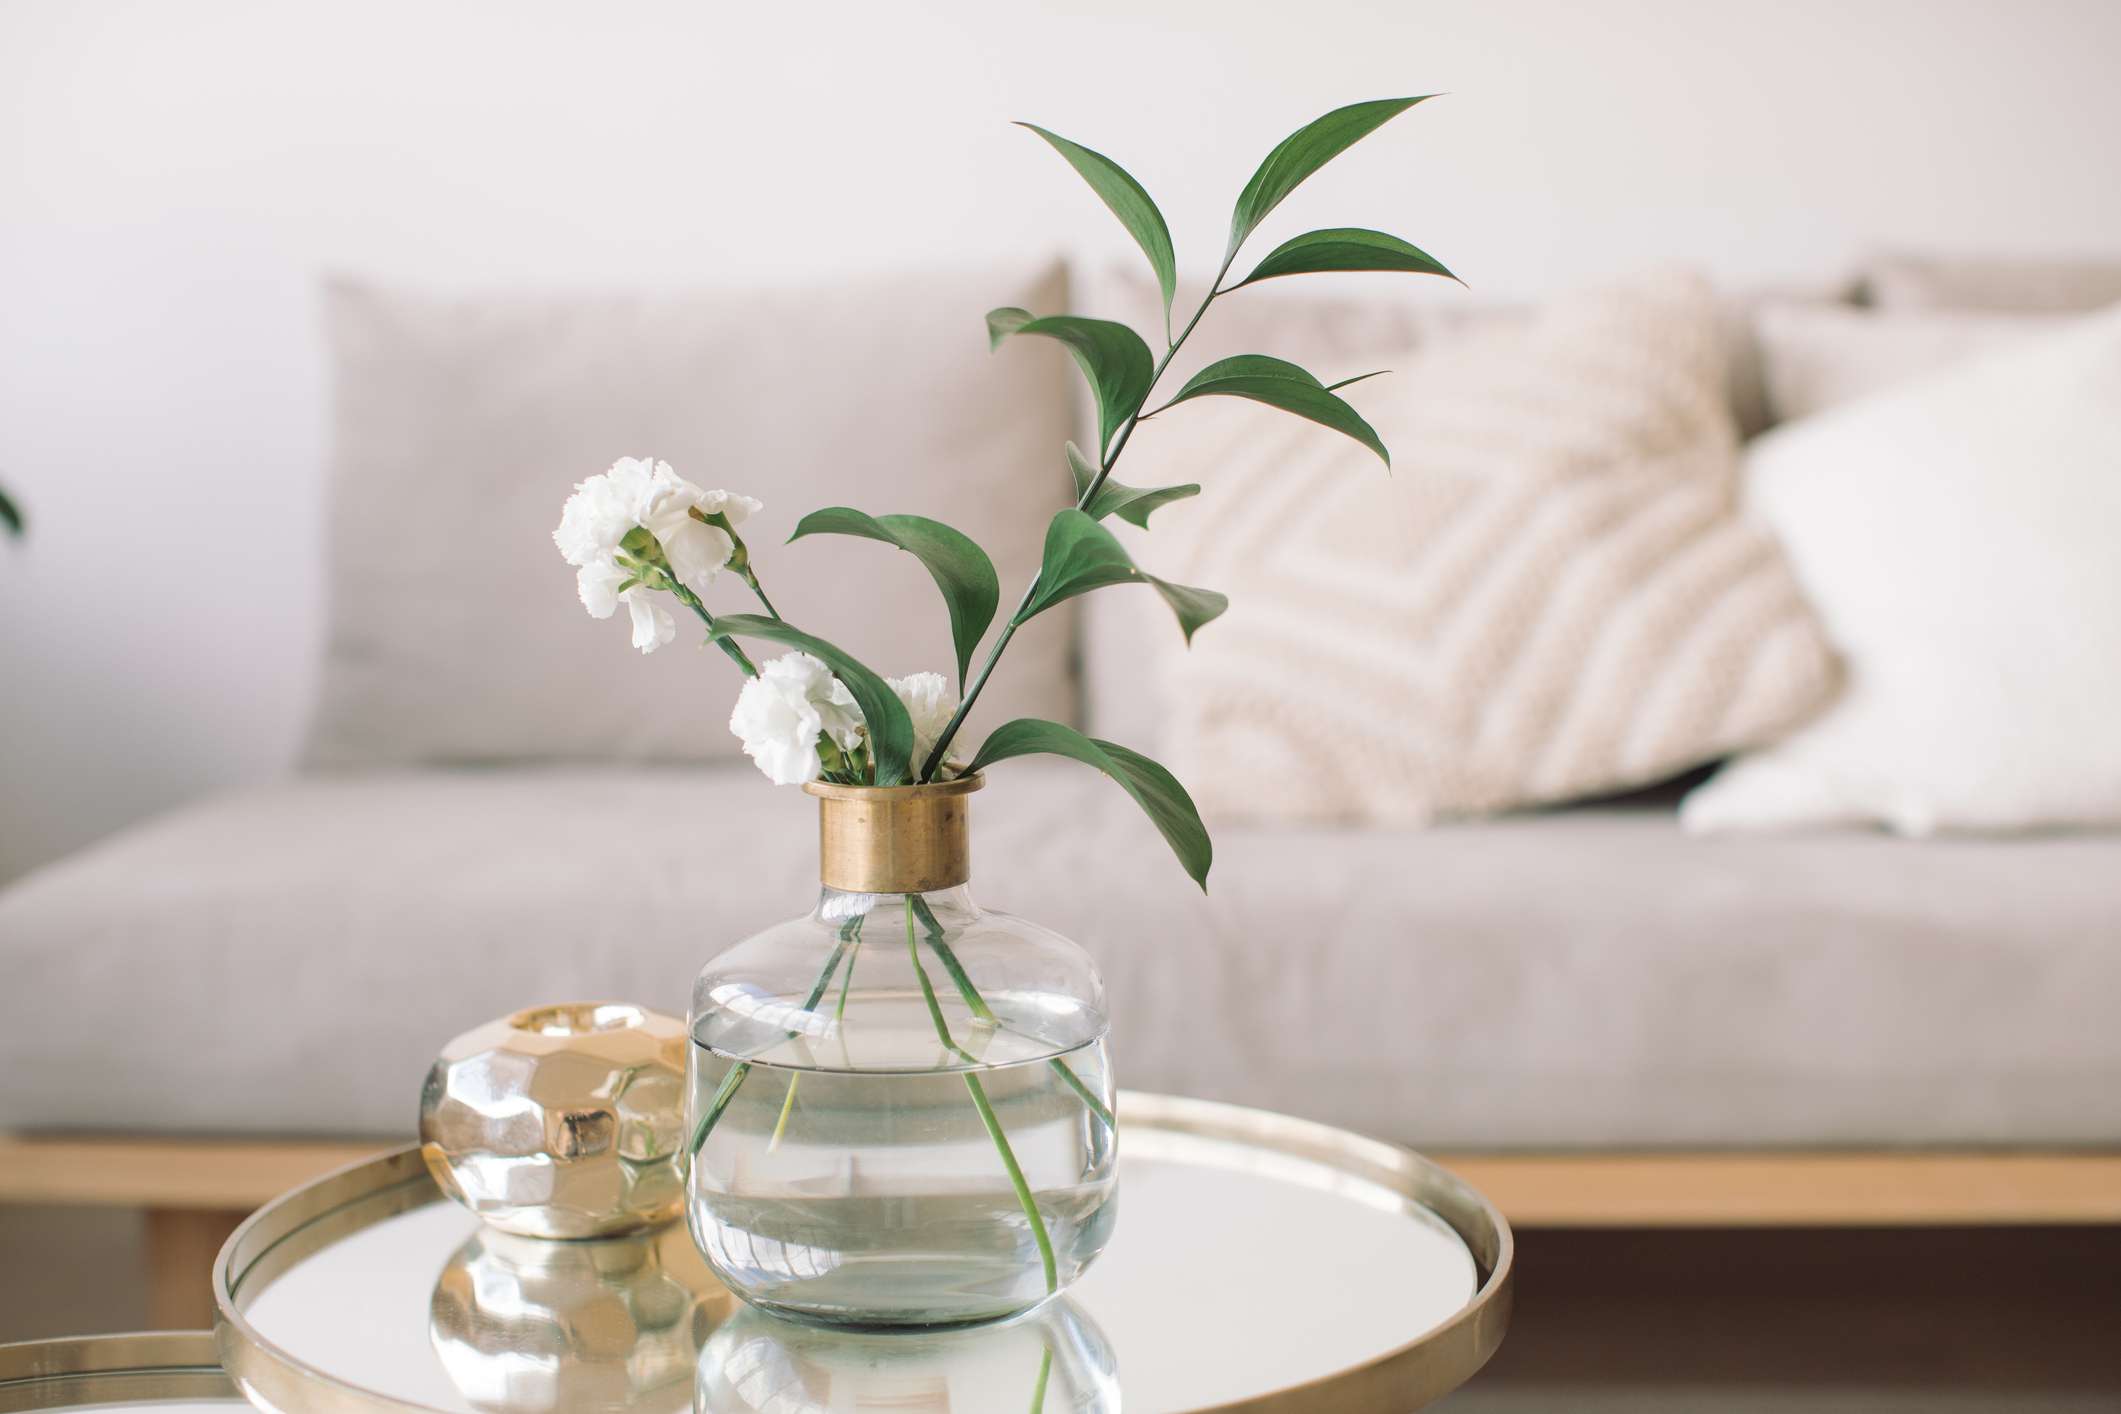
Step 5: Decorating and Displaying
Congratulations! You’re in the final step of building your wall vases. Now it’s time to unleash your creativity and add the finishing touches. Follow these instructions to decorate and display your wall vases:
- Choose your vases or jars: Select vases or jars that fit the dimensions and style of your vase holders. Make sure they are suitable for holding plants or flowers and are secure within the holders.
- Add flowers or plants: Fill your chosen vases or jars with fresh flowers or greenery. You can opt for real or artificial plants, depending on your preference and maintenance capabilities.
- Arrange the vases: Carefully place the vases or jars into the holders, ensuring they are centered and stable. Adjust the positioning as needed to achieve the desired look.
- Accessorize: Consider adding decorative elements around the vases, such as small framed pictures, small trinkets, or other objects that complement the theme or style of your room.
- Experiment with arrangements: Get creative with the placement of the vases and accessories. You can align them in a straight line, create an asymmetrical arrangement, or even cluster them for a unique look. Play around with different compositions until you find the arrangement that pleases your eye.
- Step back and admire: Once you’re satisfied with the arrangement, take a step back and admire your handiwork. You’ve successfully built and decorated your own wall vases!
Remember to regularly change the water in your vases and trim any wilting flowers to keep your display looking fresh. Experiment with different flowers or plants to switch up the look and feel of your wall vases throughout the year.
Now that your wall vases are beautifully decorated and displayed, you can enjoy the natural elegance they bring to your living space. Sit back, relax, and revel in the satisfaction of knowing that you created these stunning pieces of décor with your own hands.
Conclusion
Congratulations on successfully completing your wall vases! By following this step-by-step guide, you have learned how to build, decorate, and display these charming and personalized additions to your home decor. Throughout the process, you took basic wooden boards and transformed them into stunning holders for your favorite flowers or plants.
Building wall vases is not only a satisfying DIY project but also an opportunity to showcase your creativity and style. With a few basic tools and materials, you were able to create custom-made vase holders that perfectly match your personal taste and home decor.
Remember that the beauty of wall vases lies not only in their construction but also in how you choose to decorate and display them. With the freedom to select vases or jars, add flowers or plants, and accessorize the surrounding space, you can truly make these wall vases your own.
Now that you have completed your wall vases, take a moment to step back and admire your handiwork. Revel in the satisfaction of knowing that you have created something unique and beautiful that will enhance the ambiance of your living space.
Feel free to experiment with different arrangements and decorations as your style and preferences evolve. With wall vases, you can continuously update and refresh your home decor, creating a vibrant and inviting atmosphere.
Thank you for joining us on this DIY journey. We hope that you have enjoyed building your wall vases and that they bring joy and beauty to your home for years to come!
Frequently Asked Questions about How To Build Wall Vases
Was this page helpful?
At Storables.com, we guarantee accurate and reliable information. Our content, validated by Expert Board Contributors, is crafted following stringent Editorial Policies. We're committed to providing you with well-researched, expert-backed insights for all your informational needs.


0 thoughts on “How To Build Wall Vases”